A lot has been going on since I started this about a month ago so I don’t have many progress pictures, but here is what I have so far.
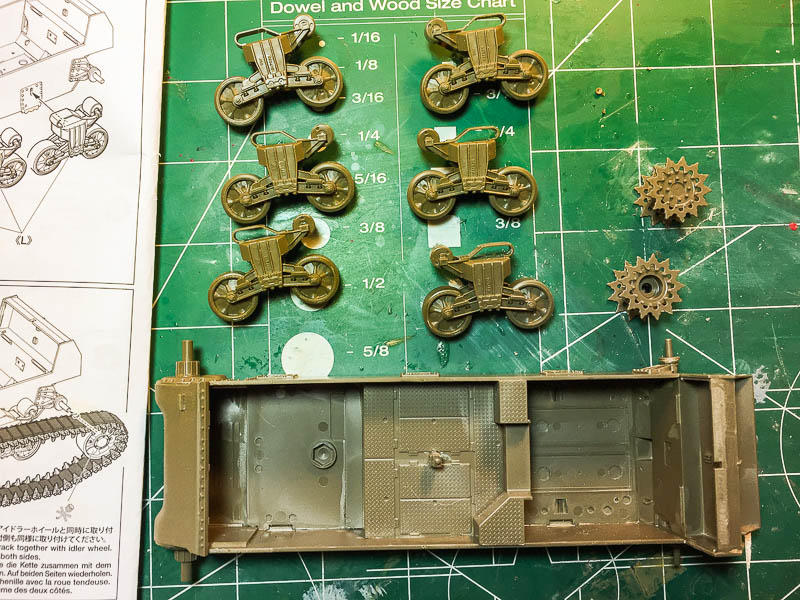
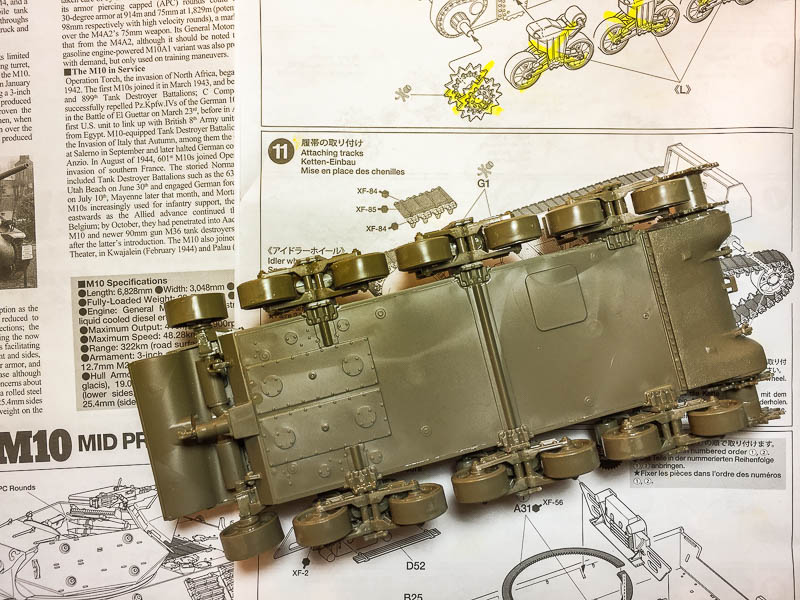
While the suspension is much simpler than the Asuka Sherman build I did earlier, it is still nicely detailed and goes together quickly.
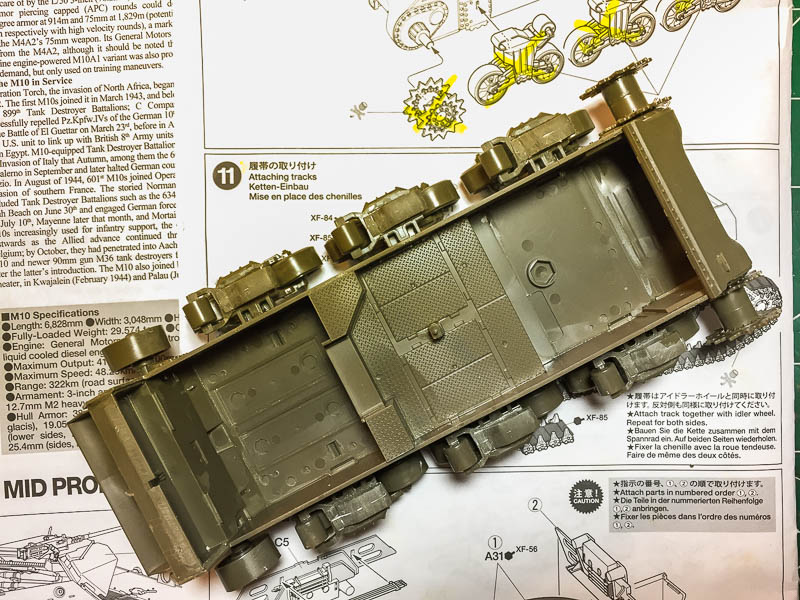
The bottom of the lower hull has some nice detail.
While the top does have some sink marks, it really isn’t worth cleaning them up since they won’t be seen.
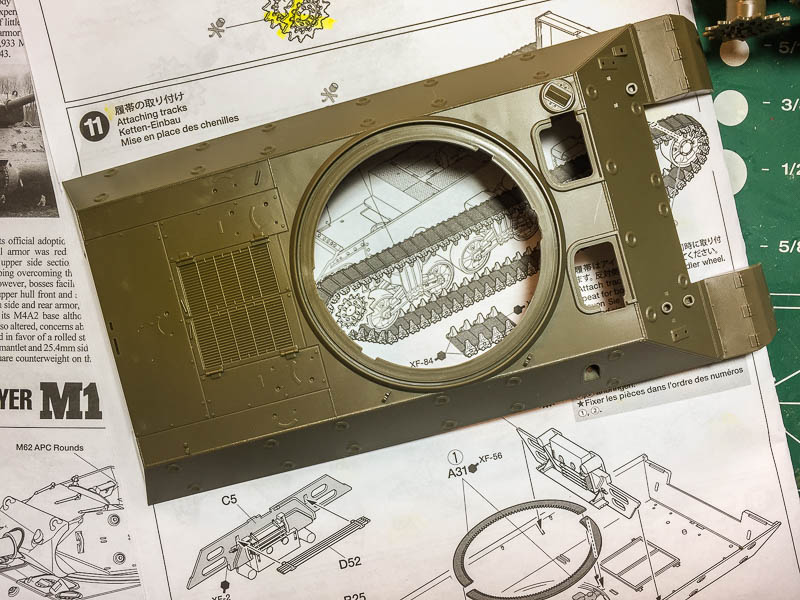
The top of the hull looks pretty nice as well.
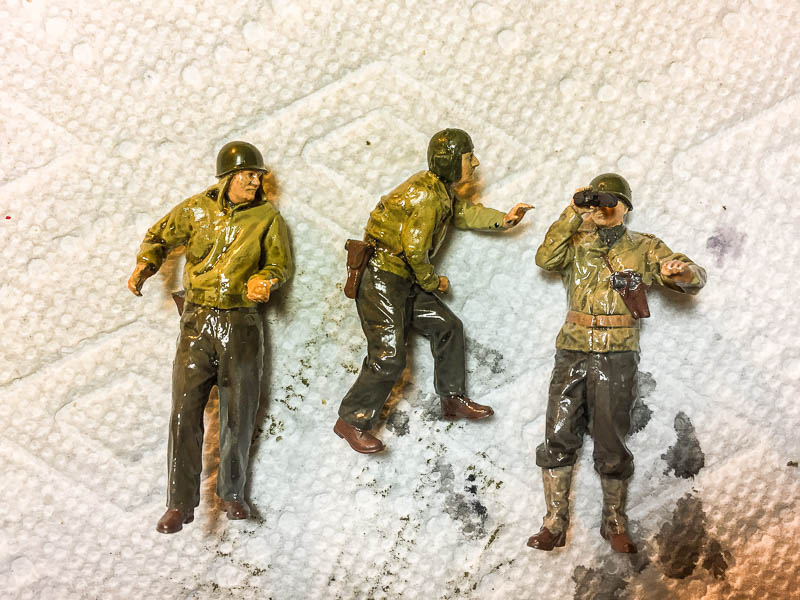
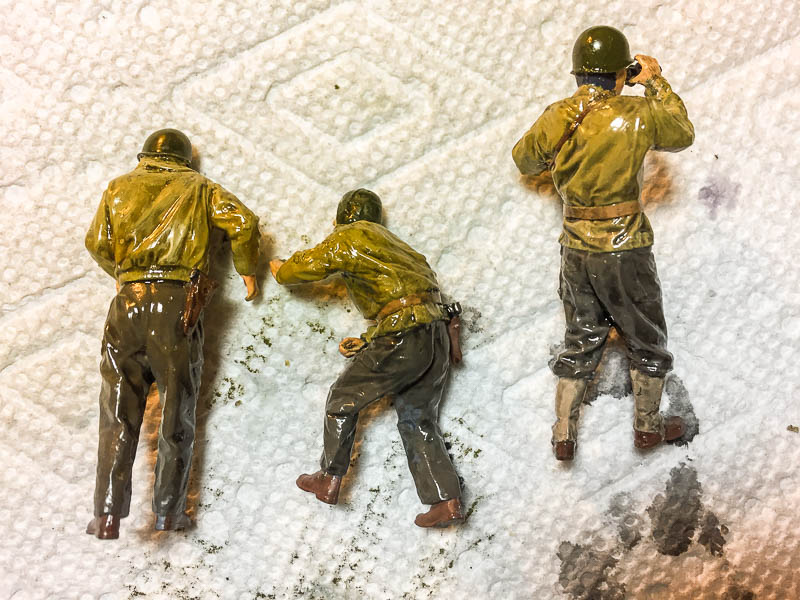
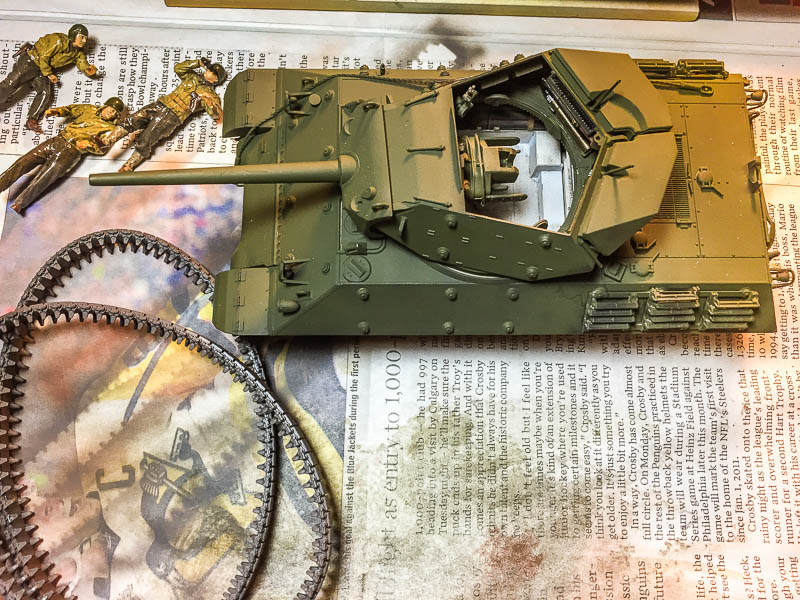
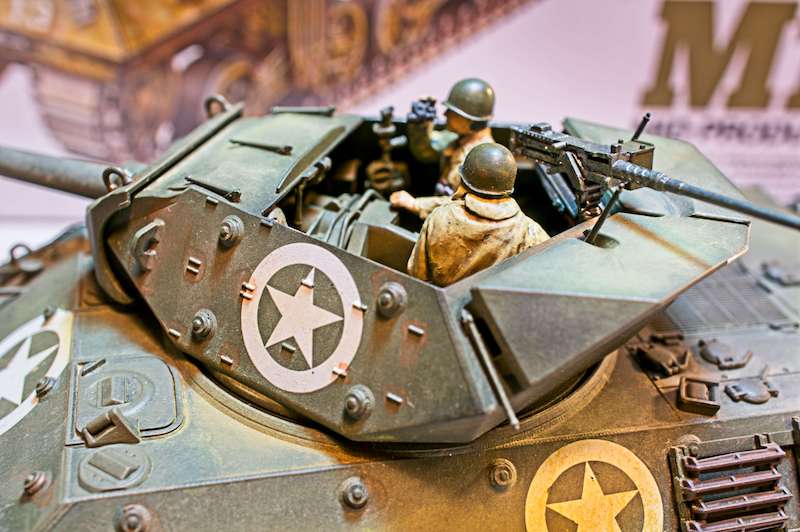
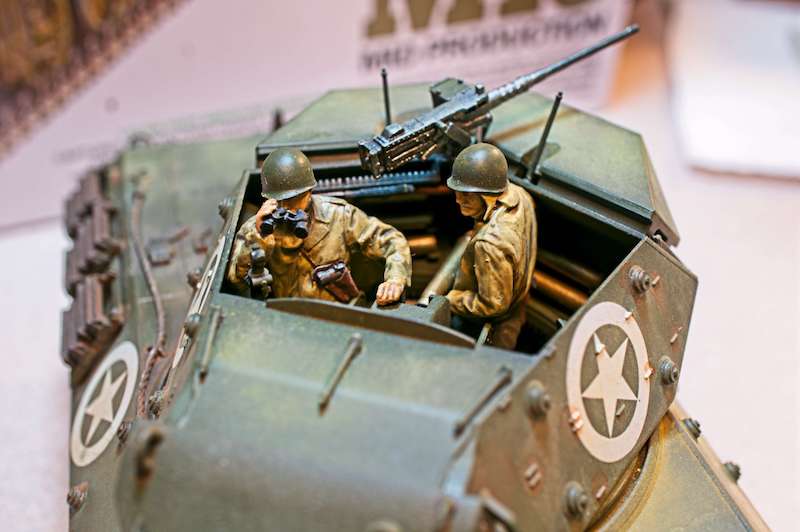
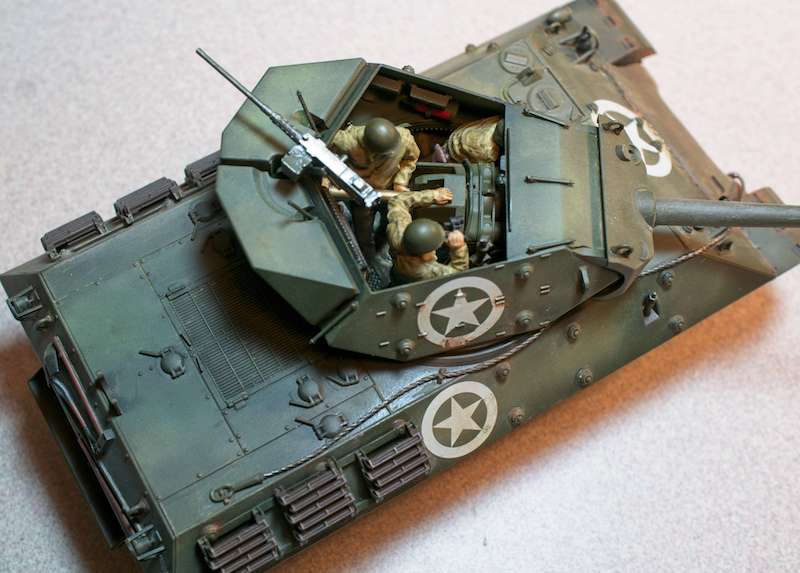
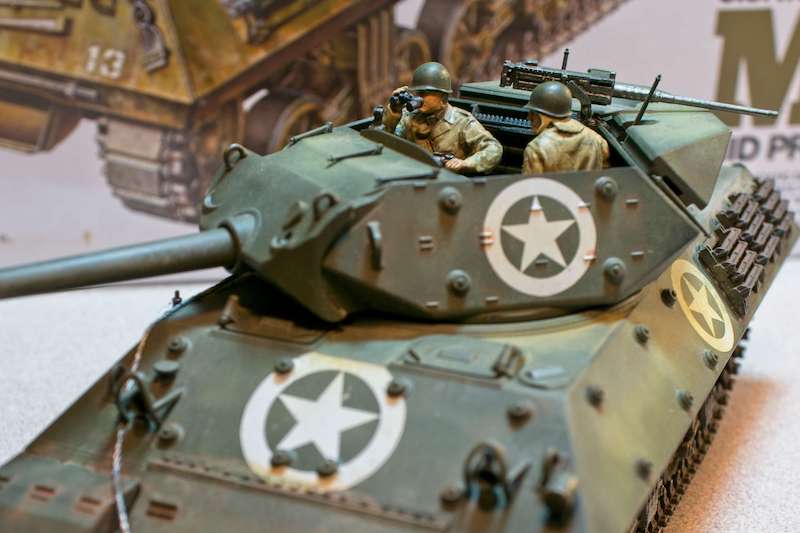
The kit comes with 3 crew members. I’ve NEVER painted a figure before. All in all they didn’t come out bad. I tried using what was called “Magic Wash” which is simply Future with a bit of acrylic paint, in this case black. By applying the wash the Future tends to force it into all the little creases. Not bad. The do need a bit of cleanup, some highlights applied and, of course, a flat coat. I’m not sure I’m going to put on the goggles. There are no straps for them, so I think they would look weird just “attached” to the helmet. Any suggestions???
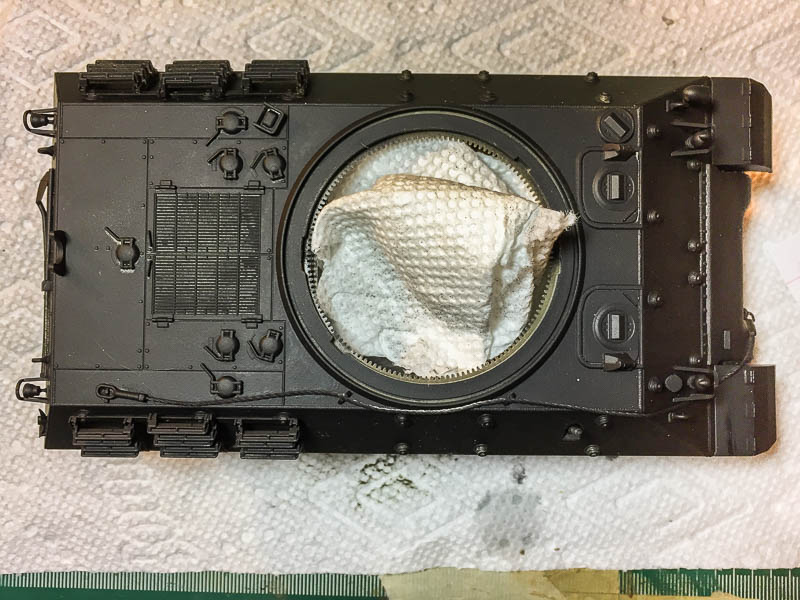
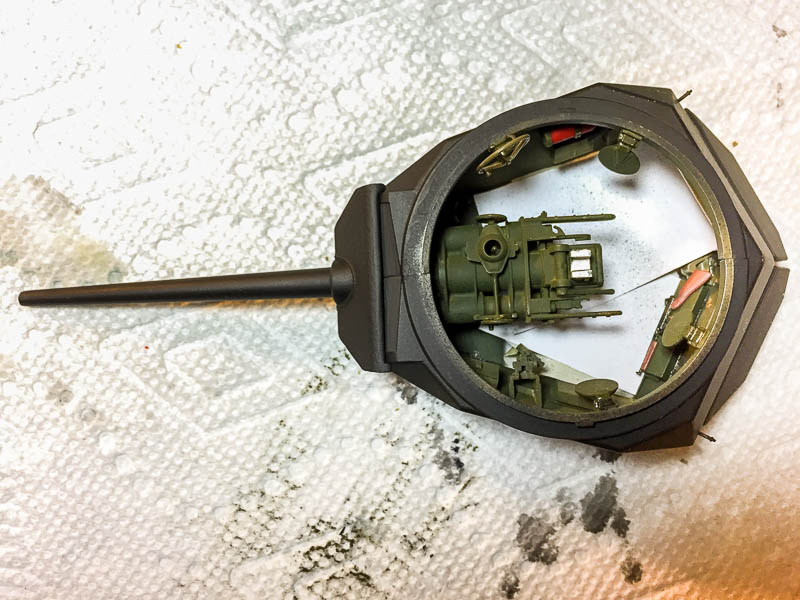
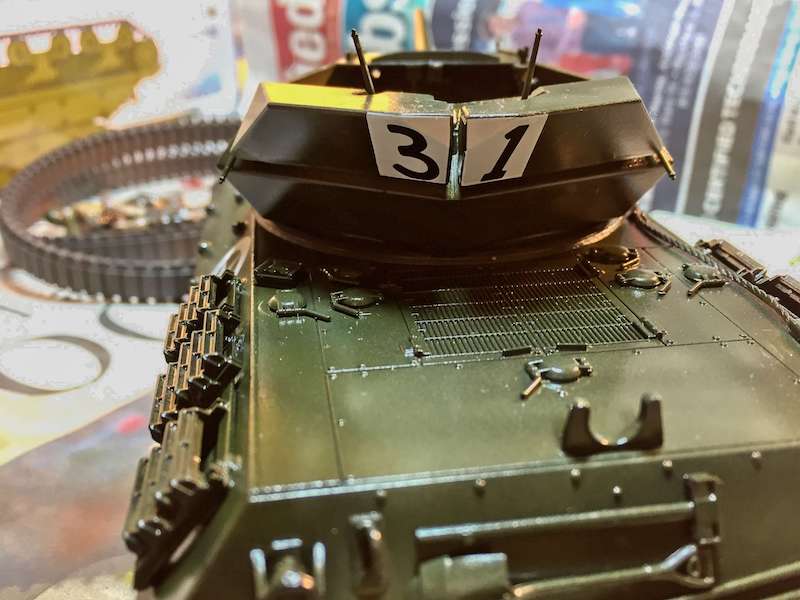
The lower hull and turret have been primed with black Stynylrez after the inside of the turret was painted and detailed.
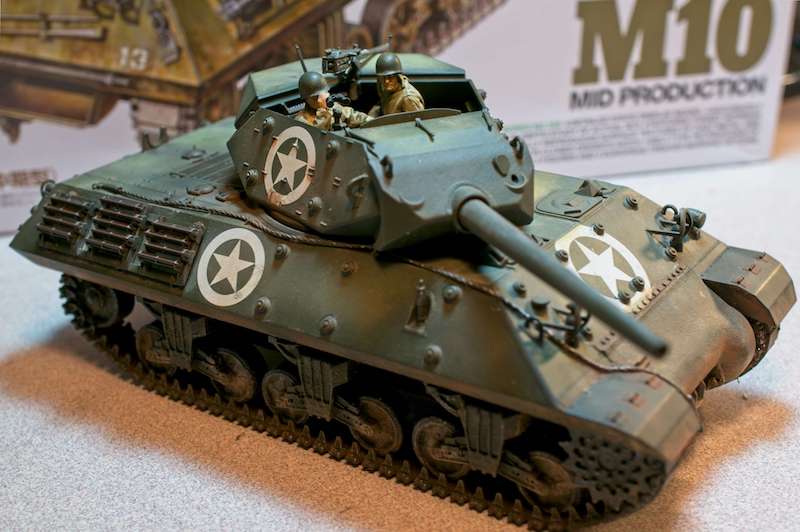
Finally, we have a coat of good ole Olive Drab.
Next up is a gloss coat, decals, crew placement and weathering.
As I understand anything that can be seen from the air is painted olive drab. That would include the hull floor right under the turret. I’ve been painting the raised area od and the driver’s area white. I think that’s right though you should be able to find some photos online to make sure.
Thanks for all the help with regard to the turret floor.
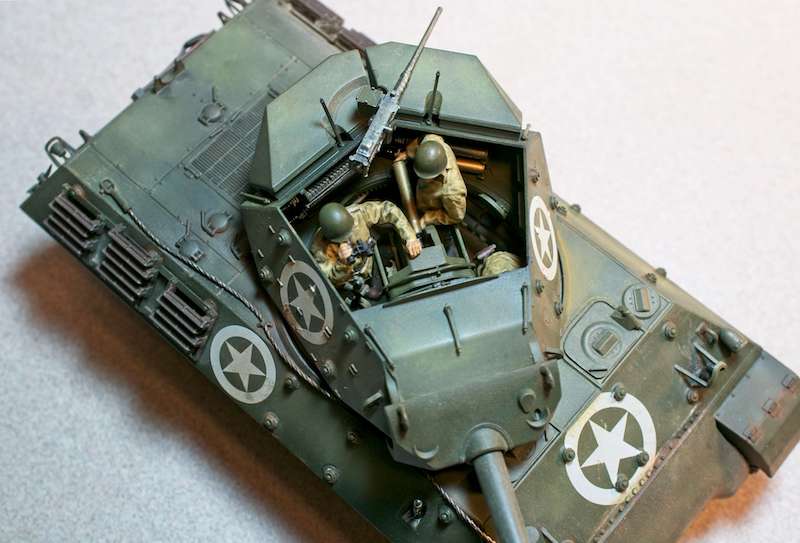
Floor color fixed (I hope.):
It still needs to be weathered and dirtied up a bit when it dries. I also took the opportunity to fade some areas on the tank hull. Next comes the gloss coat and some decals before the M10 gets that lived in look and used look.
If you want you can drybrush the hull floor with a little metallic paint to represent where the crew’s boots scuffed up the od paint. And add some mud in there too if you want.
Nice stuff here, and the guys are right about the floor color which you’ve corrected. When I put goggles on my figures I make the straps out of plain paper…easier to form and glue down plus you can soak the paper in the correct color paint before cutting and applying
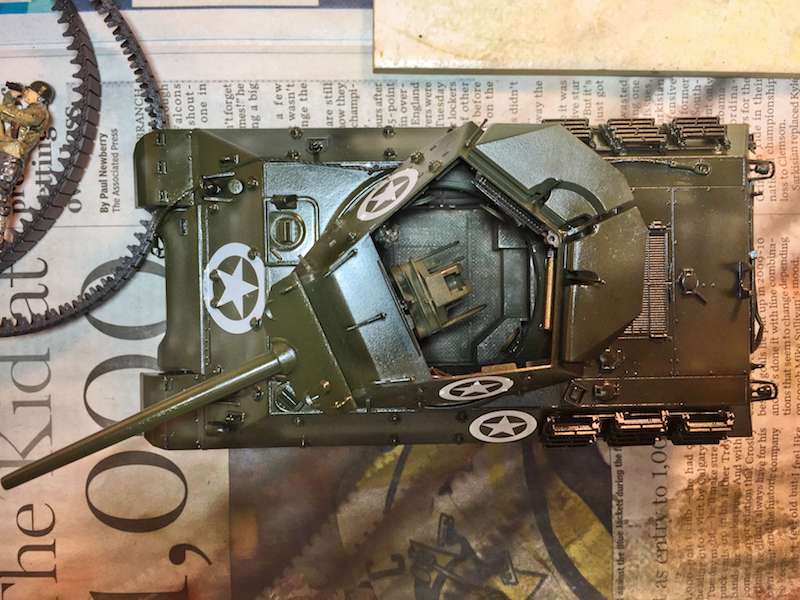
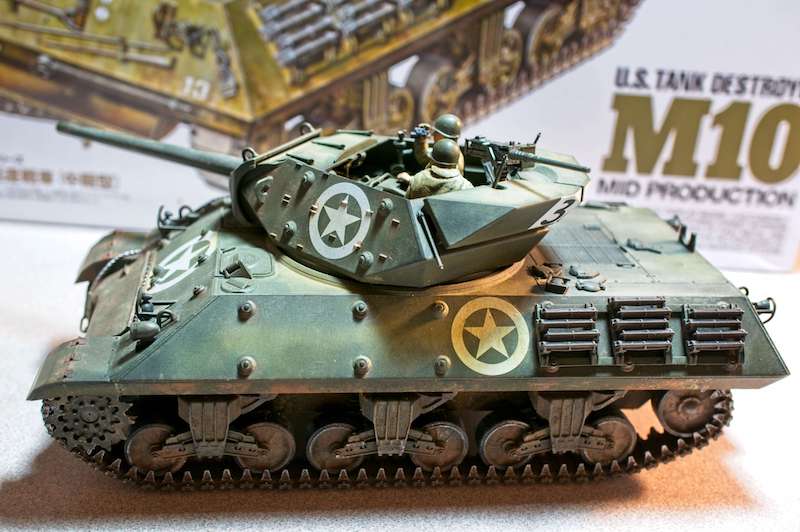
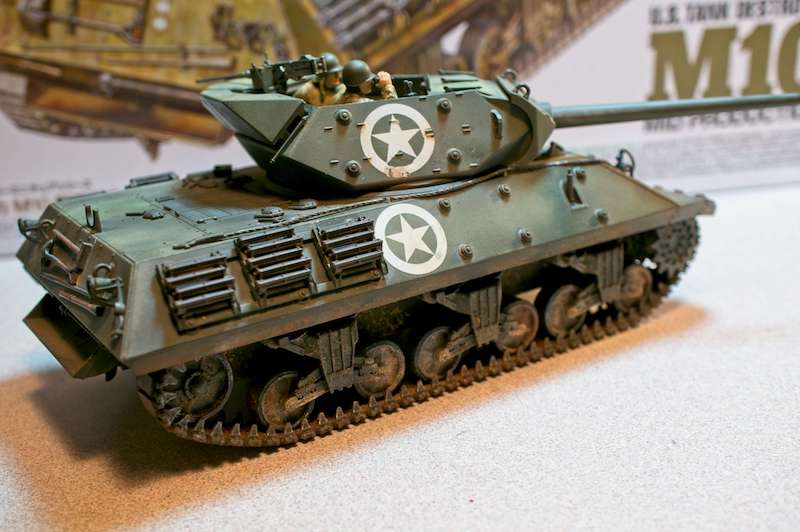
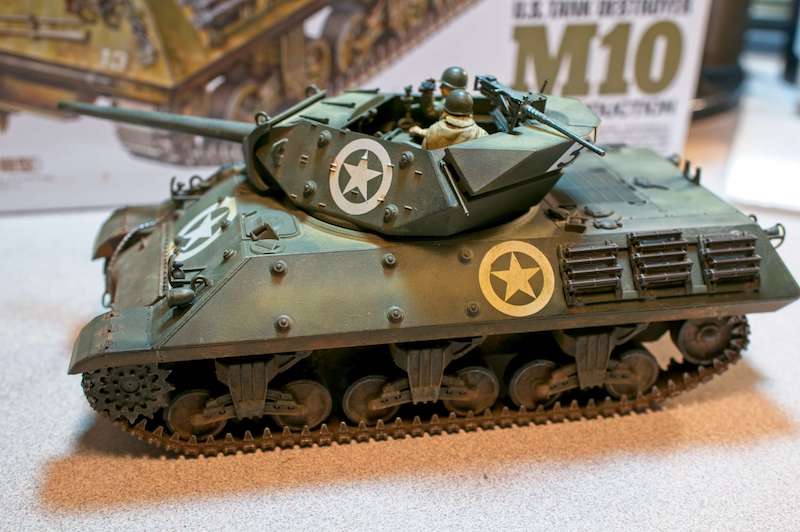
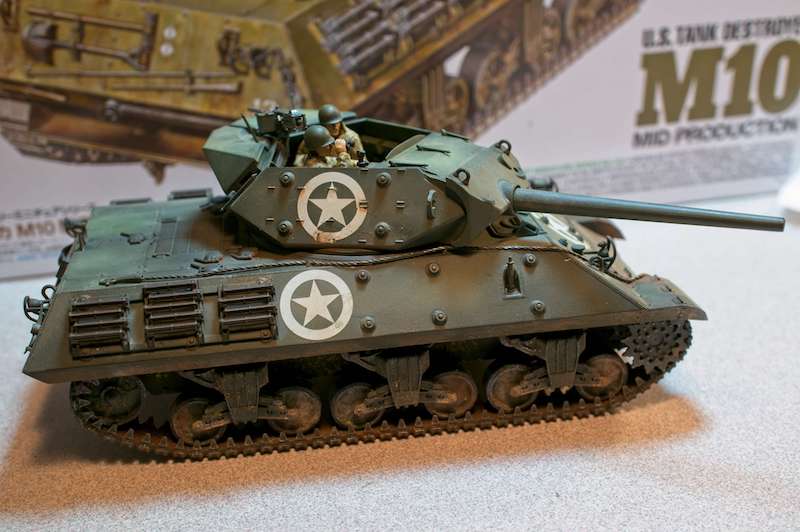
Well, the M10 has been gloss coated and decals applied. You can also see that the turret floor has been weathered.
I must say the decals weren’t the greatest and one of the stars is kind of messed up so I will have to work that into the weathering. For some reason the decals wouldn’t stay put and almost instantly turned to mush with MicroSol. My mistake in trying to reposition the slid decal after MicroSol was applied. I’ve never had that issue before - live and learn I guess. The decals did settle down very nicely after MicroSol application, so in that way, they weren’t bad.
Markings are for the 601st Tank Destroyer Battalion, 3rd Infantry Division, Southern France, August 1944.
Now onto the final assembly of the tracks and weathering.
So am I Bill. I usually build 1:48 planes but I’m on an armor kick and I really like it. Armor is really a different beast, but the guys and gals here are awesome and they KNOW things! I’ve learned a lot. Hopefully I’m improving on every build.
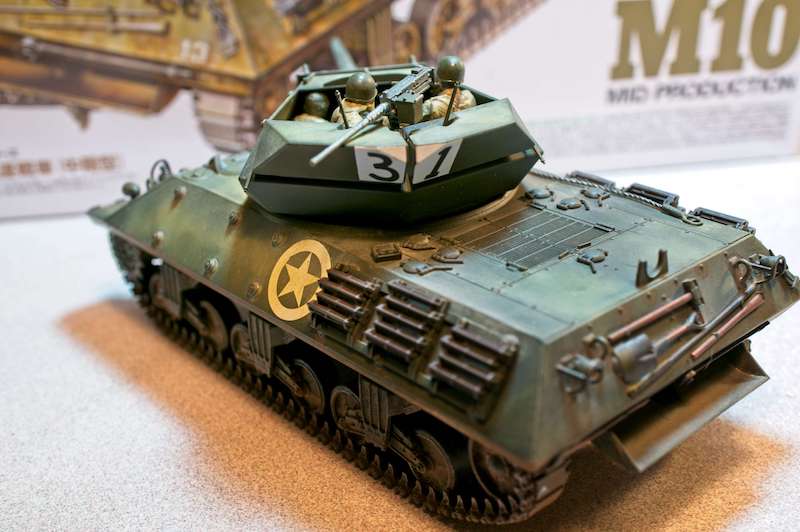
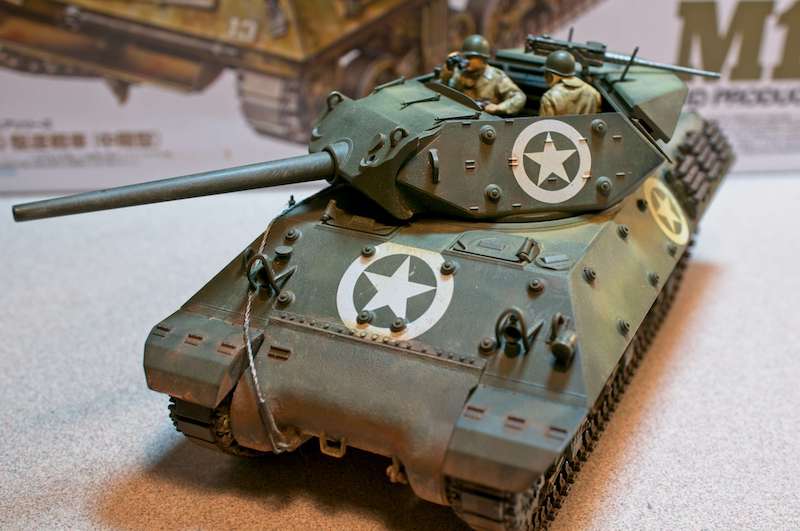
M10 Tank Destroyer - 601st Tank Destroyer Dattalio, 3rd Infantry Division, Southern France, August 1944.
This was my first experience with figures and overall, I’m pretty happy with how they came out. The only real issue is one of the stars on the turret got mangled - battle damage is my story and I’m stickin to it. Maybe someday I’ll replace it. I’m really enjoying building armor.
Hey Alan you should be proud, really nice work there! Great job on the TD and the decals look fine. You even got the front one perfectly around the bolts- something I’ve had problems with before.
The figures look good, my first ones looked like rejects from ‘White Zombie’…
[Y] Very nice finish! Welcome to the “dark side” of armor. You can certainly be proud of this build. As you will likely soon learn with armor builds, mishaps in the project can often be hidden with stowage or weathering (mud!!!)…
 Yep,
Yep,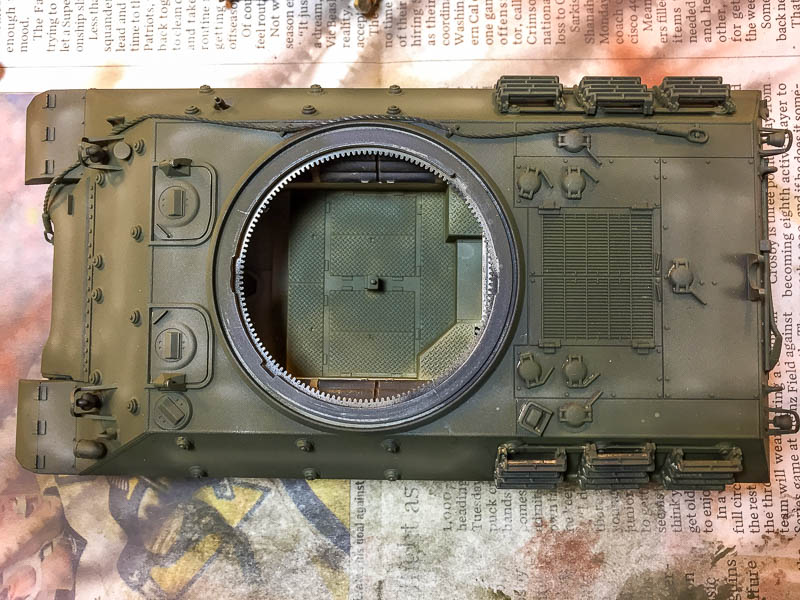