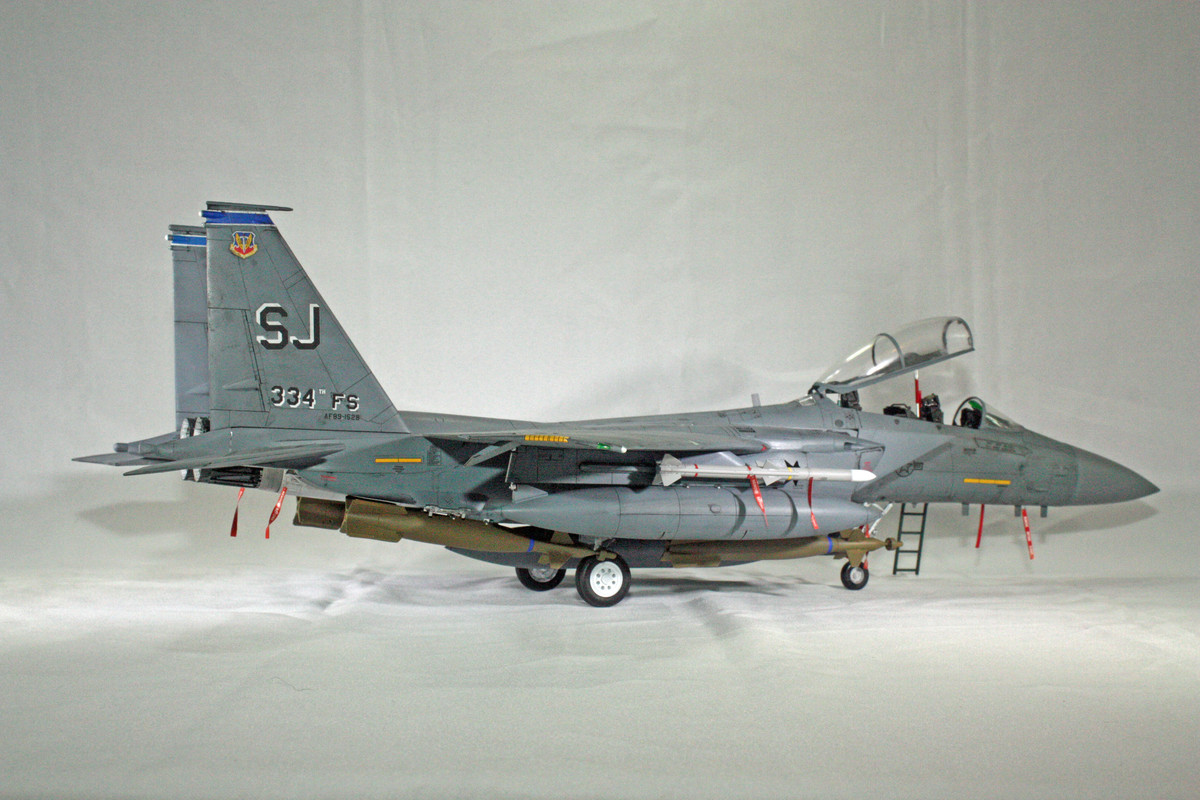
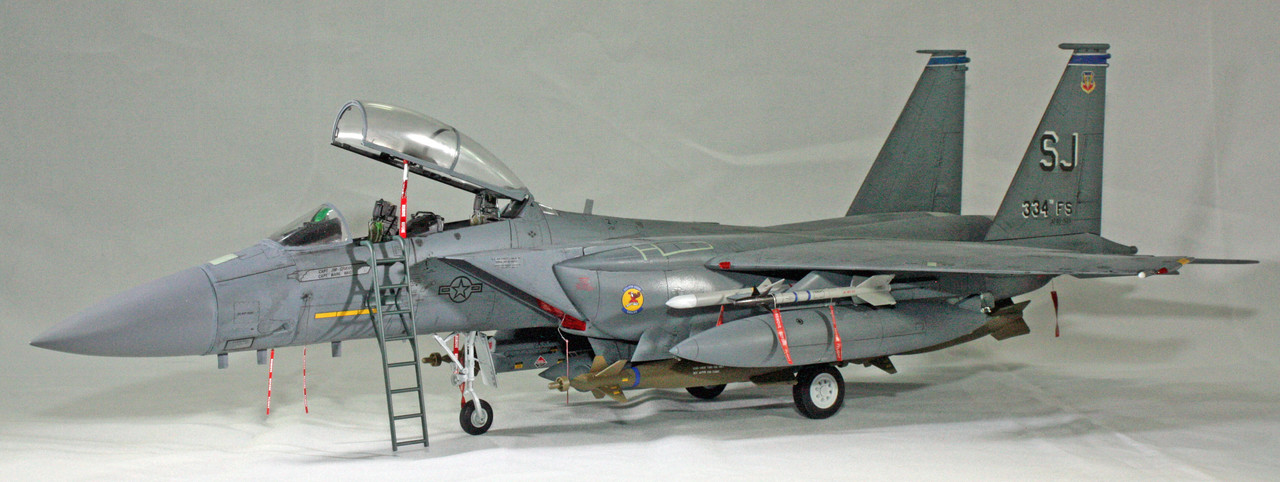
This is my second build for the year, and it’s a monster.
I had my eyes on this kit for years before finally pulling the trigger on it about a year ago. I had built an older Monogram release in 72nd scale when I was a kid, and more recently a Revell release in 48th scale, which still adorns one of my display shelves. This kit puts both of those to shame just in its mere presence - it is big and it looks fantastic.
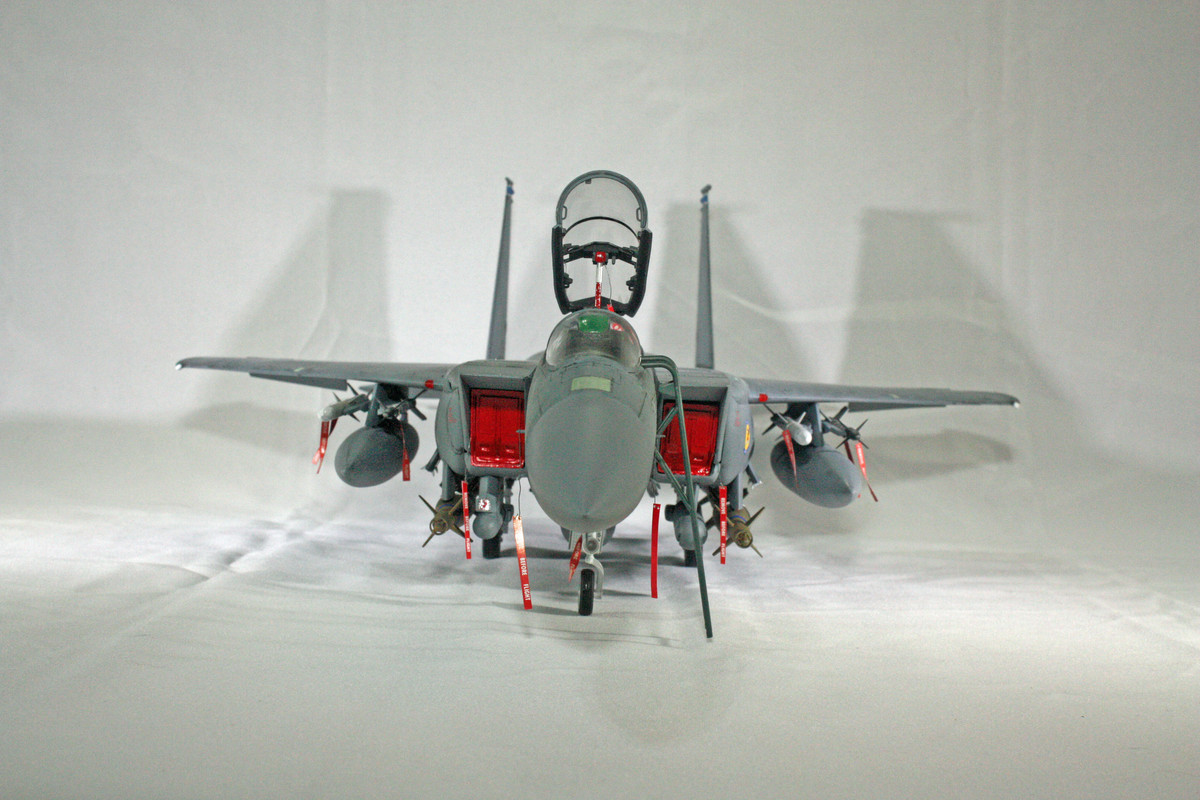
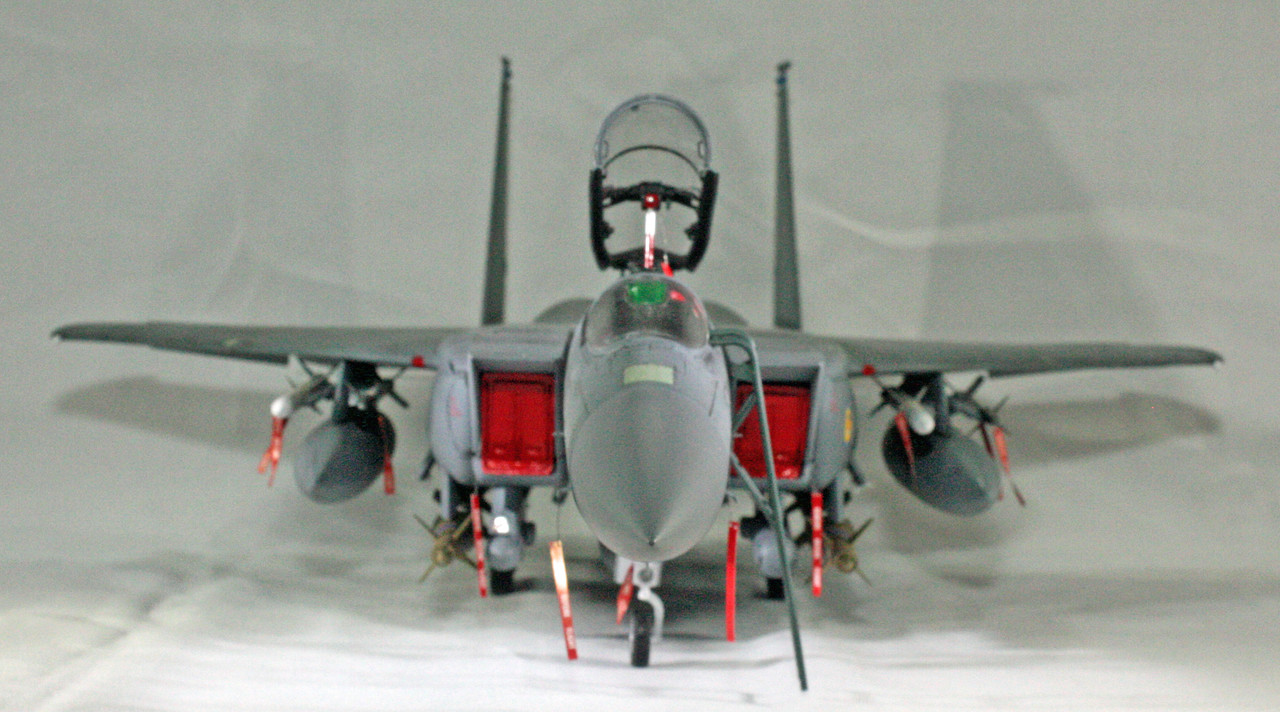
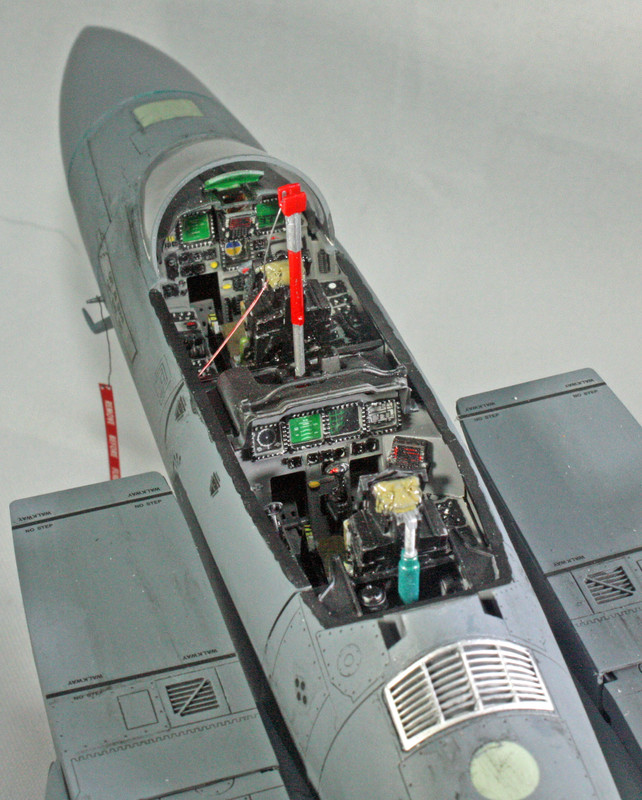
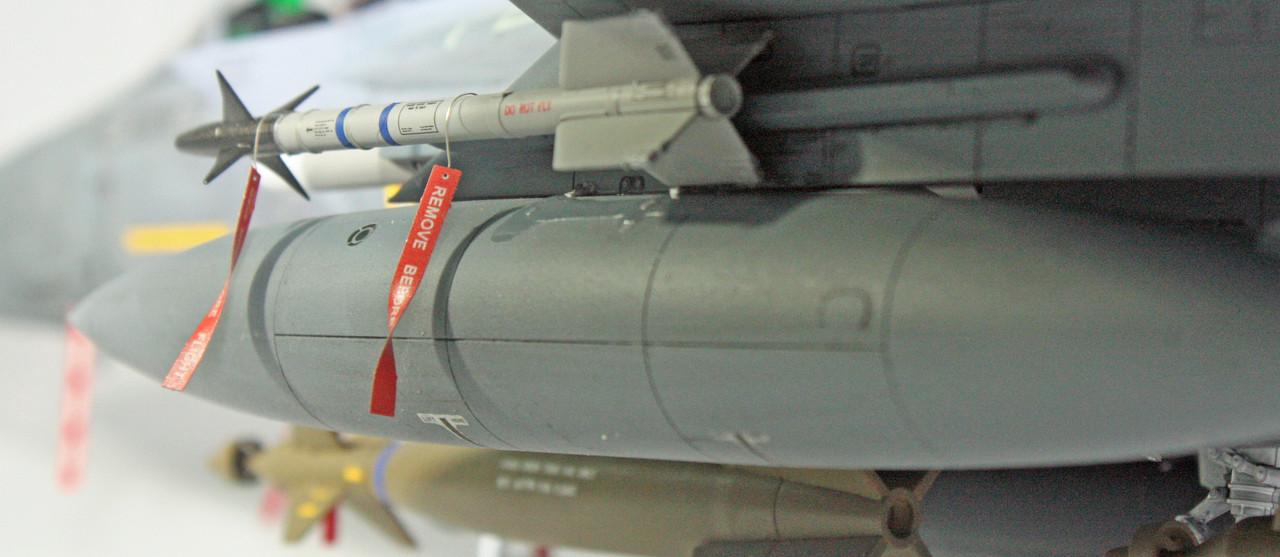
I had experience with another Tamiya 32nd scale jet, the F-4B Phantom II, that I built nearly 20 years ago. On that build, I struggled with the seams in the air intakes before finally stumbling across resin FOD covers for that bird. Problem solved with a bit of red paint and some CA. I researched this Eagle and found that the intake seam was a problem on this one as well, so I had FOD covers on hand for it before it ever found its way to my bench. I also added after-market seats that came with molded on seat belts. The only other after-market items I used for the Eagle were left-over from the Phantom build - REMOVE BEFORE FLIGHT tags. The Eagle kit actually comes with a paper sheet of these tags, and I used a few of them, but wanted to use what I had remaining from that old Eduard PE sheet since I don’t envision building another 32nd scale modern jet fighter.
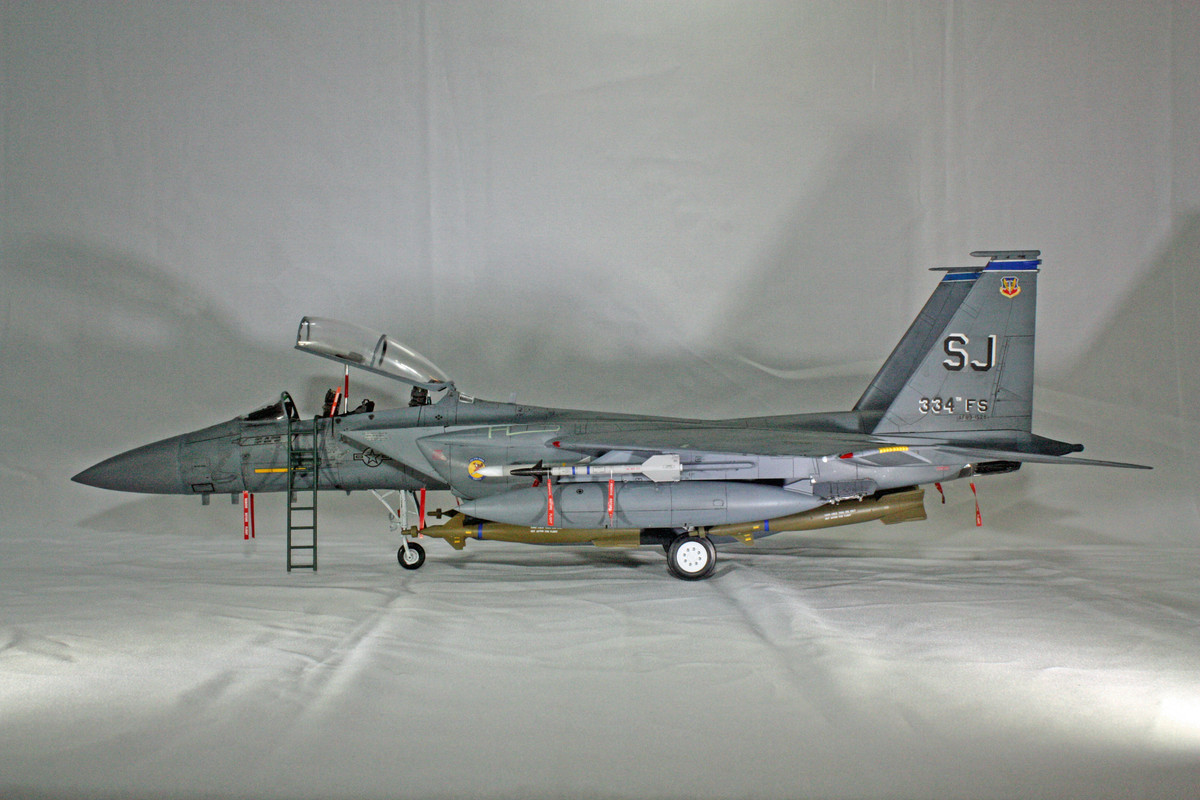
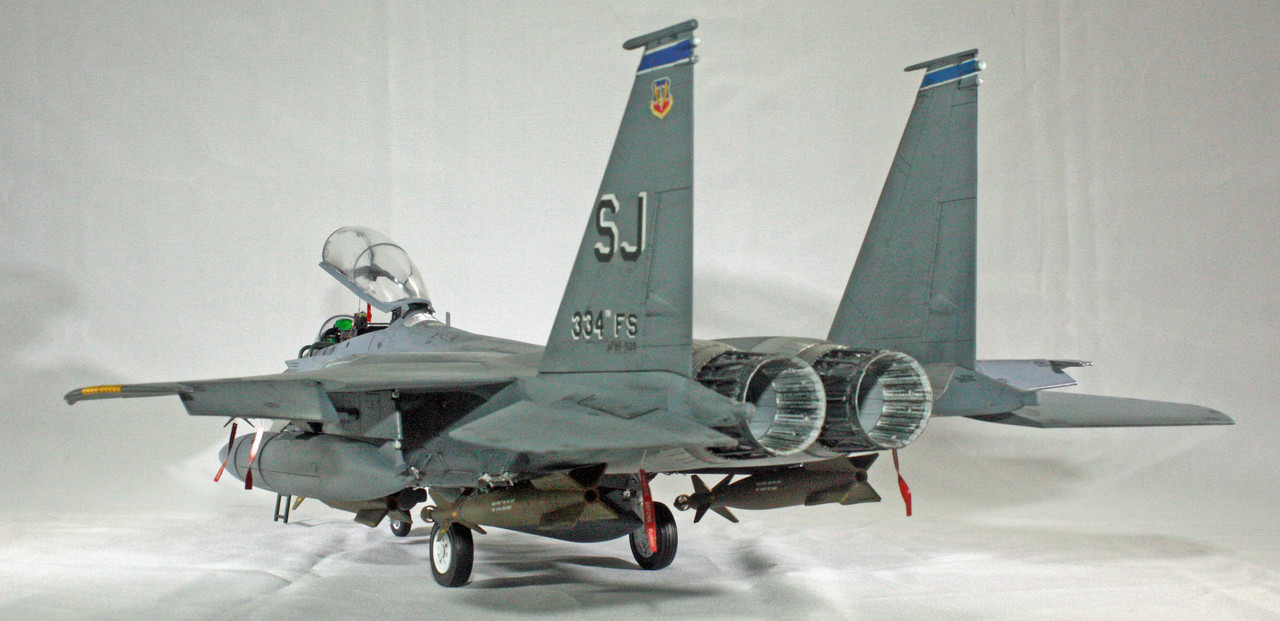
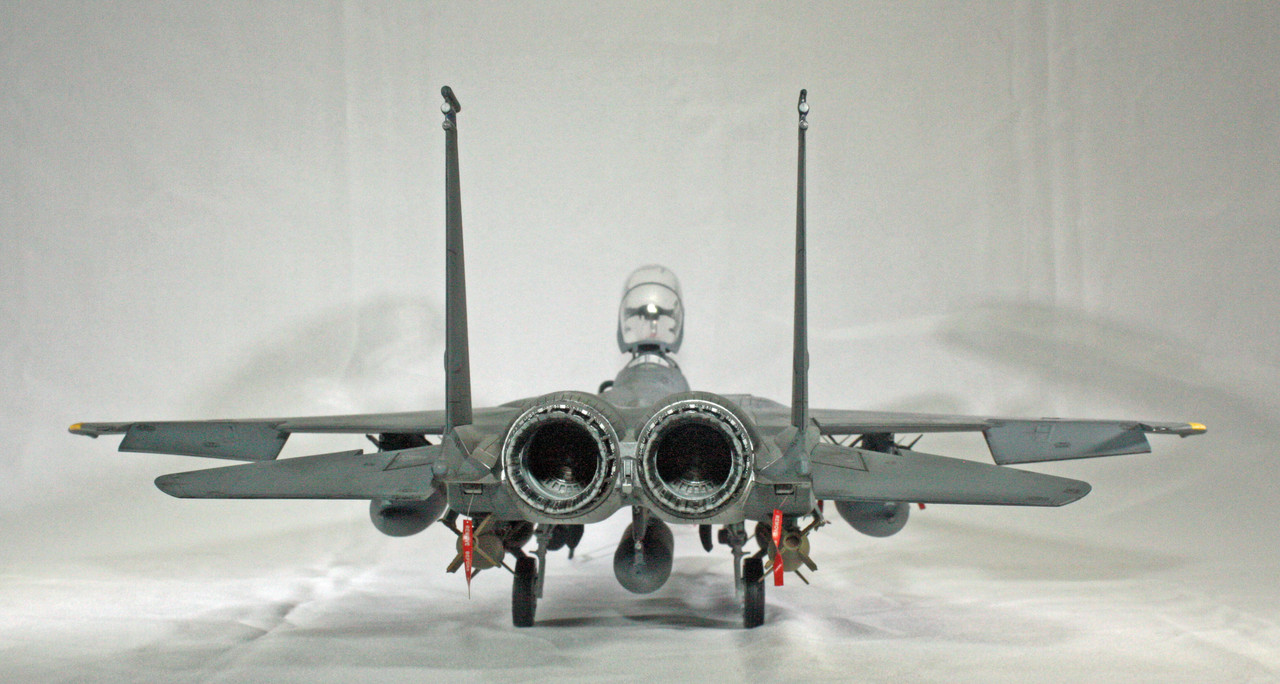
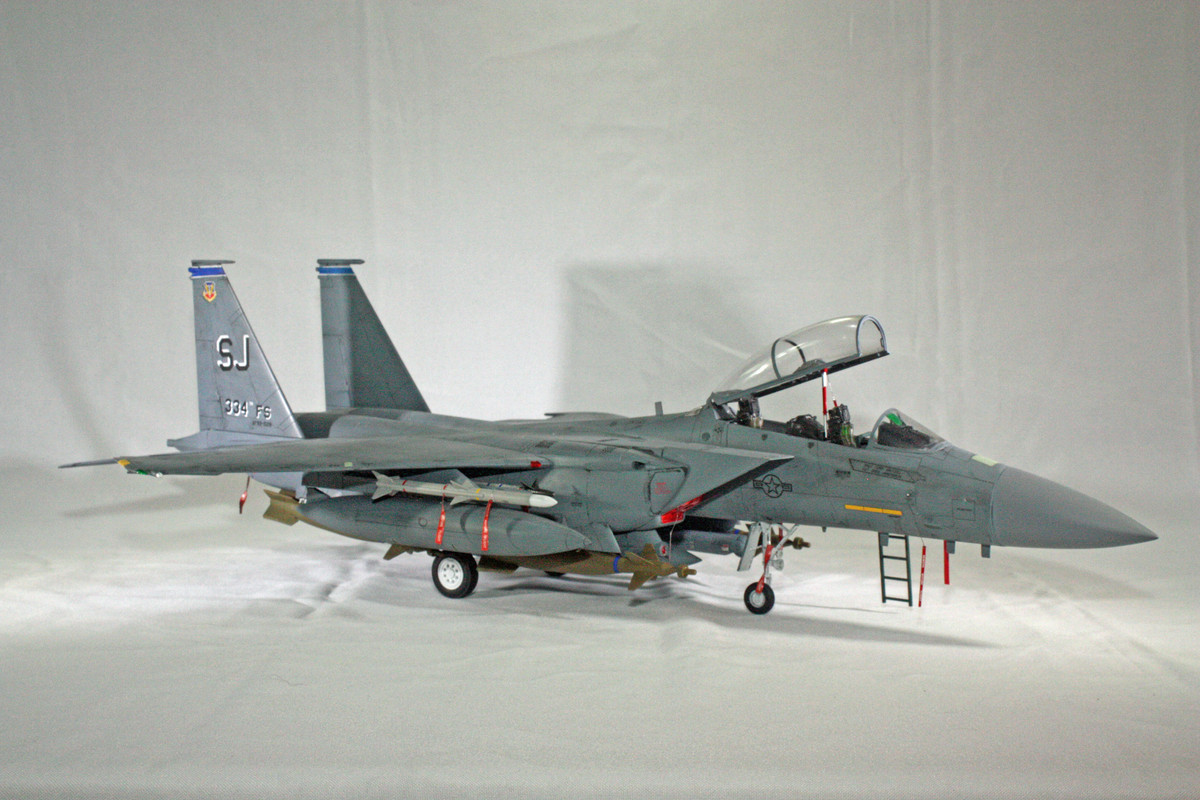
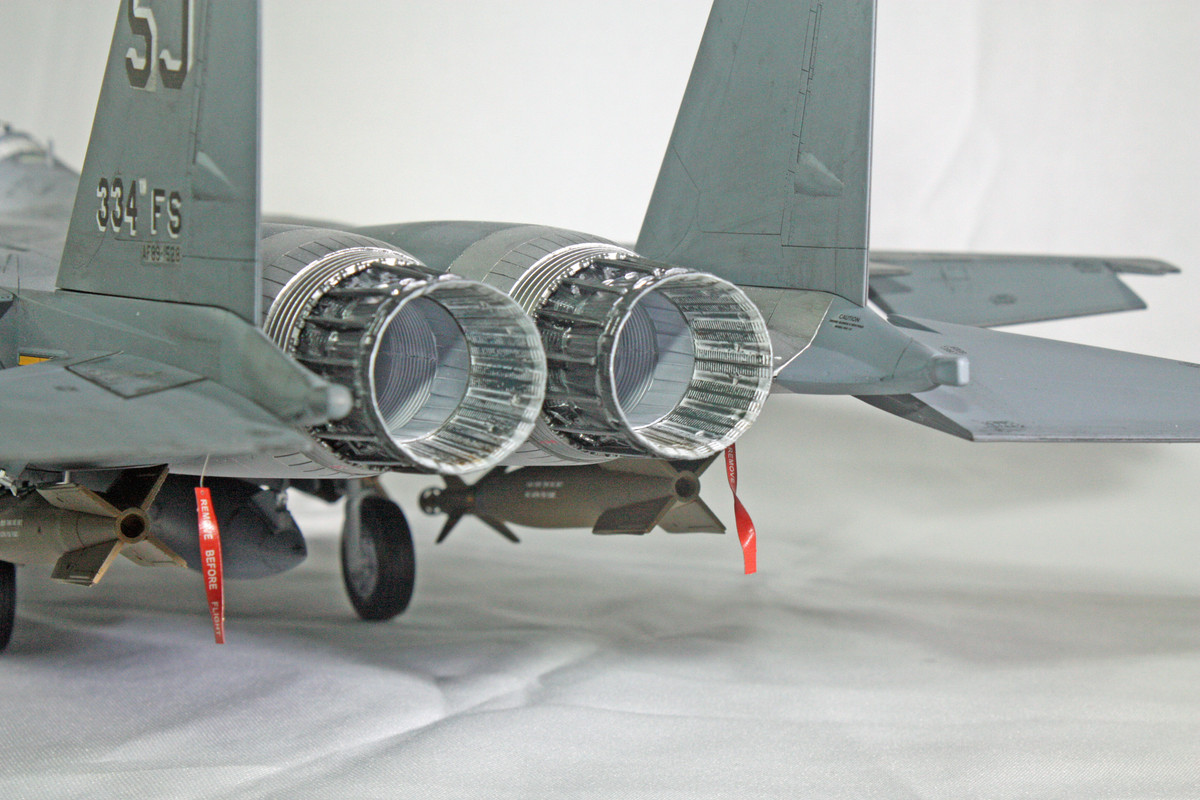
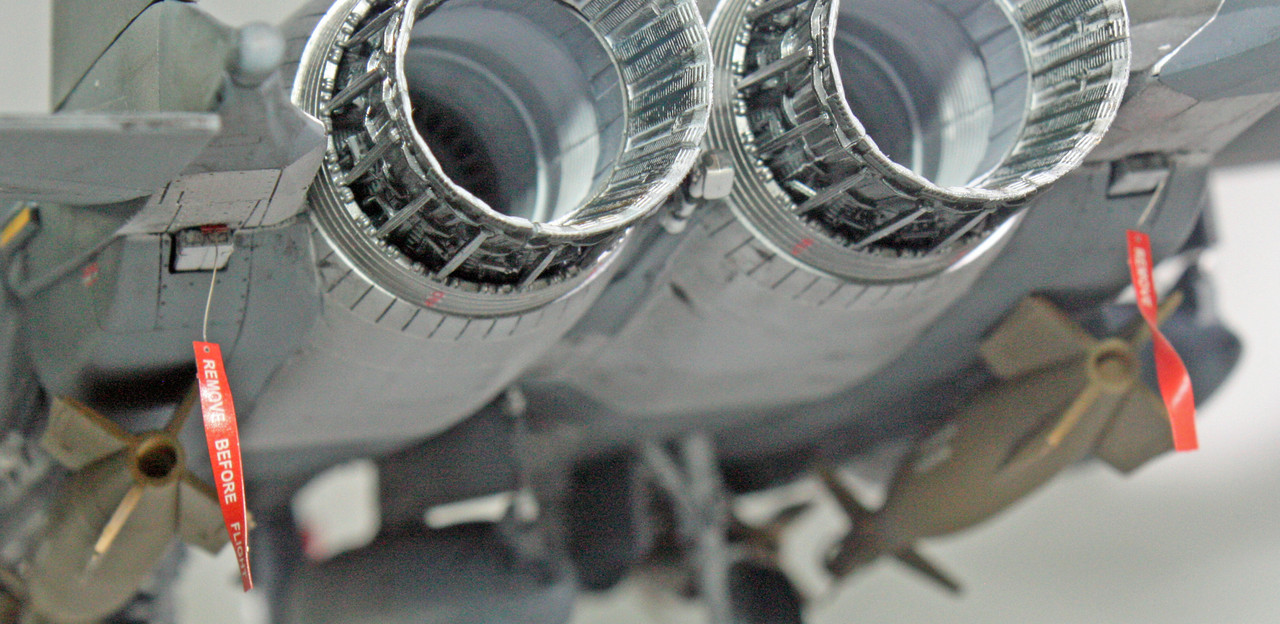
I used AK Interactive F-15 Dark Grey (MOD Eagle) for nearly all of the external surfaces. The metallic areas are AK Interactive XTreme Metals Matte Aluminum and Steel, and Jet Exhaust. The nose cone often fades different from the remainder of the aircraft, so I left that with only the Grey Stynylrez primer to offset from the look of the F-15 Dark Grey (MOD Eagle). Tamiya lacquers (white, yellow, red, flat black), Tamiya acrylics (sky grey, semi-gloss black) and Model Master acrylics (clear red, clear green) round things out.
This was not a trouble-free build as typical of Tamiya, but that was more on me than the kit. The canopy featured what I have come to find fairly consistent with Tamiya kits a seam line running right over the top of the part. I was able to sand it away with no problem, sand it with progressively finer sanding pads, and then finally go at it with polishing compounds. That seam did disappear. I masked everything and put the wind screen and canopy in place (wind screen glued, the canopy on its rails fit pretty snug without any adhesive). It was only when I was done with all painting and able to remove the masking that I found that liquid glue had found its way under the masking on both parts. Heck of a mar job on the parts that I would be unable to conceal. I used the same techniques as with the seam to progressively remove the marring, but ultimately there is a “shadow” of that marring that remains.
I also noticed just yesterday that I mounted the ordinance incorrectly one one of the pylons. The Sidewinders should be on the inbound side, but I managed to not take that into account on one. I contemplated fixing the problem, but opted against doing so for fear of ruining those parts and having to obtain new copies of them.

Next up - Modelsvit’s F-82G Twin Mustang.