Hello all. This is my first build log, so here it goes.
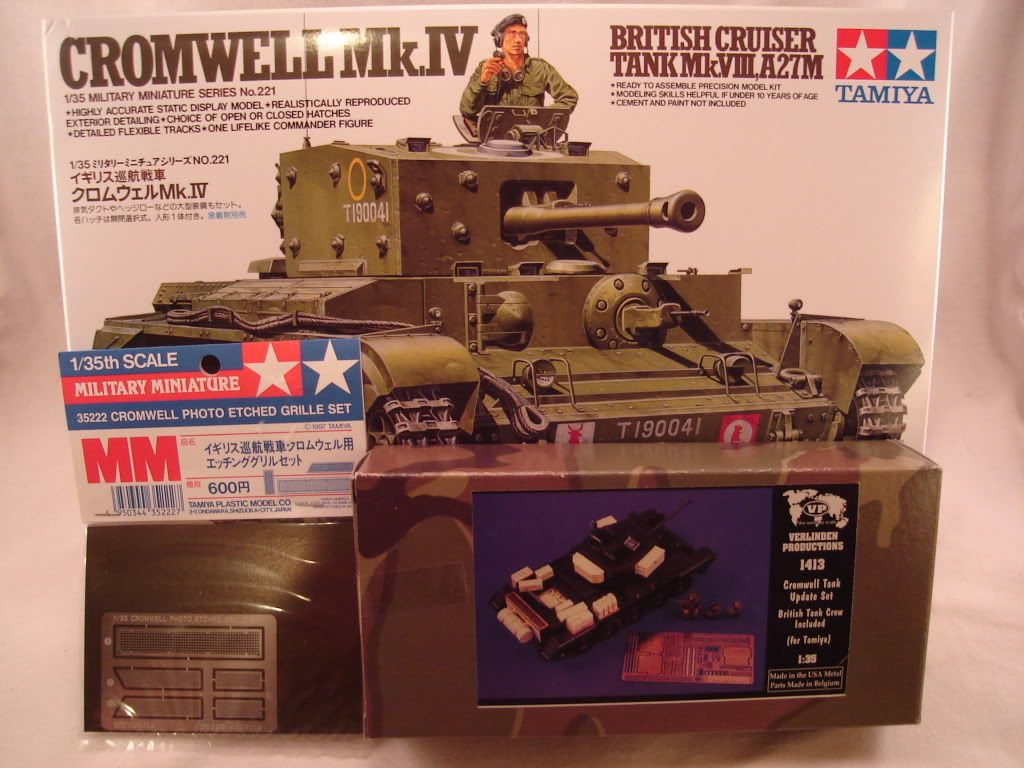
I am using the Tamiya 1/35 Cromwell IV with the Tamiya photo-etched screens and Verlinden update kit #1413. This Cromwell kit was recommend by many on this forum last summer.
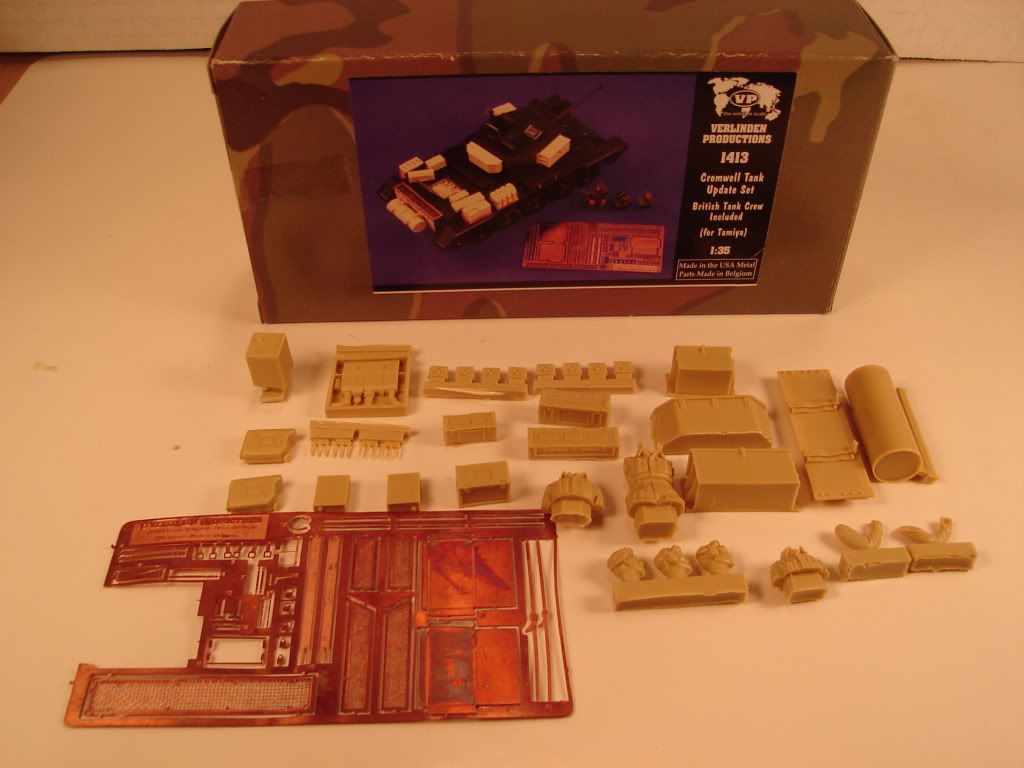
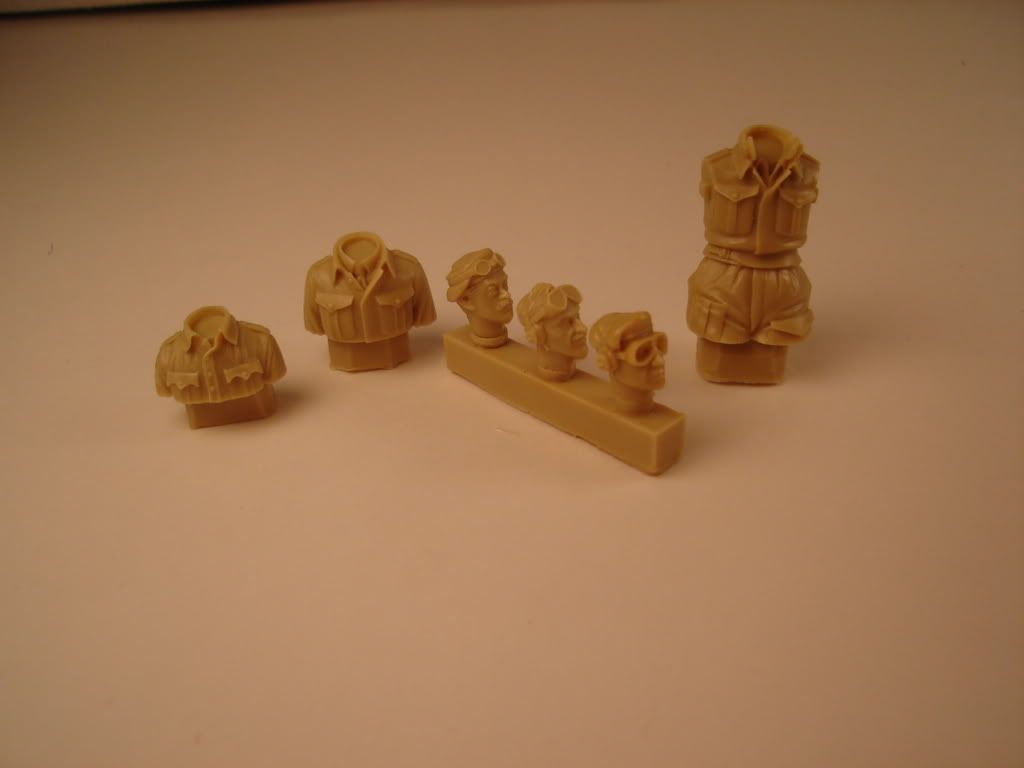
I got this resin update kit on ebay for under $10. It has a great trio of figures, storage boxes for the turret and an extra rear fuel tank. A few of the parts were missing and the PE screens are very sloppy. The Tamiya PE are great though.
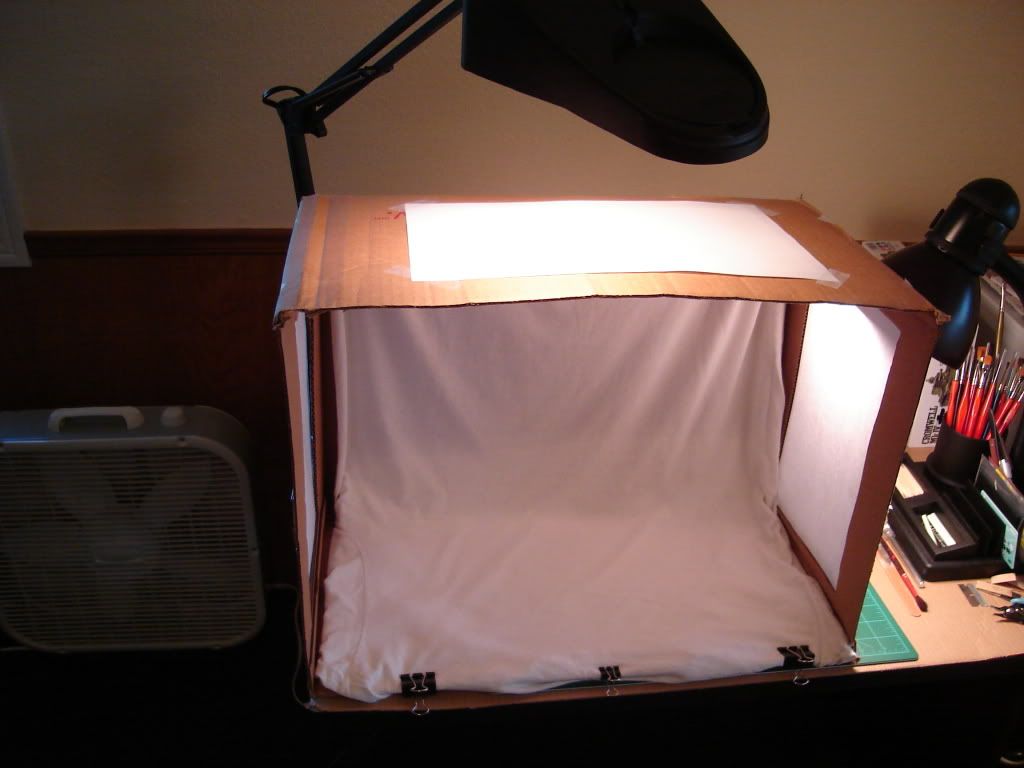
I have never worked with resin before and limited experience with PE, so this will be a challenge. I also build a photo box to get some decent photos.
Cool, looking forward to seeing your work. I always buy my Verlinden stuff on eBay from the seller 3dverlinden. Not sure but I think its direct from them.
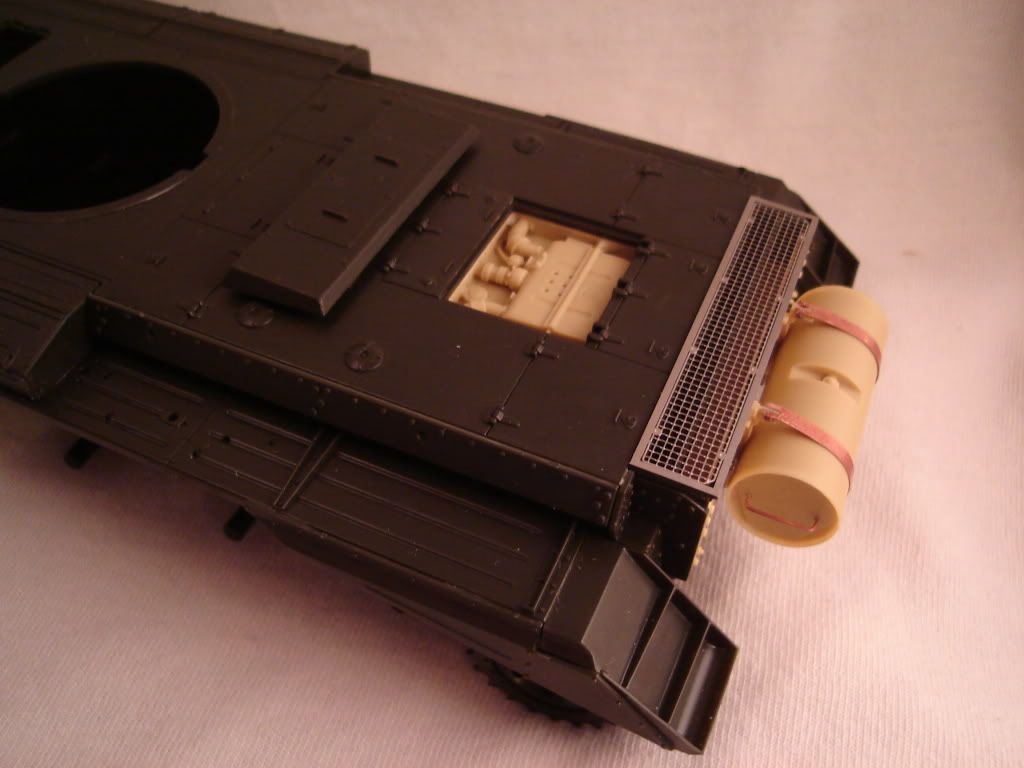
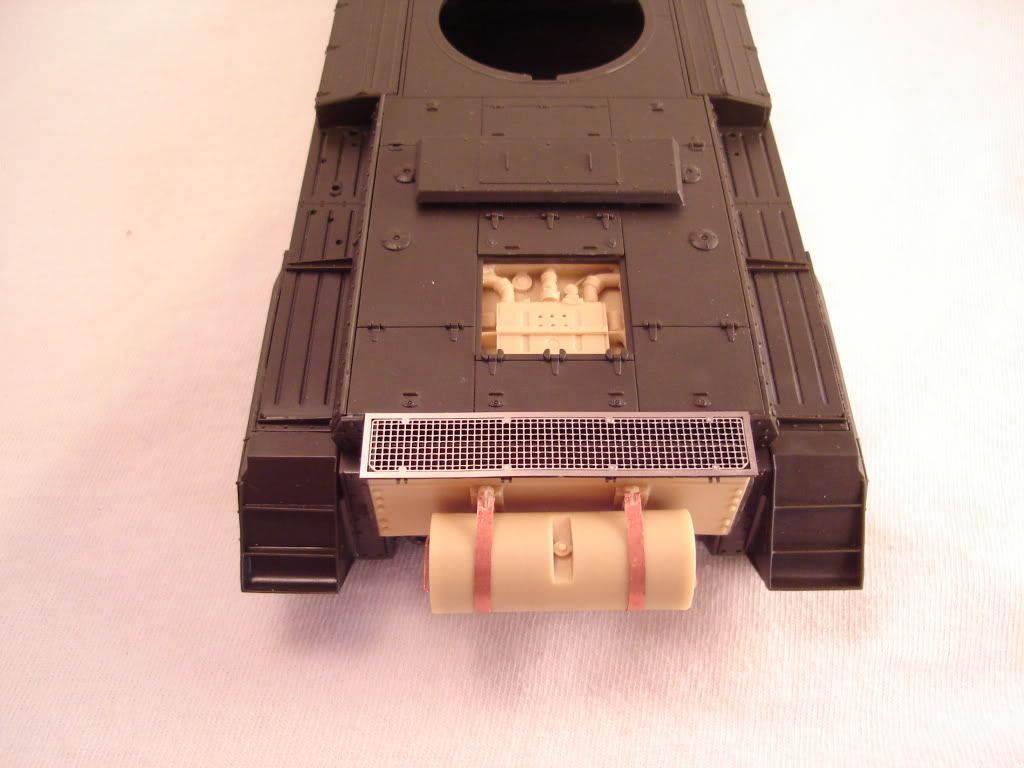
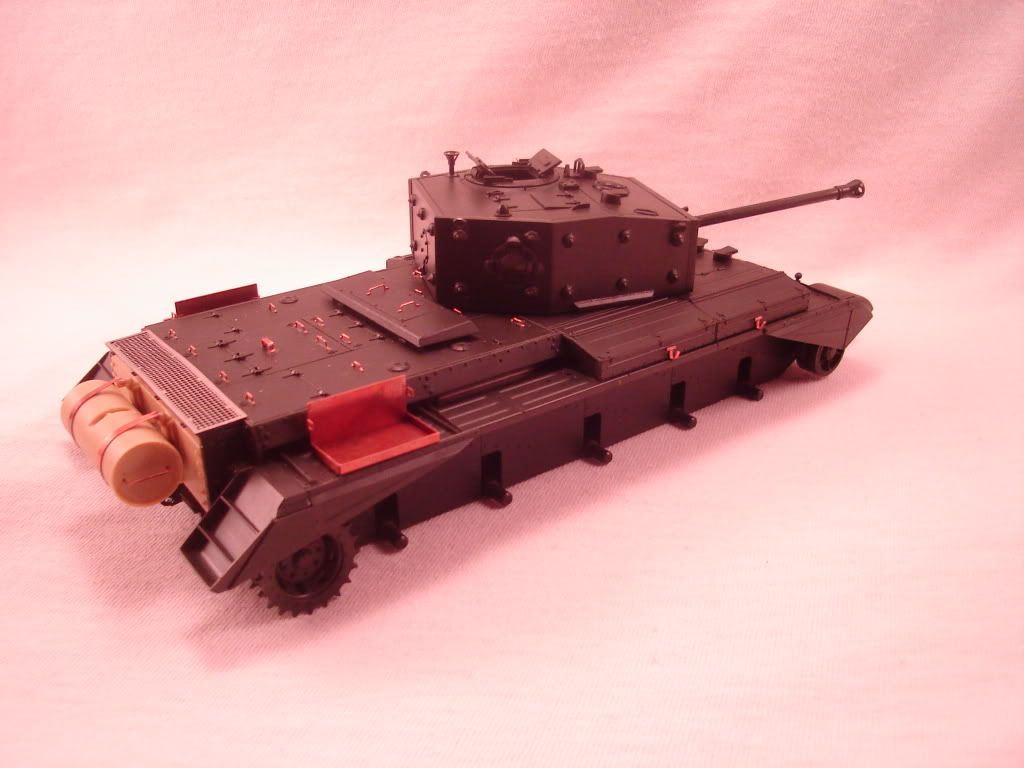
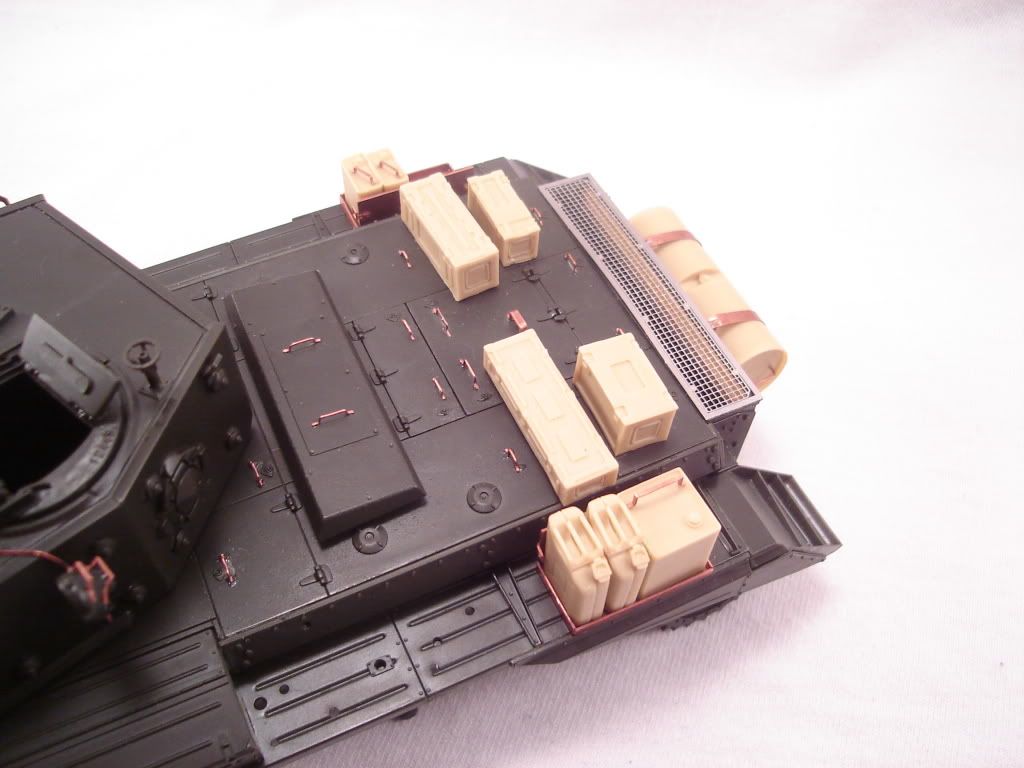
The hull is coming together well. This kit has very good fit. The rear fenders are a little tricky to get lined up. I added the Verlinden back deck and external fuel tank. The PE strap gave me a fit, they keep wanting to pop off when bending them down. I waited over an hour for the super glue to set and they worked fine then.
The handle on the fuel tank also did not make sense they way Verlinden had them. They were not marked on how to bend and broke when I tried to bend them how I though they should go. I ended up drilling holes and treating them like tie down handles.
I added the resin engine detail, but might cover this up with the engine hatch. The details are good, but it is only about 1/4 deep.
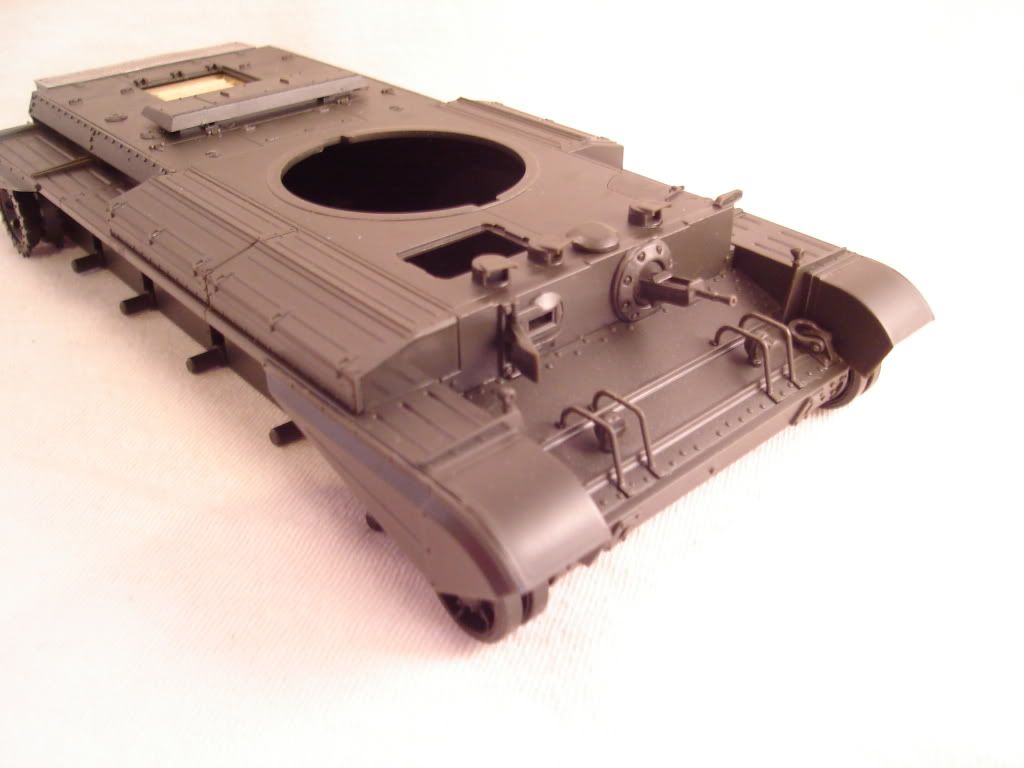
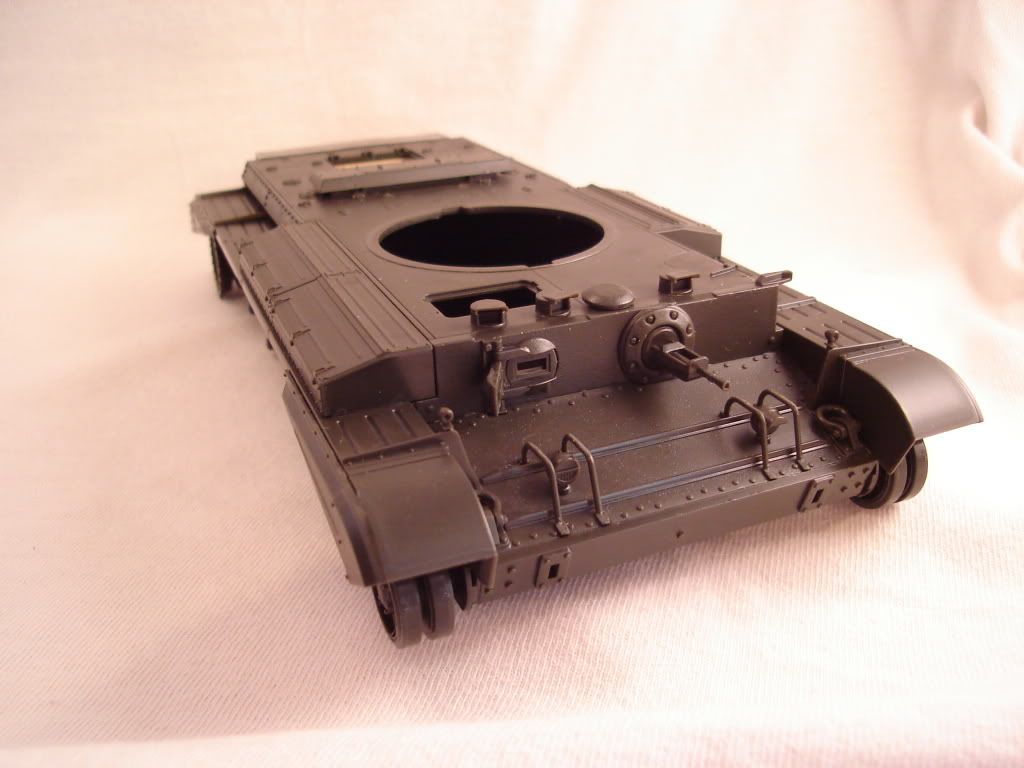
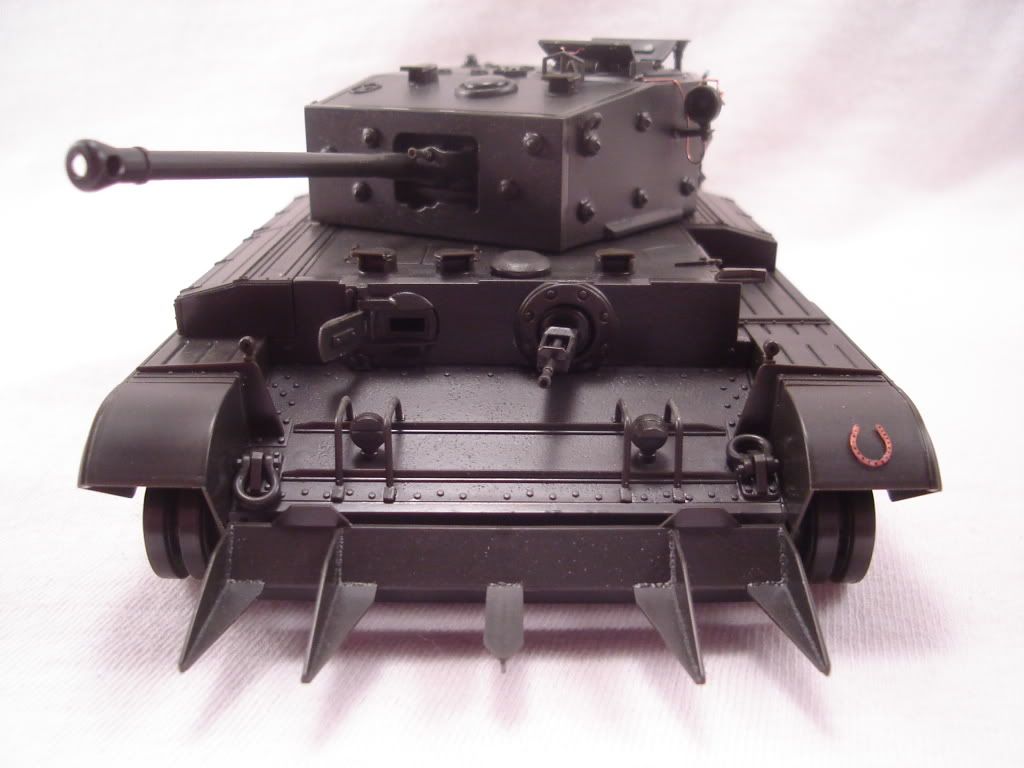
The front hull is per instructions. I drilled out the machine gun and only open the driver’s viewing slit. There is no interior deatil, so I also closed the gunners hatch. I will use one of the Verlinden figures as the driver.
I look forward to all comments and suggestions. This is my third armor kit and am wanting to try some new techniques.
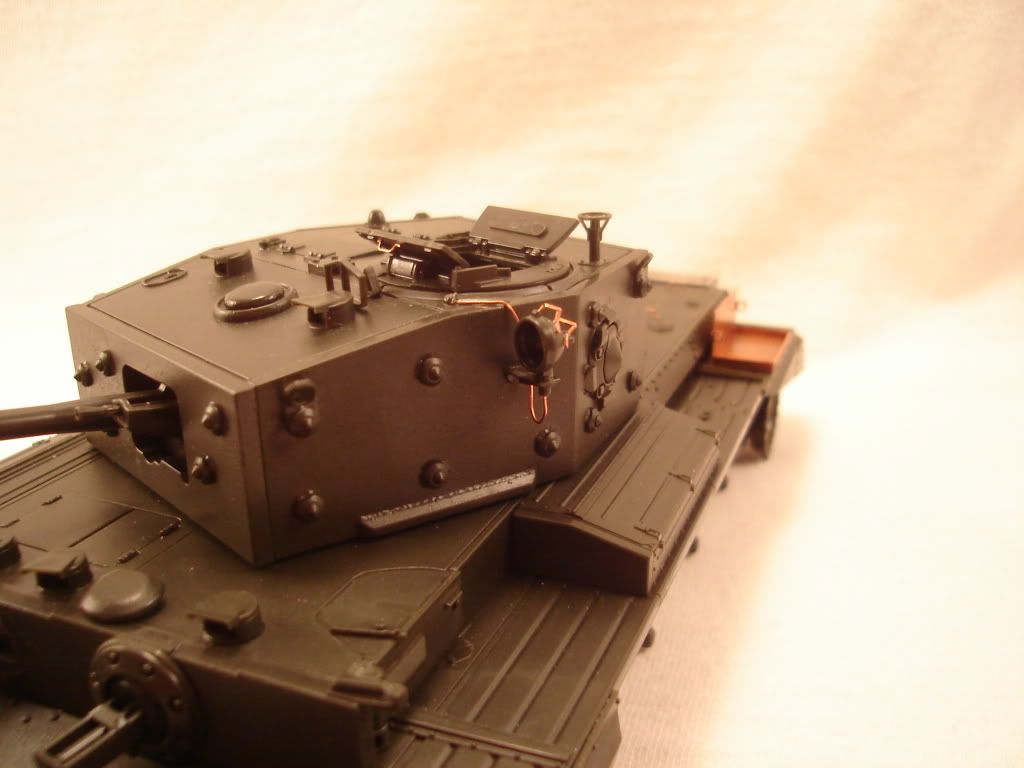
I am working on the turret now and will hopefully post more later, but my wife is setting up for our halloween party tomorrow. I wanted to dress up like Manny, but she said “No Way”
This was one of my very first builds and it was a superb kit!
OOB it built up very quickly due to low parts and it all being pretty straightforward but you should have some fun with it with your extras.
I’d love to have another go at this kit with the PE and an AM barrel / tracks now that I’ve learnt a bit.
I seem to recall two things to watch out for - the joint seam where the barrel halves join and the plastic ‘rim’ which fits over the mesh at the rear - mine wasn’t wide enough and I had to slice it in half to make it fit then fill the gaps - it was only too small by about 1mm. Perhaps it was just me at the time!
Bronto - I was wondering about these bins. I found pictures of real Centaurs with them, but only other Cromwell models with them. I also like the turret shape as is, so these bins might go into the spare parts bin. I never found any photos of the extra fuel tank, but I have seen them on other British tanks, i.e. the Matilia on this forum header.
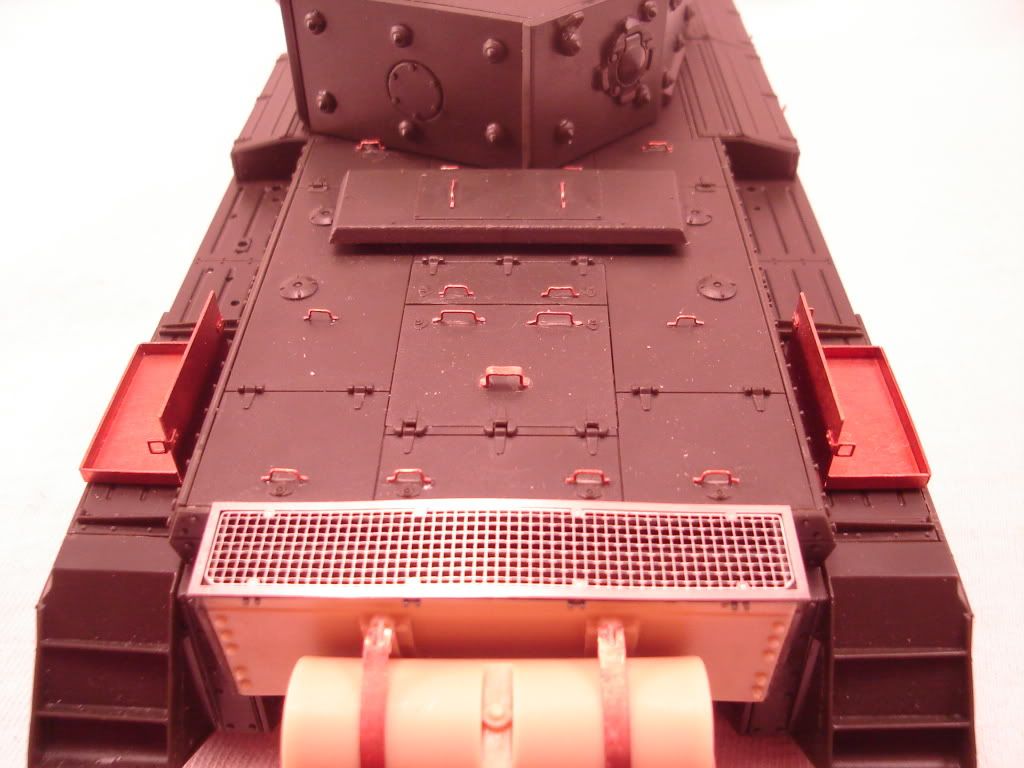
Ben - I was going to see how these barrel went together before getting an AM one. I just got a $1000 root canal, so money is a little tight this month. Did I mess up the screen on the back? I was not sure if this mount went on top of the PE part or under. I did it under, but am not sure now.
Tigerman and Jester, good to have you two along for my first build log.
Nice work so far on this kit–you have to watch with Verlinden stuff though. Do your research and don’t necessarily trust Verlinden’s accuracy on everything. Some of their stuff is pure guess work, or taken from maybe prototypes or inaccurate museum pieces. Their interiors are especially suspect.
Make sure you always use a face mask when sanding resin, too. That stuff will slice up your lungs if you breathe it in.
Looks like you’re off to a roaring start with this one. I don’t blame your wife for saying no to you dressing up like Manny…that sort of costume could scar small children for life. [:D]
The barrel will clean up ok if you use the kit barrel but a replacement one should be pretty cheap, literally a few Dollars.
I seem to remember that when I built mine there was a suplied black plastic ‘mesh’ that ou trimmed to size and placed over the big air intake at the rear. When in place you either used the plastic rectangular frame or the ‘Normandy Cowling’ (the arched funnel) to sit over the top. I remember that during my research I came across an involved website all about the Cromwell and the Cowling was mentioned. The site said that it was designed but there was a very good chance that it never saw service - I might be totally wrong but either way I had no intention of using it. I cut my mesh screen down to size and found that the rectangular mesh cover was a tad too small and needed doctoring to make it fit.
If I remember correctly the mesh should sit under the cover, the cover held the mesh in place. Have a quick look at your instructions and see what it says as I’d like to know now! It was a good year ago that I built my Cromwell so I’m a bit hazy on how it all went together now!
This kit is one of my favorite builds! It is an excellent choice! Just what one needs after too many frustrating kits… Yours is coming along very nicely! My only recommendation is to replace the kit tracks with some AM ones. Hobbyboss makes some very affordable ones. The kit tracks on both my Cromwell and Centaur eventually broke…[:@]
BTW, yes the Normandy cowl was used operationally. Look at this pic of Guards Armoured Division Cromwells crossing Nijmegen bridge.
Doog - I am finding out what you mean about Verlinden. This photo from Stikpusher is the first I have seen with these storage boxes, but it’s from late in the war. At least I think that is a storage box on the back of the turret. Interestingly, it still has the “Normandy Cowling” 9 months after D-Day, but I have read this actually helped with airflow. Also, I will remember to get that mask on.
Stikpusher - thanks for the photo and info on this cowling. It has me looking at XXX Corp Cromwells later in the war for more photos.
Ben - I still have not looked at this screen. I had to take my workbench / folding table down for use at a halloween party and I will be reconstruction my work area tonight.
At the risk of being brand a heritic I think the Cromwell is my favorite Allied tank of the period. Your off to a good start. cant wait to see it finished.
One question off model topic…what material are you using for the diffusers on the light box?
Looking great Tim! [Y] I am not into British armor but if somebody had a gun against my head, I think I will go for this Tamiya kit so I will be following your work. Did you buy it at Hobby Lobby? I was wondering because one I shop at don’t stock this kit.
I got this kit at My Atomic on the internet, before they went out of business and took me for $35 - I ordered a Tamiya JS-2 Stalin a few days before they closed shop.
I have most of the construction done without any major problems. I decided against adding the Verlinden storage boxes. I could only find these on the howitzer version, the Centaur. I tried out replacing the tie down with brass wire. This is new to me and lots of trial and error.
I also covered up the resin engine from Verlinden. It had good detail, but was too shallow.