Oooh boy, let’s declare this one completed ! Started late August, just finished.
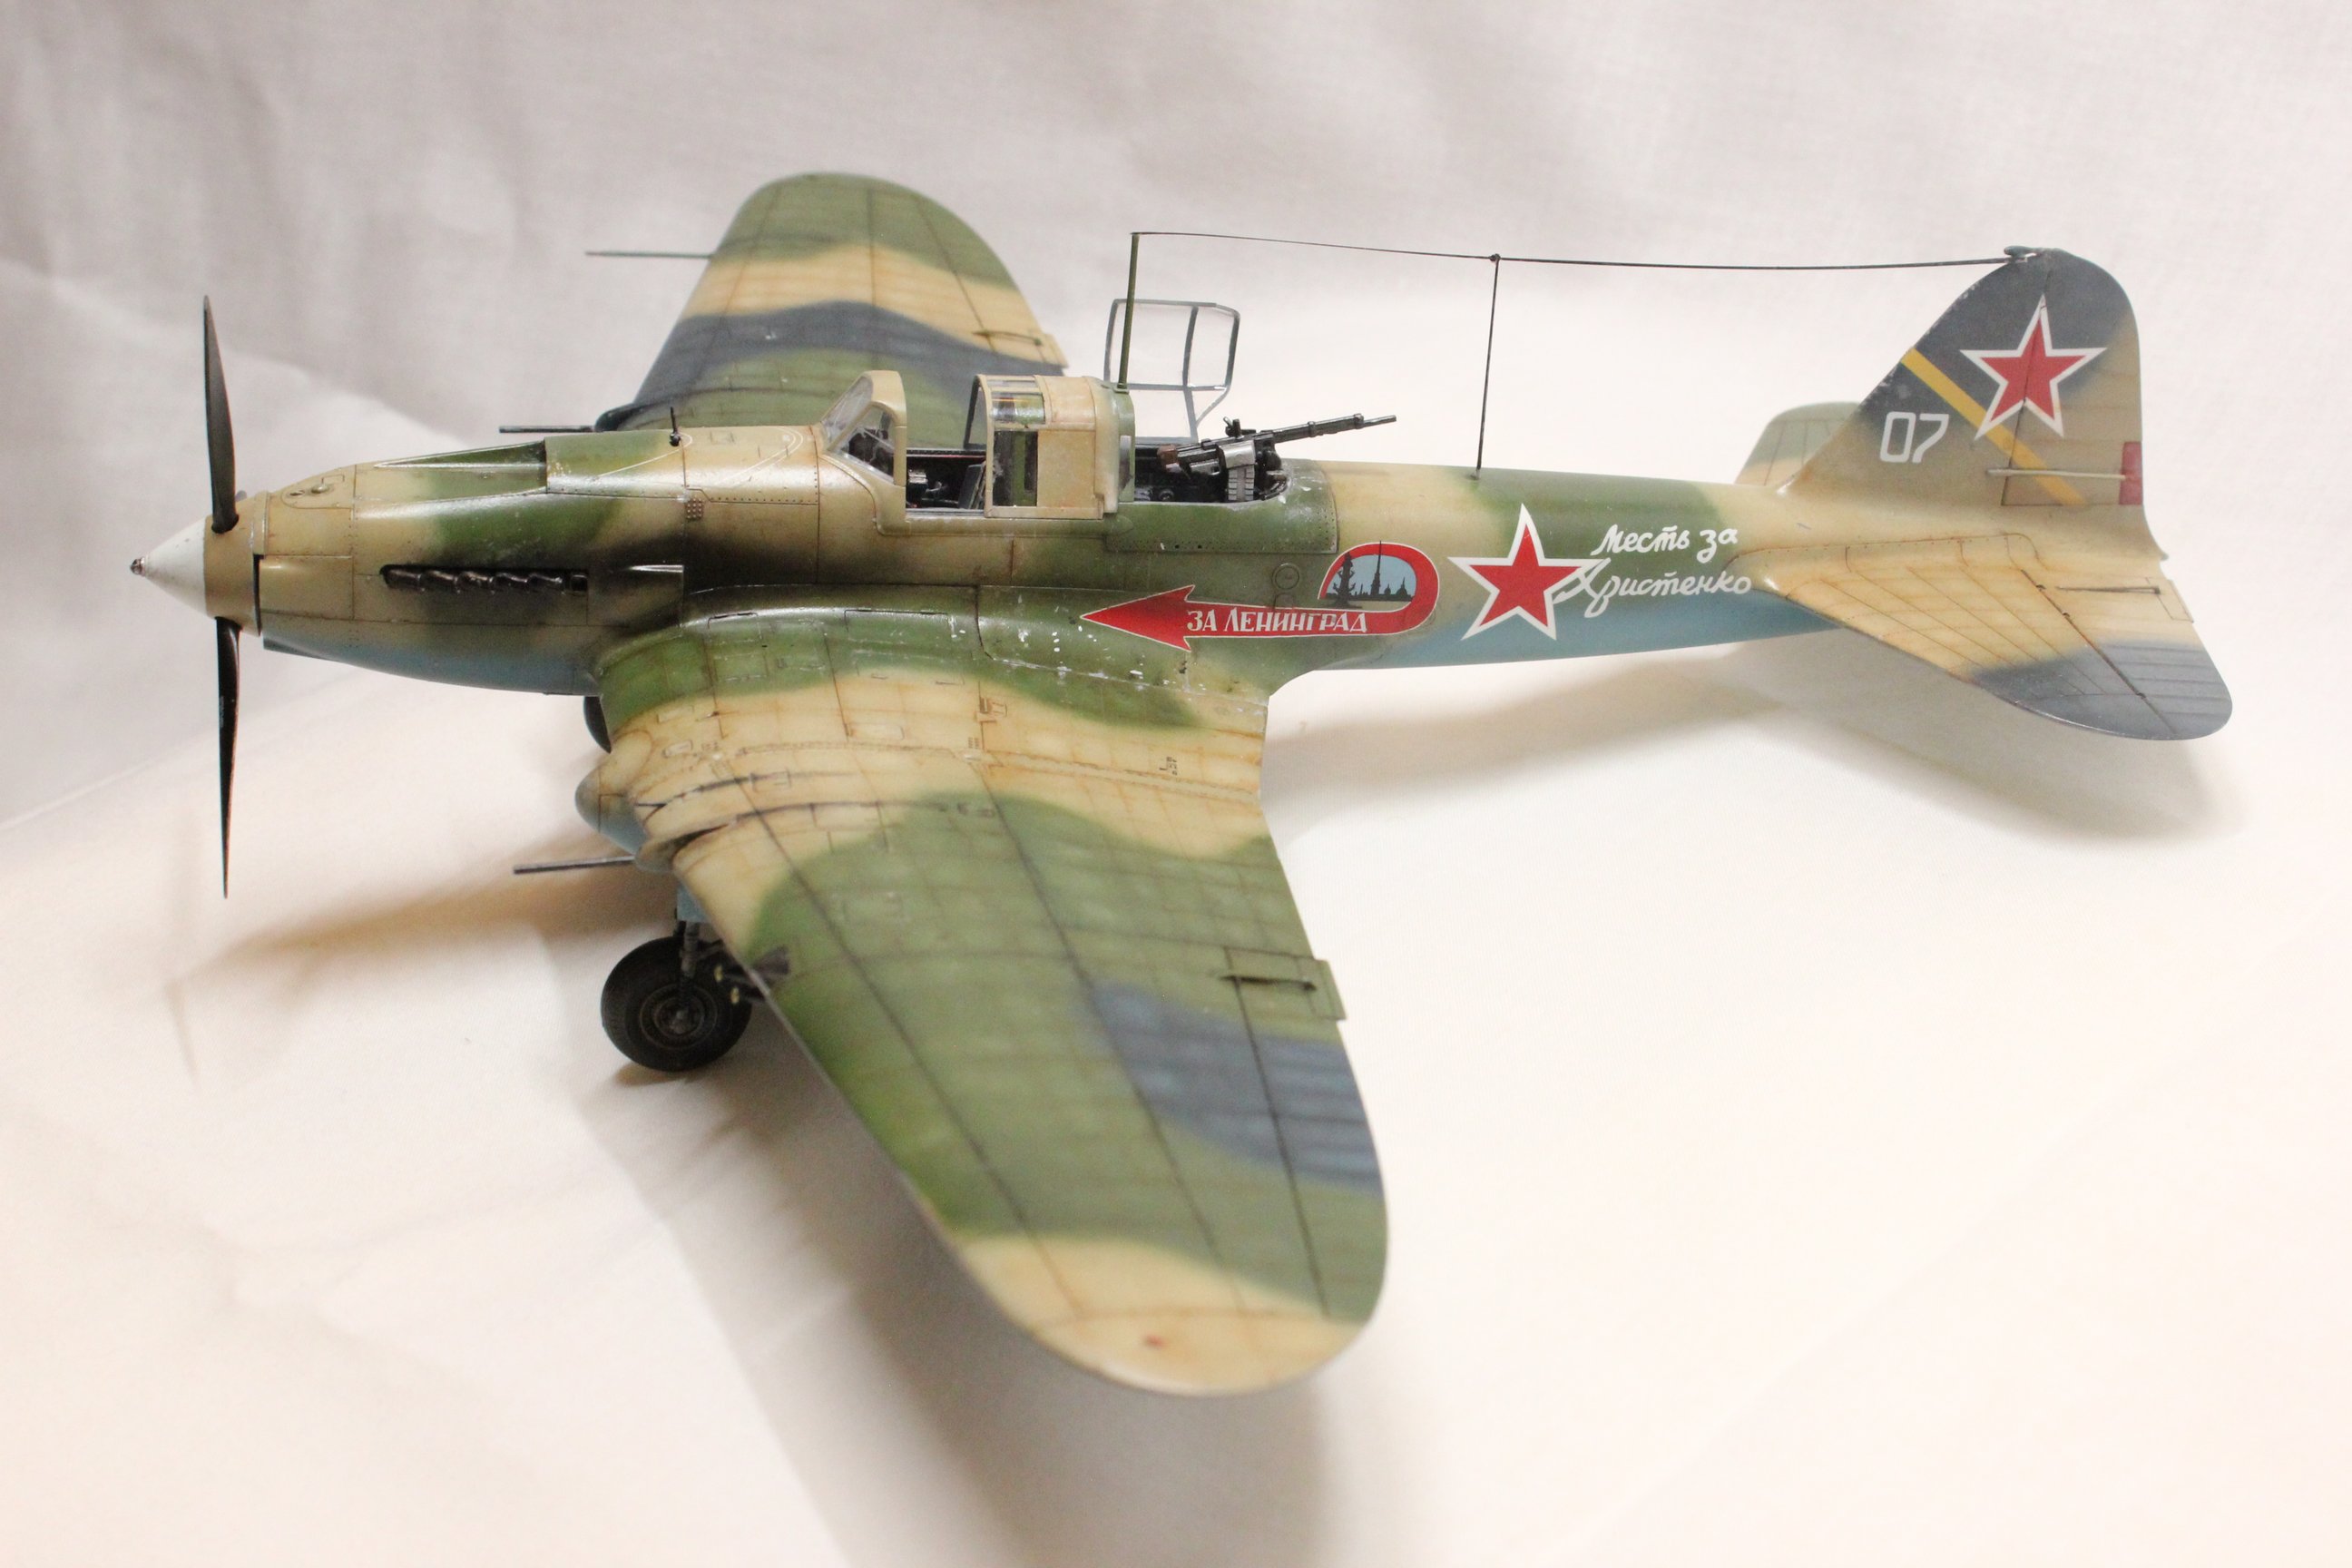
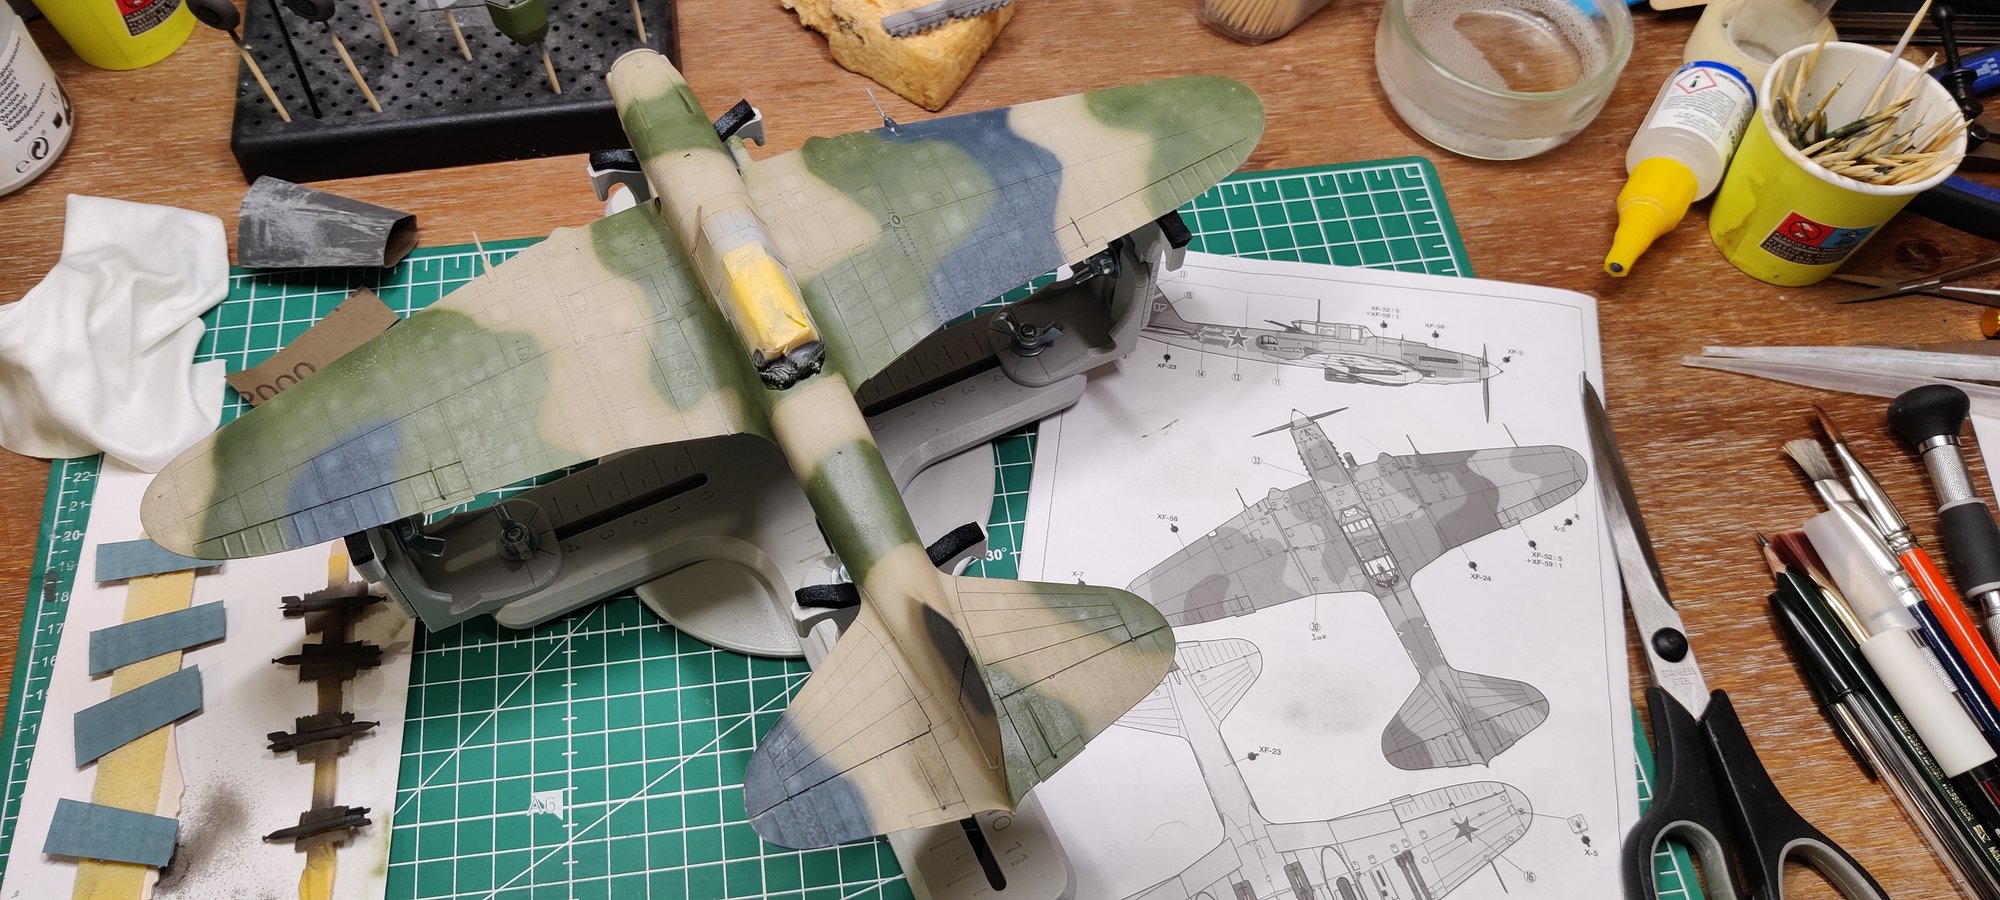
Kit used : Ilyushin IL-2 Shturmovik & GAZ-67B Set, Tamiya 25212 (2023)
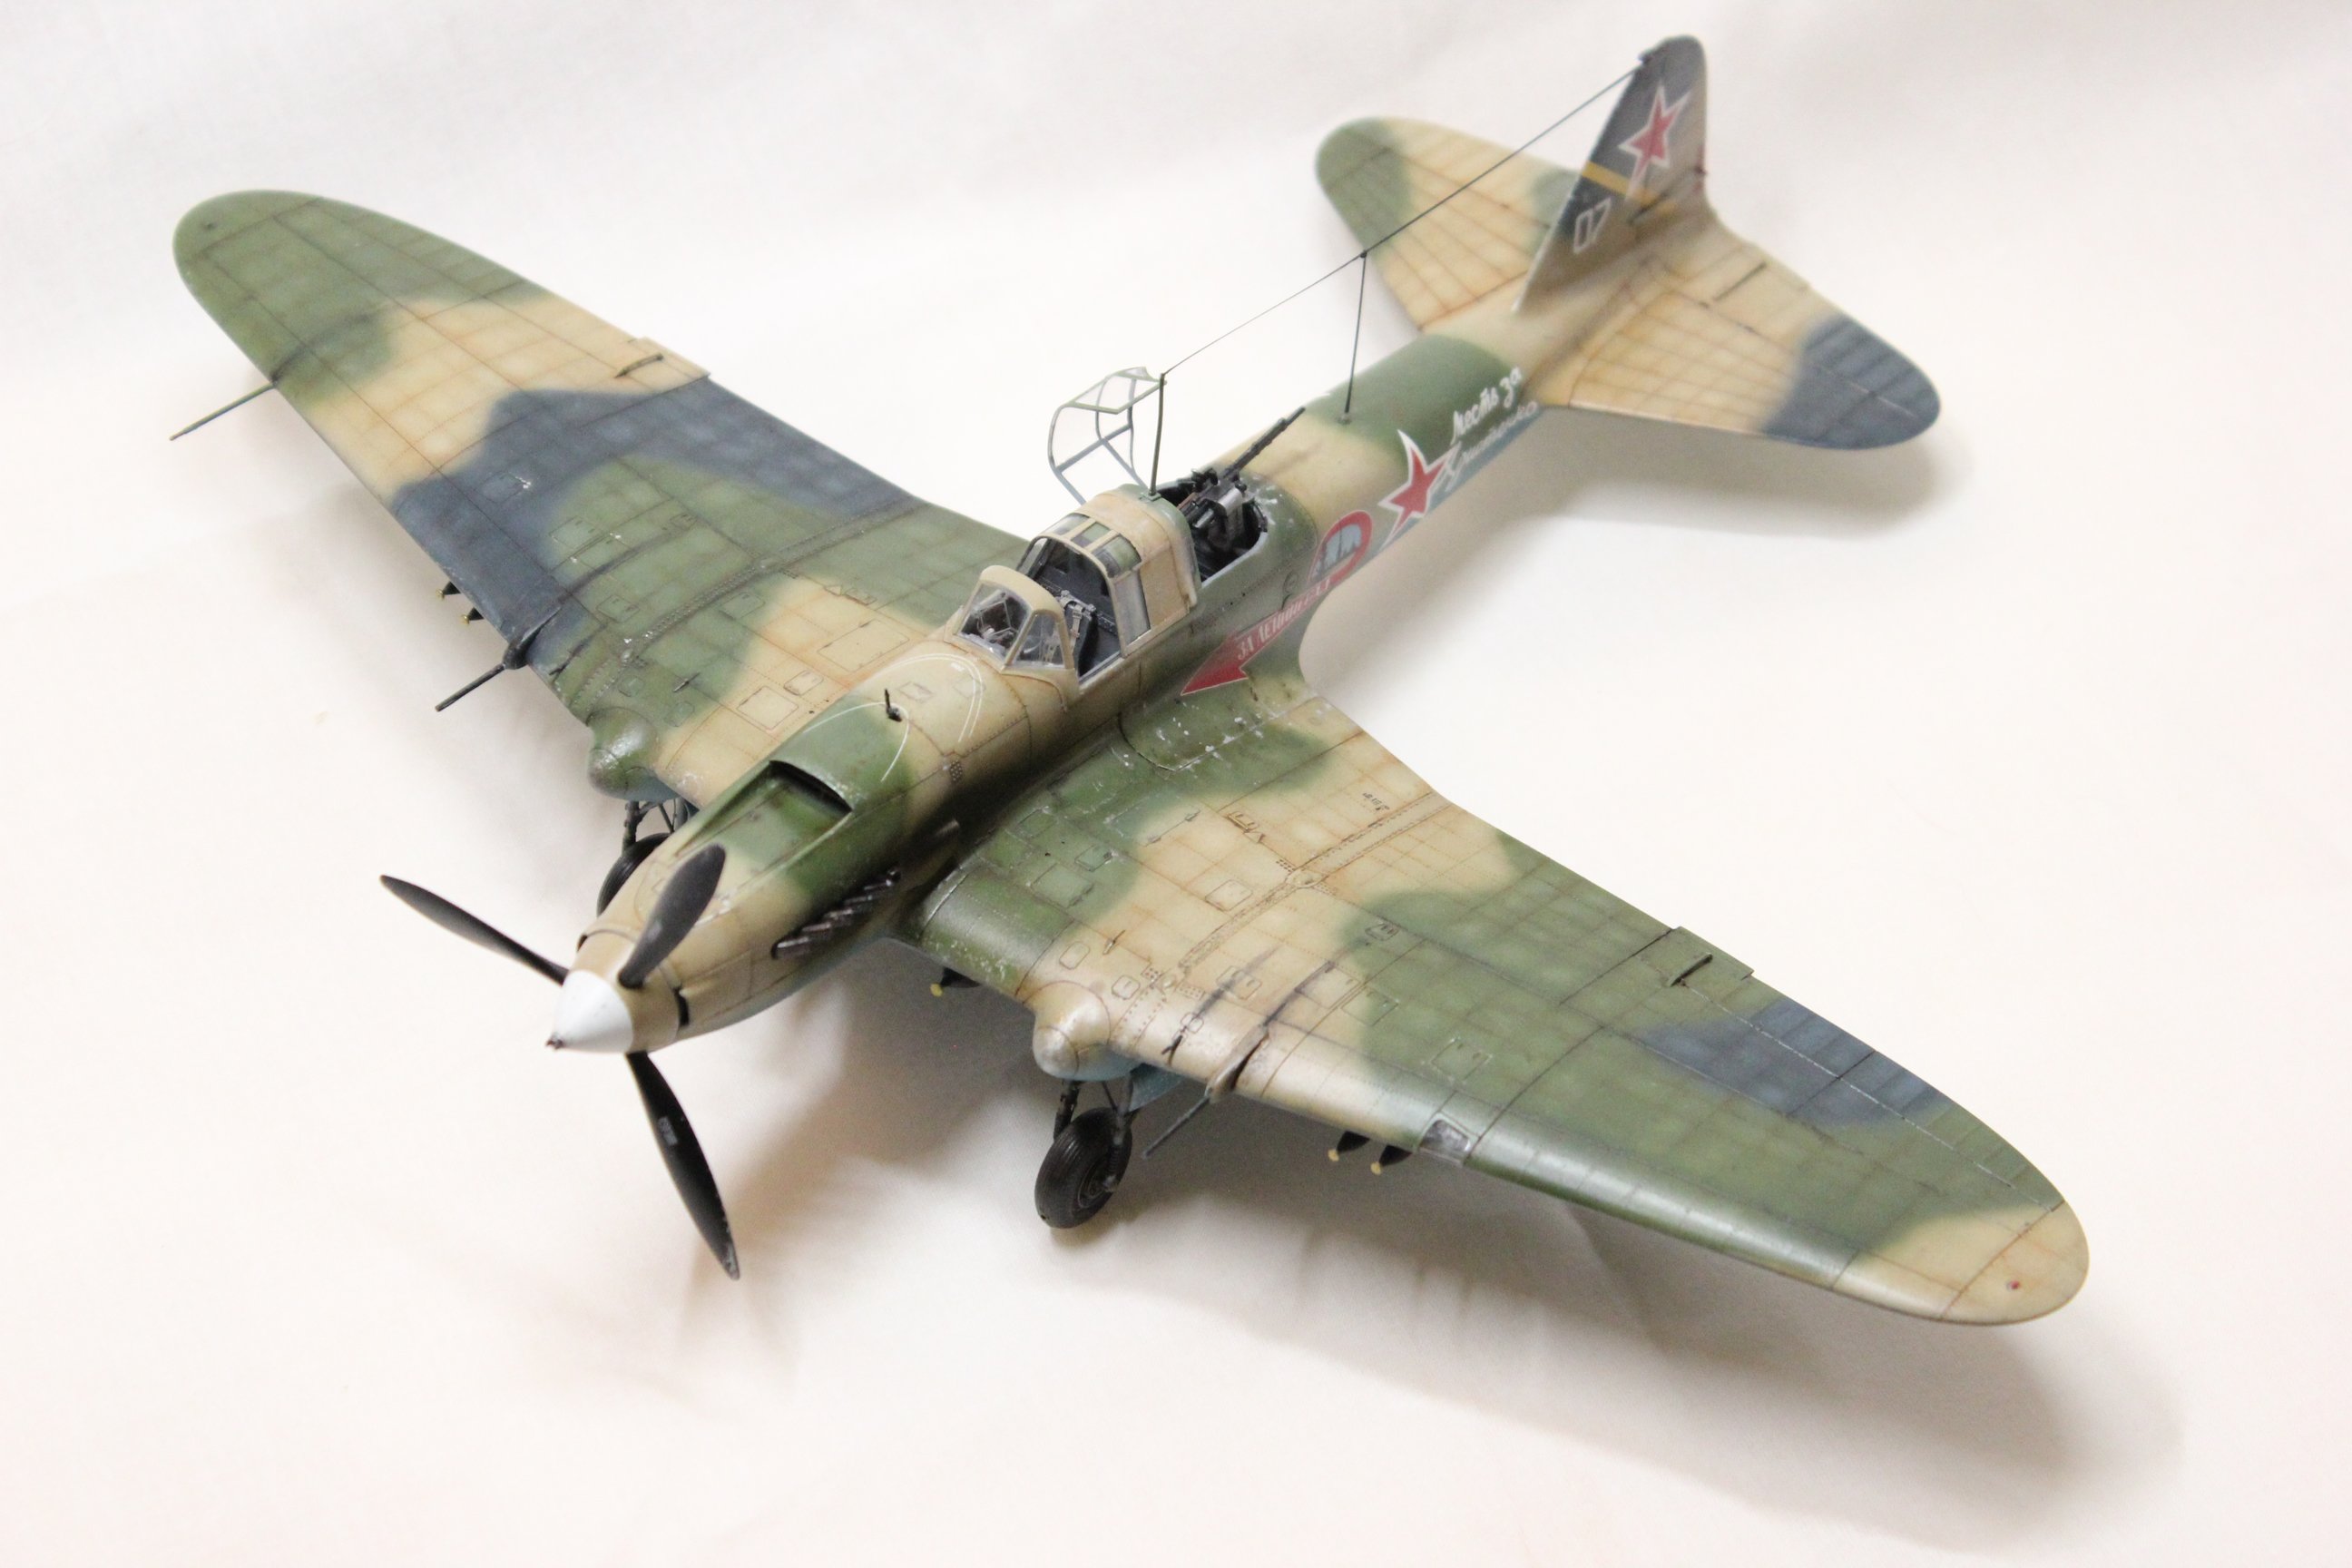


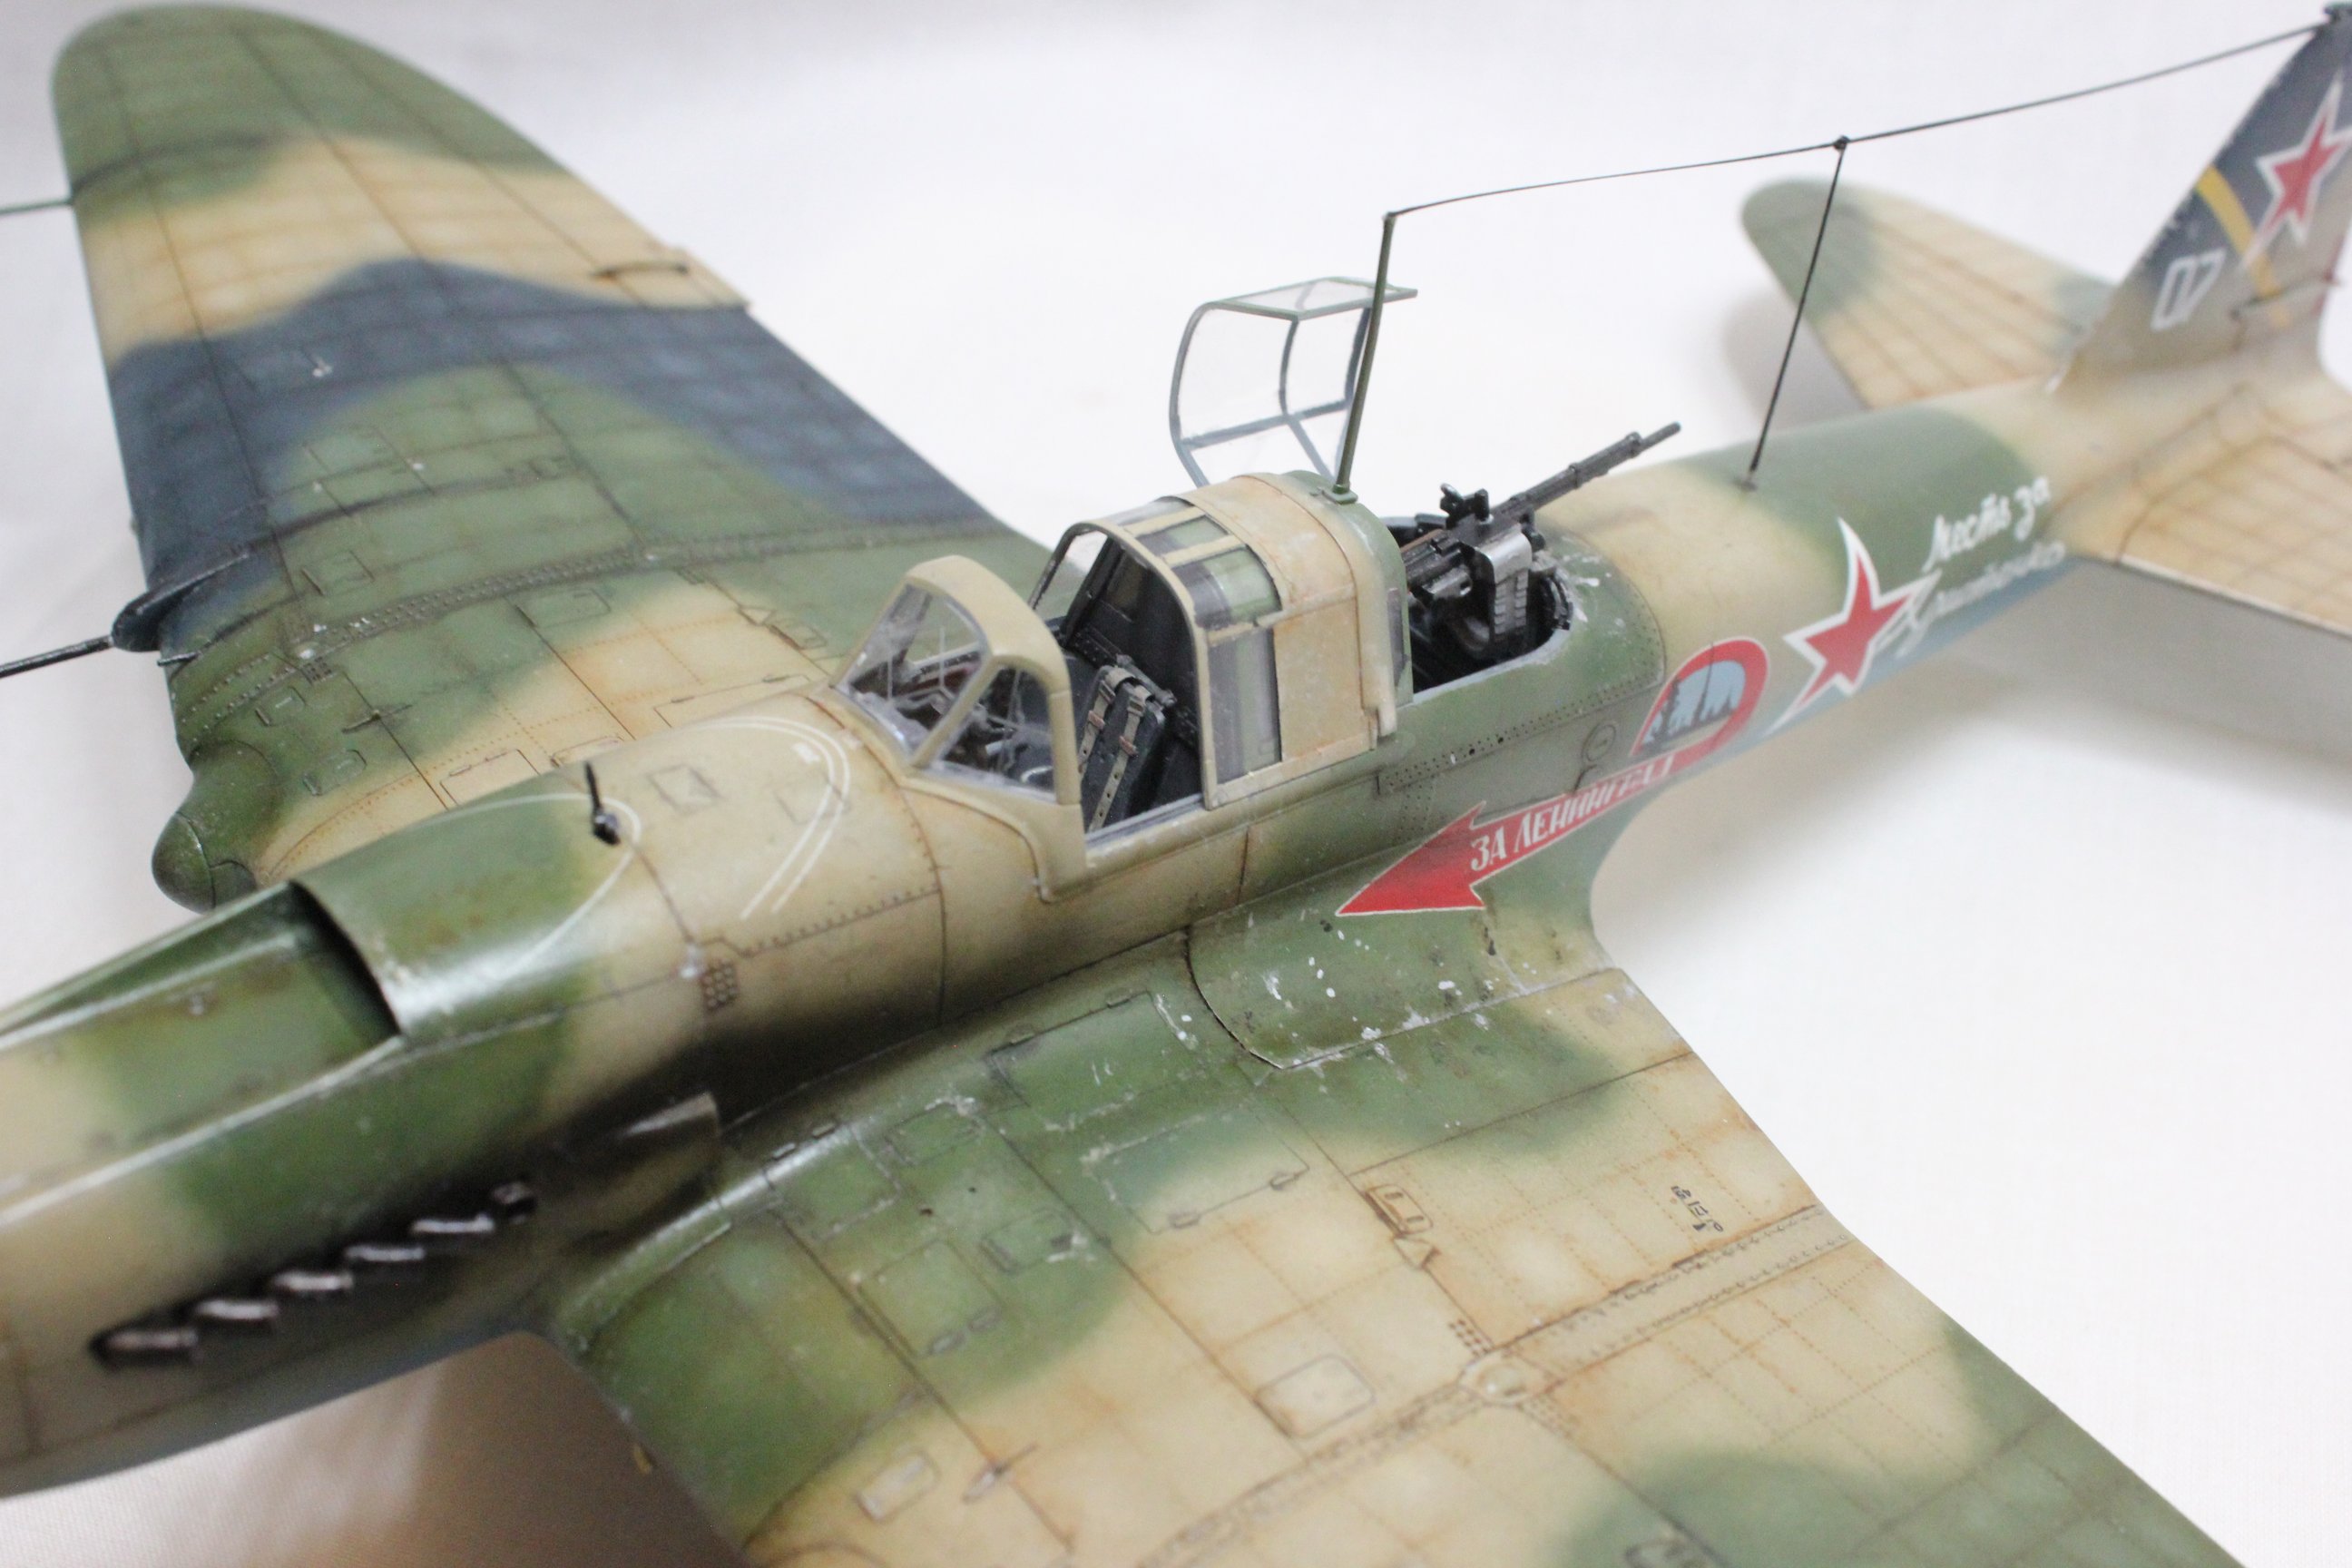
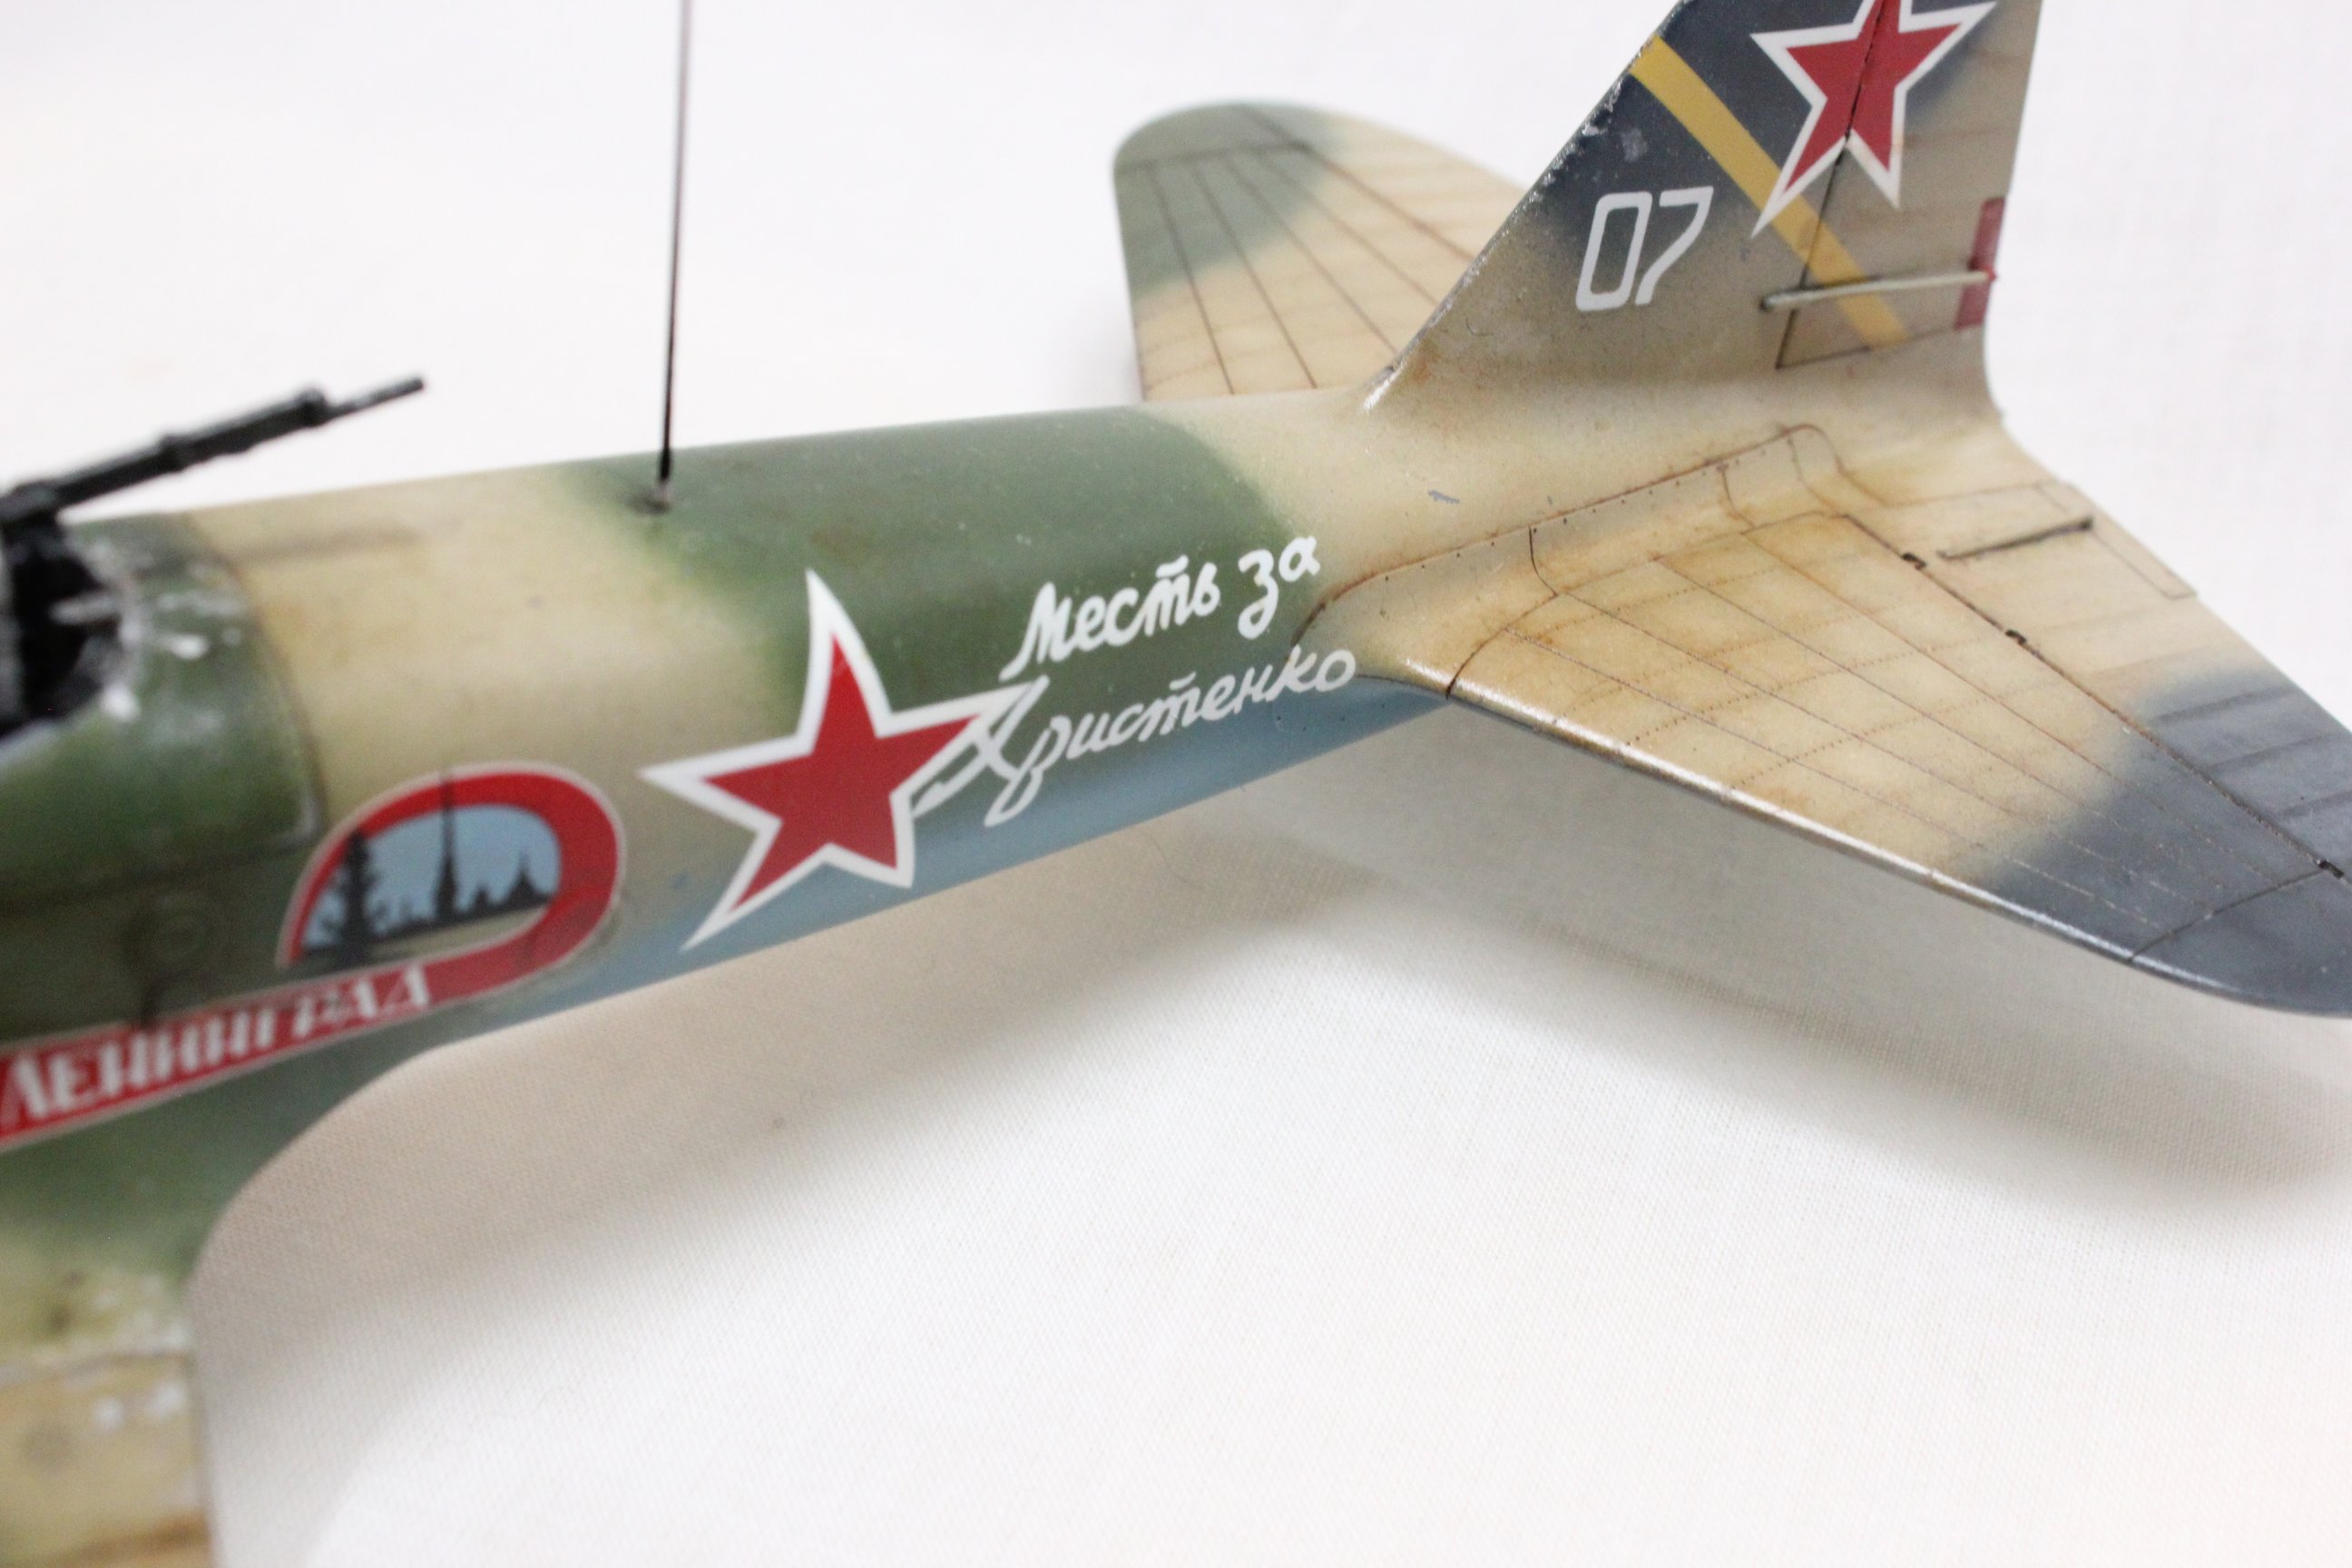

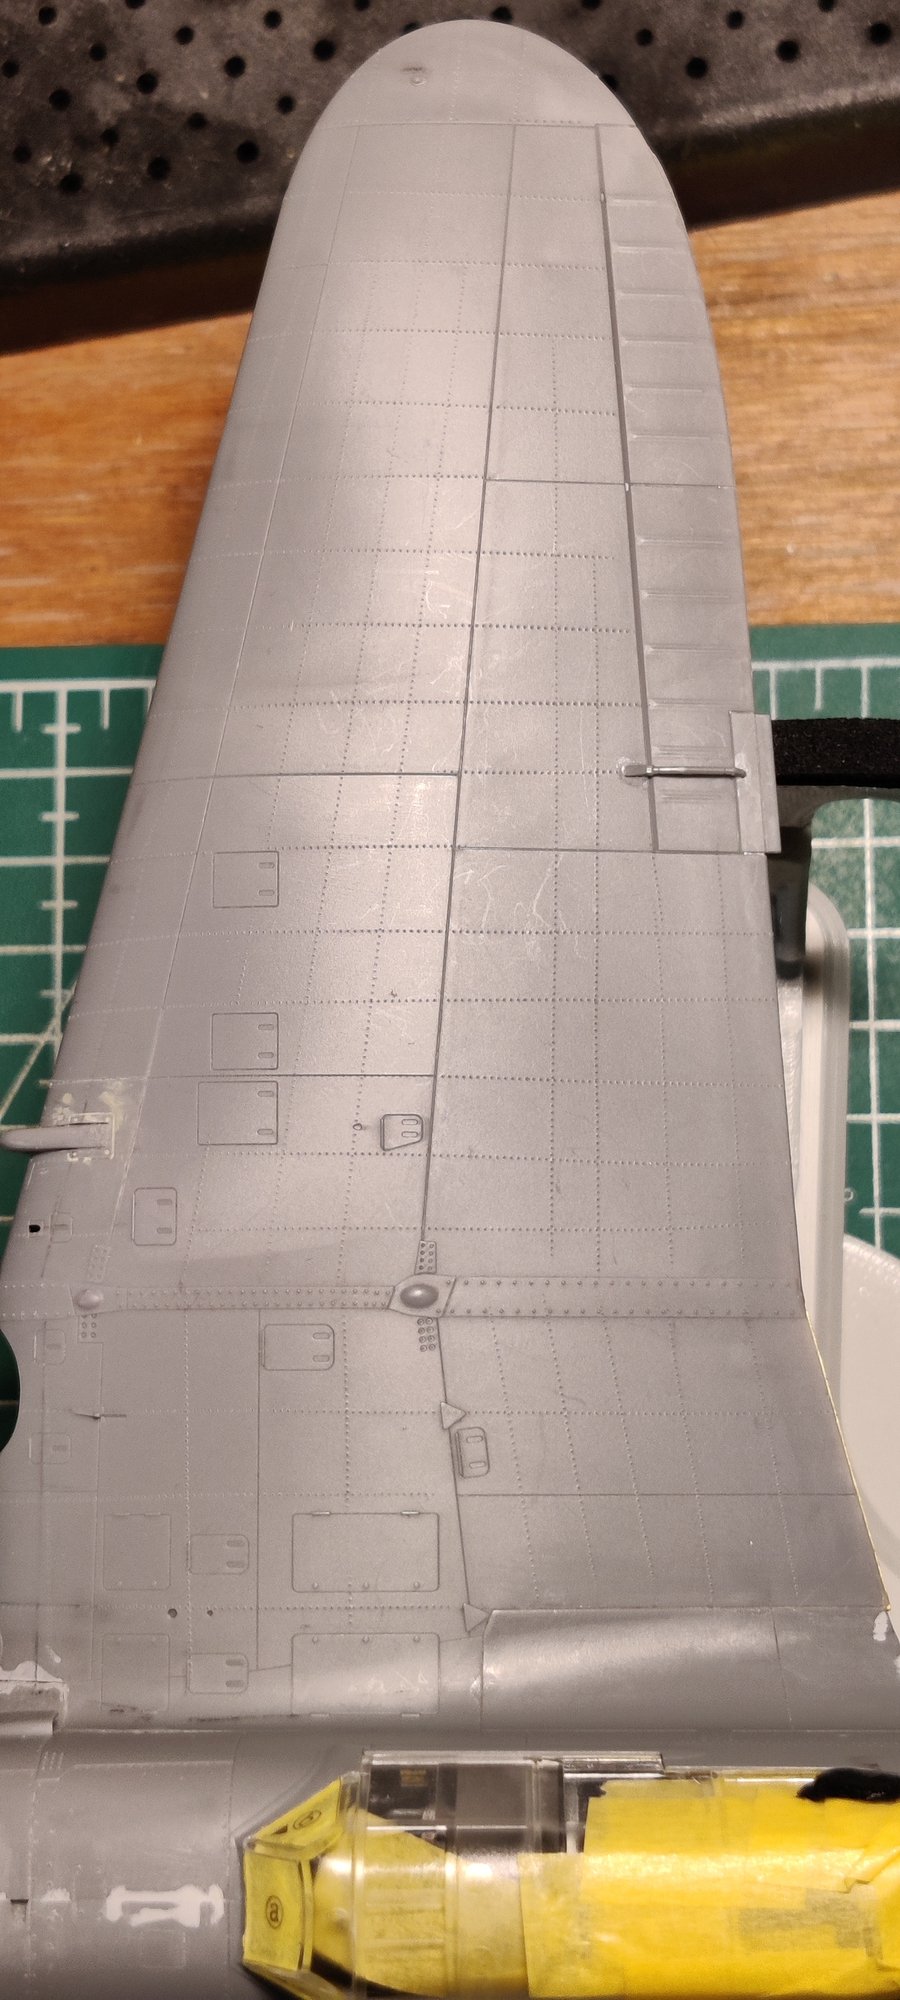
As always with Tamiya, it was a very cool kit, with just a feeew caveats : it has very, very fragile pieces. I broke the little doodad just above the vertical stabilizer, more times that I cared to count, and I quickly realized that trying to re-glue it just resulted in damaged details. Ended up adding at the end with CA glue which kept it secure enough, although a bit springy.
The tail wheel caused me a bit of stress, too. I lost the piece, found it back, had no issue until I put down the plane and the wheel immediately snapped under the weight. Tamiya Thin Cement couldn’t make that thin part sturdy enough again, ended up drilling a very small hole and putting a thin steel rod inside.
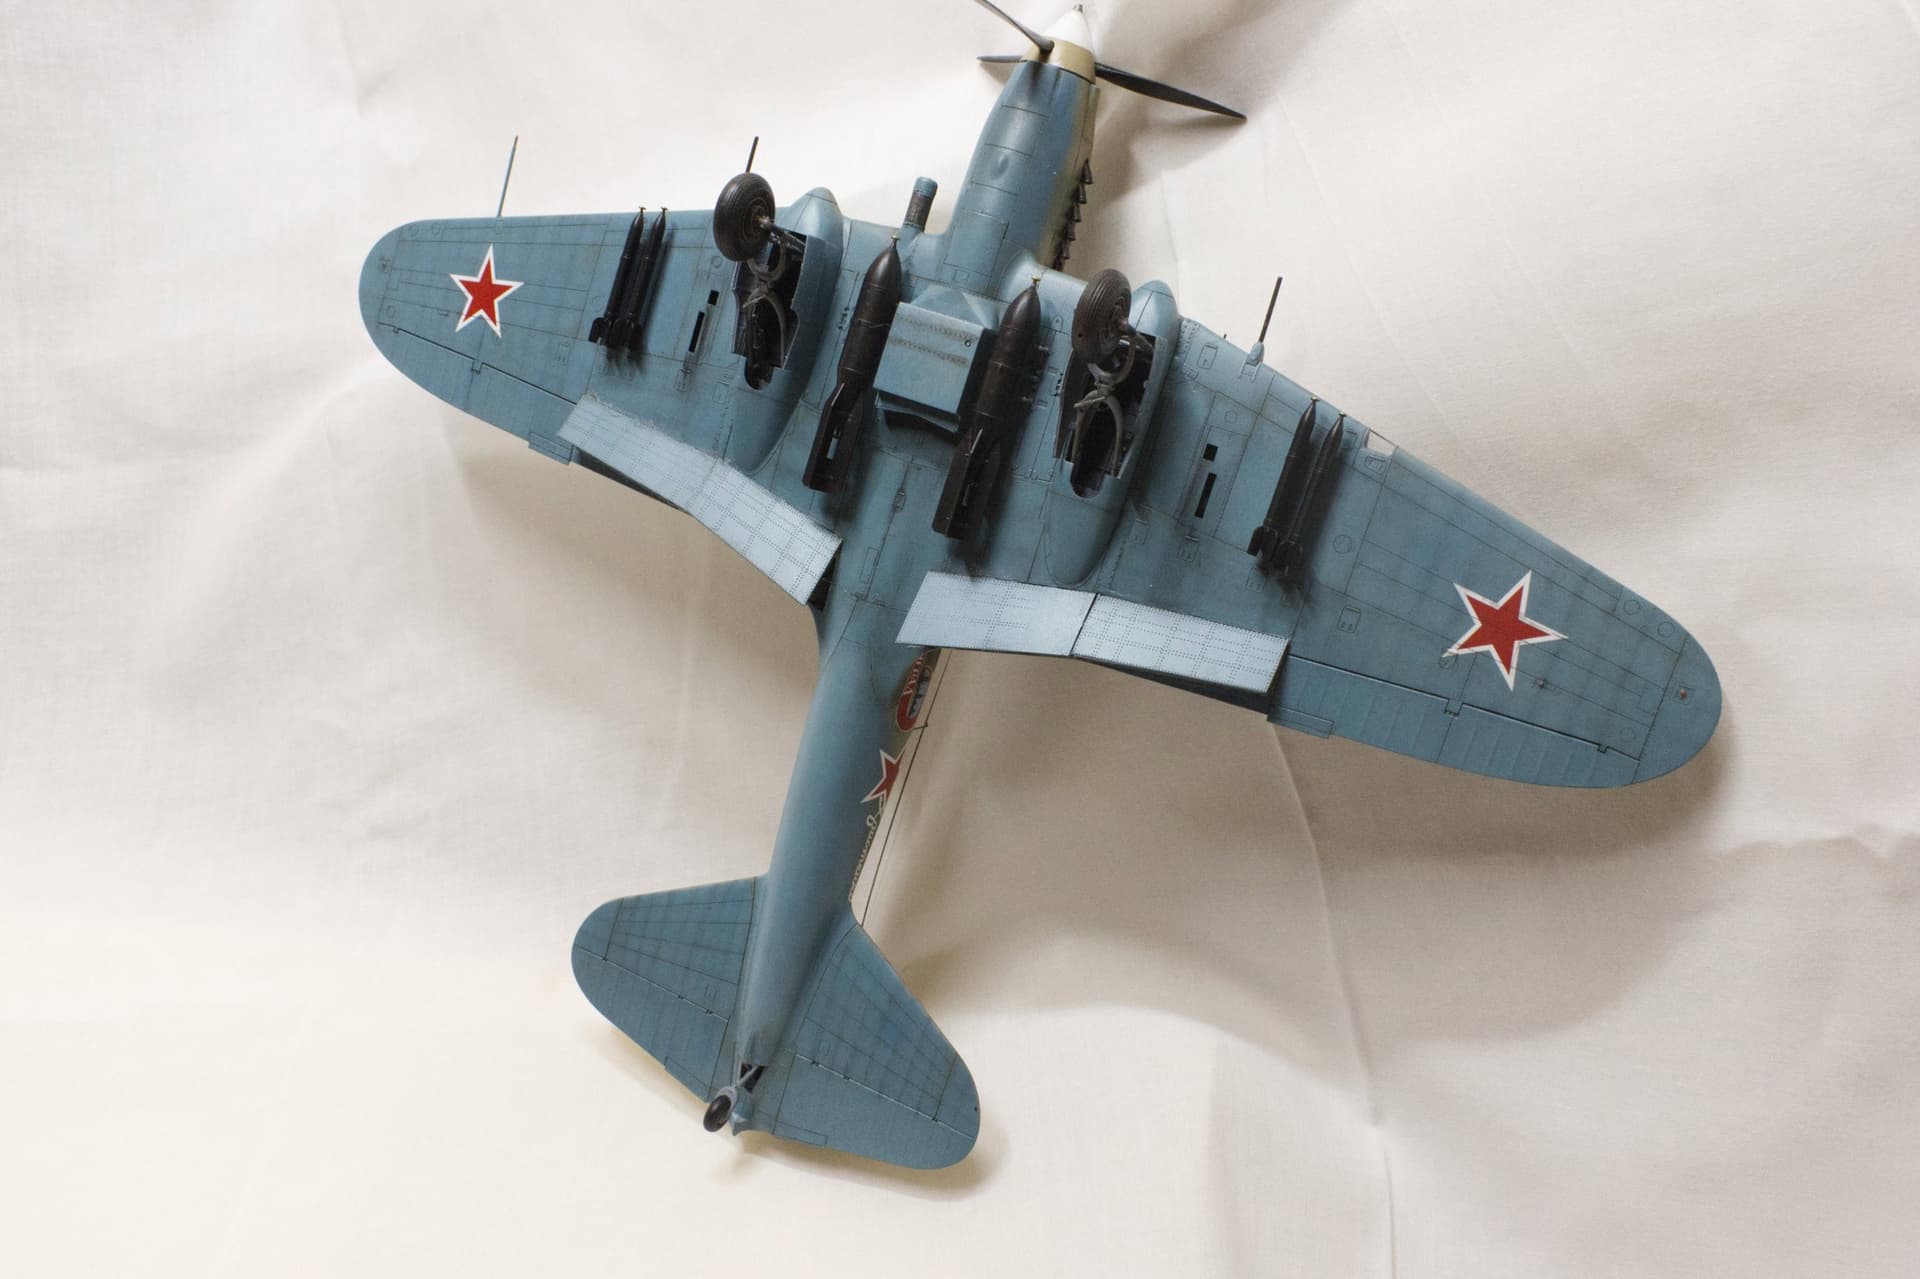
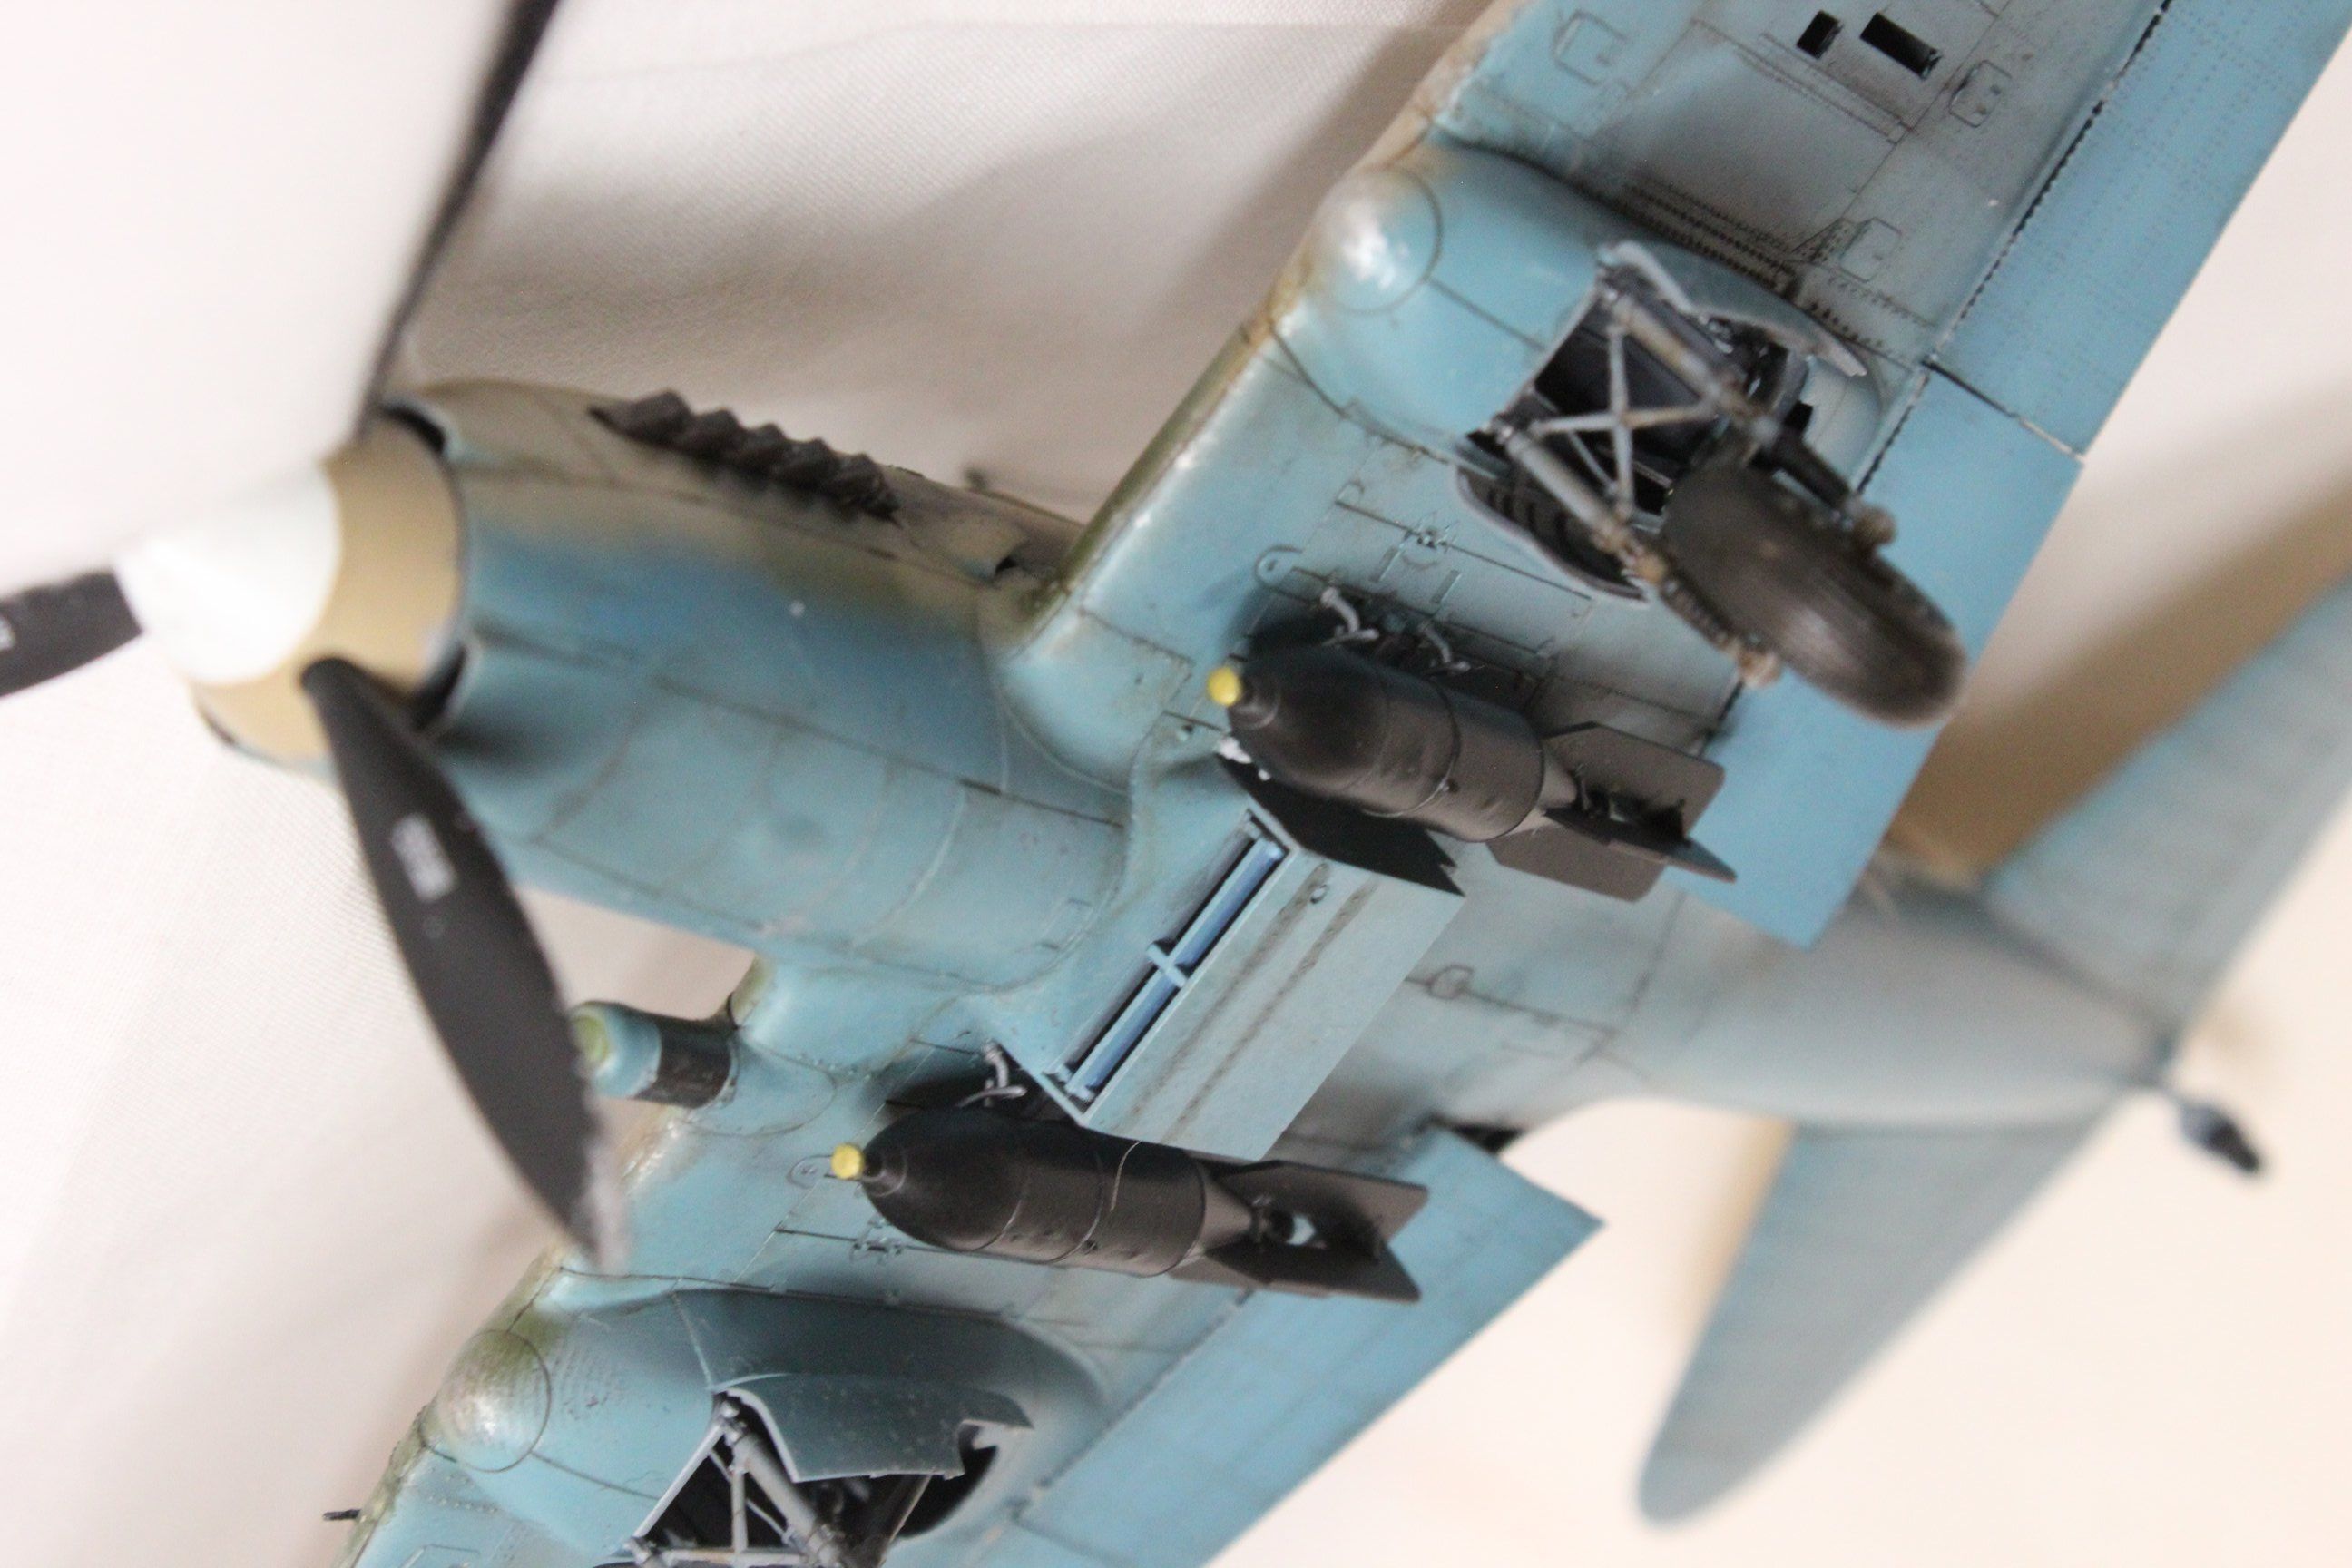
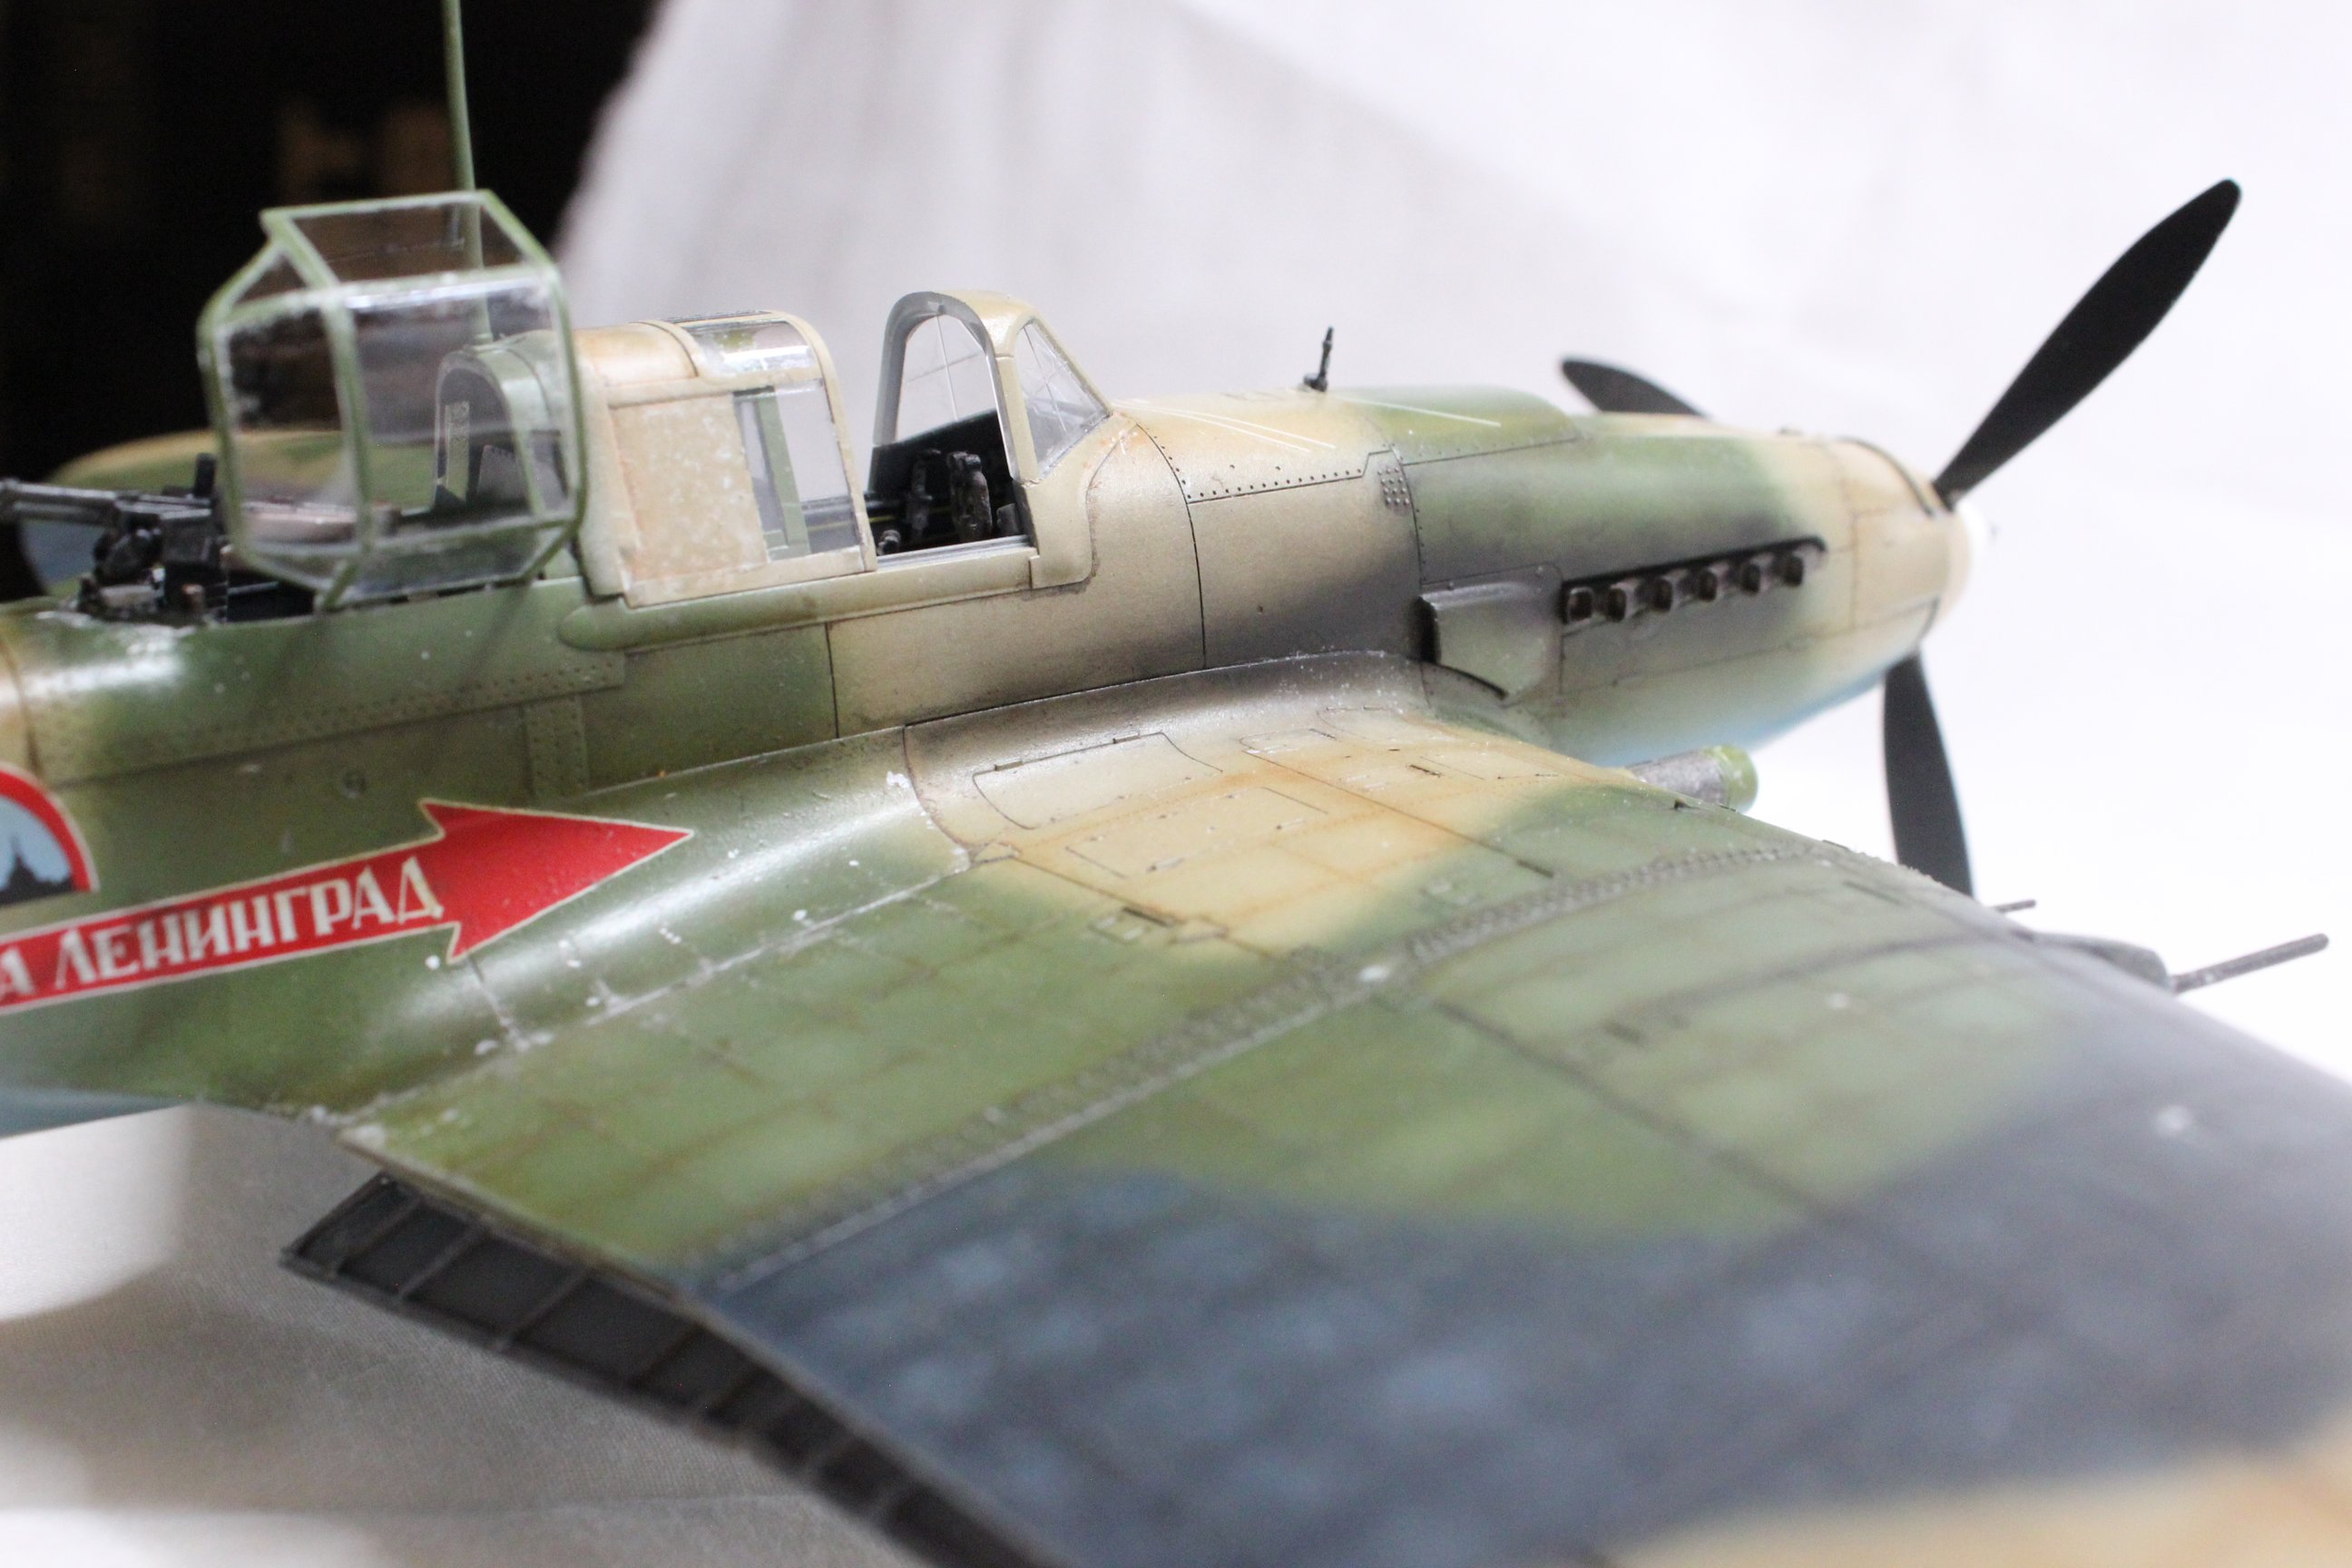
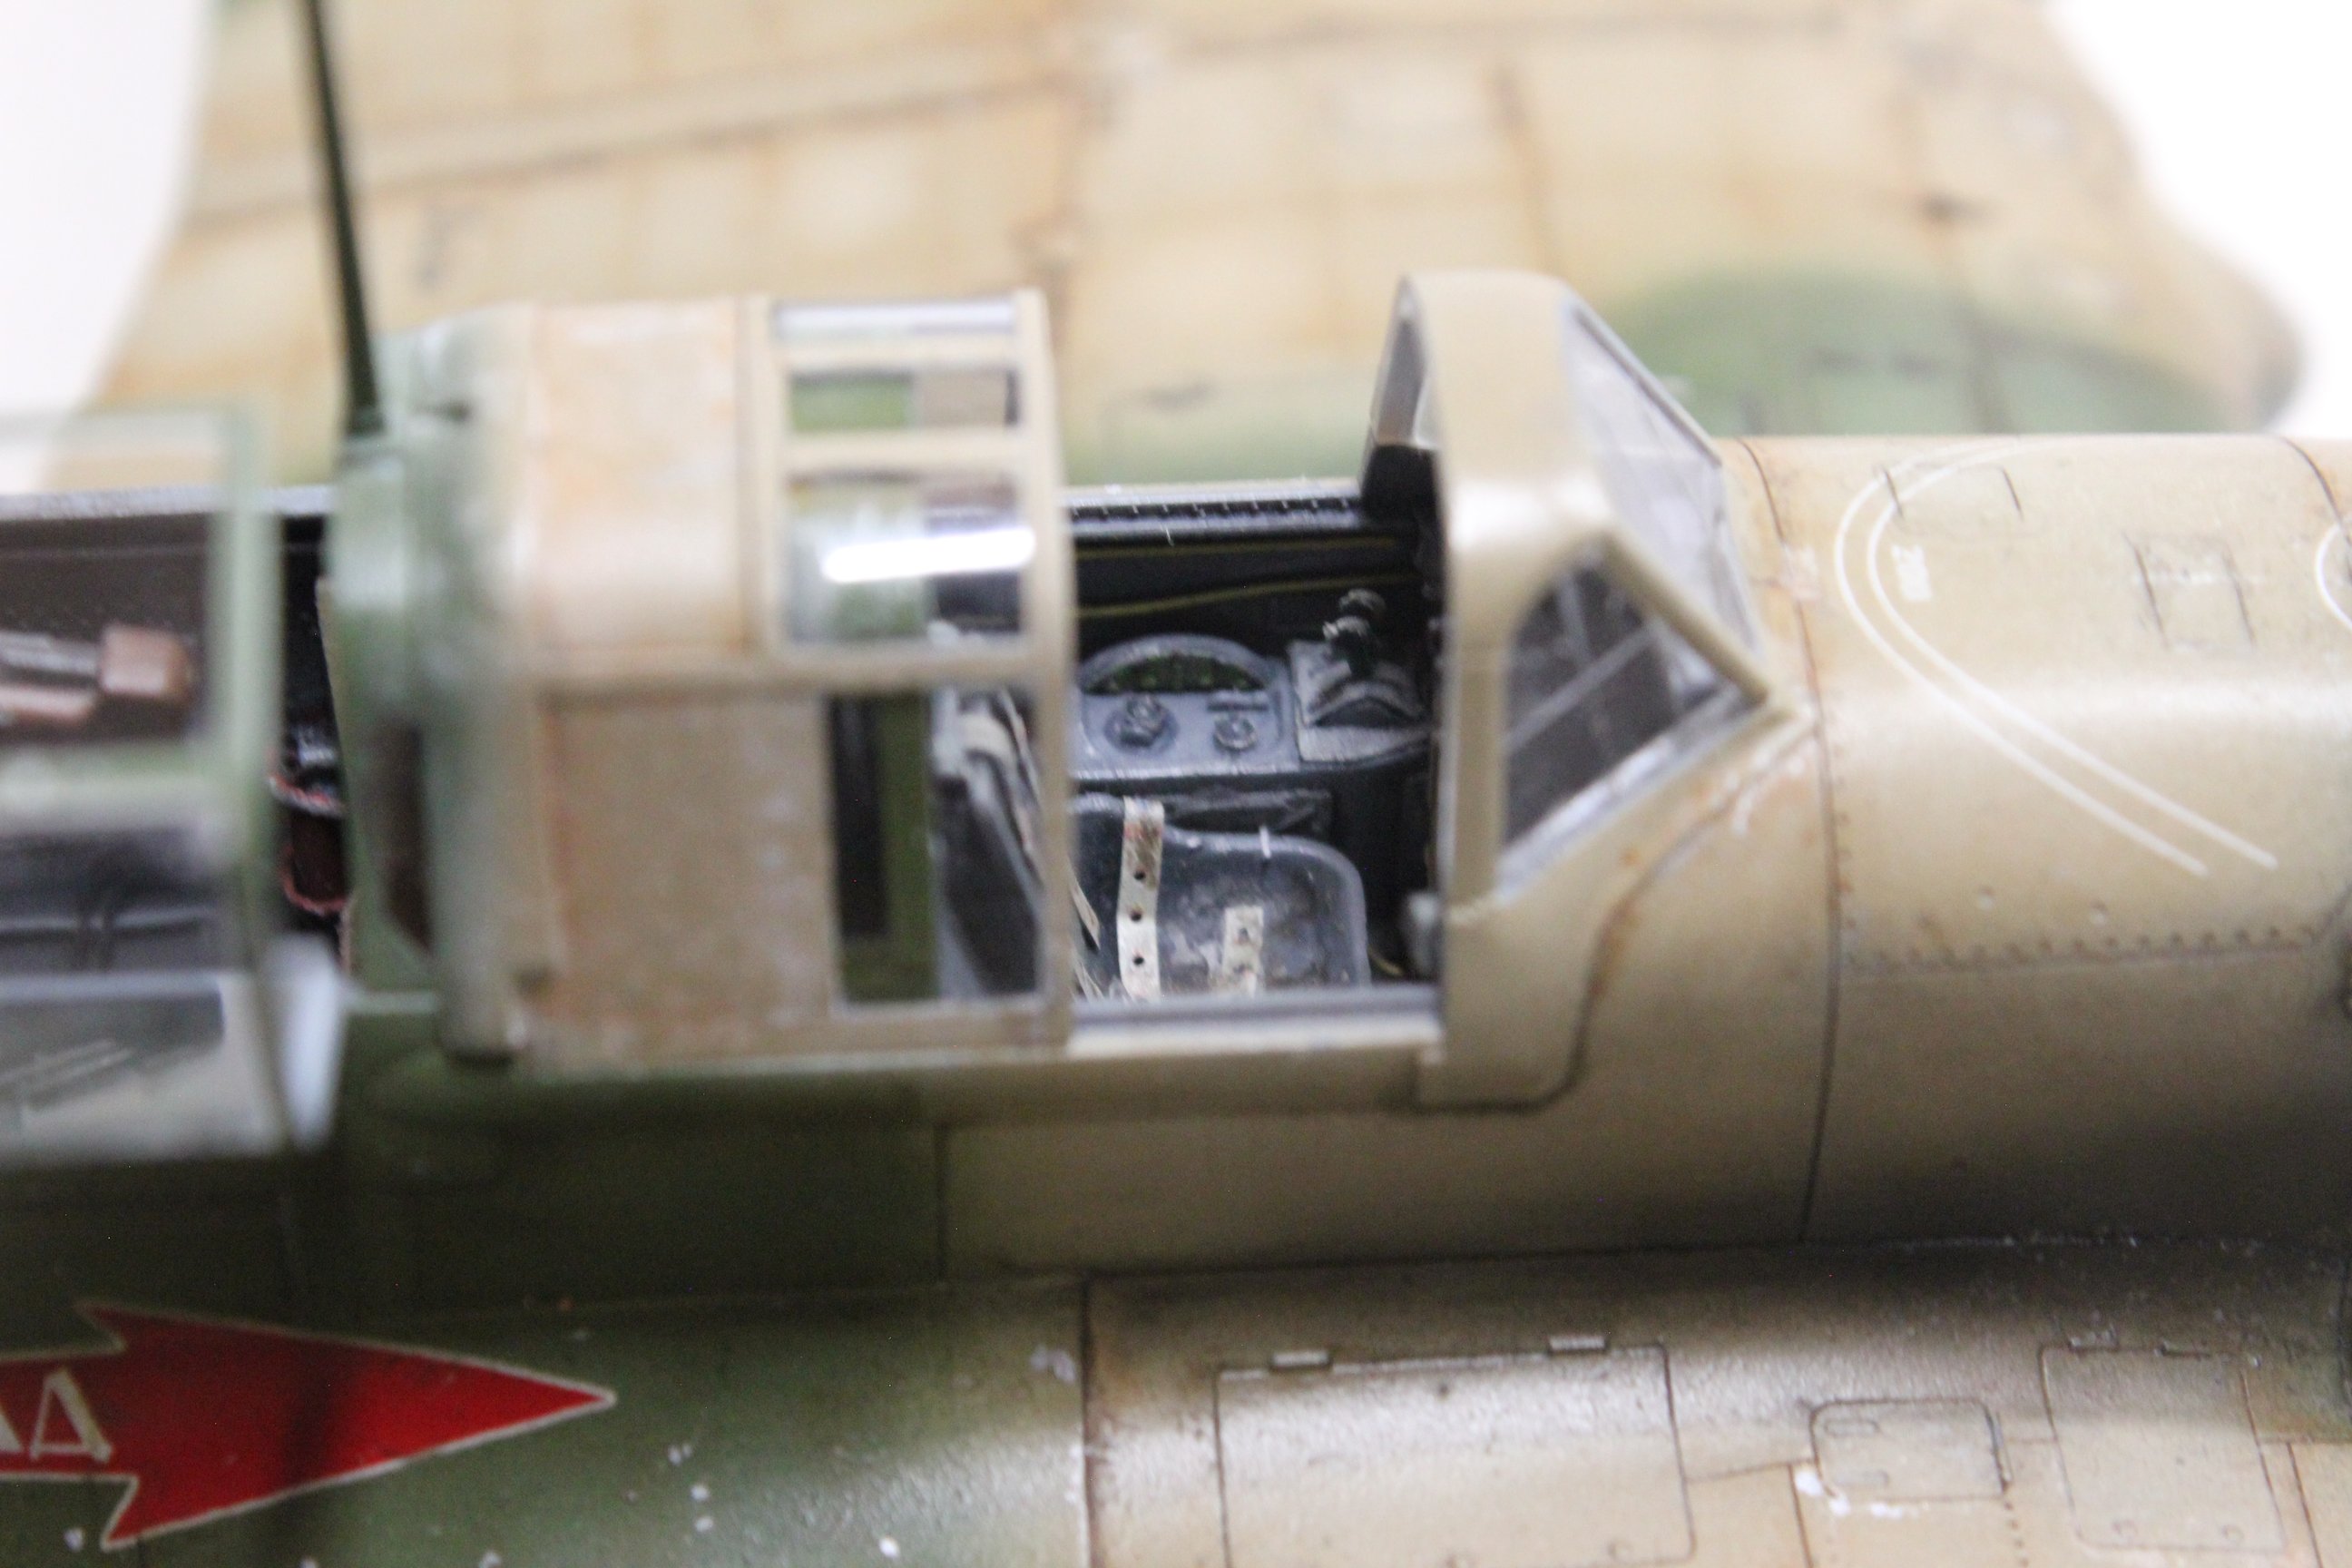
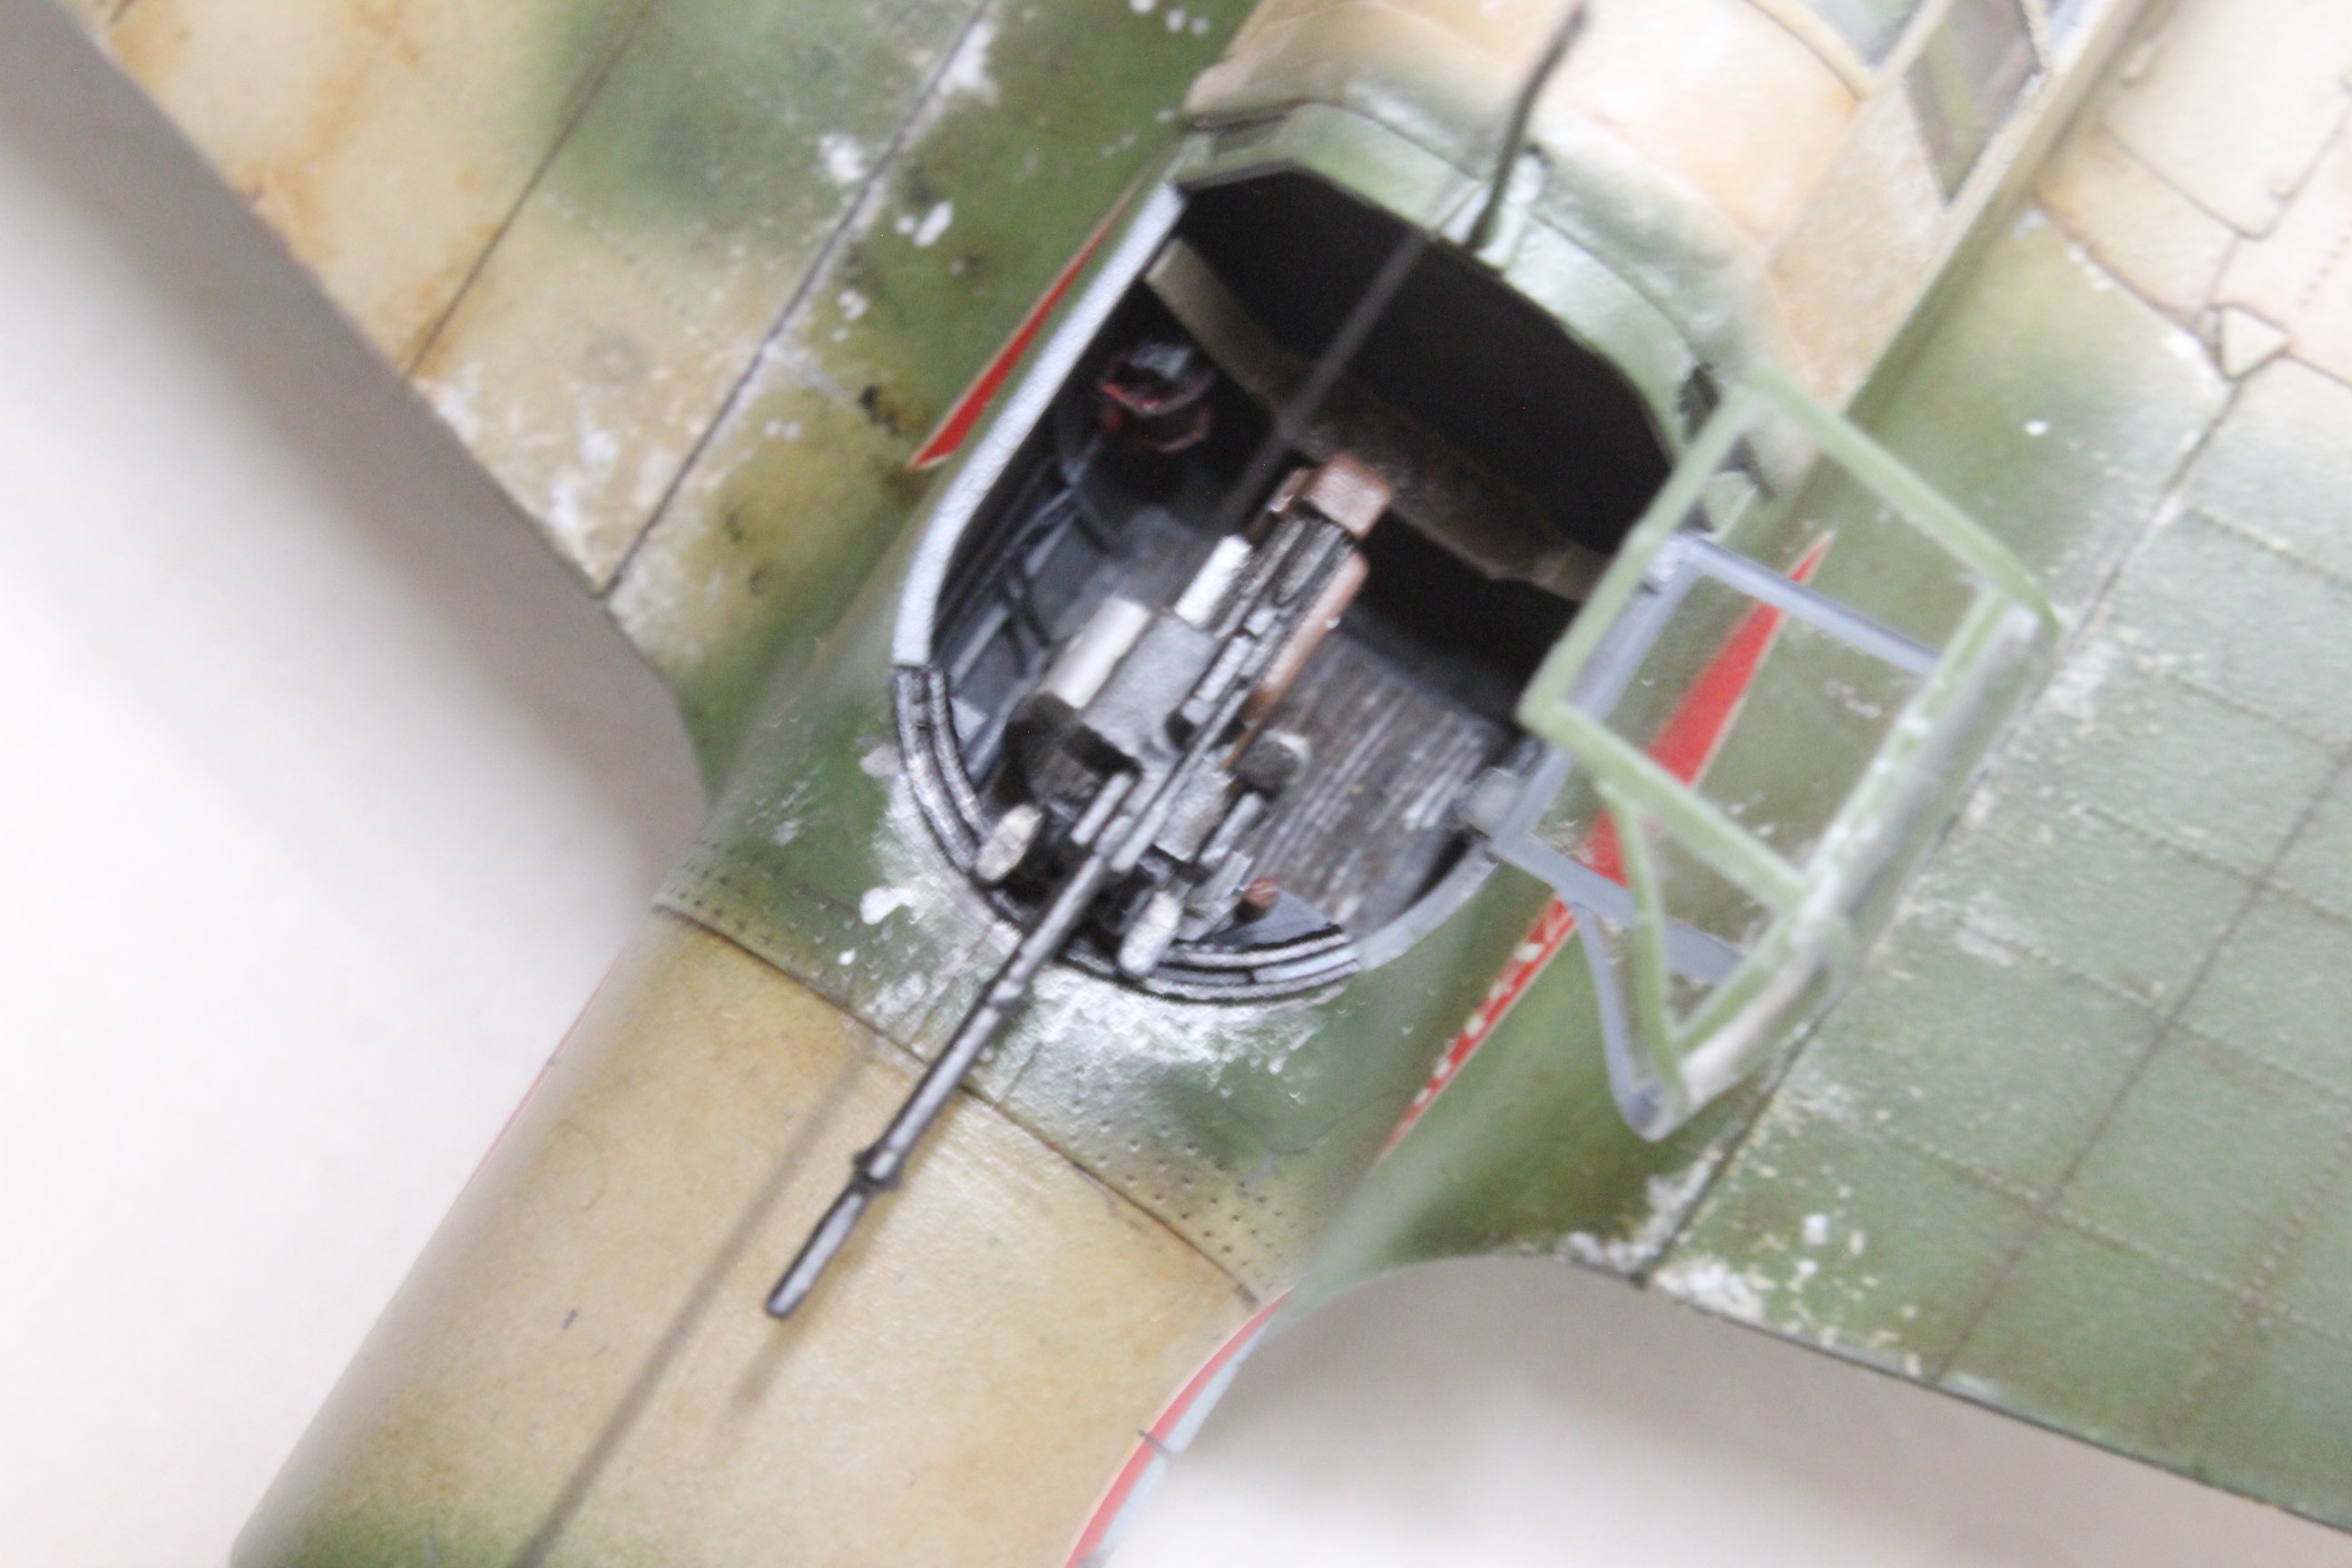
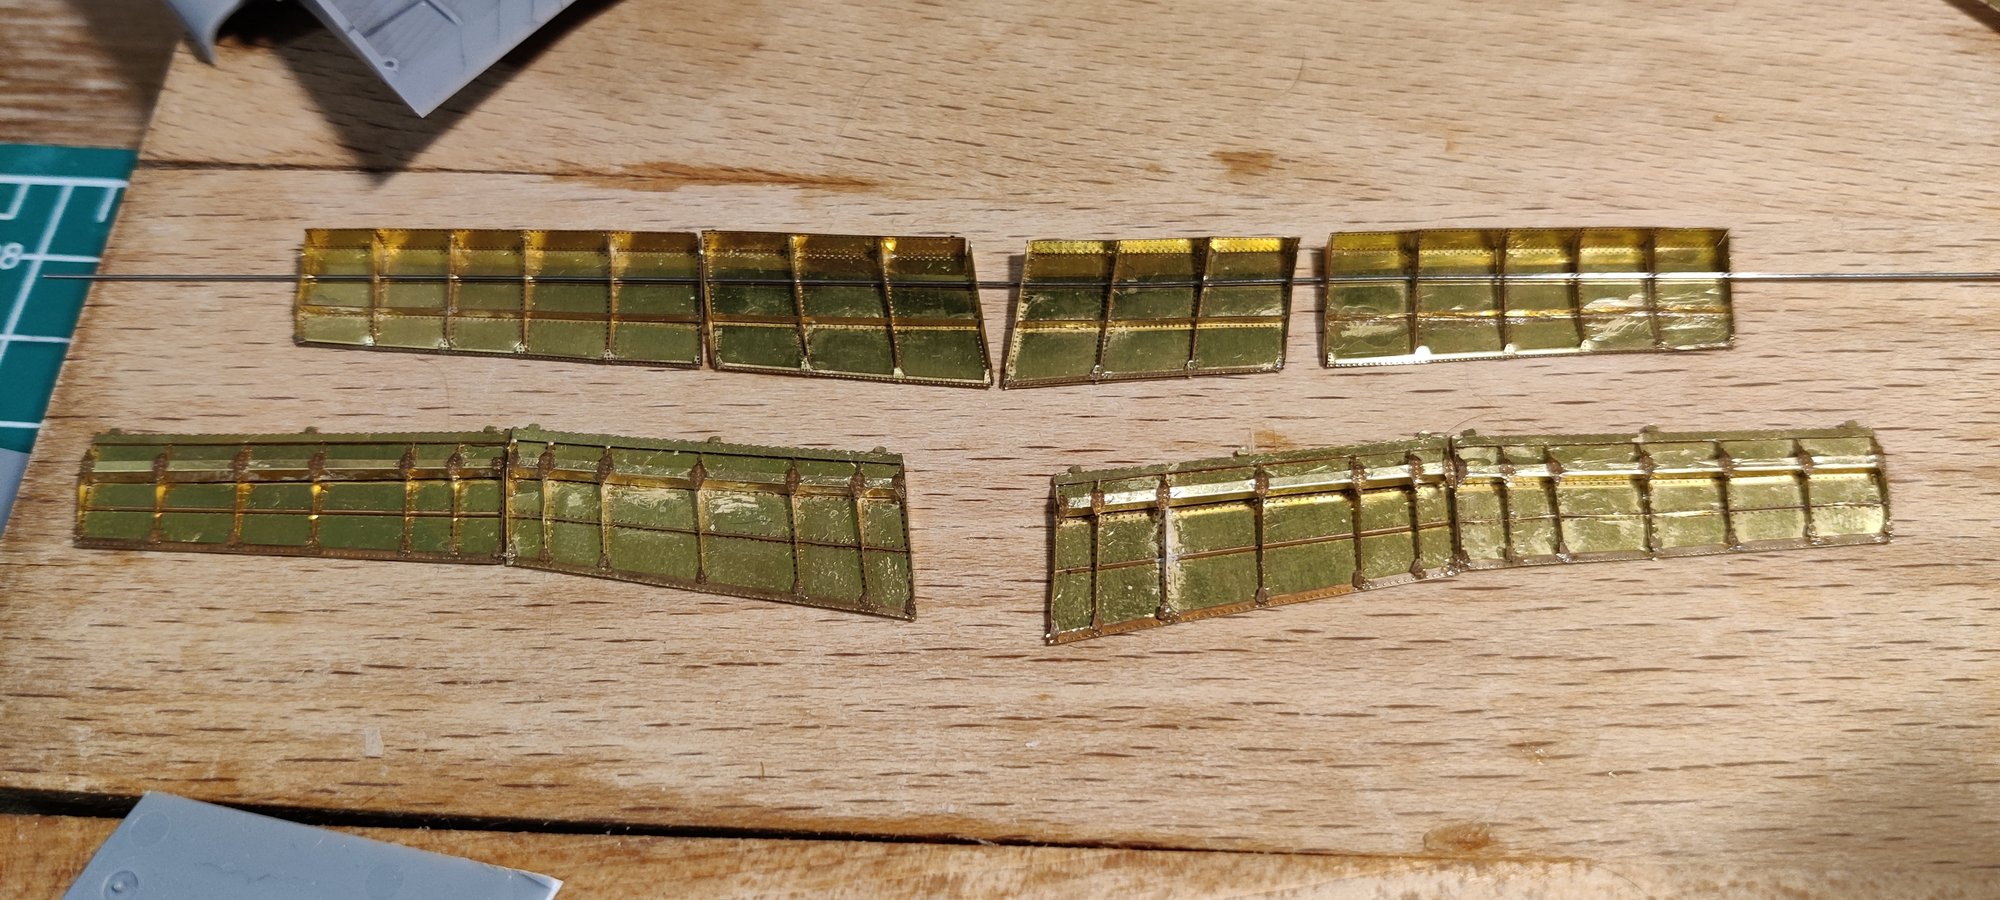
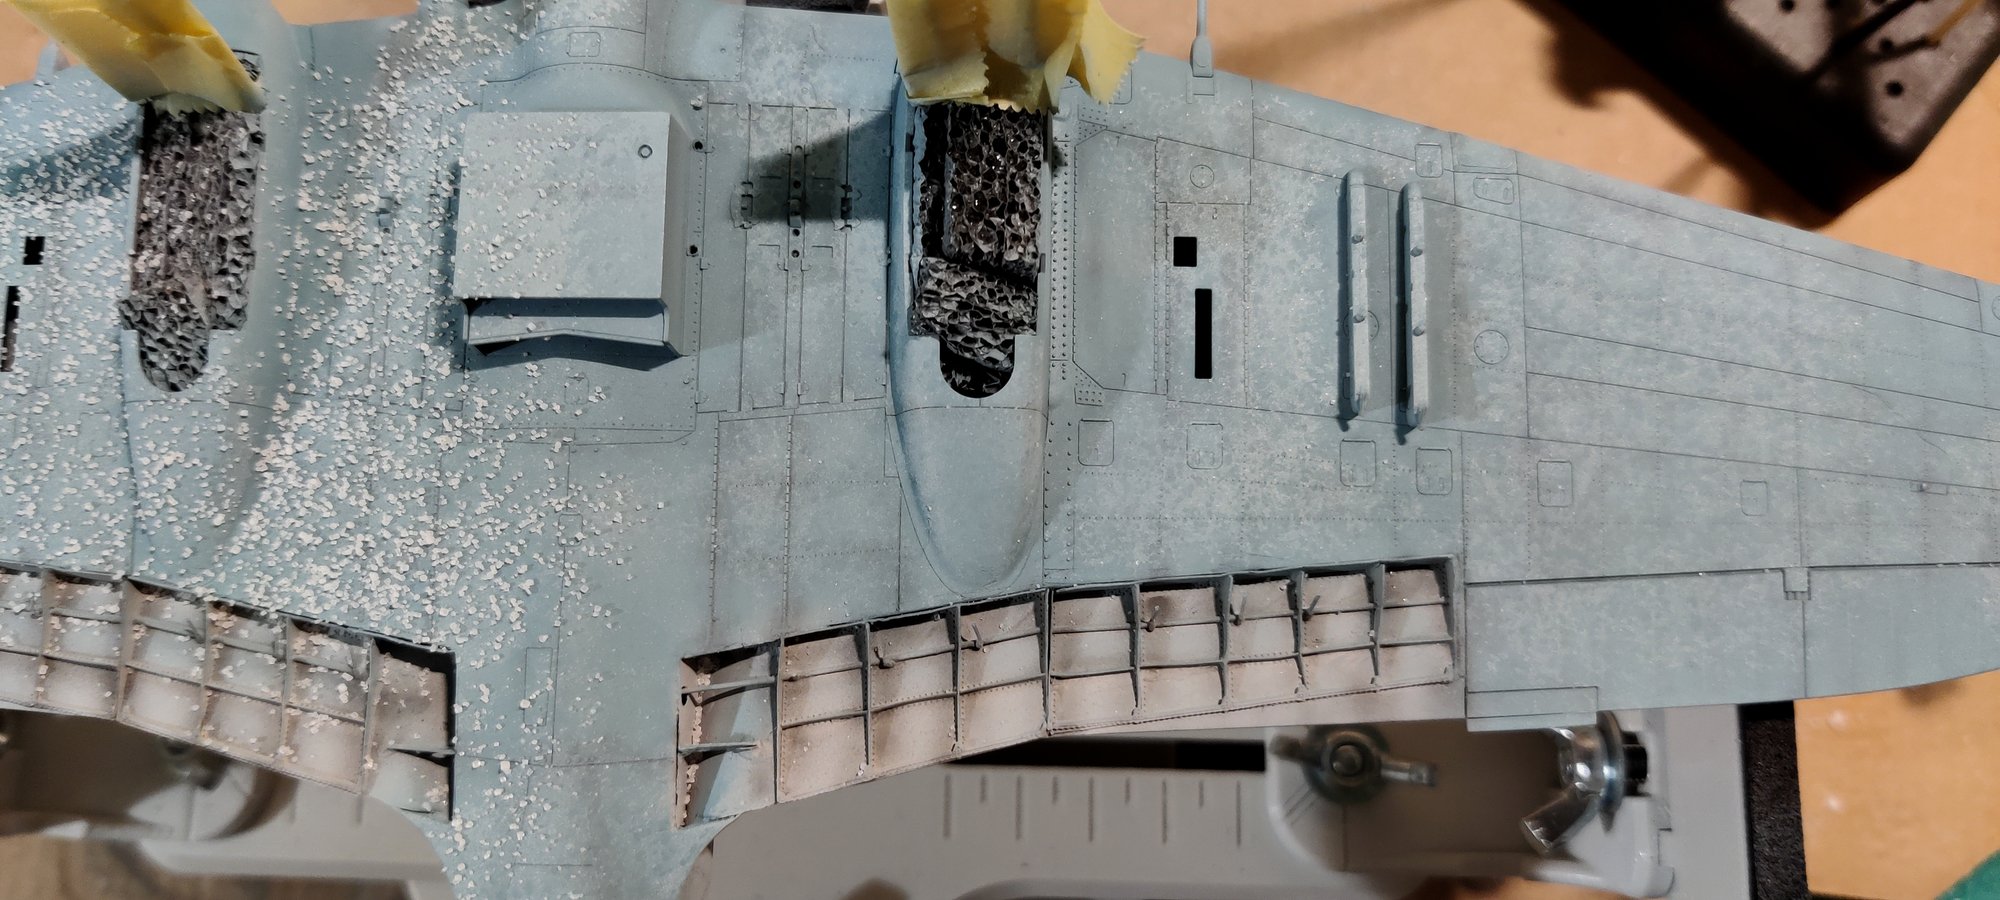
Aside from that it was a kit of first aaand maybe lasts, lol. I tried a lot of PE parts. Too small for me in the cockpits for a relatively poor added value given that it’s hard to see inside the cockpit anyway. I also tried PE landing flaps and my god, it was excruciating. I certainly won’t attempt it again without proper, dedicated tools for the bending. I didn’t fully understand the instructions and ended up setting them wrong, glueing was a pain that left blobs everywhere, paint wouldn’t hold because now the parts where irredeemably dirty… oof. All things consider, although it’s bent, chipped, and the plastic around was damaged, it didn’t end up a complete catastrophe.
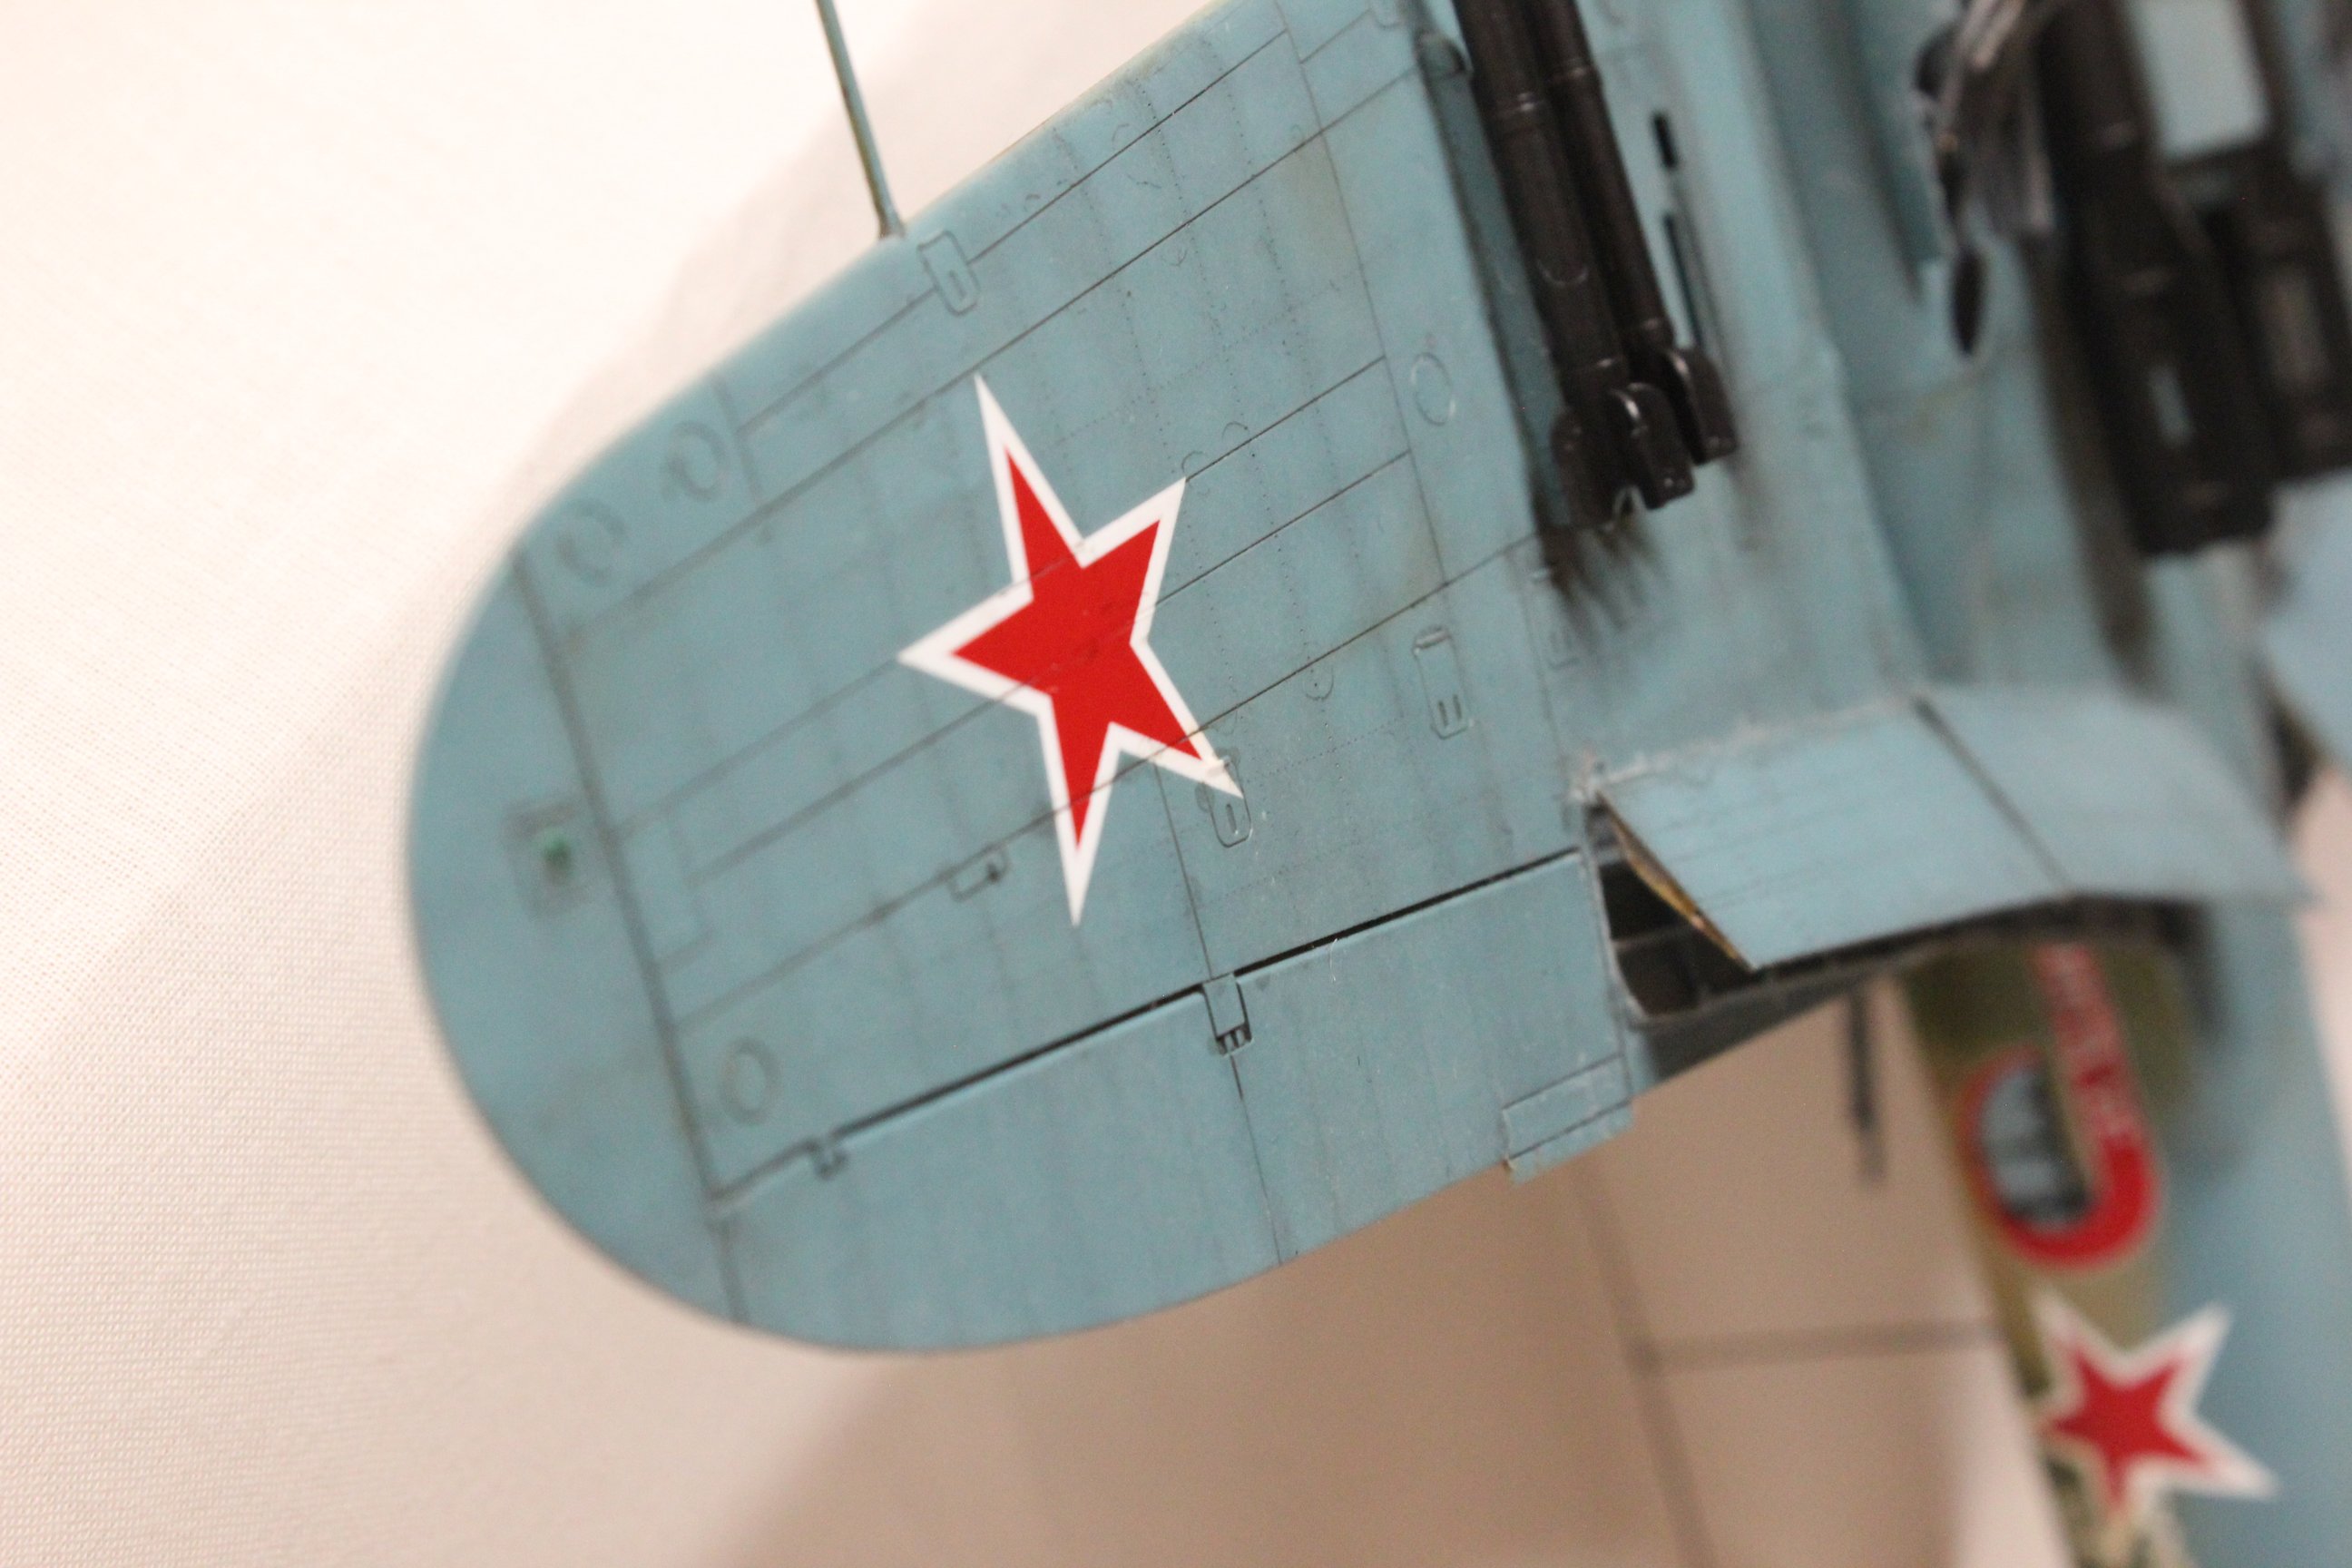
I also tried salt weathering, which is a super cool technique, but I went a bit too heavy with the post salt layer. Ended up with very much incrusted salt. Had to wet and brush, which… Left brine marks all over the plane. Took me age to fully clean everything…
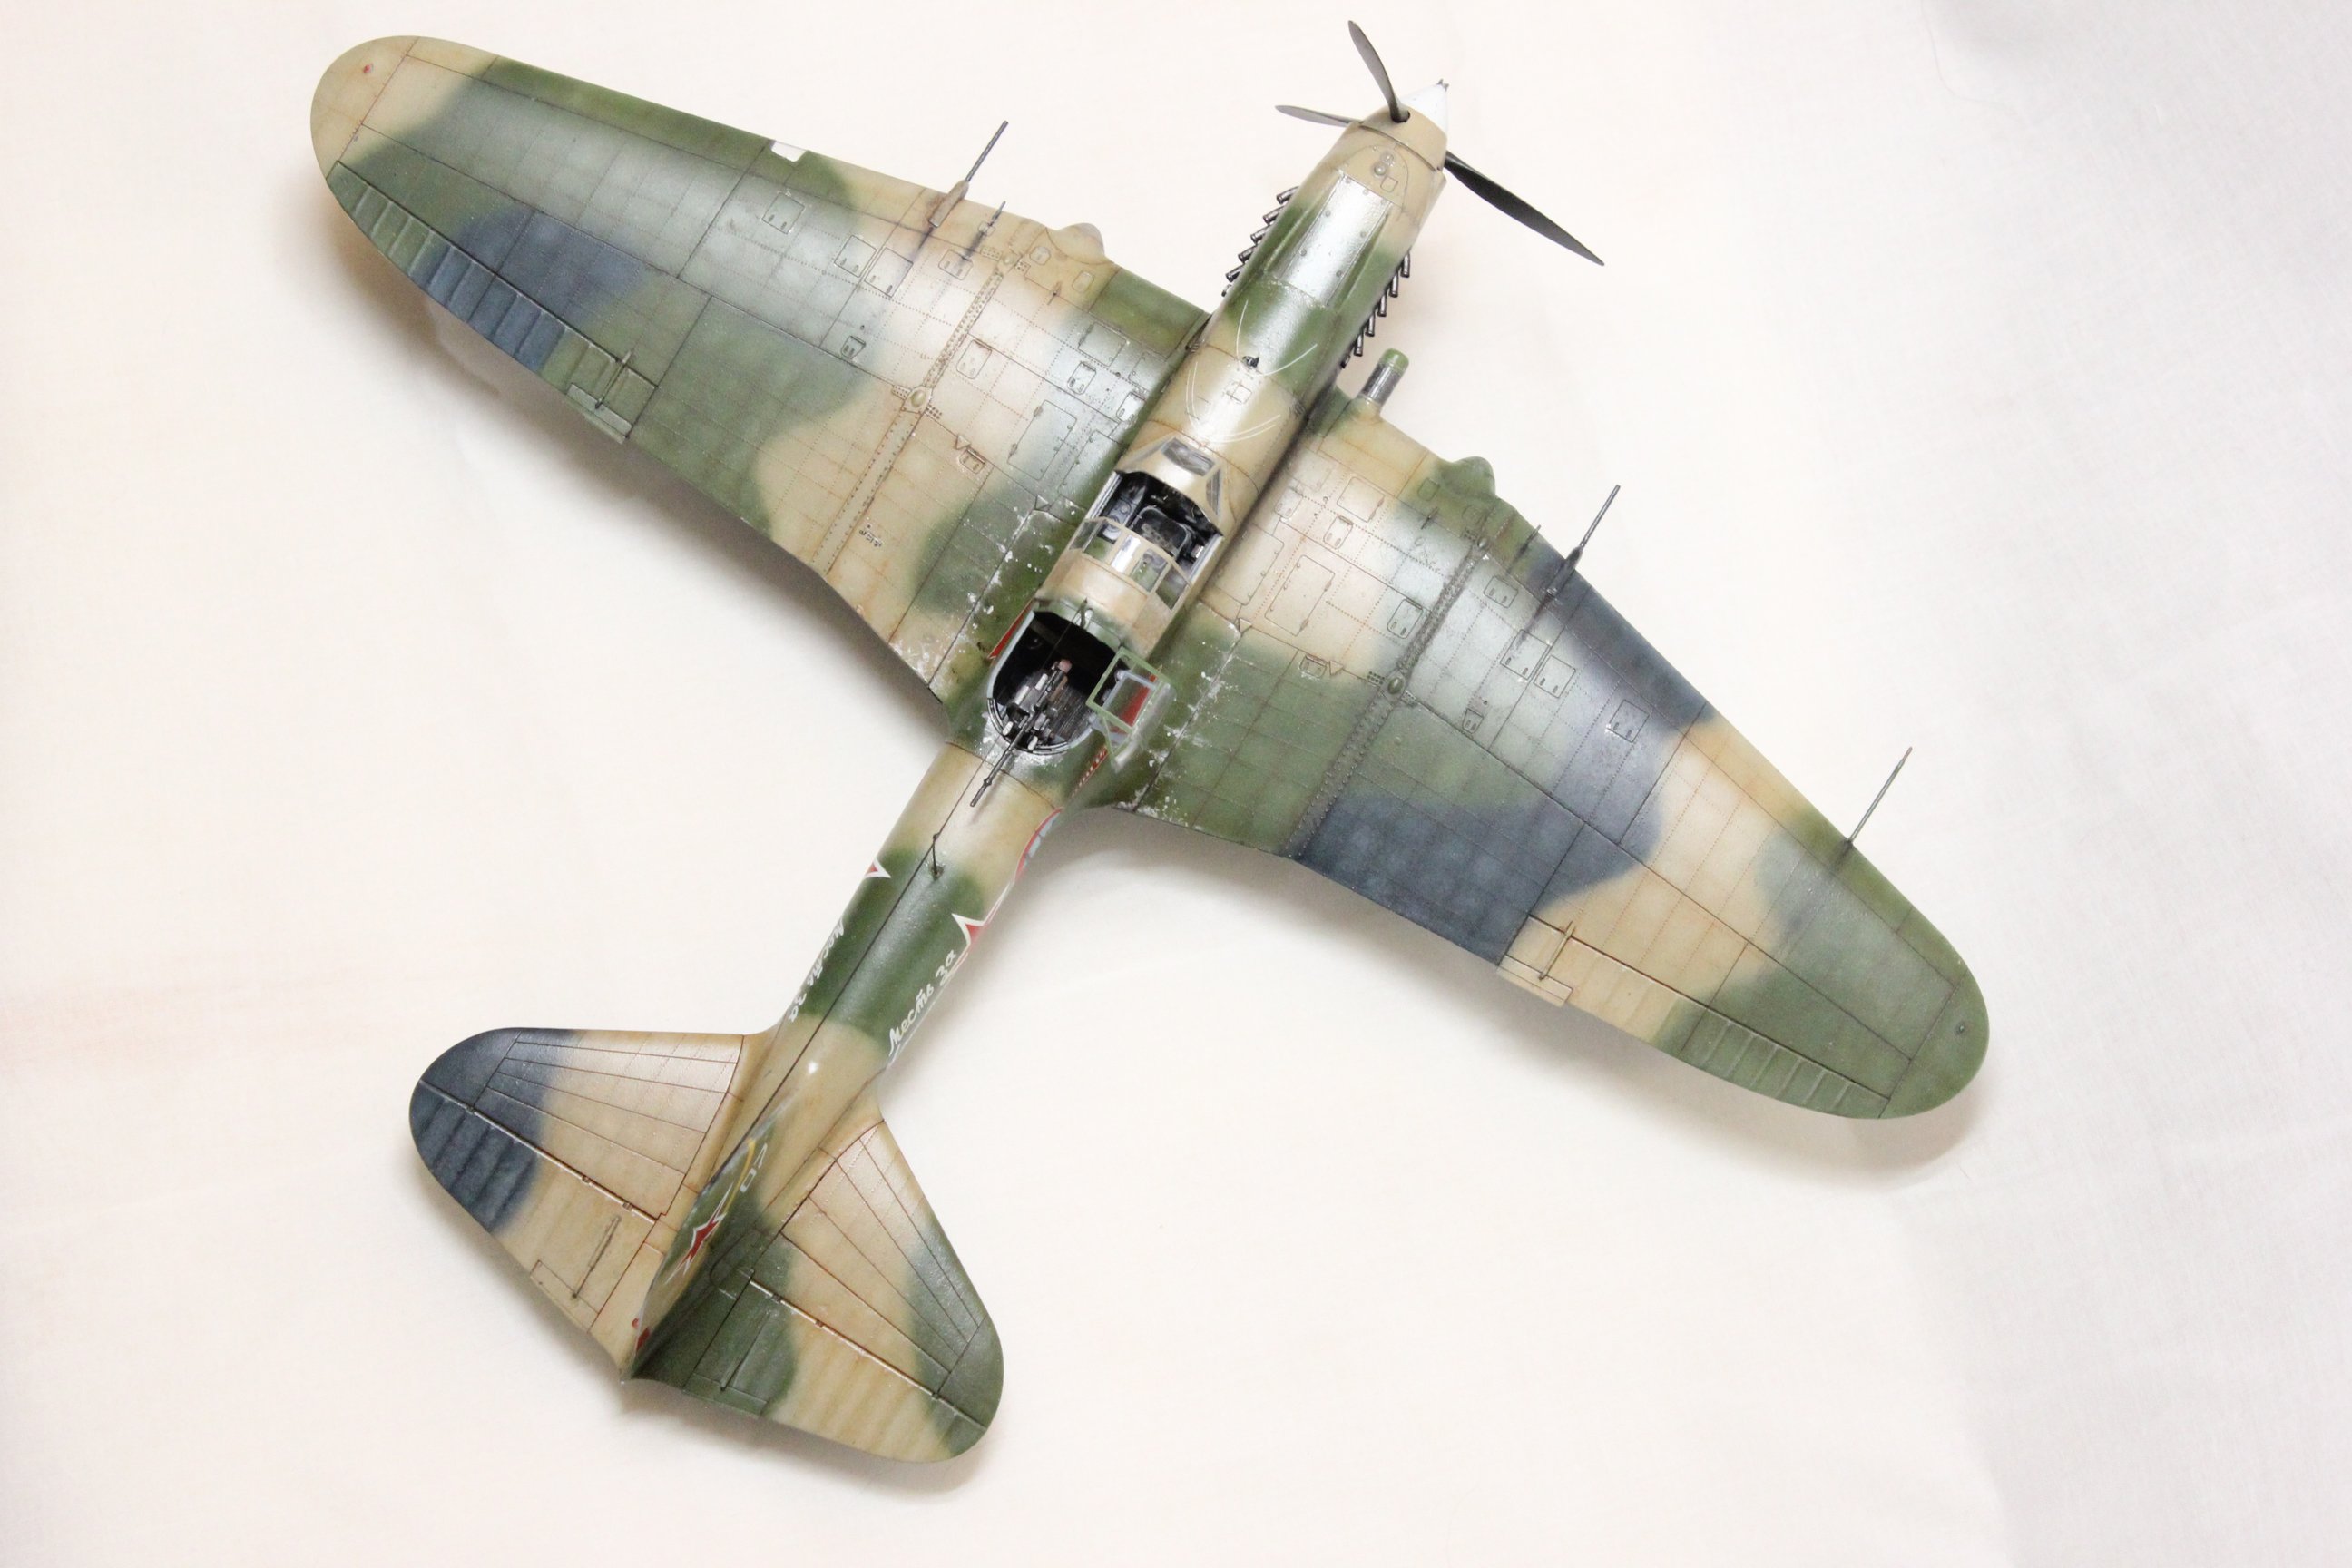
First time trying rivet lines, also. It’s a work of patience, but it ended up ok. A few lines went off script and I could have pushed a little harder ( some lines didn’t imprint deep enough ) but overall I’m happy.
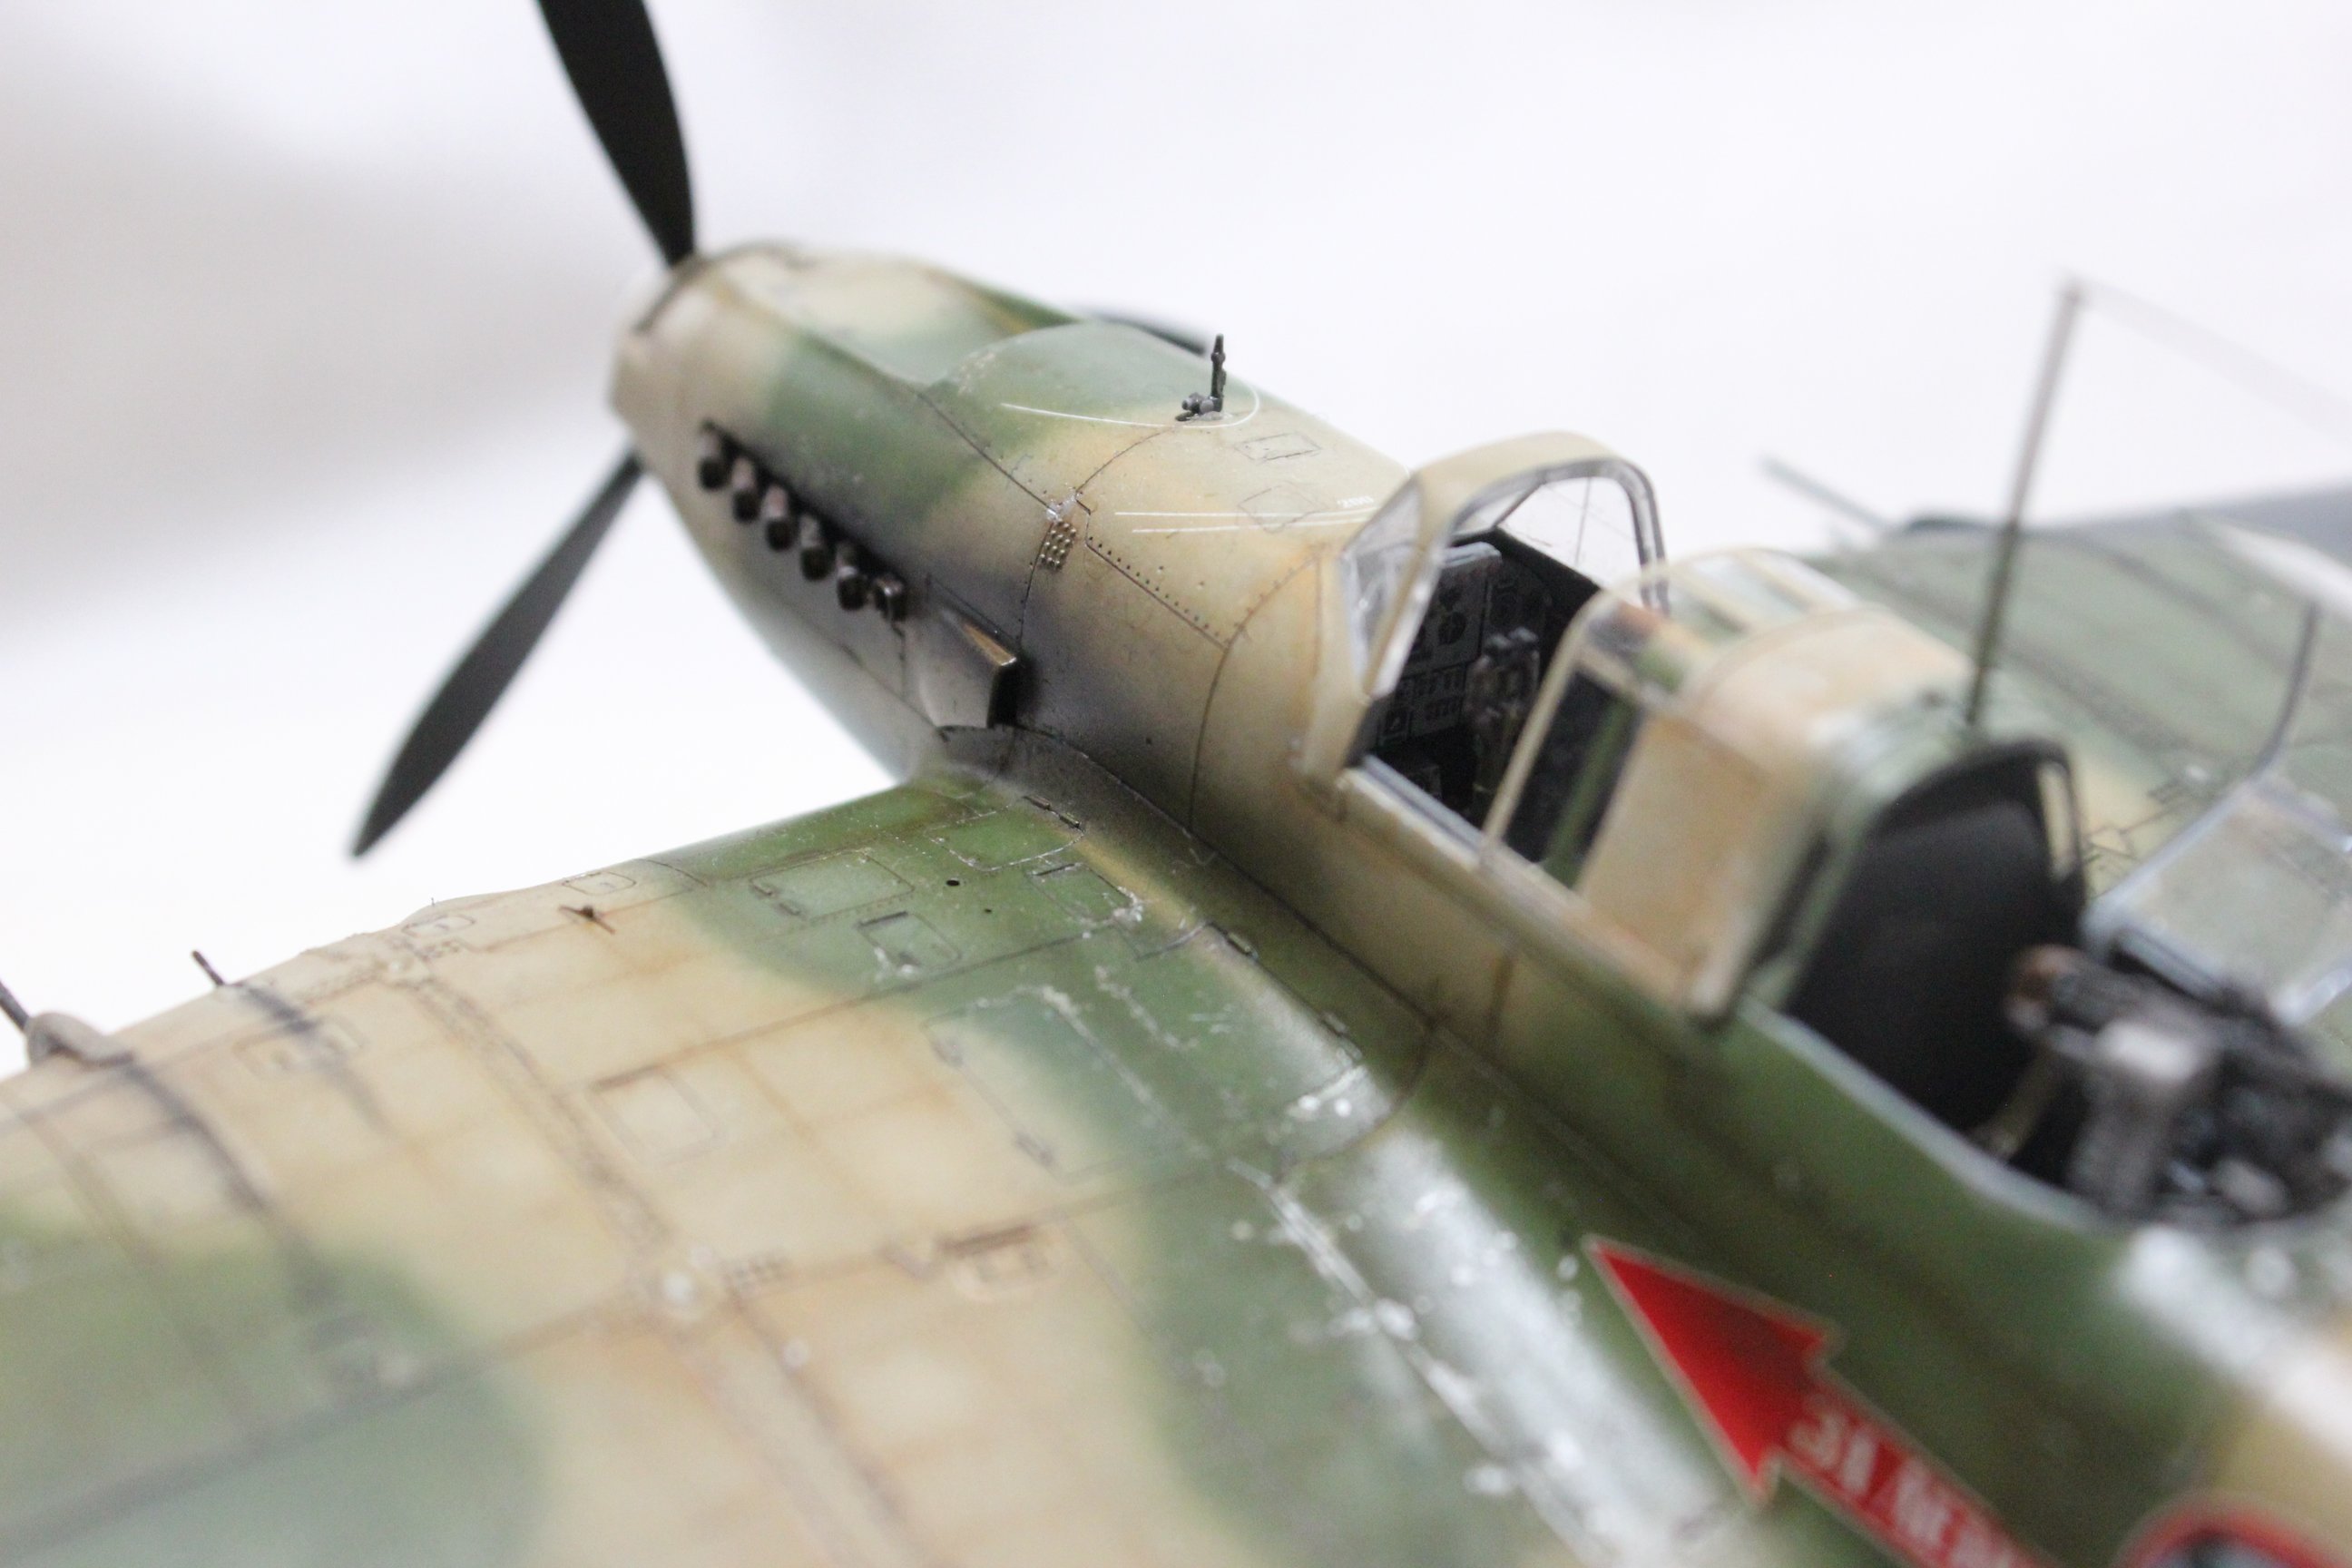
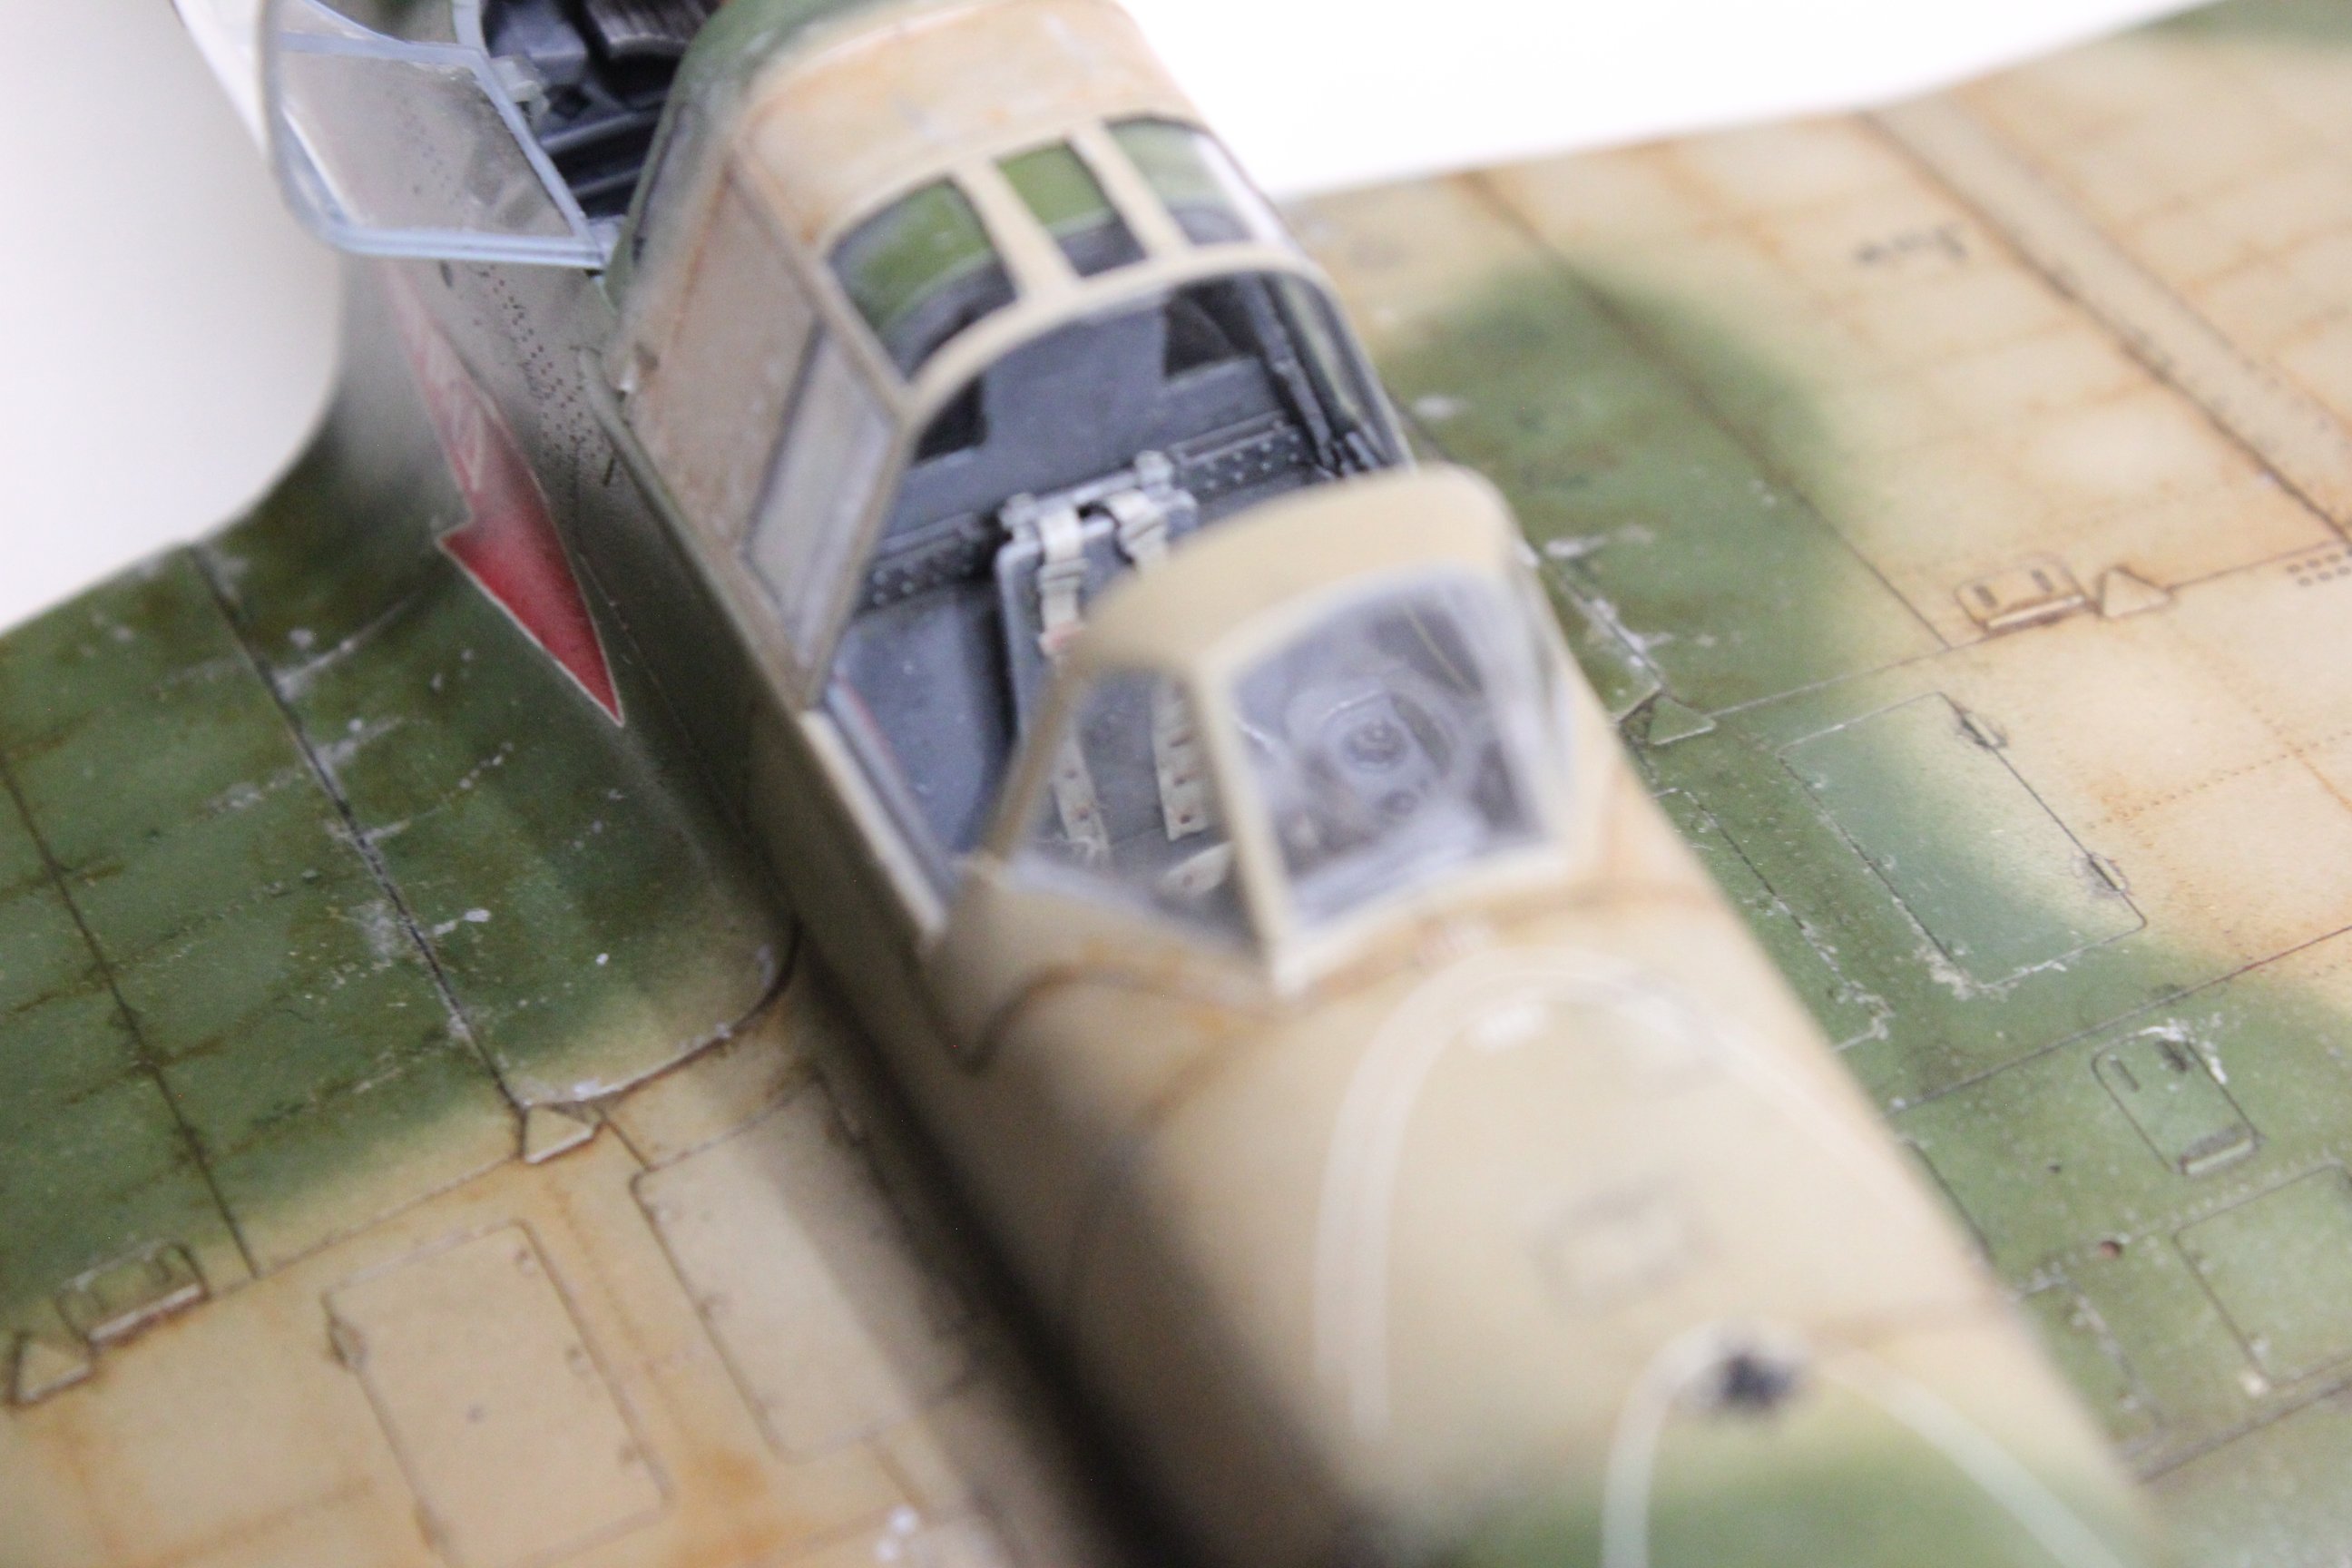
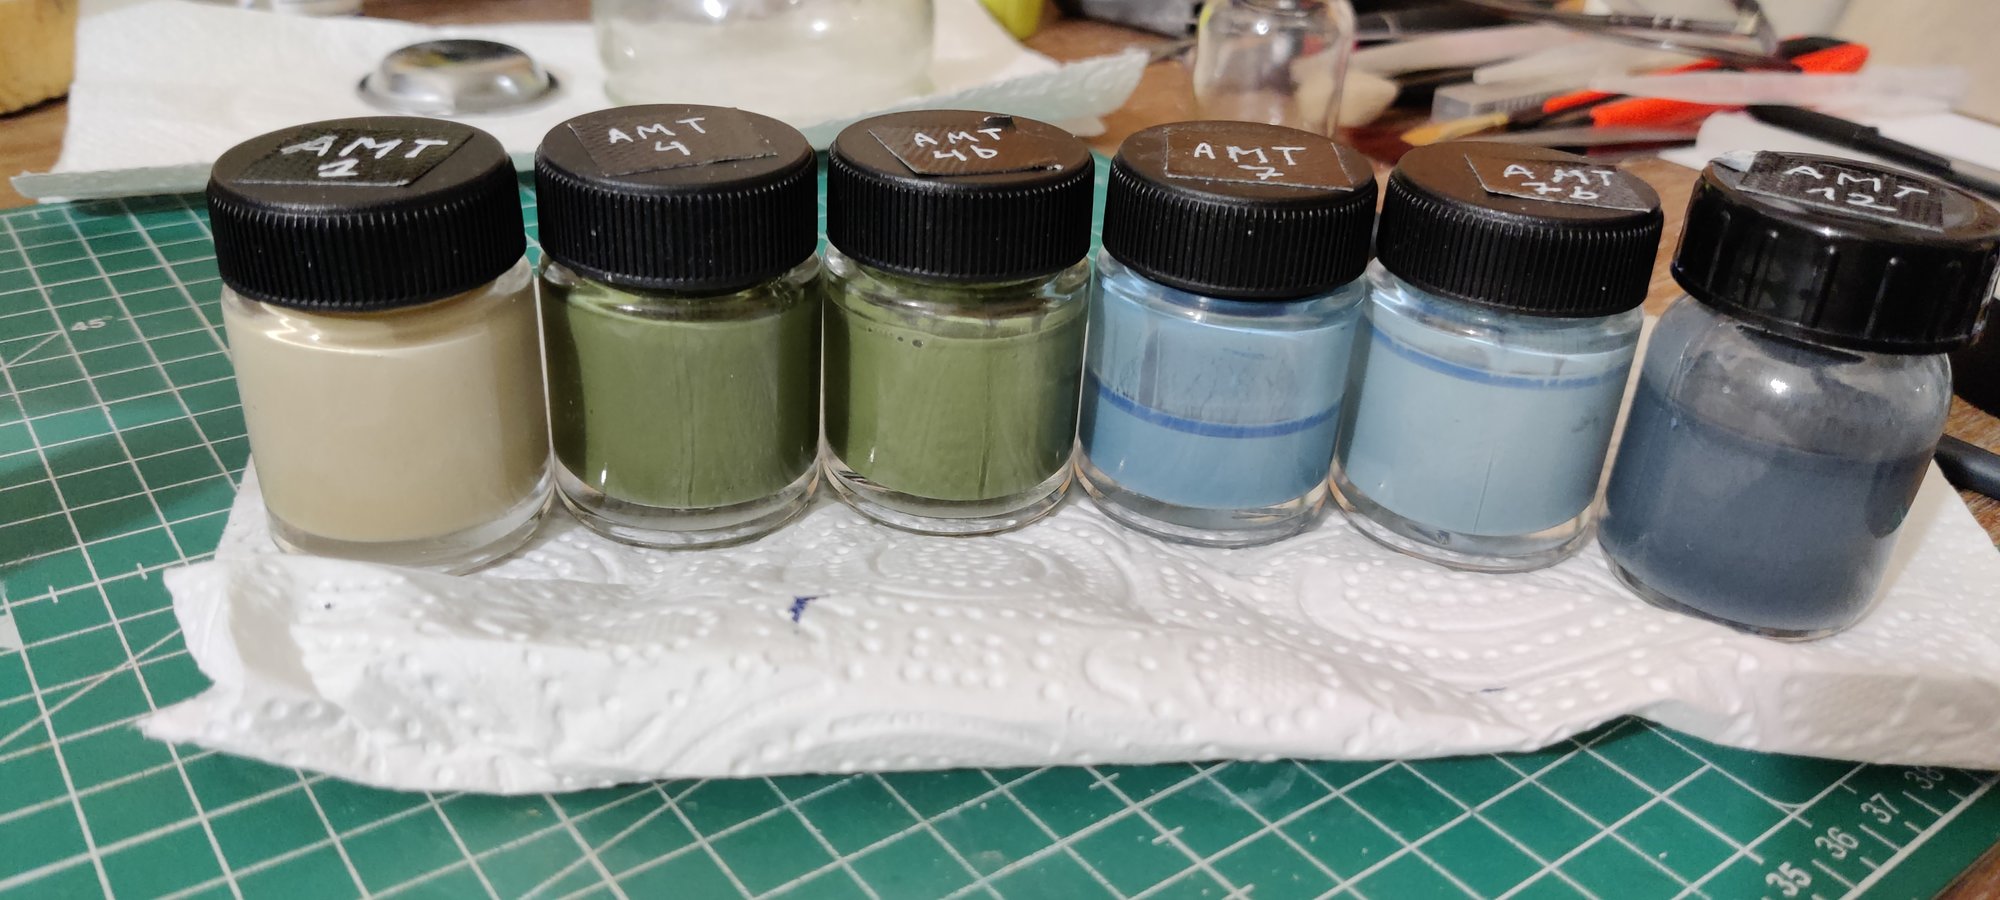
It was also my first time hand painting the camo ( and my first time doing a 3 colors camo, too ). Pretty cool stuff. I thought of going green - tan - black rather than tan-green-black, because green could very easily glaze on tan. Which it did.
Again, spraying the clear coats proved impossible, so I just decided to use cans again. It’s just simpler. It works.
Decals went no trouble. And there weren’t a lot. Definitely less annoying than the Messerschmidt’s endless little notes all over the plane !
Oils are always a fun step. I do not master them yet, but I’m starting to ‘get it’ I think.
Ultimately I elected to not add pigment to simulate dirt and mud on the wheels, because I intend to try my hand at making a base for this bird. Mud will help blend the model and the base, I believe.
Maybe I’ll do the car then, too.
Anyway, sorry for the long post and many pictures, I suck at making selection !