Here’s one that went a long time without any real progress on it because I had decided I could run multiple builds at the same time. [bnghead] After two years went by and I hadn’t finished a single one of those multiple builds, I went back to focusing on 1 at a time. Picked this back up in July, with very little done on it, and I’m finally nearing the finish line.
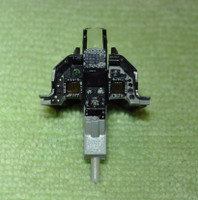
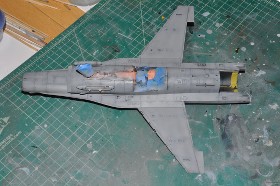
Engine bay top
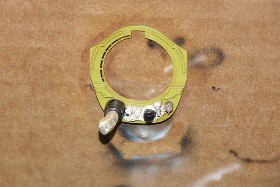
Engine bay bulkhead
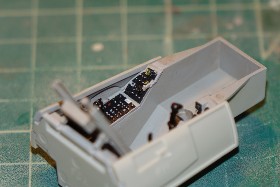
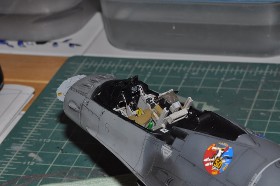
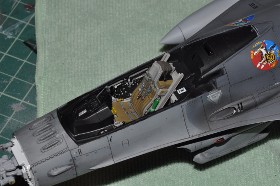
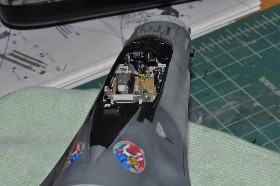
Cockpit tub
Gun bay
UFC and HUD assembly
Instrument panel assembly
Radar
Seat
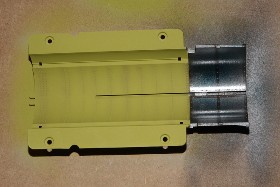
Engine exhaust
Engine
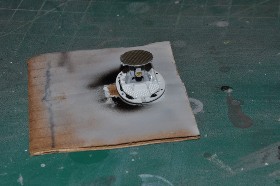
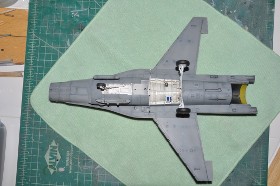
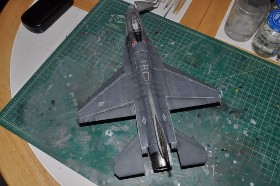
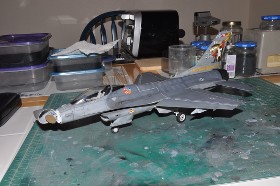
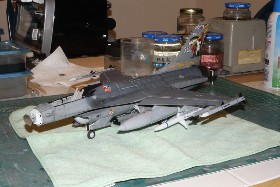
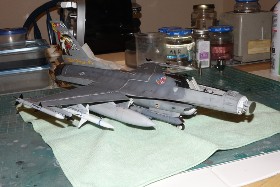
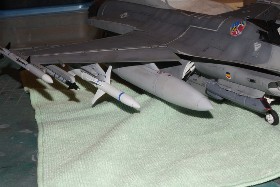
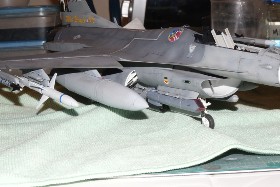
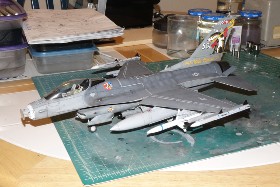
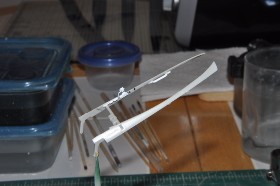
Bottom of fuselage masked
Unmasked. Beginning gear assembly/
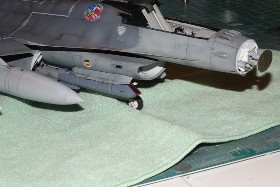
More unmasking and checking fit of some of the subassemblies
The Wild Weasel decal on the upper right side of fuselage was damaged during unmasking. Just my luck that its not in production anymore due to the amount of time this thing sat. Gonna have to get creative for solving that problem…
I had a recent “chat” with you on this model on a recent post. I’m doing the 1/48. Im finding the 1/48 scale takes a little thought as far as building sequence but it’s a really nice kit. I’m sure it’s big brother is similar. Looking forward to seeing yours completed.
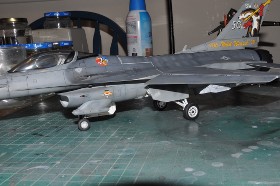
Looking forward to seeing yours as well, wpwar11. So far, attaching the landing gear after the painting, decaling, and weathering was done is working out well. That intake/main gear section is definitely something I hesitated to deviate from the assembly instructions on…tried it once and pretty much had to start over with all new parts. Good thing there was Ebay.
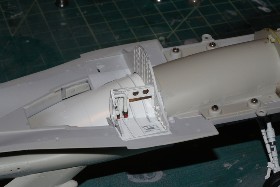
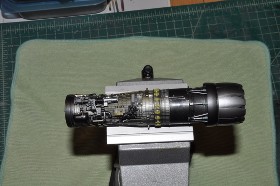
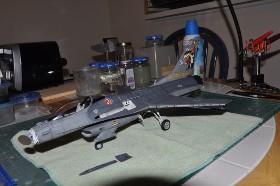
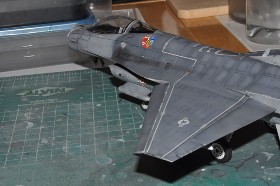
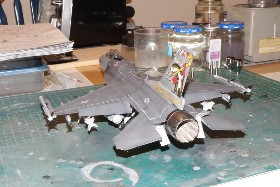
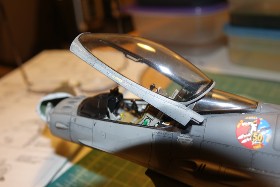
Got the last of the “fiddly bits” attached to the bottom of the jet, so it was finally safe to install the seat and the instrument panel/glareshield/HUD assembly. Just have the radome to finish, and the speedbrakes and vertical stab to put on. It’ll be basically done, but I’m working on scratchbuilding the MTU for JHMCS system.
Got the JHMCS system scratchbuilding done on the MTU and its bracket. Got the assembly secured to the canopy rail. Next, I have to run its cable and paint everything black.
Over the past few days, I finished the canopy rail details and added canopy assist handles, along with wiring and connectors for the JHMCS MTU.
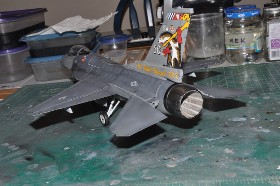
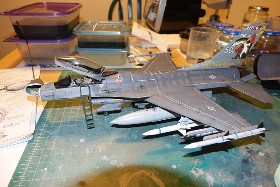
All done…just needs paint.
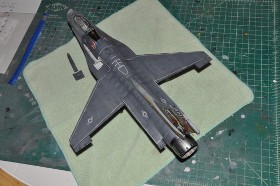
And here it is all painted, with the canopy permanently attached.
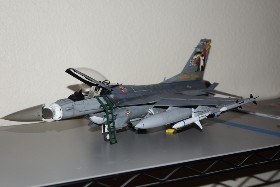
And tonight I finished it. The only thing that is curing overnight is the epoxy I used to seal in the tungsten putty I packed into the wheel chocks to make them heavy.
Just beautiful. I’m almost finished mine too. The stencils below the canopy are hard to see. The ones like “rescue” inside the arrow. Is it just the light?
Congradulations on getting it done. I hope I can get mine to look that good.
wpwar11, yup, its got something to do with the lighting and exposure settings on my cameras. I’ve got a Nikon D90 and Sony DSC-RX10 that I normally use for nature photography, so I haven’t quite got the hang of doing close-up work indoors just yet. The serial number stencil on the tail is very visible in-person, but in the photo it looks like I forgot to put it on or something. Only happened after the flat clear coat went on…must diffuse the light from the flash and mask the color or something…weird. Just keep working at your Viper a little bit at a time and you’ll get there. This one was started 3 years ago, before I got sidetracked by trying to do multiple builds. Heh…the year-long fight for my life that started in 2019 didn’t help either.
Here’s a shot of the bird, with the completed chocks on the wheels, spending her last night on the construction shelf. Planning on taking it to work with me tomorrow to put it on display in my office.
Wow. That comment about the fight for your life caught me off guard. I read in another post you are my age, 51, or close to it. I don’t need to know the details that is your personal business I just hope you are healthy and living the best life you can. I need you here on the forum to teach me pointers on building better models. LOL.
Mine has been a 4 month odyssey so far with mostly time devoted to weekends. I did start a Spitfire last month just to break up the monotony of a single build. I was getting tired of all that grey on the Viper. Gunship grey, haze grey, light ghost grey, grey, grey, and more grey. Had to mix in a kit with brown and green like the Spit.
Once again you did a wonderful job. It looks like it took years to build.
Yup…just turned 50 a couple of weeks ago. I feel healthier than I ever have I think. When things were at their worst, I lost 30 pounds in less than 2 weeks…pretty friggin’ scary. All of the radiation, chemo, and surgeries definitely took all the wind out of my sails for a while. Glad to be back to doing things that I loved doing, and with a completely new perspective on everything. I hear ya on the grey theme, especially in the cockpit area. Building a Ukrainian Su-25 now, and the cockpits are really colorful. Heh…still chose to do the digital camo scheme though…which is something like 6 shades of…you guessed it…GREY. LOL