I don’t know yet how i’m gonna do the cutaway exactly, but to be sure i cut off a piece of the exaust and replaced with a piece of hollow pipe (piece of Q-tip).
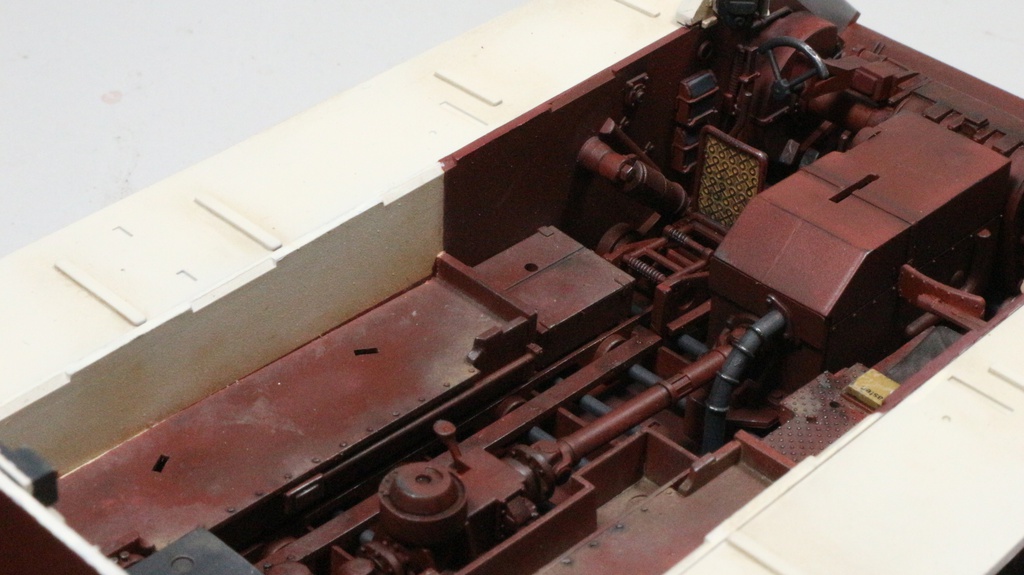
Engine primed and ready for painting!
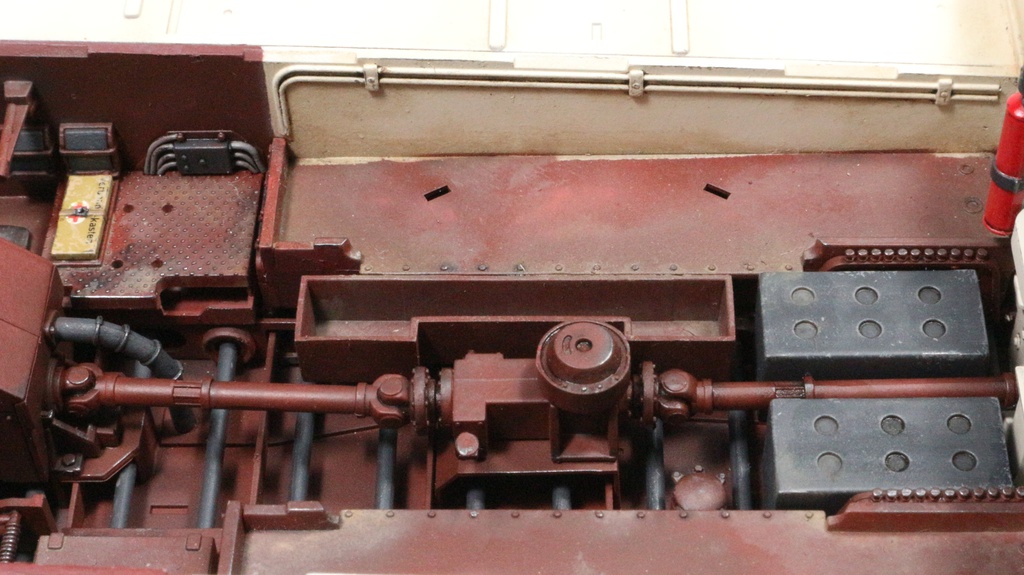
Paint and pigments are still a bit wet on these pictures (they now look way less orange!)
And this is what it looks like with the engine installed (still some minor touchups to do, where i scraped off the paint getting the engine in).
Thanks for the comments, it has been a while since i had to the garden (we moved to another home last november). But i did the shells (a real pain in the @$&&÷) and one of the five figures for the king tiger!
Thank you Wilbur! Usually i go off by painting the eyes first, i start with basic fleshtone or light flesh from vallejo for the “white” and black/grey for the “black”. Make a cross (so horizontal dash for the white and a small vertical dash for the pupil) and align them as good as possible. After that is done i basecoat the face, in this case it was brown sand from Vallejo thinned down so you need two or three layers (if you want a lighter skin tone you can go with a lighter basecoat, but imo lighter looks to lifeless). Carefully block in the area around the eyes untill you have the desired eye size. Now the fun begins. Take 5 or 6 blobs of brown sand and add basic skintone on a wet palletr, so the first blob the basic skintone is almost not noticable and the last blob the brown sand is almost not noticable, thin them down so the paint runs back on itself on the wet pallete. Start by painting the raised areas on the figures face with the first highlight, such as the cheekbones, his chin, forehead (if not wearing some cap), upper eyelids, the tip of his nose and dont forget the back of his neck, top of his ears and the top of his hands. Let it dry for about ten minutes, to prevent the paint getting “broken”. Then on with the second highlight and so on, leaving a small area of the previous highlight, ending with almost the pure basic skintone very thinned doen, applying only a very very small dot to the most raised areas.
After the highlights i go on with the shadows. Throw on another 3 or 4 blobs of the base color and add a LITTLE burnt red to the first to blobs and i say a little because the red can be quit dominating. The third blob i add a bit of black red and on the fourth blob i add a little black red and some black. Thin the shadows down to almost tainted water. First apply the first shadow to the deepest areas of the face like the lower side of the cheeks, around the eyesocket, the sacks under the eyes, under the lower lip, the underside of the nose and around the line where the hair meets the skin. After the first shadow, on with the rest of the shadows, leaving a little bit shadow from the previous shadow and ending with the darkest shadow only a small dot in the deepest areas.
Now blend everything together thinning down the highlights to tainted water and blend the second with the third highlight using the thinned down third highlight and so on.
And thats pretty much it!
Hope u can do something with it and good luck painting the figures


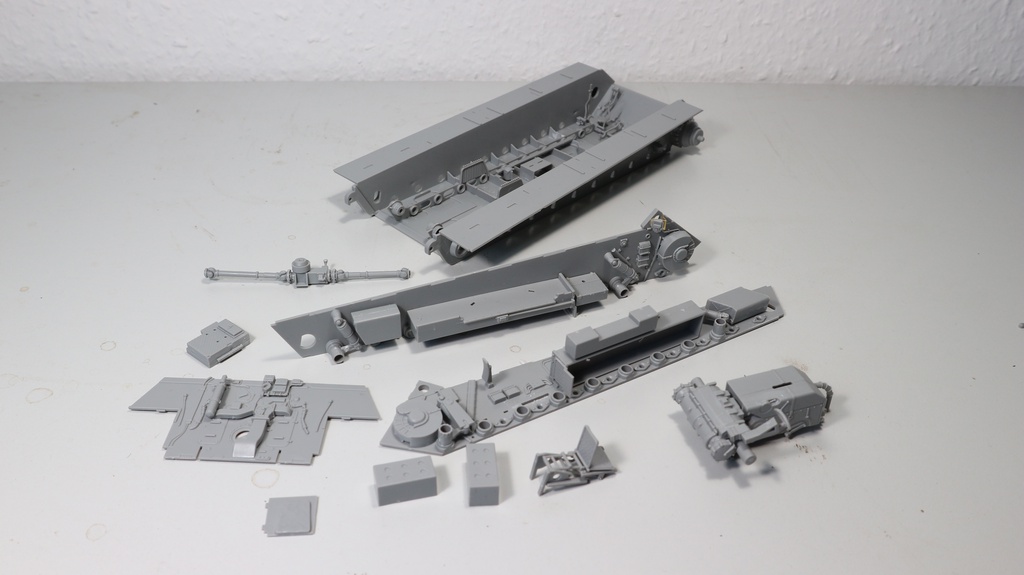


 I don’t know yet how i’m gonna do the cutaway exactly, but to be sure i cut off a piece of the exaust and replaced with a piece of hollow pipe (piece of Q-tip).
 Engine primed and ready for painting!
 Paint and pigments are still a bit wet on these pictures (they now look way less orange!)


