Hi,
I am about to start painting a 1/48 scale Eduard Hellcat. I would appreciate some advice on how to achieve a sunbleached look please. If you have any photos or links to videos, that would be especially helpful.
thanks
Darren
Hi,
I am about to start painting a 1/48 scale Eduard Hellcat. I would appreciate some advice on how to achieve a sunbleached look please. If you have any photos or links to videos, that would be especially helpful.
thanks
Darren
Faded paint is oxidized paint. The UV rays of the sun have broken the mechanical bonds of the paint.
What you generally need to do is paint the plane with the base color but with white added to it to reduce the intensity of the paint. You will need to use lighter shades for the most faded sections, like the tops of the fuselage and tops of the wings and stabs. (Remember to do the same for any decals or markings as well; perhaps easiest to apply these early, and ‘fade’ everything together.)
As a possible alternative, model train hobbyists suggest using a wash of 1 part white paint to 10 parts thinner, air brushed on in barely perceptible layers until you get the look you’re after. As always TEST, TEST, TEST before trying anything on your model.
As far as photos…you might do an image search for ‘AMARG,’ ‘Davis-Monthan’ and ‘Boneyard’; all those refer to the US military’s huge facility near Tucson where whole fleets of out-of-service aircraft are stored…on desert hard-pan under the baking sun…pending reuse, redistribution, parts salvage and/or eventual scrapping. Good ‘bird’s-eye’ photos may be tough to find, but they’ll convey a superb idea of what the sun can do to painted aircraft surfaces.
[dto:]
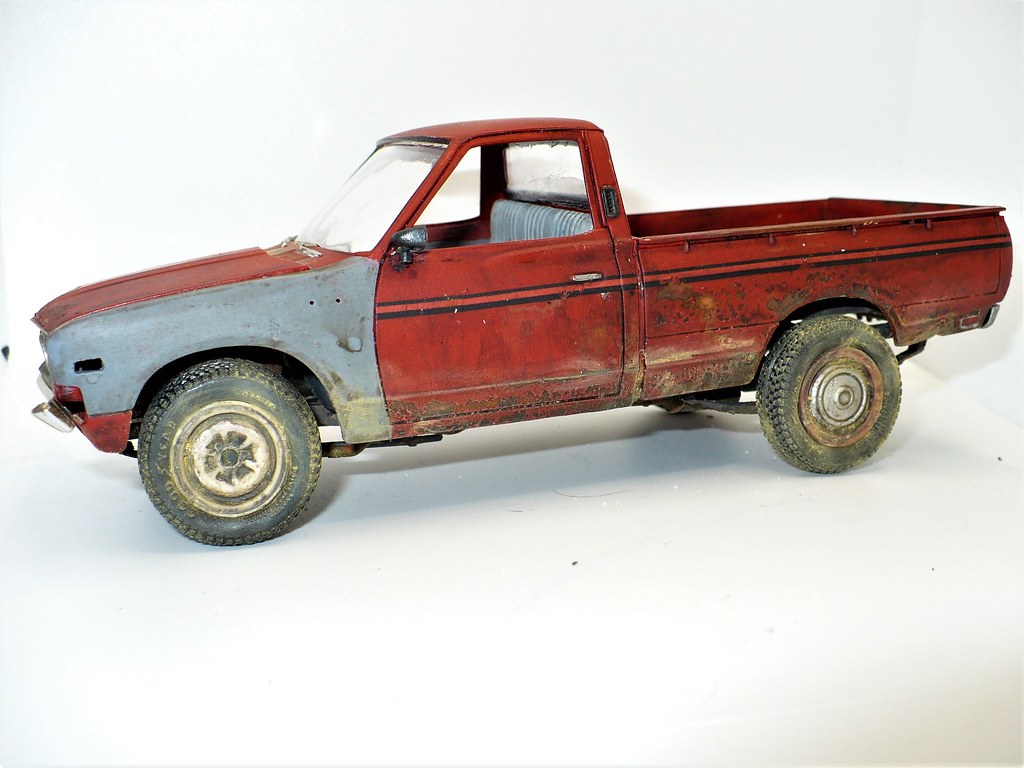
I use a slightly different twist to the theme. I will use a clear flat (usually Testers Dullcoat) with a couple of drops of off white in it. I spray that on all surfaces to I want to look faded. Keeping in mind that not all paints fade at the same rate I may give insignias, different panels and sections that are shaded such as deep panel lines or the inner sections of moving parts more or less of the topcoat. As Greg said it may take a couple of sprays to get the layering built up but it looks better (to me) than a perfectly uniform lighter colour across the whole surface. It also dosen’thurt if you can mamage to have a very small sheen to the unfaded parts while the surfaces exposed to the sun are dead flat. Justtry to avoud straight hard line seperation as the fading should gradually get heavier.
It should be visable yet subtle.
You can see the effect on this one even through the dirt and grime.
Top of hood and roof are very slightly lighter and an almost invisable different tone than the sides. It is easier to see in reallife though.

I’m building the Eduard Hellcat too. I typically black base and then marble various colors to show distressed paint using a very thin top coat of the sea blue. However, the dark blue hid all the marble coat efforts. True to Greg’s words I then went back with a drop of white added to the blue. This gave me a nice faded look to some of the top surfaces. I mixed flat white, sea blue, and medium blue for my base color. Sorry I don’t remember the ratios of Tamiya paint. I also made a mix of paint slightly darker for some panel lines.
I’ve learned the key is very thin paint and build up gradually. As already mentioned practice on something you don’t care about.
The Inner Nerd has a video on the Eduard Hellcat that will give you some ideas too. Will Pattison has a technique for faded paint using oils.
Good luck.
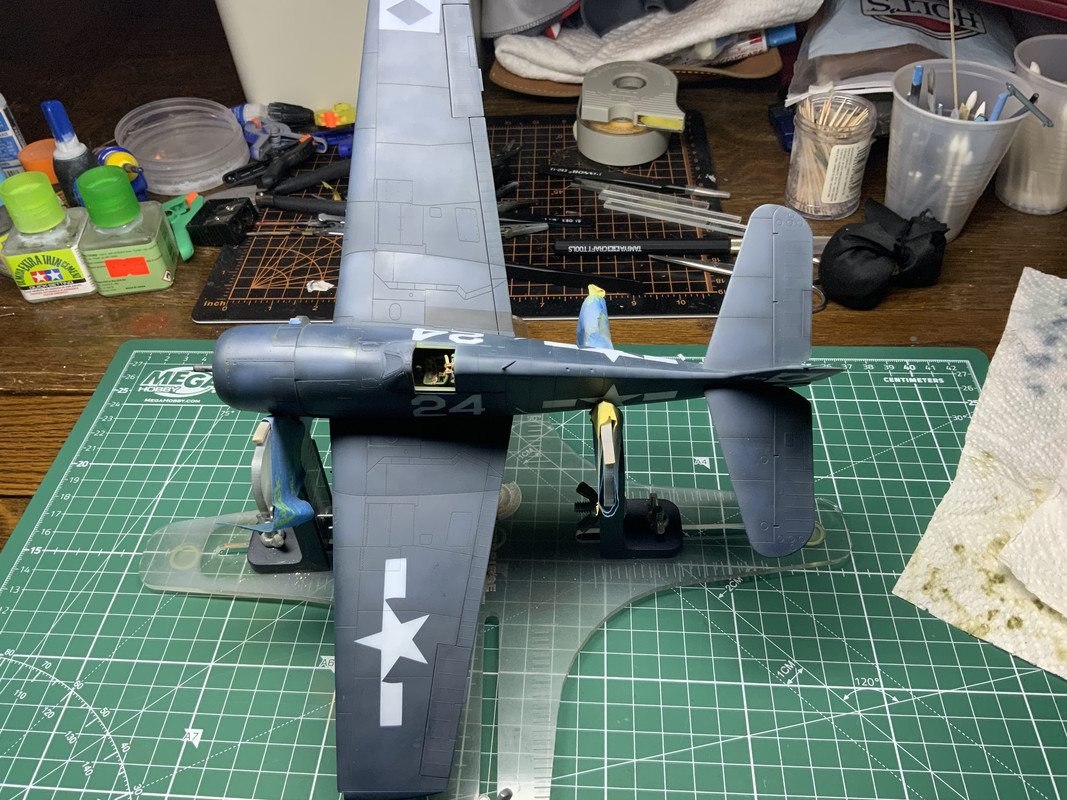 Still some work to go but here’s the Cat. Maybe you can see some different blue tones.
Glad I posted this. I see a seam front of the windscreen that needs to be addressed.
That so for all the replies. Very good food for thought.
Here’s a link to a good Hellcat video, part 1. Part 2 is also available.