it has been an infinity since I’ve posted, but here are some shots.
not that much progress, but you can see that most of the left wingtip lines are scribed
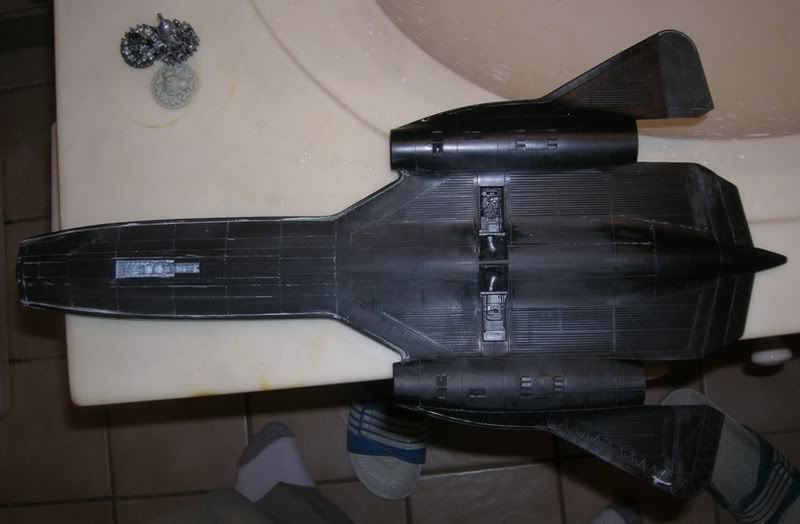
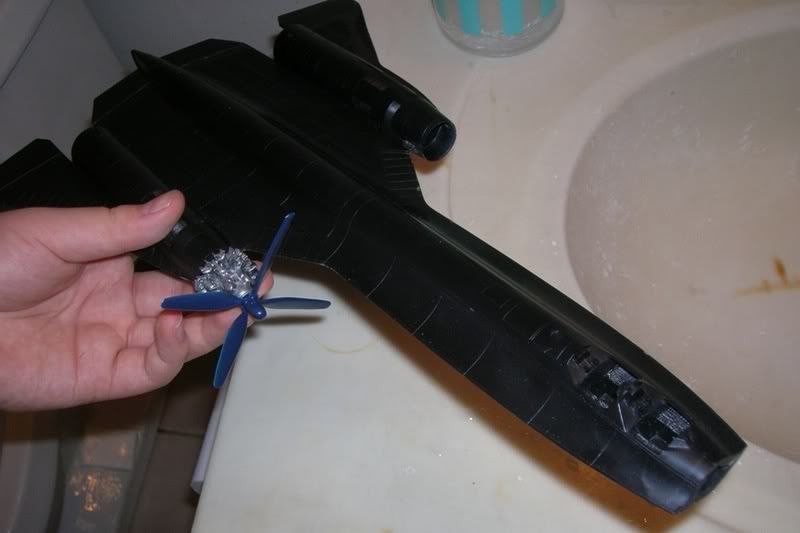
and… for something different
it has been an infinity since I’ve posted, but here are some shots.
not that much progress, but you can see that most of the left wingtip lines are scribed
and… for something different
I have this same kit, I really likec what you did with the office. Any Hint"s you can give will be appreciated.
[:D]
sure thing!
you need a coat of white paint or silver sharpie under the black for this to work. I prefer silver, because if you put on too much white, than the effect of the natural wash will be degraded. besides, after the black goes on, the difference in color is trivial.
so after you build up two coats of the silver sharpie and get it as uniform as possible, lay down two coats of Future. this will help the wash flow better.
next, mix up a batch of black with a few drops of white in it. full black will make it look too stark and less… cockpity… cockpitlike?..cockpitness…? and then add some acrylic thinner until it is a little thinner than 2% milk. I didnt use detergent in mine, because I didnt intend for this to happen. I just overthinned it and decided to apply it anyway and came up with this result as a serendipity.
once your wash is mixed up, touch a paintbrush to the surface of the wash, and the brushwill load itself by capillary action. next, touch the tip of the brush to the desired panels, and the paint will unload. if it does not unload, apply it using normal painting techniques.
more often than not, the unloading of the wash onto your panel will leave a drop, rather than a wash, so take the same brush, and touch it to the drop again, and the brush will suck up just the right amount, leaving the washes between buttons and exposing only the tops of the buttons silver. multiple applications of this method may be necessary to build up enough color, especially because it is a thin wash afterall and there is Future underlying it. same procedure goes for the instrument panels
after you get the panels with tons of buttons and dials, mix up another batch of the same color paint or just build up lots of coats of the wash on the flat surfaces. when you are mixing the colors, split the batch into thin and no thin sides. I personally prefer multiple applications of the wash, because unthinned and thinned paint will probably have differences in opacity.
at this point, take a toothbrush and scrape over the buttons where the wash managed to stay on and not be picked up by the brush. this will take away any excess and will reveal the buttons.
as for the backseater’s screen, I went over it with silver sharpie (because I foolishly flooded it w/o thinking about it) and then after an application of Future, I took a finepoint sharpie and outlined the raised detail. after another coat of future, I applied green sharpie to it, and since sharpie is not too opaque over itself, the underlying black showed through, and the silver made it look like a screen.
Future between coats of different colored sharpie is highly recommended, because my collection of sharpie markers tend to rejuevenate the underlying color and mix it together in an ugly combo.
there you have it! once you get it to your heart’s content, AB it with flat clear and then apply your favorite dial face material. Mine is Future, but I would love to try microscale clear or whatever [:D] at this time, silver weathering on the flat panels may be done, but I stayed away from that.
hope I didn’t bore you to tears. I tend to ramble when I explain stuff [:)]
hope it helps and good luck! [tup]
Now that would be COOL !
Bud
Not quite the same amount of thrust as a J-58 though, especially if you cut the prop diameter down enough to clear the chines.
Darwin, O.F. [alien]
Hah hah, no wait, that WOULD be a cool-what if… You could use a honking big set of counter-rotation props like those used on a Bear, and cut slots in the chines to accomodate the prop diameter. Where’s Ed when you need him? He’d eat up something like that.