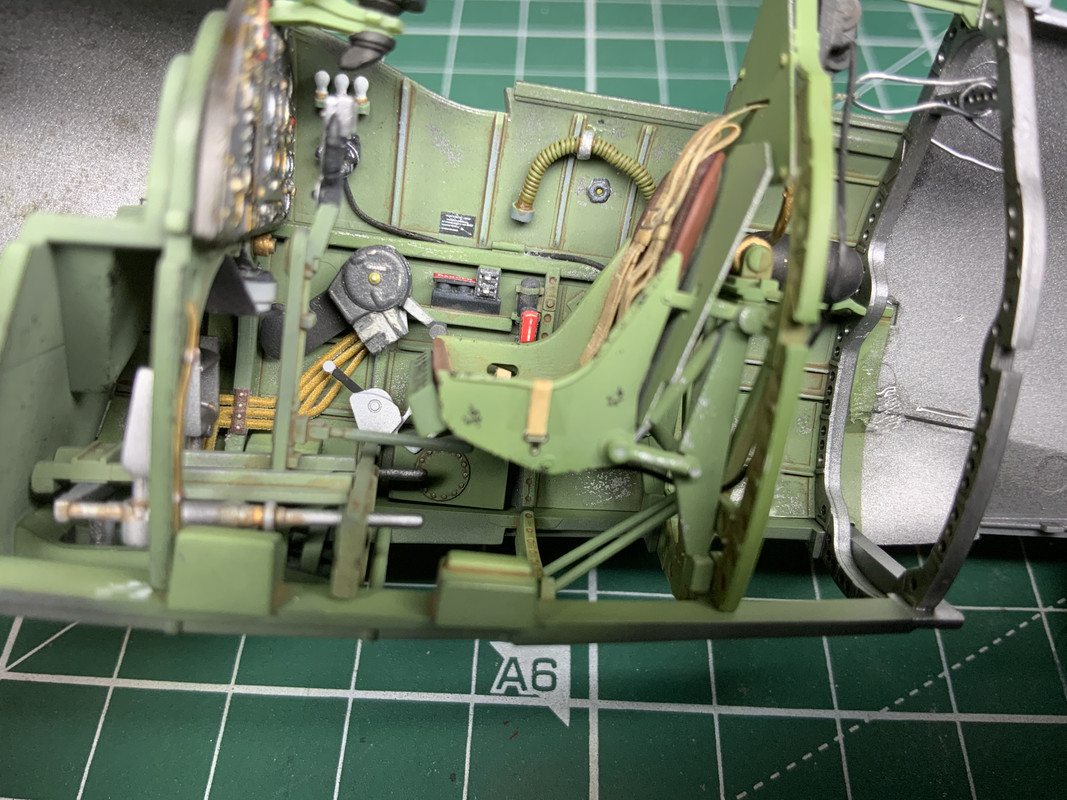
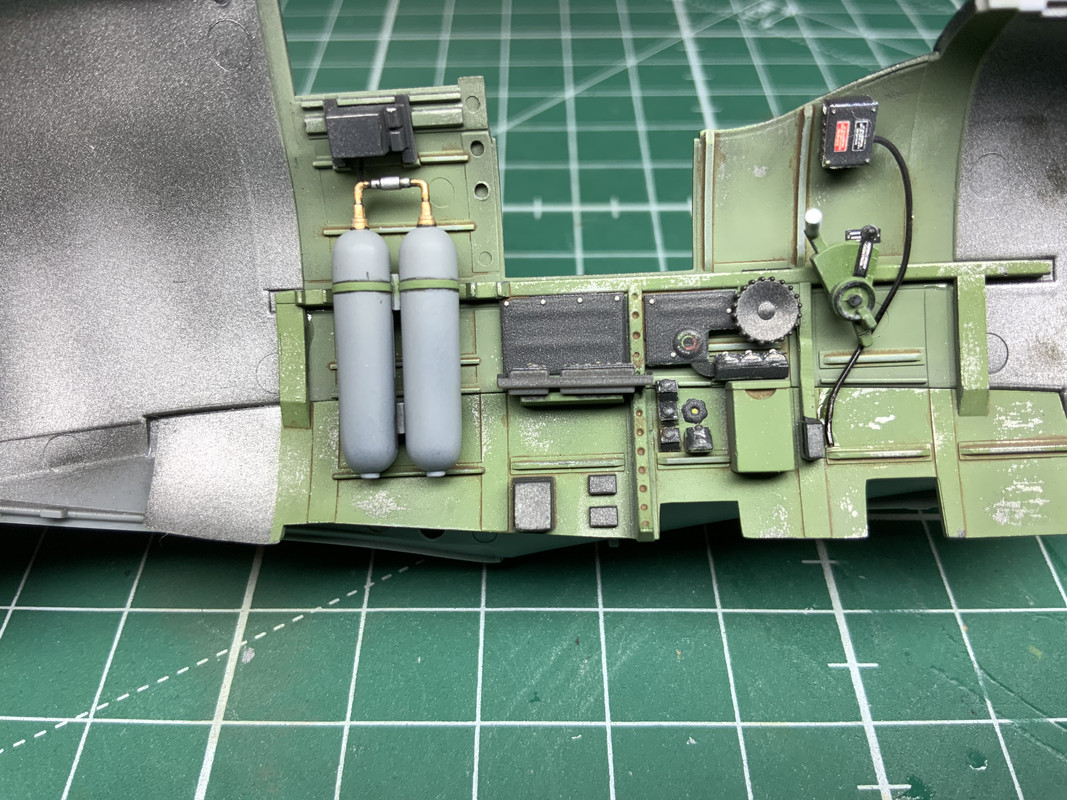
 Before I close it up just wanted to post the completed cockpit. Mostly happy with the results. Quinta detail set and scratch built the oxygen hose. HGW belts. I wanted to create a loop on the harness. I think it sits too high. Having an issue gluing the small wires down and some glue visible. During dry fitting the fuselage together they are not visible.
Please offer criticism or ideas on improvement. Thanks for looking.
Nicely executed Paul! I can’t really see the visible glue spots you mentioned on the wires, but I can make a recommendation there. If you happen to have some Future or Pledge Floor Care, that stuff makes the absolute best, totally trasparent adhesive there is. A lot of people swear by PVA glues and say that they’re transparent, but they really aren’t if you compare identical pieces where on one you used PVA, and the other you used Future. The difference is like night and day. Any excess Future that shows around the edges of a part? That completely disappears as soon as you hit the assembly with the clearcoat of your choice.
Also, just a hint on the Quinta decals. I have found them to be a little too shiny, so what I’ll often do is use a liquid masker to temporarily cover the glass instrument bezels and then hit the whole panel with MRP Super Clear Semi-Matte. That sheen most closely matches the sheen of the panel and instruments in 1:1 aircraft. After that, just use a needle scribe to gently pick the liquid mask out of the bezels, and I think you’ll be really happy with the result.
WOW! It’s as if I’m looking in a reference book on real Spitfires! Excellent detail work
tjs
Thanks Eagle. I’ll try the Future trick. You’re spot on regarding the shiny Quinta parts. I did hit them with MRP matte. You can’t see the instrument panel but I used diluted Flory wash to tone that down. I just carefully ran a small brush over the panel being sure not to hit the shinier dials. I think I used light grey or what Flory calls concrete.