Special Hobby Heinkel He115 B-1 COMPLETE

Howdy!

Starting work on what should be the fifth entry in my Year of the Axis Build with a really neat looking seaplane, the Heinkel He115 B-1. This warbird was noteworthy in its role against shipping in the North Atlantic along the convoy routes from the US/UK to Russia, and the particular aircraft that I am modeling reportedly was involved in the attack on PQ-17 in 1942 (a disastrous convoy for the Allies).

The kit is by Special Hobby in 1/48th scale.

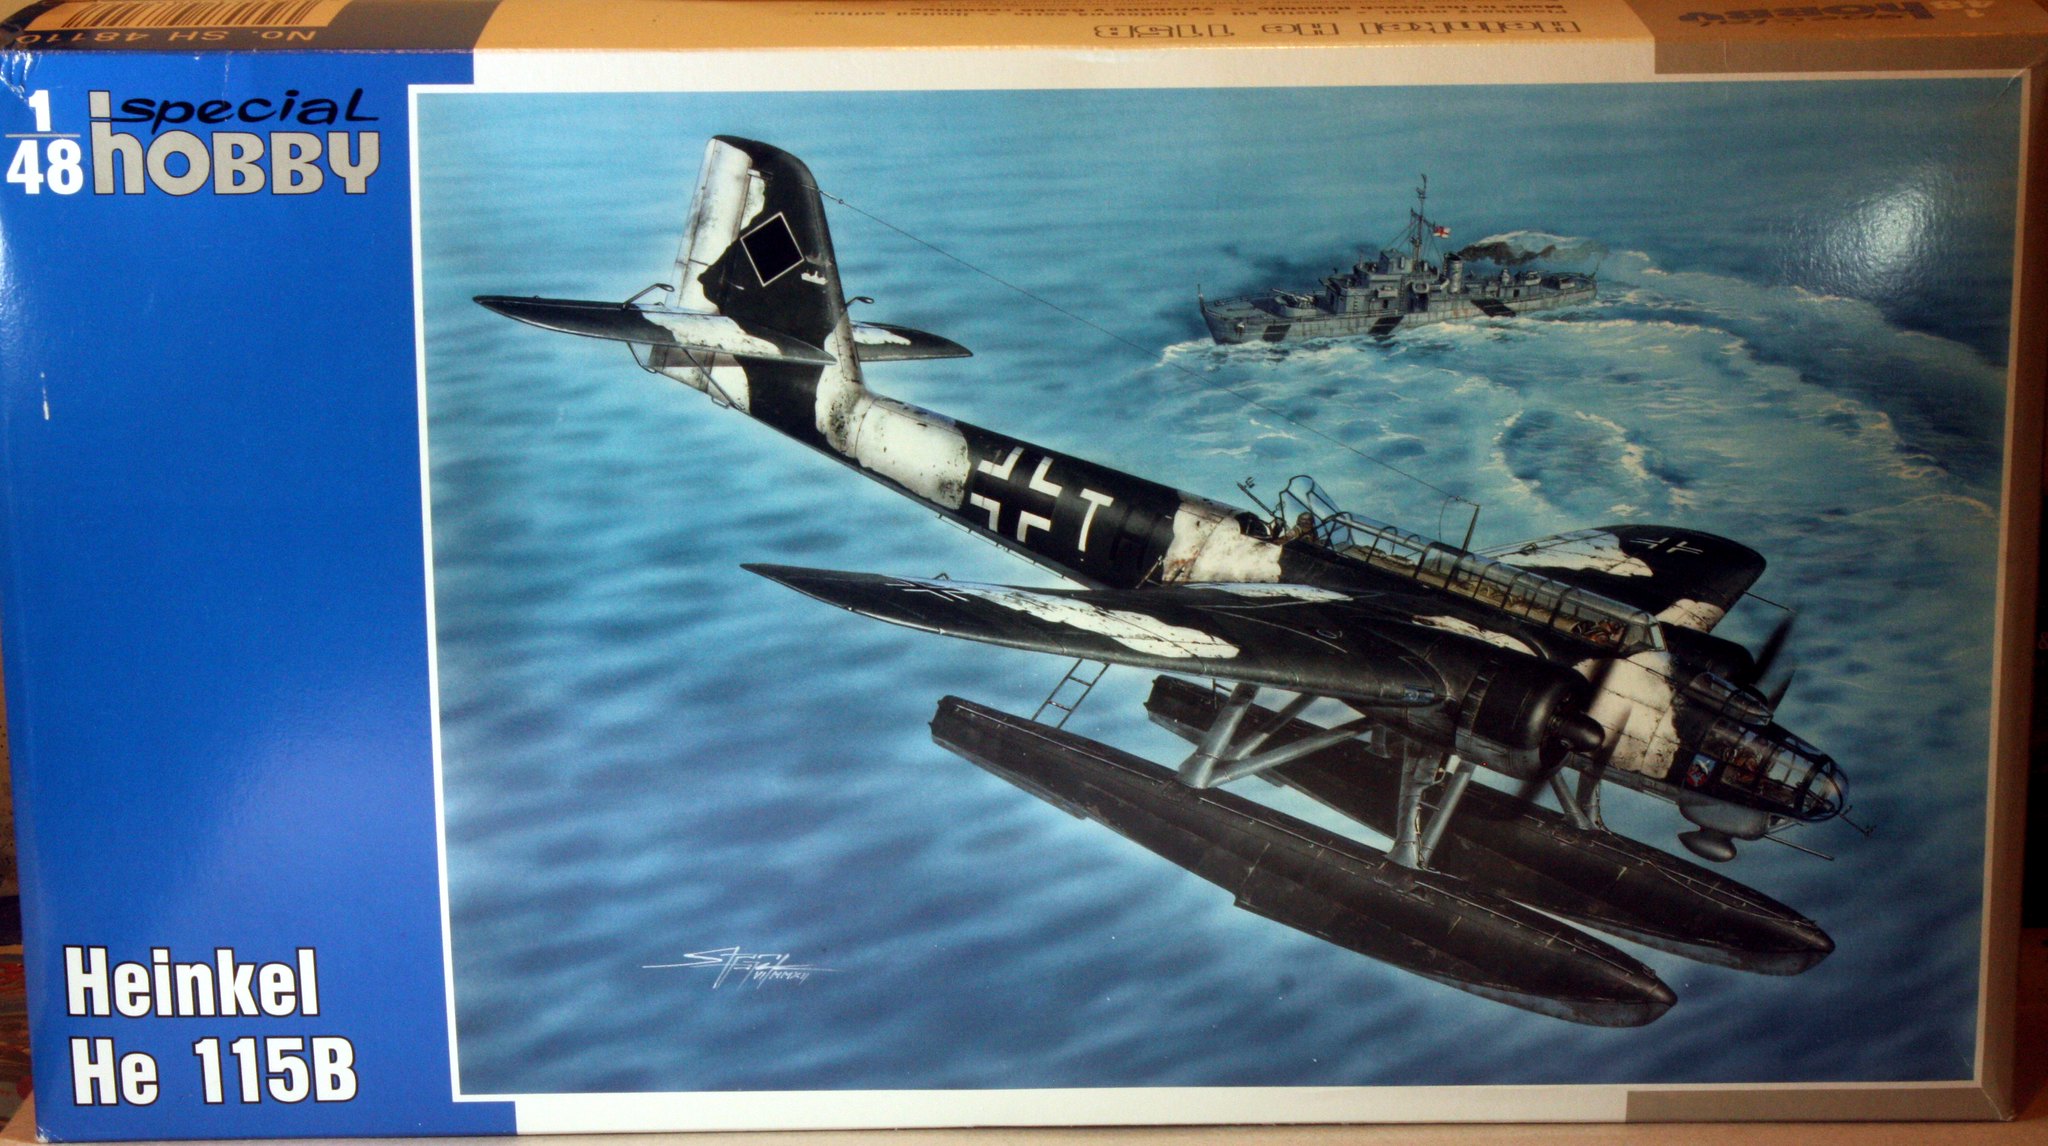
I did not hesitate to pick this one up when I first saw it a few years back. The box art was very appealing even though I was not that familiar with the 115.

I have built a couple of Special Hobby kits in the past, and know full well the challenges that these can present. These are not cookie-cutter kits. They are certainly not Tamiyas, or even Monogram. They typically do not include things like locator pins or any kind of attachment stubs for things like wings or, in this case, pontoon pylons.

Well, to be fair, there were tiny protrubances on each of the pylons, but no way would those have provided near the support necessary to keep the pontoons in place on this model, as it is quite large and likely will be pretty heavy, as models go.

I’ve had a construction plan in the back of my mind for this one since I first inspected the plastic several years ago. Now I am embarking on it. This entails reinforcing the wings with plastic tubing and the pylons with brass rod, and drilling many, many holes in otherwise perfectly good plastic.

So to this point in the build I have managed to get all those holes drilled and cut out lengths of both plastic tubing and brass rod. I also have taken an unusual build approach by attaching the lower wing parts to the fuselage parts sans any other work being done in the fuselage and without the upper wing parts. This is to accomodate structural support work that I expect to have to do to keep the wings in place.

Here are all the pylons with the brass rod inserted.

I’ve done a lot of test-fitting of pylons and pontoons, nothing glued into place yet.

Here are a couple of shots of what I envision for the wing support plastic rod.

That’s it for now. Not a drop of primer or paint yet. Nothing done with the interior. Really just trying to get the engineering done of reinforcing these pylons and wings.

This probably won’t be a traditional WIP with lots of photos of things that we see on builds every day. I’m not detailing anything within the cockpit or fuselage, as the greenhouse will be closed up and prevent any of that kind of extra work from being visible. This may also turn into a slow build for me, given that temperatures have reached into the 90s this week and it is just too dad-gummed hot to be in the workshop for too many hours.

Finally, I’m researching the hairspray method for painting the white camo on this bird. The white was field applied and subject to pretty heavy wear and tear, so should not look factory fresh. I’m going to attempt to capture that look.

Nice, never seen this kit before, i thought the Matchbox and Revell 72nd ones were the only kits of the subject. Looking forward to seeing more. Interesting idea for the wing supports, i have been trying to think of somthing for my SH Me 264.

I built that 264, no photos of what I did but I did install some plastic tubing to support those long wings. That one had even less molded support for the wings, as in none at all, whereas the 115 has a couple of buttresses that don’t act in a support capacity but provide for proper alignment.

I had noticed there was little to hold the wings, and with wings that long it needs somthing. Thanks for the tip, i will have to remember that one.

Looking forward to this one. I literally just got the Swedish version of this kit in the mail today. Same kit but comes with Swedish, Norwegian Navy, and Finish markings. It’s a big impressive kit for sure!

What would you guys think to a 1/32 kit if this?

I’d go for it, as long as its injection molded.

I’d buy one, escpecially if it was a Revell of Germany offering. Although, I’d have nowhere to put it once it was assembled!

You sir, are a inspireration and are in my top ten number one modelers of all time as far as I’m concerned. Thank you for posting and keep up the fantastic work!

Your friend, Toshi

Top 10? Wow, I’m honored. [:)]

I’ve made a small amount of progress. I’ve installed the internal wing support rods and began attaching the upper wing part on each side of the aircraft. Test fitting showed quite clearly that there is not enough support, even with my rods, to keep the upper curvature of the wing in place along the wing root. Special Hobby provides a little lip that sticks out about 2-3 mm, not enough to keep it in place. But I determined that by attaching the wing from the outer edge in, I’d be able to force it to stay where it needs to be.

To that end, I have glued both wing tops at the outer curved edge.

I have also begun installing the interior structural pieces - sidewalls, a bulkhead and the cockpit floor. There will be another portion of the floor, above what would have been the torpedo/bomb bay on some of these 115s. Taking my time getting to that part. I have installed the other sidewall since I took this photo.

As I said in my initial post, I have had experience building kits like this, from Special Hobby and Classic Airframes. I know what I’m getting into with this build. In the next set of photographs, you’ll see another area that is going to cause a problem, potentially. I had noticed it right away when I was inspecting the parts, but left it alone at the time. Now I’m going to have to start dealing with it.

Based on the shape of the canopy covering the rear gunner’s station, and the box illustrations, I believe the shaping of the area indicated by the lightning bolt graphic is correct in the first photo, the aircraft’s port side. The starboard side is squared off. I’ll need to look at photos of the actual 115 to determine which is correct rather than going by what I see in this kit or its box top. If the port side is indeed correct, then I will need to fashion an angled part like that out of sheet styrene, not a difficult process, but getting it into place to match the exterior curvature of the fuselage does seem problematic. If the starboard side is correct, then I’ll simply cut away the angled part on the port side.

I had intended to pose the gunner station’s canopy in the closed position, given that I saw some reviews indicating the clear part is too thick to display open. Not sure now how I will display that canopy.

Well shoot. The momentum to build mine is slowly ebbing. Truthfully, I don’t think I have a Special Hobby kit in my stash that isn’t going to have some kind of issue like that to deal with. Looks like you’re on the right track though.

Off to a great start on the He 115, don’t see to many kits about this aircraft.

I’ve managed quite a lot of work the last few days finishing out the interior. There is a lot of detail crammed in there, and there are more than a few complaints as well. Namely, the lack of positive connection points for many of the parts. Also, instructions that are not always real clear as to where something should go.

Here are shots of the starboard side of the fuselage showing off the RLM 02 (gray) with some Flory black wash in there to give it some depth. Much of this will likely be quite invisible once everything is closed up.

Port side photos.

This final photo shows the bombardier/forward gunner’s mat. I’m convinced with the lack of positioning guides in this kit that if I attempt to put it in before closing up the fuselage, I’ll inevitably put it in mis-aligned to the point that closing the nose up will either be overly difficult or even impossible. I test fitted everything by closing up the fuselage and determining that I can slide this part in through the nose opening, and the alignment will be more or less accurate.

I believe that I’ve already said that I don’t consider this to be a cookie-cutter kit. On the Revell difficulty scale I’d probably put this one at a 4 (of 5). The fit can be maddening. The lack of placement points for things like the rudder pedals is irritating, especially when you see that they did put in a crude placement point for the control stick. Very inconsistent, but then, it is a limited run kit. As such, it’s not bad at all; I’ve built far worse than this one.

Next up is to close up the fuselage. All of the test fitting I’ve done indicates that this may be an act of frustration, but I’ve always been able to test fit it together correctly despite how the parts don’t want to meet properly.

So yesterday I was able to get the fuselage halves mated together. I started slowly, attaching the rudder only and allowing that to dry over a few hours. Then I moved on incrementally over the next couple of hours. Despite all of that, the lack of locator pins still hosed me, with a couple of areas that were clearly mis-aligned. But I figured a bit of surgery would fix that up by either scraping away some plastic or shoring up with some strip styrene.

Today I got back out to the bench and inspected everything. The Heinkel was looking good. I scraped away all the seams then puttied everything with a good layer of Perfect Plastic Putty. Still looking good.

Now I decided was as good a time as any to attach the stabilizers. These parts are among the worst I have ever seen. They actually have decent sized attachment prongs, but they do not fit into the slot in the fuselage. I had to scrape and sand away a bunch of plastic to get them to even consider sliding into the slot. And then, I’m wondering if the person who carved the molds for these parts was inebriated, as there is no way whatsoever to ever get the parts to mount flush against the fuselage.

I had some resistance in getting the first of the stabilizers attached, and exerted just a bit more pressure than normal to get it into place. Then … SNAP!

There went the starboard wing. Broke completely off. The upper half of the forward fuselage also came apart (this is the area where the clear mis-alignment exists). And the instrument panel dropped out.

So now I am recalling the scenes in The Avengers when Captain America says to Hulk … “SMASH” … then Hulk and Thor standing there and Hulk punches Thor right off the screen, followed a little bit later when Hulk encounters Loki and proceeds to smash him on the floor repeately like a rag doll. I am seriously considering the HULK SMASH treatment for this dog of a kit. But I stepped away for a few minutes and considered that I really do like this warbird, and I really do want to build it in this scale, and I really don’t want to smash an $80 kit.

After all of that reasoning, I set back to fixing everything up. First I reset the fuselage joints, then put the stablizers on. Those little [censored] fought me tooth and nail even now, but I got them into place. The wing was actually easy to re-attach given all the tubing that I had in place there.

No photos of all of this, but I am now stepping away from the bench for the remainder of the day while this turkey sits out there and dries. Hopefully much stronger than previously.

Ouch! No wonder the brand is called Special Hobby, LOL. Your decision to press on is admirable. I have a couple limited run kits on the Shelf of Doom for similar issues - at some point I just ran out of patience and motivation.

That’s a very interesting aircraft, but I think I’ll wait for one of the mainstream makers to kit it. Looking forward to your next installment!

Mike

Four days later, and I feel like I am making progress again. I managed to get both stabilizers and the port wing re-attached without incident, but the forward upper fuselage fought a determined battle against all known solvents. First I used CA, followed by several hours curing time with clamps applied. When I removed the clamps, SNAP! Then I used Tamiya liquid cement with a similar drying time under the clamps, followed again by another SNAP! By this time I was beginning to wonder if Thanos is lurking in my workshop with his Infinity Gauntlet. I dug through some hidden away modeling supplies my wife brought me from a friend of her’s who’s husband had given up his hobby due to his age, and voila! I found a tube of Testor’s cement. I was amazed that the old tube was still in good shape, and it oozed right out of the nozzle. So I put some of that in place, and again, out came the clamps and several hours of waiting time.

When I finally returned to my workbench, I took a deep breath and … nothing. The old glue did the job. Of course, the area looked bad, but that’s nothing that a little scraping and sanding won’t be able to fix right up.

This kit is a putty monster, as the following set of photos show. I had putty in the normal areas, along gaps in the fuselage, along the wing and stabilizer joints, and even along the leading/trailing edges of the wings. The only area I left without putty was along the underside of the fuselage where there are a pair of bomb-bay doors (the 115 was capable of carrying a torpedo against enemy shipping).

Here is one of the leading wing edges. It also shows another area of frustration for this kit, the landing light. Note how the upper and lower halves are so misaligned even though the wing itself is aligned just fine.

Here is the area that put up such a prolonged battle against all of my glues.

One final photo - the huge greenhouse fully masked with the Montex Masks I bought for this kit. I’ve been using these mask sets for a few builds now, and cannot recommend them more. Even though not all of these masks fit exactly. Many do but some are clearly wrongly cut, or perhaps it’s the plastic that is somehow incorrect in its placement of the non-glass areas.

I’ll likely augment the masks with some additional masking that I’ll cut out. The curved nose piece is particularly troubling, even though the masks for that part come with little cuts in the masking material that should have allowed those masks to lay down properly around all those curves.

Next up is the engines. The engines are resin that look to be well detailed, although the instructions do indicate a need for added push rods. I’ll be scrounging my materials box for something to do those rods with. Once I get the engines fully detailed and painted, I will install them into the cowling pieces, expecting that there will be more gaps requiring filler. There are some PE pieces to affix to the floats, and then I will be moving on to primer and painting.

Today’s update - two completed engines and a beginning to “glass” installation.

I spent the last couple of days with the engines. These are resin jobs that came with the kit (there are no plastic engines included in this kit). The detail is pretty good but does not include push rods. No bother, I simply scoured my supplies drawer and found some fine gauge wire. Thirty-six tedious cuts later, I had the push rods ready for installation. Here is where I think I made my one and only mistake on the engines - I installed the push rods at that time.

I should have painted the engines prior to installing the push rods, as not doing so made it very nearly impossible to get a paint brush into the tight areas that I really needed to get to. Oh well, live and learn. As they are, I think the engines look pretty good, and for the most part are not going to be real visible once the props are in place.

While working on the engines, I put down a coat of RLM 02 gray on the masked “glass” to represent the interior of the framing.

Here are the engines after push rod installation but prior to painting:

After painting and weathering (photos show me that I need to come back to the weathering, clean up what I’ve done and start over, re, the black squigglys on the gear case is not what I was going for):

Temporarily installed into their cowlings (which themselves need some putty work):

I finished my work tonight by beginning to put into place the “glass” on much of the nose. Some of these pieces don’t fit worth a flip.

This is a slow building kit. Too many distractions and stumbling blocks, and way too much heat here in SE Texas, but I’m nevertheless plugging ahead with a vision of what this bird will hopefully turn out looking like.

Yeah, it got up to 101 hear in Dallas yesterday. The engines and canopy glass look good. Sounds like this one deserves a little extra time and patience but I’m certain it’ll look great when finished. Whoop! [Y]

This summer is beginning to remind me of the Summer of 1980 when we went for more than a month with > 100 temperatures and no rain.