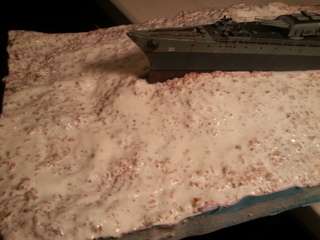
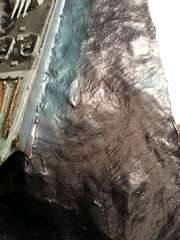
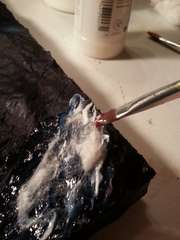
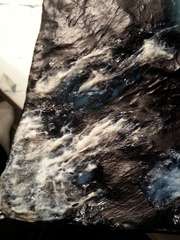
I just picked up the old Revell UDT boat kit and it really screams for a “simple” diorama. I’ve got a small amount of experience doing shallow water (creeks / streams) years ago, but never tried large open water like this would need. I’ve got a couple of diorama books but they don’t spend much time on deep water.
Any recommendations for products to try? I assume I’ll need some sort of clear resin.
I was thinking I’d probably use plaster or similar and paint it in a variety of blues, then put a layer of clear resin over the top so the semi submerged frogmen would be visible and to give that look of being able to see into the water a little way before it fades into the depths.
One of the neatest dioramas I have ever seen was a sunken F4F with the pilot floating above on a life raft. The whole thing was just clear acrylic sheets formed into a box.
The top was textured to depict waves and the raft was set in a hole looking like it was floating.
Think about something like that before you invest in resin and such.
That is a good idea, years ago (many) with my dad’s help I did a small river scene using a piece of glass over a layer of sand and small pebbles which did a good job of looking like shallow water. I suppose the same idea would work for deeper water, maybe tinted blue acrylic, or it could be shallow enough to show some underwater features.
Thanks
Thanks, I wasn’t really looking forward to pouring a gallon of resin.
Listen , If you have a stained glass hobby store in your area they do have this . Clear blue glass in many shades of blue with simulated waves if done right .You can then add the boat on top , The boat bottom on the underside and all the froggy mens -( My grandson’s words ! ) That you want to use .
You could put it over a box base with the underwater scene inside . This way all the underwater work would be safely preserved . T.B.
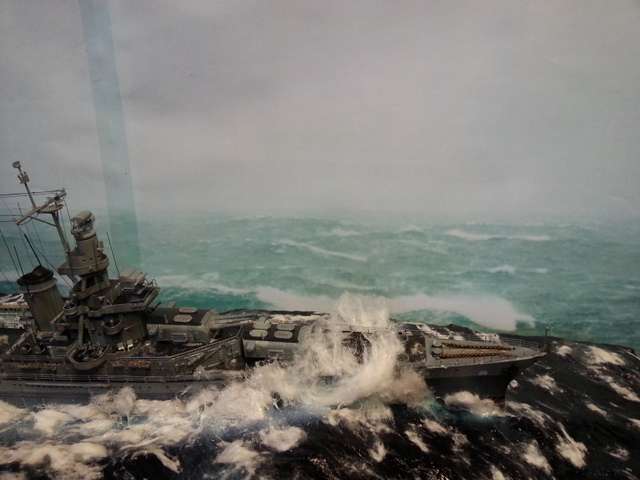
I’m experimenting with artist’s acrylic gel to do ocean bases. Right now, I’m testing with a collection of 1/1200 ship models, just to get the hang of it. The gel I’m using dries/cures clear, though other varieties dry to an opaque color. I’ve found that I can paint a blue base color (a mix of aquamarine blue and thalmic green) on the base, then apply the gel, and the base color comes through pretty nicely. Though, I am painting the blue on the surface of the cured gel, too, in this pass. For wave crests and foam, I’m using plain ol’ white. Once I’ve finished them, I’ll get some pictures up.
Artist’s acrylic gel medium has been my go-to for ocean bases for a long time, but that is basically as many layers of gel on the display case base as it takes to get the wave height I want, not what you are describing. I prefer the clear to the opaque gel because you can get a much richer range of colors as you build the color up with each layer of gel.
Calm water obviously takes one or two very thin layers to complete the base; 50-foot waves in the North Atlantic in winter takes a LOT of thin layers (and can take for freaking ever to dry).
The medhod of building what amounts to a shadow box with glass sides and a glass top for the water surface was the subject of an excellent article by the legendary Bob Santos in the June 1987 FSM. He used the colored rippled-effect acrylic plastic that is commonly used in “fancy” house windows. Sounds like just what you’re after.
Understood. If I were to do deep/high waves and swells, I’d carve a foam base and then use the shiny medium over it. The bases I’ve made so far, using a flat surface and gel, have been in smaller scale, 1/1200 and 1/700, and have represented a elatively calm sea.
Yeah, that’s one that I was thinking of, too. We talked about the sheer weight and dimensions of the finished base.
I’m also curious to try making a hollow base, maybe with fiberglass or paper mache to make the hollow base, and when it cures, then use a shiny medium over it, for the finished surface.
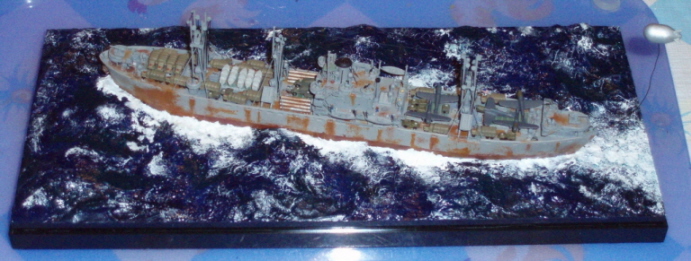
Again, it depends on the scale, how much stuff you have to pile up - I build in 1/700 so a 30-foot swell is only 1/2-inch. Here’s my Liberty ship in the North Atlantic in scale 30-50 foot swells, all done with acrylic gel built up in layers. Not the greatest photo, sorry about that:
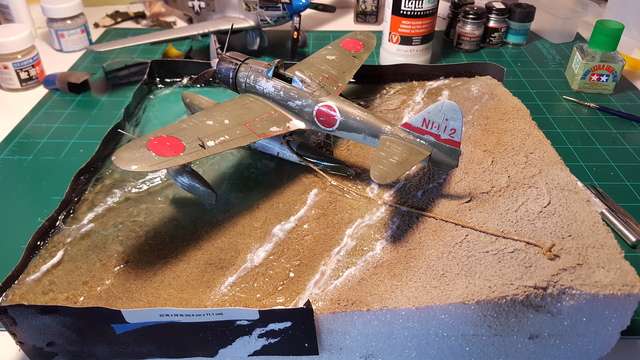
Depends on what you want to depicts. If you want to do a pick up/drop off scene, where the Higgins is motoring along at 10-15 kts, then, build a base up from foam or the like and set the boat and figures in that, and use whatever painted finish you want (I’s probably use gel medium and acryils). If the boat is still, or barely making steerageway, and you wanted to show the divers more, I’d go for a plexi/acrylic base. Set the model in holes cut in the top sheet. I’d be inclined to use acrylic caulk for the water surface (and to adhere the models). Being able the see the figures below the “surface” would put this in real perspective. But, that’s my 2¢; others differ.
I’ve tried several media to achieve the effects I wanted.
I used a foam core based topped in dental plaster and then painted and detailed for my 1/96 scratch build clipper Donald McKay in heavy southern seas.
I also used plexi painted and then epoxied suspended over a shallow harbor bottom, all to simulate a green backwater that the Barkentine Ferreira (AKA Cutty Sark)was rotting in.
I just today found a product for using on a water dio that is solid .It’s from Sherwin - Williams and it’s called " Extreme Bond Primer " .This product can be built up into ridges and riffles quite easily . It’s not transparent , but , using the latest methods outlined in the latest Mag . Well , paint wise anyway .You can achieve the results without all that Gesso and overlays .
The beautiful thing is , the longer you piddle with it the better it works out .You can even use the rayon balls for spume with this stuff ! I am definitely going to do a ship dio and somehow get the pictures here . I promise ! Tanker - Builder
What has most every modeler of ships at sea forgotten concerning Destroyers and Cruisers at speed? Can you say , Believe it or not , Rooster - Tail ? A Gearing Destroyer at Flank Speed puts out a Rooster - Tail at least 28 feet tall .
A Brooklyn Class Cruiser puts out about the same due to hull shape . It’s amazing , true , But remember at fifteen knots the old trick of tying your laundry to aline from the rail and washing in salt water was not recommended !
I have never seen anyone do this . Looking at the Midway ( a carrier ) at flight ops was amazing as we trailed her on Plane Guard duty . The whole stern looked like the bottom of a waterfall in Niagara Falls N.Y. Below the curve of the hull of course .
The water rises , agitated by both the screws and the passage of the hull through water . It is a natural occurance of moving a heavy body through the water at fifteen or twenty miles per hour with two mixmasters ( Screws ) below ., Turning at about 350 R.P.M each with pitch guaranteed to cause this reaction . Every time ! Tanker - Builder
 .
.