Has anyone her built one of these please?
As a normal car builder the instructions on this one are just arrows. I’m trying to build the undercarriage, firstly at the back. The instructions show from above to attach the side suspension arm and brace, but from above the top attachment of the arm is OK as it is on the side, but an arrow to show where the triangular shape brace underneath doesn’t help.
I’ve tried a Google search of the undercarriage on the real thing, but again from the side or at an angle of 45 degrees still doesn’t show the attachment points. I’ve also found a model ‘build’ on YouTube but shows it already built!
Any ideas would be gratefully attempted!
Hello Pat!
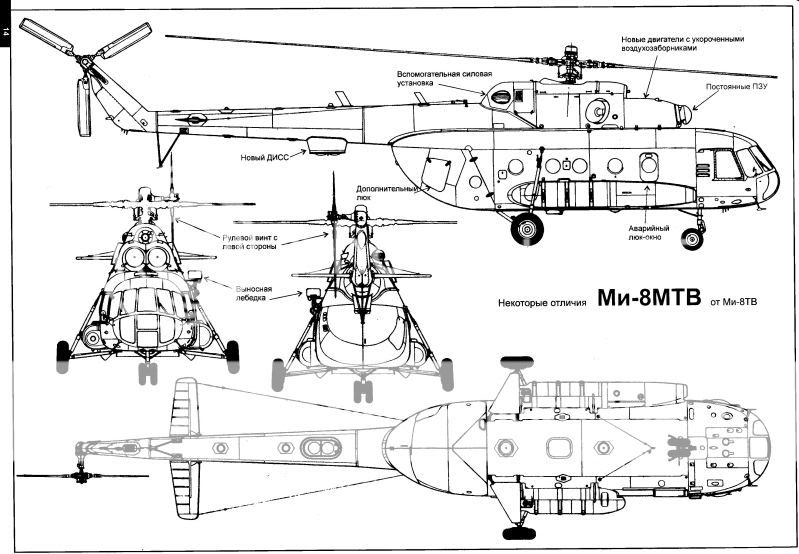
You mean this drawing, don’t you?

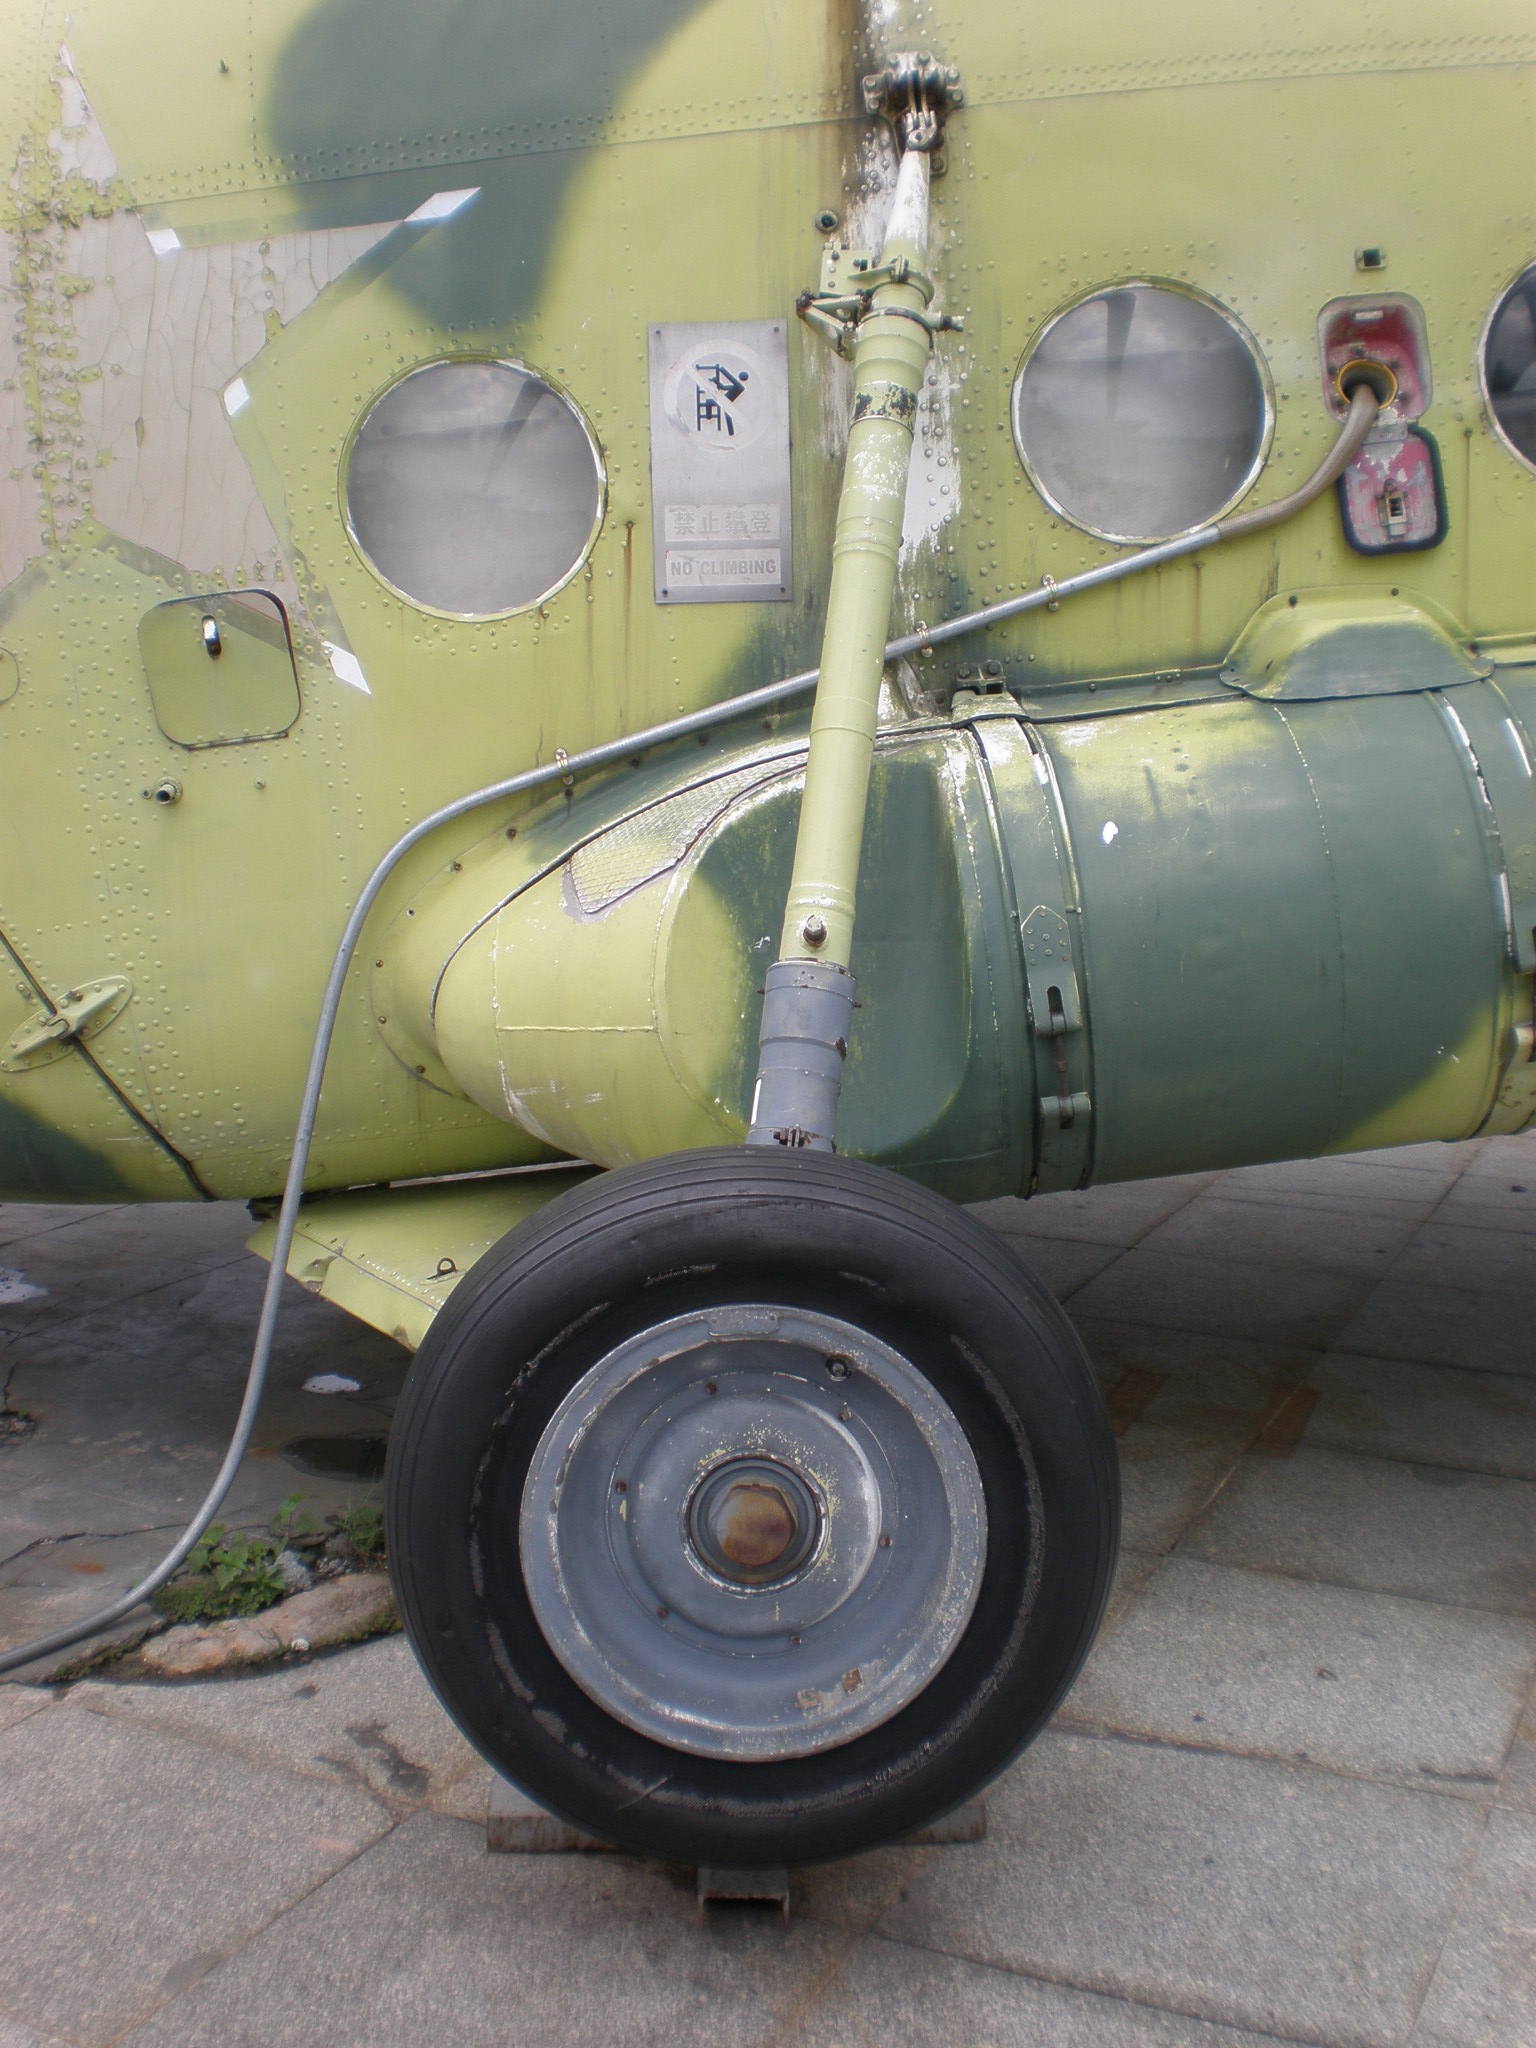
I think you can determine those attachment points by looking at the photos I have googled for you. From above the undercarriage looks like that:
From the side it would be something like this:
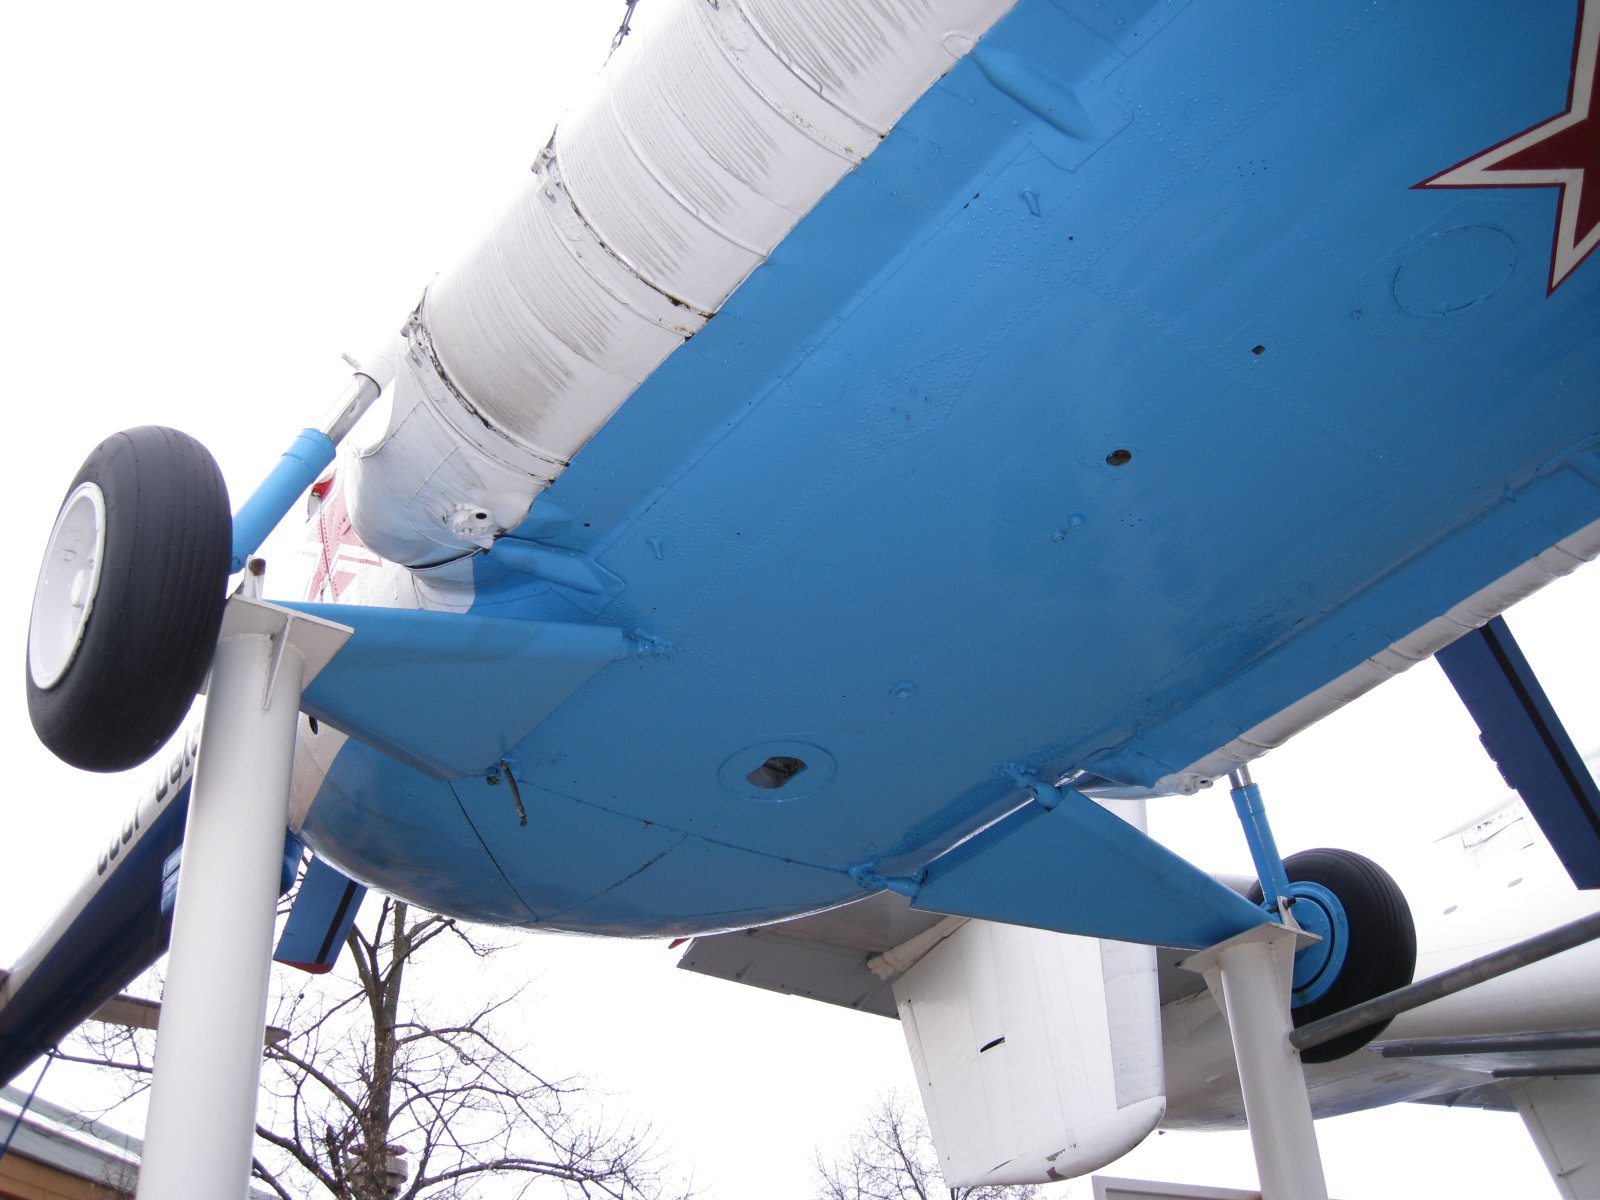
And from below it looks like this:
One more line drawing:
So to sum it up:
-You have to watch for the wheels to be parallel to the axis of the ship
-The attachment points below are on lines also parallel to the axis of the ship
-The rear attachment points are on the edge of the loading ramp or the clamshell doors
-The shorter strut of the “vee” is the front one
I hope that narrows it down enough for you to assemble that landing gear. Be sure to post some pics when you are done!
Good luck with your build and have a nice day
Paweł
Thanks Pawel. I had looked at numerous pics of the aircraft but the best one so far is yours of the blue one showing the exact location, which I shall use later on today.
I have found these plans on the web since asking for hepl…

Which gives a reasonable sign of their location. I’m surprised that nothing shows on either location on the moulding/fuselarge, so trial and error is the order of the day.
Thanks again for your info and I shall try it out later on.
Hello Pat!
When you think about how the mold moves in relation to the part such as the hull half (or how the part has to pop out of that mold), then you will know why there can be almost no detail on surfaces perpendicular to the mold partition surface. No detail means no attachment points for the undercarriage in this case… Bummer! The only detail that can be there are panel seam lines running from side to side of the aircraft, because those don’t interfere with the operation of the mold. If they wanted to do it right, then they would have to make the hull botoom a separate part (expensive), or use slide molding (multipart mold) - even more expensive. You can do those details yourself cheaper ![]()
Good luck with your build! What paint scheme do you plan for it? Have a nice day
Paweł
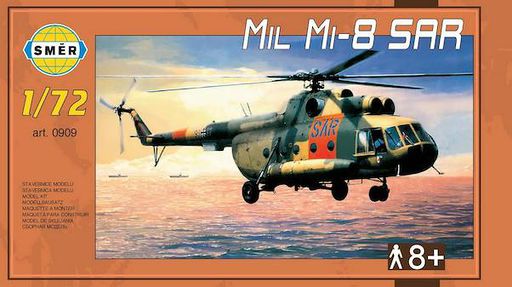
Thanks for the info Pawel. This being the SMER version there are no mounting points for anything, so it’s a case of finding the mountings through the searches and making holes, scraping paint off etc!
So here it is. The only good thing is that there’s enough decals for four versions. These decals are for the 1991 SAR Meet in Belgium.


Oh it’s a classic! Lookin’ good! Glad I could help you, have a nice day
Paweł
Thanks again for your help Pawel.
Looks great Pat. I find Helos a bit difficult due to the glass masking but I really like the end product. You did a great job on this one.
You did a great job on your build! I have always liked the look of this chopper, and this one is sooo sweet. knox
Cheers guys! I also am so frightened of the canopy painting, so this time I used one of my draughtmens fine pens on the inside! I have such a shaky left hand I nearly had to tape the canopy to the work bench!
Well done.
Cheers Lee.