Is this crazy or a great idea? Or am I missing something?
I have learned through trial and error how to create “fuzzy” transitions from one colour to another on the models I’ve built: if I “elevate” masking tape or strips of paper secured with masking tape above the surface of a model, and mask the rest of the model to avoid unwanted paint, I avoid having sharp lines between the two colours. One colour just blends gradually into the other colour. The width of the fuzzy, intermediate area depends on the distance from the mask to the plastic. Less distance = sharper demarcation, more distance = softer demarcation.
What I would like to have is a soft, bendable cord in various diameters, from one or two millimetres to as much as a centimetre, coated with a removeable adhesive much like the Tamiya masking tape adhesive. It could be made of cotton, synthetic fibres, or foam rubber.
Such a cord could be used to create straight, geometric camouflage patterns or curved camouflage patterns. It would be especially useful for touching up errors.
For example, I oversprayed the wing of a model TBM Avenger I’m building and got a smallish drip of paint for my trouble. After sanding off the excess paint, it would have been nice to place a round cord around an eighth of an inch in diameter around the sanded area so it could be sprayed without creating sharply defined area of new paint that masking tape would have created. And, of course, I didn’t want to add more paint to the wing, which was well covered except for the drip.
I made tubes of Tamiya masking tape and placed them around the sanded area, attached wide strips of masking tape and paper to the Tamiya tubes, and sprayed with good results. Here’s a diagram showing what an ideal set-up, using purpose made “masking cord,” would look like:
Your thoughts? Do you know of anything like “masking cord” that’s already available?
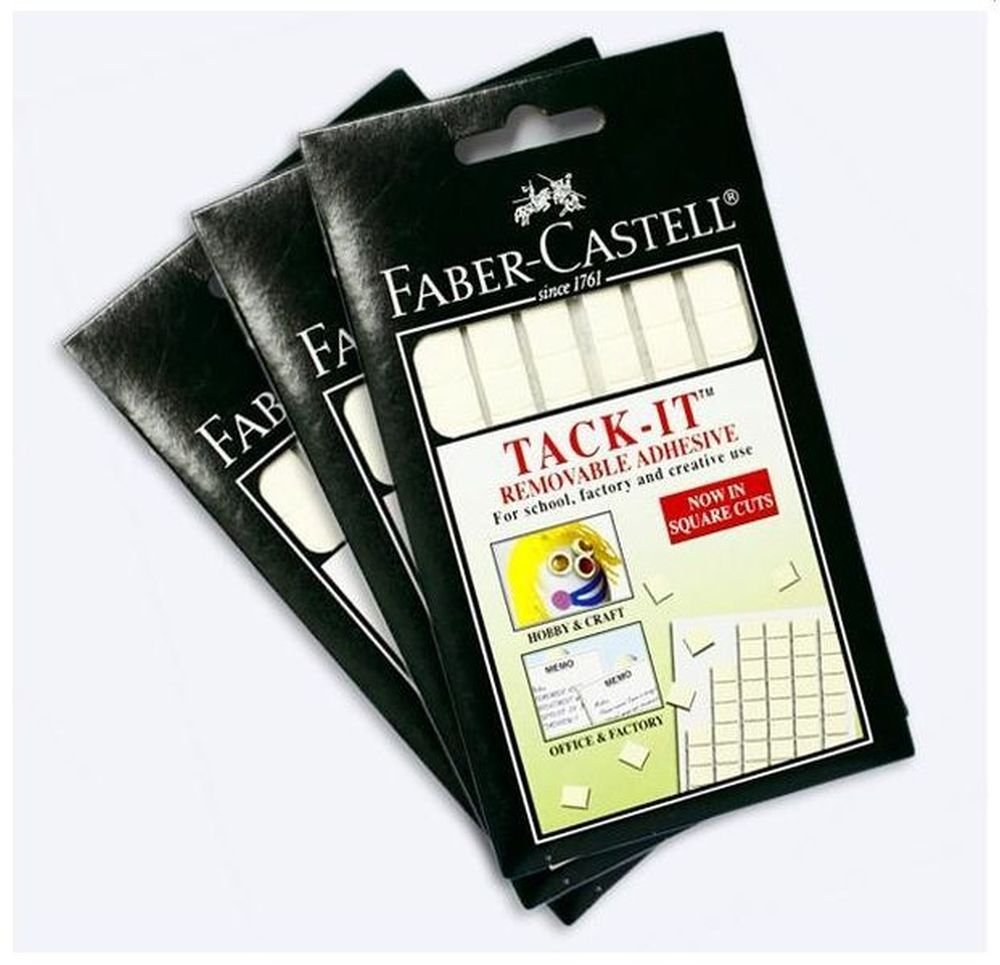
Good news - a “masking cord” is in use for about two decades (by me, maybe other modellers use it longer), you can make it at home, and from materials you buy at your local office supply store.
Just go out and buy something like this:
Just take it out of the box and roll “snakes” of the diameter you need. It holds to the surface nicely and can be removed without a trace. Sometimes a little stays on the surface, but then can be removed by sticking some fresh stuff and removing again. After painting it can be reused - a little old paint in the mix doesn’t seem to affect it.
The stuff also has a lot of other uses around a modellers workshop or even around the house, so it’s good to have some handy anyhow. Temporary attachment of model parts, for example while dry fitting is one example. Or it’s original use - attaching posters and signs to the wall.
Hope it helps - good luck with your builds and have a nice day
Similar to enlarging the camo pattern on the instructions,cutting them out,and using the rolled up tape to attach them to the a/c which just raises the mask enough to make it less of a hard edge,that one’s been around for decades.
I’ll second Pawel and Tojo. I use both techniques, using either rolled poster tack or masking tape rolled into a loop, to attach templates and have a slight lifted edge, for soft demarcations.
I’ll suggest another material, too-Post-It notes. I have used these to make masks or templates, and the principle is the same. Once pressed onto the model’s surface, I can lift the edges a bit for a soft demarcation. I use a toothpick to lift the edge, so as not to scratch the surface.
Basically the same as the guys above…but I use Silly Putty, the kids’ toy that comes in the little plastic eggs. Rolled out into long ‘cords,’ essentially, and pressed in place as needed. You can also flatten it to fill areas in between the rolls…though it does add some weight if you build up a lot of it, so you can also fill between the rolls with paper, tissue, etc.
For the technique you outlined specifically, you can do thicker/‘higher’ rolls to adjust the softness of your sprayed paint edge.
I always work with two eggs’ worth at a time…I think it was maybe $3.00, last time I restocked…which is usually plenty for 1/48 kits or even, say, 1/32 fighters.
I always remove it as soon as painting is done…though at times I’ve left it on a day or two with no ‘spotting’ or bad effects on the paint beneath.
When done, just knead the ball until it’s a uniform tone, and it’s ready to use again. I usually use a glob for about a year, then toss and start a fresh batch. It can look pretty grungy (this is using mainly Tamiya acrylics), and still work perfectly well. Never the slightest hint of problem from the old paint.
But wait! If someone were to put a model manufacturer’s logo on that package of poster tack or silly putty they could charge a butt load of money for it! Get YouTube expert Joe Schmoe to endorse it and you will be able to send your kid to college!