I was just trying to figure out how large that kit would be-my figuring comes up with about 42 inches! My work bench is smaller than that! I would need to build an addition on to my work room to display it!
Scale Hobbyist has it listed for $69.99. It is a Revell of Germany 1/72 scale version. It is currently listed as backordered.
http://www.scalehobbyist.com/catagories/Ship_Models/RMG00005114/product.php?kw=U-505
Ken
I’m not actually looking to buy one. I just thought it was interesting.
Thanks Ken, I think I’m going to have to roll over into Part III, I thought I’d be done in time but things aren’t working out that well.
I know what ya’ll mean on those large kits, after I got the 1/350th ‘Trek’ Enterprise and opened the box- where the blazes am I going to put the friggin’ thing if I ever do get it built!?!
That is cool Jim. I myself always liked the subject of submarines. I actually built the old Revell 1/260 Polaris sub when I was a kid. You know the one with the hull that opened up to show the interior. I had almost completely forgotten about that kit until I was looking at the U-505. That sure brings back memories!
Ken
No problem Cliff! I never got to that Zero that I had listed on your group build. I still want to build that, so maybe this year I will enter that again in your Japanese Group Build Part III. [:D]
Ken
Hi Everyone,
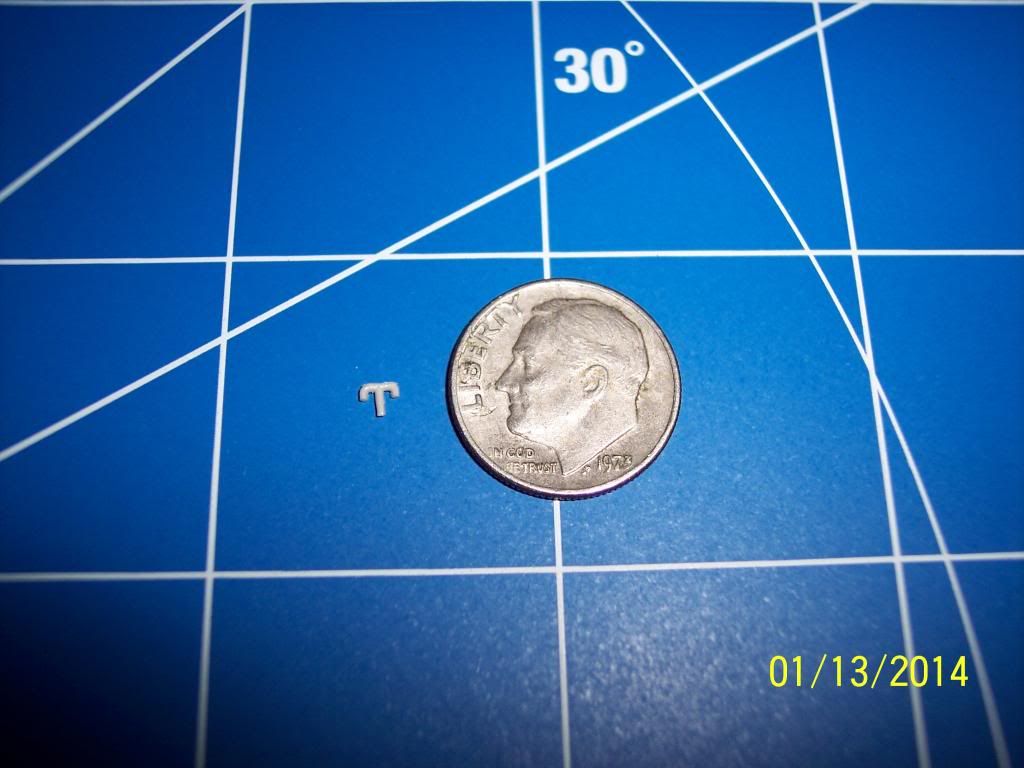
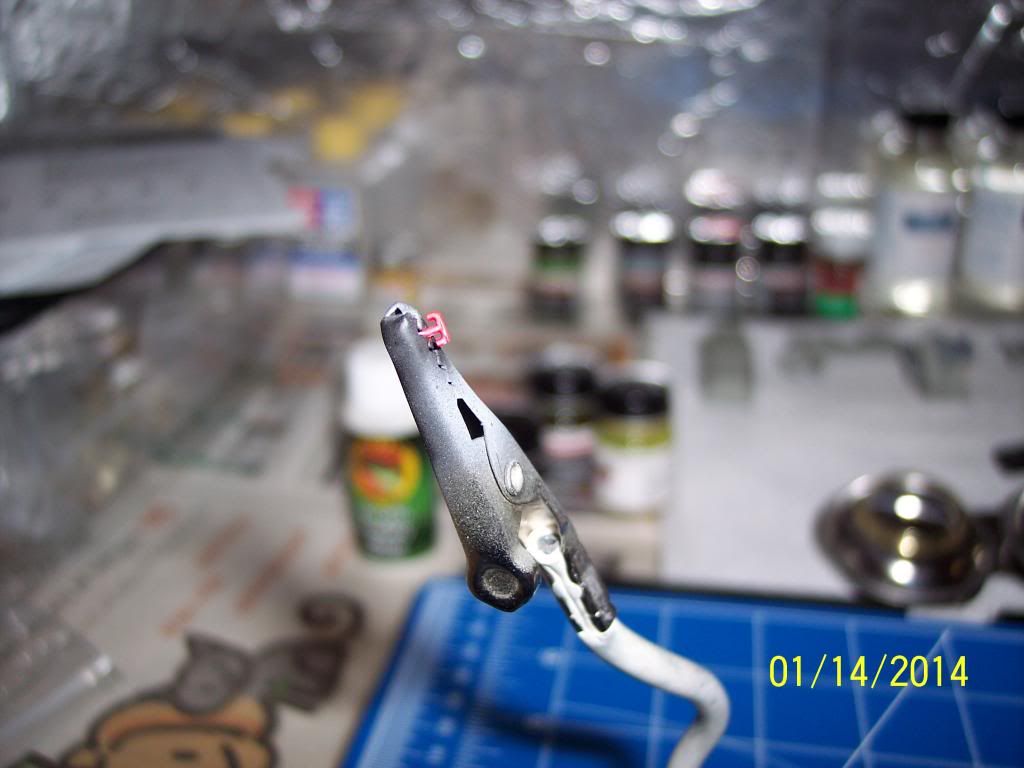
I did a little more work on the Hoosier Hotshot cockpit. This first picture shows a resin piece that I had to cut off the mold block. I am not sure what it is, I will have to ask Don this Friday at our IMPS meeting.
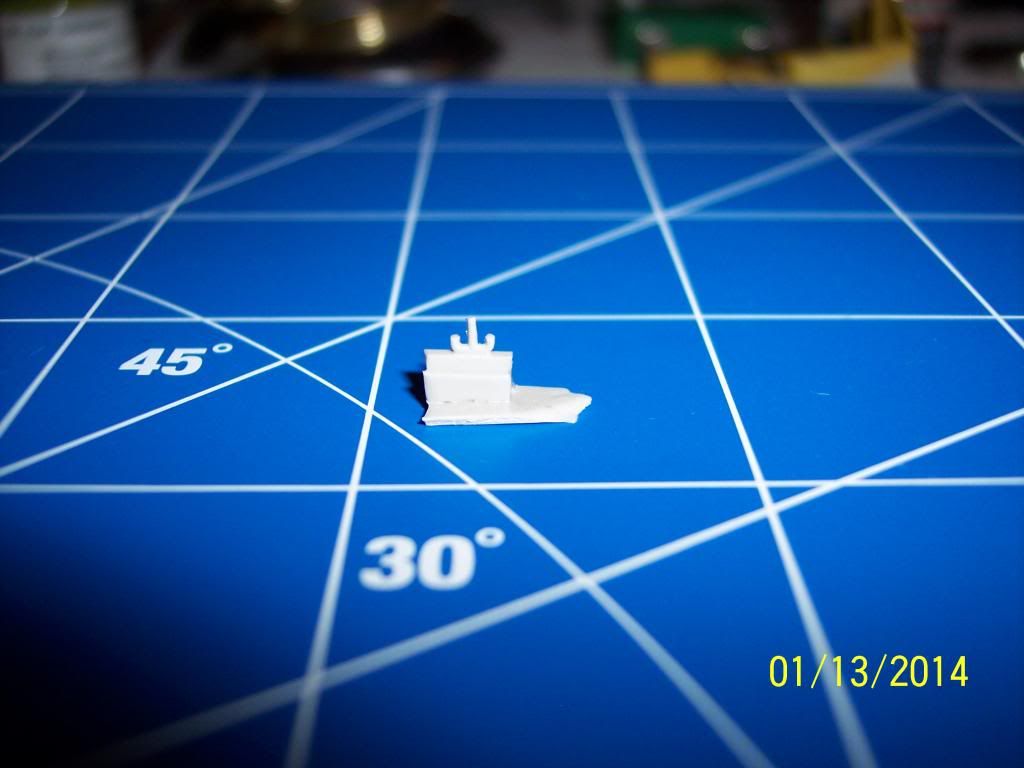
Here is a picture of it after I cut it off. Boy is it small!
Here is the cockpit tub. After staring at pictures I decided that some of the areas that I had left chromate yellow should be flat black:
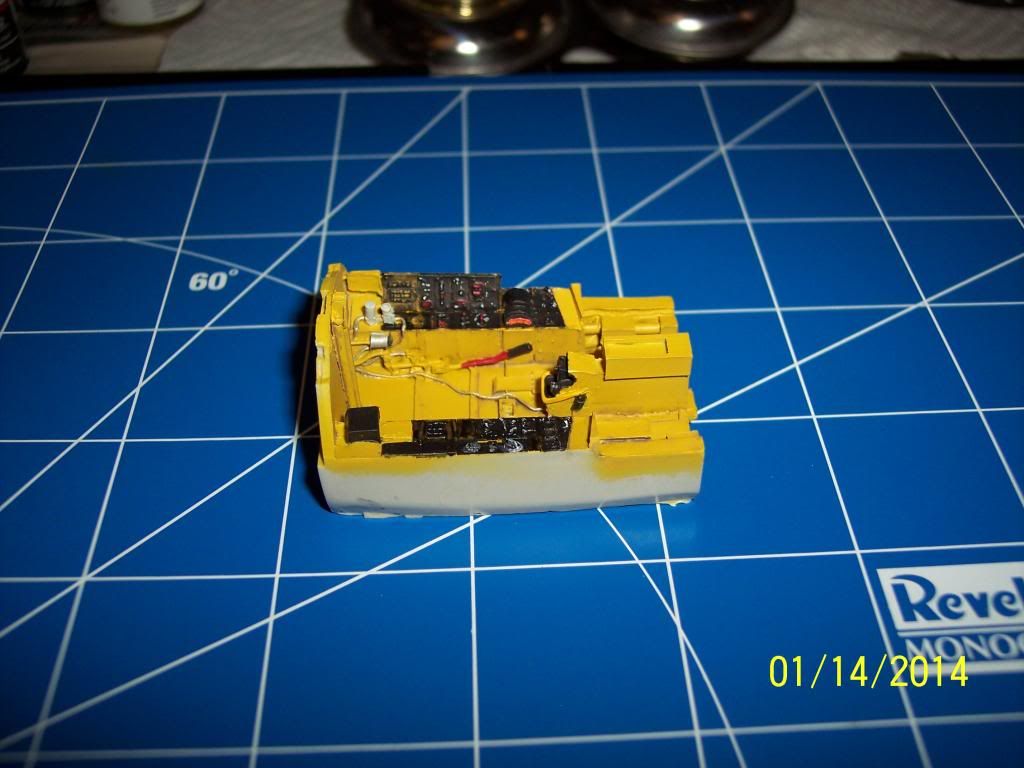
As you can tell, they are going to take a couple of coats to cover:
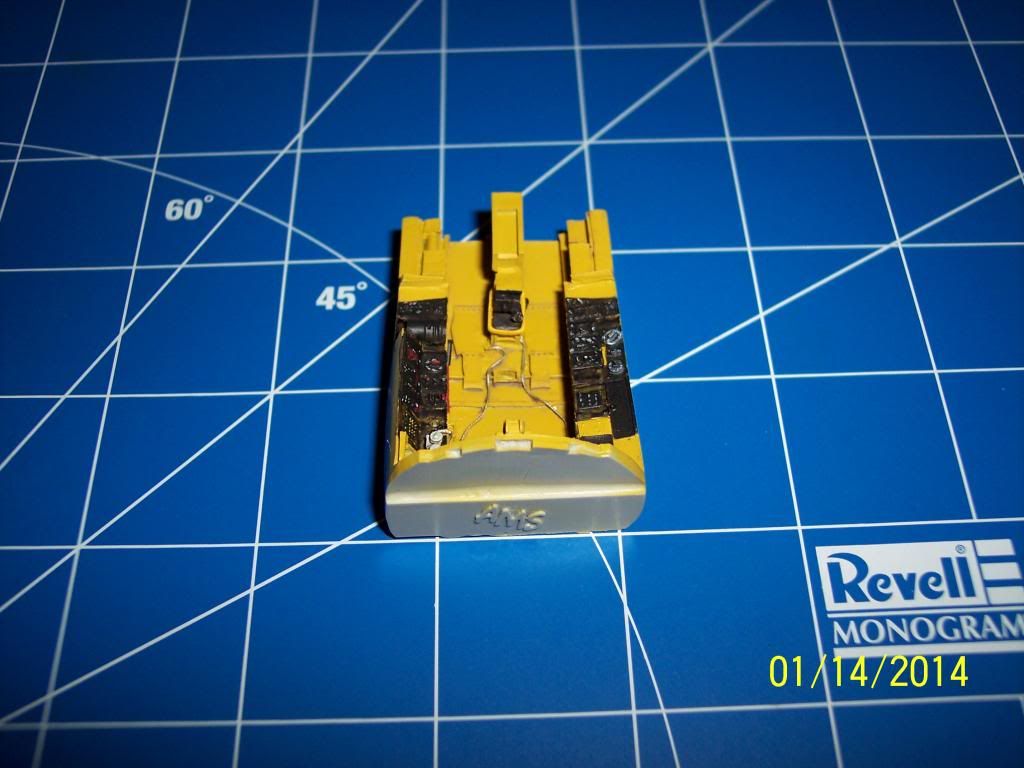
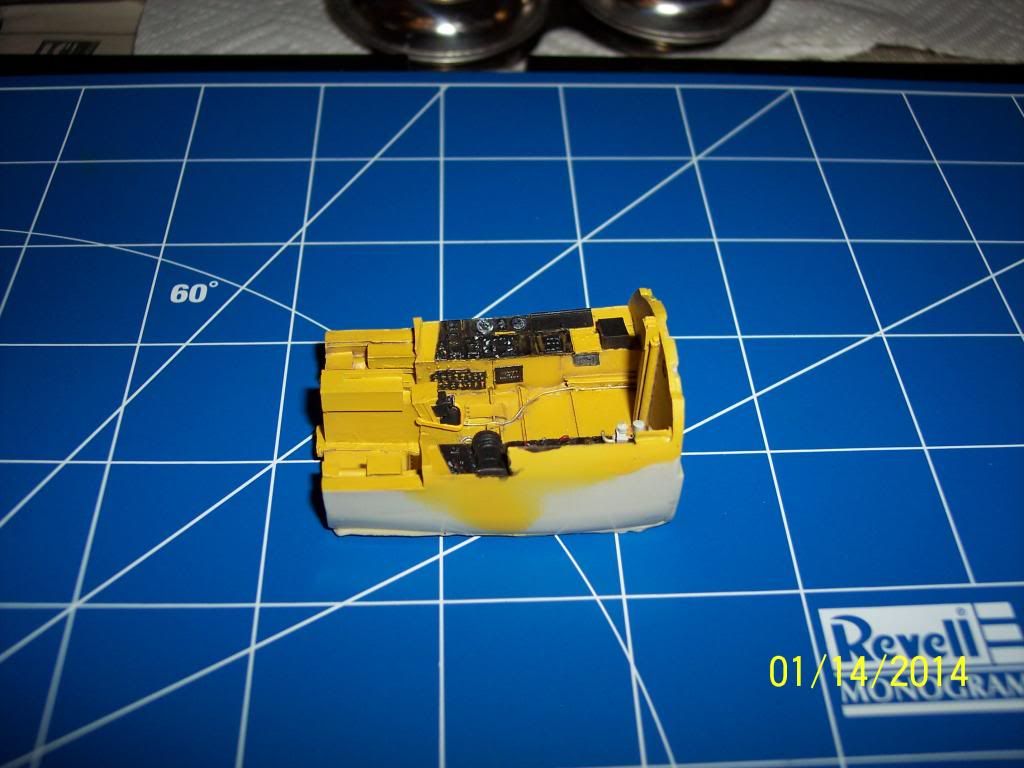
Here is the throttle still attached to the resin mold block. You can’t tell in this picture but I painted it aluminum:
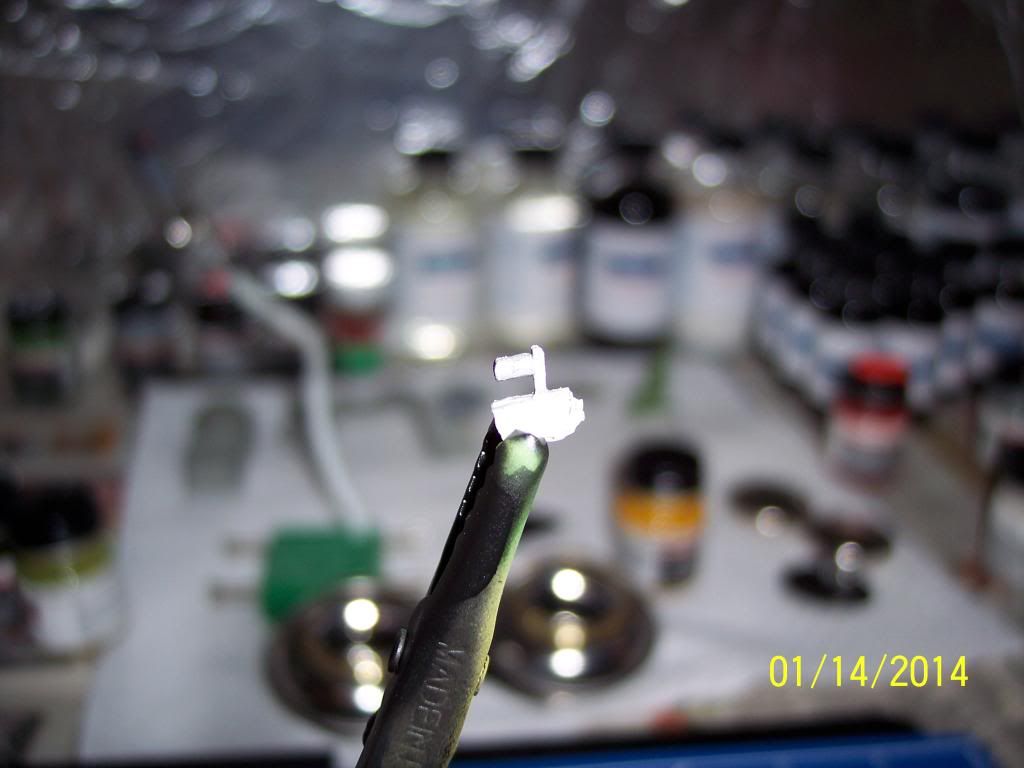
And here is that unidentified piece painted red:
Ken
I know what you mean! I still have Monogram’s Big, Bad and Beautiful release of the B-52D. I got as far as ready to attach the wings and then I stopped! First off, how was I going to handle it at my limited space work bench, and second: where was I going to put the friggin’ thing once I built it? Wing span is around 30 inches or so and over 2 feet in length?
Jim
Hi Everyone,
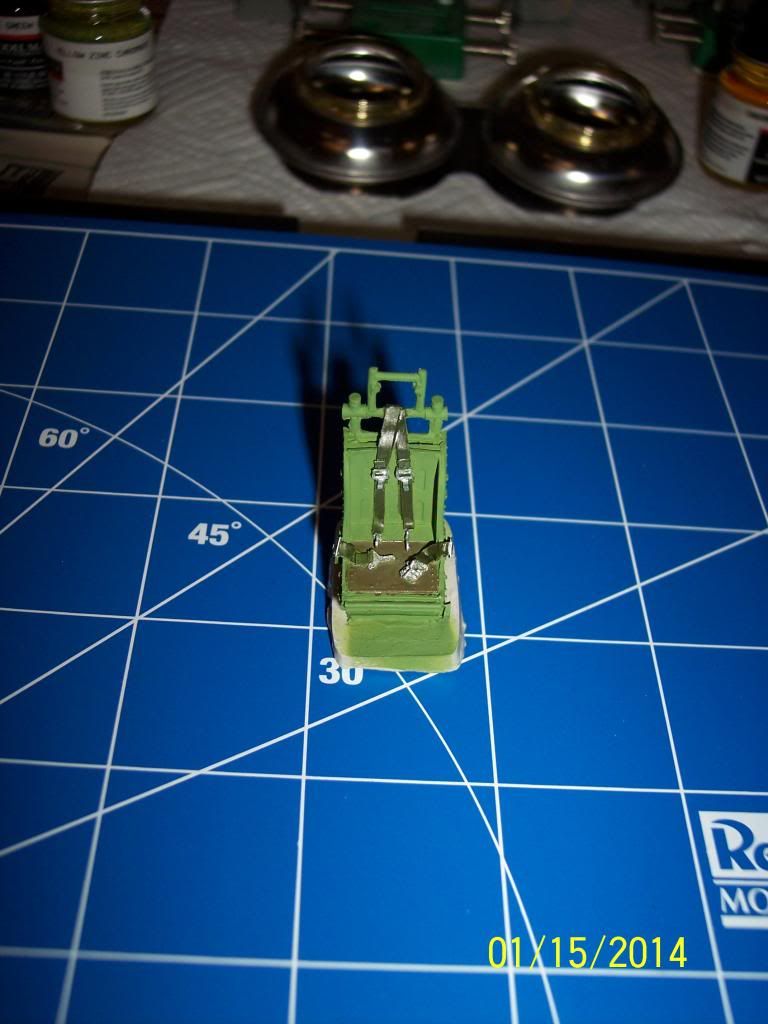
A little more progress on the Hoosier Hotshot. Tonight I worked on the ejection seat:
Ken
Nice Ken, but I wonder, is the seat back not padded? From this photo, I see the same thing. Not very comfy was it? lot’s of bare metal showing through here.

Fell asleep as soon as I got home, so no work tonight. Now I’m up, it’s 1 am and another one of those nights. I’ll try to lay down later when I feel sleepy again. I have to get more rest as I need to be in early as there are auditors coming in and I need to be ready for that. Lately I often wake early in the morn after having bizarre vivid dreams.
A little work I achieved over the last few days:
Washed the Missiles: You see the decals I added to the AGM’s.

Also did a semi-gloss overcoat of the tailfins and did a test fit:

Another view from the top:

You can see that two of the “NO STEP” decals on the leading edge silvered on me. Not too happy about that.
Jim
Hi Jim,
Thank you for the compliments! [:)]
No, there is no backseat padding. I think that is because the pilot is wearing the parachute on his back while sitting in the seat. And there is not much of padding on the bottom seat either. The olive drab that you see painted in the picture is the bottom cushion. The pilot also wore a G-suit, so I don’t know if it offered any additional padding. These were the first generation ejection seats.
I know what you mean about sleep. I have been fighting with my doctor to refill the correct dosage of sleeping pills for me. I get mine through a mail order pharmacy, that is the only way I can afford them. For some reason when he refilled my prescription he chose a lower dose than what I had been taking. It was not a decision that I needed to start taking a smaller dose, he just simply screwed up. Now it is like trying to pull hen’s teeth to get him to fix it.
Nice work on those missiles! They look fantastic! [Y] [Y]
And nice work with those tail fins! They turned out great! [Y] [Y]
From the picture I can’t tell where the decals are silvered, so it looks fine to me!!
Ken
Jim: I have to admire your dedication- I haven’t used a wash on 1/48th scale missiles- much less 1/72nd! That’s some attention to detail! Not sure about the silvered decals other than loading them up with decal setting solution like Micro Sol (the one with the red label). If that doesn’t work you might try taking a little Future or other clear gloss and trying to get it to flow underneath the decal.
Ken: Nice job there on the seat- love how the seatbelts came out.
Jim, the missiles look fantastic; very realistic. Too bad about the no steps. I have used solvaset in the past for that along with some matte cote and had reasonable results. Is it possible to trim around them now with an exacto perhaps? Both you and Ken have great attention to detail; impressive!
First off, it now comes to my attention that Imageshack is now a subscription only service and my “free” trial ends in only 25 days! The subscription is only $1 per month but it kind of galls me. If I don’t subscribe, does that mean they will dump my 700+ photos I currently have uploaded there? I guess I’ll have to pay if I don’t want all the photos here to go away!
Here is a photo uploaded to Photobucket:
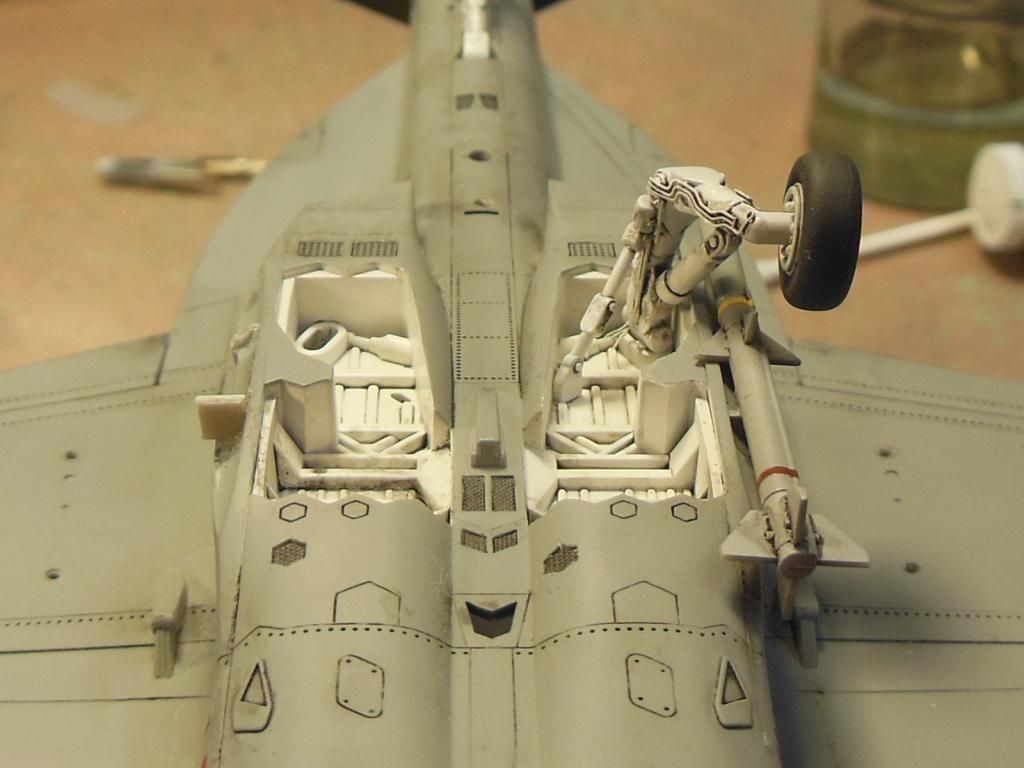
Here what’s going on: I cemented the missile in place on the left side of the aircraft, (our right in the photo) and here I tried a test fit of the landing gear (the wheel is not cemented and just dangling there! It’s not really tilted!). You can see how close everything is down here between them, and why I wanted the AIM-120’s in position first! It’s going to be very busy down here once all the gear doors and everything else is in place!
On the photo left is a repair- the Eduard set had me carve away the supports for the missiles and add some thin PE strips! I found the missiles would not lay in place properly this way and decided to forgo the Eduard parts. I was wise in that I decided to only do one side as a test first. I cemented a couple of styrene blocks in place and when dry, I cut and filed the new pieces to match the missing mounts. I did get a little carried away and cut away too much of the rear mount. Here I have cemented in a new replacement and once cured, I will work more carefully to trim it away to the correct shape.
As far as my silvered decals, I carefully scrapped away the decals exposing the paint underneath. I then resprayed the dullcoat over the area. It’s very unlikely anyone will know they are gone, but the messed up decals stuck out like a sore thumb! (In my eyes they did!) Besides, you can barely see the good ones being low-vis!
Jim
Thank you Cliff for the complement! I really appreciate it.
Ken
Thank you Mike for the compliment! I really appreciate it. Yes, I think Jim and I are addicted to detail!
Ken
Wow that sucks Jim about Imageshack! I sure hope that Photobucket doesn’t follow suit!
Great recovery job there on the Growler! You are right, those are very close quarters! It looks great! You have done an outstanding job on it! [Y] [Y]
Ken
Jim: Hope you’re going to put a mirror underneath so people can appreciate all the detail you added to her underside.
That sucks about ImageShack. Frankly I’m getting more and more annoyed at PhotoBucket though. They’ve changed the format of their site and I find it more difficult to use. Even more, their mobile app used to be great- I could snap a photo with my phone and upload it with a few taps. Now you have to scroll though ALL the photos on your phone and it wants to lock up before you can get very far. I’m thinking about removing it from the phone since it’s almost useless now.
Hi Everyone,
Well our monthly IPMS meeting was cancelled because our chapter president had to work. Big bummer. And we did not have our December meeting because it was so close to Christmas.
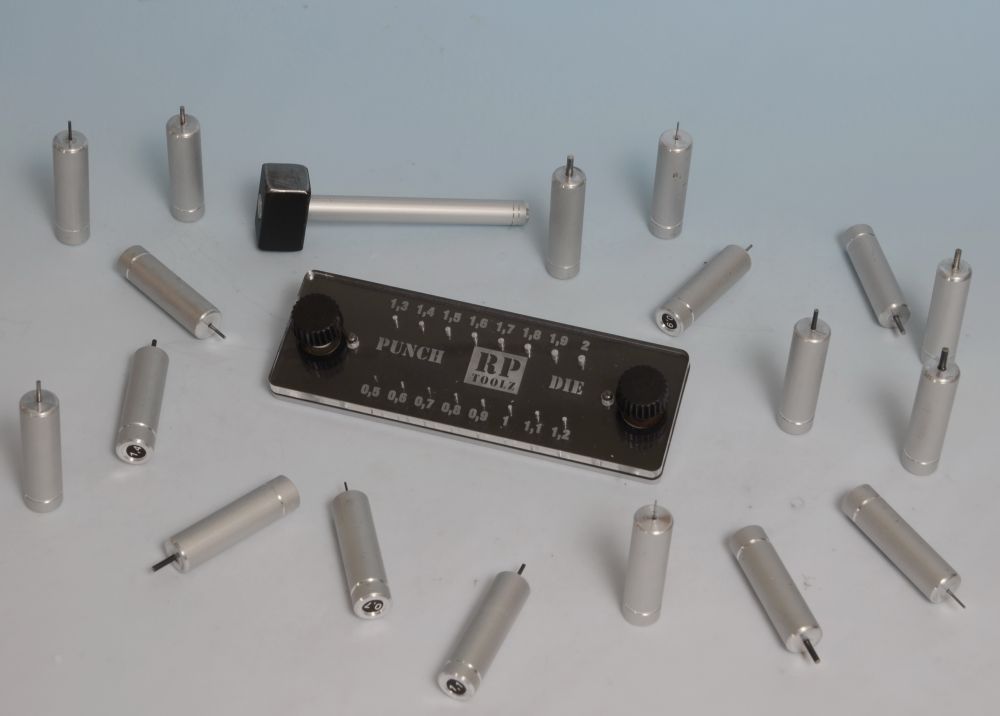
I ordered the Punch and Die Set from RP Toolz today:
Here is a link to their website:
I will be using this to punch out the instrument dials from the Eduards color photo etch. Then I will glue them into the AMS resin instrument panel. At least that is what I am going to try to do. We will see how well it works.
Ken
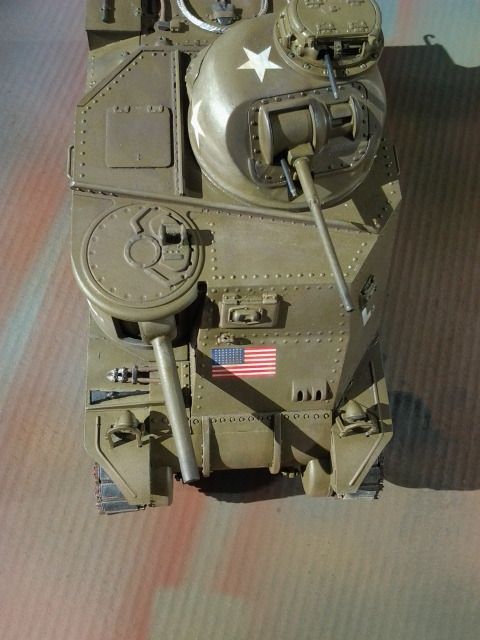
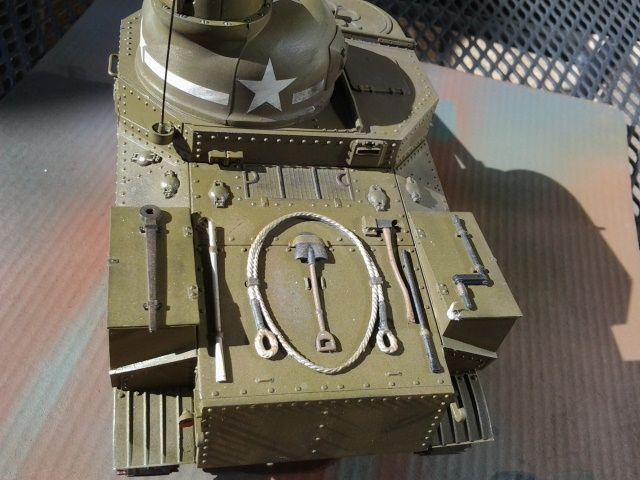
Punch and die set looks cool; I’m sure it’ll go according to plan. Dittos on the photo bucket staying free. Speaking of which: attached some final pics of the Lee. Not the best admittedly but it was a good diversion. M