My sister-in-law was released from the hospital today. Her fingers looked a lot better than they did yesterday. She still has to wear a bandage on each finger which means she will not be able to function for at least a week without help. She is staying with her daughter. She is supposed to have a follow up visit with a doctor next week.
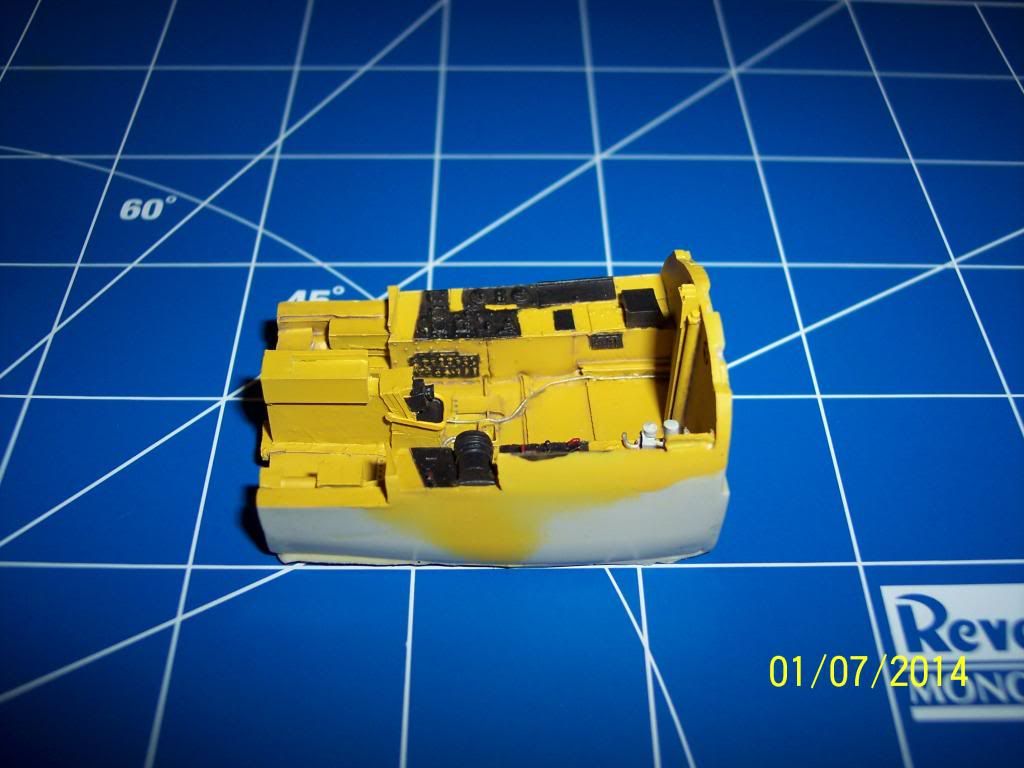
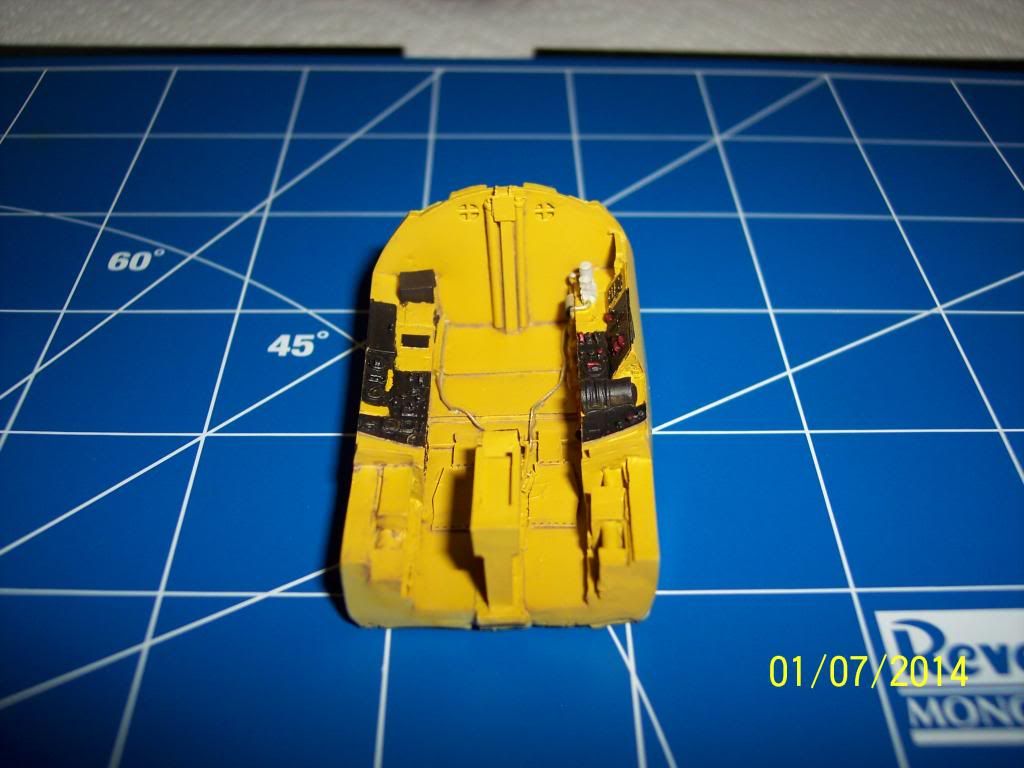
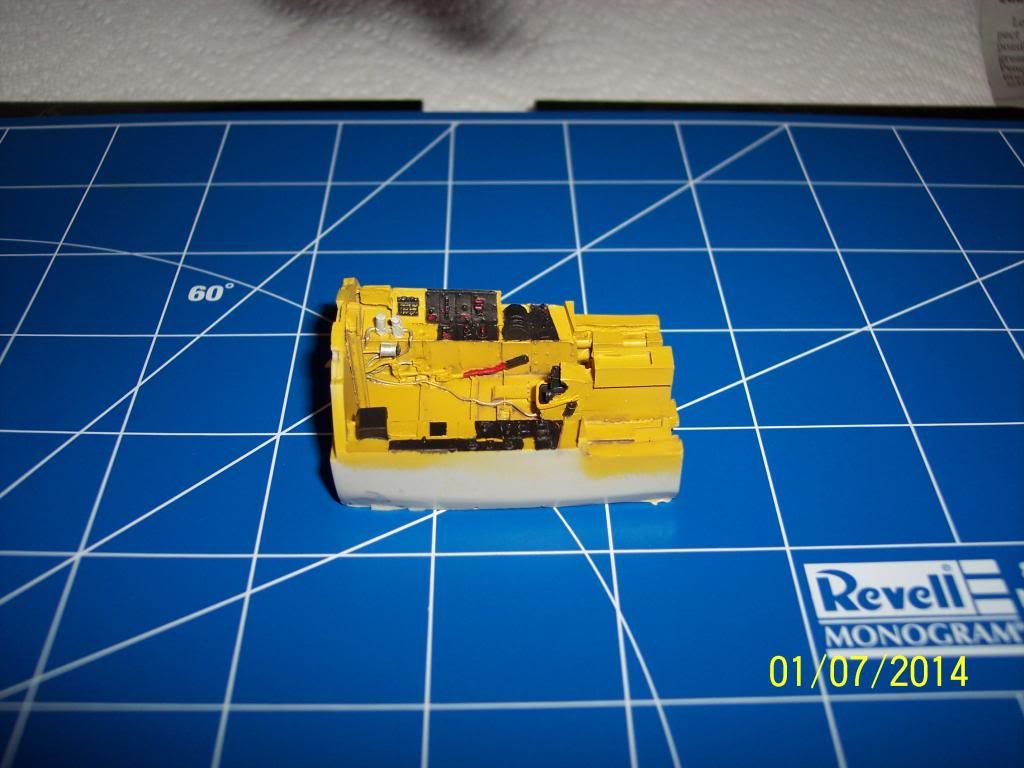
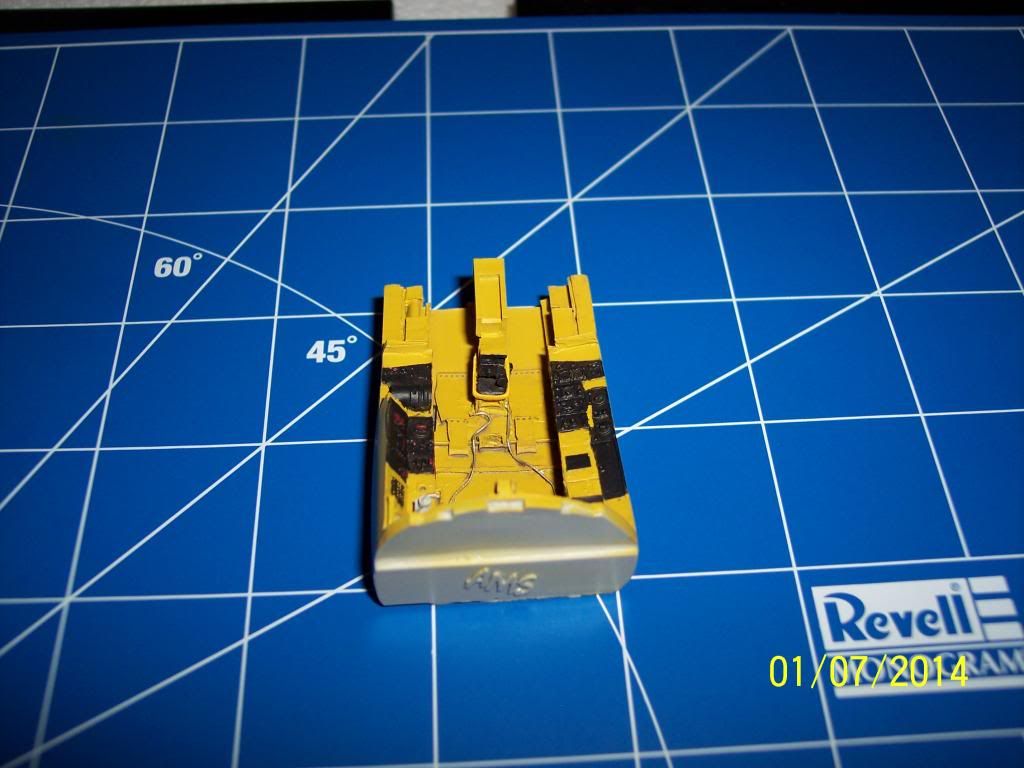
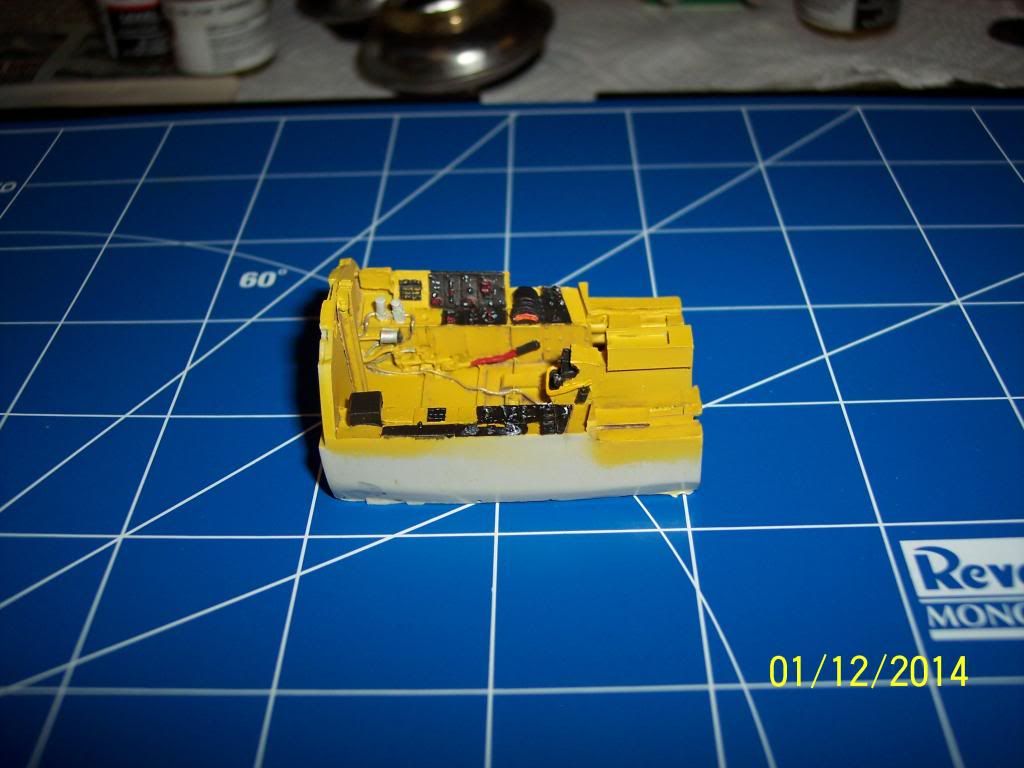
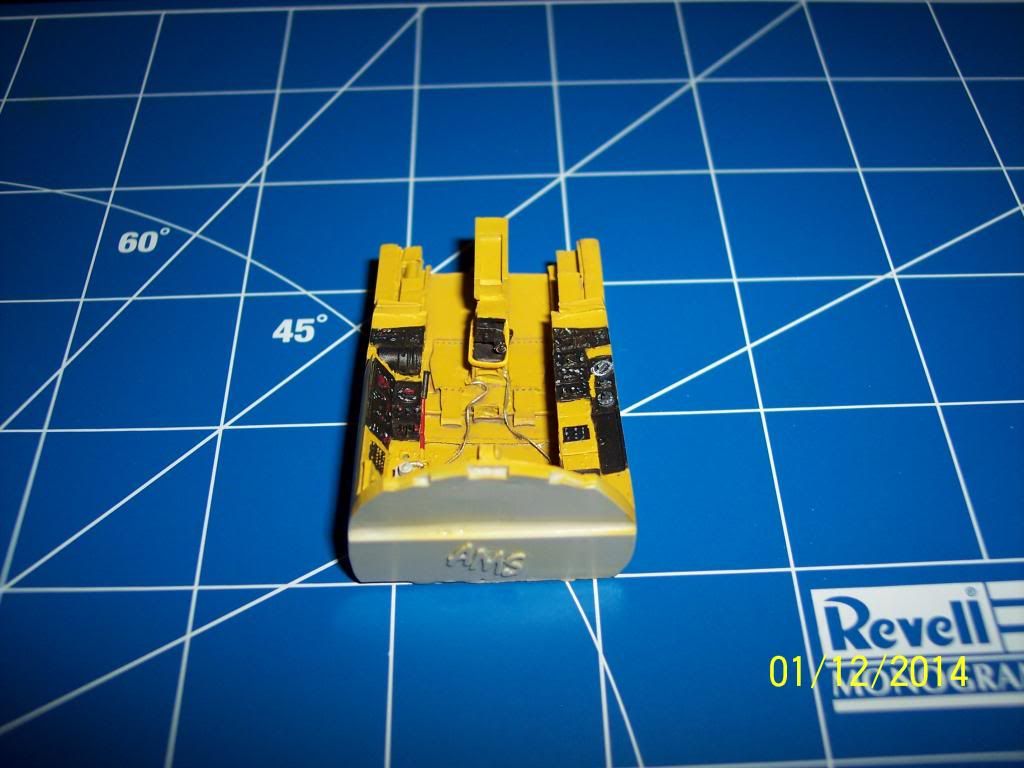
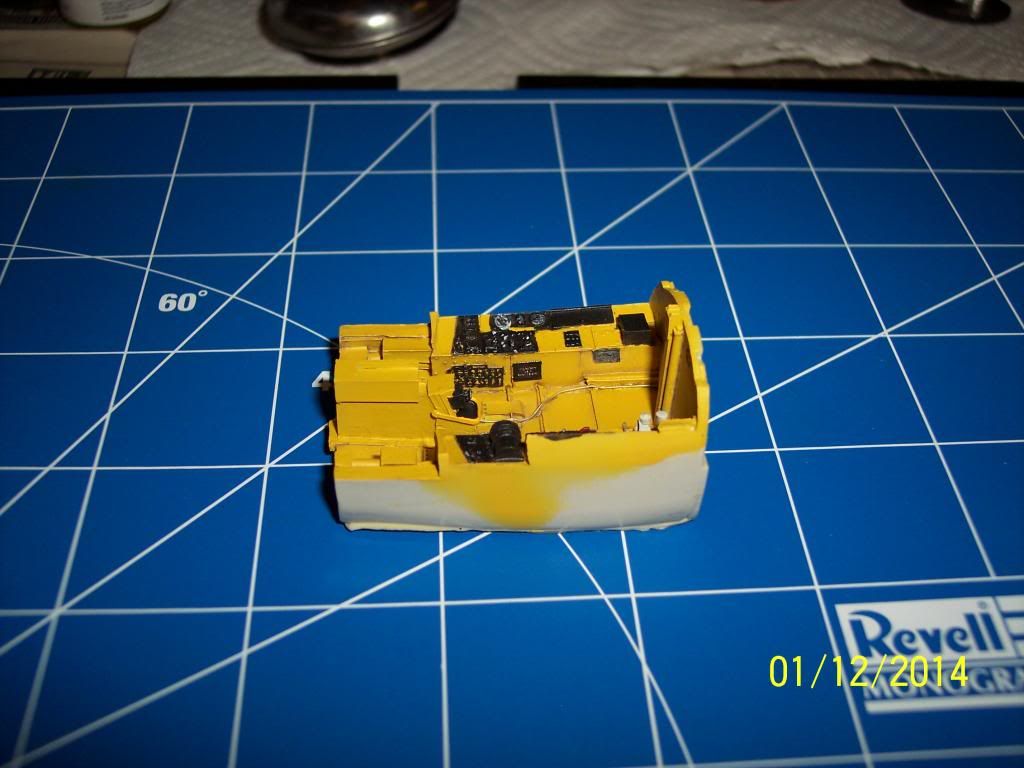
I did a little more work on the Hoosier Hotshot. I painted the cockpit tub with a dull clear to seal it up:
After this sets up I will start adding the color photo etch which will really make it come alive.
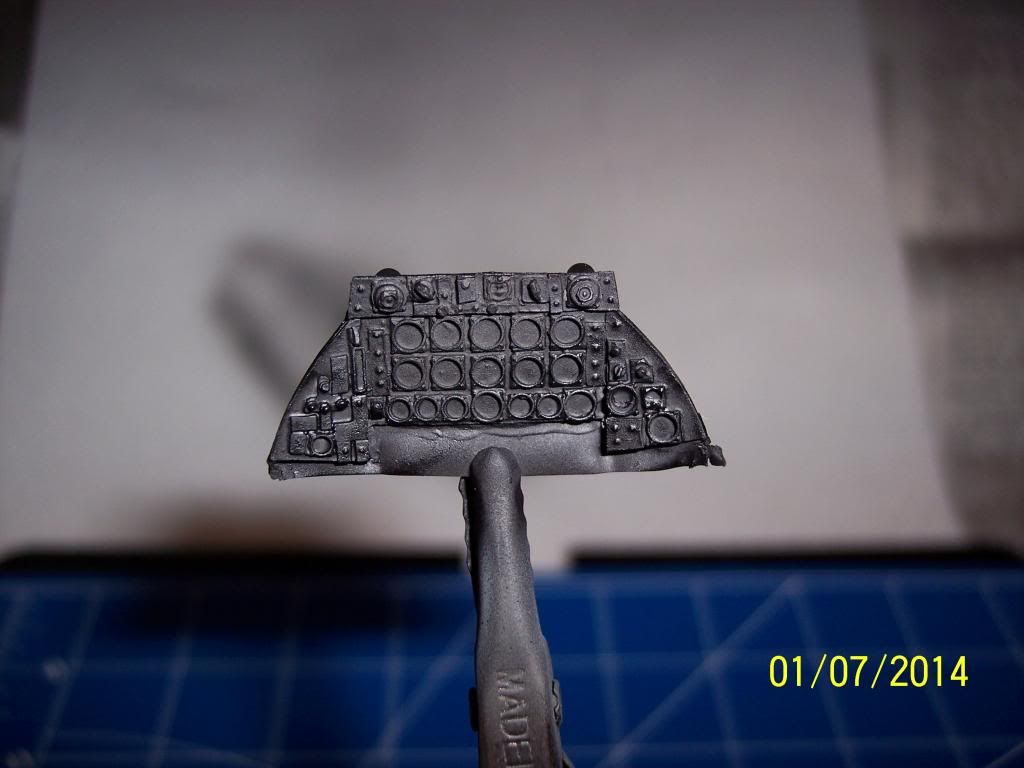
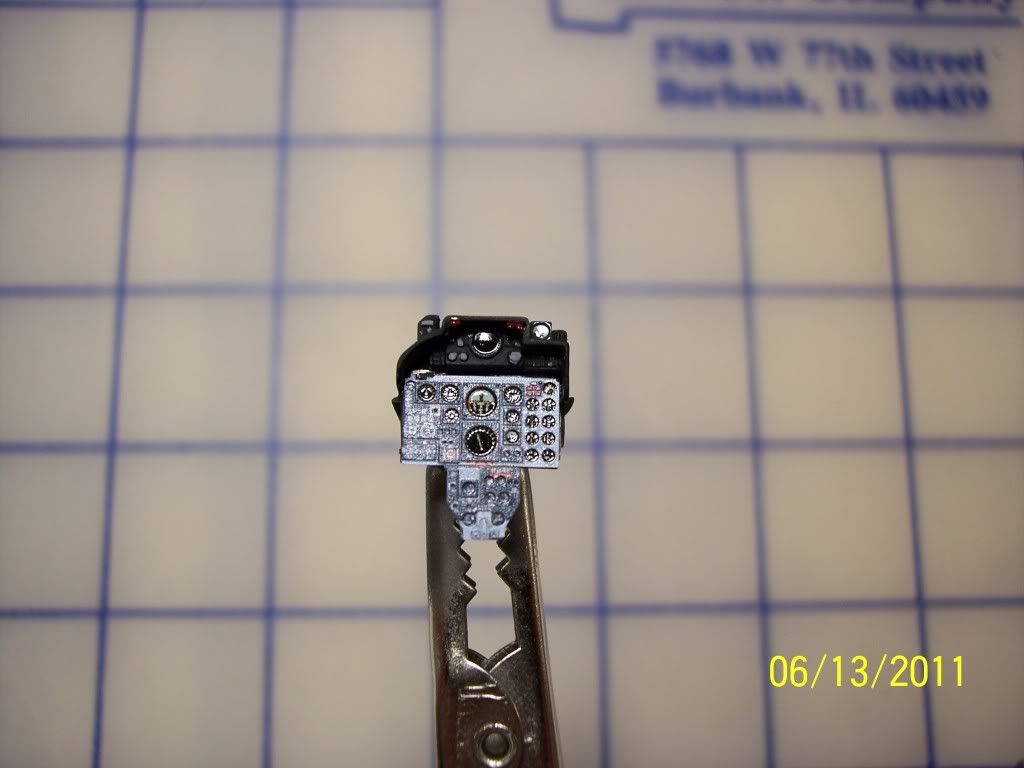
I also painted the front panel:
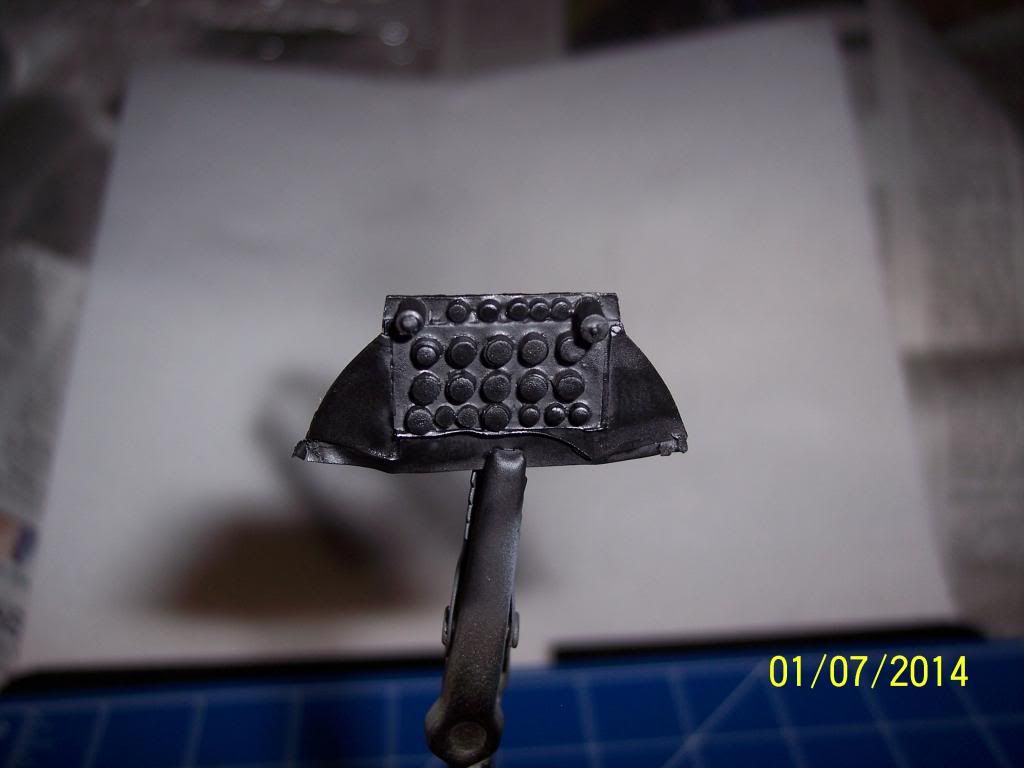
And here is the backside showing the gauge cans:
I am saving up for a punch kit so that I can experiment on the photo etch gauges. My plan is to use the punch to cut out the gauge faces and glue them to this panel. We will see how it works.
Ken: Yeah, very happy to hear your sis-in-law is doing better.
And thanks, funny someone on this site mentioned somewhere about using Future to fix matte coats that turned white. I’ve had bad luck spraying the stuff so I tried brushing it on and it clears the white right up. Now I need to mix and spray the matte someway or the other to keep it from turning white again.
Ken, just read about your sister in law and hope she’s doing better. It’s almost unreal how quickly the cold can affect skin when subjected even a short time to those temps. Jim, the research you did has paid off on the missiles; imagine your reaction had you found that out after completing the model!
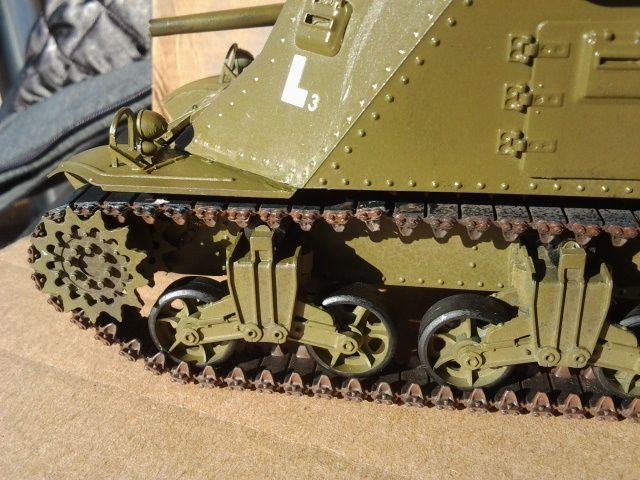
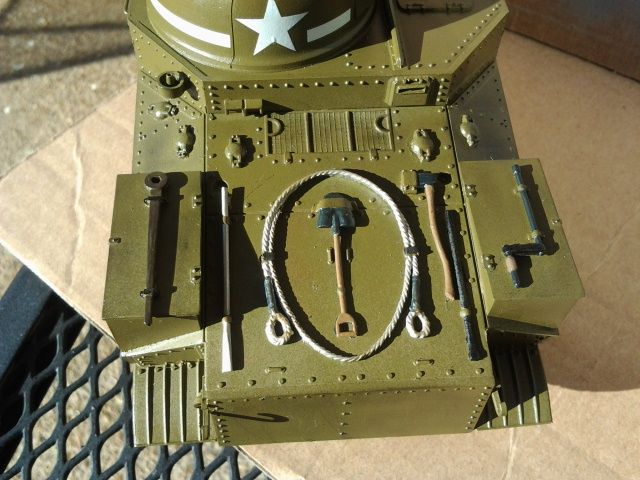
Just wanted to post a few pics of the tank as the weather here is finally nice enough to get in in the sun. Gloss cote is on due to application of decals. Will weather after especially the back with all the tools. I had trouble getting the housing for the 75mm to line up with the body of the tank. I had to do some corrective action after the fact with sketchy results. Rest of the build went smooth though still a few additions to complete.
Nice! You’ve gotten quite a lot done! And these pictures are great! I got a better concept of how the beast really looked, better than some of the photos I’ve seen of the real ones!
A question: Did that lower gun pivot at all or did they have aim the the whole tank at their intended target?
Jim
**An added note: I found this tank to be interesting, so I looked to see if something was available in the 1:72 scale I’ve been building. I found a few and wondered if anyone is familiar with Mirage Hobbies products? That was the only products I was able to find in stock, but I don’t know their stuff.
Thanks for the kind words Jim. The main gun was adjustable both in elevation as well as azimuth but the latter was really limited. The gun had a range of 3,000 yds. so the farther the crew could sight the enemy the better. I guess that axiom of he who sees the enemy first wins was true! BTW I’m going to try something new by mixing micro clear with clear green paint and see how that looks in the sighting slits. The tank used what was called a protectoscope which was a prism type viewing block to allow the crew to look out from from an oblique angle relative to the slit. Kinda neat concept. Still reading up on this one but it really amazes me what the engineers accomplished in the little time they had.
Thanks Ken. As I said I’ve still got weathering and last touches but I’m pleased with the outcome thus far. I’ll post some final pics after that’s done. As far as your build goes when you get your punch set do you think you’ll add some future or something for the glass on the gauges? I’ve heard a lot of people do this. The work you’ve done so far is certainly very meticulous and I’m looking forward to what comes next!
Yes I will be using Future for the glass. I have used it before and it works pretty good. It does take several coats to get the effect. Here is one I did before for the F-4E:
Hi gang! Imageshack has upgraded their site so let’s see if I can get the hang of it.
Here is something interesting totally unrelated to our build subject, but since the weather has been discussed many times here, this relates to that!
I was loading some tools behind the seat of my truck (it’s an extended cab) and discovered this bottle of Diet Coke that had been forgotten. It’s been there a couple of months at least and has been subjected to numerous freeze/thaw cycles, several of which have been sub-zero and once even down to -13!
The full bottle on the left is the one that was froze, with an empty on the right for comparison. It is now taller, larger in circumference, and the trademark Coke “contour” has been flattened! It had the Coke logo embossed into that area along with a patterned texture, but this is all but gone, and barely visible as the plastic was stretched outward, it flattened all this out as well. You can also see the increased volume of the bottle has the soda now well below the usual area up in the neck.The label appears distressed as well!
It is also has no fizz left in it what so ever and I have no intention of drinking it!
That’s all about that, as I thought it was kind of interesting…
I have been working, when I can, on the missiles. I need to at least mount the AIM-120’s as they hang above the extended landing gear, and I didn’t want to have to fight them to get them into place. Obviously, painting the stripes is a big PIA with all the masking involved.
The results:
I notice they are not exactly perfect in size, but who is going to notice? (other than me of course!)
I plan to do a wash to bring out the detail and also I plan on adding a couple of data decals from my spares box to give them a bit more realism. Only tiny bugs will be able to read them in any case, so what they say is unimportant…
The decal sheet is an old Micro-scale F-4 Phantom data sheet I picked up as a close-out years ago for a buck each! And I have three of them! They have come in handy a few times as I needed to replace a few damaged kit decals! Like I said before, at this scale, you really can’t read them anyway!
Note the blob of Silly Putty used as a convenient work stand!
Very cool that it didn’t split the bottle open and spill all over the inside of your truck! Even though it is diet so has no sugar, it still would have been quite a mess. Shows the strength of those bottles!
Very nice work on those missiles Jim! Incredible when you consider the scale! [Y] [Y] That is one thing I always hated doing, masking. But if you don’t do a good job at it, it can really take away from any paint job.
You got a really good deal on those decals! A very wise investment.
Cool idea using the silly putty to hold small parts, thanks for sharing that!
Ken: That IP looks perfect! Wish I could do one that looked that good!
Mike: That Coke bottle is bizarre - I guess the repeated freezing and thawing warped the bottle as you said. Little surprising to be it didn’t burst but I guess the plastic had enough ‘give’ to keep it flexing.
Those missiles turned out great, don’t think I could see something that small much less mask and paint it.
Thank you Cliff! I am hoping I can get the F-84E’s instrument panel looking as good. It will be an experiment using the hole punch on the photo etch. It sounds good in theory! [:D]
That is looking good Ken! You’re the one who is meticulous, though I don’t doubt working in a larger scale would make that easier to get into that level of attention to detail. You can only attain so much at smaller scales.
I am wondering something: as we are rapidly approaching the month of February, will the Group Build start afresh with the third annual?
Here is something that caught my eye: I see Revell Germany has released a 1:72 scale German U-boat, the U-505, which was captured by the Allies in '44 and eventually was donated to the Chicago Museum of Science and Technology in 1954. Here’s the thing: when I was a kid, I traveled with Mom to Chicago to visit relatives. One of my Uncles took us out on his boat on Lake Michigan, and I remember seeing a submarine moored at a dock somewhere. It looked very old and was covered with rust. Now I wonder if this sub was what I saw? The photos I looked at strike something in my memory, but that was so long ago. Around 40 years or so (OMG! 40 Years!!!) I guess it has been restored and moved into it’s own climate controlled enclosure at the Museum. Sounds like an interesting museum, if I ever get to Chicago again.
Follow this link for a video of them moving the (Wow! It’s big!) sub:
Yes, I have already started thinking about the badge for the Third Annual Berny Memorial Group Build. It will be here sooner that we think! Everyone can carry over whatever they are building to it. And they can still have their pick where they want to display it when it is finished, the Second or the Third.
That is pretty interesting about the U-505. Chicago is only a 2 hour drive from where I live. I may have to go and pay it a visit. Of course I will take plenty of pictures!