Search and Rescue Group Build 2011

Helo H-34

Another impressive build! Excellent results and considering the simplicity of the kit good use of scratch building.

Progress is slow on CF-SAM yet looking forward to getting more time to build. Aside from monthly ‘build nights’ at our club I have been requesting more to get extra build time in.

Jason

Nice, clean (and quick) build of an unusual subject. Bravo Zulu!

my occasionally ridiculous update compared to the great Helo finished HH-3E [:$]

A red was used on another kit and take advantage to paint the relative seabat red parts … enamels costs [whstl]

!(http://i405.photobucket.com/albums/pp139/bsyamato/modellismo/hss-1 seabat ita72/100_9715.jpg)

not founf actually a correct color for the high visible red but i have the impression that another thinned layer on the same red (under color was white) can approach to the definitive acceptable color

heres the real from airliners.net

Bsyamato , your H-34 Seabat build is coming along nicely [Y]

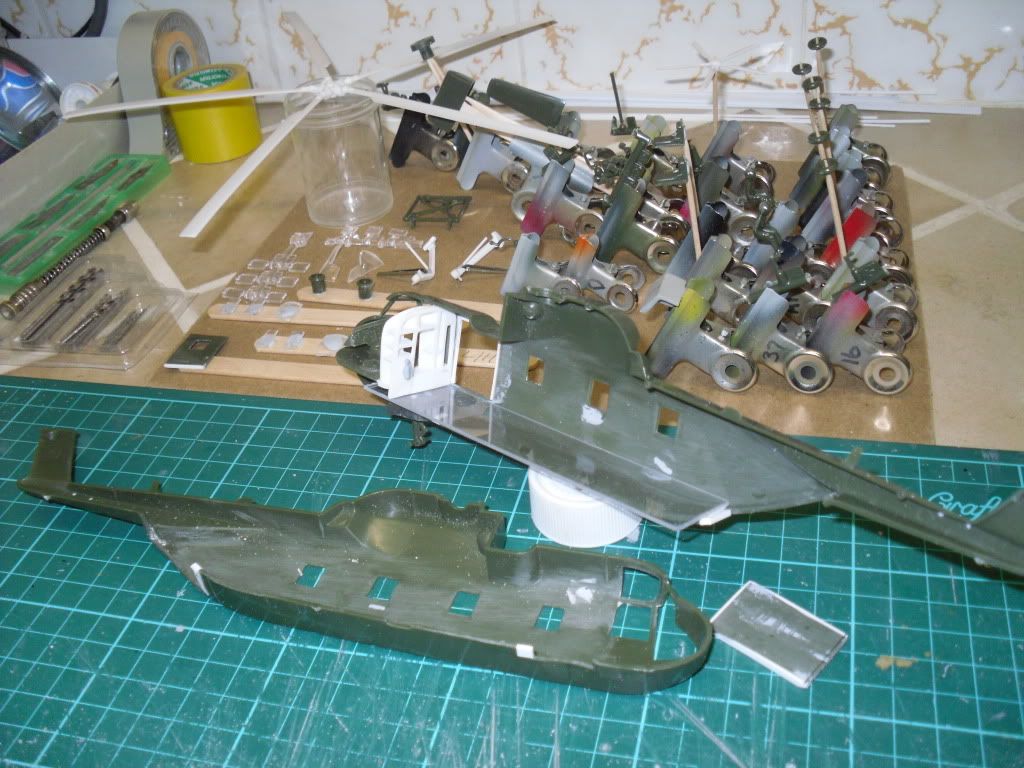
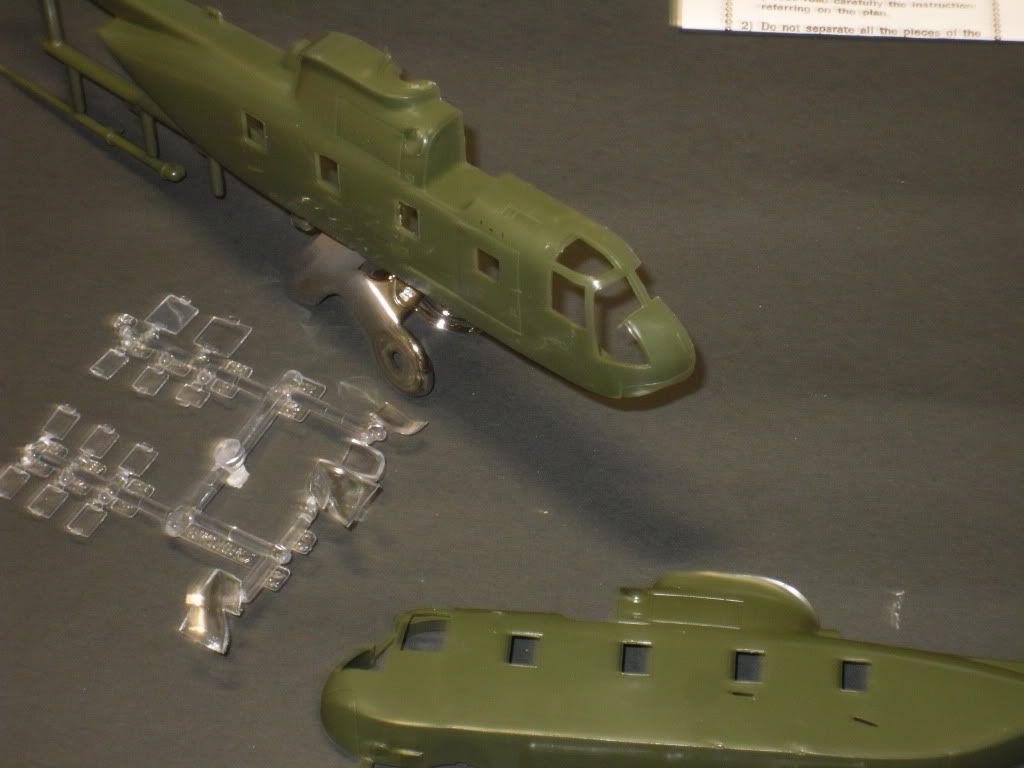
As for me , I decided to buy a couple of those inexpensive 1/72 Starfix HH-3E kits to use some of the cockpit pieces in the Lindberg CH-3E build as Starfix supply some nice cyclic sticks , foot pedals , seats and pilots .

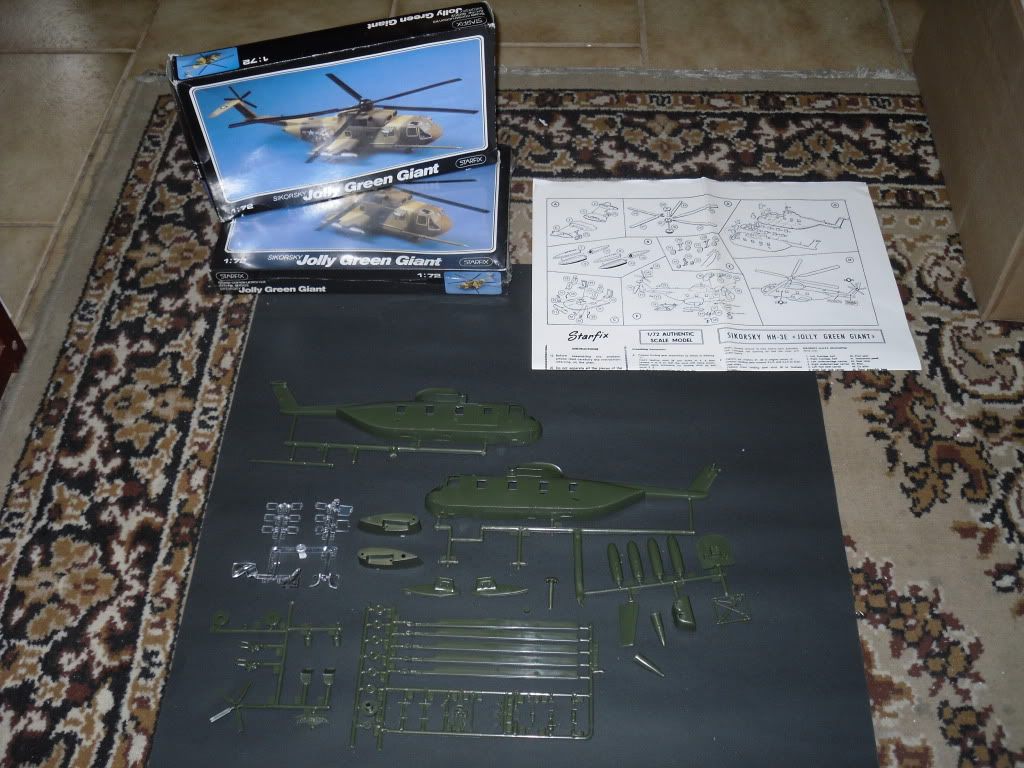
One of the main reason for purchasing these two kits is that they come with a nice under fuselage hoist for external sling loads ;

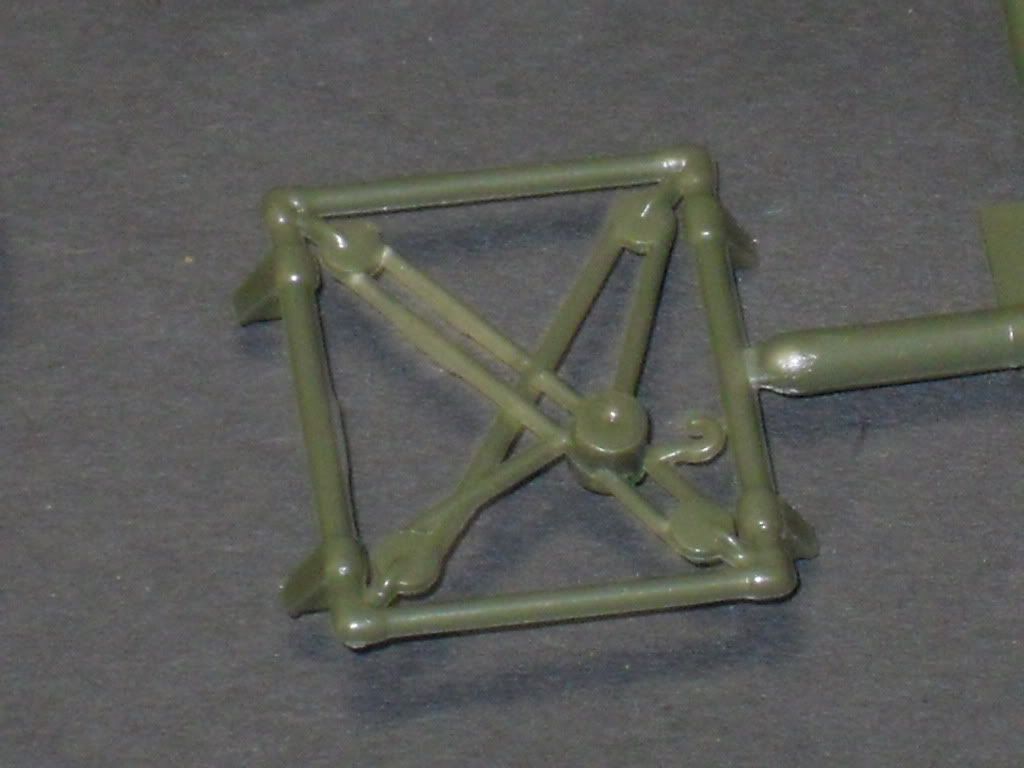
The Carzy Legs CH-3E is fiited with one of those hoists , so my thinking was to add it to my Lindberg 2nd build .

However last night I was eyeballing the Starfix kit and started thinking about what I would need to do to fix some of the main inaccuracies and perhaps use the Starfix HH-3E as the base kit for my CH-3E Crazy Legs build .

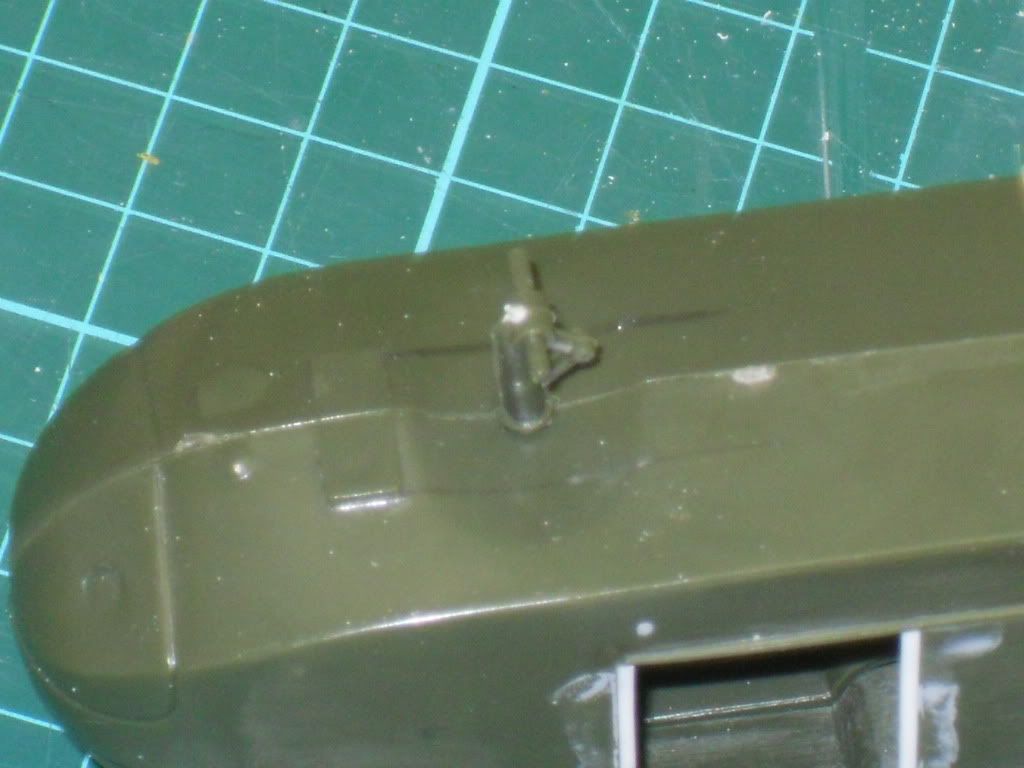
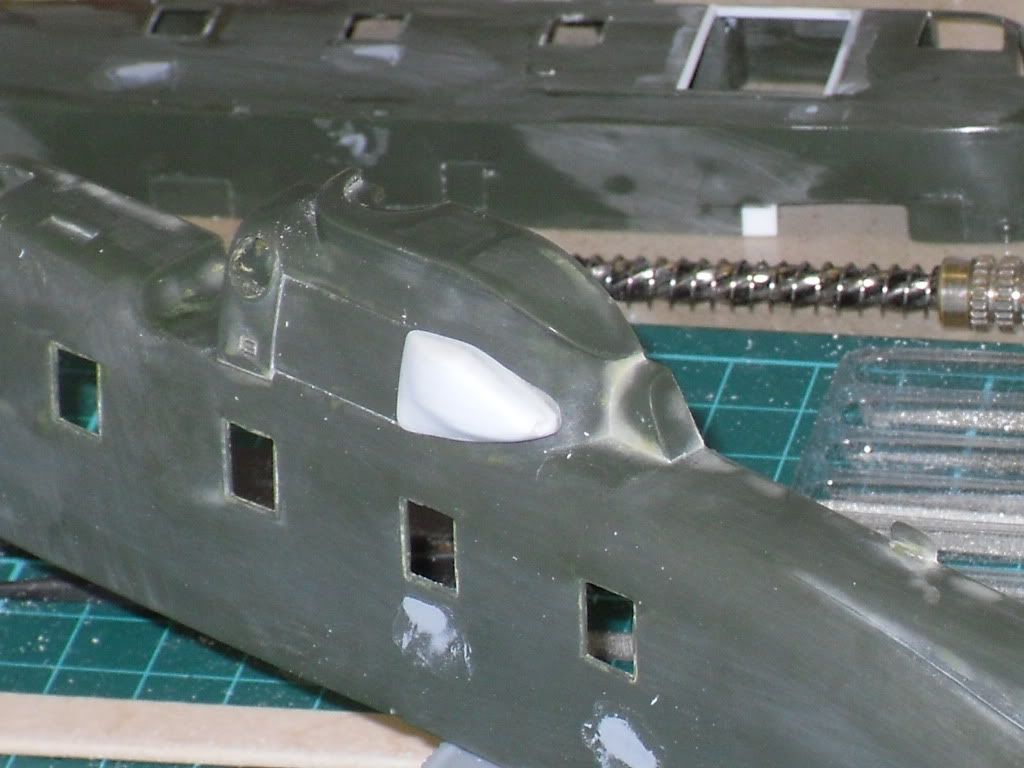
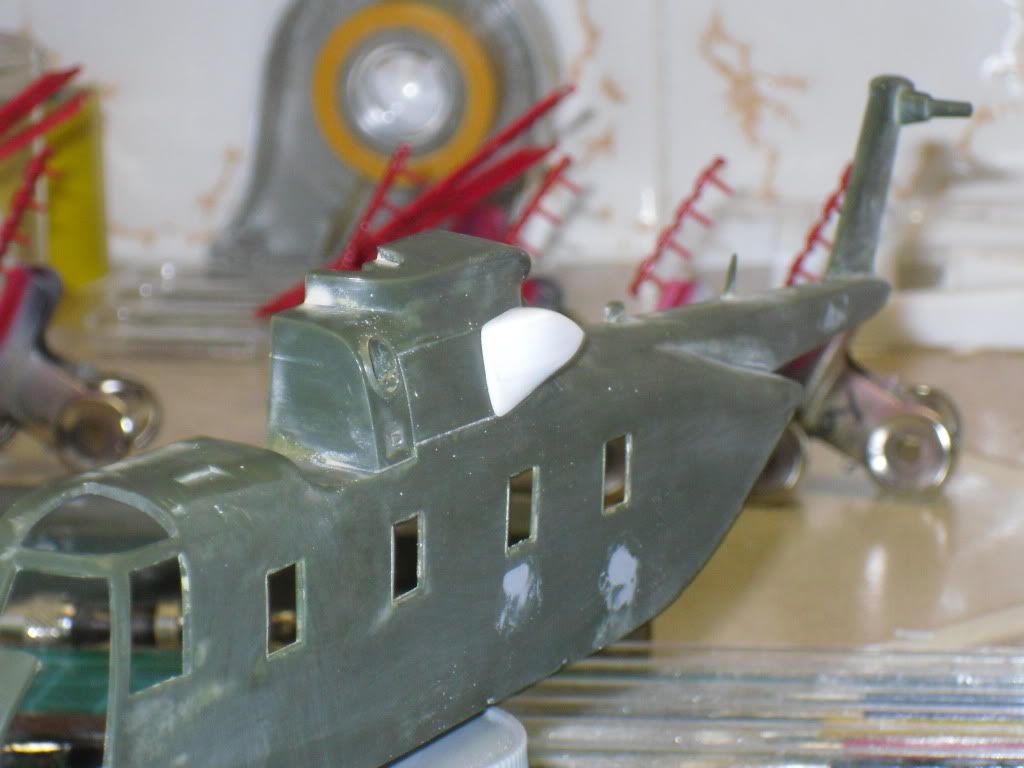
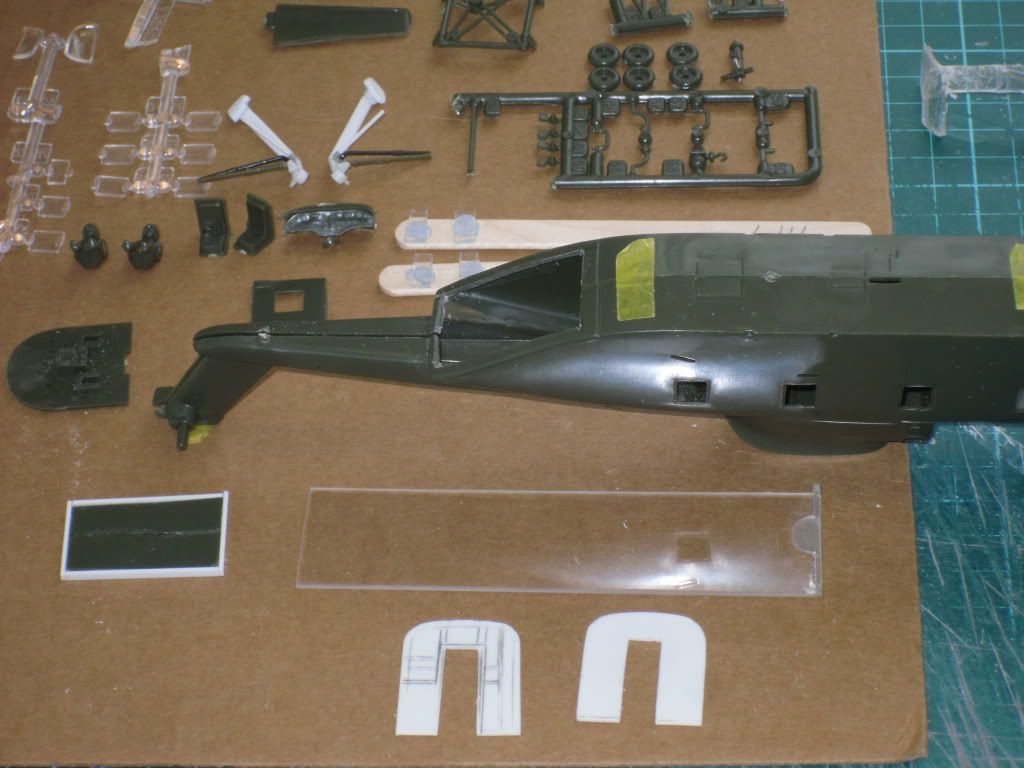
The Starfix HH-3E main rotor housing is much nicer than Lindbergs kit but there is no bulge on the left side of the rotor housing to depict the APU unit . This could be fixed with a little Tamiya putty and sanded to shape ;

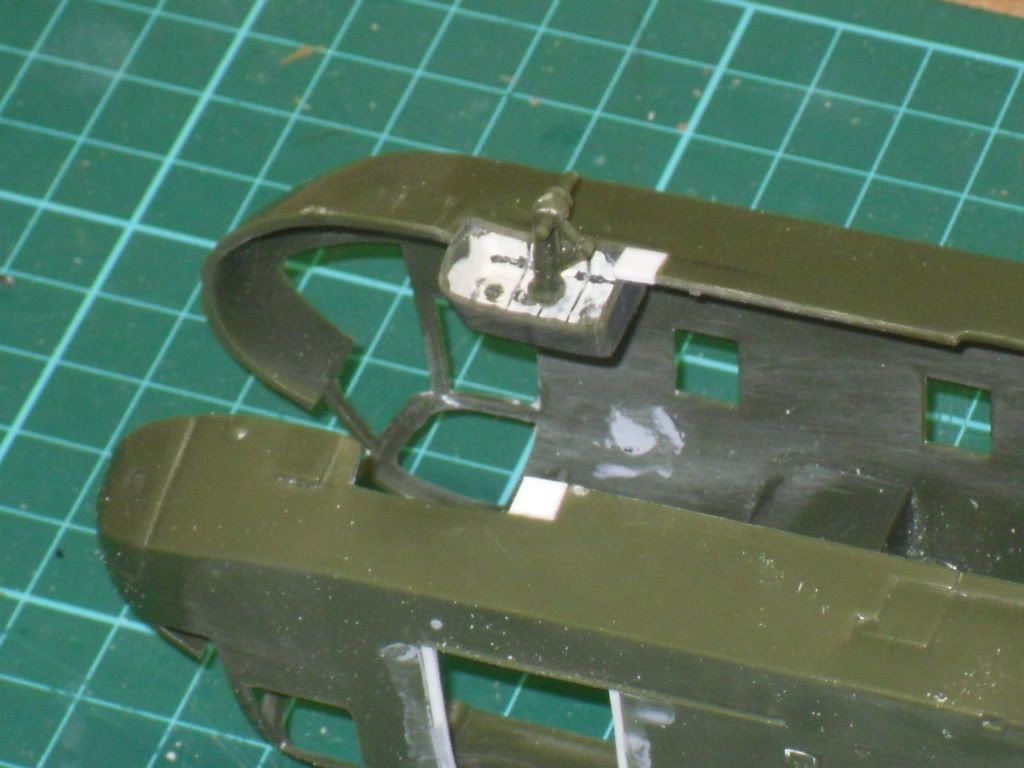
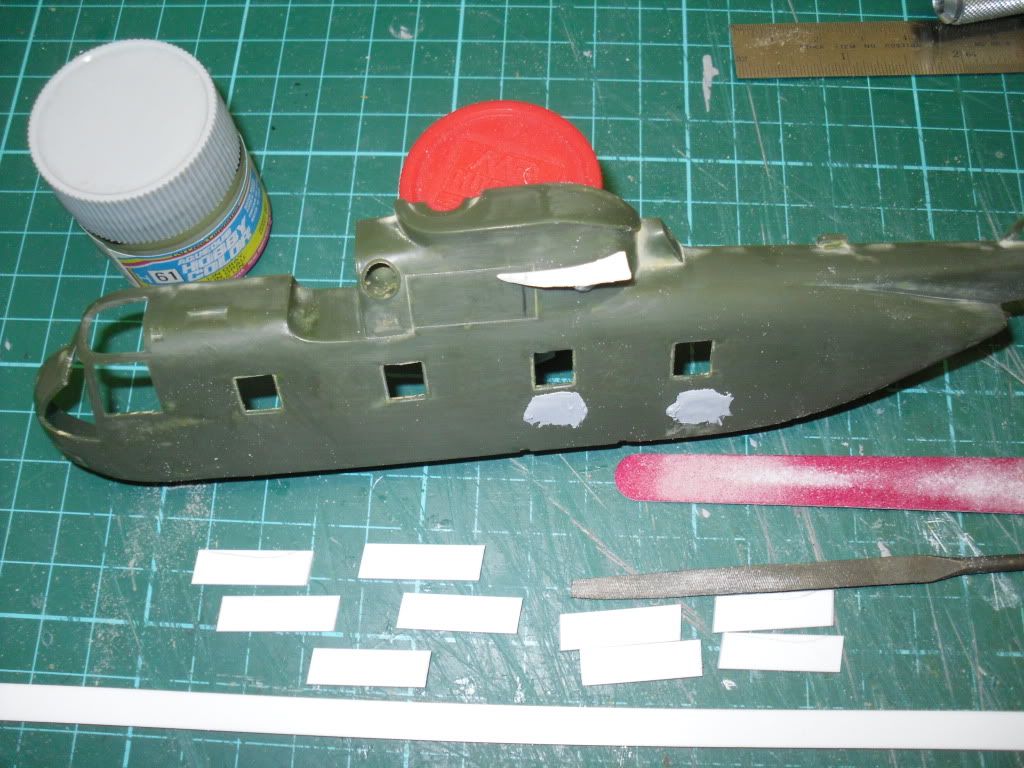
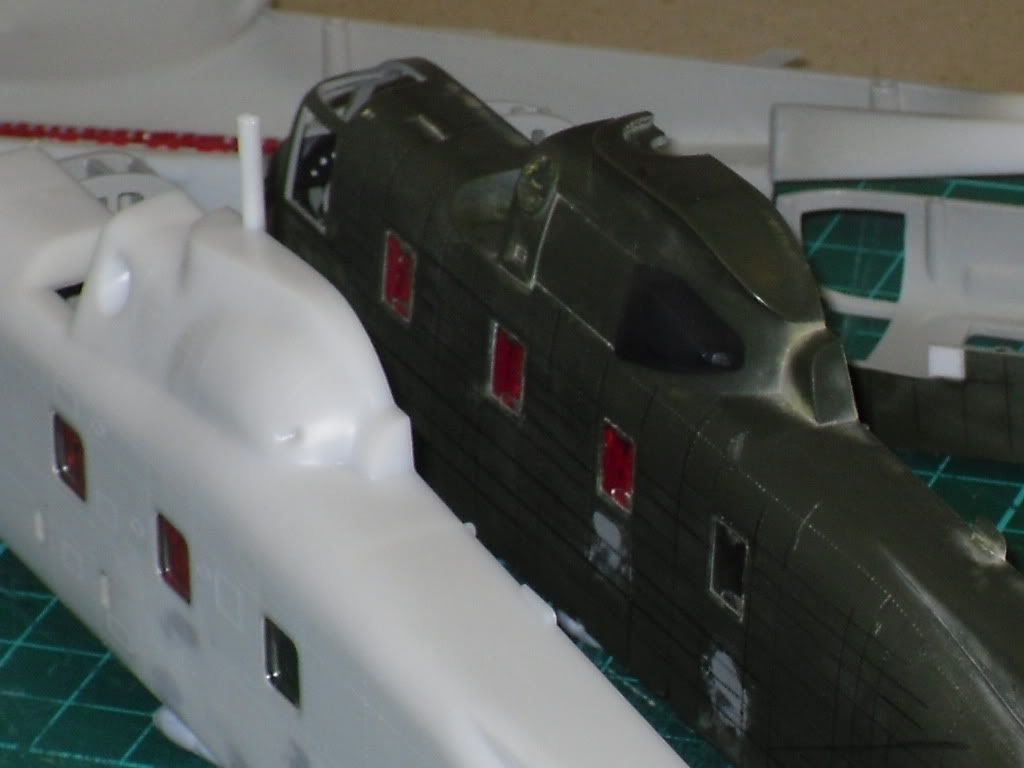
One of the biggest issue’s is the size of the two overhead cockpit tinted window’s , Starfix made theirs too narrow in width . So I two spare Lindberg canopies and decided to have a go at carefully cutting out the overhead canopy window’s and file the opening bigger on the Starfix fuselage ;

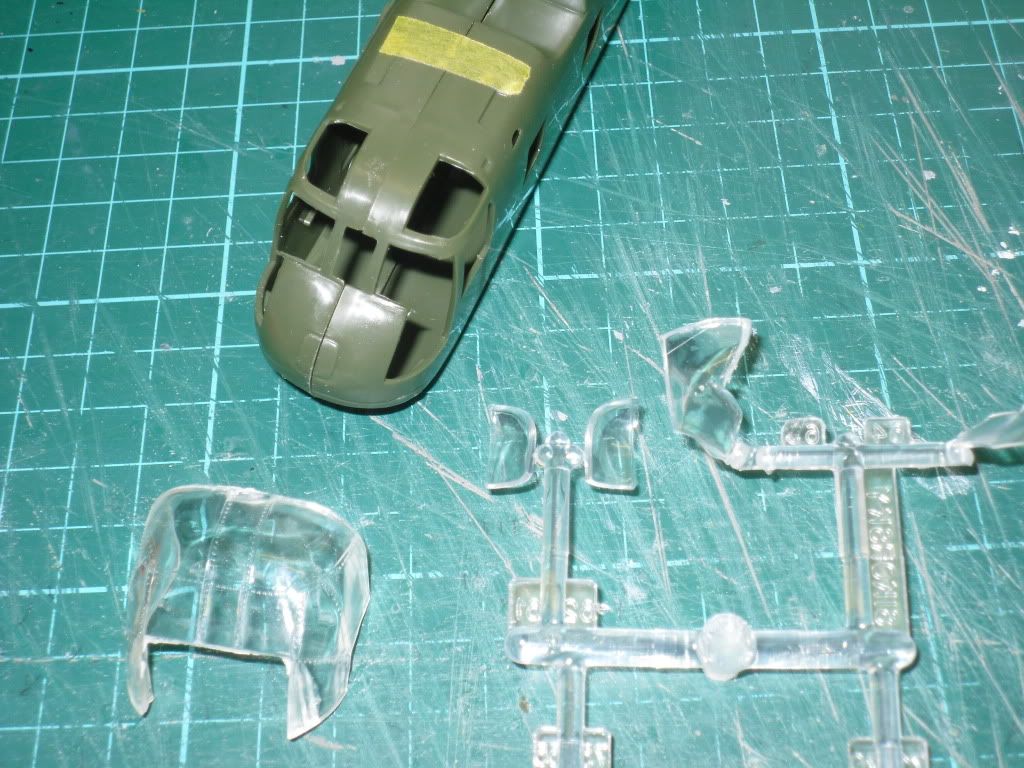
This seemed to work out okay ;

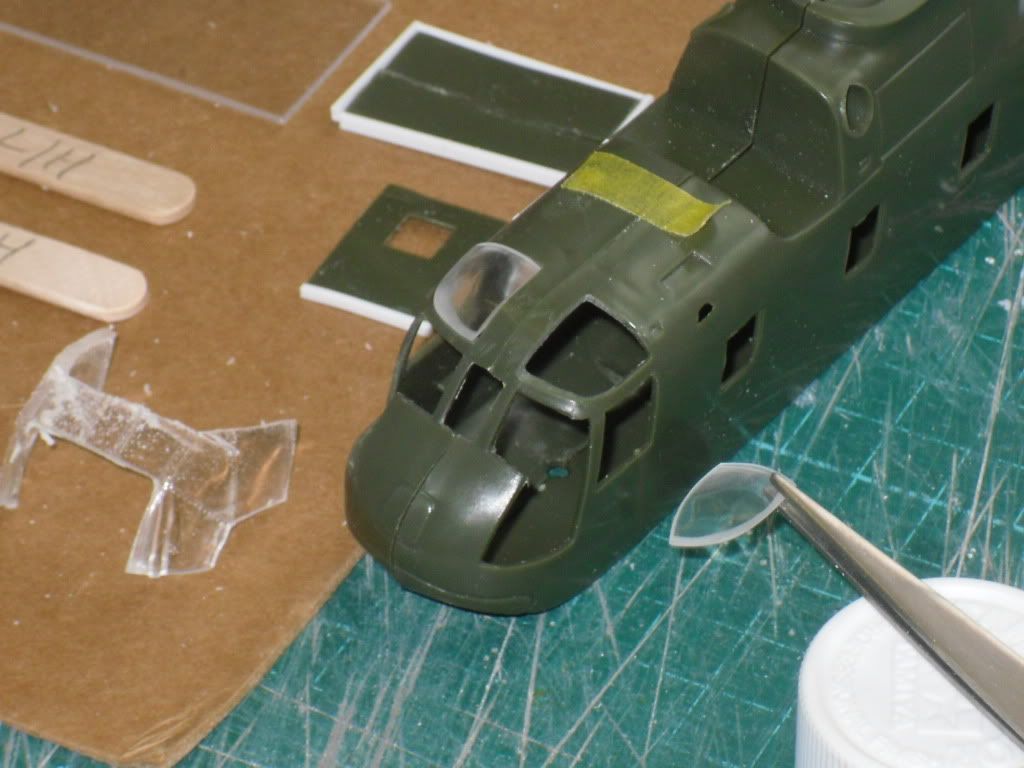
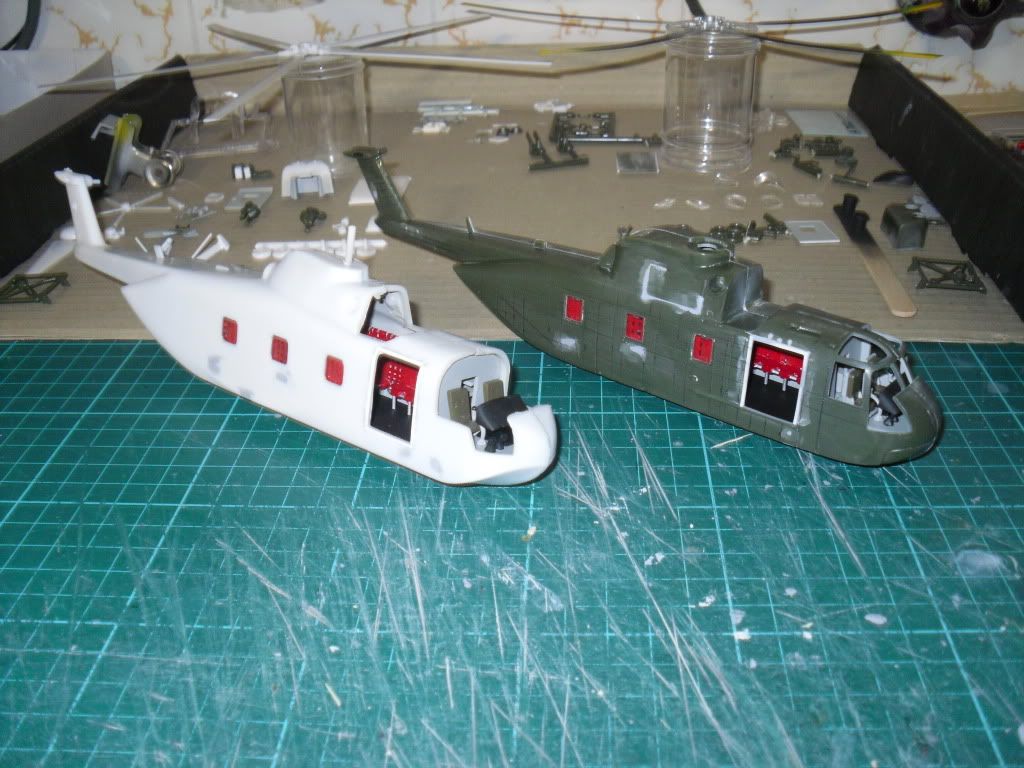
So now I have decided to use the Starfix HH-3E kit as my CH-3E Crazy Legs build ;

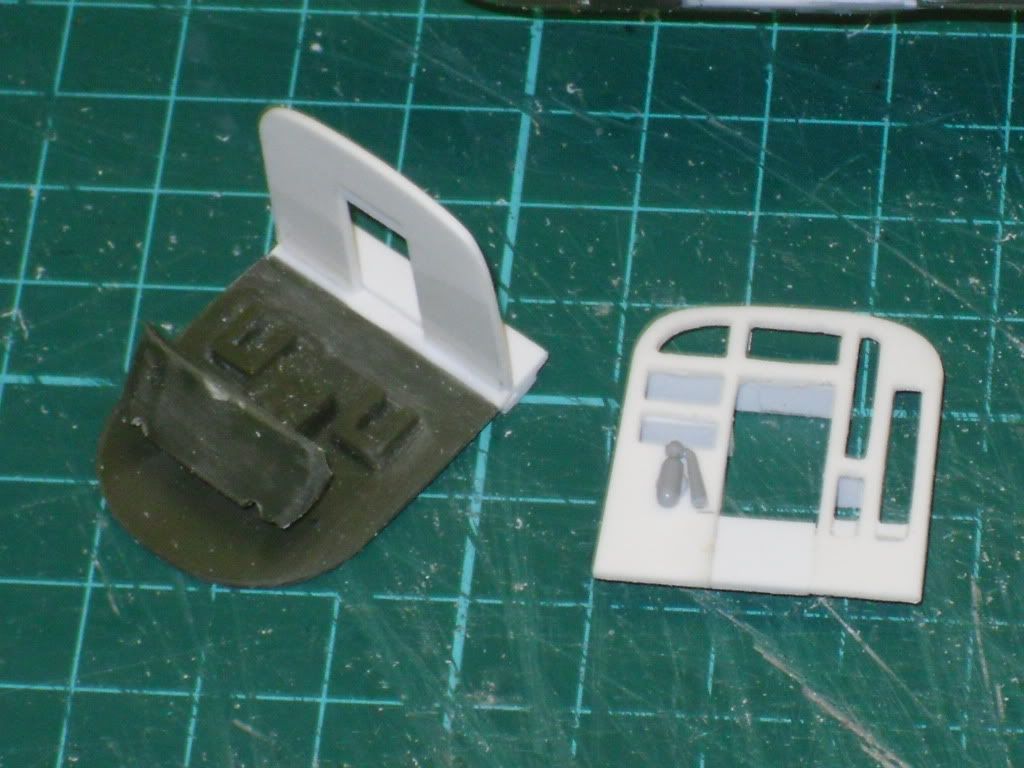
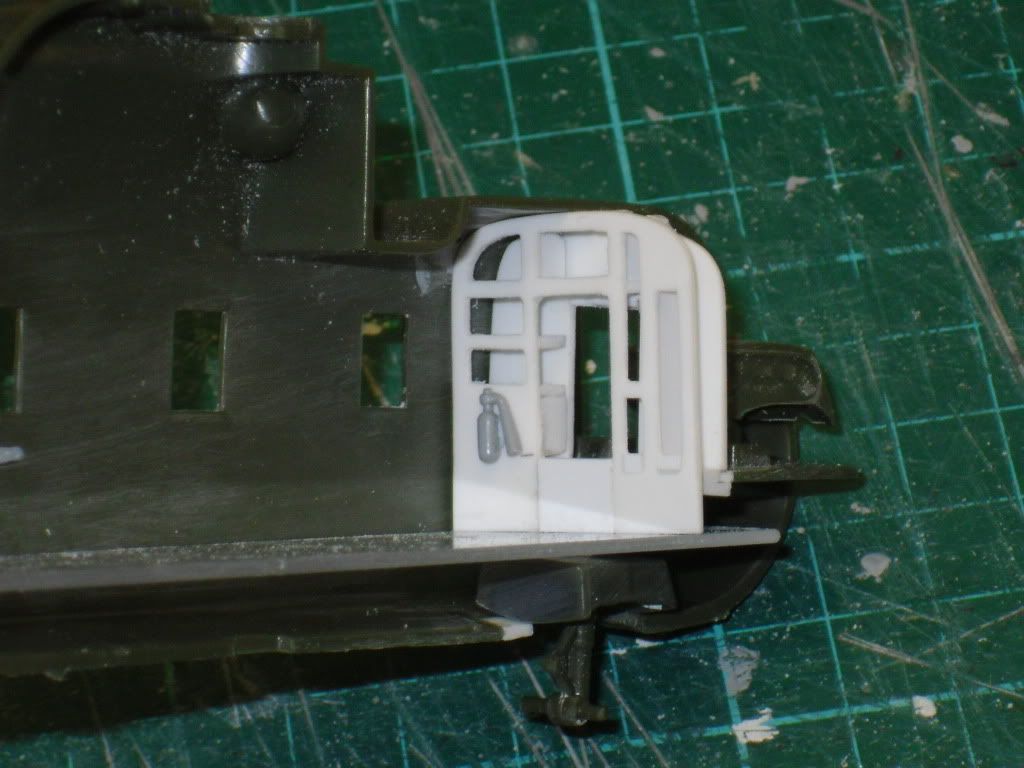
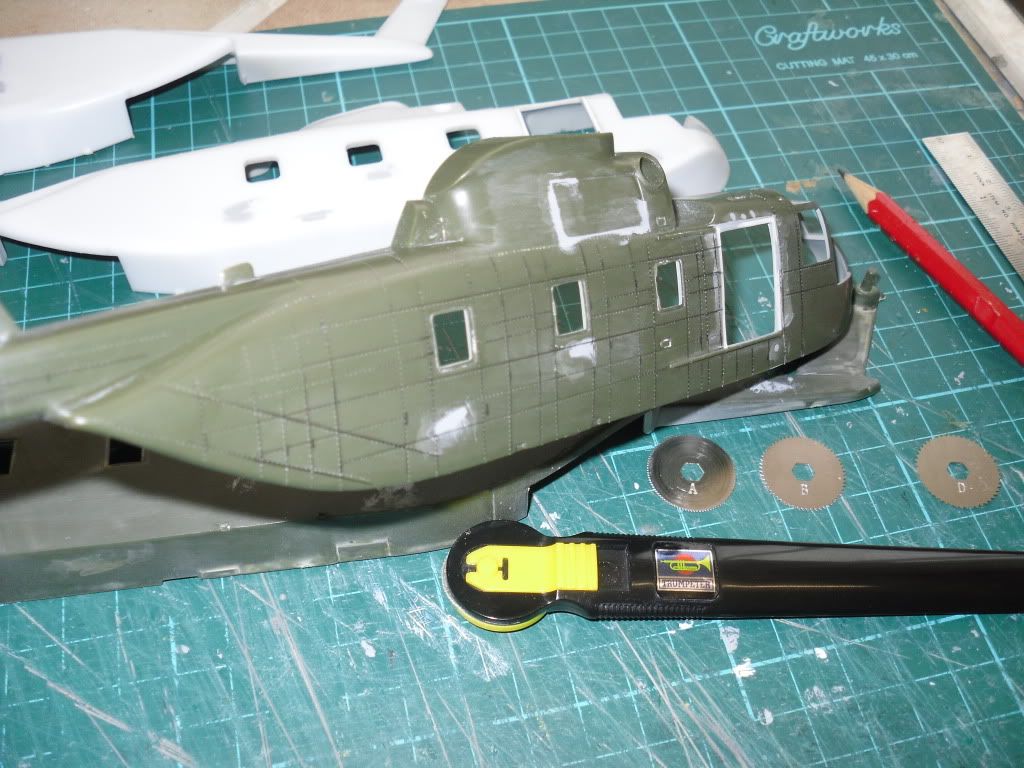
Next I cut open the side fuselage door and then glued some plastic strip to the opening to make up for the saw cut and filing . I also decided to cut open the pilots side cockpit window’s to pose them open ;

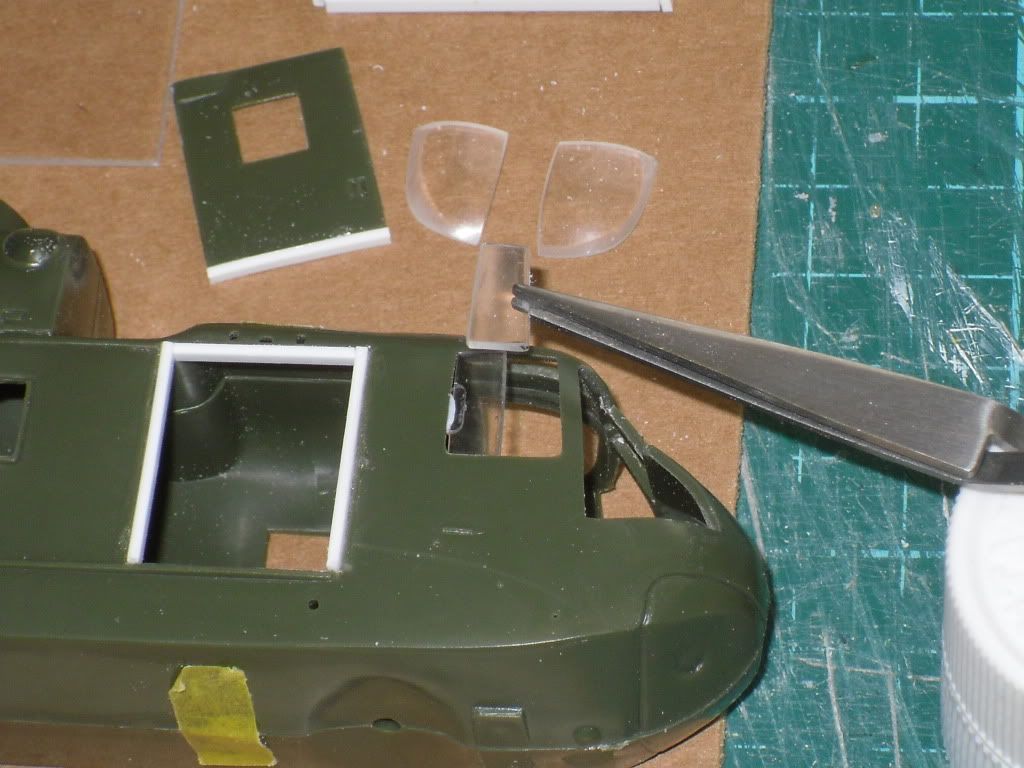
While doing this I suddenly discovered that I made a mistake on my first Alaskan HH-3E build in that Lindberg didn’t mold a frame line down the middle of the pilots side window’s , so I’ll have to go back and re-mask those side window’s and airbrush for a center frame line .

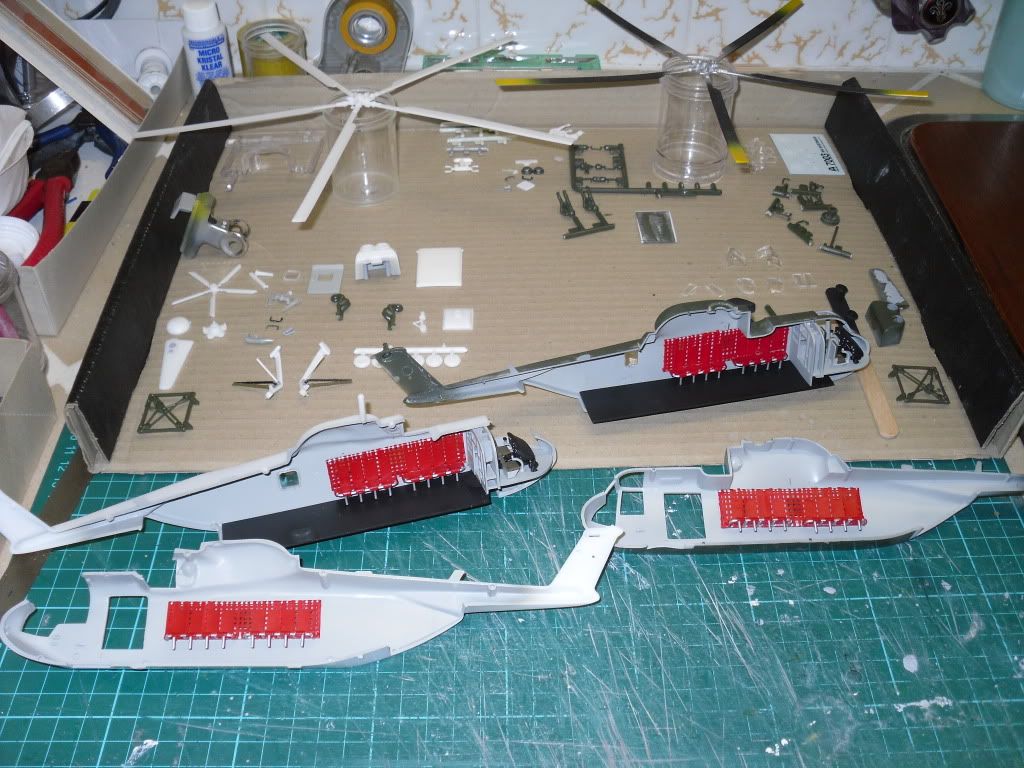
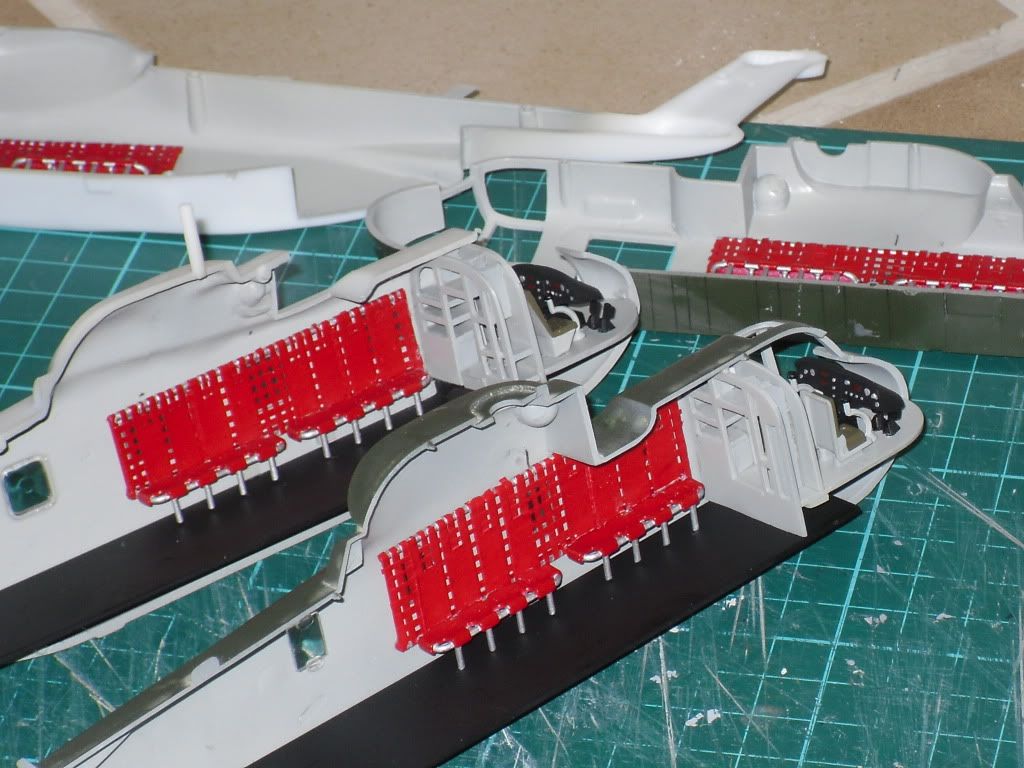
Anyway I continued on with the Starfix kit and cut open the rear ramp and I made some cockpit bulkheads for the interior ; One behind the pilots ( Starfix didn’t supply one ) and the other I’ll file some openings for shelves to depict the equipment rack . The one I had made already for the Lindberg fuselage is 2mm too wide for the Starfix kit , so I’ll just make another .

That’s about it so far , my apologies for swapping and changing things so much but hopfully it should all work out .

John .

Never hear about starfix [:|] you’re buildin half of the gb kits LOL [:D]

If i found where’s my lindberg copy could try to use for an italian hh-3F conversion but not found where i suppose was [:(] i fear thrashed it

Hi guy’s ;

I’ve made a little more progress on Crazy Legs ; Starfix don’t offer any type of front landing gear boxing or wheel well , just a slight recess in the underside fuselage halves ;

I found an old H-53 Front landing gear boxing in the spares box and decided to use that , so I cut a notch in both fuselage halves to accommadate the landing gear boxing ;

It looked a little too long at first , so I shortened it and filled in the gap with some plastic strip .

The I extended the cockpit floor and glued the bulkhead in place , then I filed out the equipment rack bulkhead and added some plastic strip for shelves ;

Everything seems to dry fit okay ;

Tomorrow I’ll try and get some interior painting done on the fuselage halves and cockpit pieces ;

So I’m going along nicely .

John .

I’m making slow but steady progress on the CH-3E “Crazy Legs” builds ; yeah now I’m doin’ two .

After swapping and changing my mind so many times , I decided to build the Lindberg kit as well as the Starfix kit side by side .

The Lindberg build will be finished in the same paint scheme of the Alaskan Air Command HH-3E and the Starfix build will have the SEA camouflage from the Vietnam War .

Anyway the starfix kit doesn’t have an APU unit molded to the left upper rotor housing , so I copied some pic’s into the computer that a fellow FSM member , jeaton , posted a while back in the helicopter section of some walk around pic’s he took of a USAF HH-3E ; http://yolo.net/~jeaton/Helicopters/hh3/hh3.htm

Working froma couple of pic’s I printed out ;

I had a go at trying to scratch build something similar by laminating some 6.5mm x 1.5mm plastic strip together

Then I tried to file the little piece to a similar contour and shape ;

I guess it looks kinda okay , so after that I had a go at using the Trumpeter rivet maker and followed some pencil lines I drew on the Starfix smooth fuselage ;

This worked out okay too , so then it was onto painting the cockpit pieces and the masking tape / plastic strip seat backs and UH-1D Huey seat bases , glue the fuselage windows in place and then glue the interior pieces in place as well ;

Close up of the cabin seats and cockpit ;

Back to the APU unit , you can see in the next pic hoe different the fuselage pieces are on the Lindberg kit with the molded in APU and the Starfix kit ;

Quite a bit of difference between the two kits , which made it a little difficult making the APU for the Starfix fuselage as it is not as rounded at the top of the cabin roof section as it blends into the rotor housing like on Lindbergs kit .

Next I’ll glue the fuselage halves together and I’ll make another set of fixed landing gear struts for the Starfix kit .

John .

The famous “rivet counter” [:D] LOL!

(need one again [:#] )

Great updates Helo and good mods on the fuselage [Y][Y]

Agreed excellent work improving the kits!

Anyone see our host around? Seems he is MIA and not stopping in to update the entry page.

Looking forward to getting some work done and posted, hope to set up on the kitchen table a few times…

I am so sorry you guys. Most of my FSM participation is off my mobile device as I am sans internet in my apt. I am committed to rhis board and the purpose it serves. To share techniques with extraordinary builders and to expand members’ knowledge of the capabilties of SAR. Balancing a the board, work, and being a semi-new father have taxed me. From here on in I will commit to myself and my fellow modelers to keep this GB running straight and true. Much thanks to all who are participating and who have taken the time to help me along. Chris

Don’t worry abour Rotorhead [Y] Just update the rooster when yuo have the opportunity [H]

Again best wishes for the new come [t$t]

too few updats about seabat, i planned bad this project and comes really slow even withouth significant mods on

Main colors on

!(http://i405.photobucket.com/albums/pp139/bsyamato/modellismo/hss-1 seabat ita72/100_9756.jpg)

!(http://i405.photobucket.com/albums/pp139/bsyamato/modellismo/hss-1 seabat ita72/100_9826.jpg)

the yellow stripe on and started to paint gears and minor pieces. Also cleared some paint mistake on clear parts with a toothpick

!(http://i405.photobucket.com/albums/pp139/bsyamato/modellismo/hss-1 seabat ita72/101_0011.jpg)

!(http://i405.photobucket.com/albums/pp139/bsyamato/modellismo/hss-1 seabat ita72/101_0008.jpg)

Corrected also the paint on the nose… i extended too much the red area [whstl]

First clear layer on, after a strike of weathering shading

!(http://i405.photobucket.com/albums/pp139/bsyamato/modellismo/hss-1 seabat ita72/100_0040.jpg)

more seabat updates

!(http://i405.photobucket.com/albums/pp139/bsyamato/modellismo/hss-1 seabat ita72/100_0046.jpg)

decals on , the sheet was poor but great quality

!(http://i405.photobucket.com/albums/pp139/bsyamato/modellismo/hss-1 seabat ita72/100_0054.jpg)

!(http://i405.photobucket.com/albums/pp139/bsyamato/modellismo/hss-1 seabat ita72/100_0049.jpg)

and panel lines washing, again to fix some other line

!(http://i405.photobucket.com/albums/pp139/bsyamato/modellismo/hss-1 seabat ita72/100_0078.jpg)

gears already painted, now remains rotors

bsyamato,

Difficult colors to pull off well, your helicopter is looking great!

The bottom photo looks a shade lighter than the rest, is this the lighting or a step you took in the painting process? Regardless the highlights and panel definition looks perfect.

Excellent progress Bsyamato [Y]

The red , yellow and gray colors have come out quite well . Nice job also on getting those nose numbers to contour around the nose engine doors , I struggled with a single number 3 on an early U.S. Navy SeaBat I built a while back , so I know how difficult it can be .

As for me , sadly not much progress on the Crazy Legs builds other than glueing the fuselage halves together ;

Hopfully I can some more done this weekend .

John .

Thanx guys for comments [:D[

Suppressionfire about colors no change was made between top page and last pictures, i only weatherend the grey (better i darkened the panel lines borders with drybrush) ,differences was made by different camerea manual setting.

Helo the nose number effectively was a nightmare, i did 3 or 4 attempt, used really hot water to dip and on last i attempt I risked spoiling the decals turnred too soft and elastic ,then with hands and the cutter removed totally and re-dip in the water, 2 layer of microsol perfected the adhesion.

The red looks so good because under i used 3 or 4 white layers [:|] these colors like yellow ,white and red are even a pain to paint.

waiting for more updates here

the two pellican (italian name of the hh-3) looks very domesticated from the raw kits they comes [Y][Y]

final laps

fixed the broken main rotor (newbee mistake i performed [:$] )

!(http://i405.photobucket.com/albums/pp139/bsyamato/modellismo/hss-1 seabat ita72/100_0079.jpg)

painting rotors and matt layer on the copter

!(http://i405.photobucket.com/albums/pp139/bsyamato/modellismo/hss-1 seabat ita72/100_0081.jpg)

!(http://i405.photobucket.com/albums/pp139/bsyamato/modellismo/hss-1 seabat ita72/100_0083.jpg)

tomorrow will finally glue the gear and minor parts

some update

Then… i lost the finished blades control disc of main rotor [bnghead] unexpected scratchbuild needed

!(http://i405.photobucket.com/albums/pp139/bsyamato/modellismo/hss-1 seabat ita72/100_0114.jpg)

tail rotor will also receive metal rods to replace original parts.

painting some missed detail from italeri as external tubes with brass rods and the tail light scratched from clear sprue

!(http://i405.photobucket.com/albums/pp139/bsyamato/modellismo/hss-1 seabat ita72/100_0098.jpg)

!(http://i405.photobucket.com/albums/pp139/bsyamato/modellismo/hss-1 seabat ita72/100_0099.jpg)

Hope not need to replace other parts [:S]

more updates here

compass cutter work

!(http://i405.photobucket.com/albums/pp139/bsyamato/modellismo/hss-1 seabat ita72/100_0119.jpg)

first fitting test

!(http://i405.photobucket.com/albums/pp139/bsyamato/modellismo/hss-1 seabat ita72/100_0123.jpg)

and the two rotors fixed!

!(http://i405.photobucket.com/albums/pp139/bsyamato/modellismo/hss-1 seabat ita72/100_0128.jpg)

just waiting the CA glue dry and refine after

Metal rods painted and fixed on fuselage

!(http://i405.photobucket.com/albums/pp139/bsyamato/modellismo/hss-1 seabat ita72/100_0130.jpg)

!(http://i405.photobucket.com/albums/pp139/bsyamato/modellismo/hss-1 seabat ita72/100_0131.jpg)

this is the bottom pieces from the kit someone knows where’s the correct position to glue it? i found few and not clear picurer of this helicopter for a correct fix

!(http://i405.photobucket.com/albums/pp139/bsyamato/modellismo/hss-1 seabat ita72/100_0129.jpg)

just to show seabat with rotors [:D]

!(http://i405.photobucket.com/albums/pp139/bsyamato/modellismo/hss-1 seabat ita72/100_0132.jpg)

few pieces left to finish

thats looking better and better all the time ! [Y]