Sd.Kfz. 121 Ausf. F - Panzer II - Tamiya 1/35 (1ª SS PzDiv "Leibstandarte", Kharkov, March 1943)

First cut of the sheet completed! :smiley:

Stage 1 of assembly completed.

There’s not much mystery or difficulty in this stage, just the assembly of the exhaust has been postponed because I’m going to add texturing in some areas.

The insertion of the rear plate did not present any problems.

Here, the texturization effect will be applied to the hull.

Removal of the screw heads and replacement with new photoetched ones. I also drilled the hitch pin hole.

Now the controversy… It stays underneath and no one will see, but I will always know that I didn’t fill the holes, so…

That’s all for today, folks.

7 Likes

Following another Ricardo build :grinning_face: These early-war workhorses are often looked over against the German Big Cats and Panzerjagers, but I think they’re fascinating… Looking forward to seeing what you do with it!

3 Likes

Thank you for keeping up.

1 Like

Did Brasil have any armored units in WWII. Well aware of the the P-47s.

1 Like

@keavdog, In WWII, Brazil had attached to its infantry division a reconnaissance unit that used the M8-Greyhound and nothing else! It also used Willys Jeeps and GMC CCKW trucks for troop transport and support for the artillery unit.

Wow, this kit takes me back to when I did this Pz II ausf F during Operation Barbarossa. I call it “The Drive to Kiev”. I’m going to be keeping tabs on your build. I like how you make the earlier Panzers. Here is my rendition.

2 Likes

I liked your interpretation of the Panzer II. This will be my first one with a winter theme, so let’s see how it goes… learning and testing new techniques.

Stage 2 of assembly…

Wheels in place, I really like this Tamiya poly cap system, the wheels stay firm and are easy to remove during the painting and weathering process. To wear down the rubber of the wheels, I used a 180-grit sandpaper and then, with a craft knife, I made some scratches to simulate the loss of material from the wheels due to friction with the track.

This one took a bit more work. To place the photoetched part on the return pulley, I had to perform a microsurgery, but it turned out well.

In terms of the manual, phase 2 ends here, so let’s move on to the changes.

I made the texture with this product I found on AliExpress. It was the first time I used it and, honestly, it’s the same as using putty mixed with acetone. The advantage is that it’s already ready to use.

After applying it and letting it dry for about 12 hours, I lightly sanded it with an 800-grit sandpaper, just a bit to remove the raised “fuzz.” I really liked the effect, and I intend to use it in future projects.


Exhaust before the application of texture and photoetching.

3 Likes

The show goes on…

In the past few days, I’ve been moving, so I’ve been away from the workbench, preparing the new installations for the stash, assembly table, etc.

I installed the 20mm cannon. It took some effort to fit the cannon into the turret, but after a micro-surgery, everything worked out fine. I also replaced the ax that comes cast in the upper hull with a scrap piece I had and a resin lock.

I used a lever that was left over from the Panzer I, because it’s better than the 1976 mold. The resin latch broke, I’ll fix that later, because if I replace it, it will break again.

3 Likes

Really coming along. Nice tip on the putty, it looks great!

1 Like

Continuing with the work…

Closing the bottom with a 0.5mm plastic sheet. The remaining putty that appears is because, to cover the tool insertion holes, I applied the putty underneath and let it surface on top. Then it was just a matter of cleaning with a cotton swab and acetone, it made things much easier.

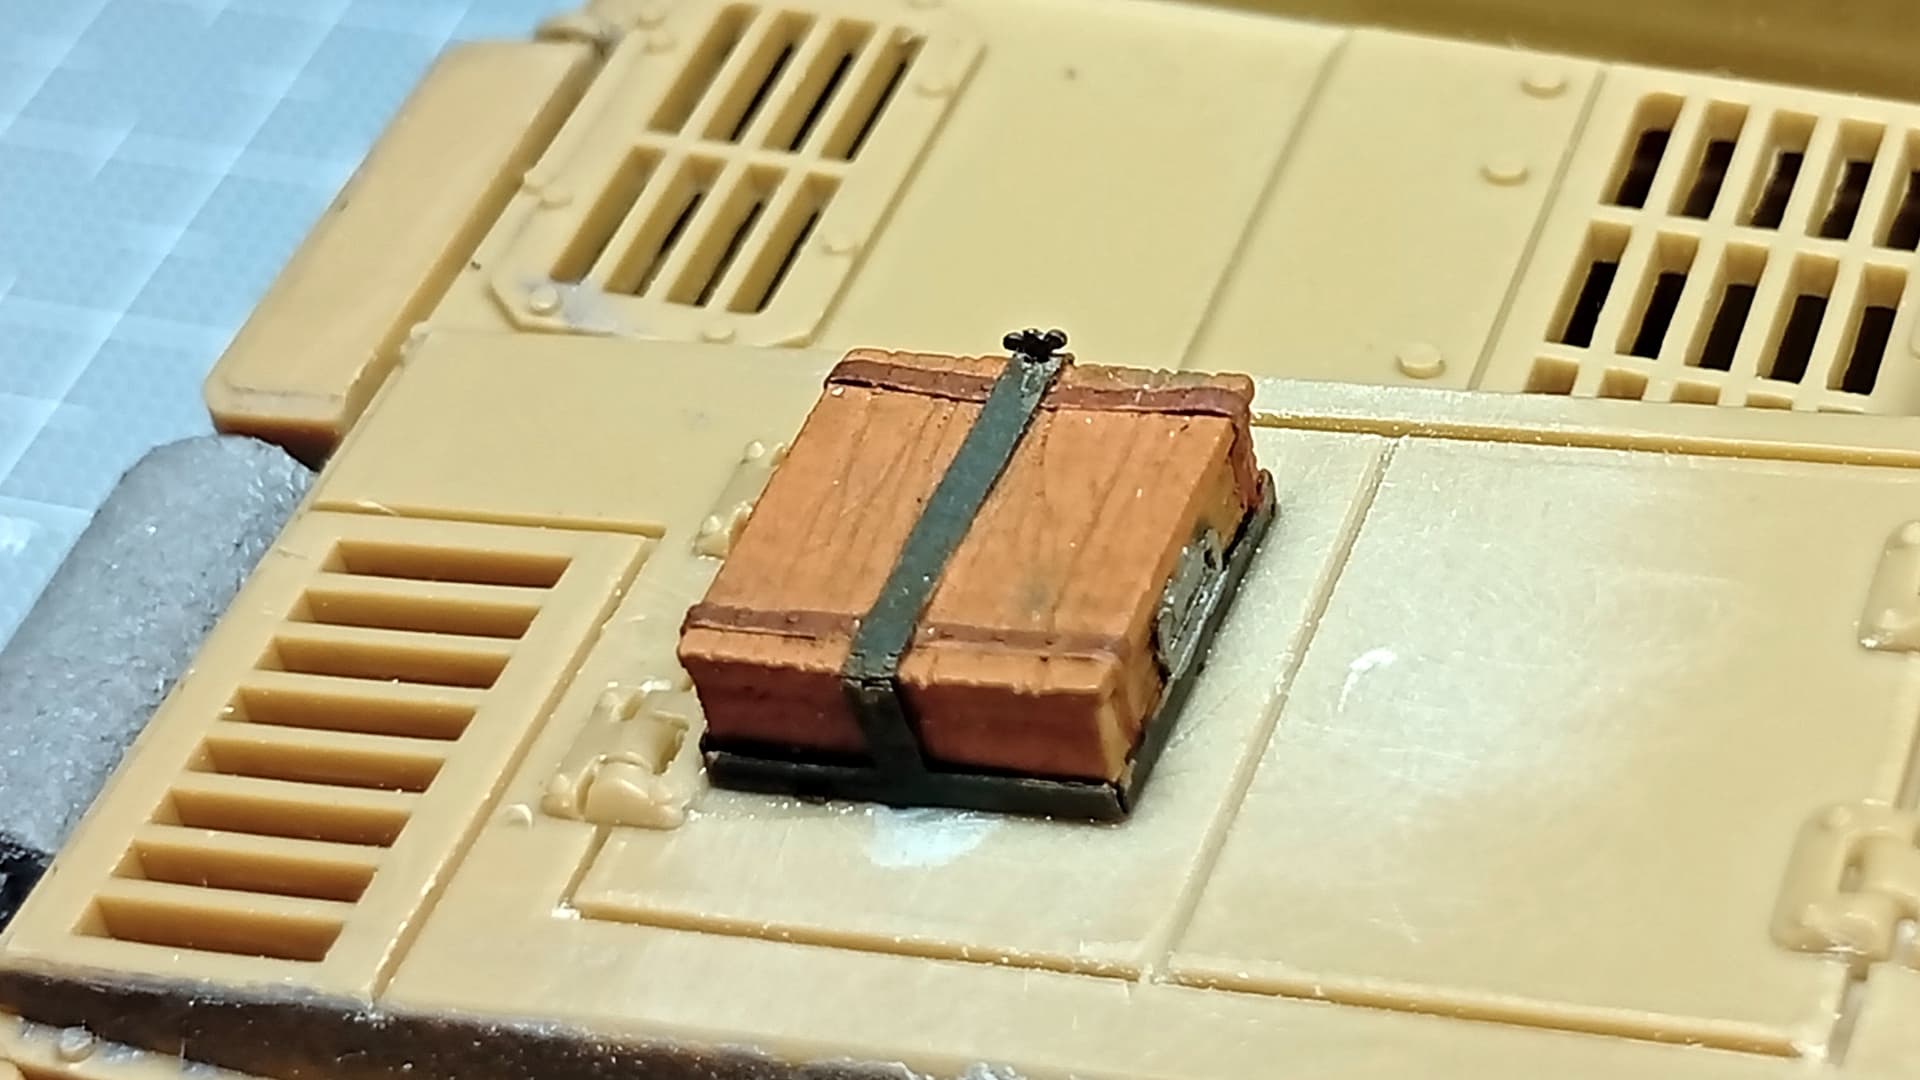
Here I made use of the scrap from my first Panzer II that was lost over time. At the time, I used the Eduard PE set, and, after the accident, I kept some things in the spare parts box. Those colors will be changed.

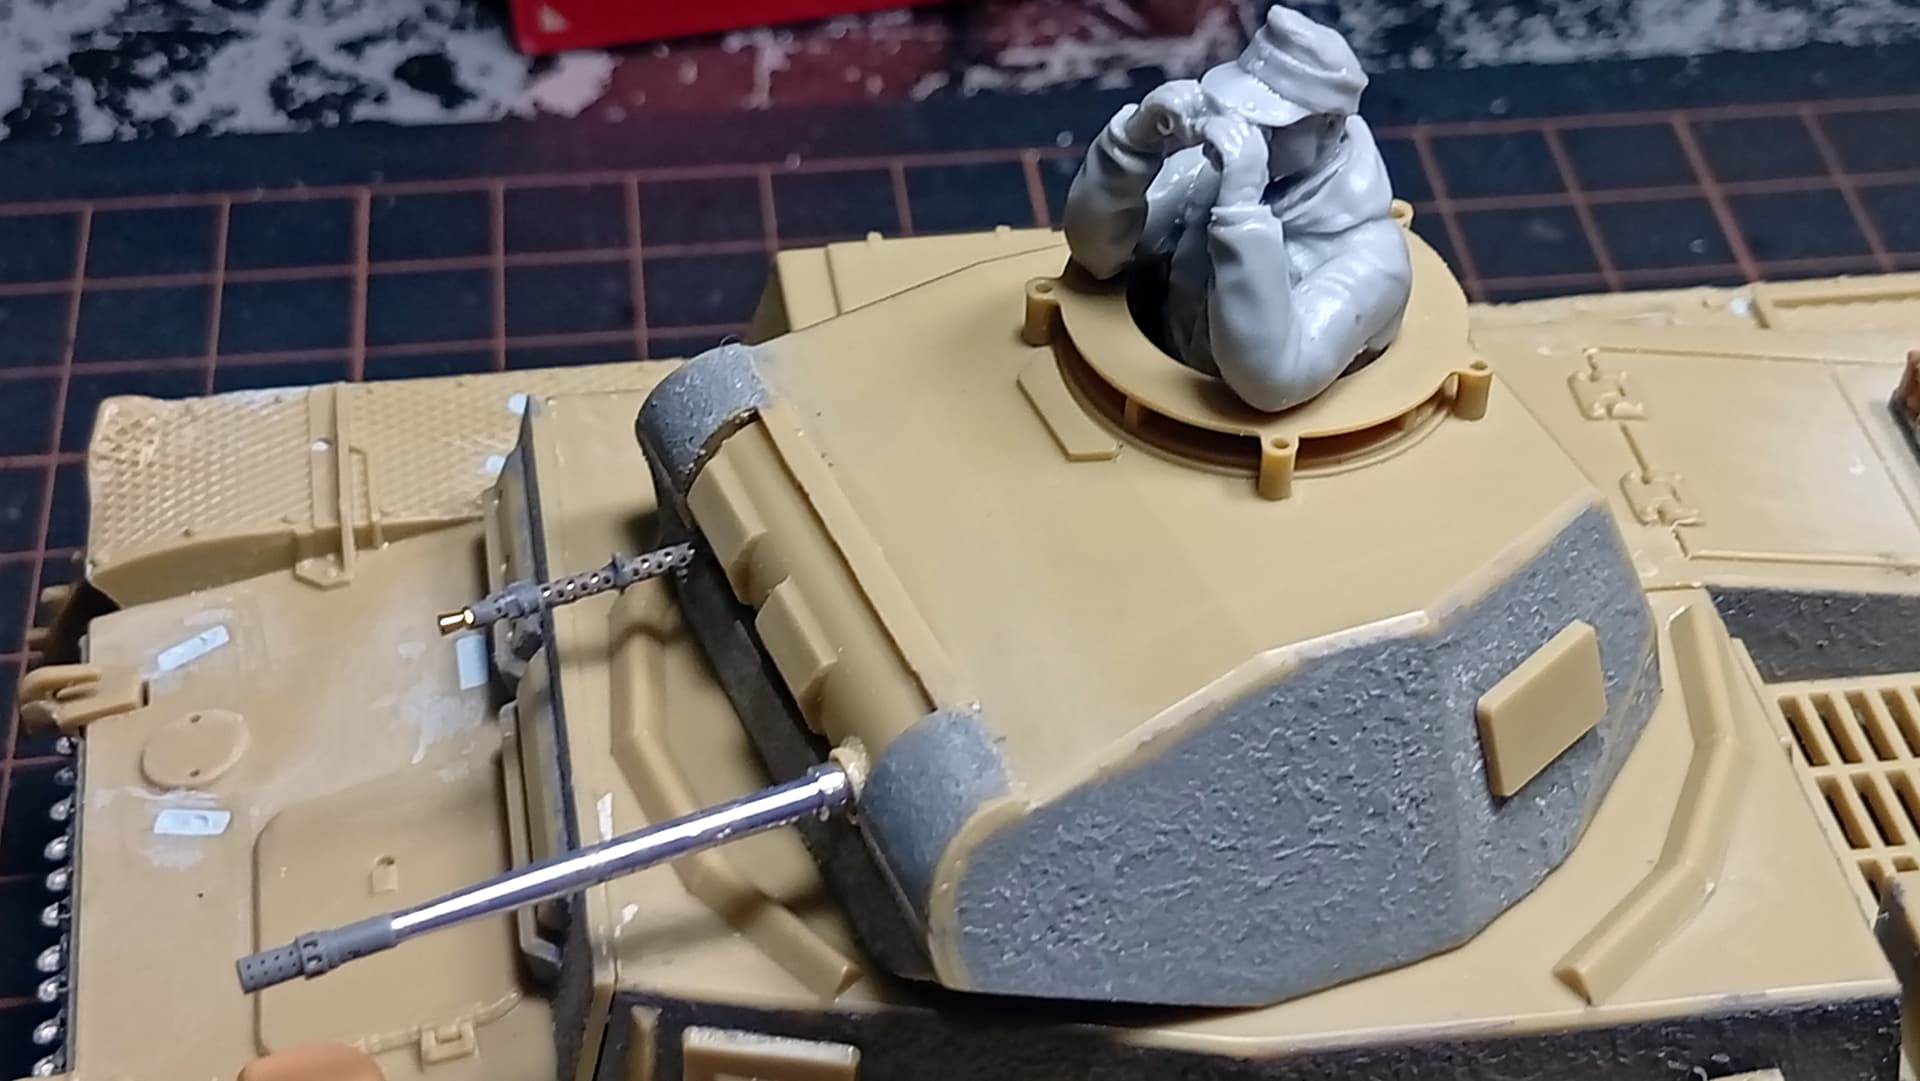
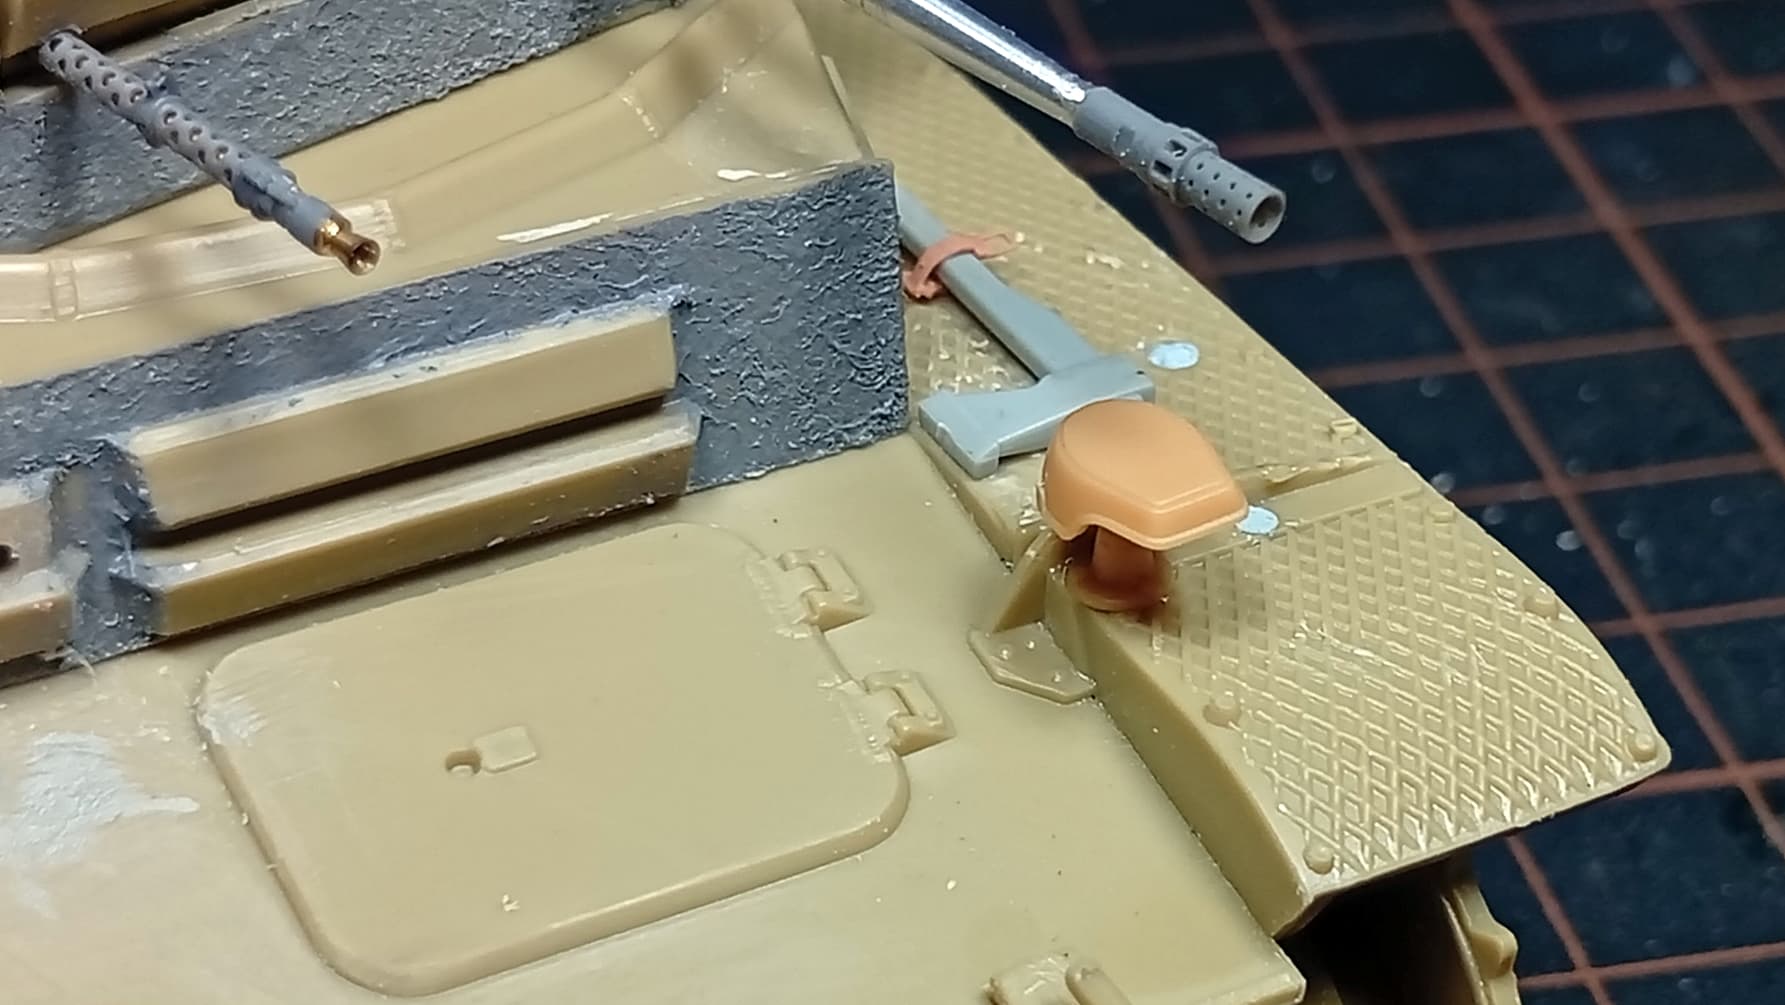
Here we have the crew test and the finished machine gun. I was scared because the carpet monster had swallowed the tip of the machine gun, which I ended up finding by chance. The cannon and machine gun set are good, but they weren’t made for this kit, so some amputations and enlargements had to be done for things to fit.

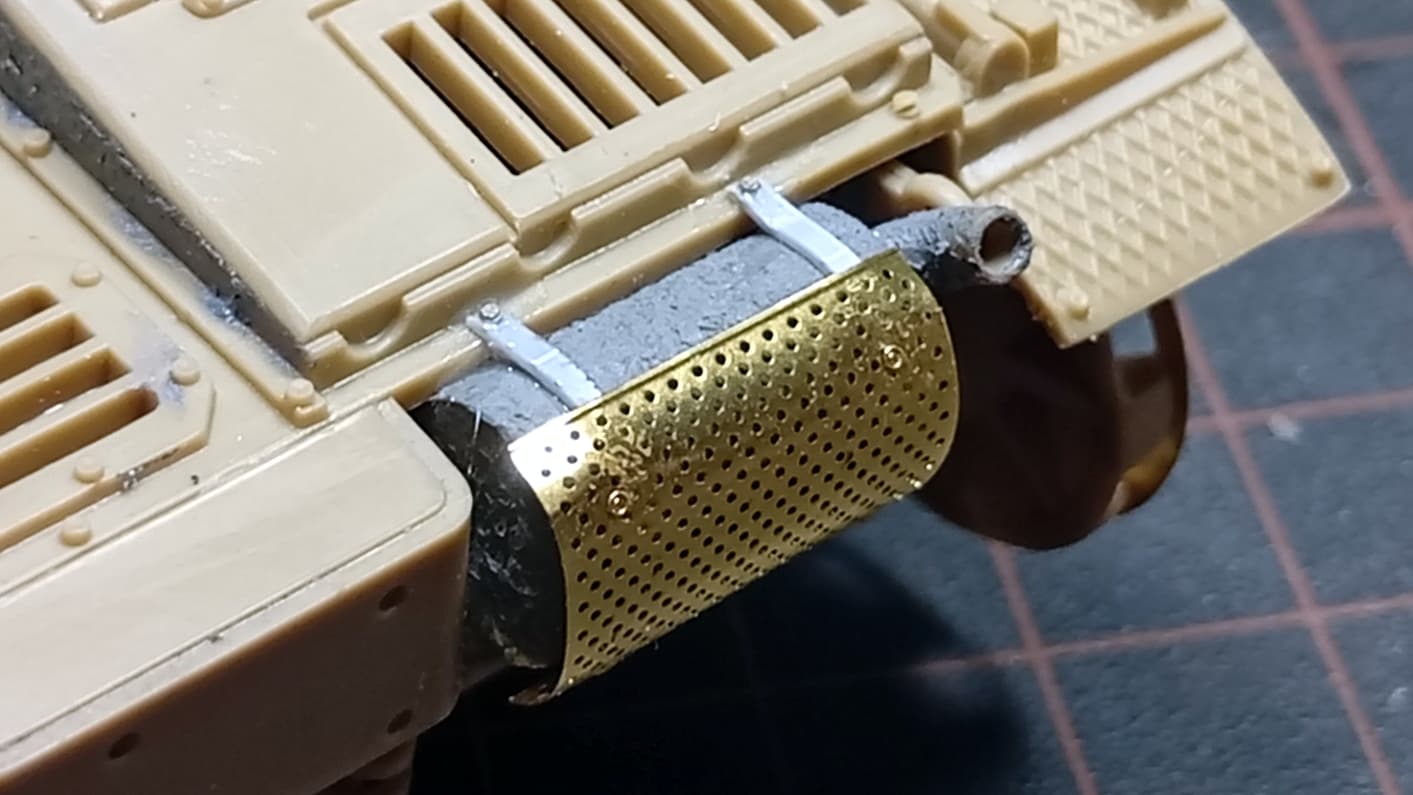
In the exhaust, I had problems with the PE of the set because, since it is for the Dragon kit (there the exhaust is in a different proportion), I had to use a 0.3mm plastic strip to make the handles that hold the piece. The screws used are the same ones used previously.

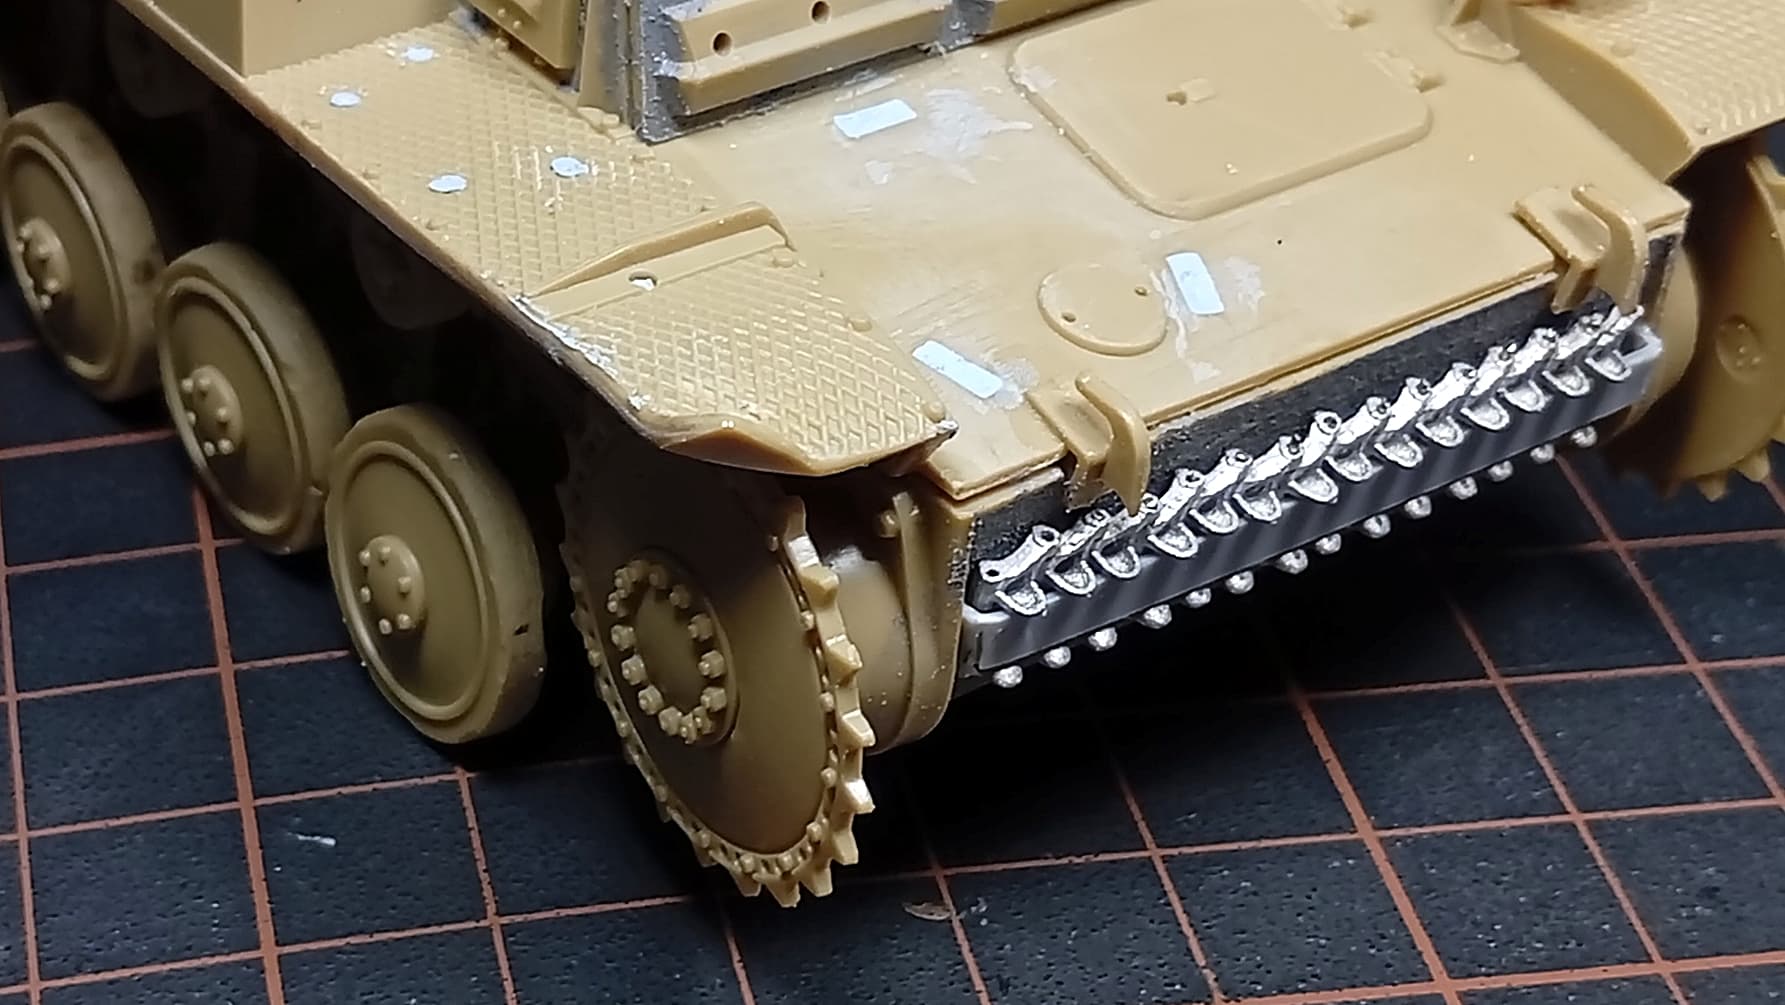
The support for the extra caterpillars was made with 0.5mm plastic card. The left side had a slight break that I will have to hide with putty or something like that later. Unfortunately, there is no way to remove the mats to paint, so they will be painted on-site.

I gave the mudguard a slight dent, but due to the thickness of the kit’s plastic, it didn’t stick properly. But now there’s no way to go back.

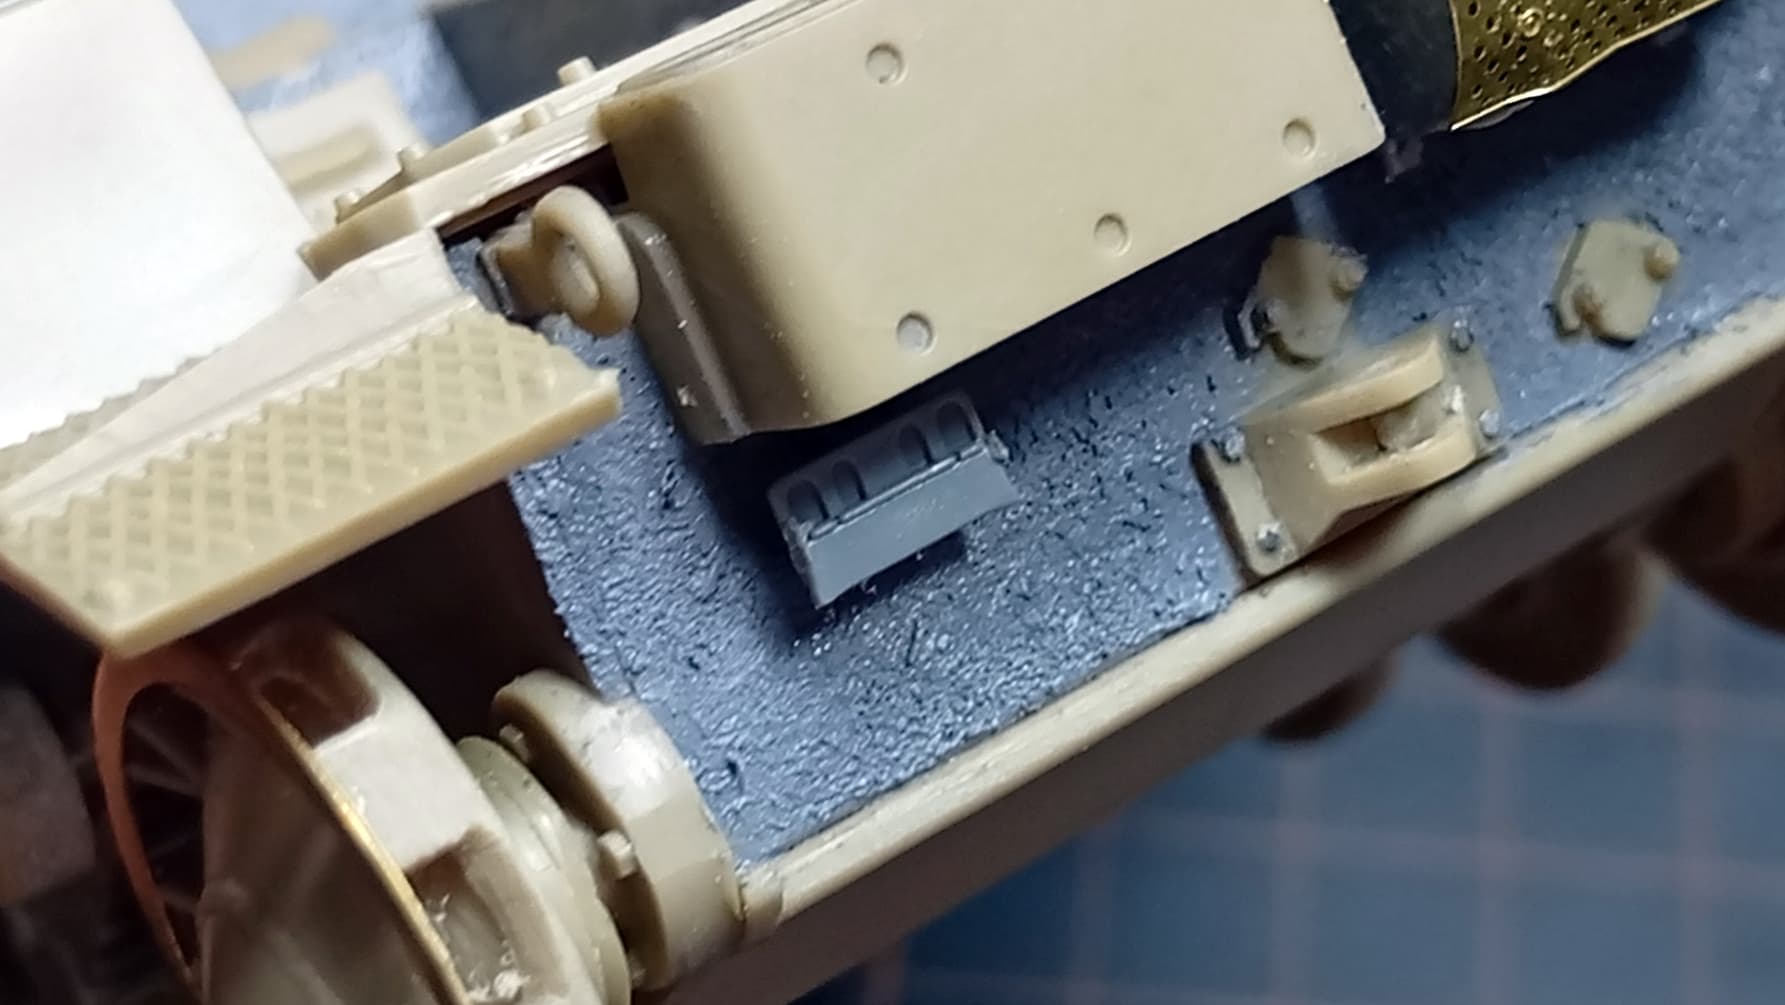
The Notek lantern was taken from the Hobbyboss Panzer I, leftovers from the previous assembly. I had to remove the base as well.

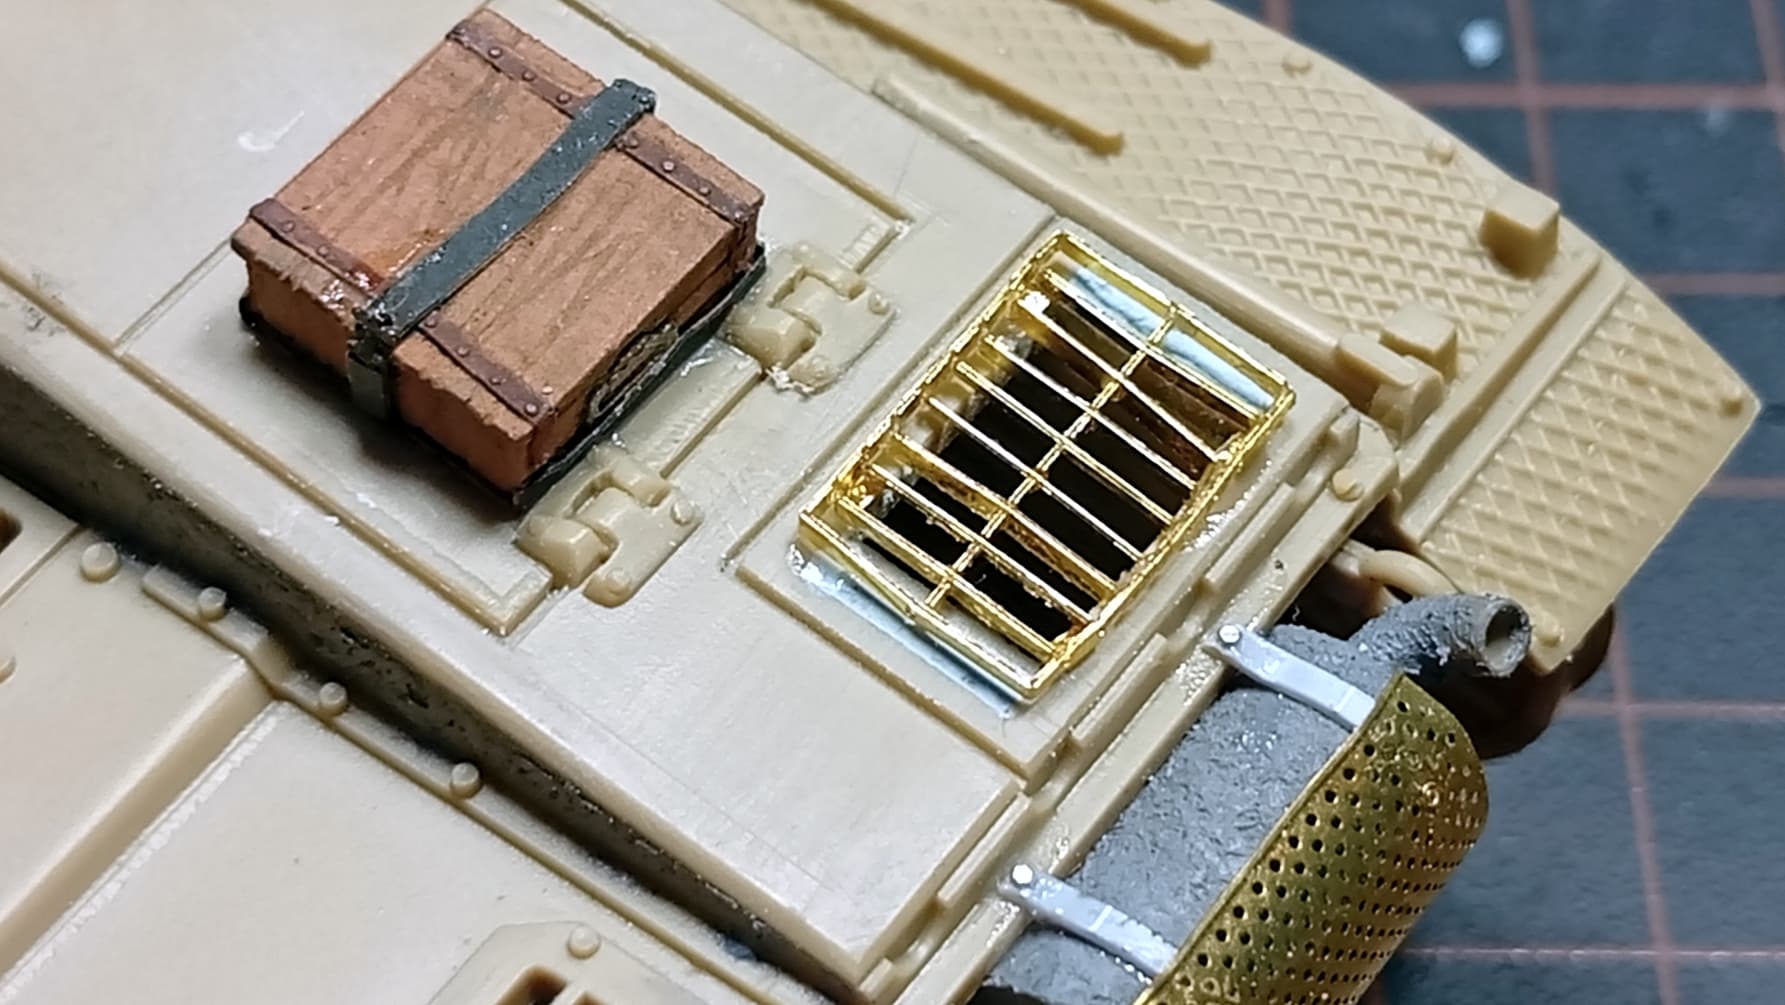
Replacement of the original grill with the PE one. I had to adjust again here due to the difference between the brands. The dimensions of the Dragon kit are closer to reality because it is a much more recent production.

The positioning lights in the Tamiya kit are omitted, so I used the leftover ones from a Border Models Panzer IV. Once it’s finished, it won’t be very visible.

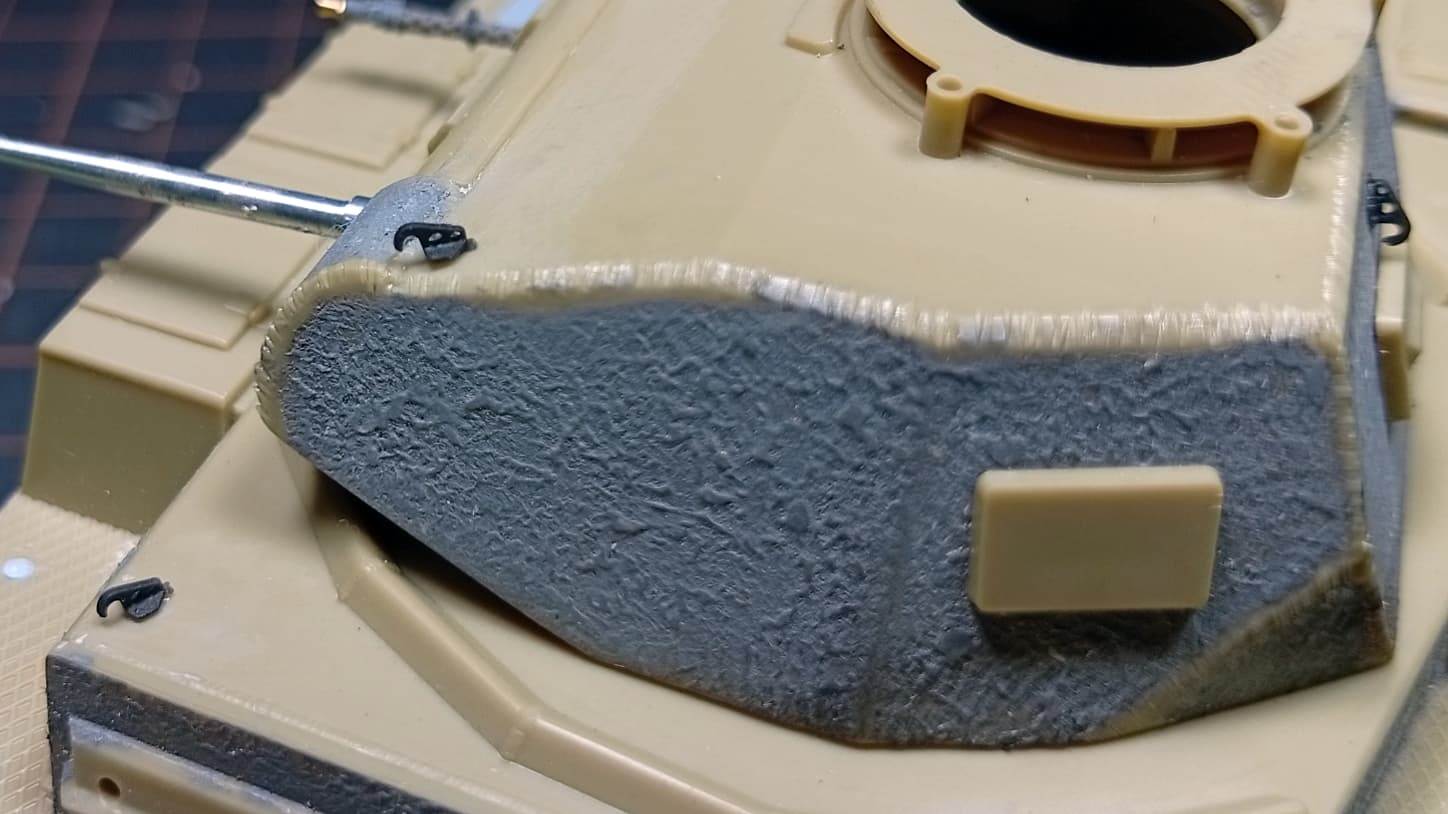
Simulation of the tower welding. Here I was making the marks with the utility knife and then applied a thin layer of extra fine glue. I will do this in other places as well. This is my first time altering textures and welds, so mistakes and errors are bound to happen. I installed the 3D-printed lifting hooks from T-Rex, much faster and more practical than using the brass ones that come in the PE set.

That’s all for today.

A big hug to everyone and thank you for the support.

4 Likes

Hey, Ricardo, I like the work you are putting into your Pz. II. Glad that the carpet monster threw back the MG muzzle. I like how you did the PE for the exhaust and the grill. I guess that dremel tool has been working OT. As for the fender, if it stays like that just either paint it naturally. (dented and rusted) or remove that corner. Anyway, looking forward to more of this project.

1 Like

adding texture to cast parts for 1/35 models is a nice bit of extra detailing. However, I’m afraid you erred. The parts you applied the texture aren’t cast but should be smooth. Very little on the Pz II was cast.

2 Likes

Ah, I remember this post! Didn’t realise it was the same kit I’m using as my Paint Mule. Some excellent fixes to the goofs of the original 1970’s kit tooling…