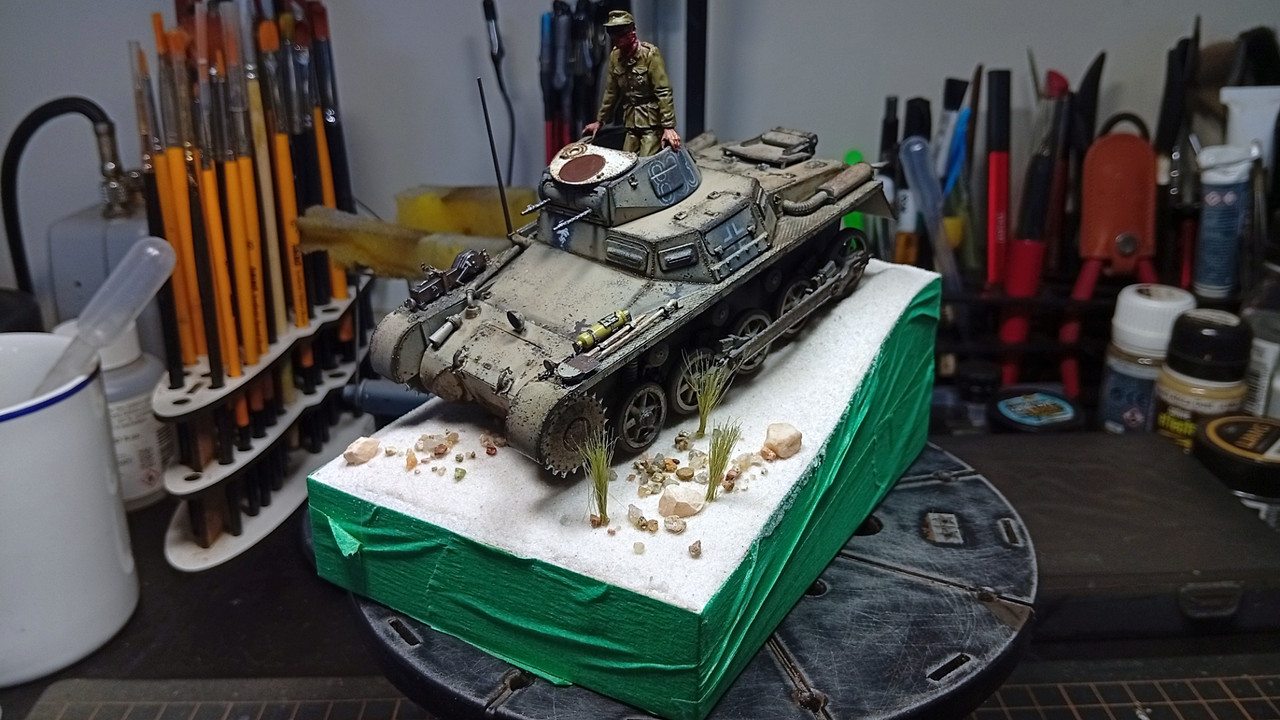
Starting another one with the Afrika Korps theme…
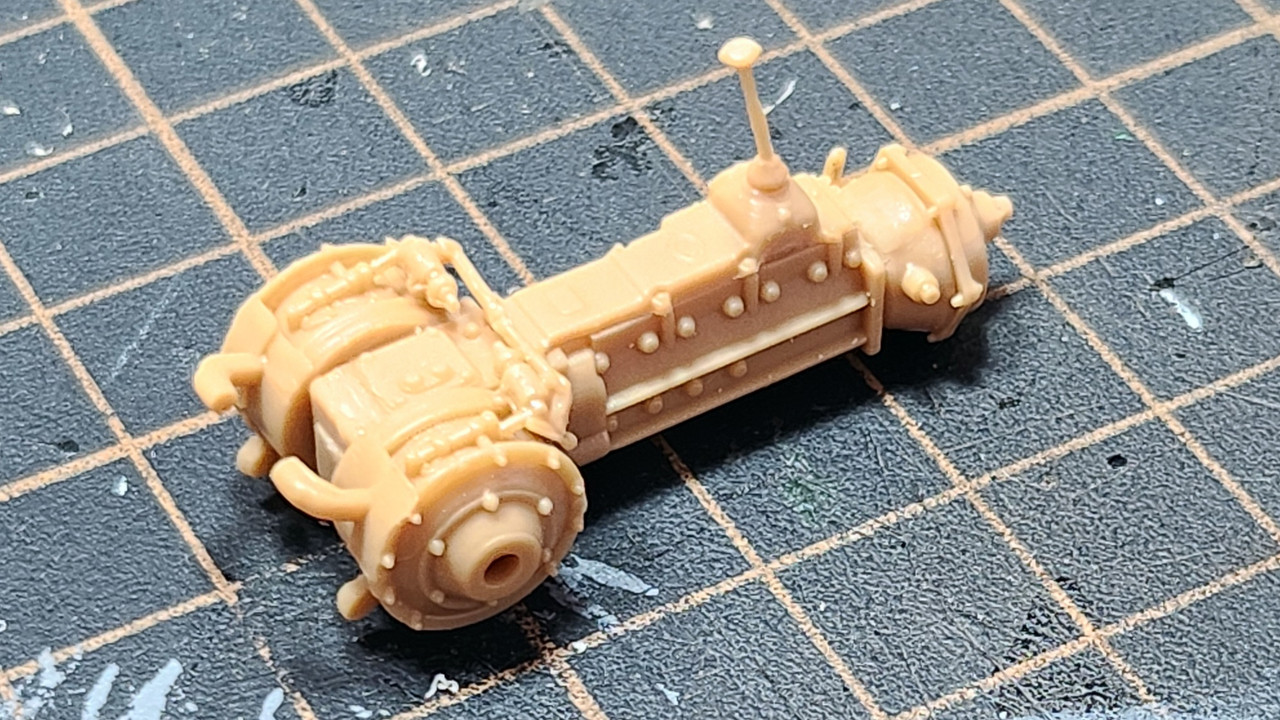
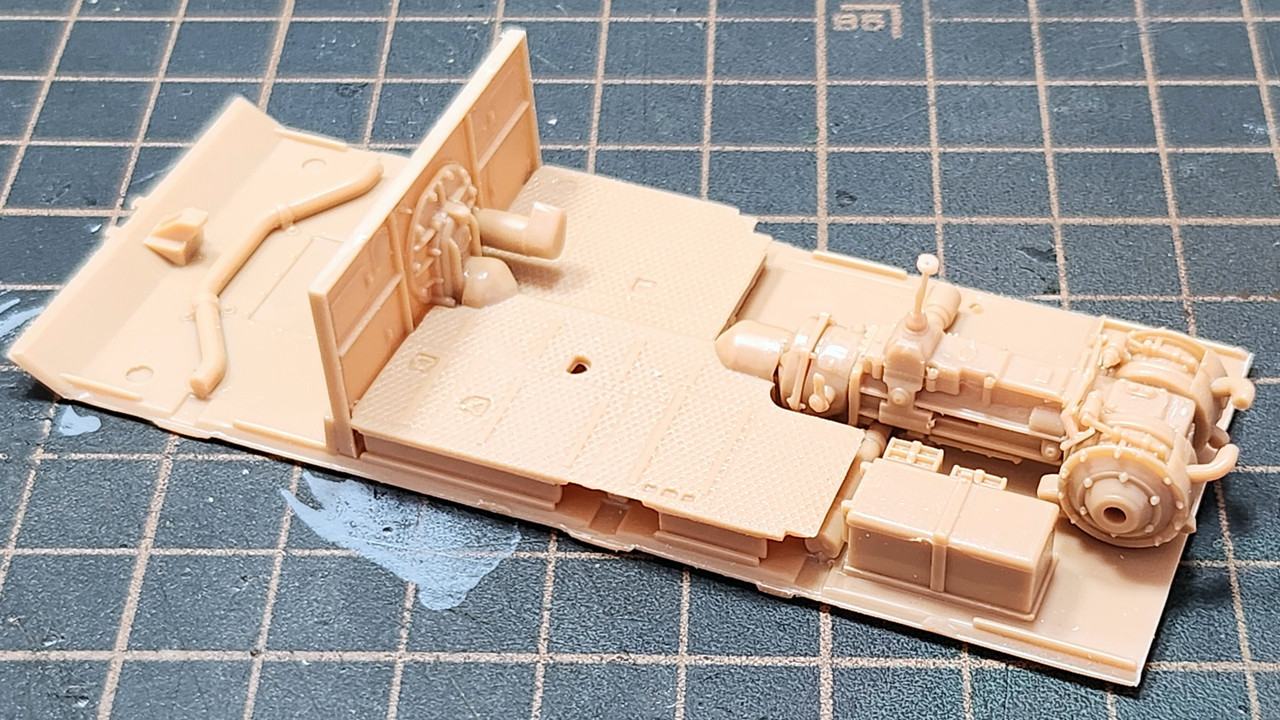
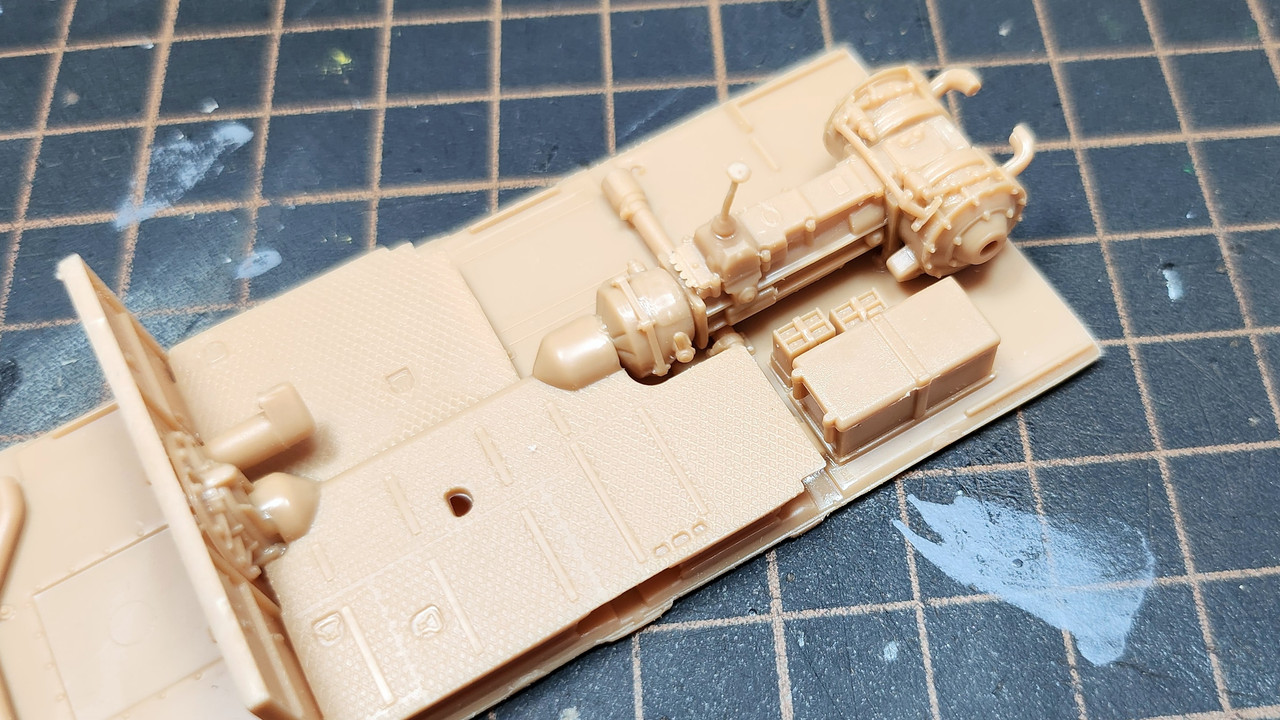
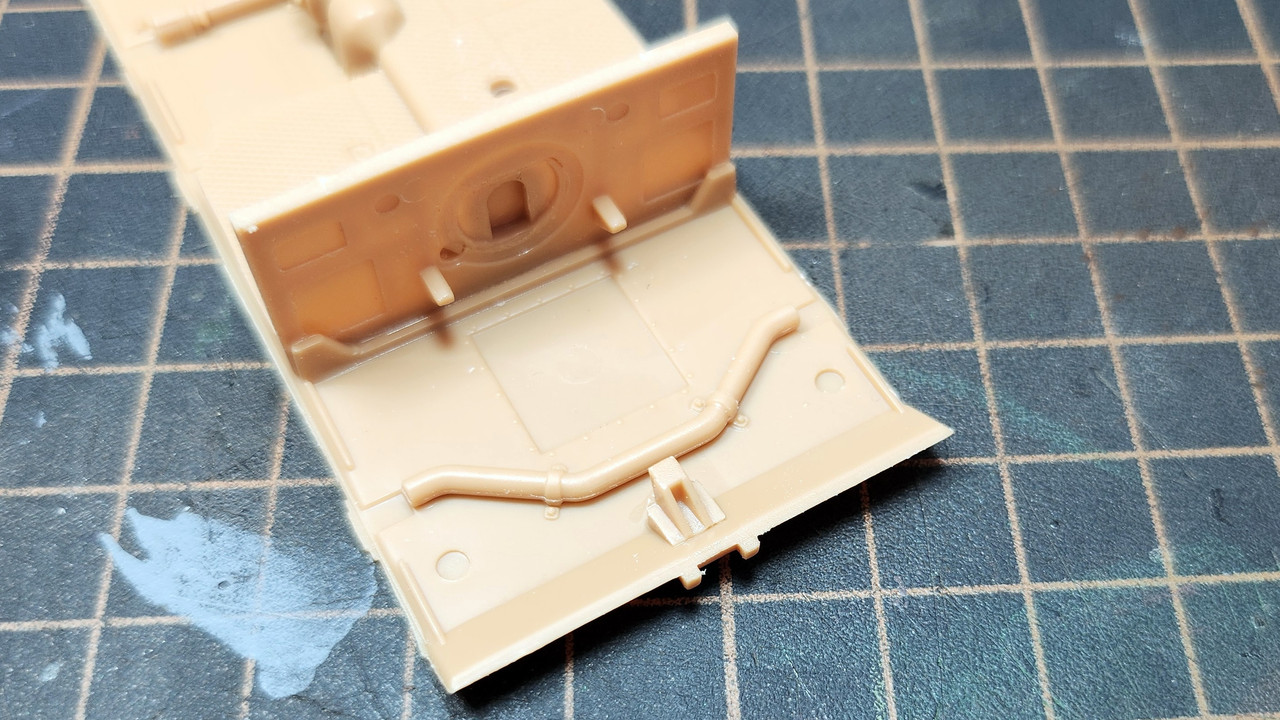
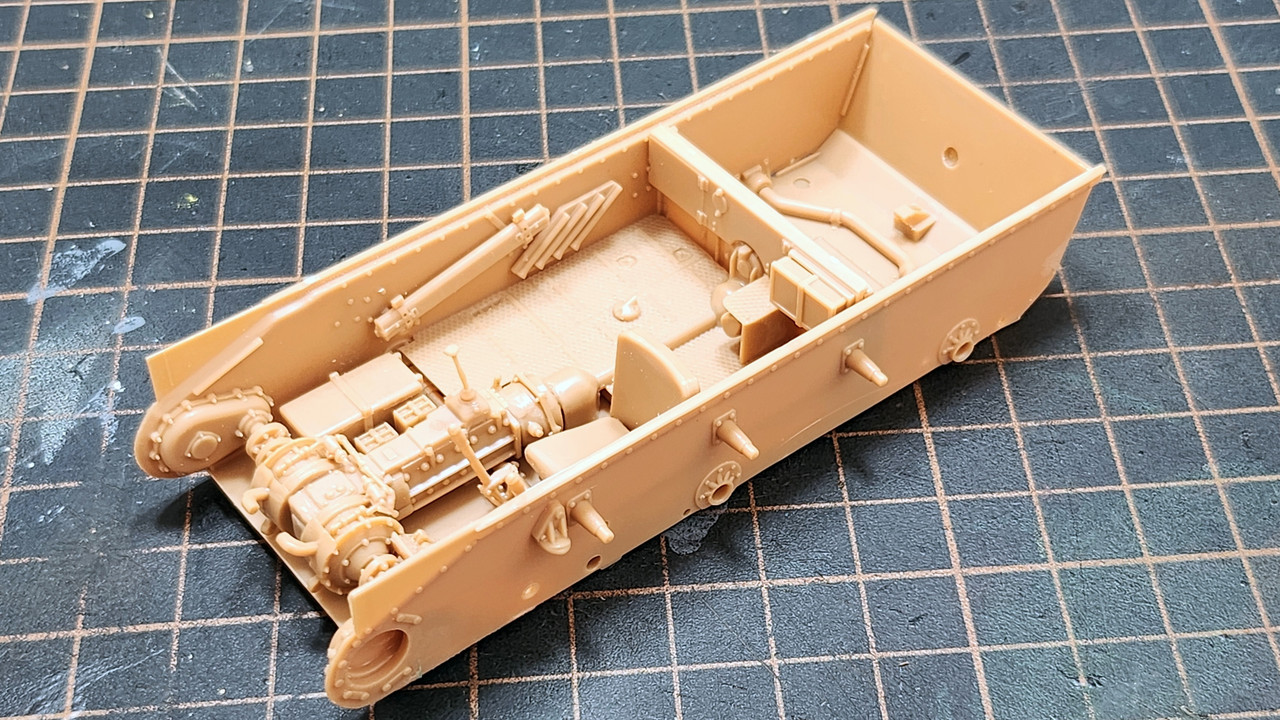
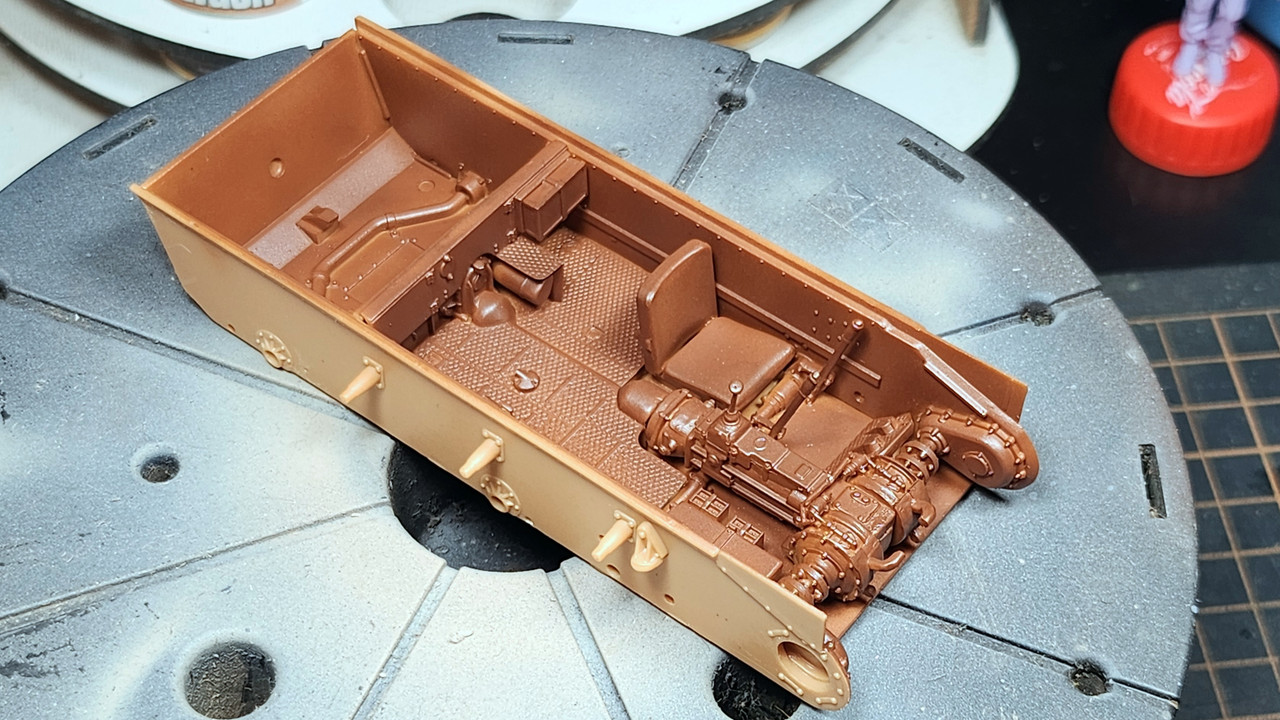
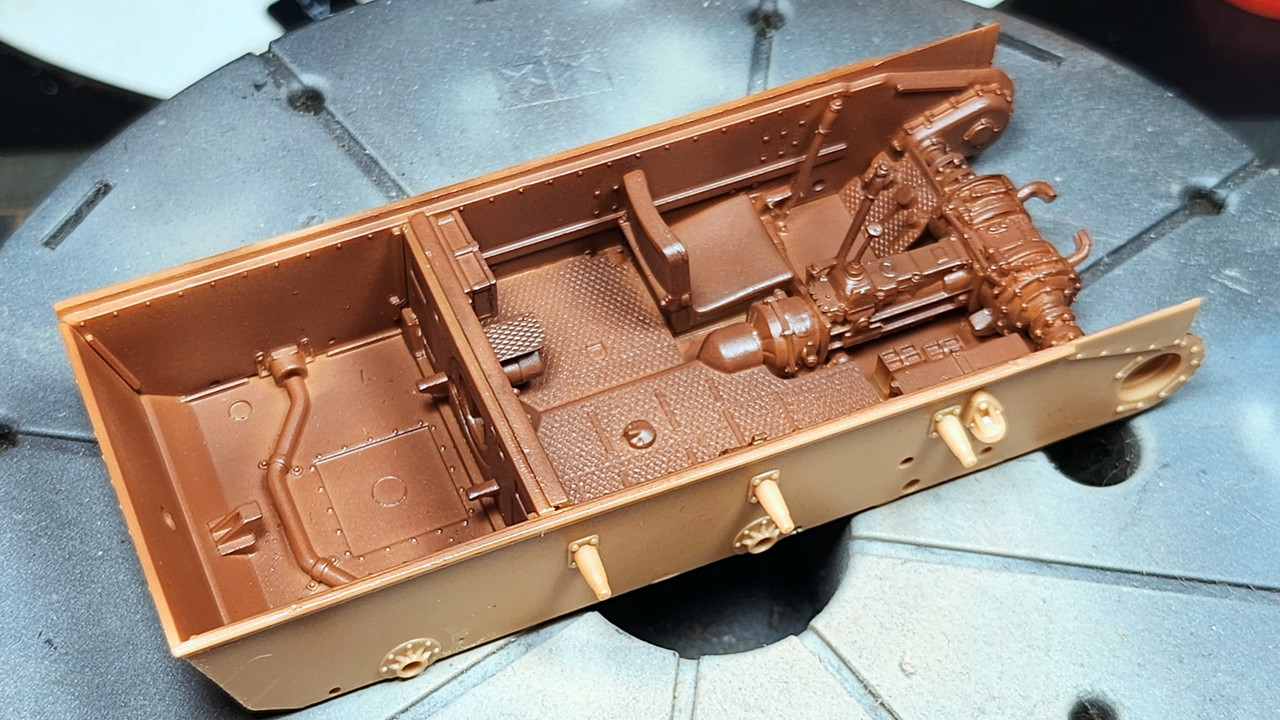
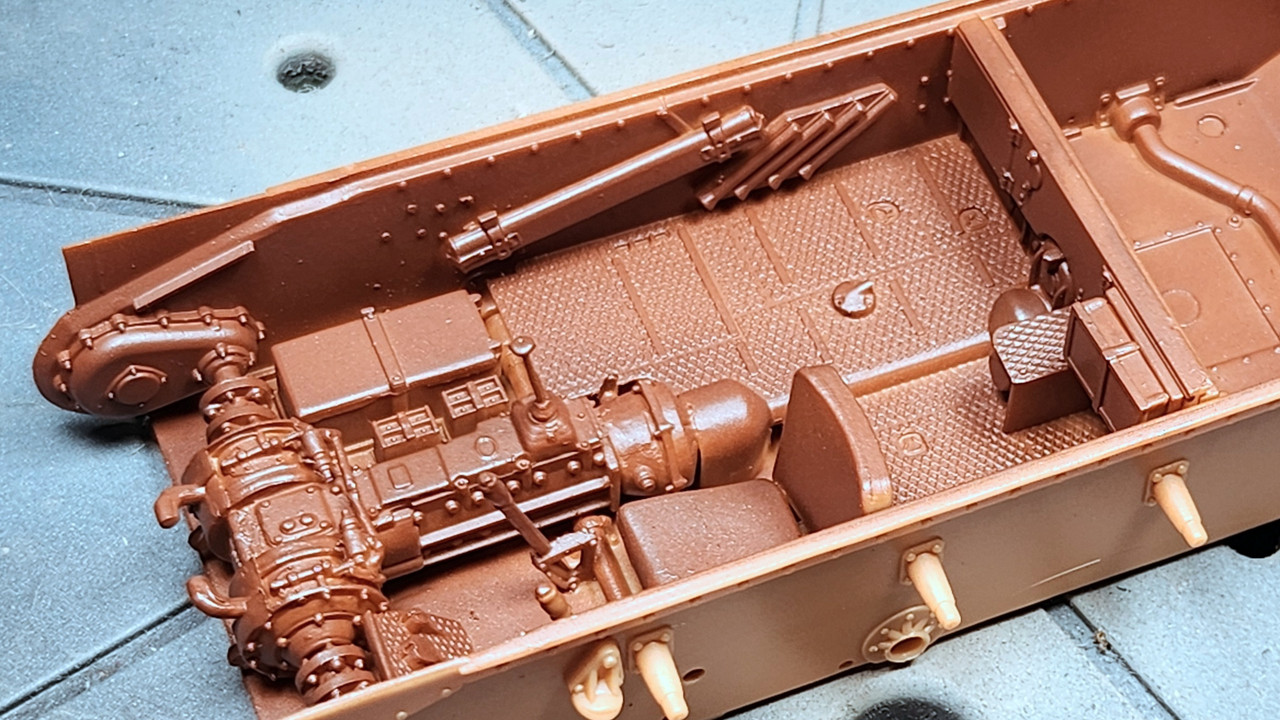
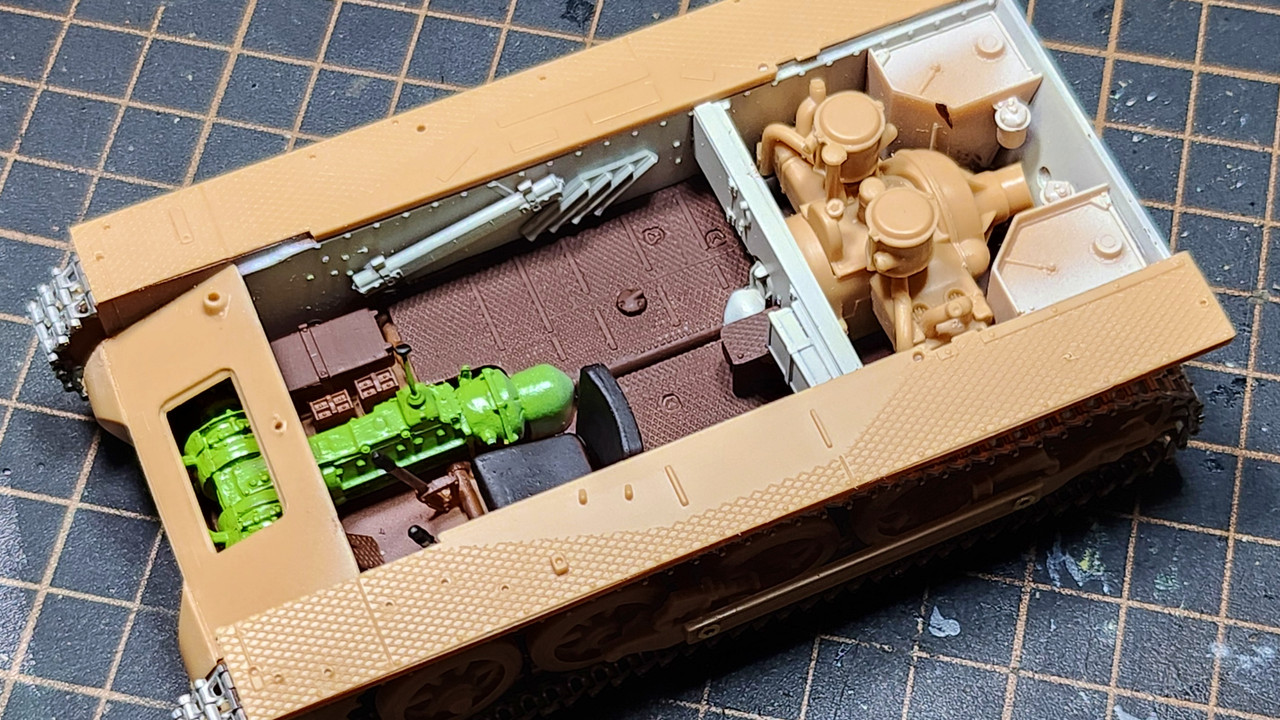
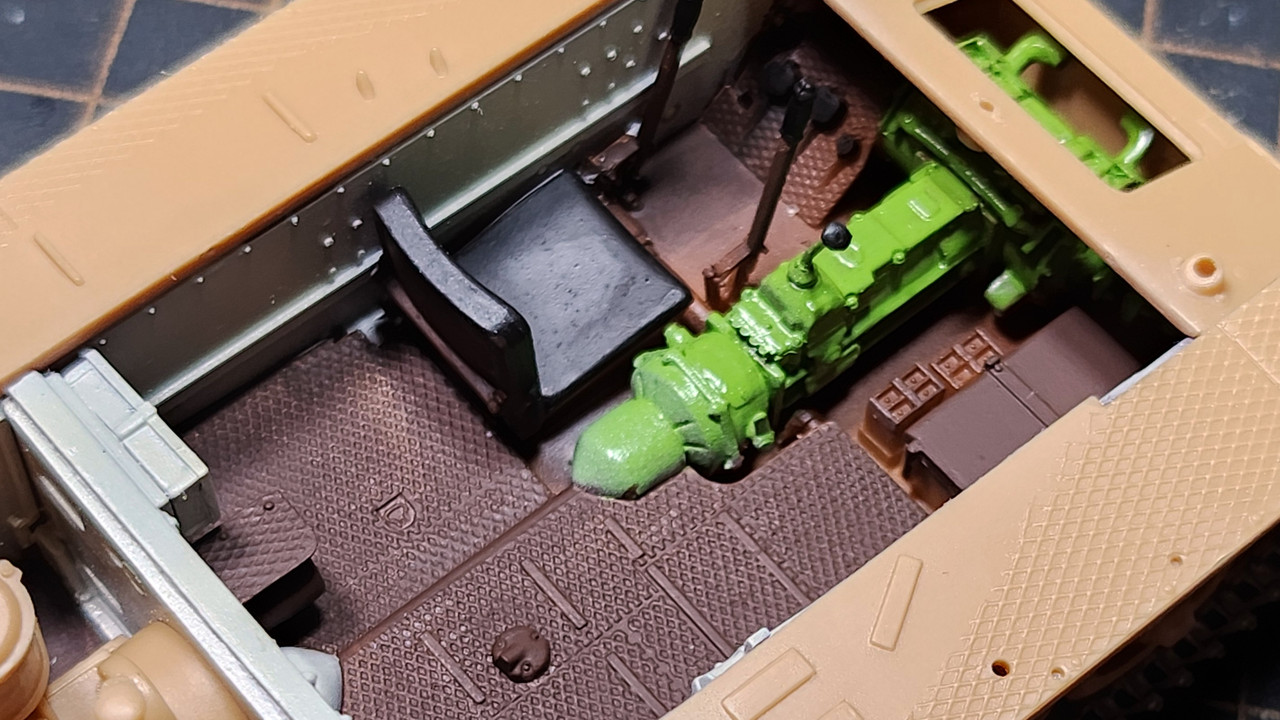
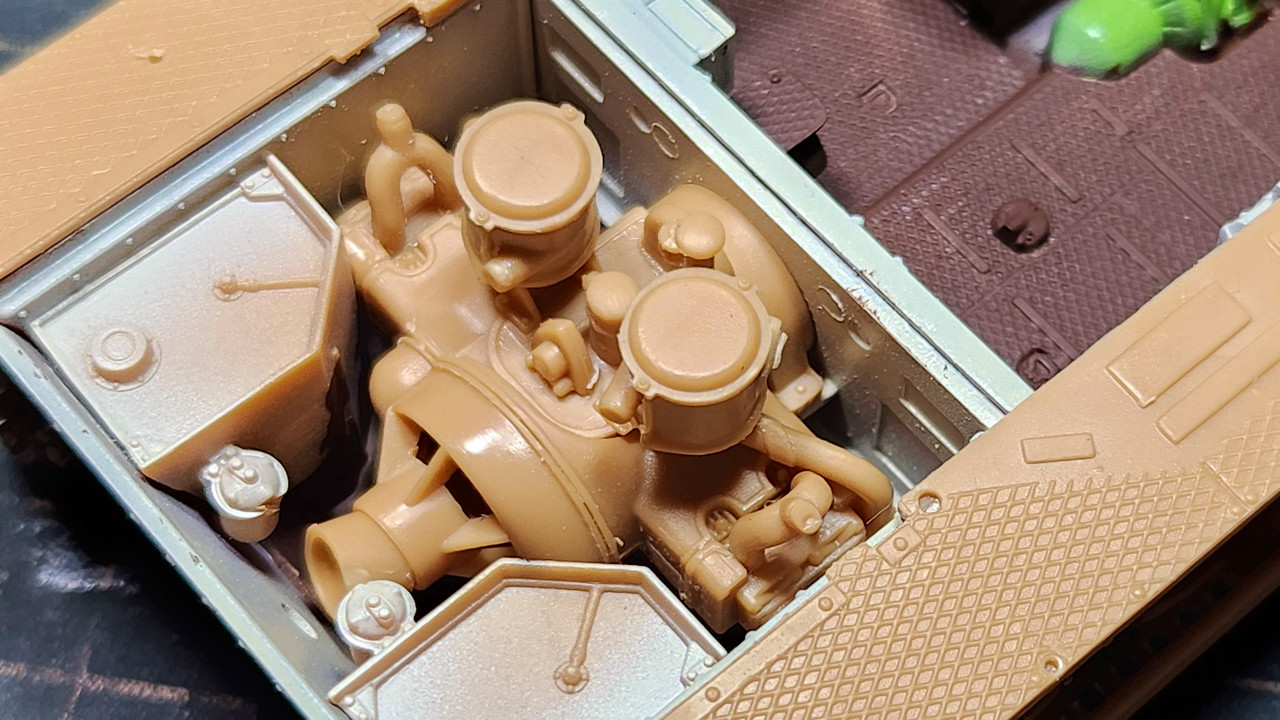
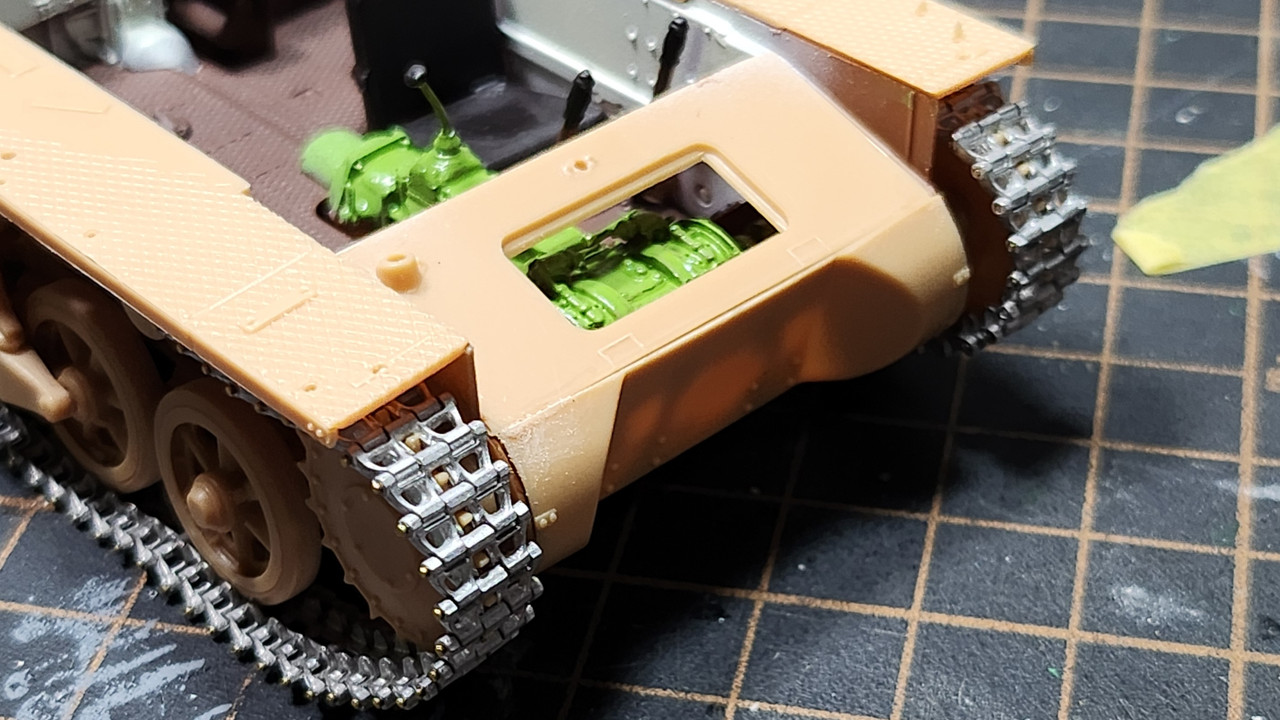
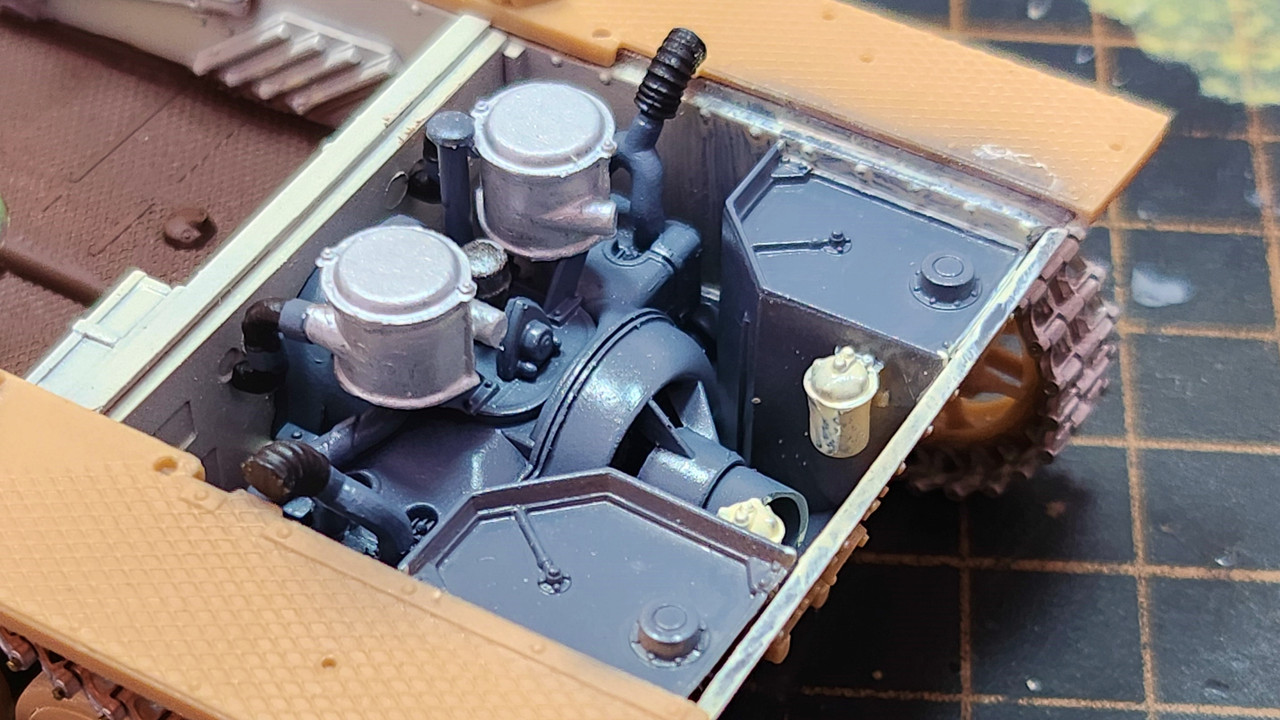
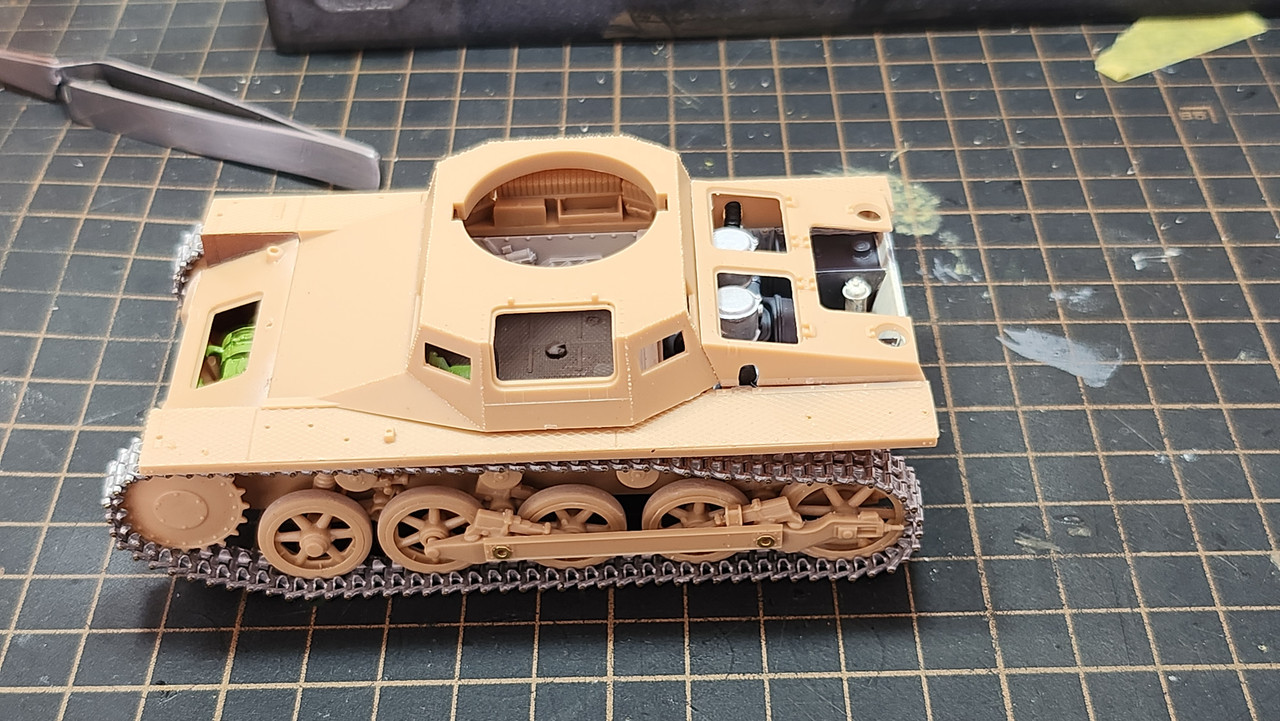
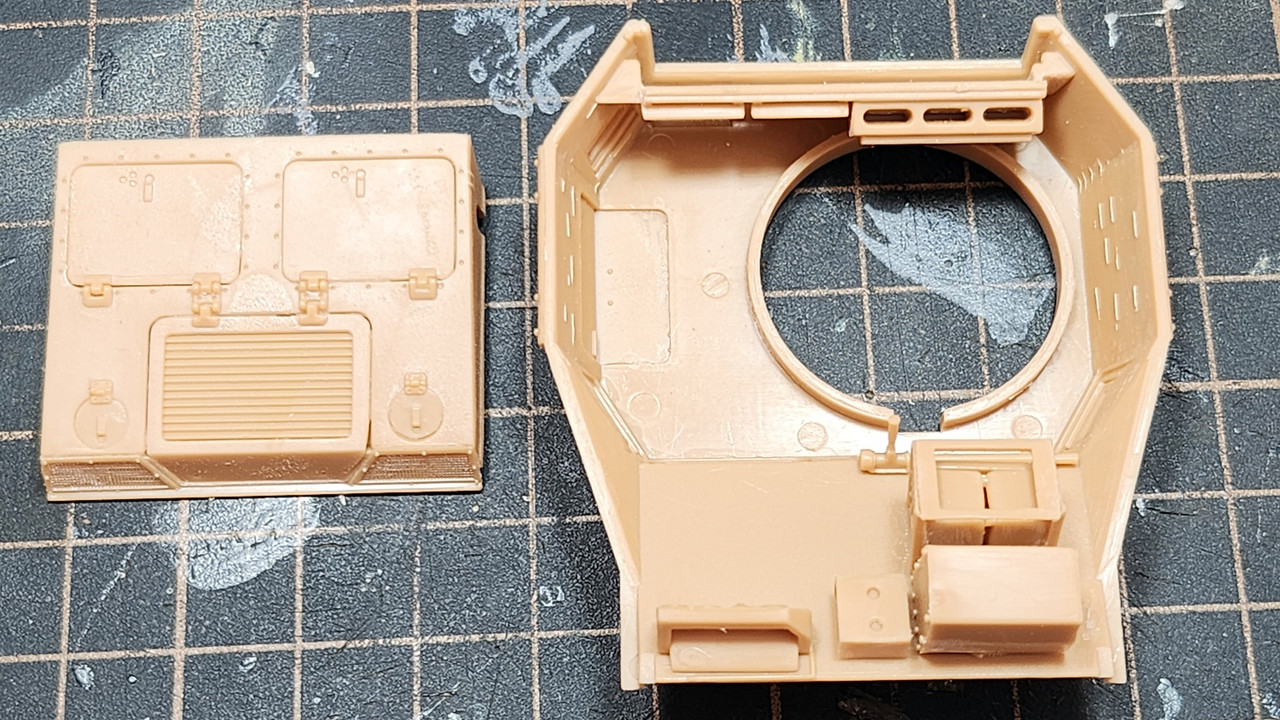
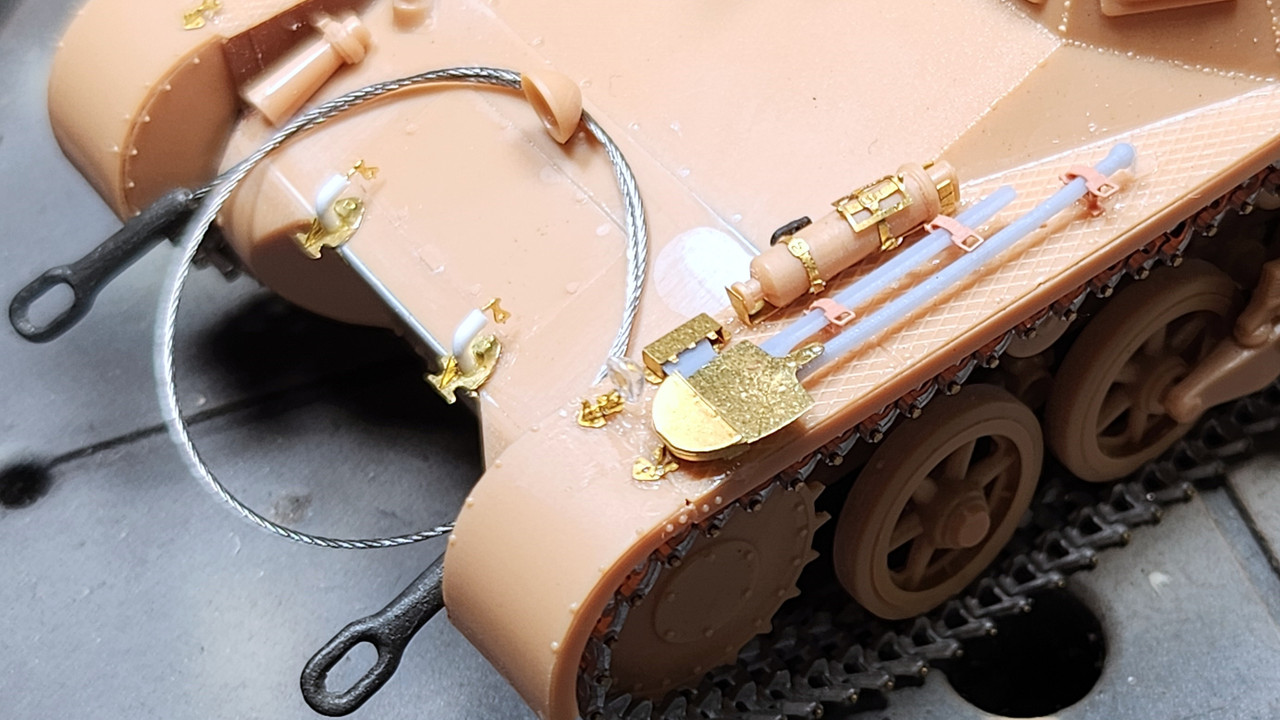
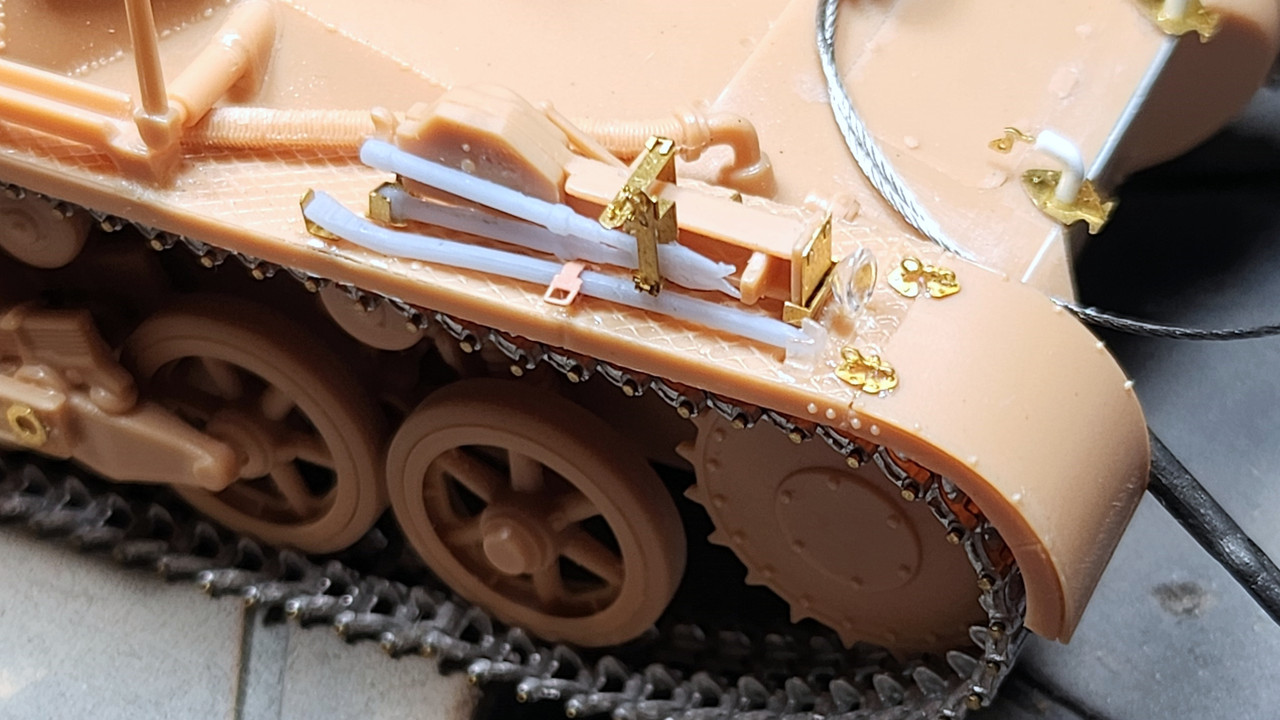
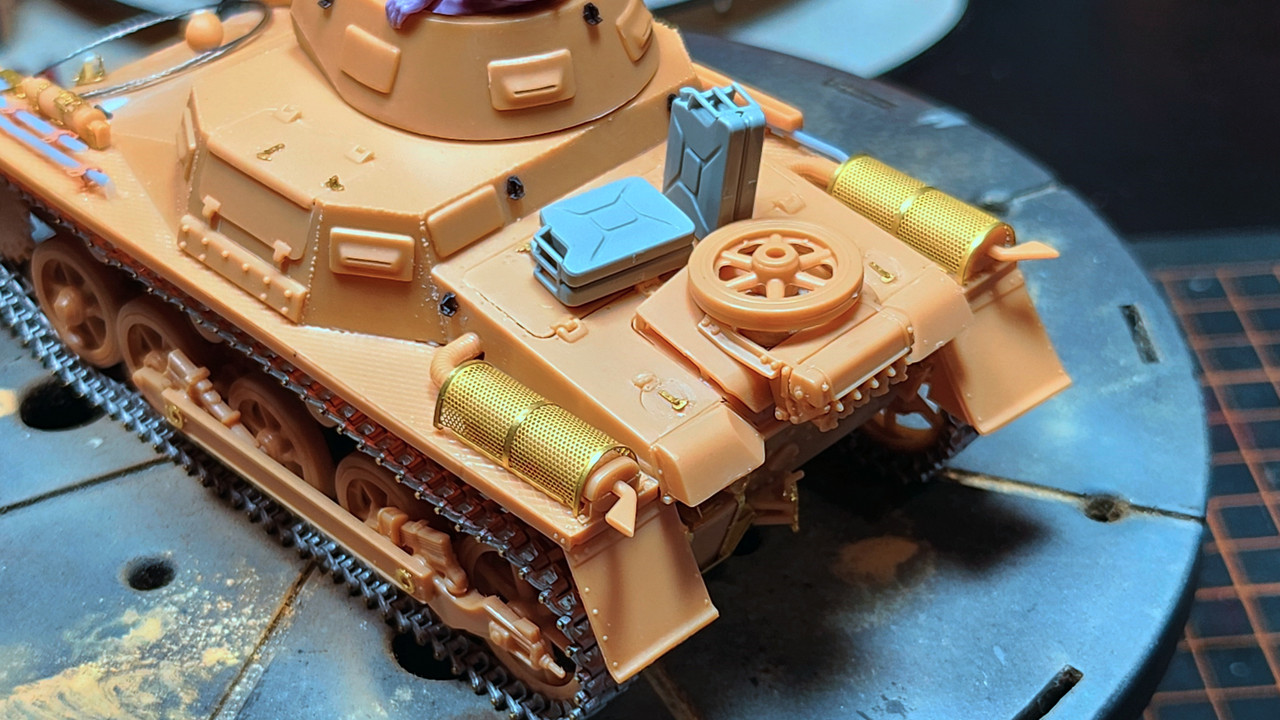
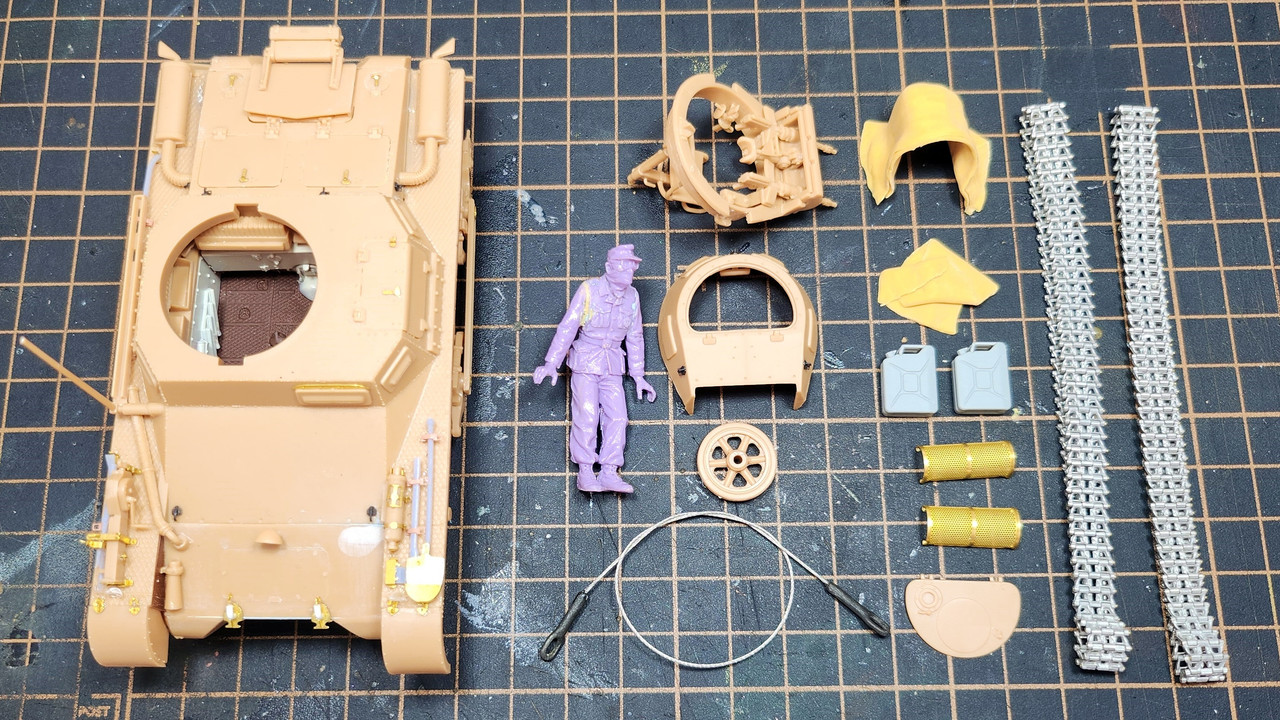
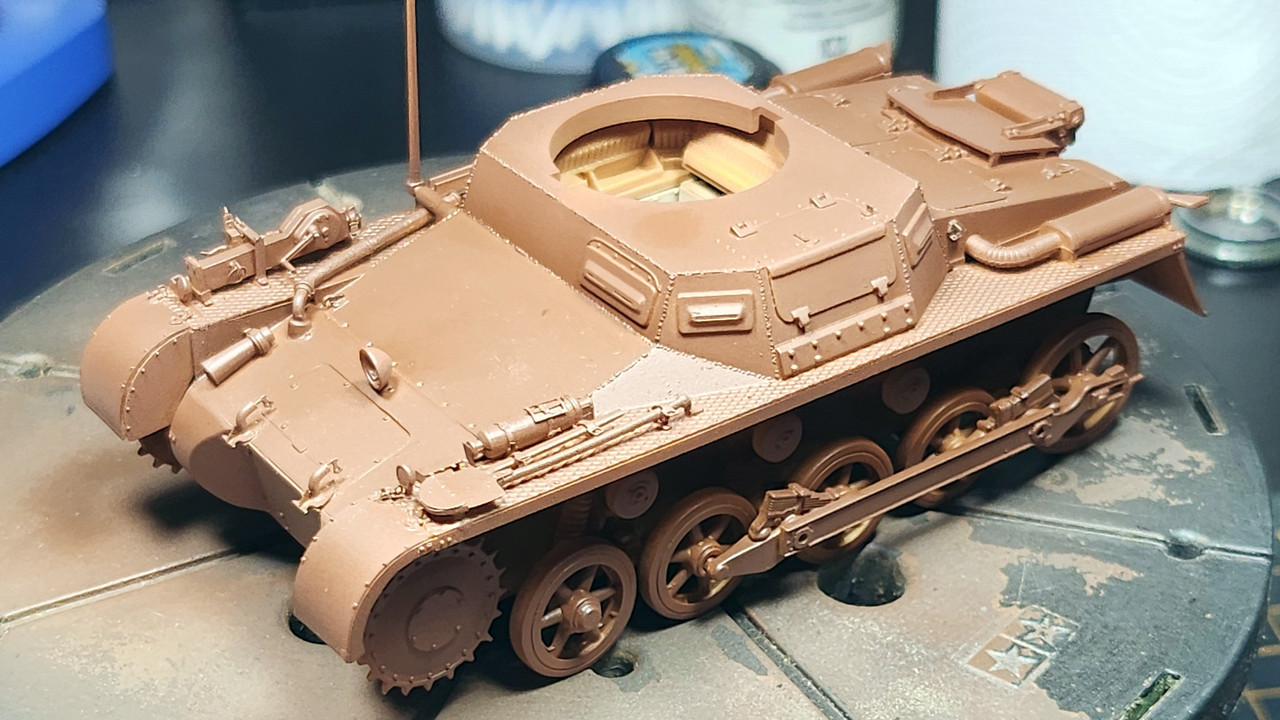
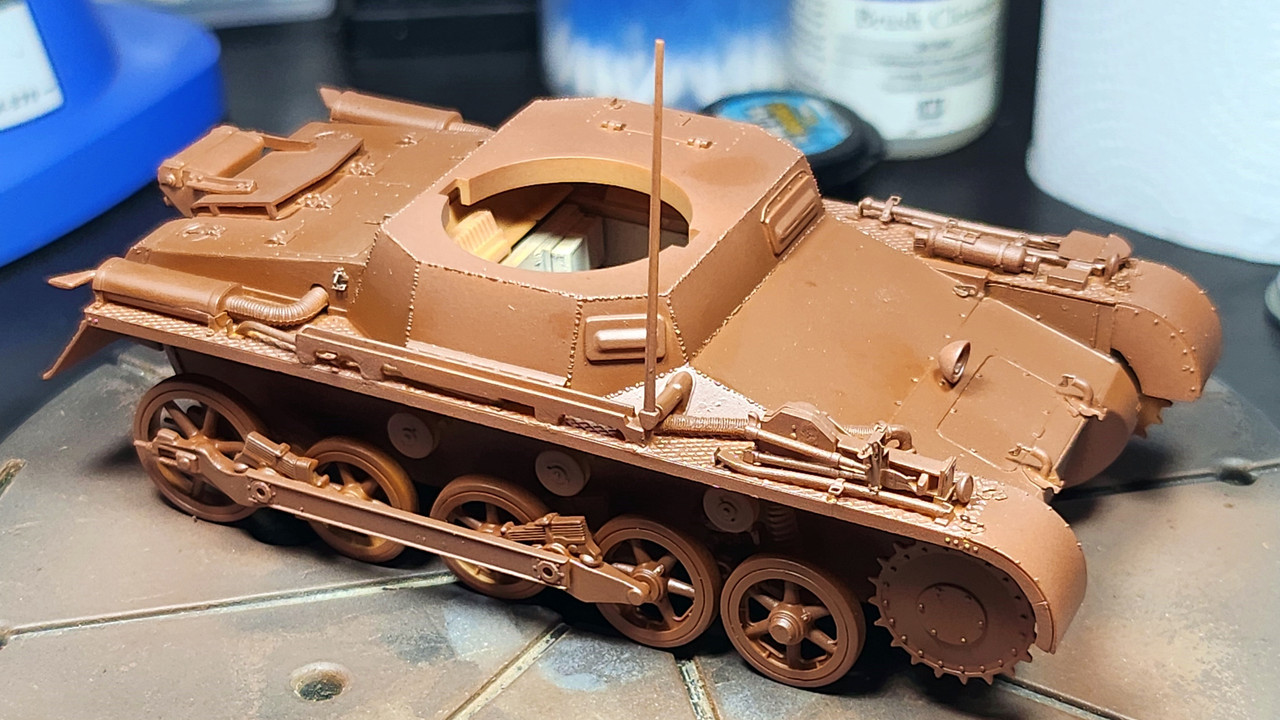
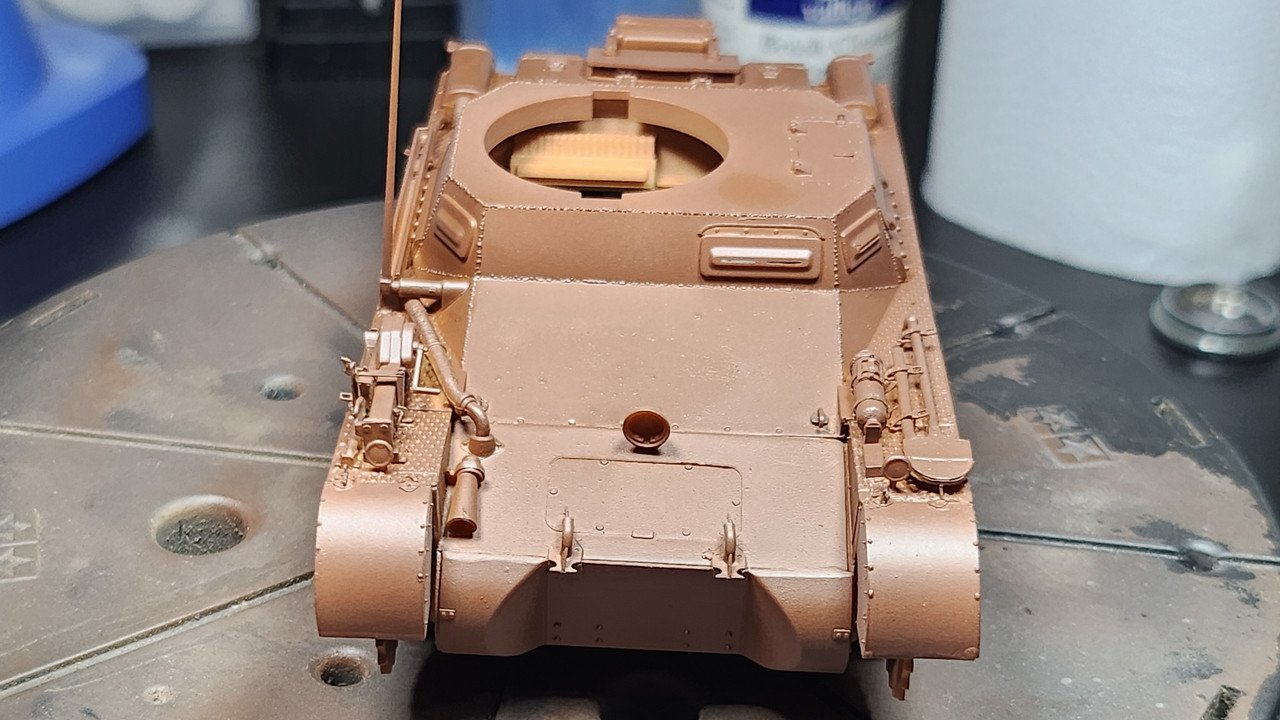
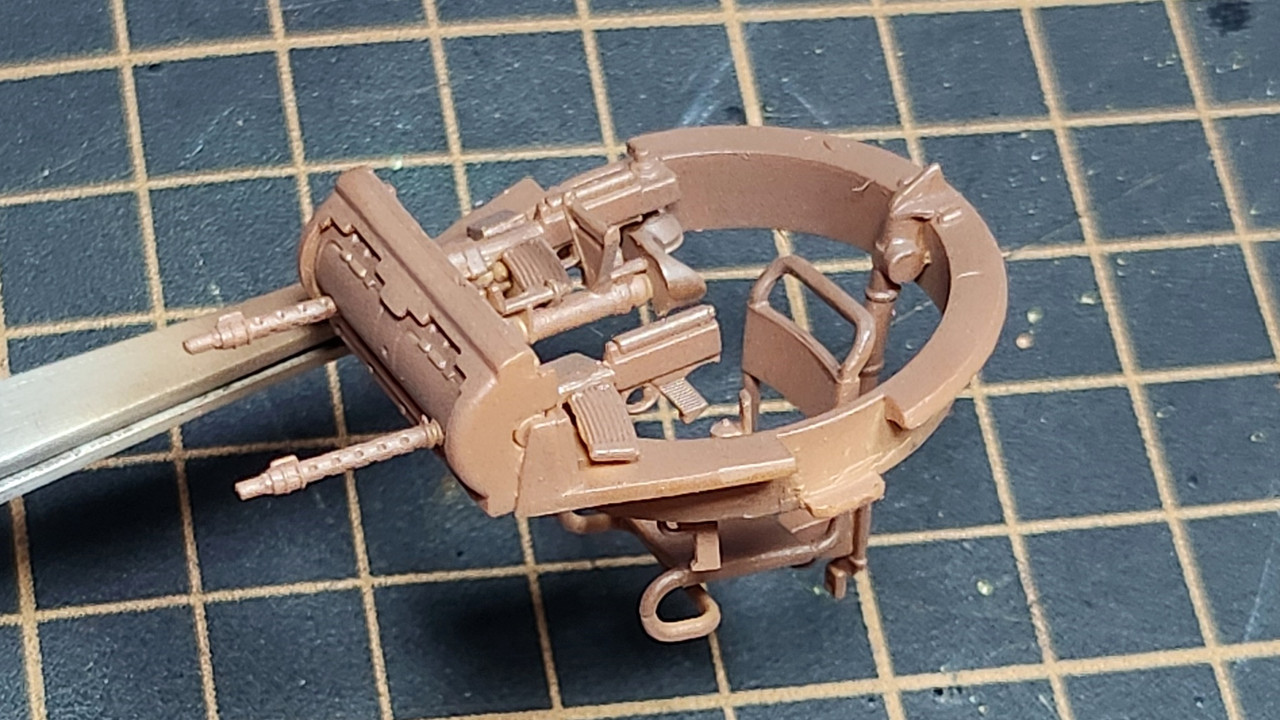
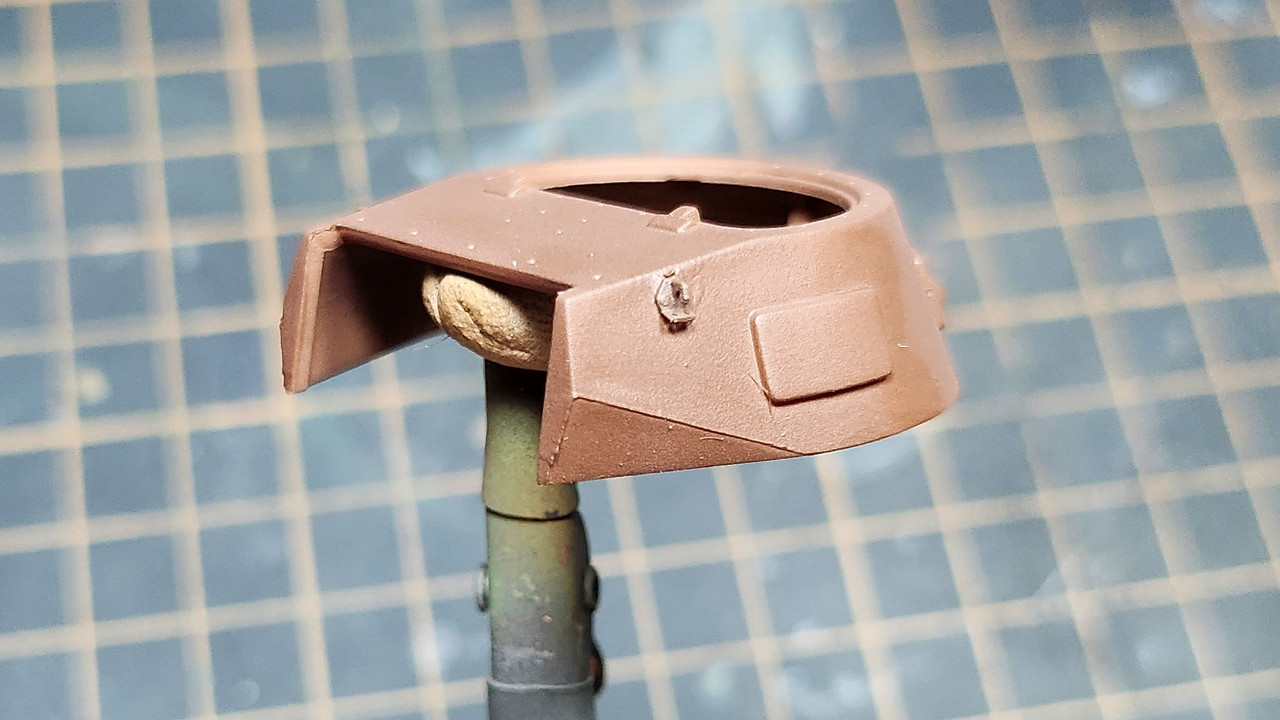
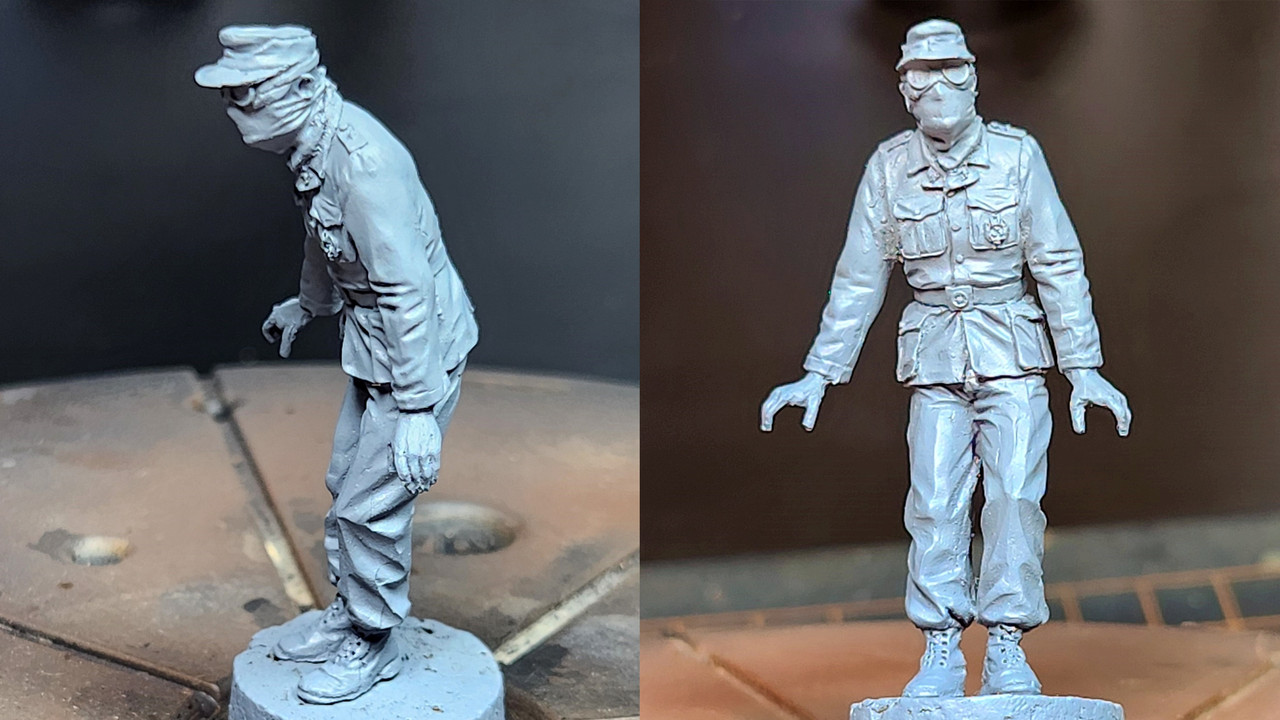
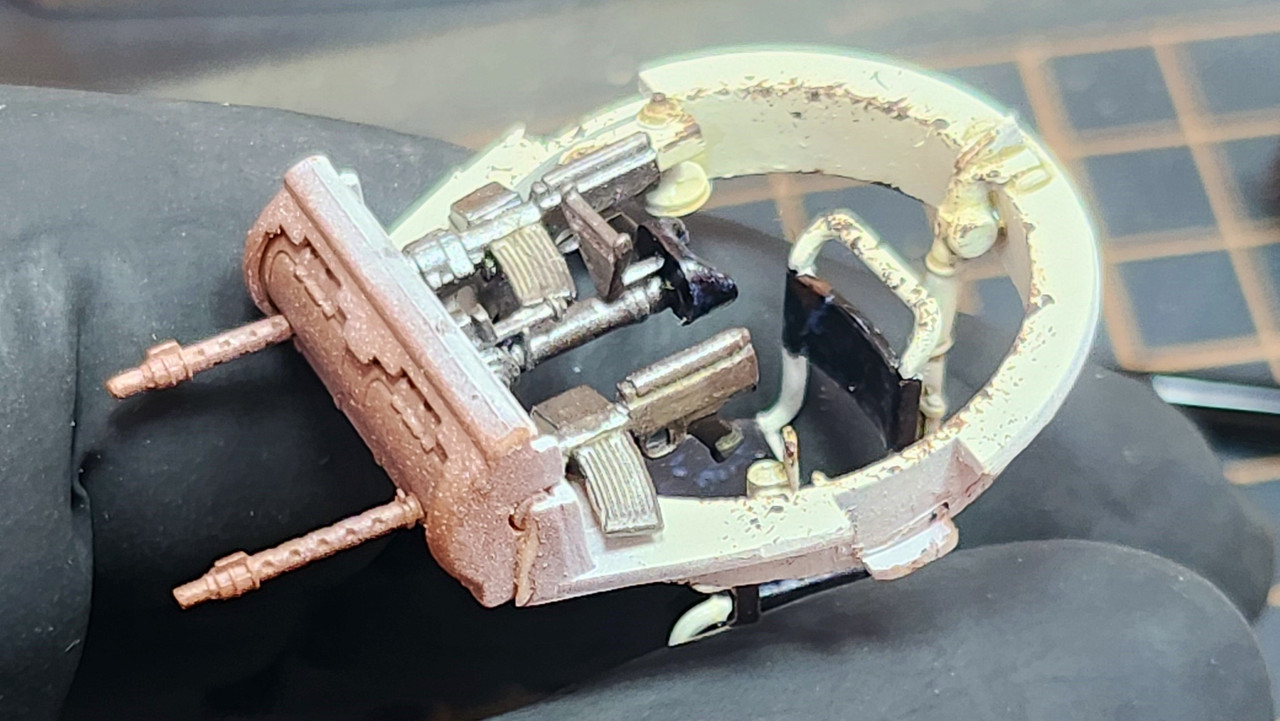
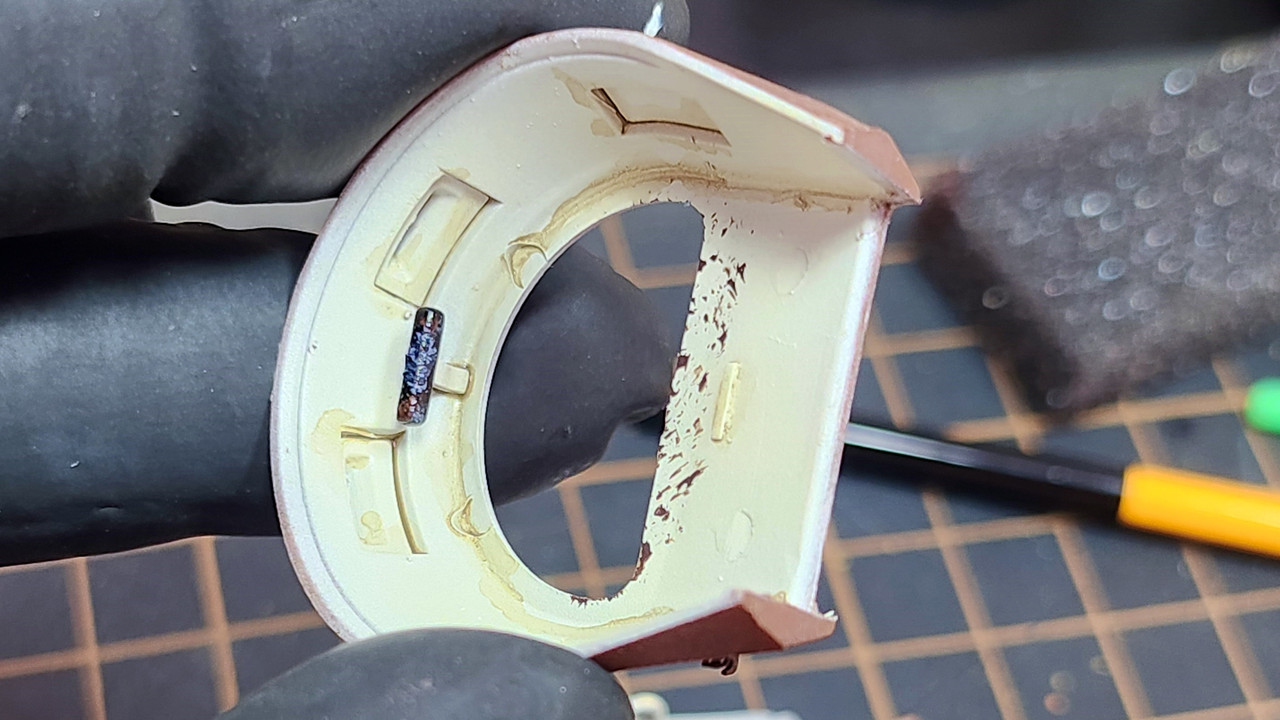
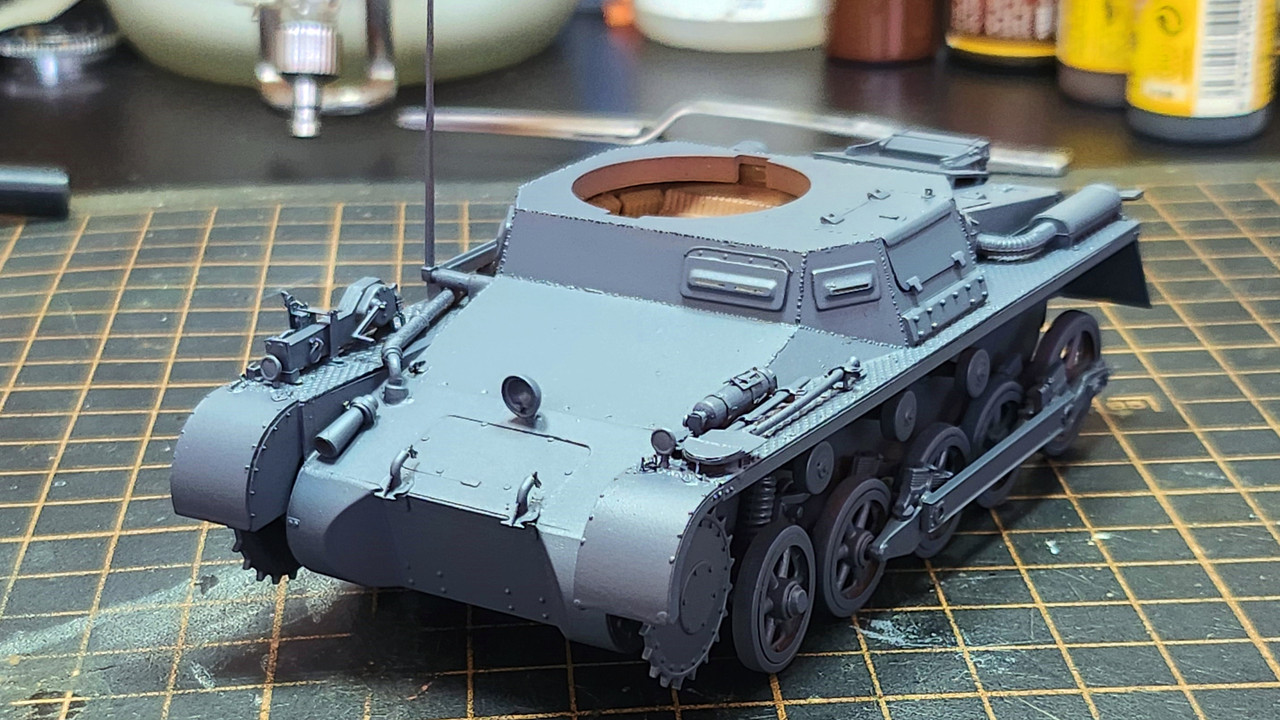
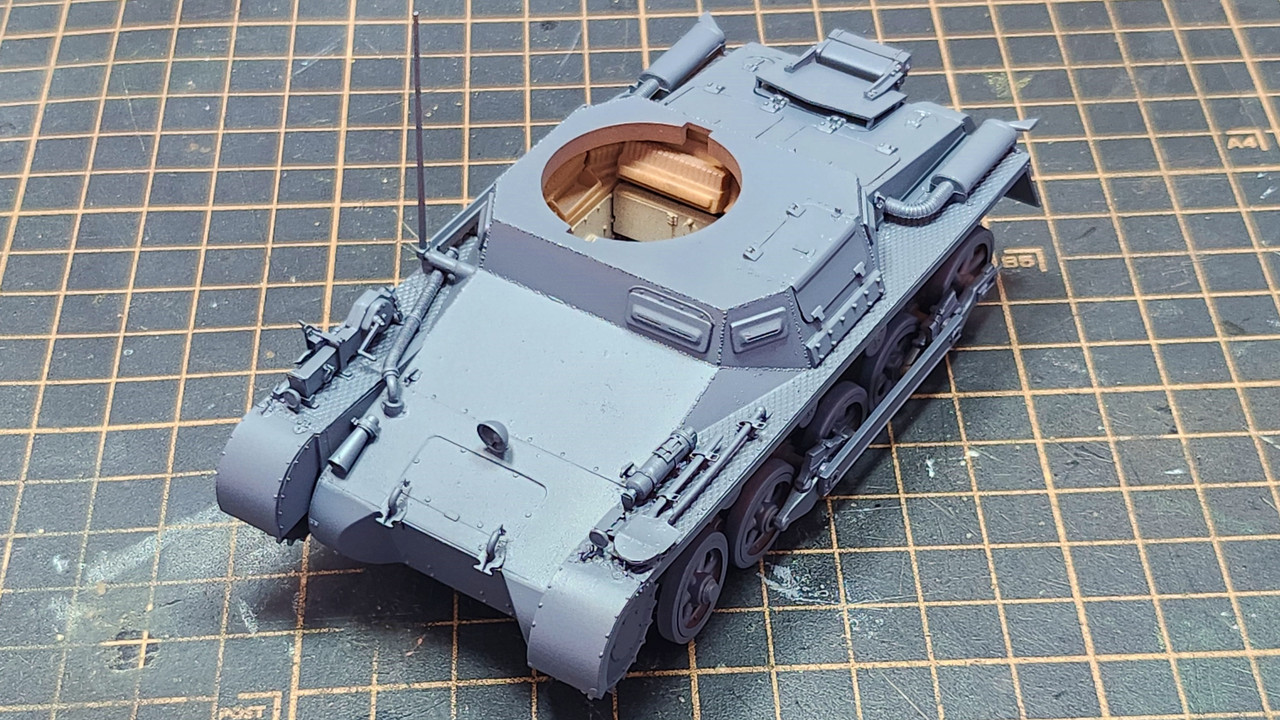
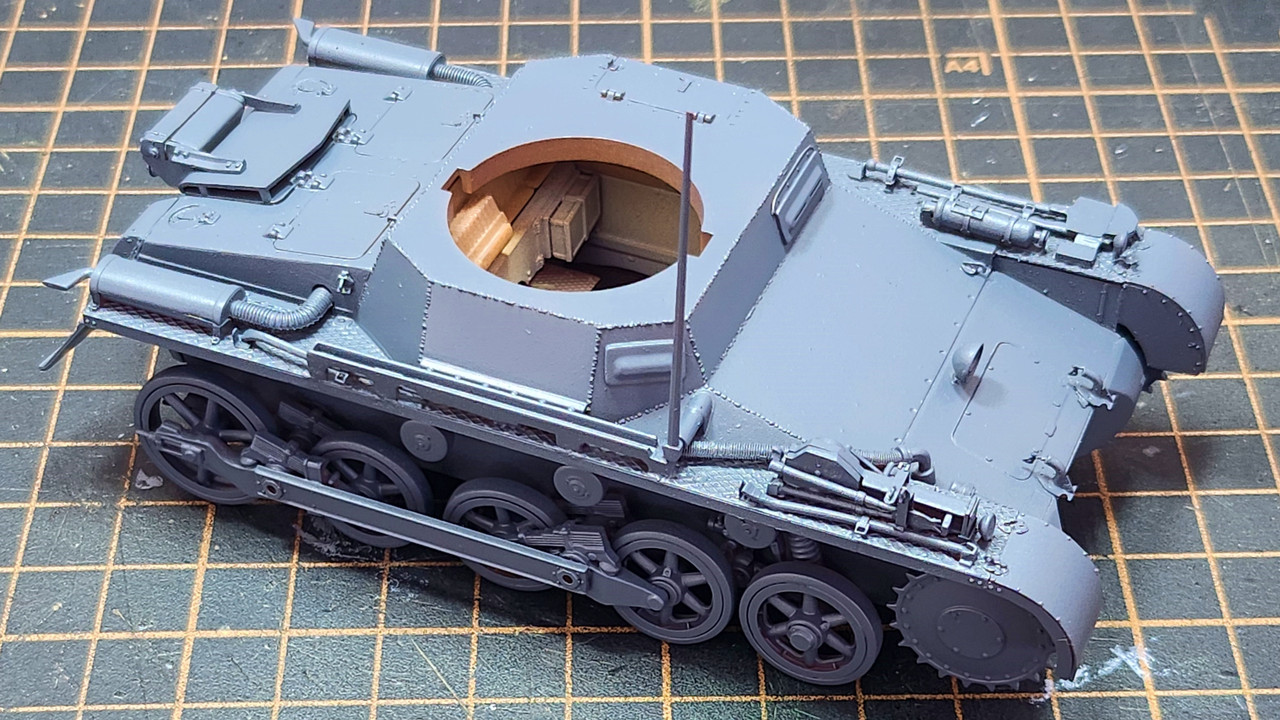
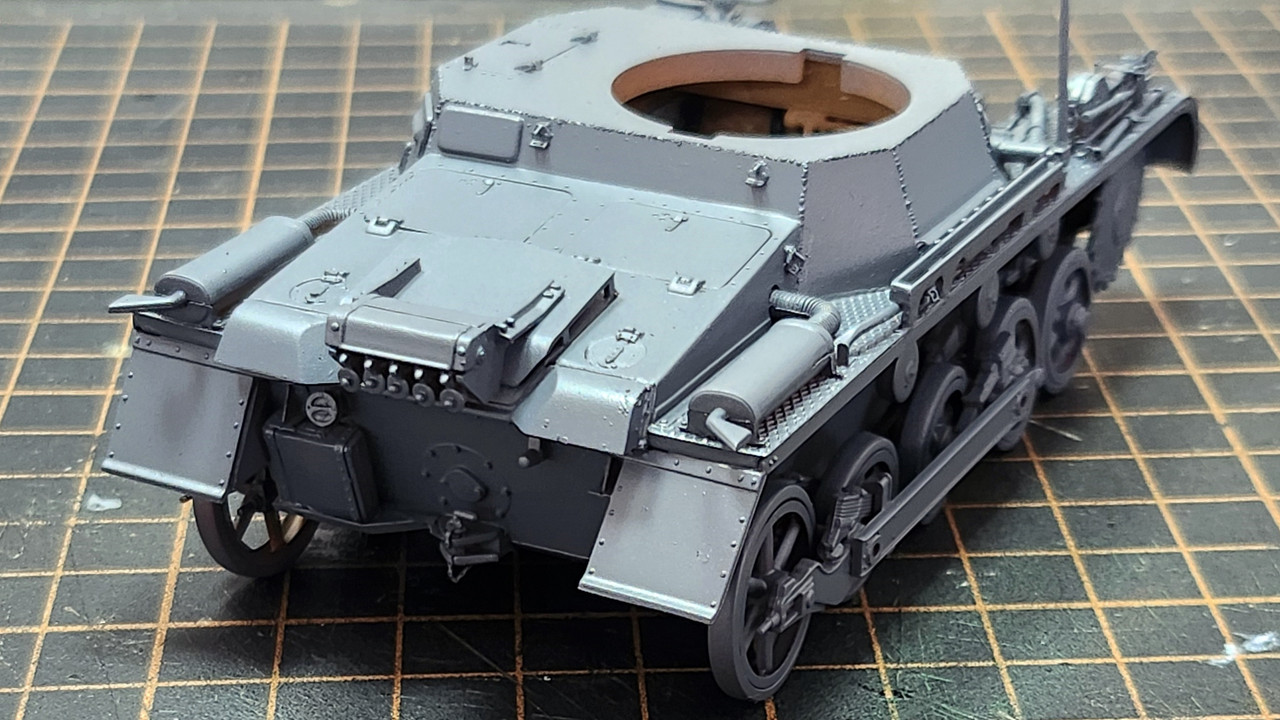
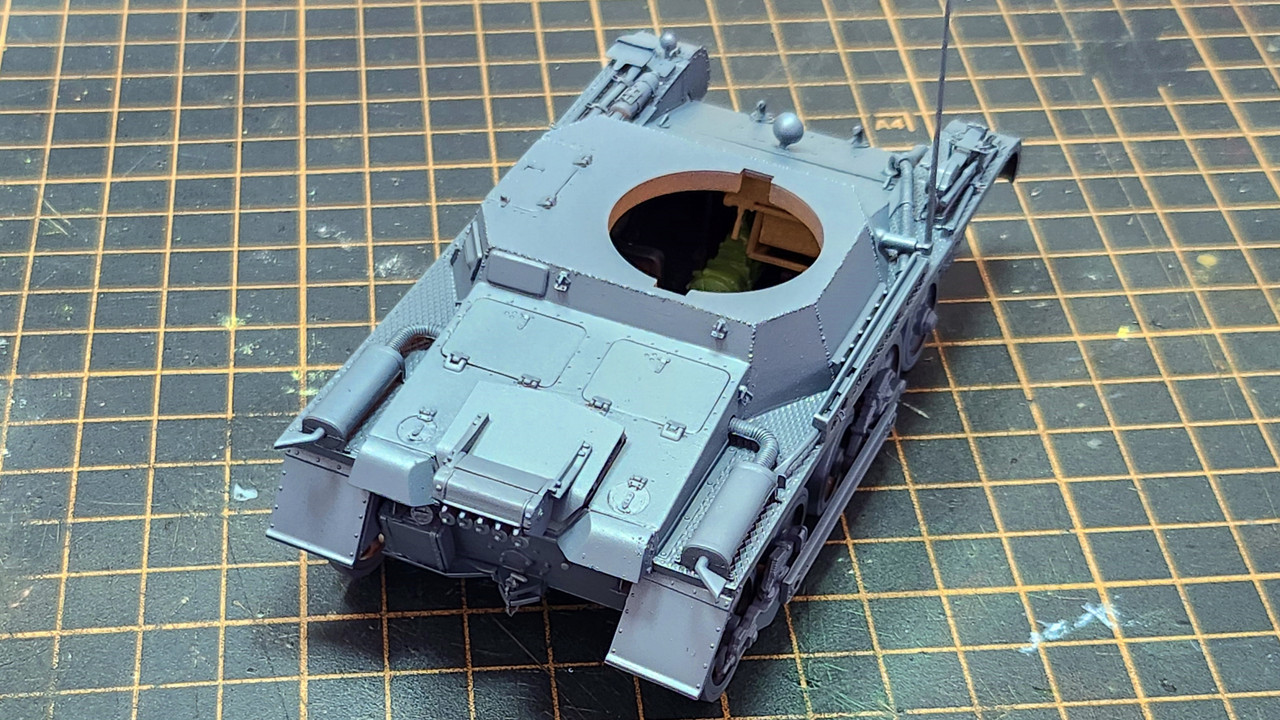
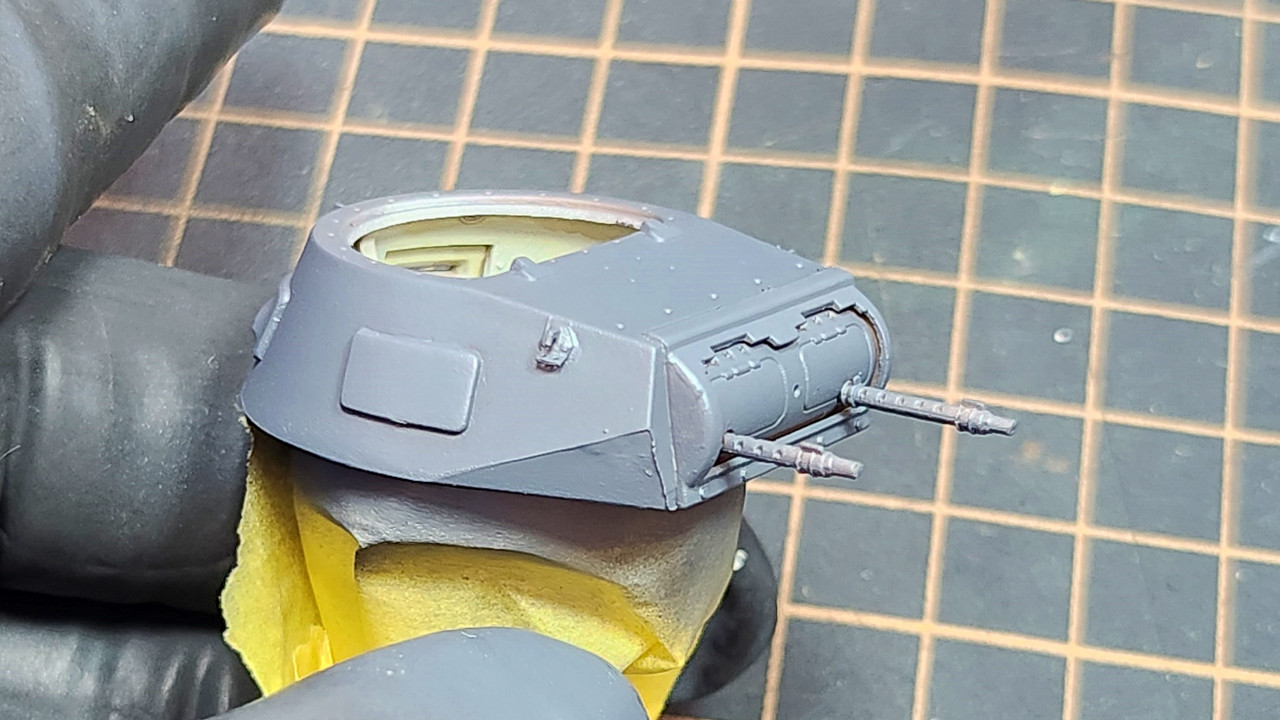
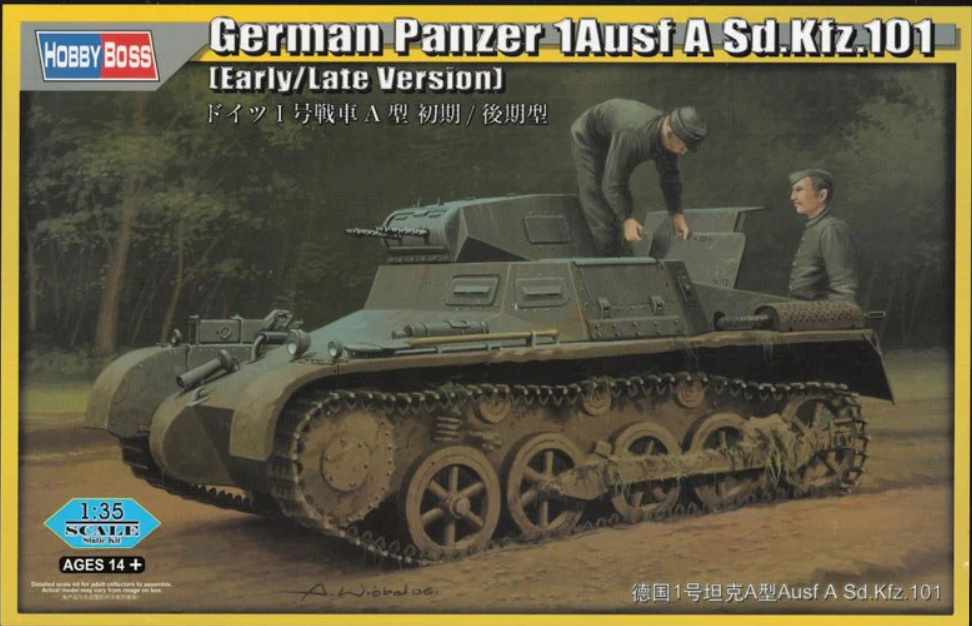
The kit
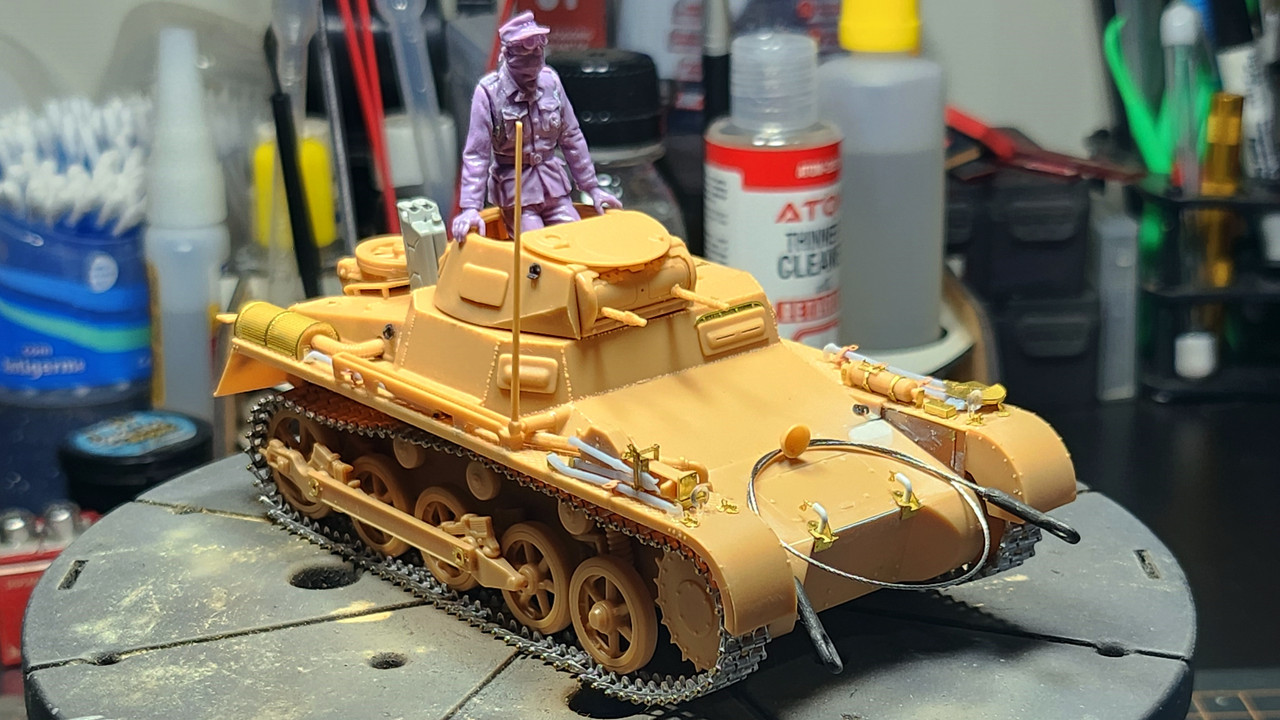
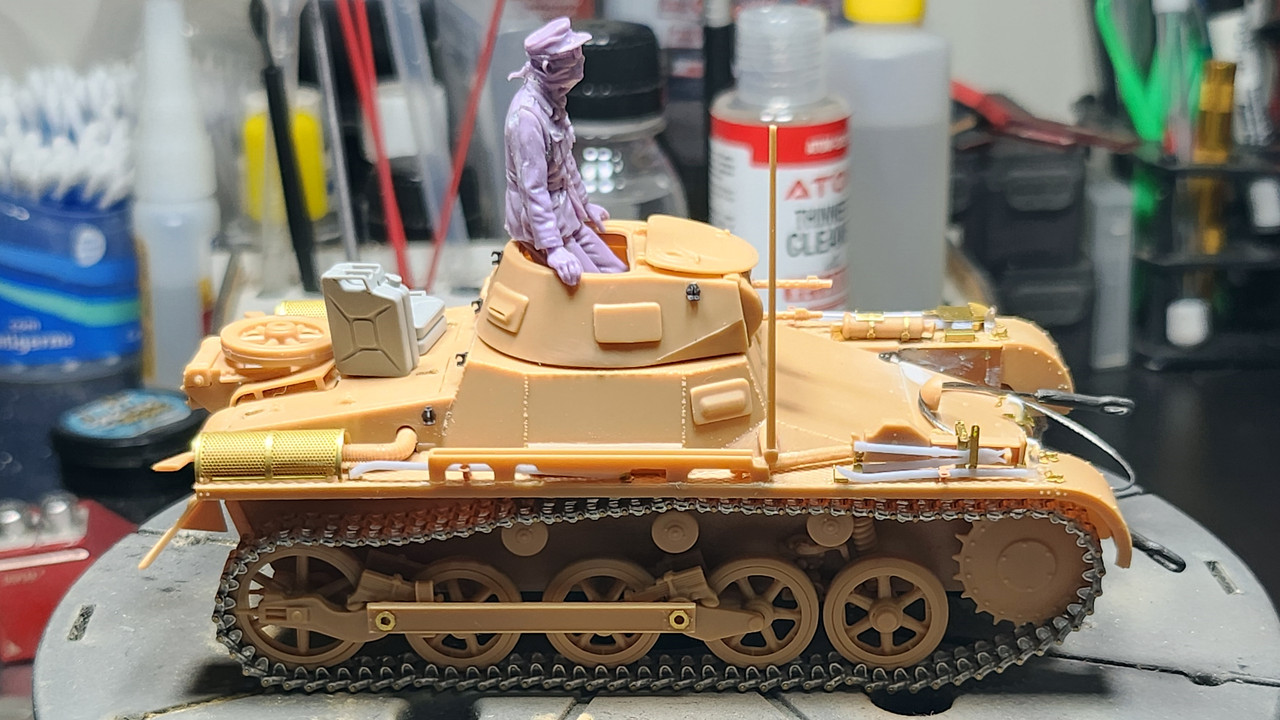
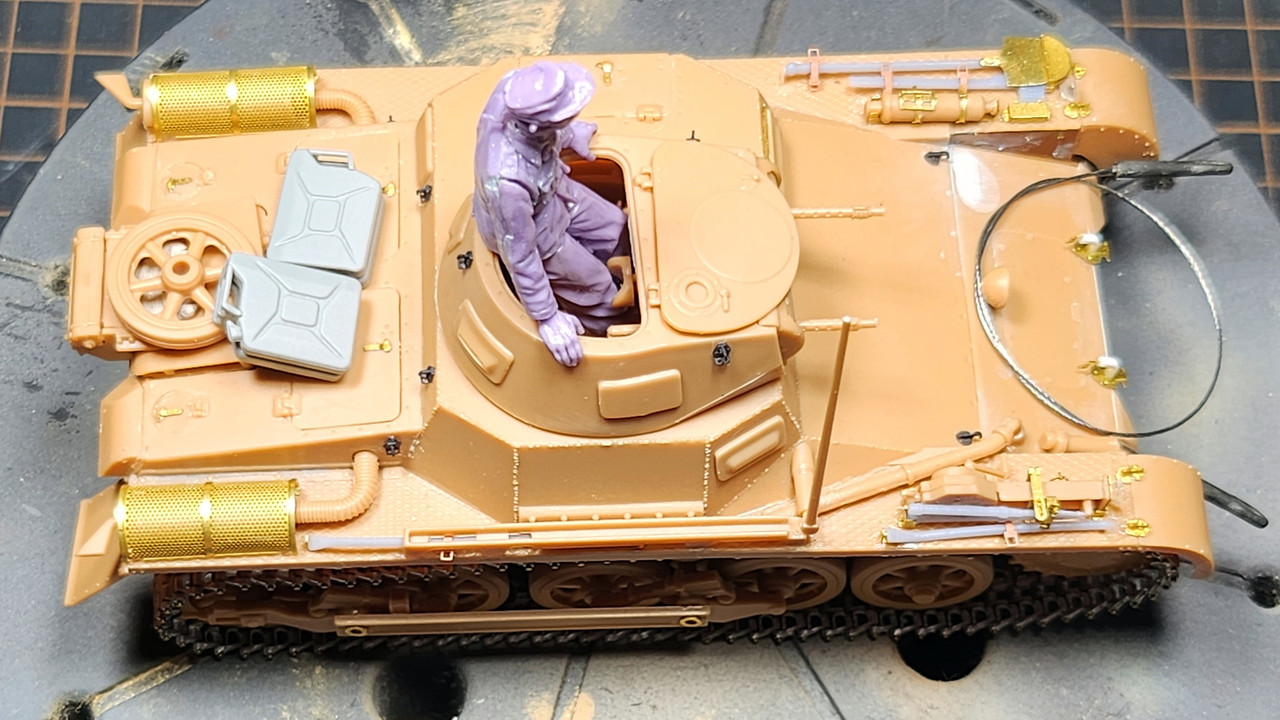
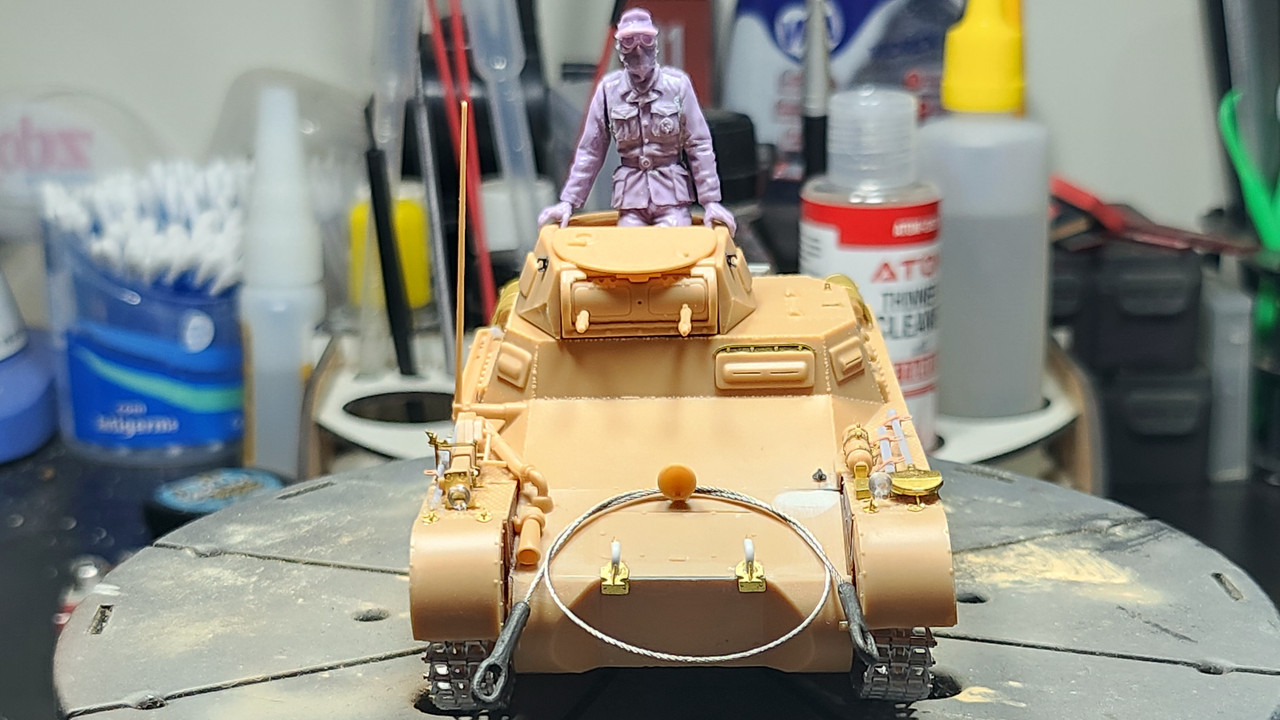
Painting scheme
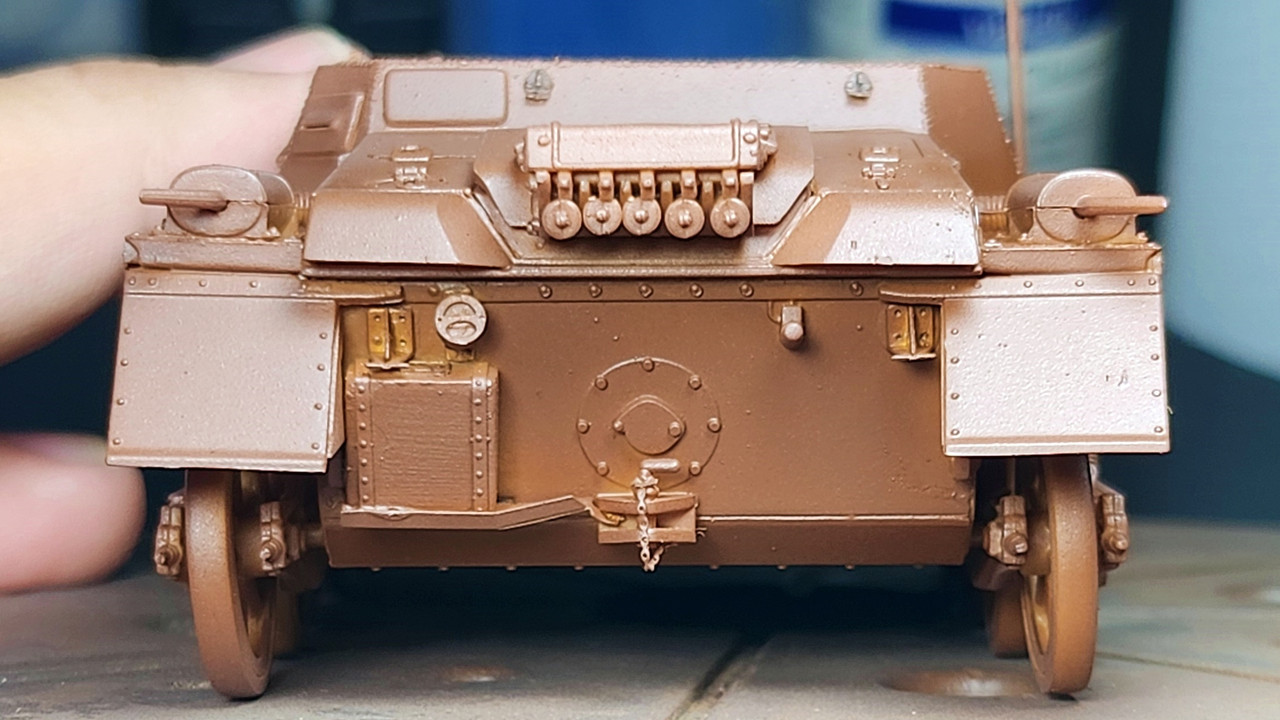
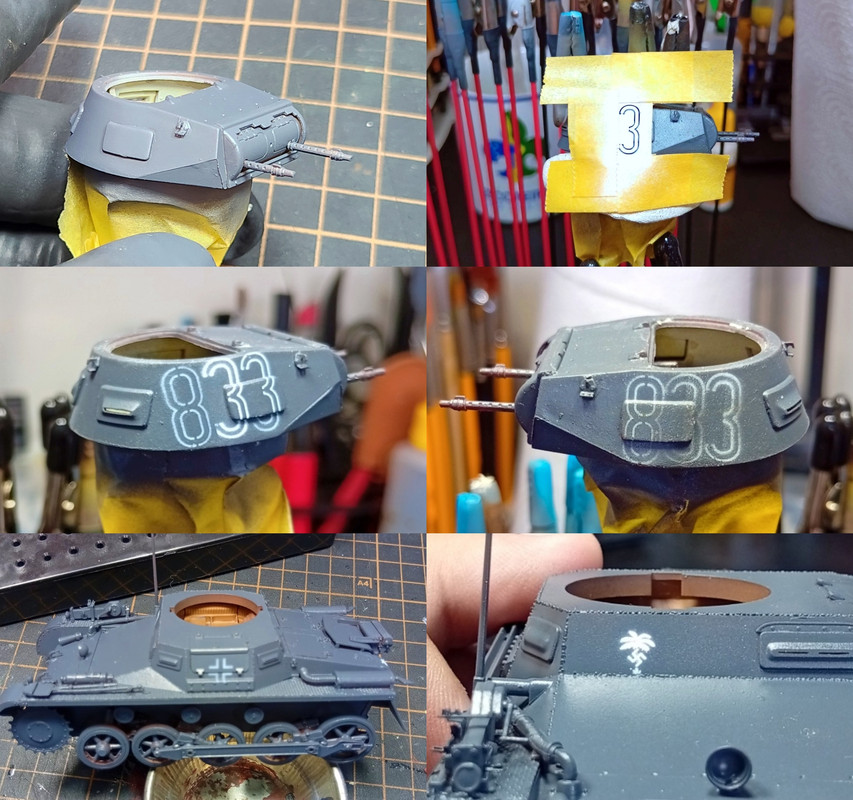
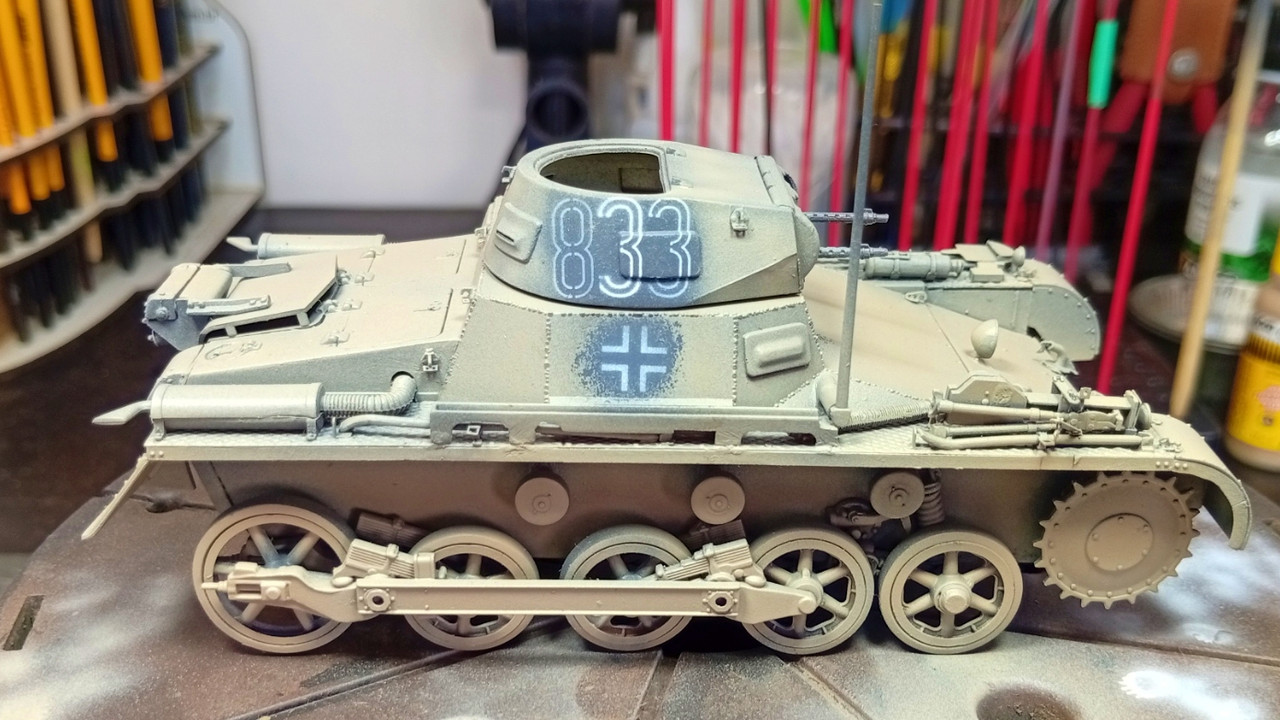
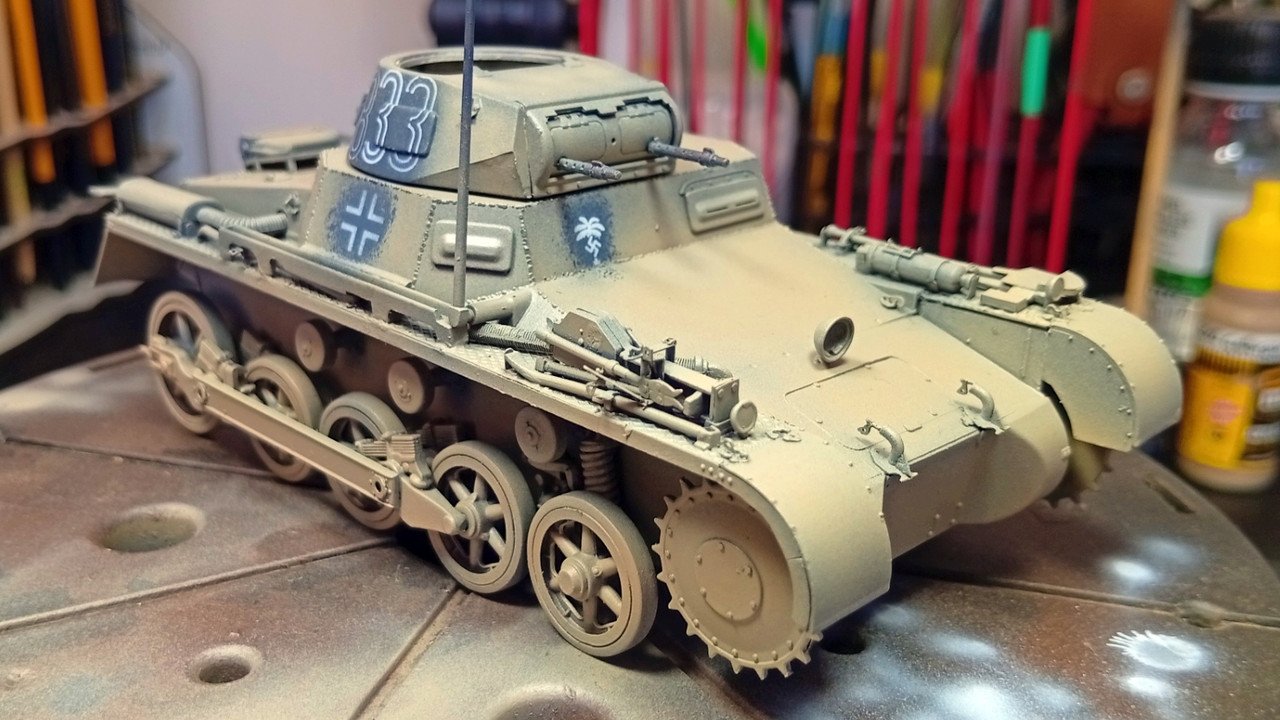
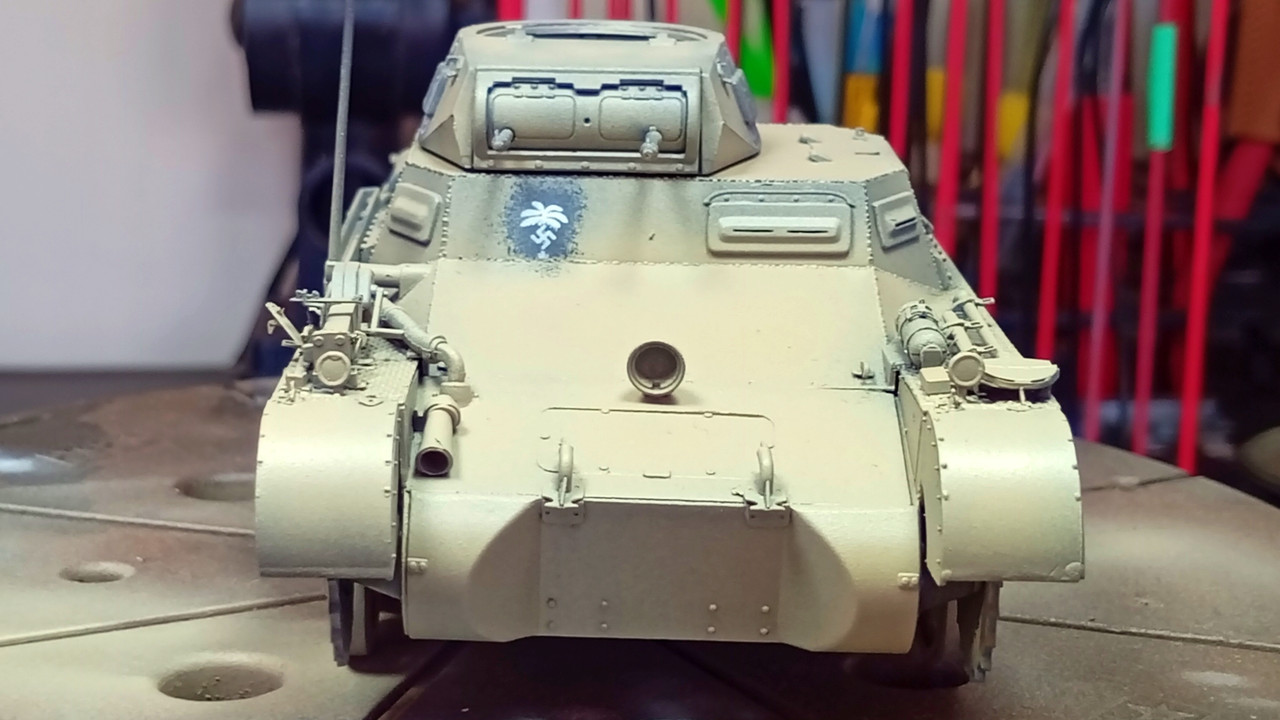
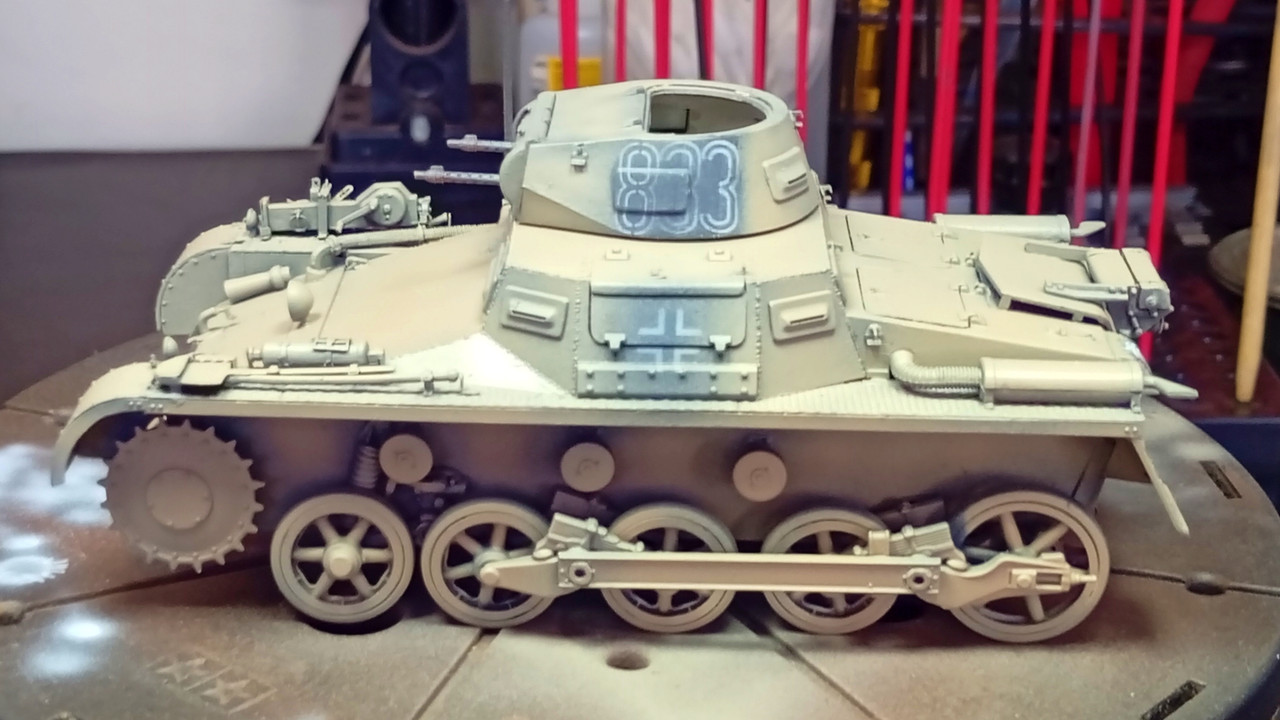
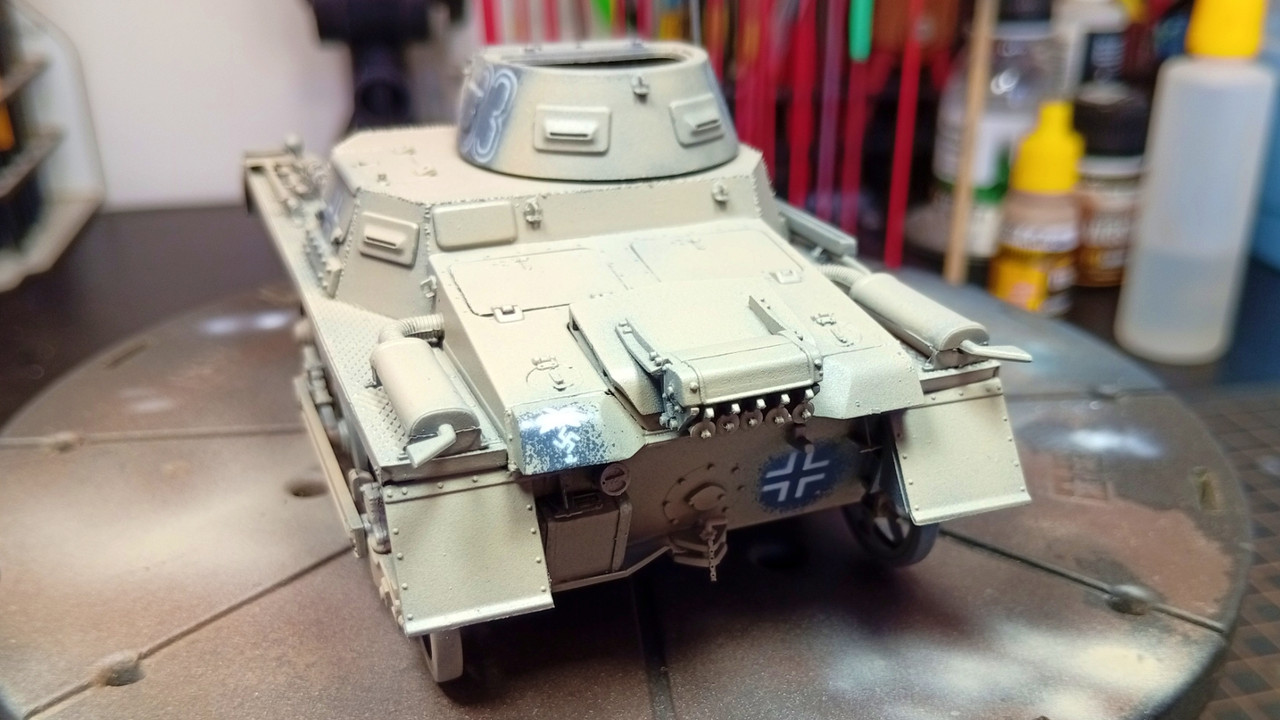
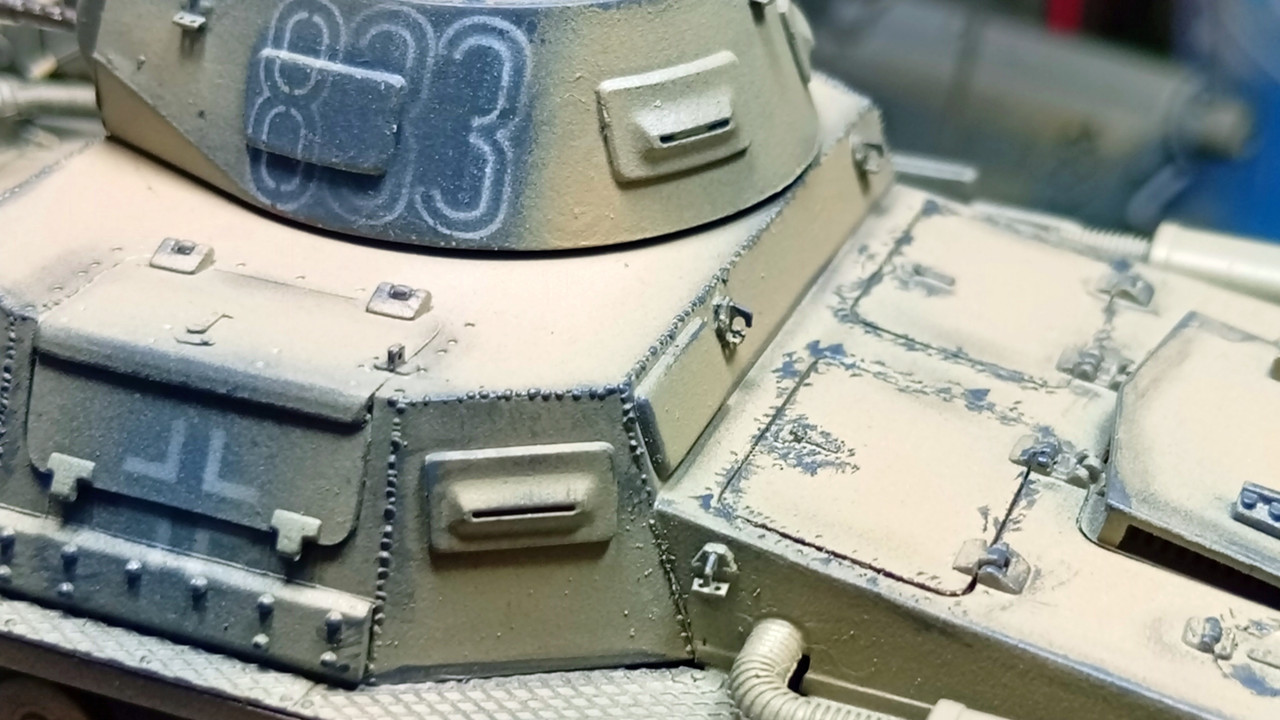
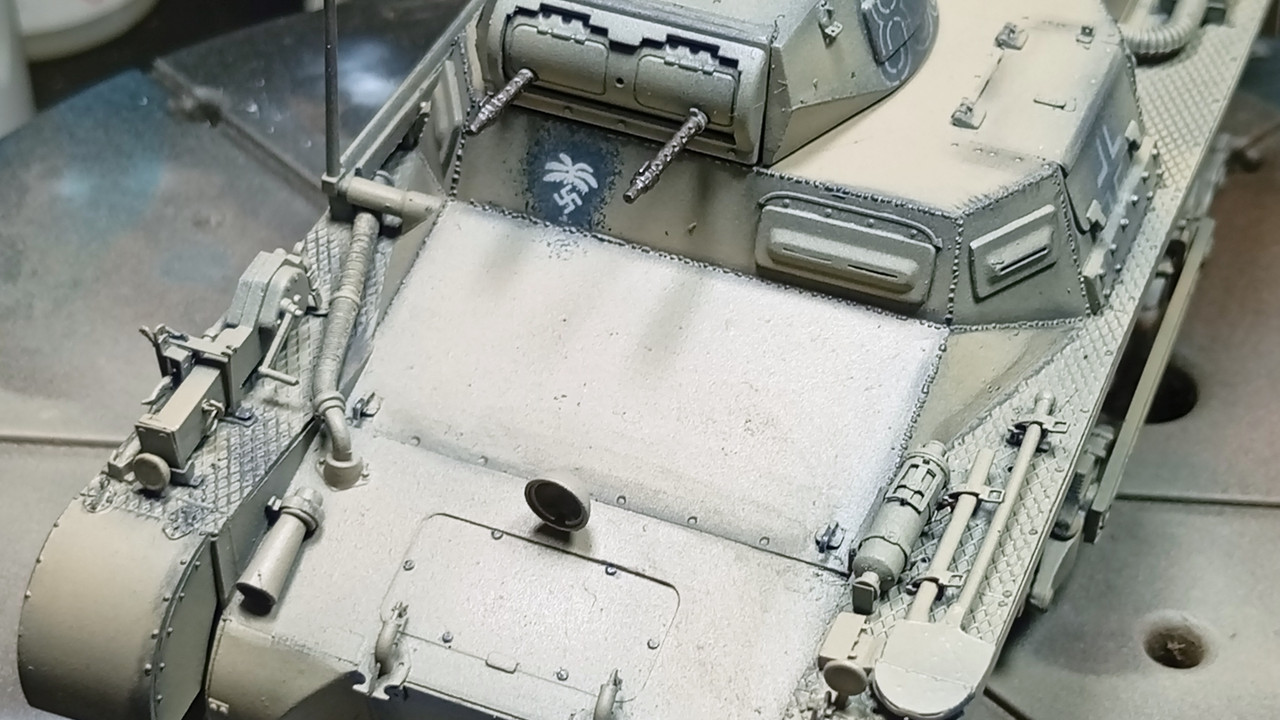
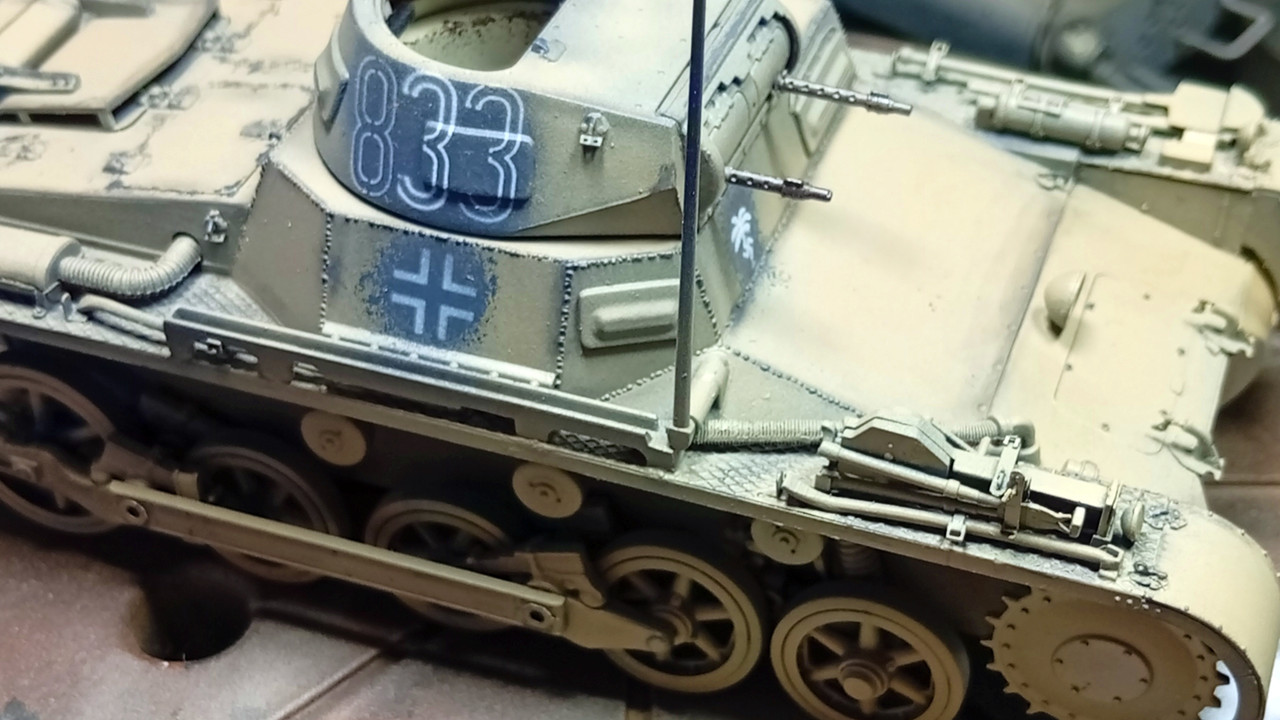
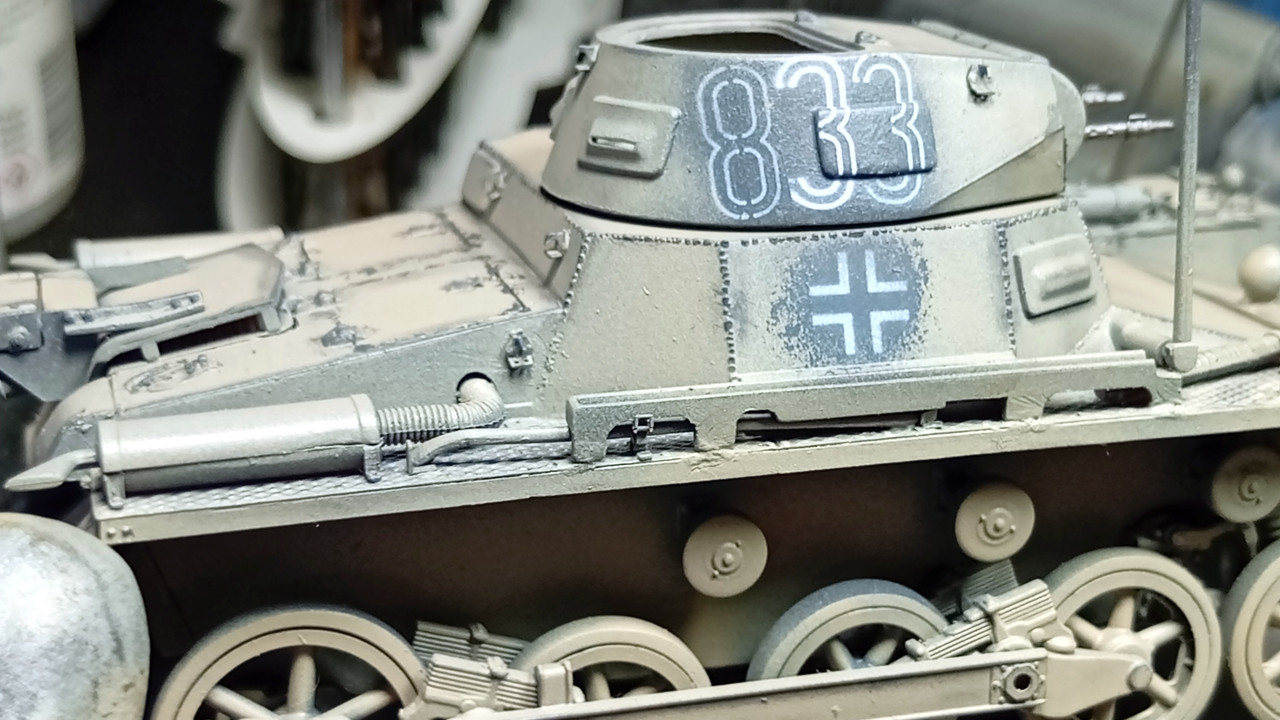
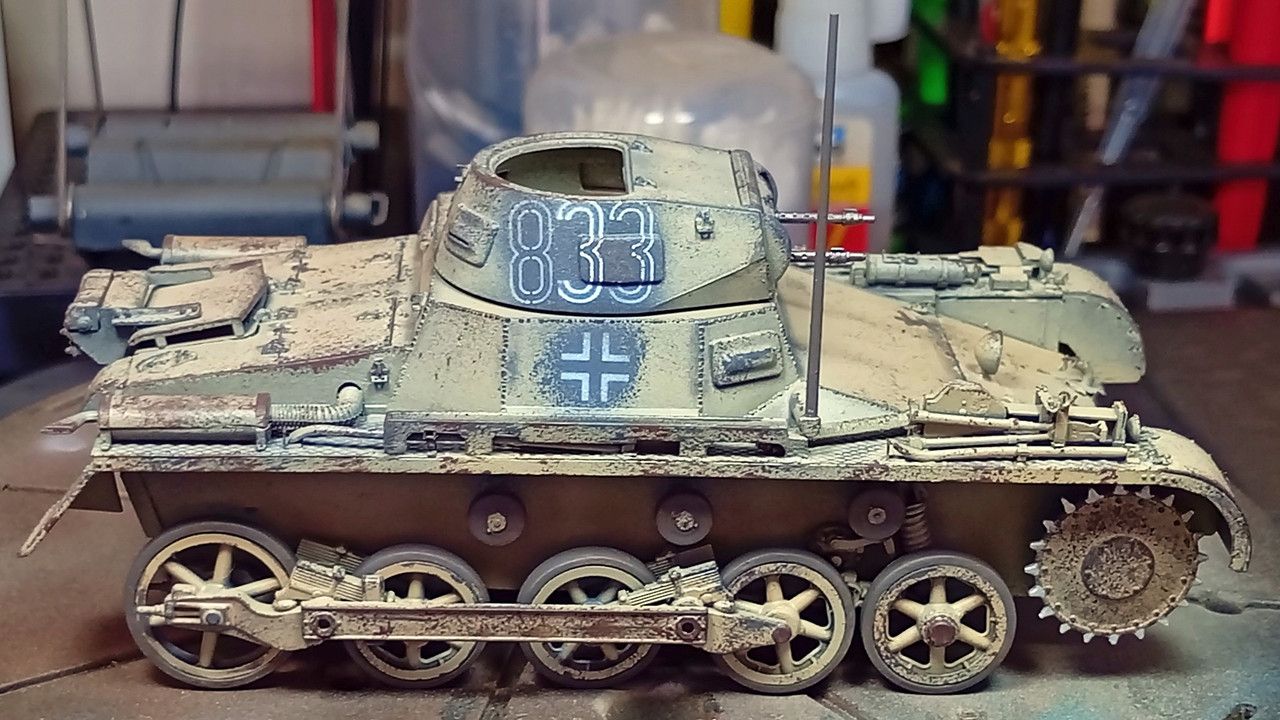
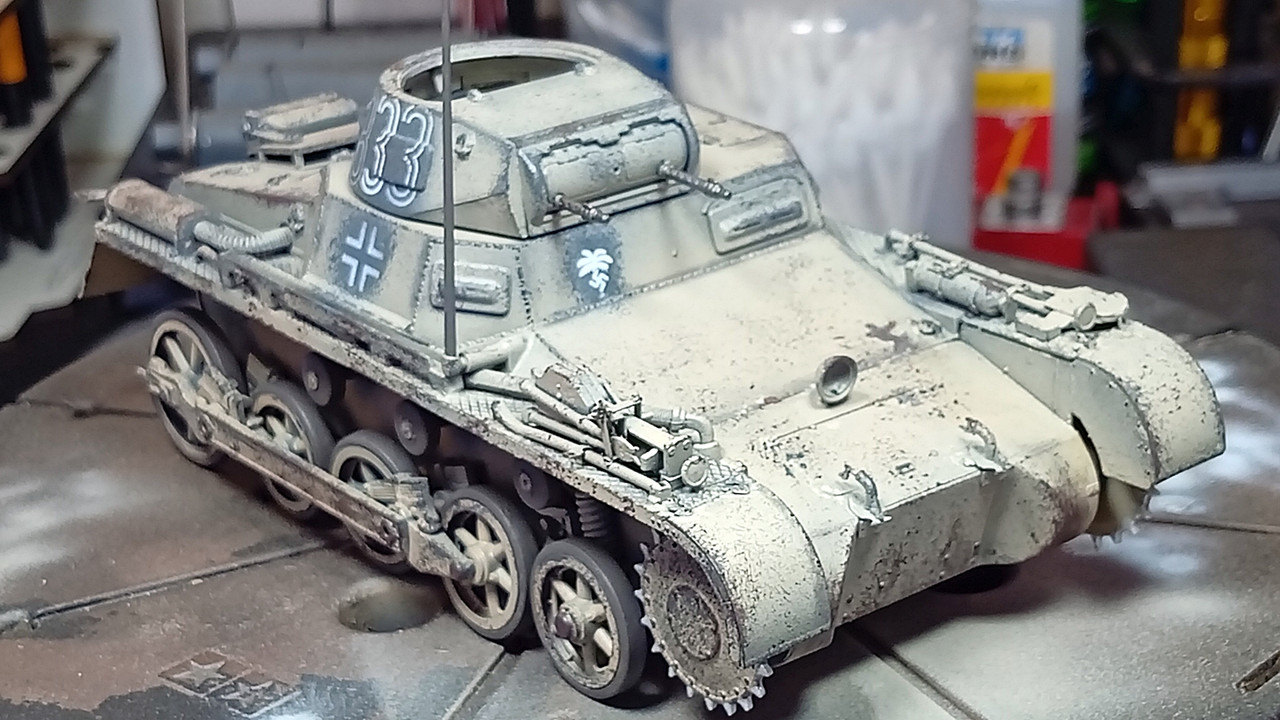
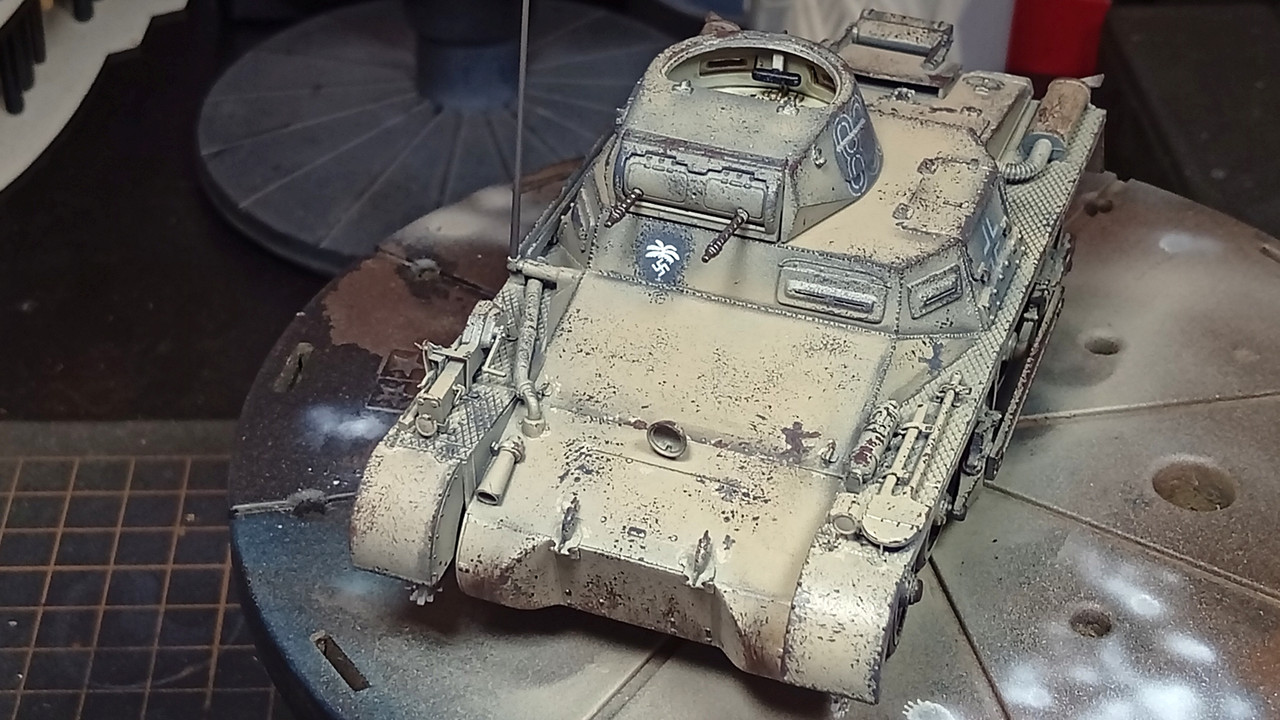
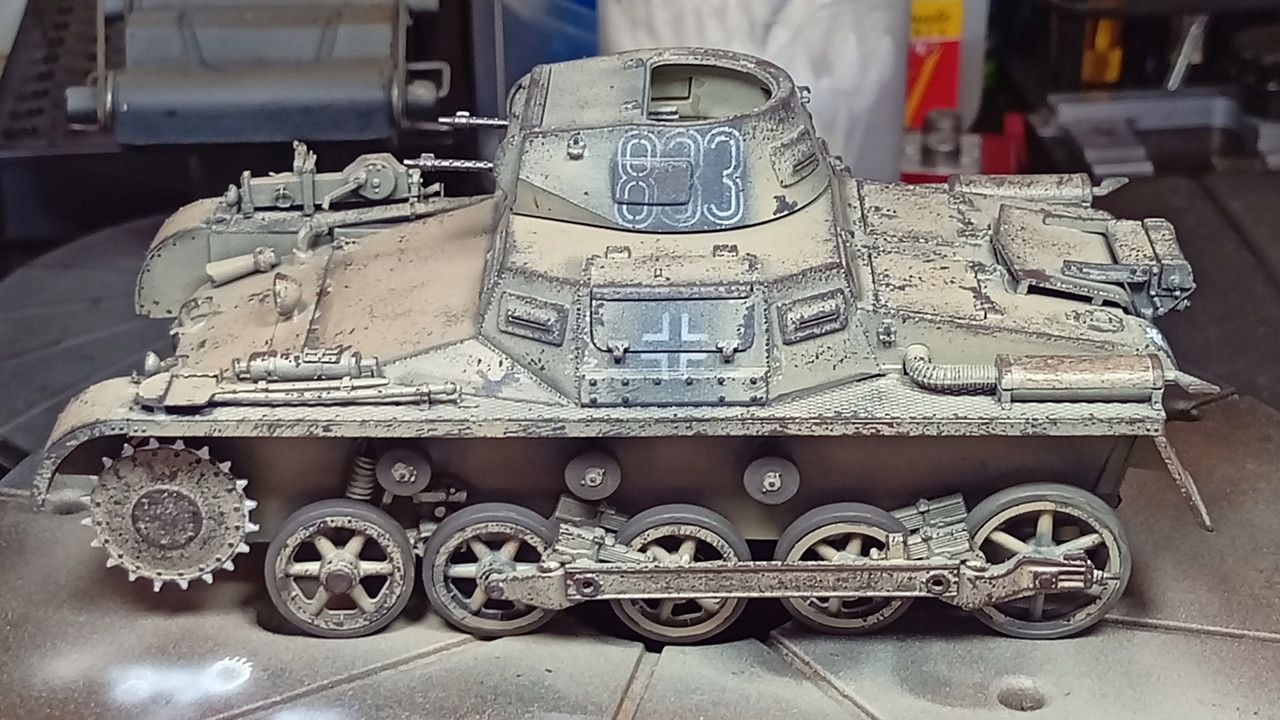
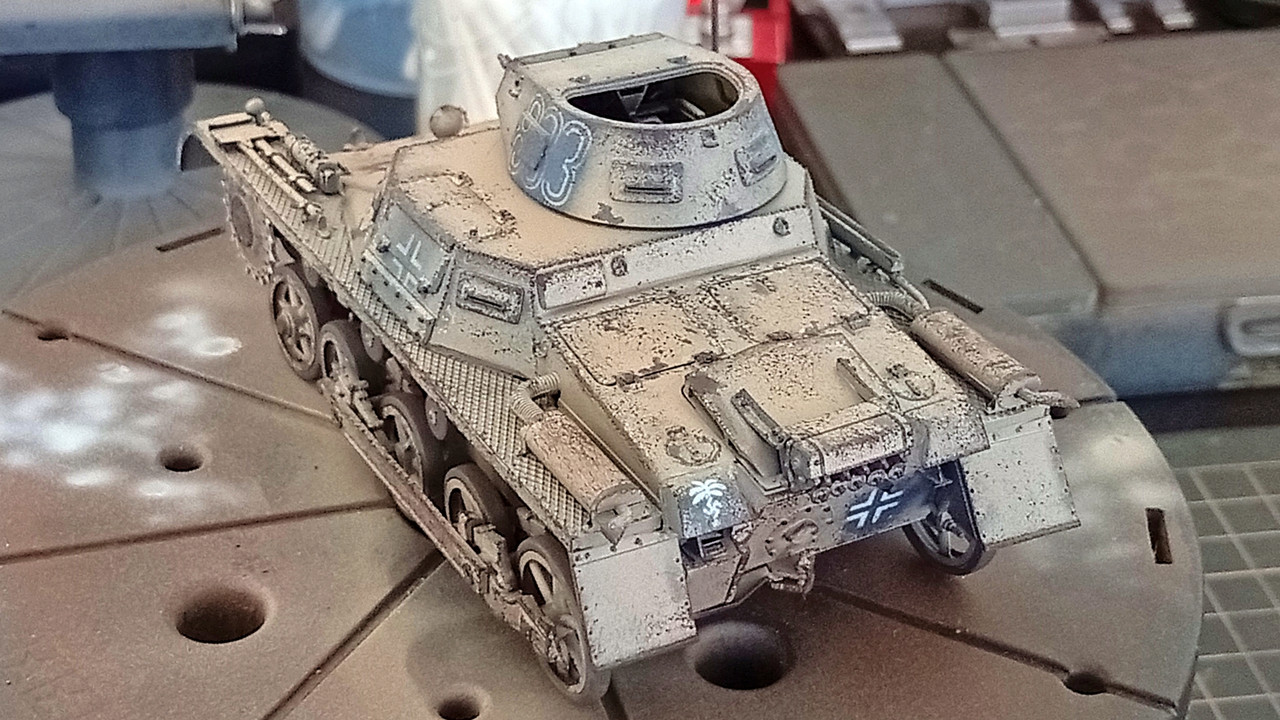
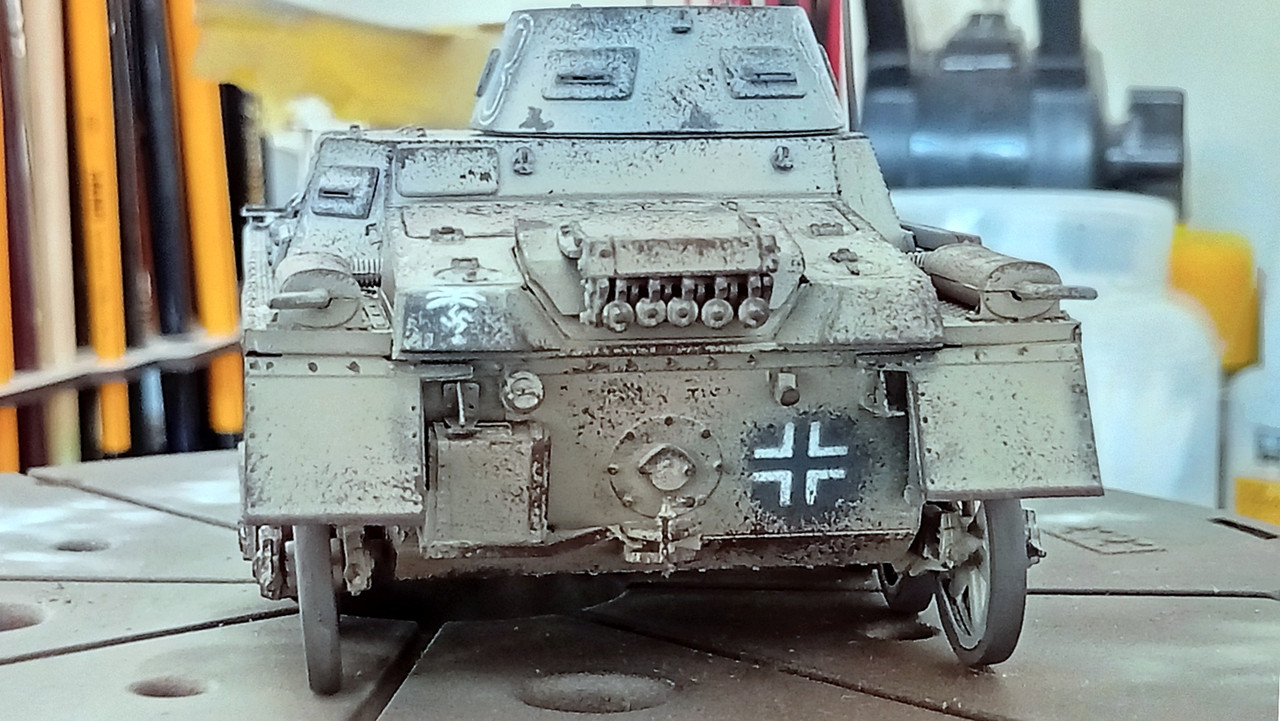
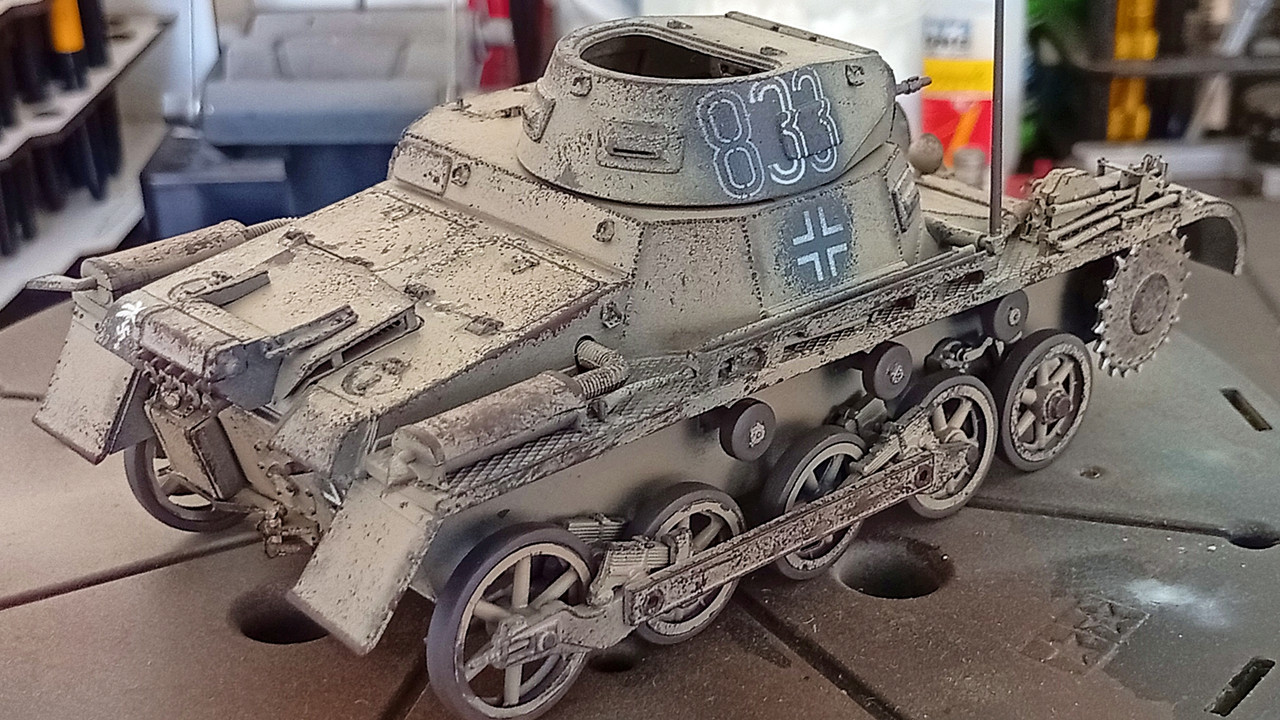
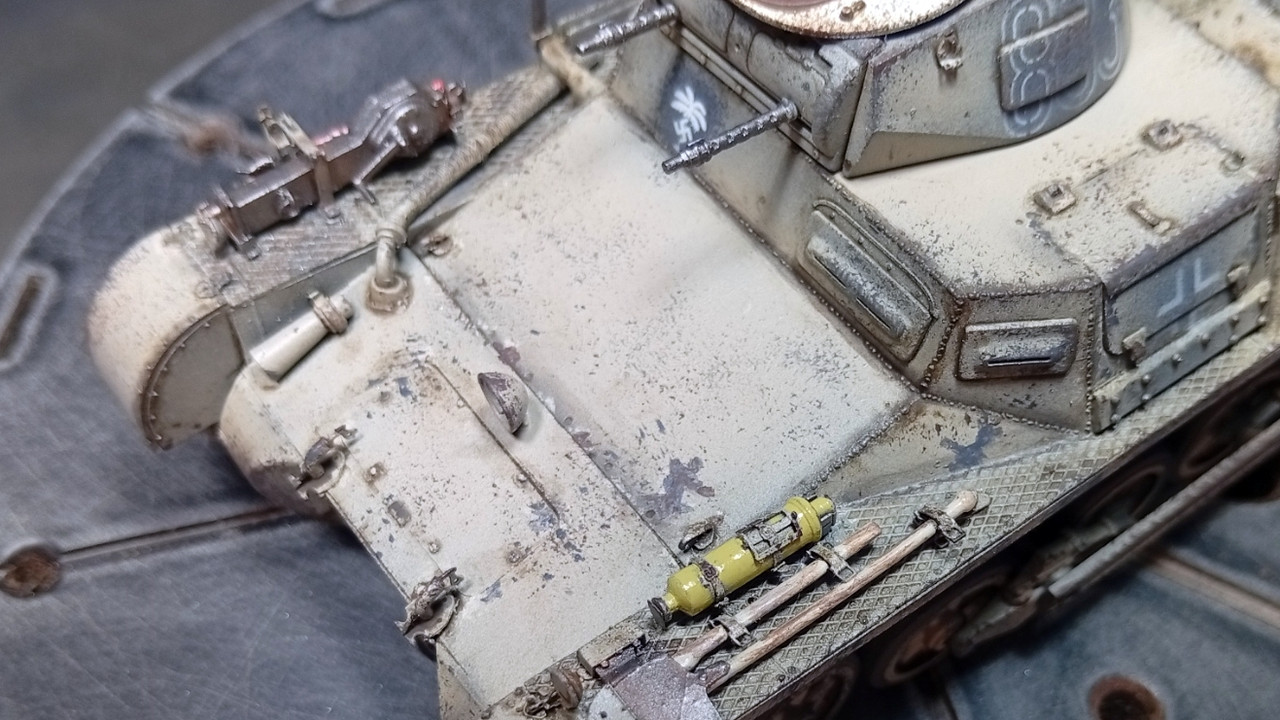
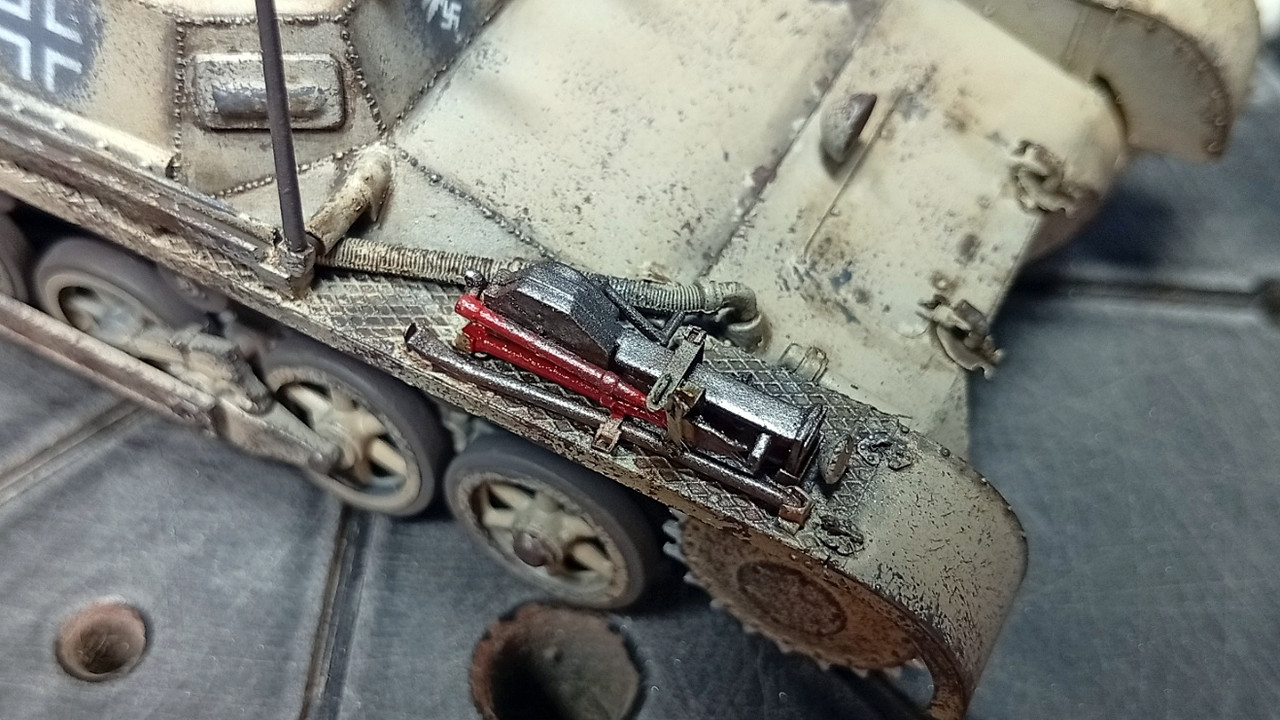
The 5th Panzer Regiment had its light tank companies equipped with the PzKpfw I, so their first battles in Africa were against British light armored vehicles. This Panzer I had a light layer of Gelbbraun (RAL 8000) over the original Dunkelgrau (RAL 7021) base. The crew left the tactical number exposed on both sides of the turret, outlined in white; indicating the vehicle as the 3rd unit, from the 3rd platoon, of the 8th company. The white DAK insignia was painted over the original color (gray) on both sides, and on the left side of the front hull plate. These vehicles used to have a white Balkenkreuz with black painted on the left side of the rear engine plate.
Main reference
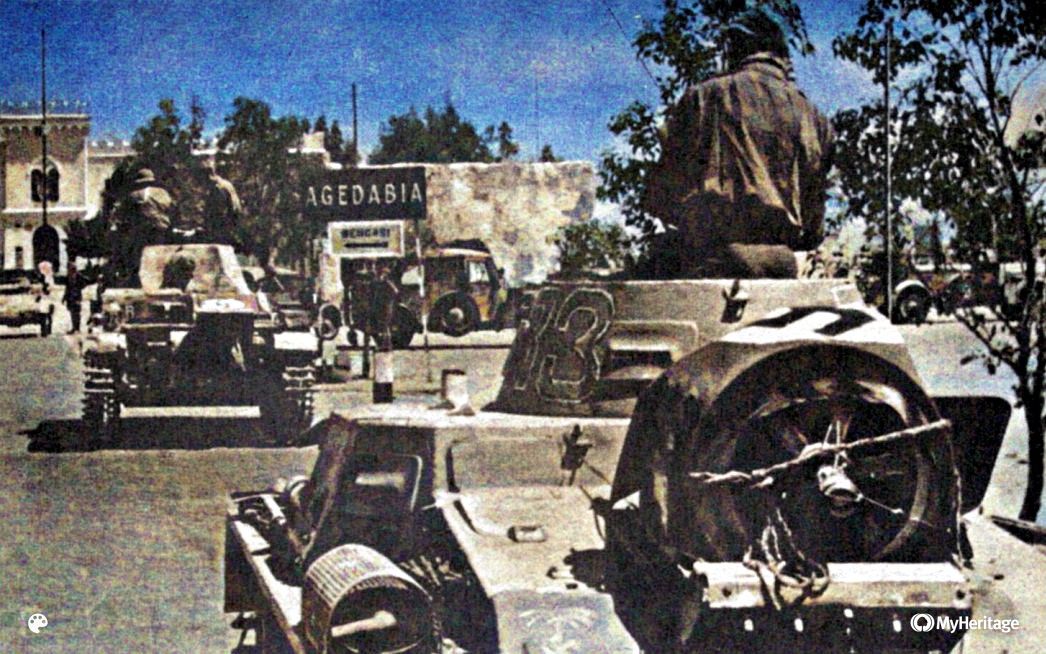
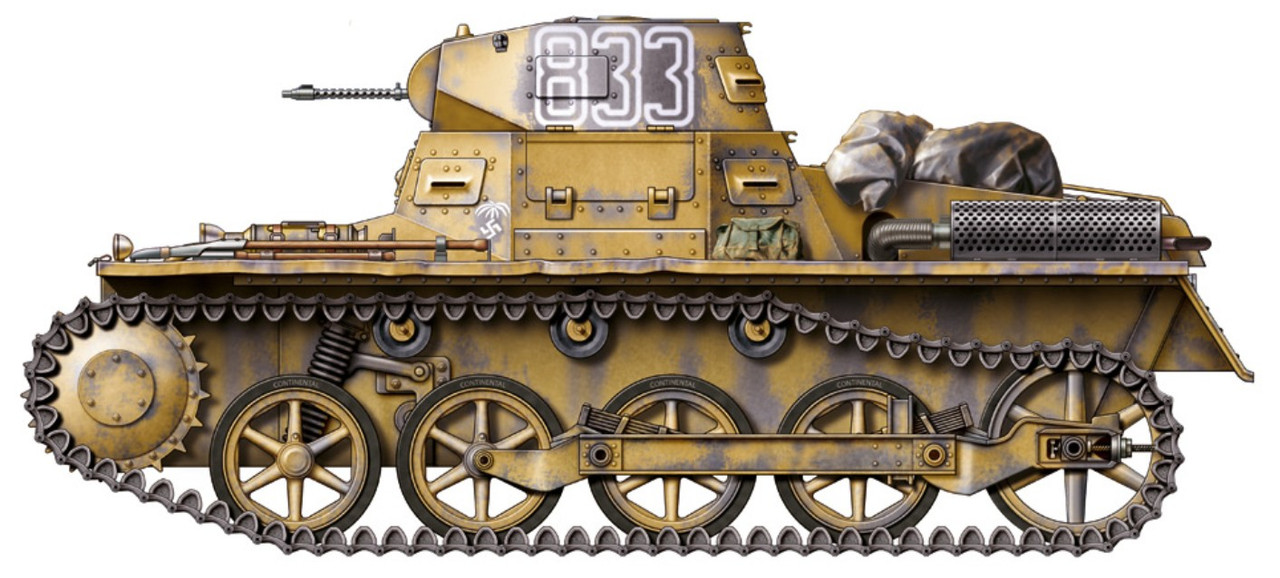
The 5th Light Division entering Agedabia on April 2, 1941, after the city was abandoned by the British contingent, which retreated in the face of the rapid advance of German units. In the image, we see one of the PzKpfw I Ausf. A, probably the ‘883’, with the Gelbbraun color applied over the Dunkelgrau.
Brief history
Due to the embargo imposed by the Treaty of Versailles, after the First World War, the Germans were prohibited from producing and acquiring armored vehicles for their army, among other restrictions.
Even with the prohibition, in 1933 the Heerewaffenamt opened a contract for the mass production of an armored vehicle between 4 and 7 tons. Among the various proposals presented, the chosen one was Henschel with Krupp’s engine. Production began in mid-1934 under the designation Panzerkampfwagen I A (Sd.Kfz. 101).
Next, we have the table with the general data of the armored vehicle:
Manufacturer - Henschel, MAN
Production period - 1934 – 1936
Units built - 477 vehicles
Weight - 5.4 tons (5400 kg)
Length - 4.06 meters (13.19 ft)
Width - 2.10 meters (6.76 ft)
Height - 1.7 meters (5.64 ft)
Engine - KRUPP M 305 with 4 cylinders, air-cooled, with 60 hp/2500 R.P.M.
Transmission - 5 forward gears and one reverse
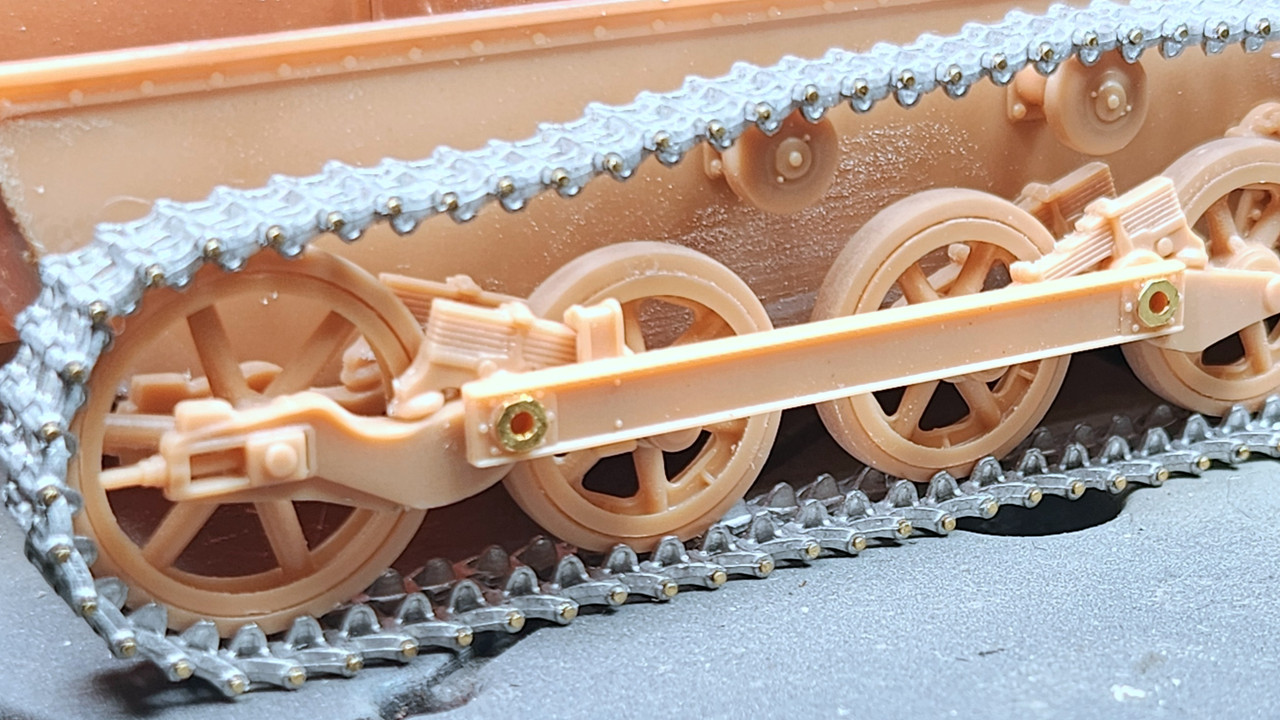
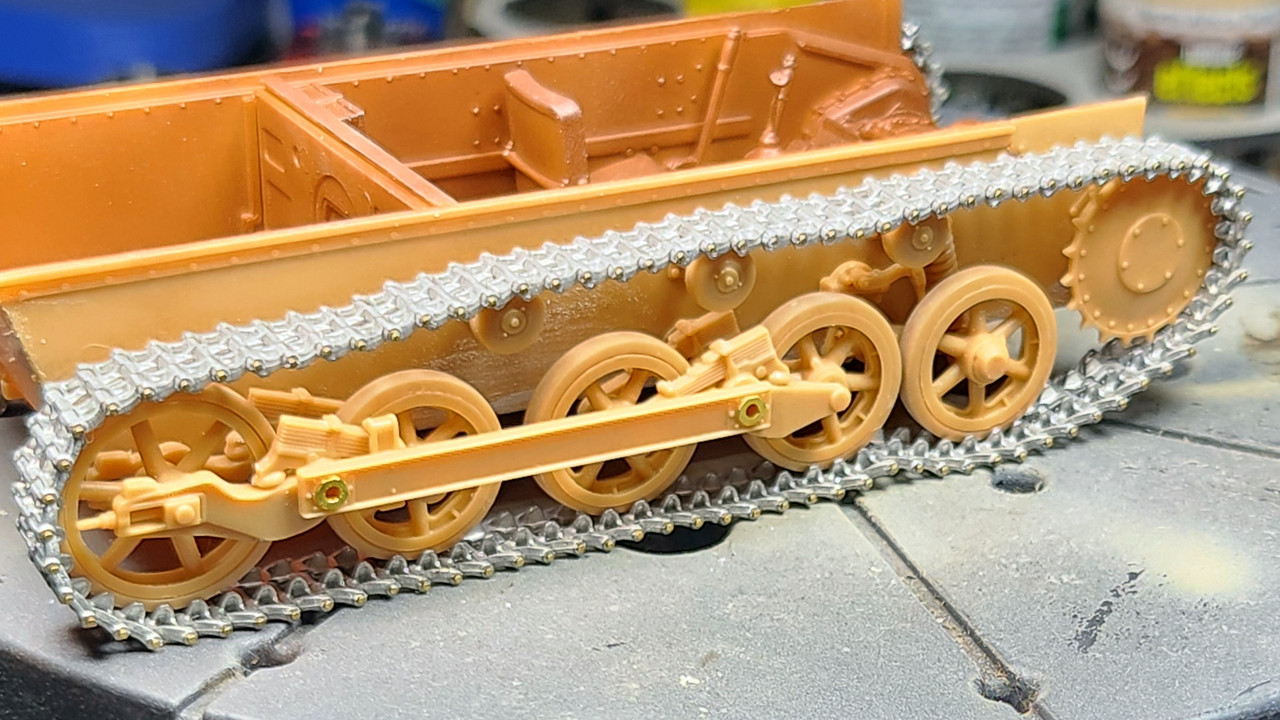
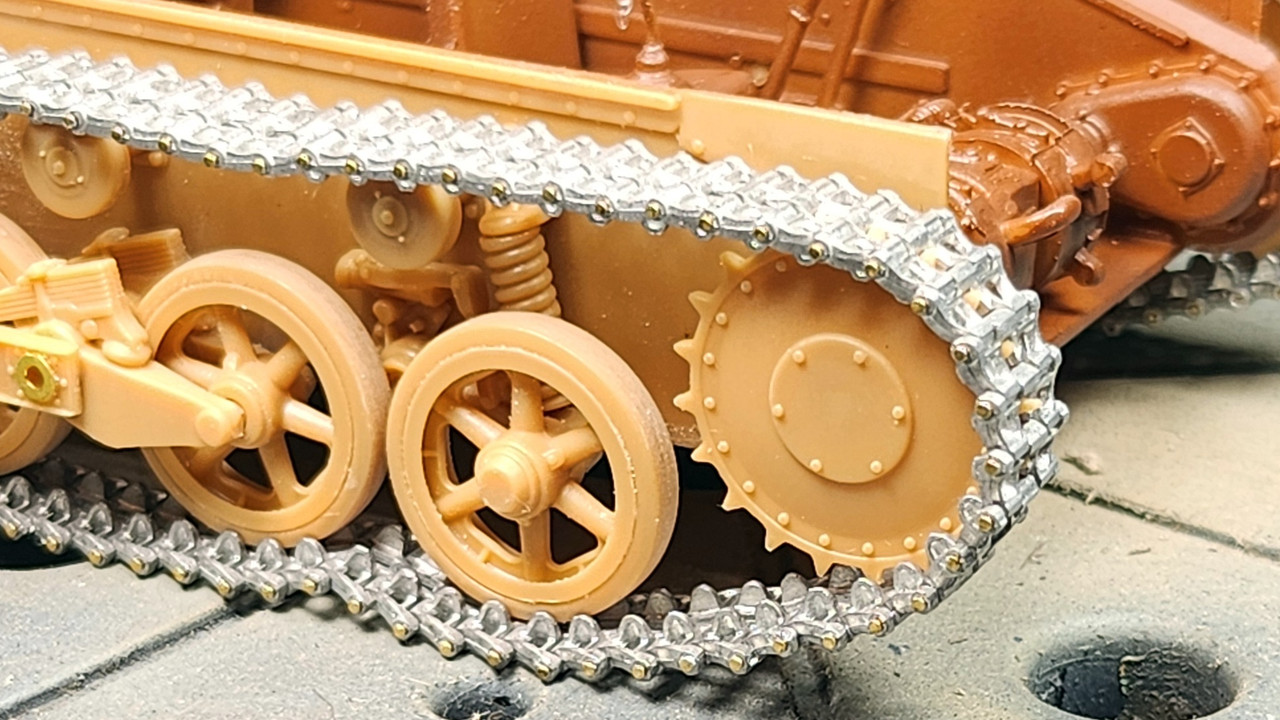
Track width - 280 mm
Armor - Ranging from 7 mm to 13 mm
Armament - 2 MG13 machine guns of 7.92 mm
Ammunition - 3125 rounds
Fuel - 2 tanks of 72 liters (38 gallons) located in the engine compartment
Range - 200 km on the road or 140 km off-road
Maximum speed - 37 km/h (23mph)
The Sd.Kfz. 101 was originally developed as a training vehicle to assist in the training process of Panzer crews; however, the German high command, upon getting involved in the Spanish Civil War between 1937 and 1939, sent the Condor Legion equipped with the small Panzer I into the conflict. This campaign was the baptism of fire for the Panzer units, and it also demonstrated that despite being inadequate compared to its Russian competitor, the BT-7, when well employed, it could yield interesting results. The small one also participated in the Polish Campaign, the occupation of the Netherlands, and the campaigns in Norway and France. Already entering obsolescence, it was initially used in the Campaigns of Greece, Africa, and the Soviet Union (Operation Barbarossa).