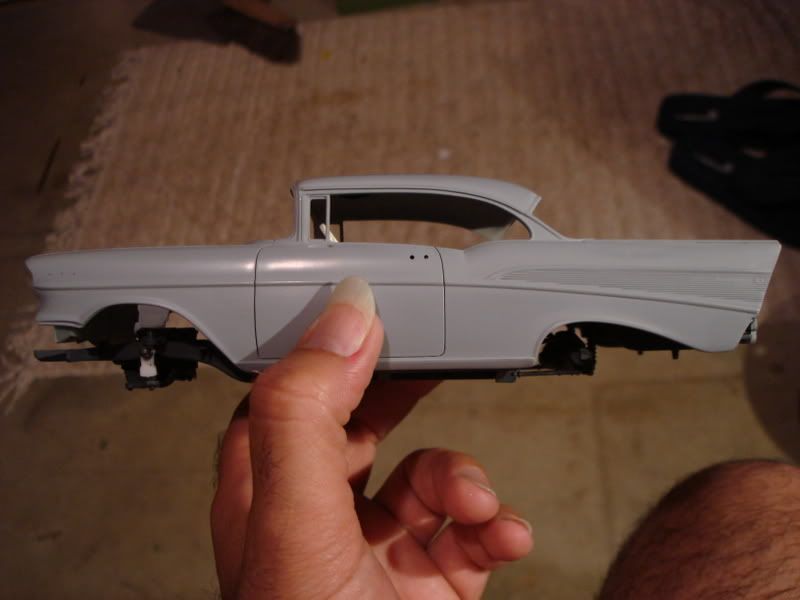
scribing is actually pretty easy and doesn’t require alot of special tools.
Here’s what I use…
Dymo tape…you can find it at most office supply stores.
Pin Vise with a few sewing needles
Scribing tool…I got mine at my LHS, and Squadron sells them directly.
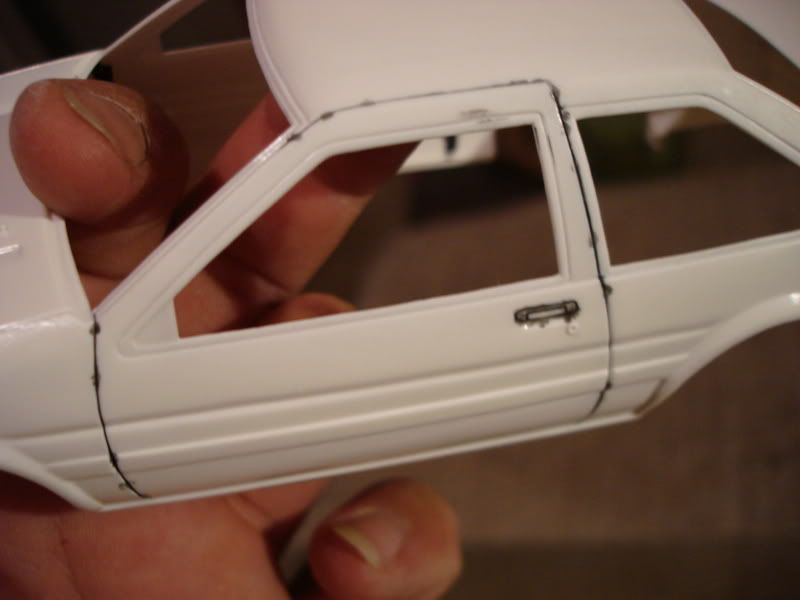
Use the Dymo tape as a guide for your line. The smaller section the better as it can be tough to line up the longer sections. Once your dymo tape is lined up, take your pin vise and take about 7 or 8 passes along the tape…take your first couple of passes slow and deliberate. You don’t want to go too fast and scratch in a line that shouldn’t be there. Then, pull your tape…you should have a nice groove. I use the scribing tool after I pull off the tape to make the line a bit thicker and deeper if needed and also clean out any excess material. Once everything is scribed, sand the entire piece with 400 grit and take it under the sink for a good wash in cool water…make sure all the lines are clean and free of material…then polish the plastic with a 600 grit sheet.
As for myself, there was a video on youtube that was from a Japanese kitbuilding show. To replace panel lines there he scribed using the point if an x-acto scraping sideways (I’l stick to my scribing tool ).
What made me go “D’oh!” was what he used to guide the straight line: plastic label tape, the kind for the label-makers that punch raised letters. I’ve tried it myself with great results.
When using the scribing tool, I hold it at a 45 degree angle from the surface I am scribing…that way it takes material off the side of the groove I cut, rather than making it deeper. I avoid using the scriber with Dymo tape, it tends to cut into the tape and give you a wavery line.
Also…it isn’t required to use a scribing tool…I was using just a pinvise up until recently.
If you want to make recessed rivets, you need a pounce wheel…basically, it’s a small gear with sharpened teeth on a handle…you can get them at any art supply store like Michaels, Ben Franklin for less than a Value Meal at McFatties
I like using the back side of a number 11 X-acto blade, the idea here is not to put any pressure when starting to scribe. Once you have a nice groove at that point you can use a bit more pressure until you see that the blade stays in path. I use Testors Metalizer paints when my cars are in the primer stage and through capillary action introduce the paints to the lines, works wonders!!!