Good afternoon everyone!
I really didn’t know what was next for me as I have spent the last 10 years building and fully immersed in the scratch building of a B17G ! …and since it was at 1:20 scale and coming out at 3 feet 8 inches long …I thought that it would be good to have a go at the other end of the scale spectrum!
A few years ago my brother sadly passed away and whilst clearing out his flat I came across this Airfix 1:72 scale Spitfire mk1a that he must of been thinking to build…
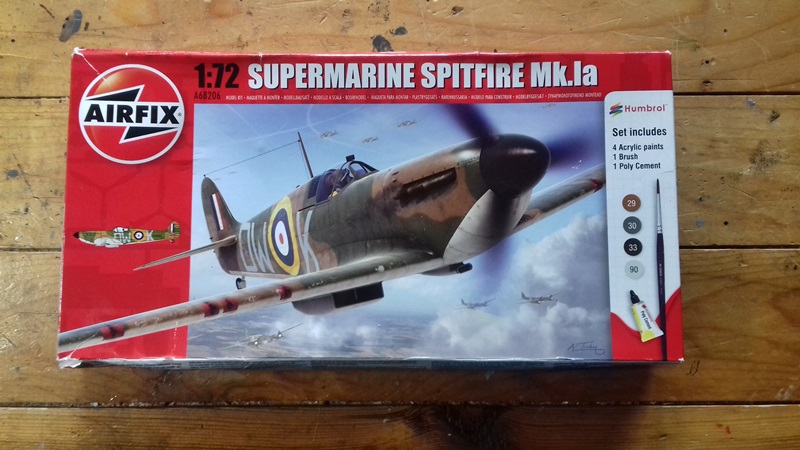
I took the kit home and have been thinking ever since if it would be possible to scratch build the interior of this kit!..this would mean having a go at building the Merlin engine and cockpit! …and at such a small scale wondered if it would be worth the effort?..then I thought that I would have a go at it… as a kind of tribute to my brother David!
So I started this project when I was at home in Bulgaria and took some photos of the progress so far and thought I would make the first post here now.
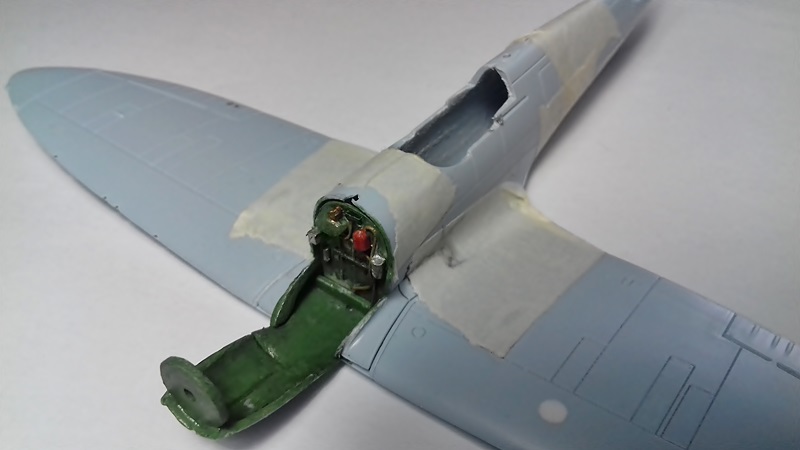
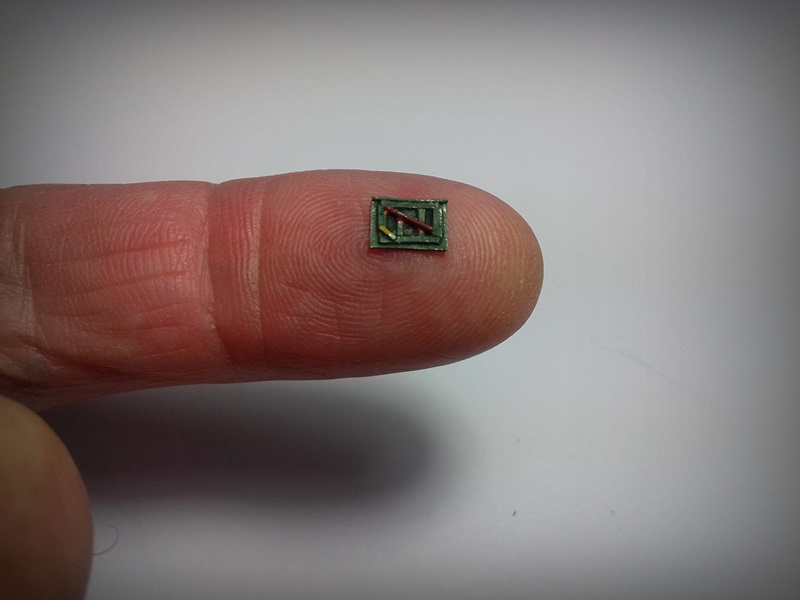
After opening the kit box I decided to first mark up the area on the front of the fuselage where the merlin will sit. After cutting away the plastic I saw I had to sand down the thickness the plastic…way down!!..else it will be way out of scale!..then I shaped out of plastic the first bulk head that sits directly behind the power plant. After adding some detail on the bulkhead …by looking at some reference photos…I took these photos.

So to the scratch building of the Merlin!
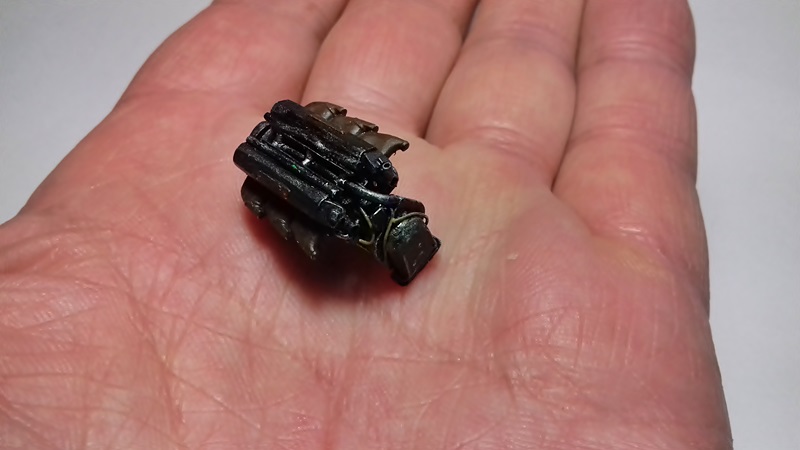
The engine block was first made from scrap plastic and being so small it seemed the my fingers were getting fatter by the minute and making the task even harder and fiddly than ever! I tried to shape it the best that I could and slowly added other parts to the engine to get it looking as near as possible to the real thing!
I started to scratch build the exhaust stacks but I wasn’t happy with them!..then I realized that I could use the kits exhausts!..silly me!
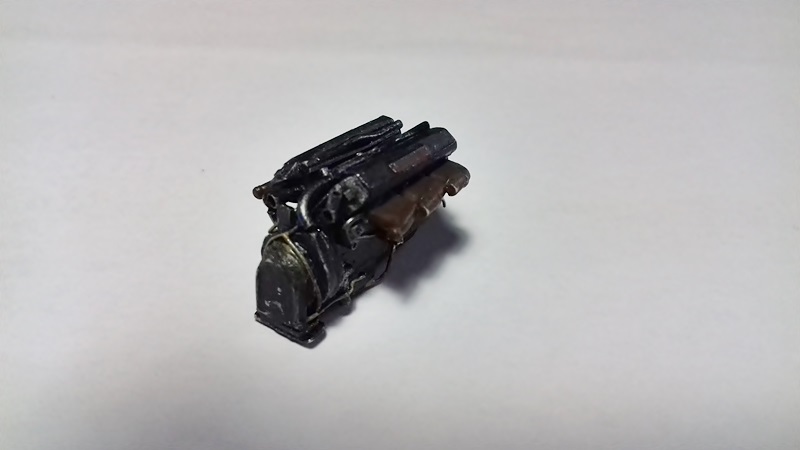
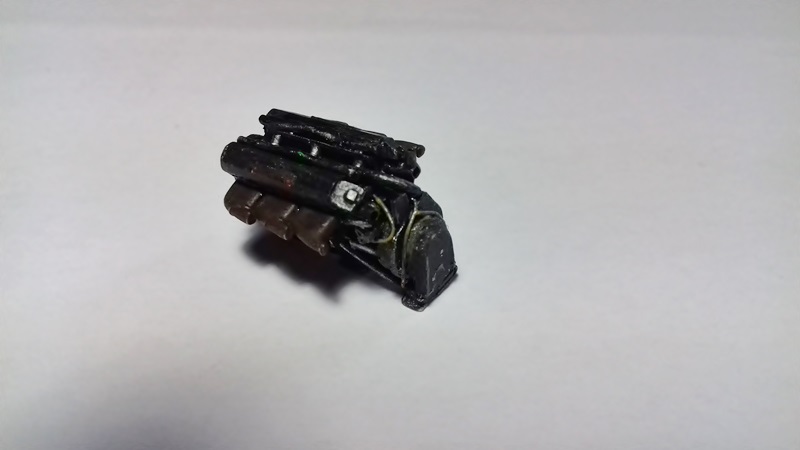
Here is the Merlin before all the piping work …after a weeks work…
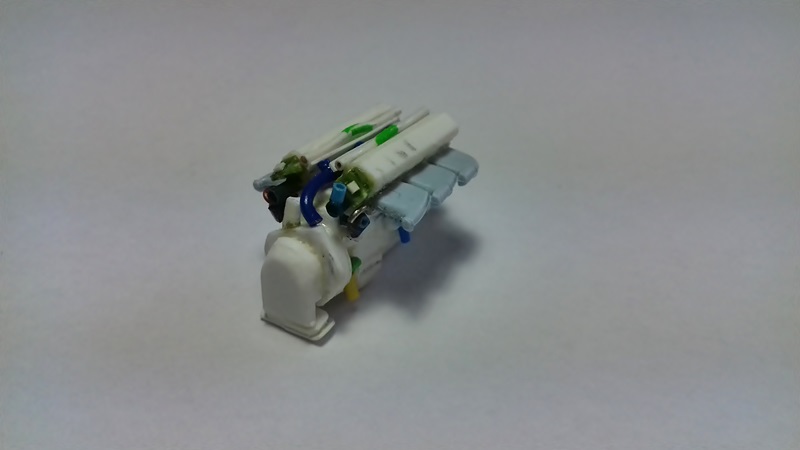


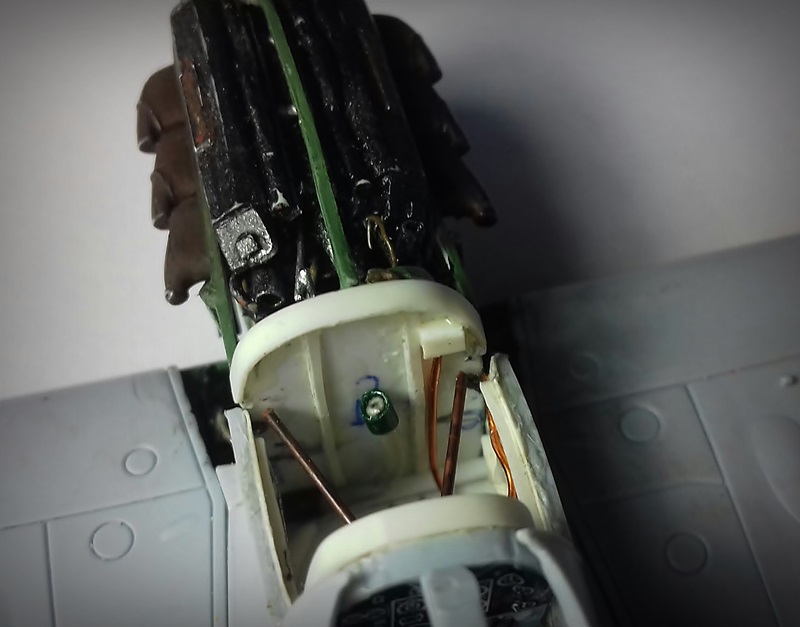
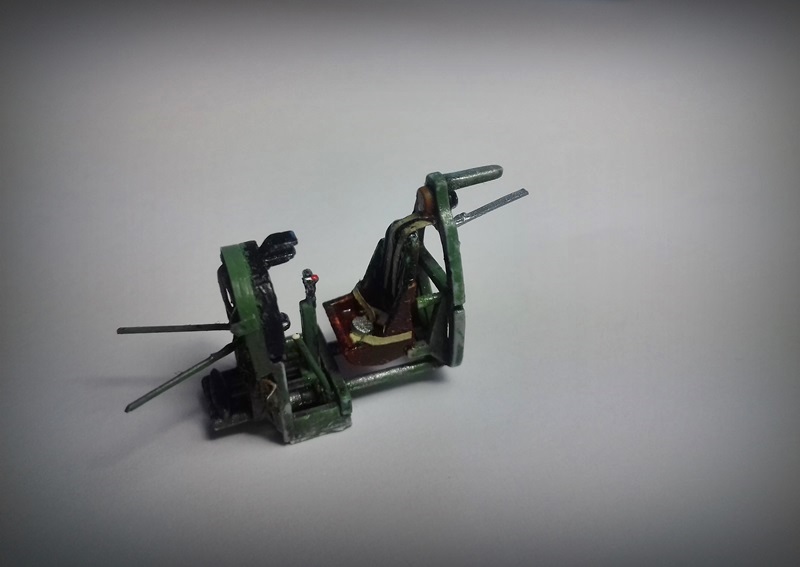
I then painted the basic colours for the Merlin…and whilst doing that , thought of how I was to make the engine frame and I decided to make the frame out of wire and build the frame around the engine when it was sat in the fuselage…here is the painted Merlin with out the frame work…

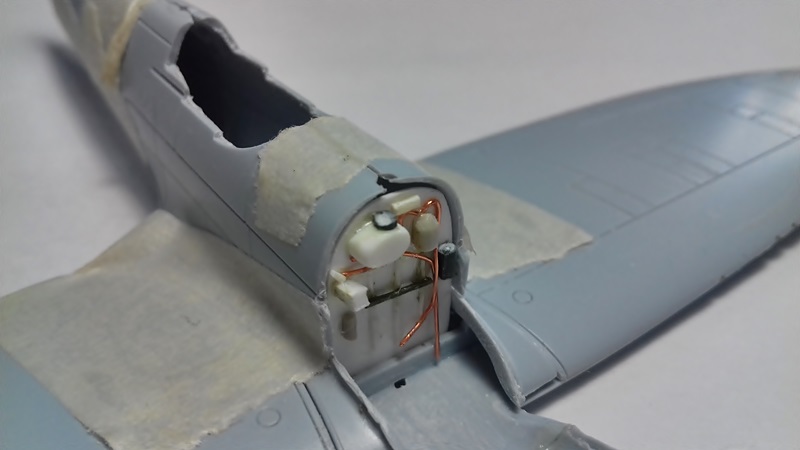
I then had a real hard time lining up the engine with the propeller disk plate that I cut out of plastic but after hours of dry fitting of the engine finally got the job done!..I then painted the area before gluing the engine in…
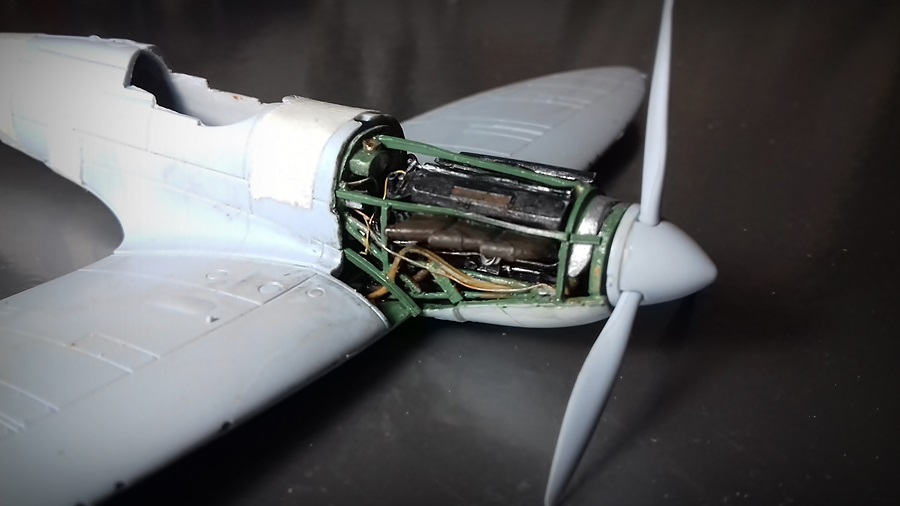
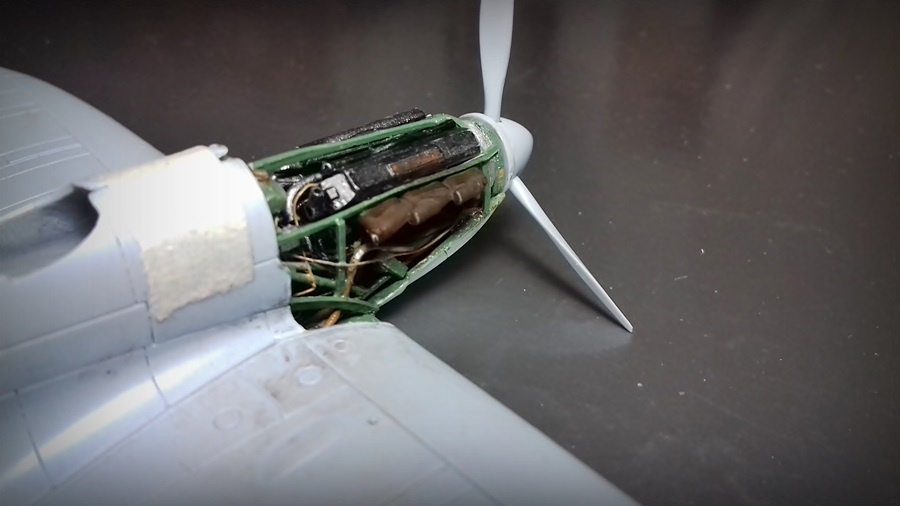
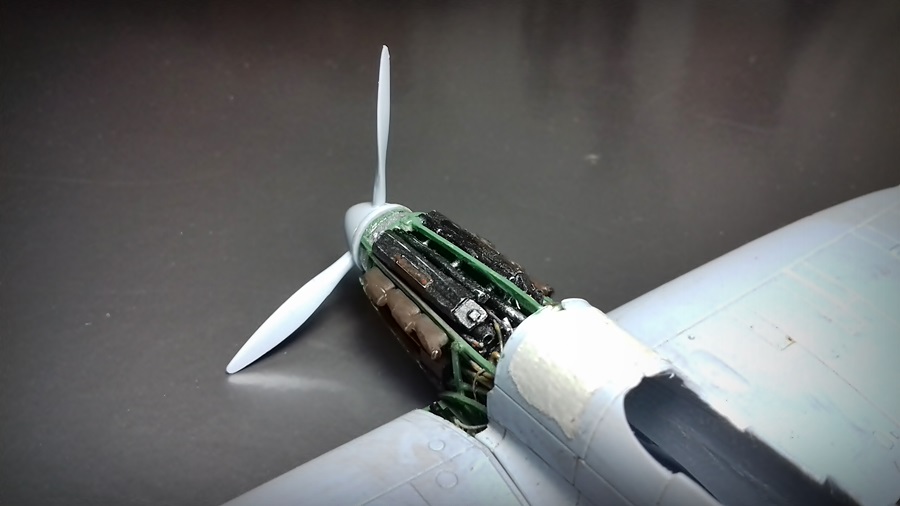
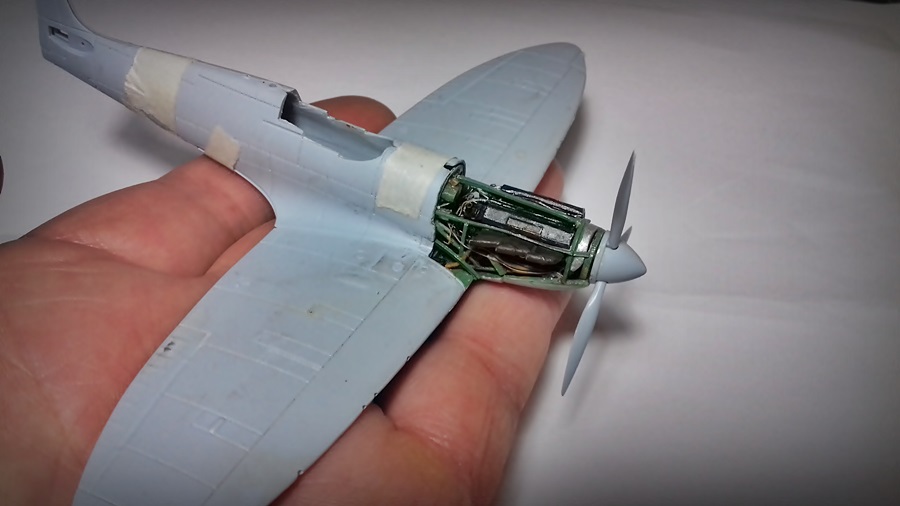
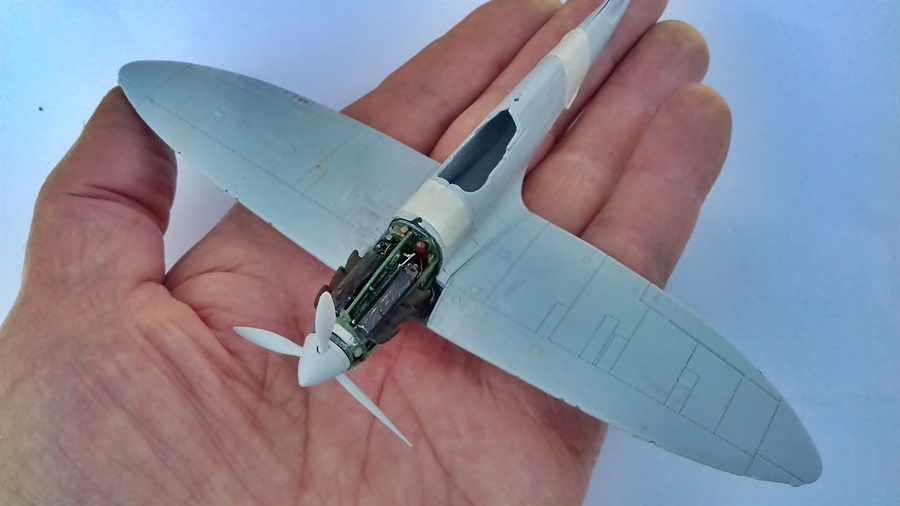
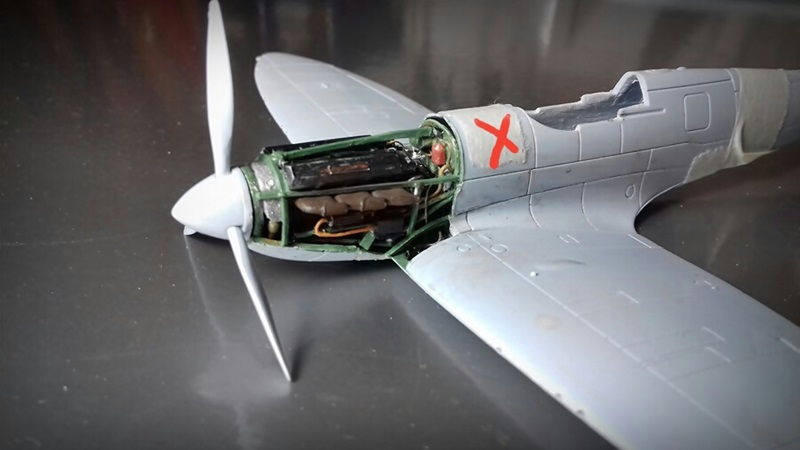
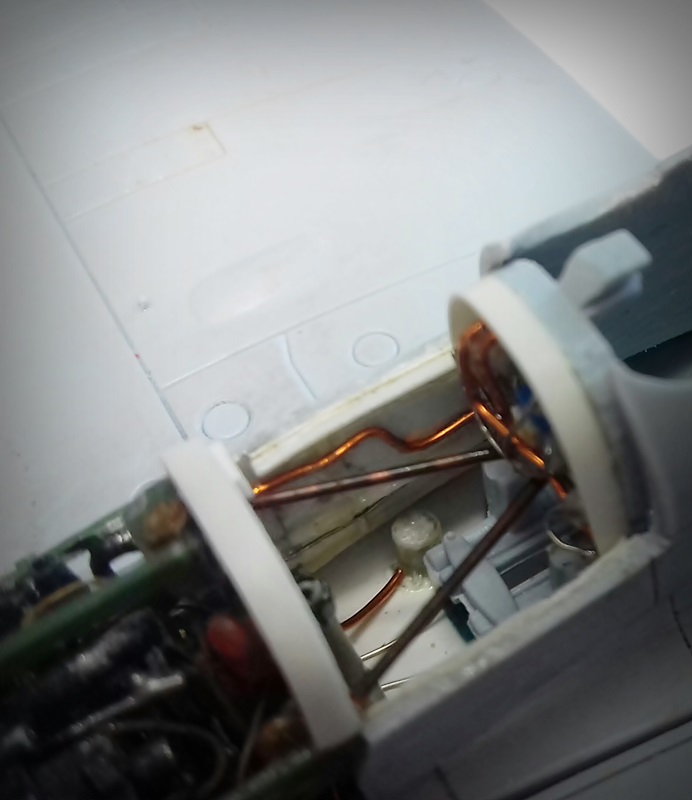
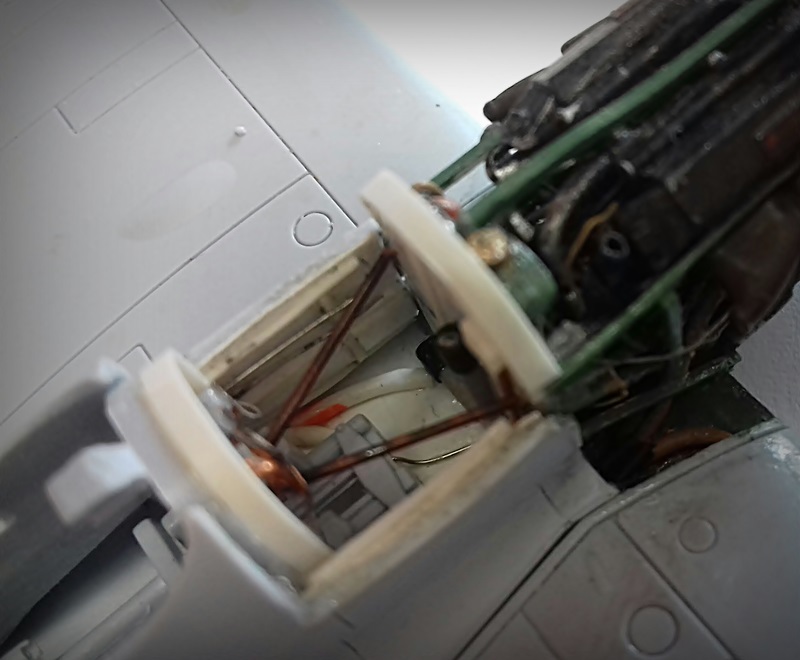
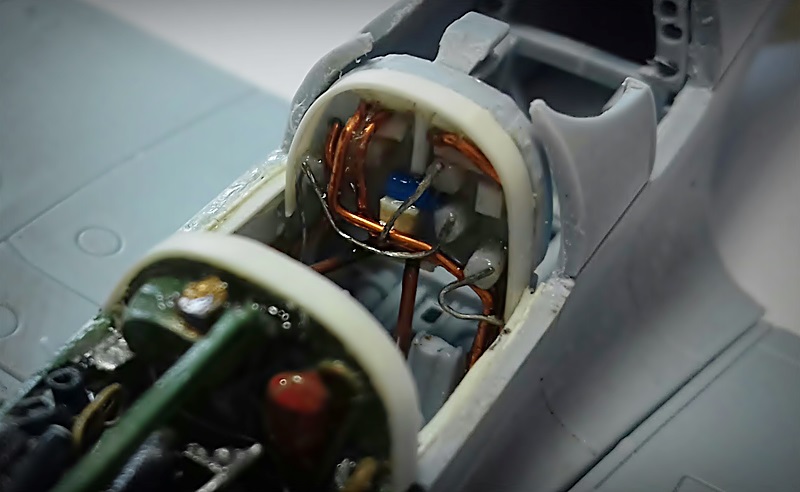
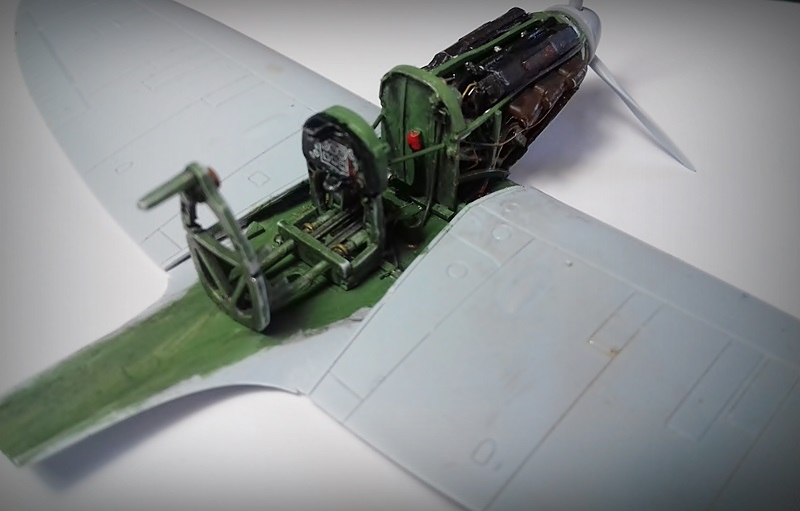
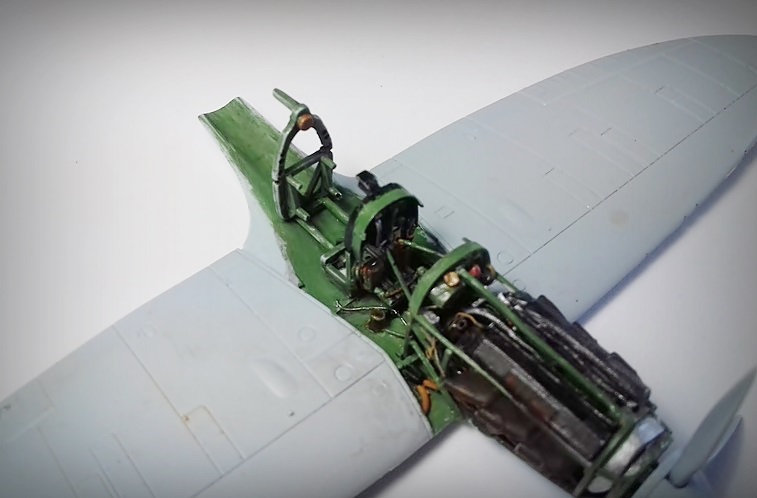
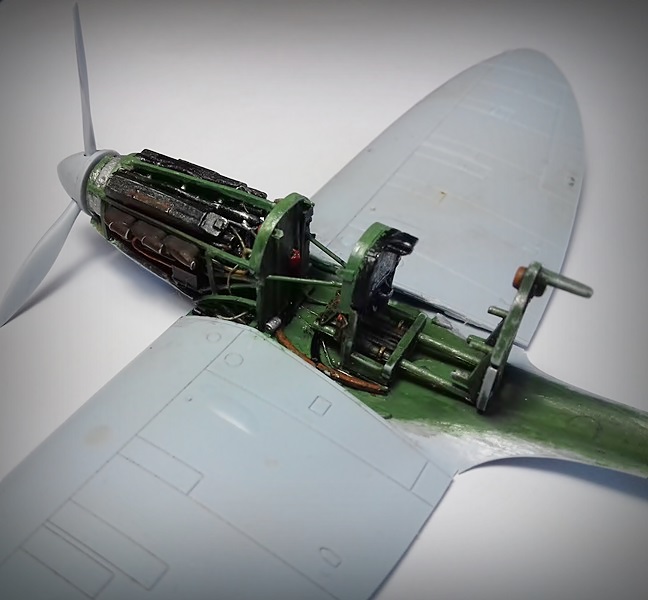
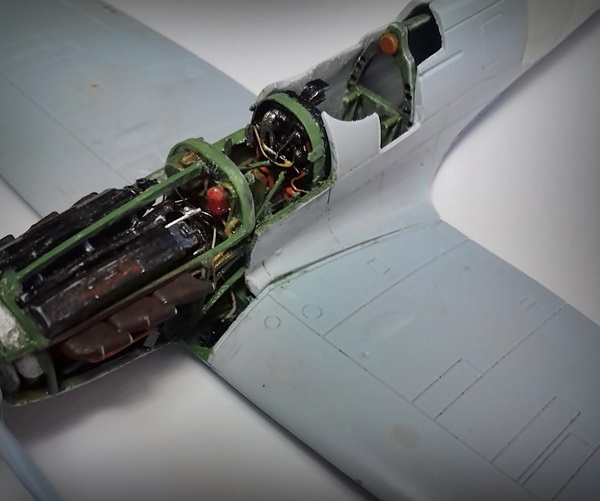
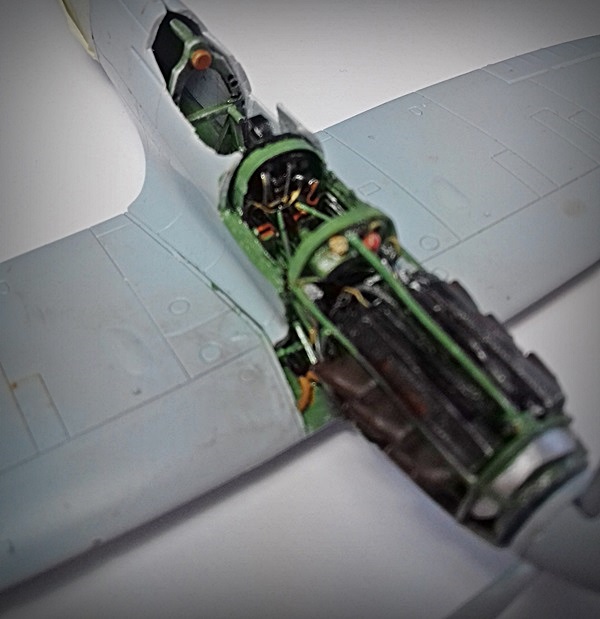
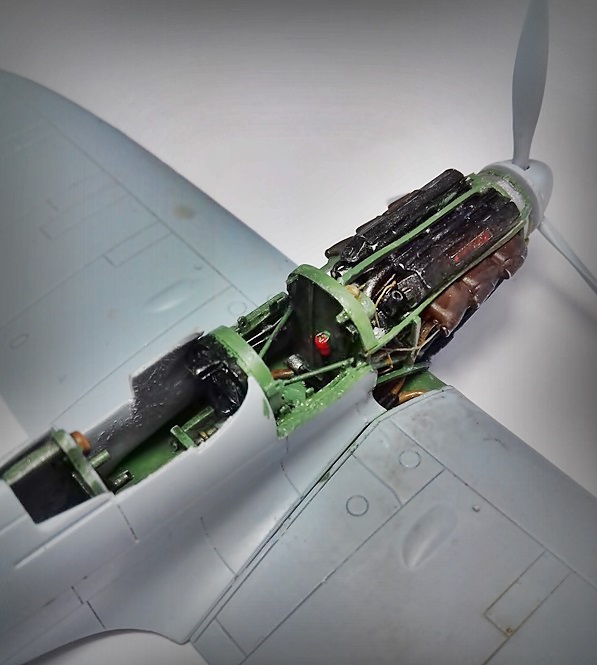
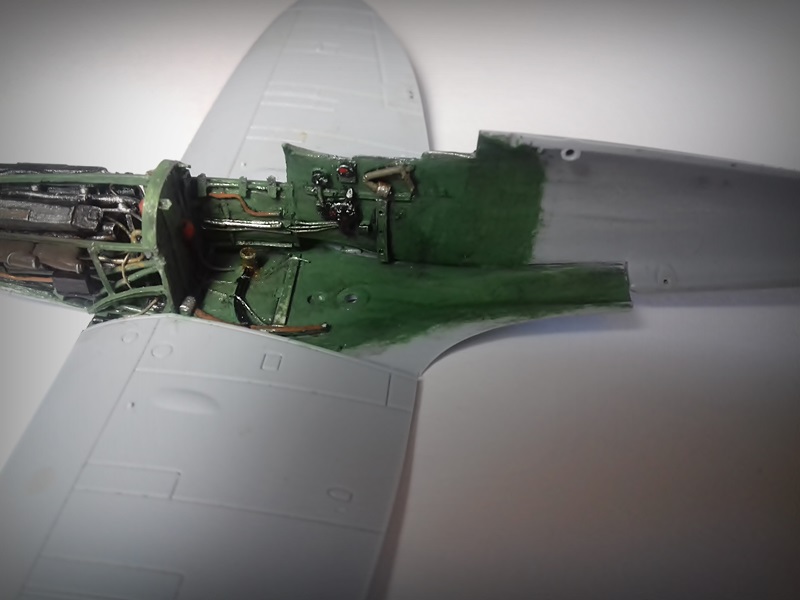
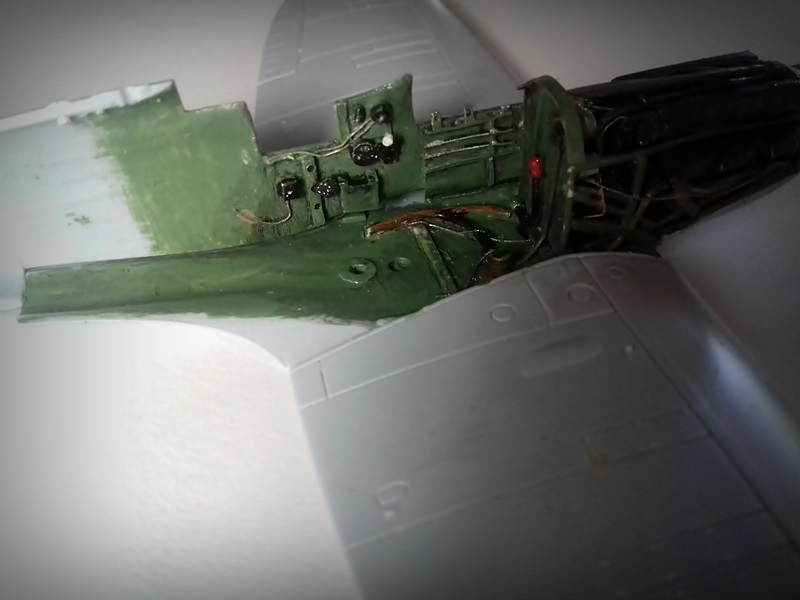
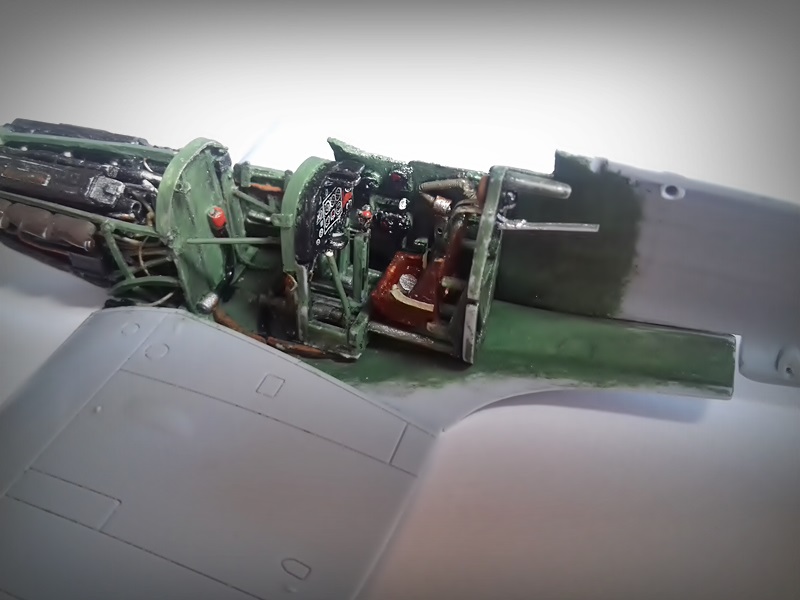
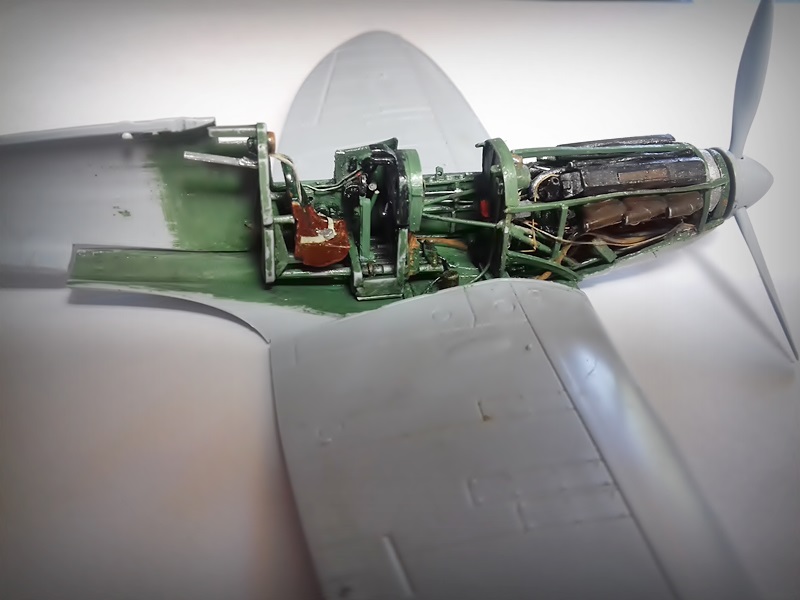
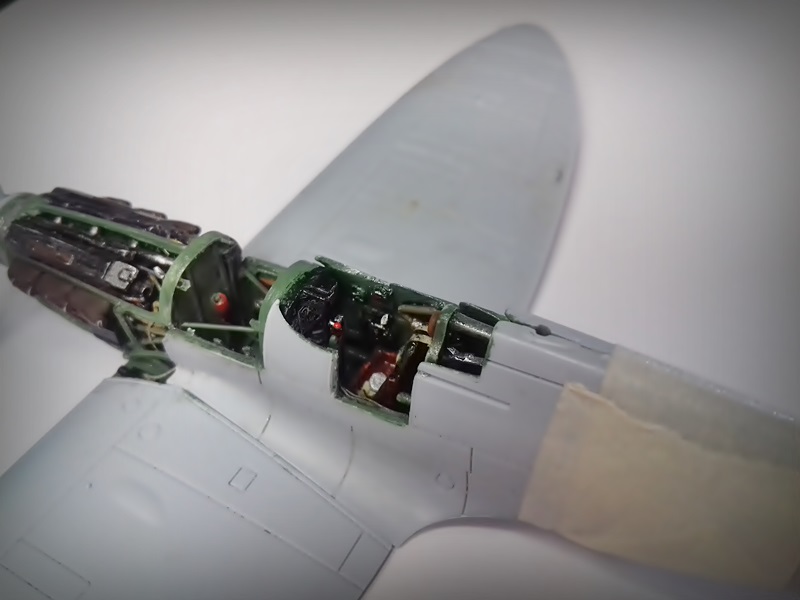
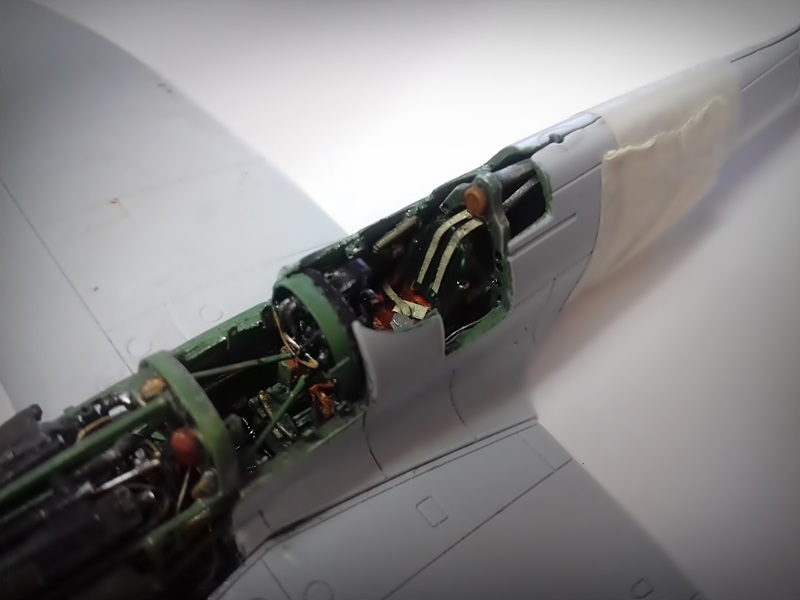
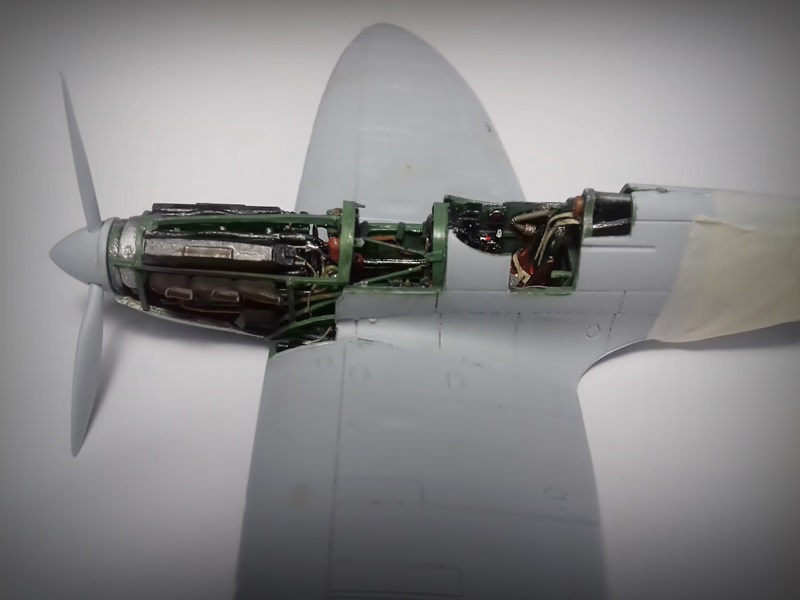
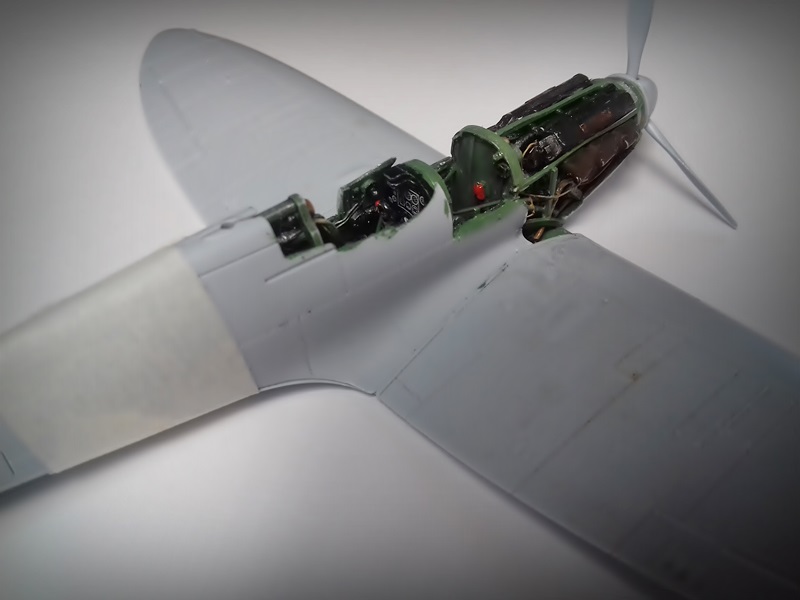
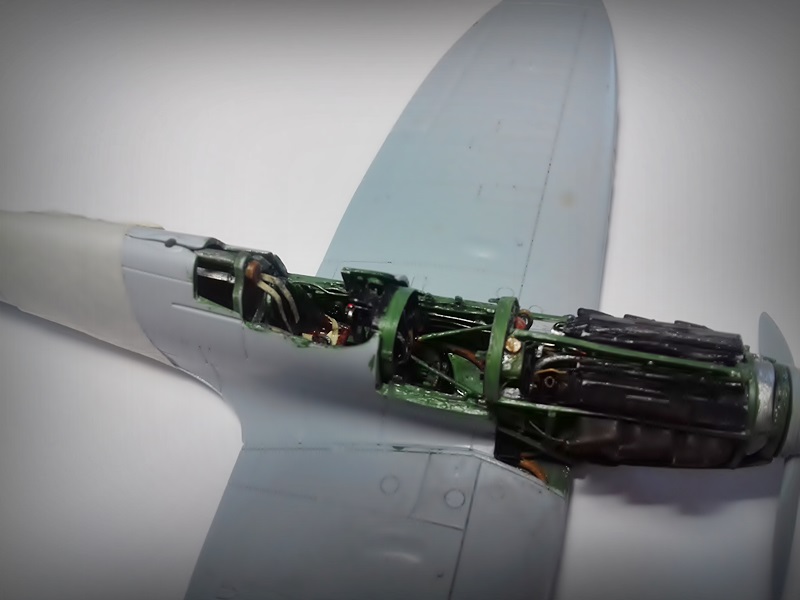
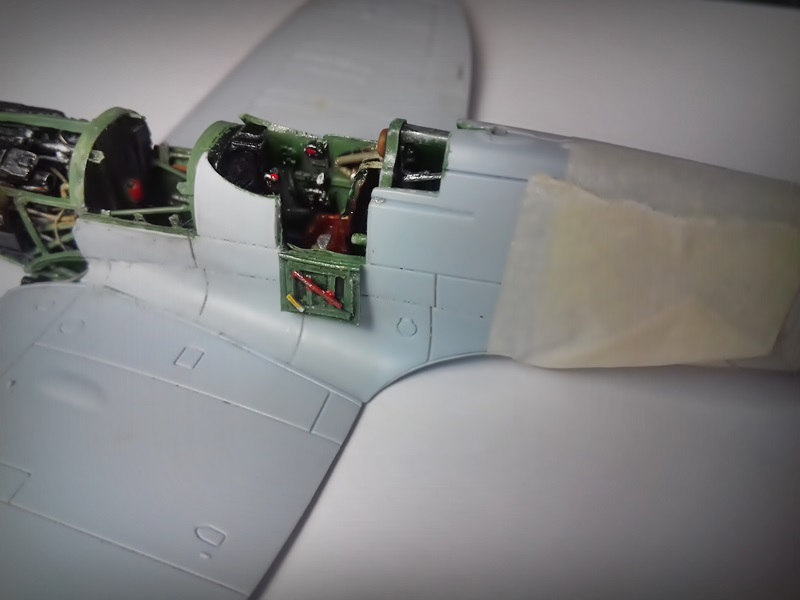
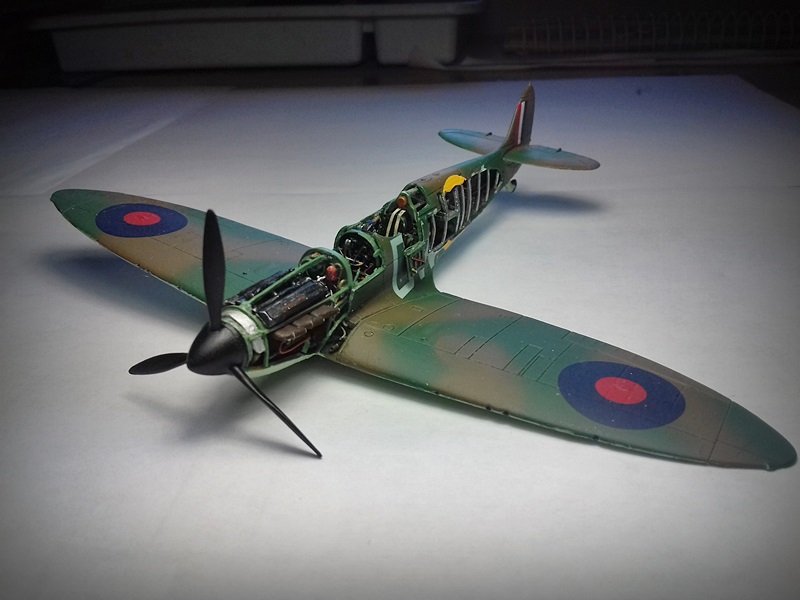
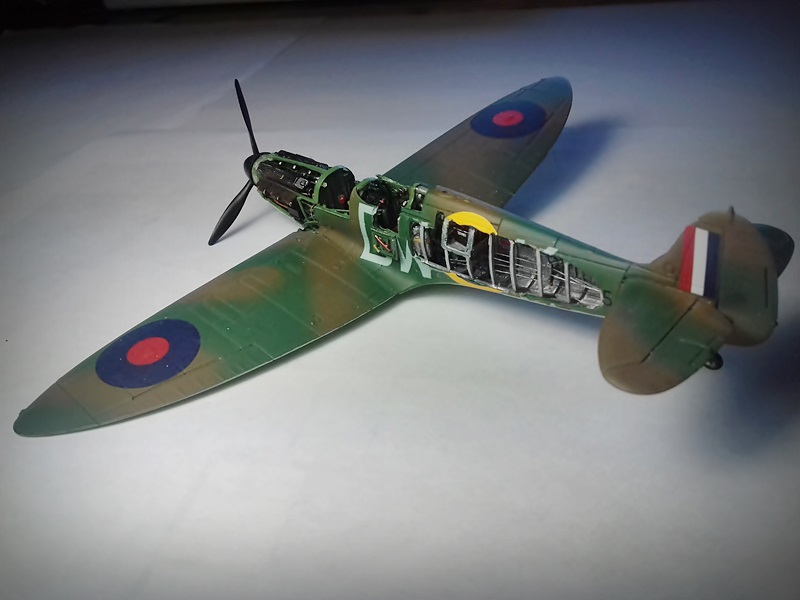
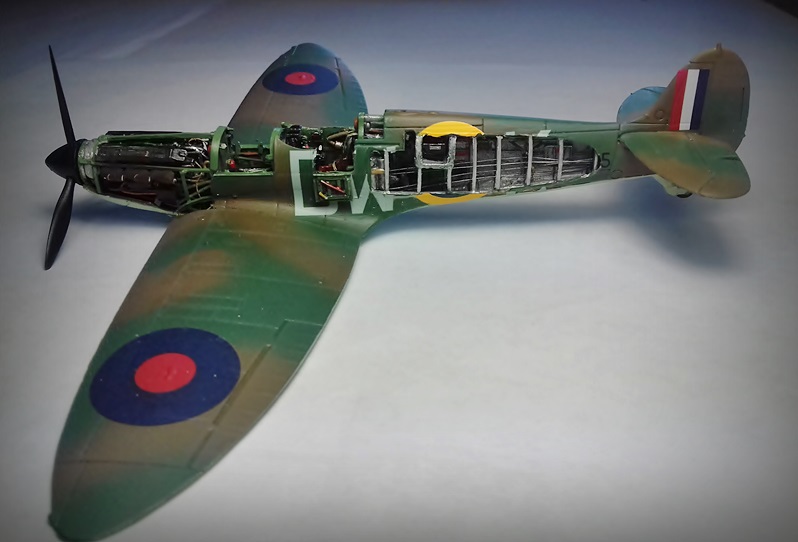
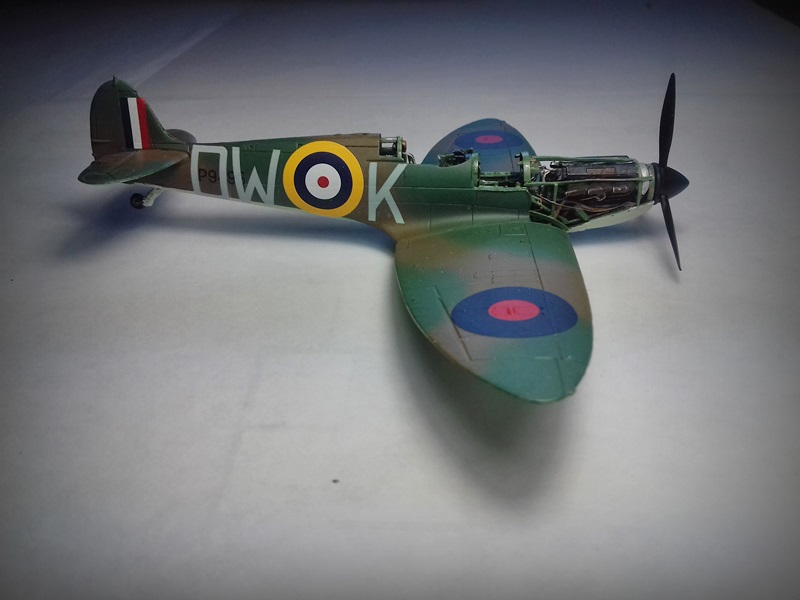
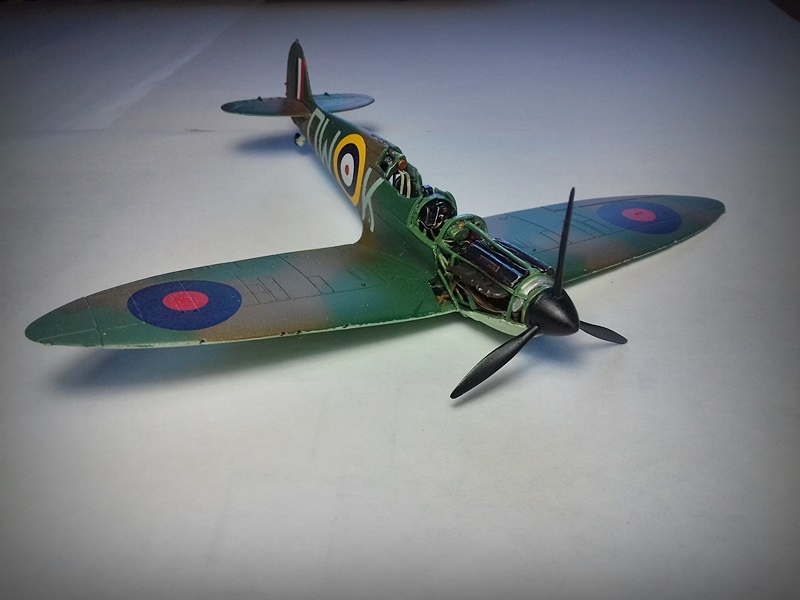
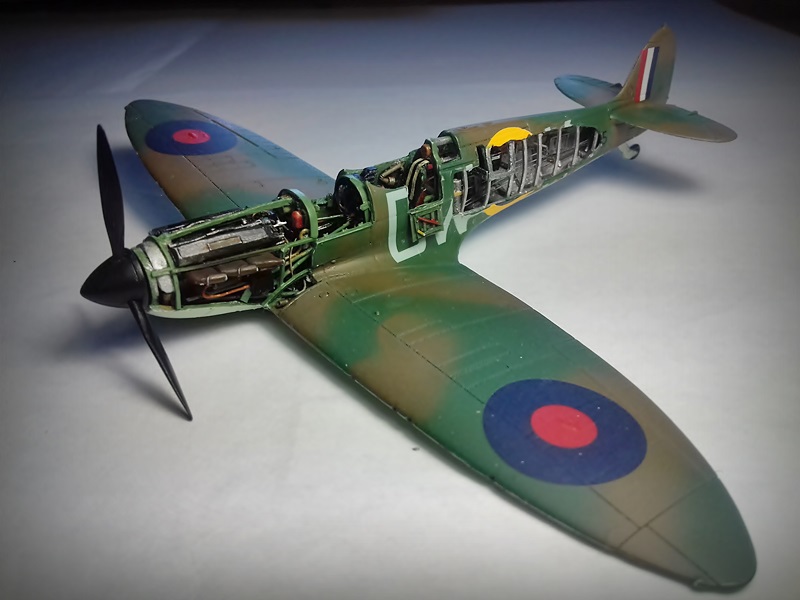
It was now time to fit the engine in place and then add all the other detail…this included the radiator at the front plus the engine frame and all the piping and wiring.
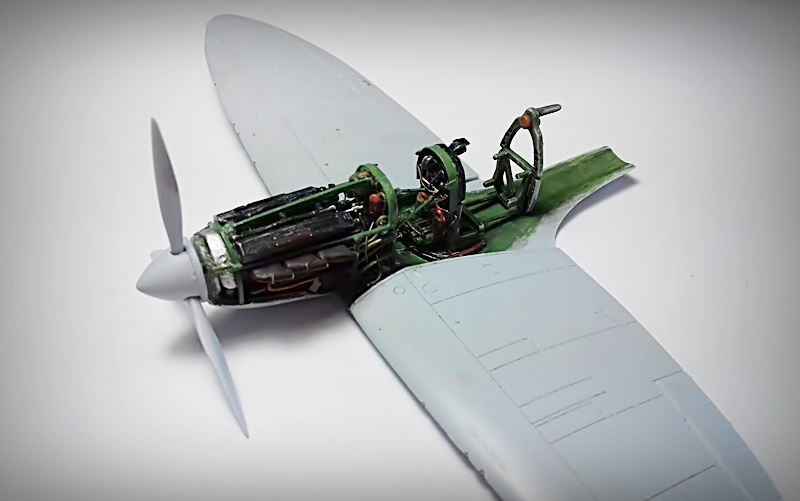
I taped the two halves together with masking tape for the purpose of taking the photos and to show the engine in place and placed the prop on for effect!..


.jpg)
.jpg)
.jpg)
.jpg)
.jpg)
.jpg)
.jpg)
.jpg)
.jpg)
.jpg)
.jpg)
.jpg)
.jpg)
.jpg)
.jpg)
.jpg)
.jpg)
.jpg)
.jpg)
.jpg)


.jpg)
.jpg)
.jpg)
.jpg)
.jpg)
.jpg)
.jpg)
.jpg)
.jpg)
.jpg)
.jpg)
.jpg)
.jpg)