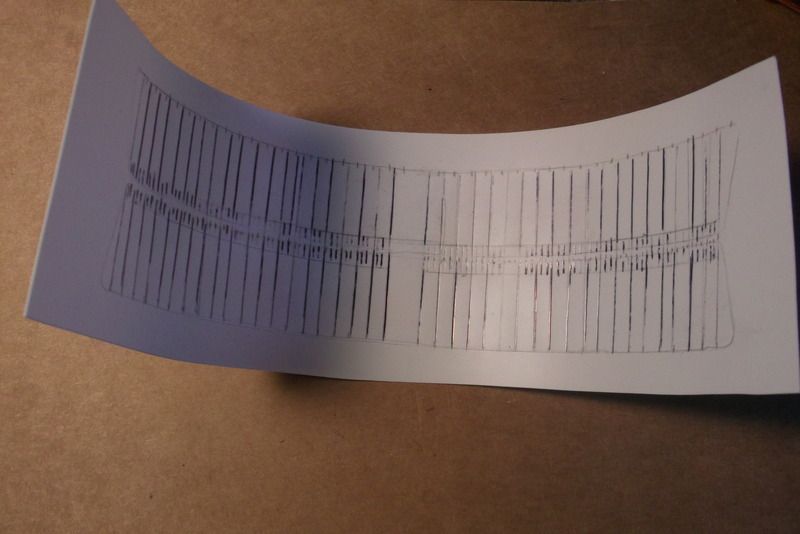
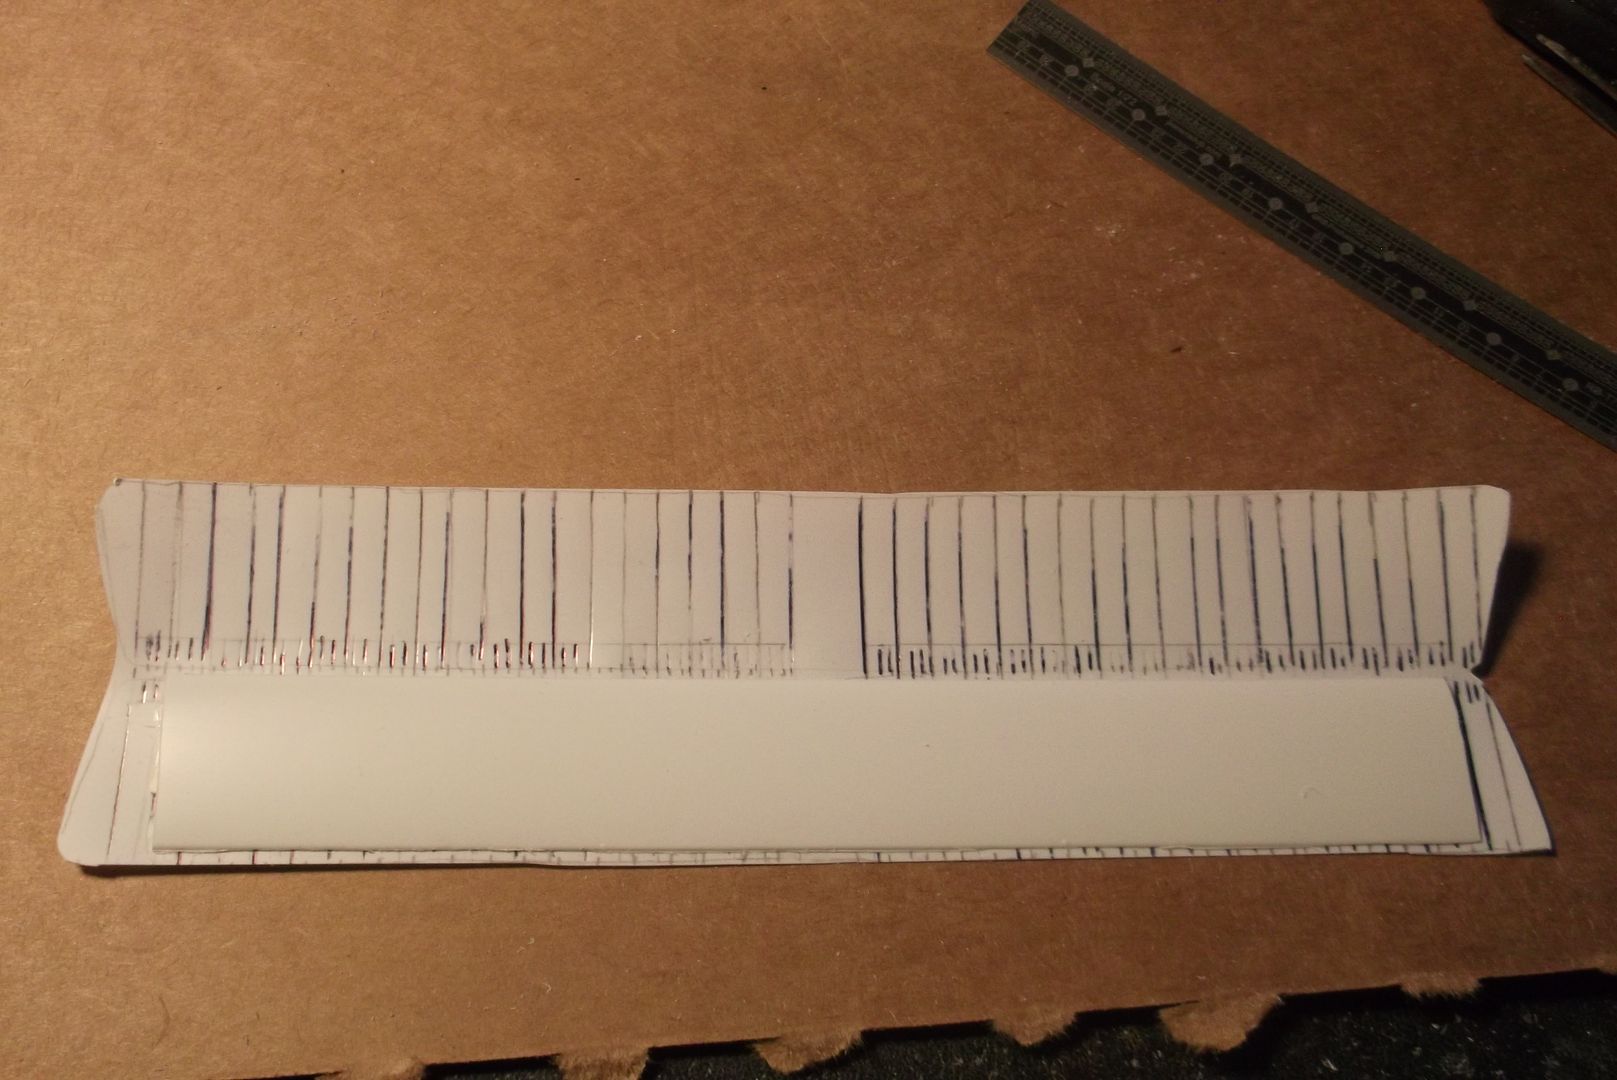
The first step for the lower wing was to scribe the rib lines and the little riblets along the leading edge - two riblets between each rib. This of course made the thin plastic skin curl up.
A long time ago Rosemont Hobbies sold vacuform kits. They also made a set of wing stock for making your own wings. I bought four sets, and have hardly used them in two decades. They would make a very strong base for the wings.

The bad news is that they are made for World War One aeroplanes, which mostly have undercut bottoms on the wings, whereas the Boeing has more modern flat bottoms. I cut a long, narrow strip of thick plastic and glued it into the underside of the wing brace.
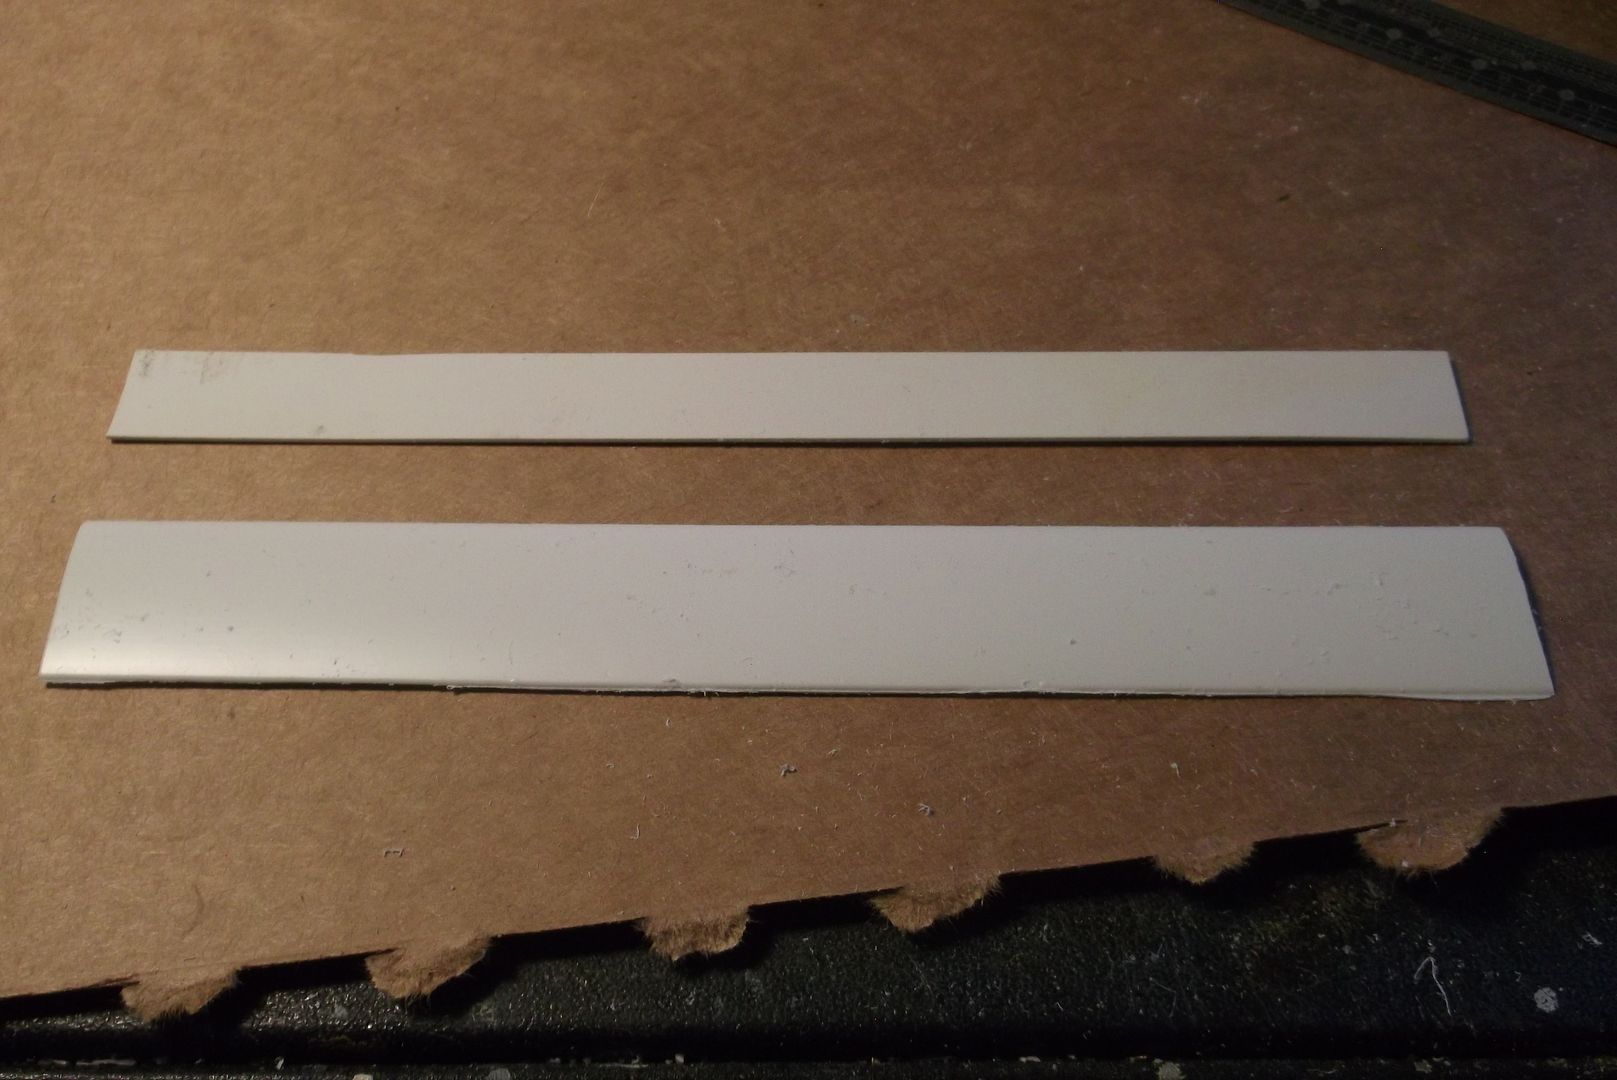
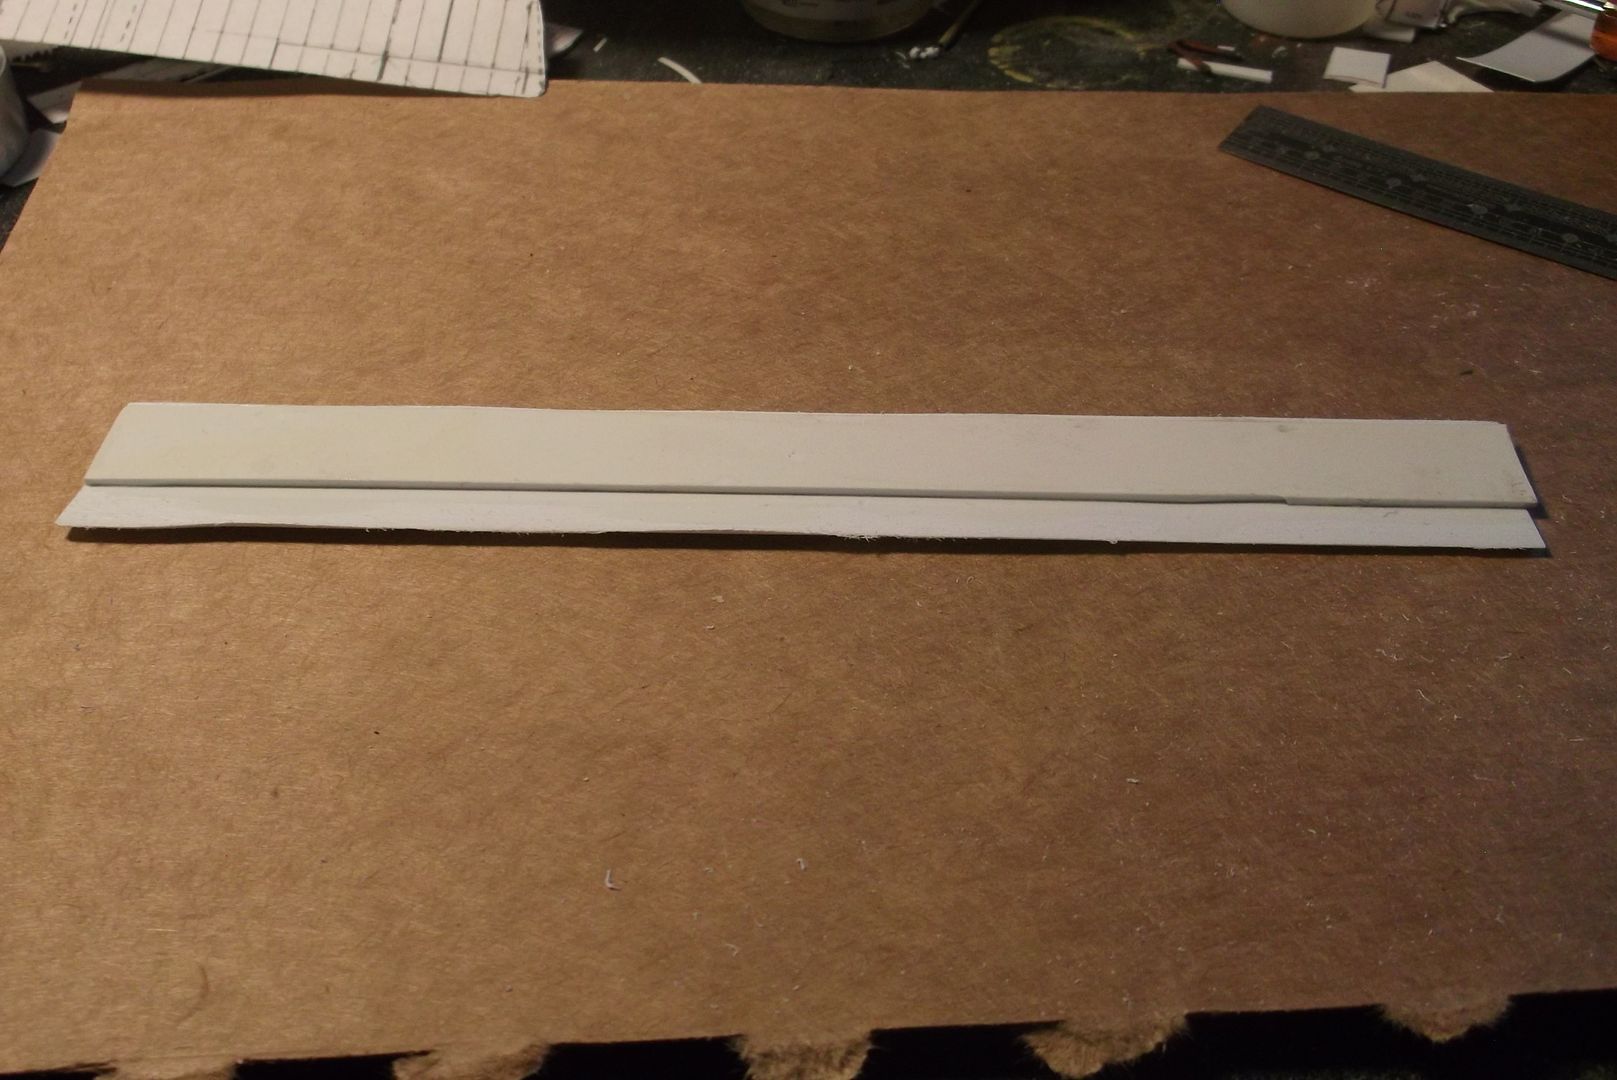
The brace was then glued to the bottom half of the wing. A trail of glue softened the leading edge for easier bending, and the top was folded over and glued to the upper side of the brace.
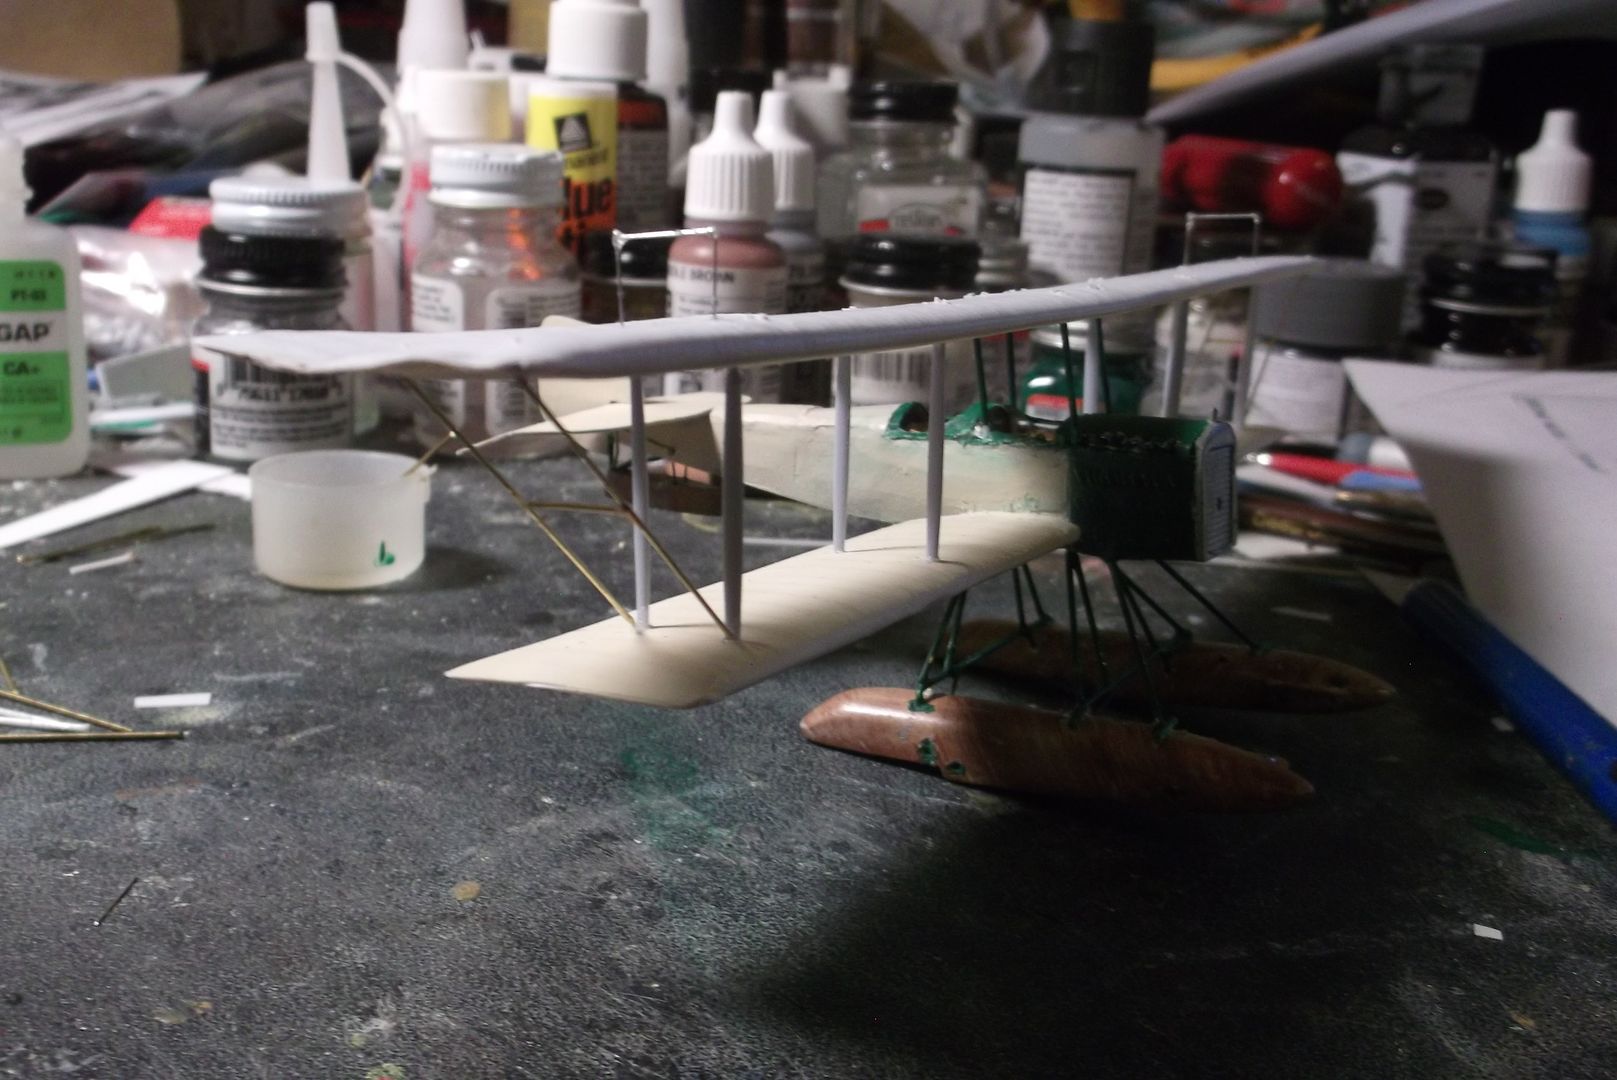
I saw three options for mounting the wing, as it sits a little above the fuselage bottom. One was to separate the wing, use brass wire through holes drilled in the fuselage and glue the wing halves to the wire. Second was to cut the wing right down the middle, make the proper shaped holes in the body and slide them in that way. I chose the third option, which was to cut away the whole lower fuselage where the wing would mount, leaving the wing in one piece. The forward cutout goes around the forward bulkhead, leaving it intact. The aft cutout is there because that’s how it was on the real plane.
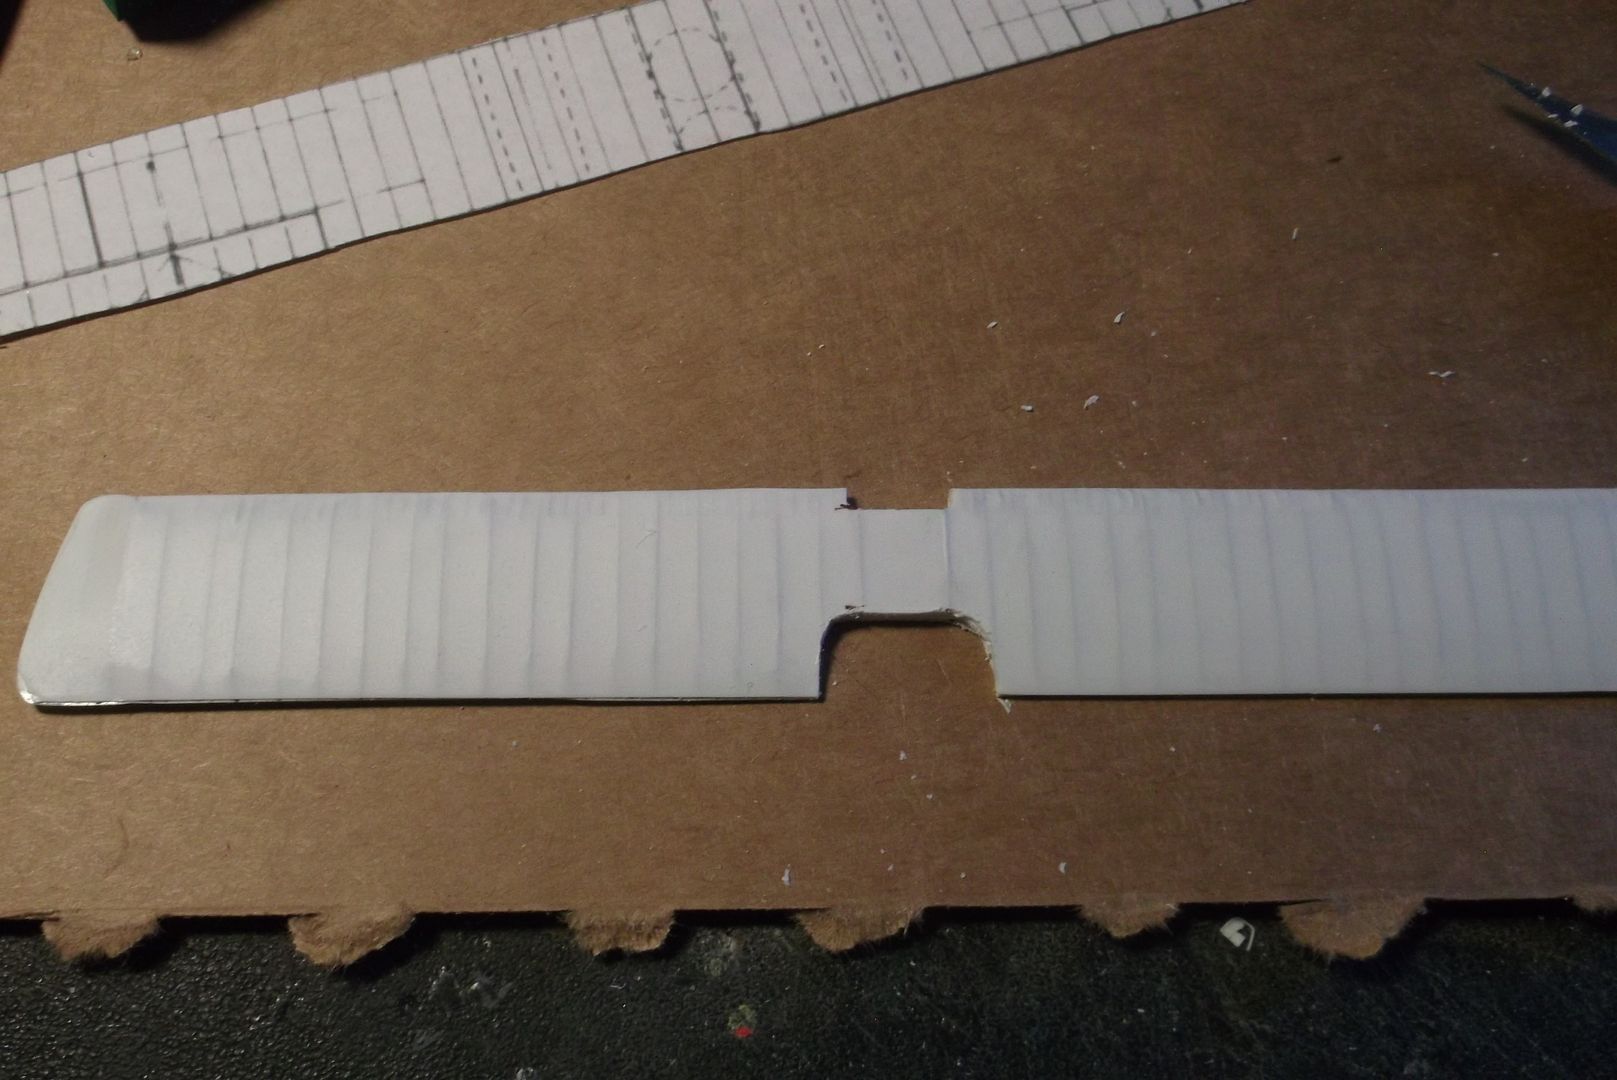
Lower wing in place. I still have to re-skin the fuselage under the wing and add dihedral.
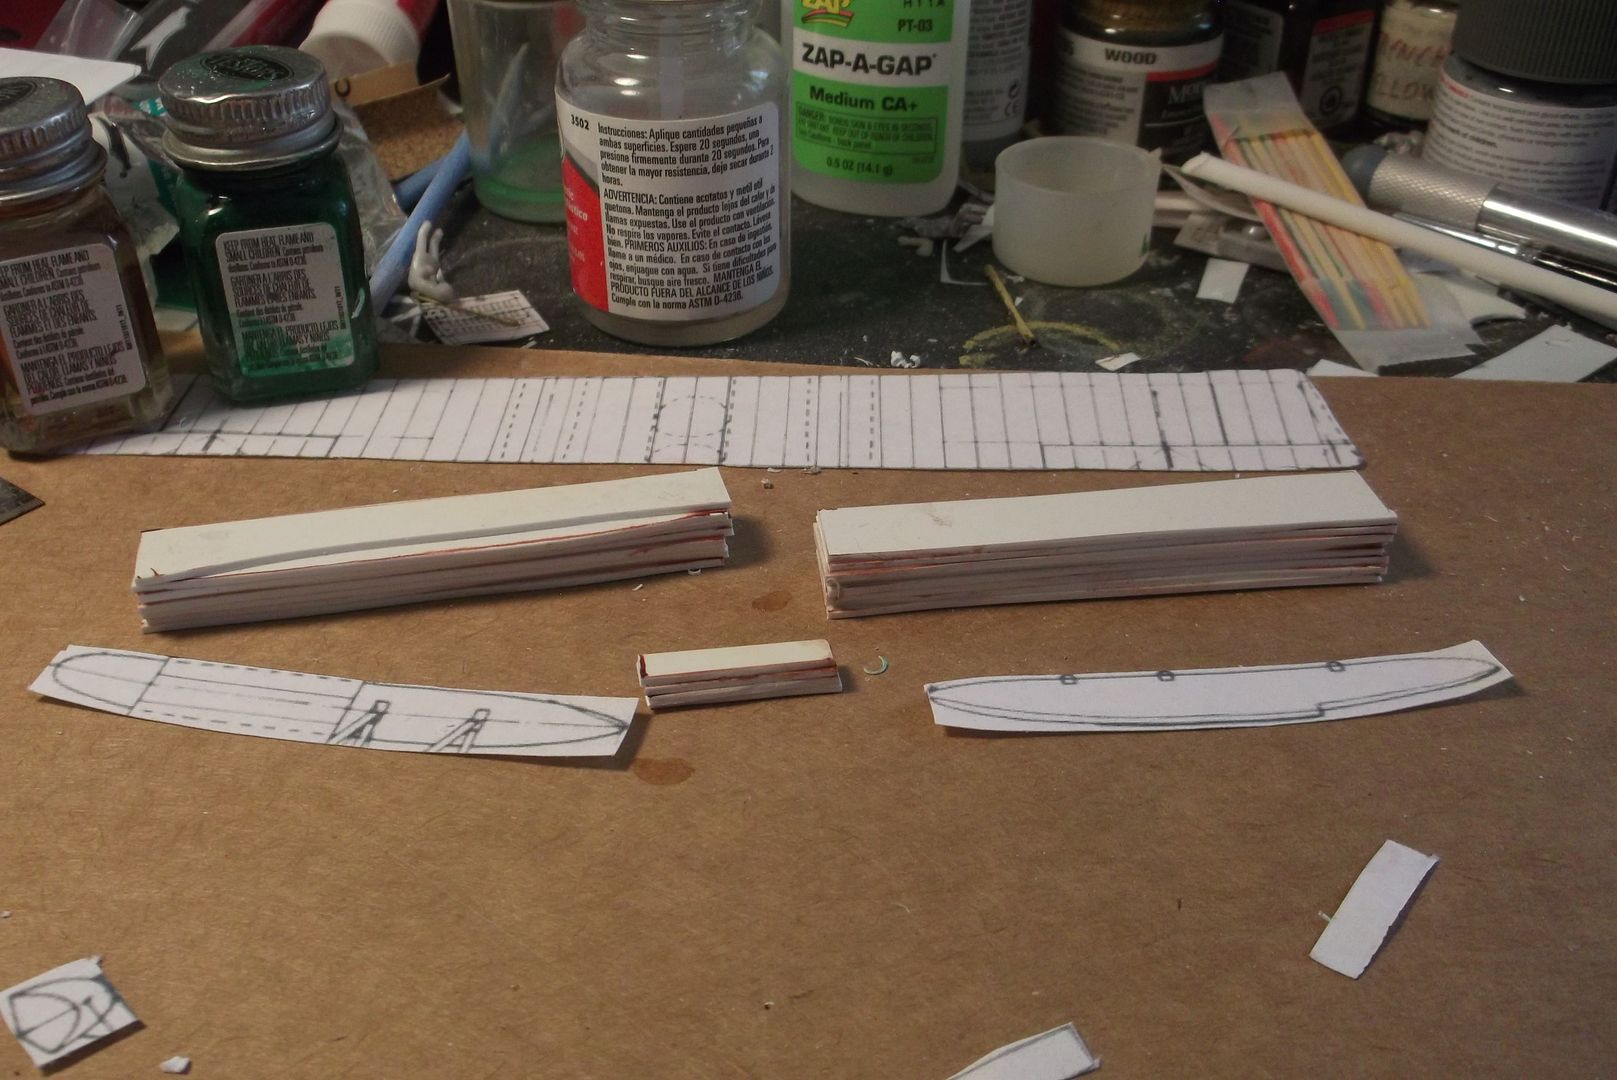
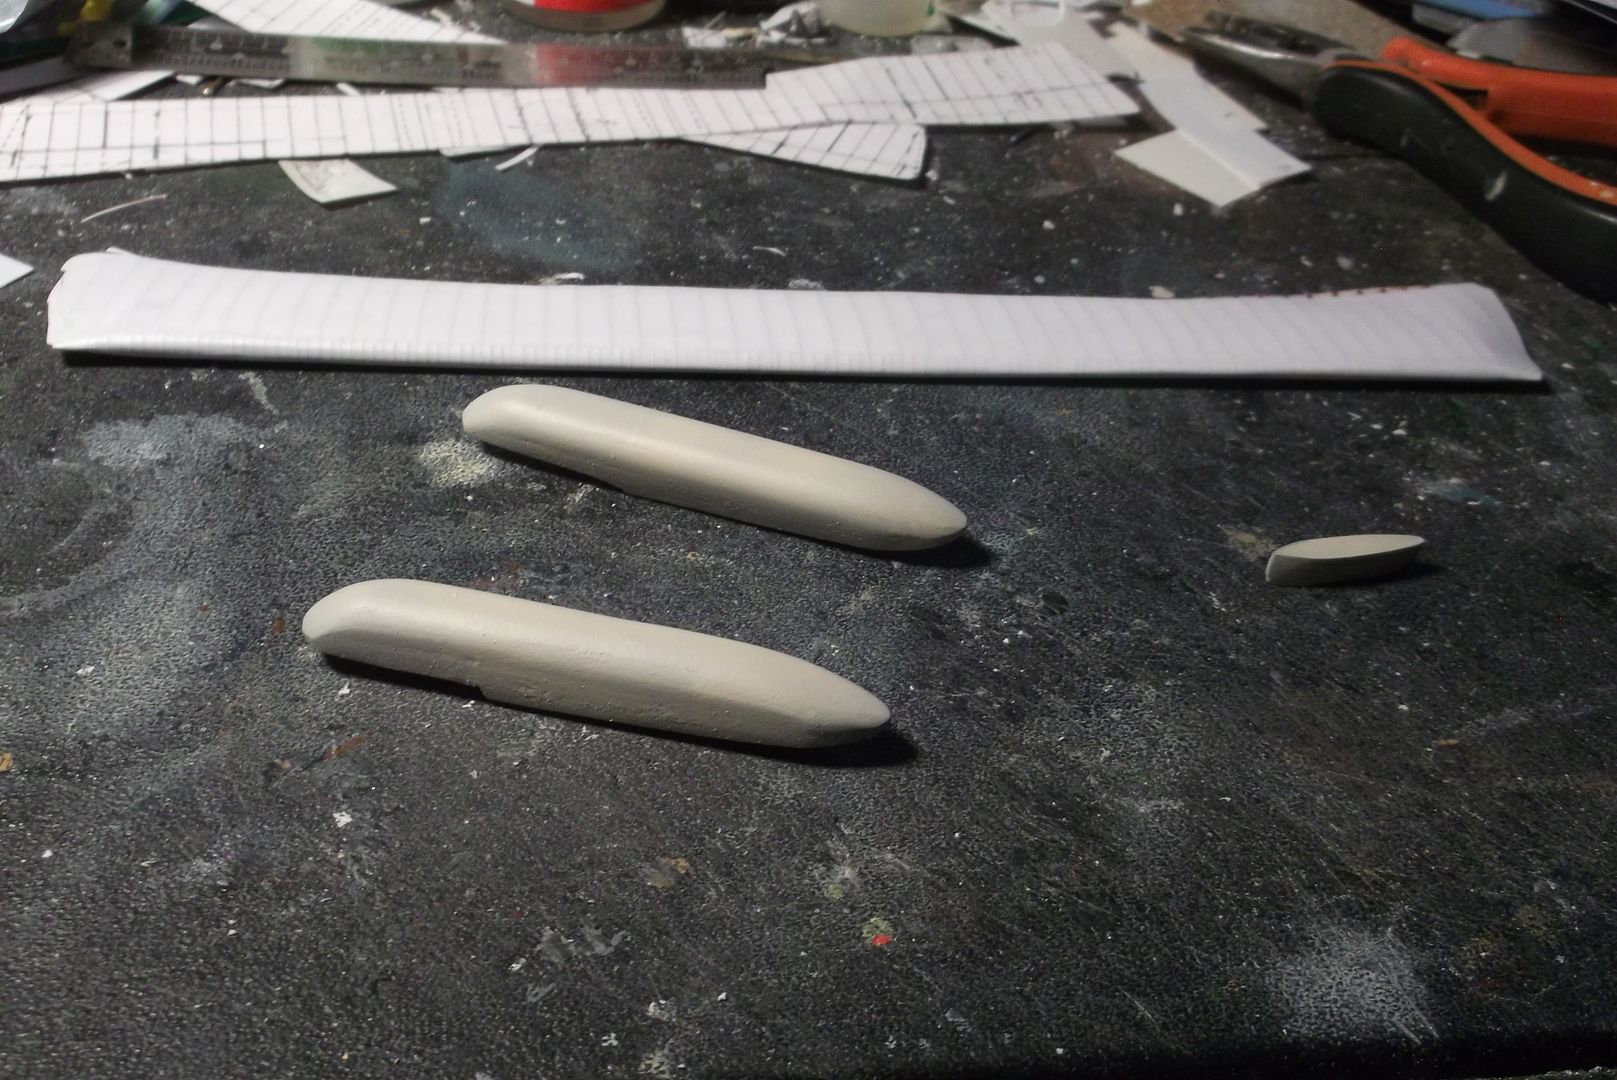
Started the floats yesterday. I had some styrofoam packaging material, but soon found that I lack the skills to shape it properly. I ended up laminating several layers of thick plastic together.
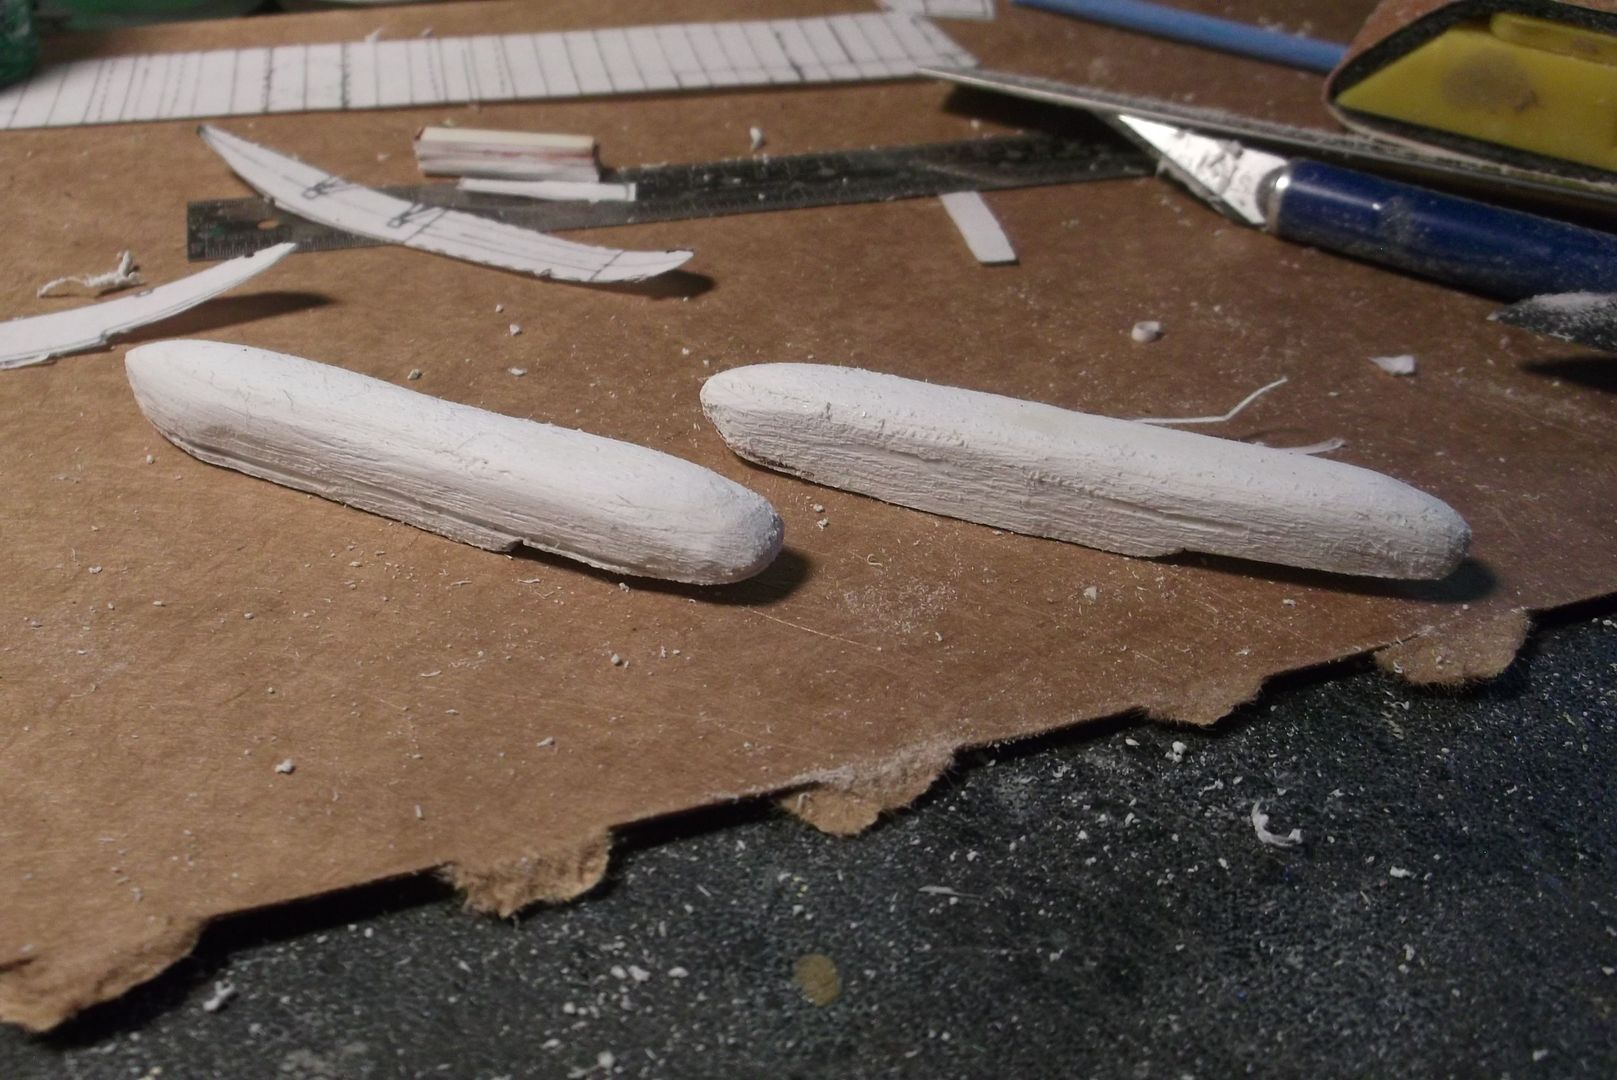
After letting it dry overnight I spent several hours today with my Dremel tool and a sanding/grinding attachment, and a couple more with a sanding block. At least they’re starting to take on the proper shape.
Looks good, Steve! Sorry I missed the beginning, else I might have offered a bit on the louvers… essentially, you make two properly spaced ‘die’ cavities so once you make the first one, you then key it over into the next die, placing the sheet for the next one to be punched. The ‘die’ also has a slot past the paired cavities so as the louver row advances, you can keep piece flat without ‘squishing’ the already made louvers.
Do the louver rows in strips then assemble 'em into the three row array allows for fine adjustments.
There is also a method for making them by vacuforming over a buck made up of embedded parallel wires (think a row of staples on a board… only you drill two rows of aligned holes and thread the wire between…) then cutting the ‘slits’ open, but this method is probably best at scales larger than 1/72. The punch & die method is perhaps best for this situation.
Regards, Robert
That’s brilliant! I’ll keep it in mind if there’s a next time. What I ended up with isn’t perfect, but I think it’ll do considering the scale. Thanks for the advice.
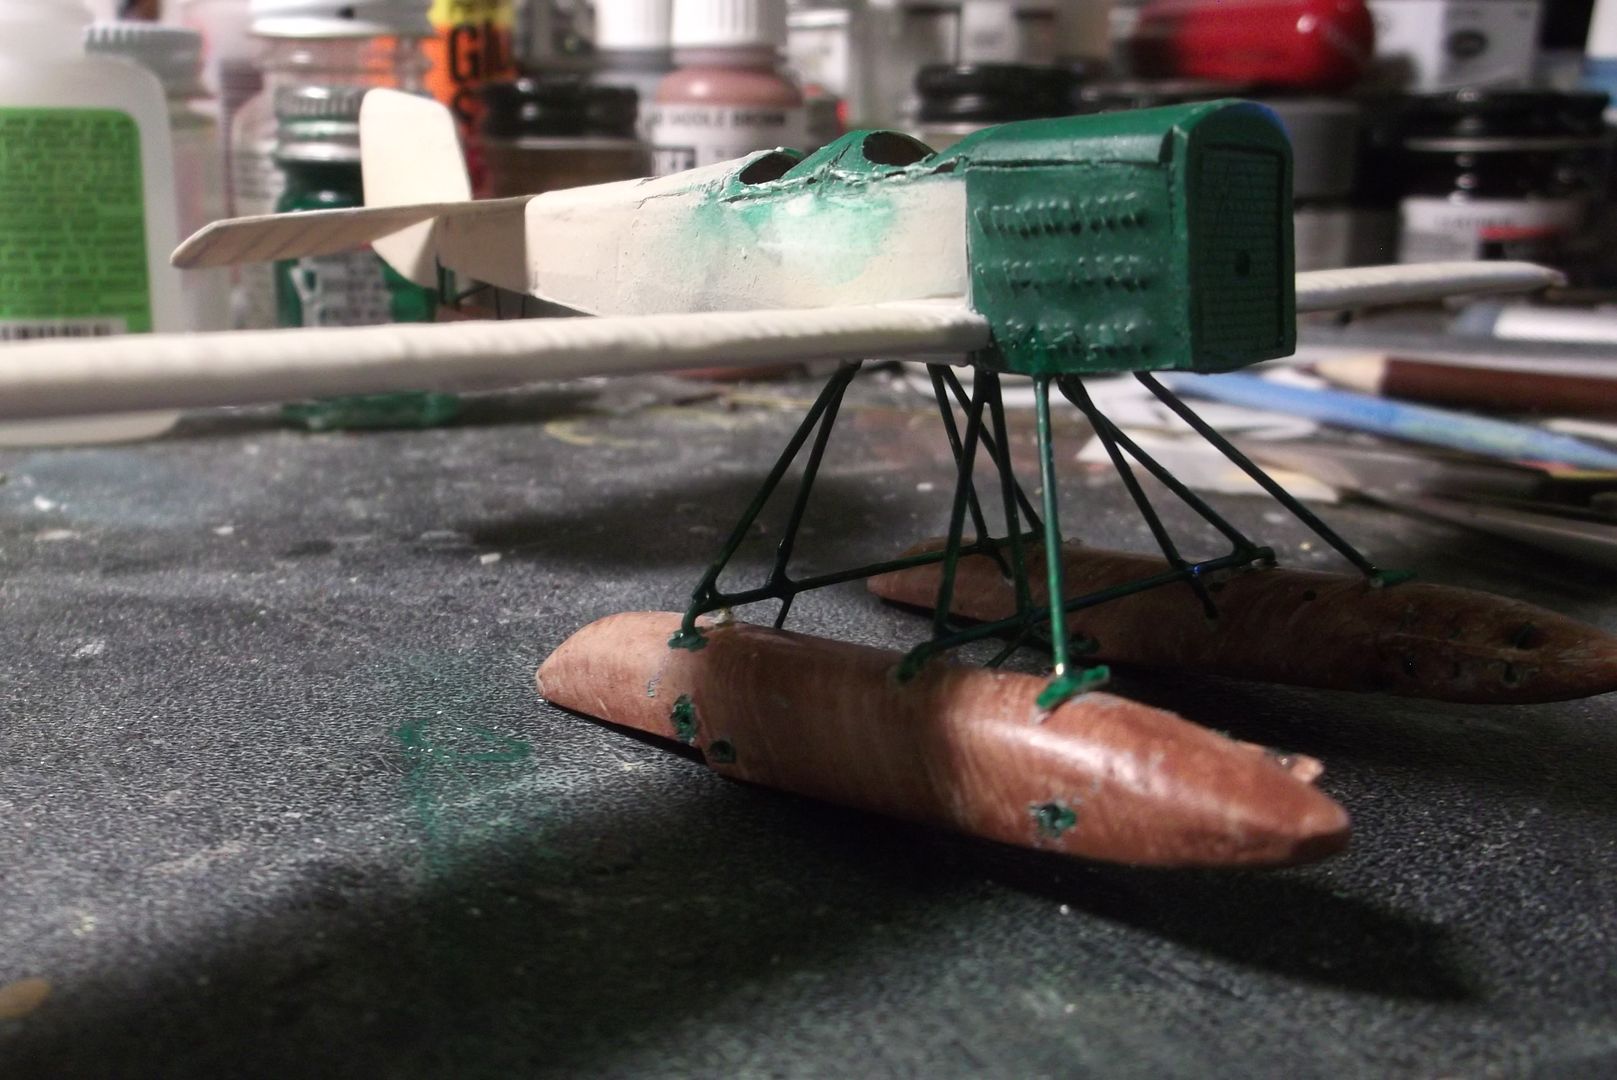
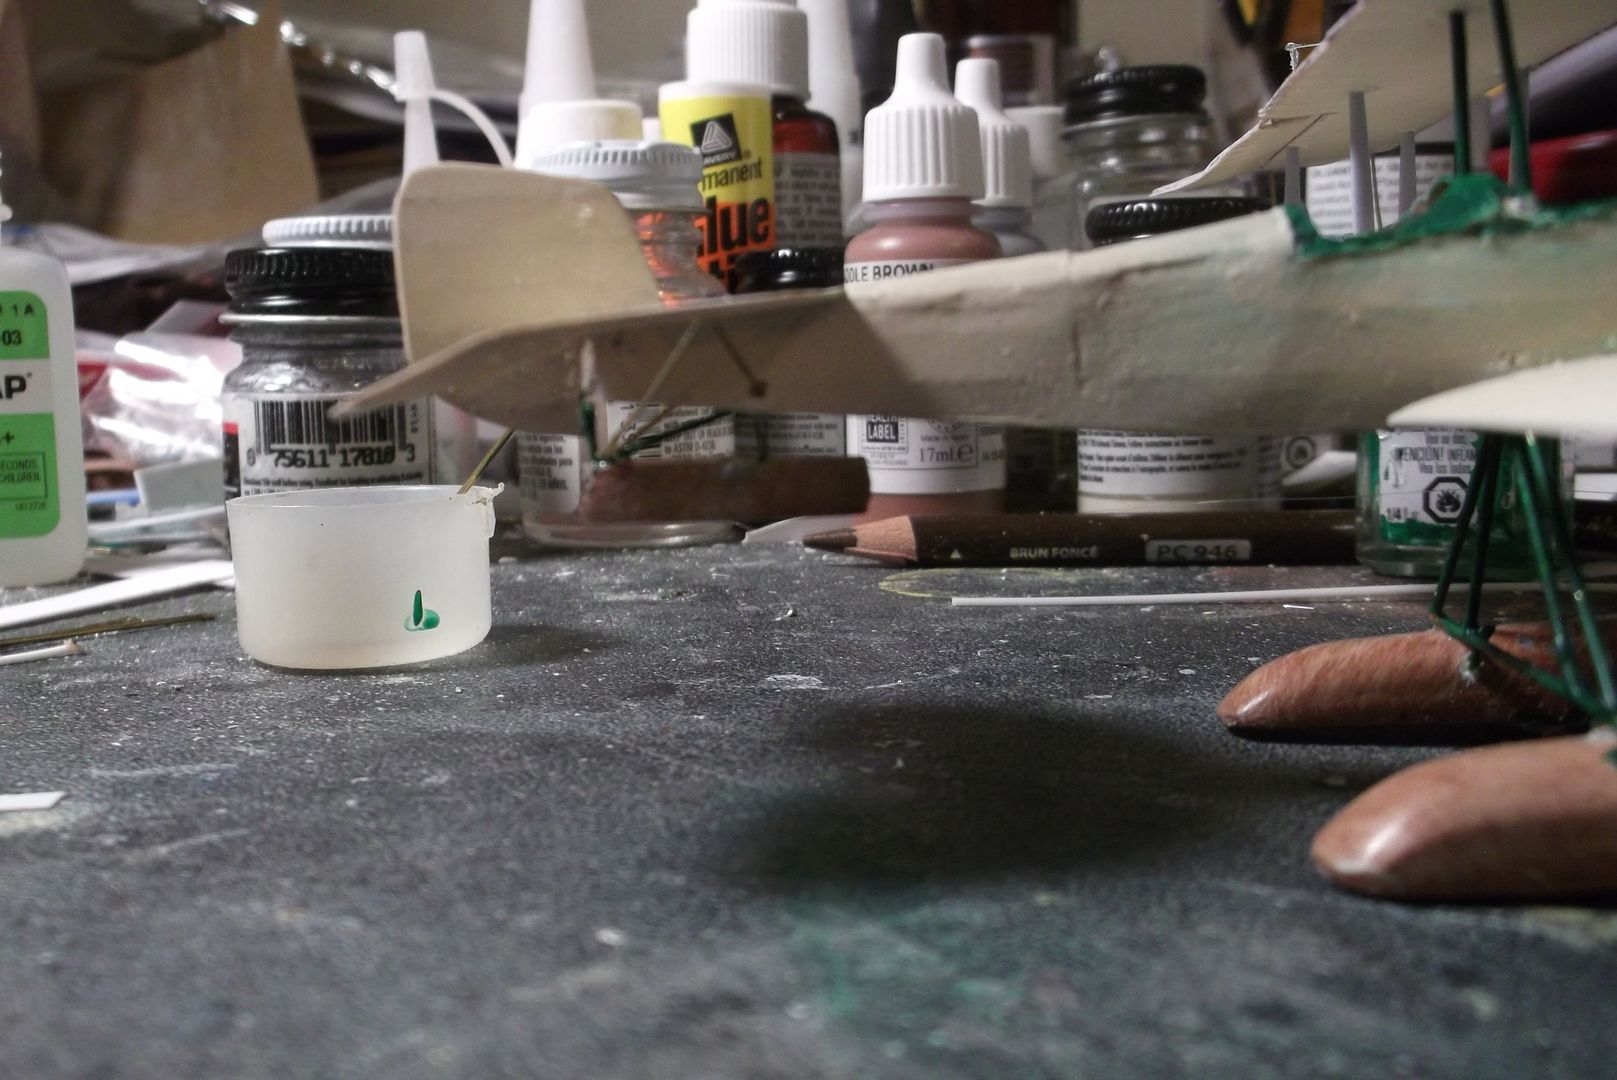
Four days shaping the floats. Sand a little. Put on a primer coat. Let it dry two hours. Sand a little more. Primer coat. Wait two hours…
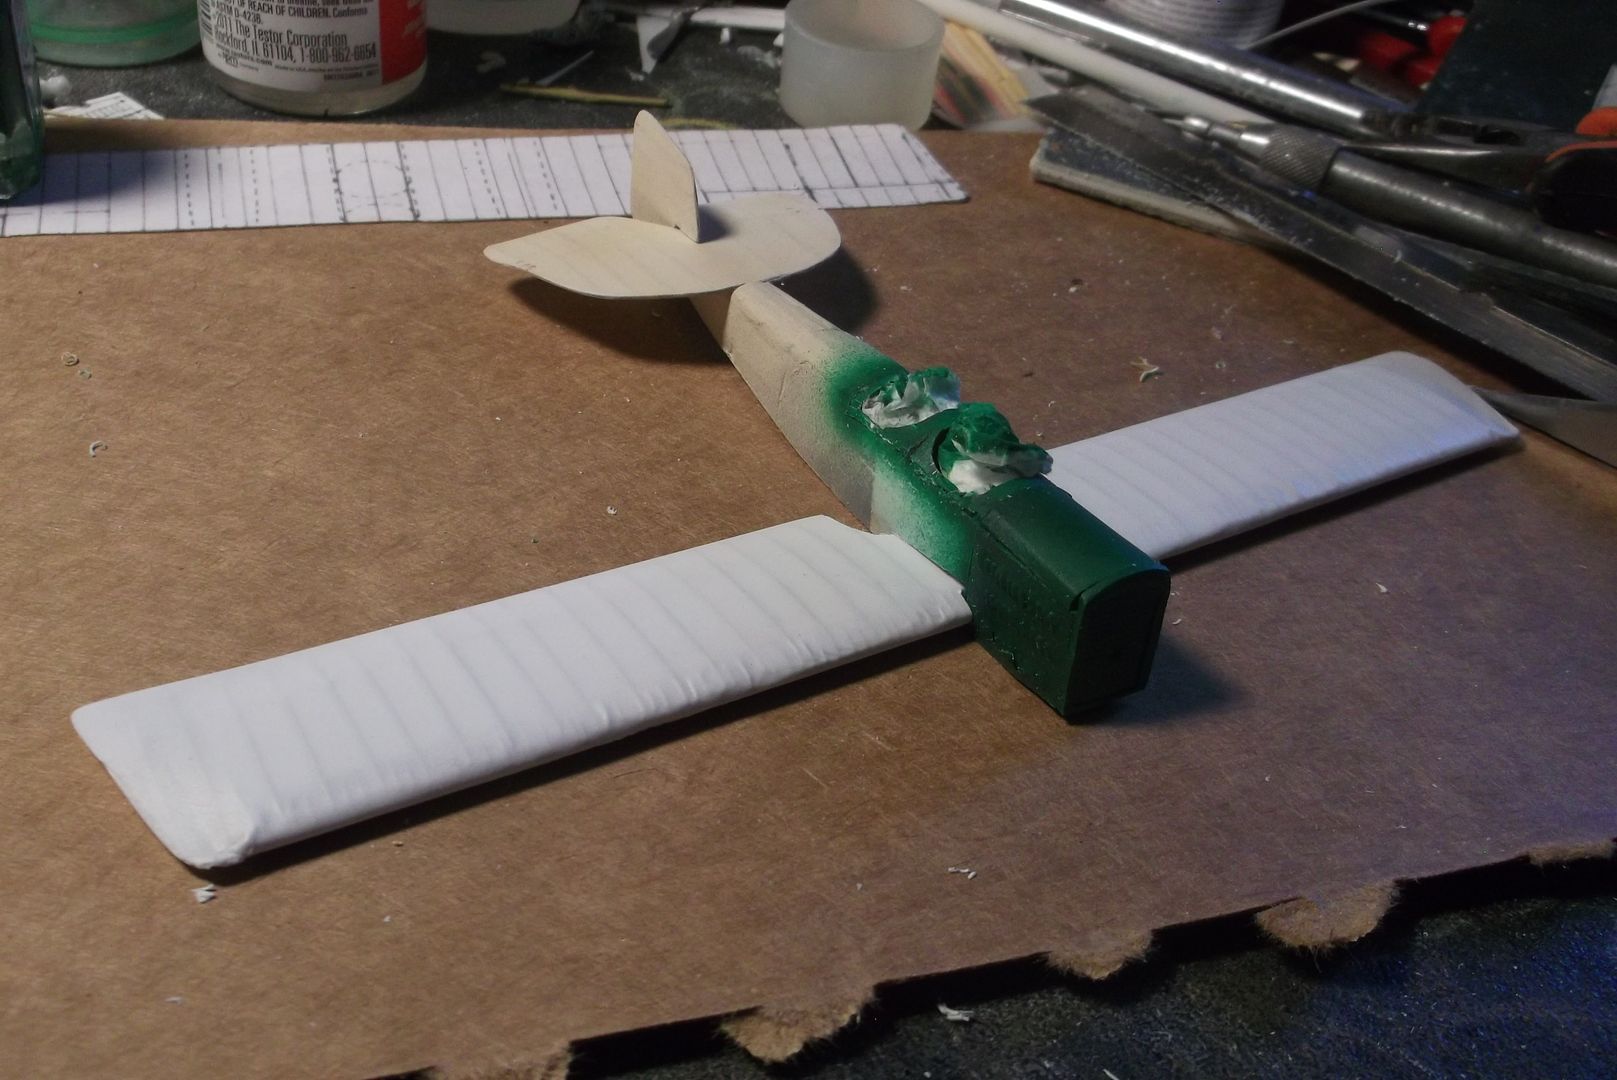
Yesterday the floats were done and I sprayed the base coat on. While I was giving it twenty-four hours to dry I spent today building the upper wing. Same technique as the lower. No time to finish the floats, so here it sits waiting for tomorrow.
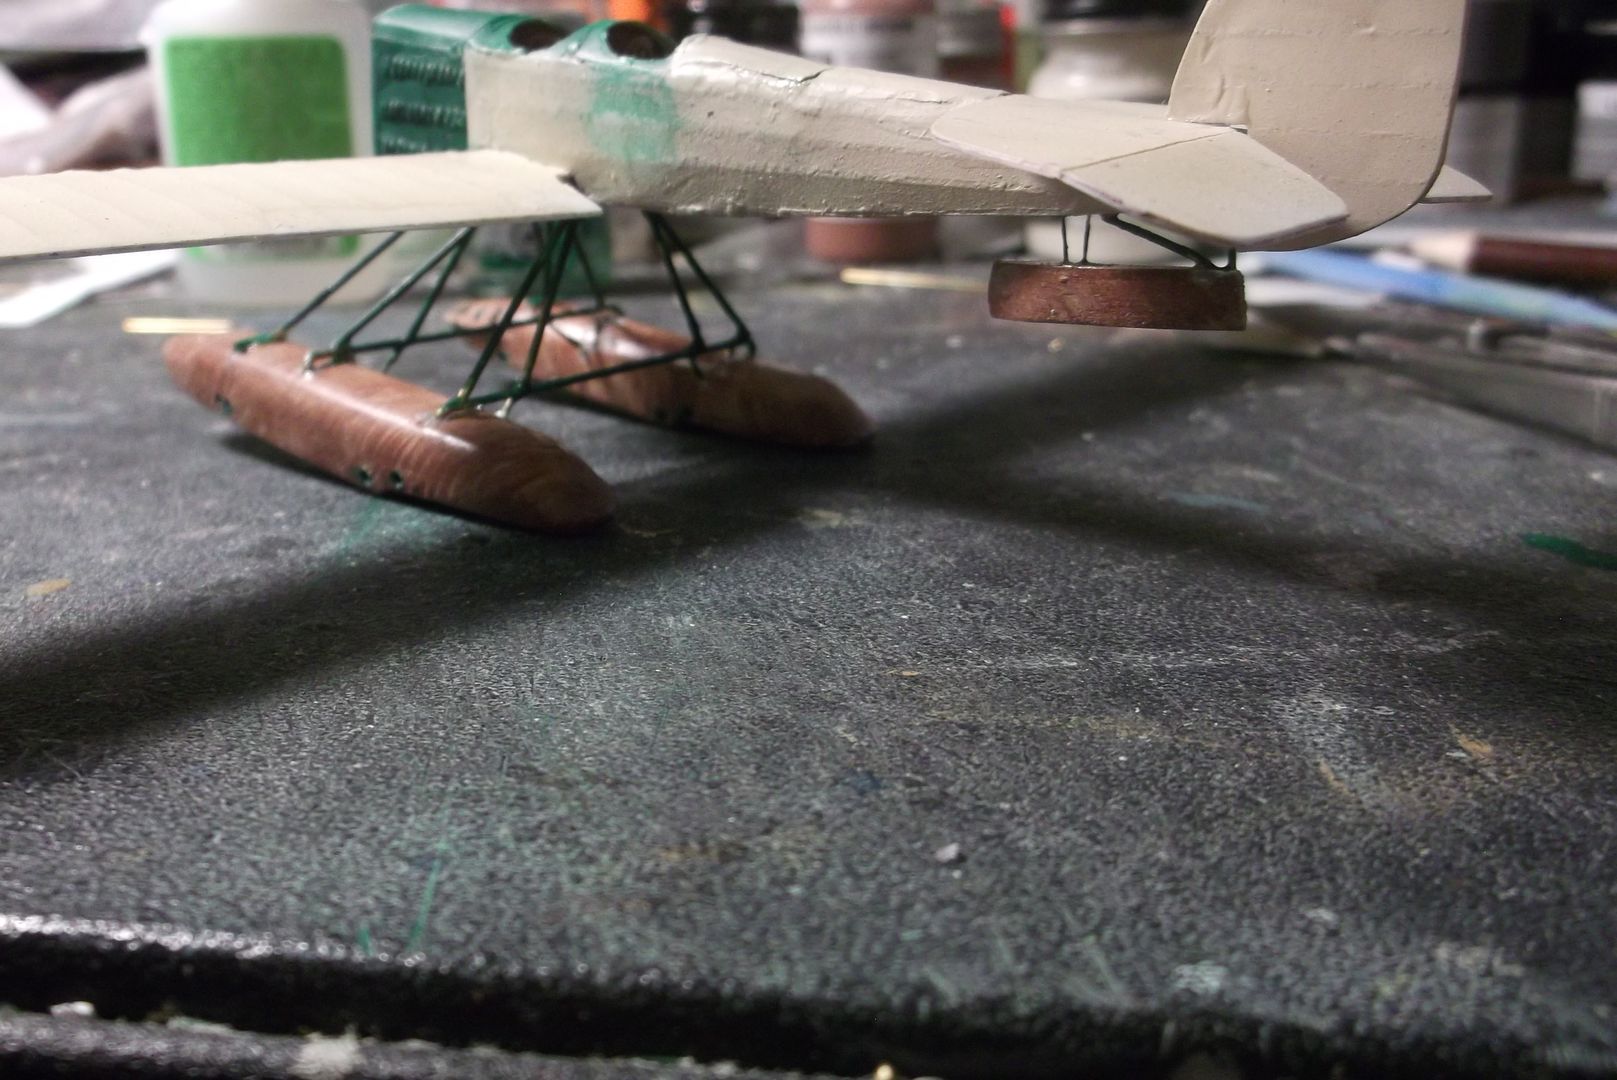
Floats are finished and ready to mount. Fuselage and lower wing got their final paint job - except for the inevitable touch-up of course.

That is looking absolutely outstanding Steve. Almost there.
The floats are mounted. Some accelerator leaked and got under my fingers, so it looks worse than it did yesterday. That’s okay, as there’s a lot of detailing and clean-up still to go anyway. Tomorrow should see the top wing on. I’m not sure I’ll get the rigging done in time, but there’s still two days to go.
Don’t rush it Steve! You’ve been working so hard on it you can have the Badge my man. You are really showing more skill than I have.
Best Laid Plans etc…
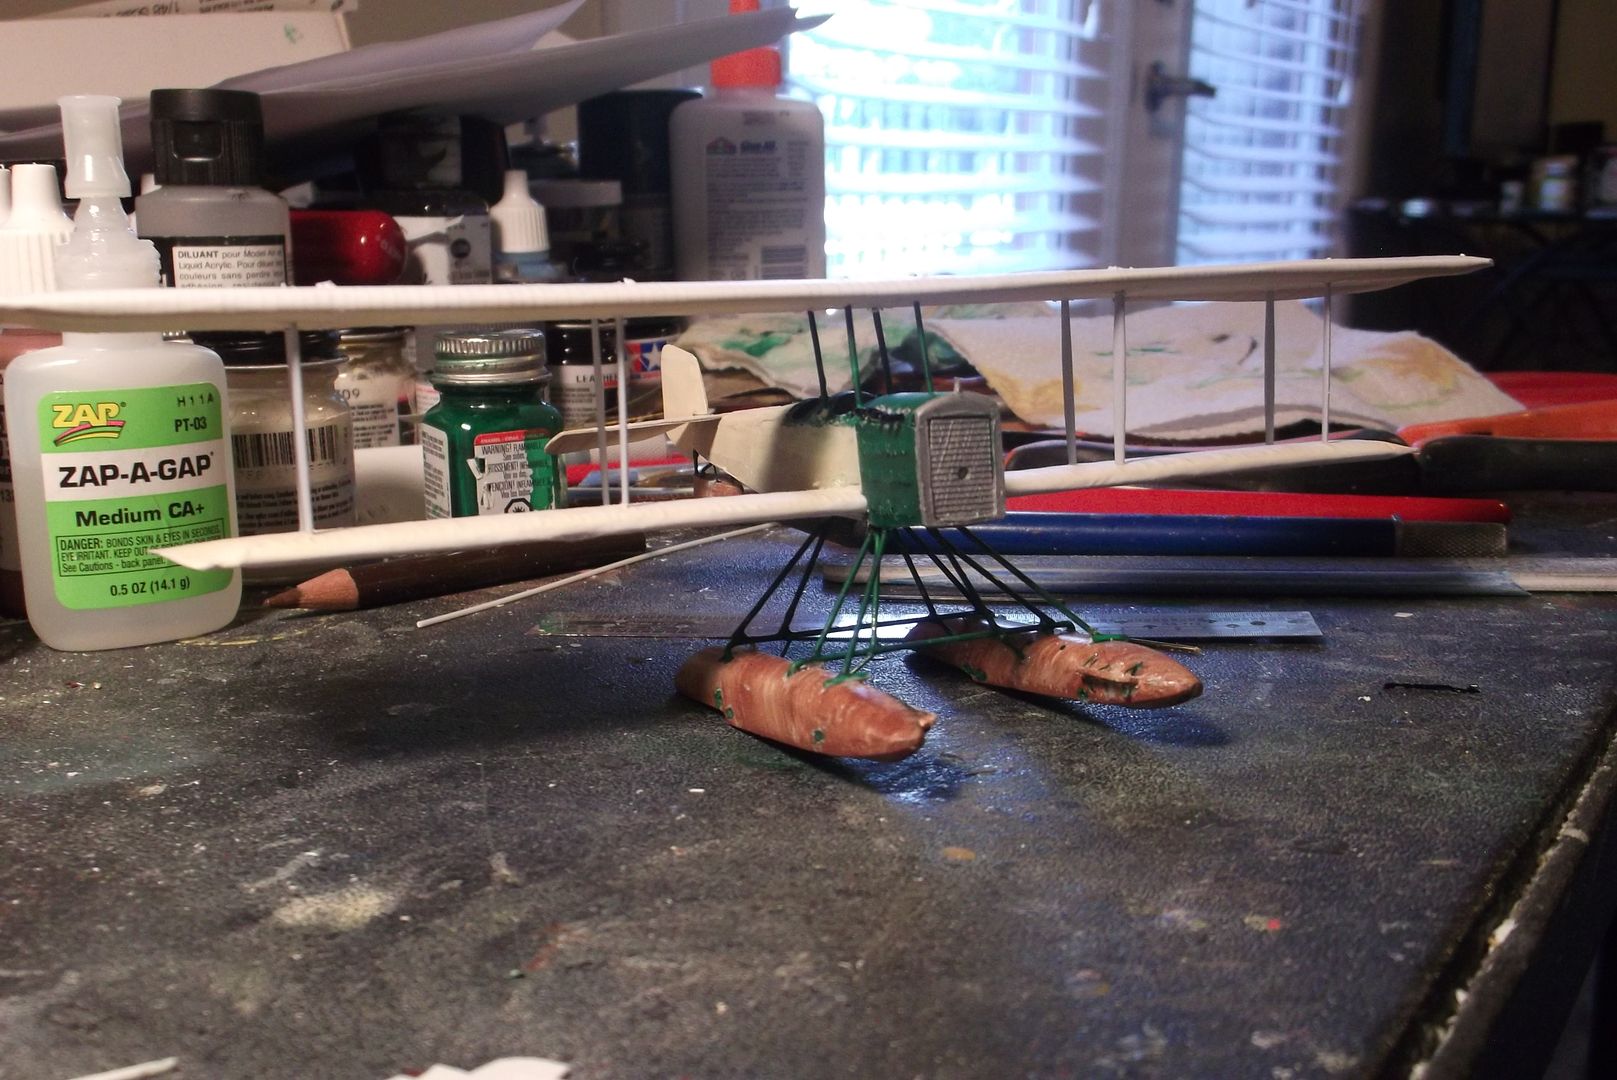
I had hoped to have the top wing mounted yesterday and the rigging started today. When I drilled the holes for the cabanes it ripped up the super-thin top decking around the forward cockpit. I put the cabanes in, rebuilt the decking and got ready to put the wing on. The cabanes were too short. I ripped them out, which destroyed the new decking and put in new, longer cabanes. I realized that cutting them would make them uneven, and trimming brass wire is a real pain. I also realized that if I drilled all the way through the wing I could slip it over the cabanes and glue in the struts, which came from a kit. After that I could cut the tops of the cabanes flush with the wing and seal it over. Brass wire is almost impossible to trim flush like that, so I went with plastic. I also set it aside and called it a night.
Today I rebuilt the decking again and did all the work as described above. The control horns still aren’t mounted, and the rigging isn’t started, and today is the 100th anniversary of the plane’s first flight. It’s now officially late. It’ll still be done, just not when I wanted.
Thanks, but I’m feeling guilty. If I had been working that hard it would have been done a month ago.
Says the guy who makes magic with water that looks real.
More delays, more excuses.
I spent most of Thursday and Friday helping an elderly neighbor run errands. Saturday and Sunday were taken up by more real-life stuff as well as research for the WW1 thread I contribute to. Yesterday I spent recovering from pushing it a little too much. Today I got the outboard wing braces and tail braces mounted - easy enough since they are .020 brass rod, which is easy to cut and shape. The kingposts, however, are .008 guitar string, hard steel wire which is not that hard to cut, but is either too long or with the tiniest bit of trimming suddenly too short. Several hours and several tries, and they’re finally in. Tomorrow I’ll be using the same wire to make the oddly-shaped control horns.
Just checking in. How’s the build coming along? I’ve been lurking and following this thread, and I’m really impressed.
Regards,


