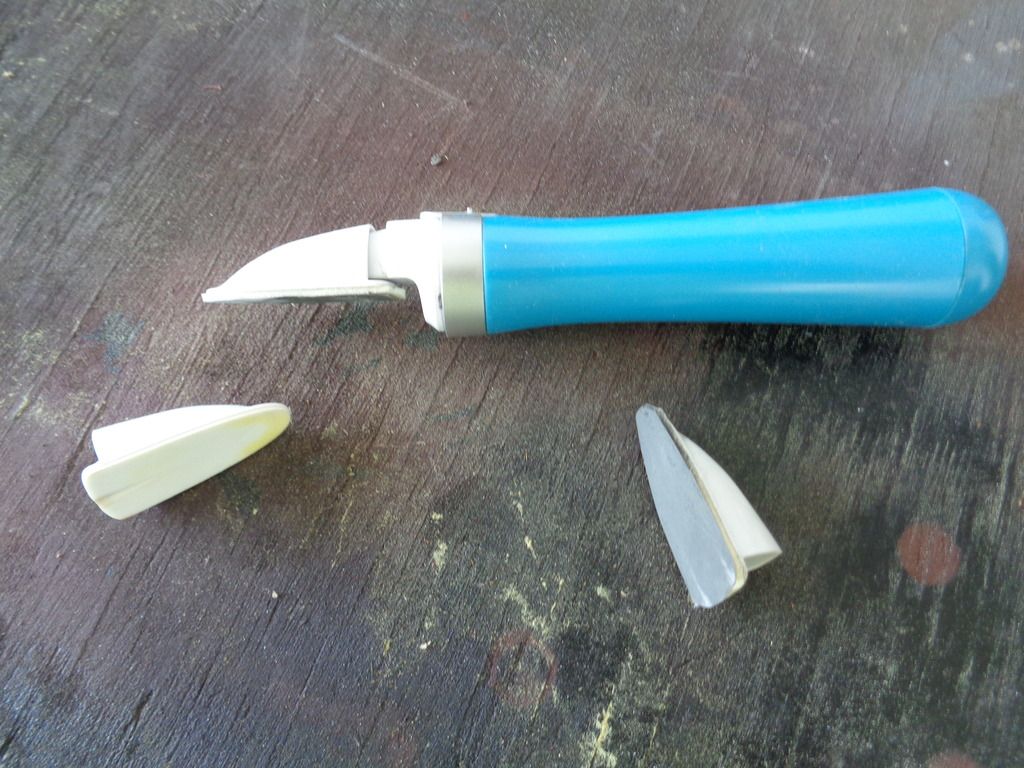
I am currently building a Vulcan Shuttle, and I’ve run into a dilemma. On this kit there are quite a few small areas, and some tight angles that require some filling and sanding that my fat fingers just can’t seem to reach. I have a couple of step sanders but, they are not working as well as I would like. Anyone out there have any suggestions? I am providing three pictures to show what I am up against.
I don’t have a good suggestion for sanding what you currently have. But, this is why I use Perfect Plastic putty for those type of seams. I can fill the seam then use a q-tip with water and spread to the point it doesn’t need sanding. Or very little sanding.
Thank you GMorrison! What I use is Aves Apoxie Sculpt, and I have grown to love it! Once it’s mixed you can form it into small strips, and drop it right into the seam. Wet your finger a little bit to keep the Aves from sticking to it, and to smooth it into place. Aves does not shrink however, you do have to give it a bit more elbow grease that standard putty. In my opinion it is way better than Miliput or Tamaya’s epoxy putties.
Sanding needles? I am ashamed to admit that I had not heard of those before your post Sir. I will stop by the hobby shop during my lunch and see if they have any in stock. Thanks!
I’ve looked into Perfect Plactic Putty but, haven’t pulled the trigger on buying it yet. None of the local hobby shops carry it, and I would have to order it online. Of course I’m impatient and want it today!lol! If you really think it’s worth it, I should give it a try.
TDWI - I give a strong second for PPP, really good stuff and so easy to work with.
When I’m faced with a difficult and tight area to sand, I resort to foam bits in varying degrees of density/rigidity. When the foam is cut and shaped to the form needed, I wrap it with the appropriate sandpaper grit.
Some foam is quite flexible, others of the cellular molded type are a bit more stiff and shape retaining. For cutting them to the shape required, I use an electric carving knife. The advantage of the lower density foam is it’s flexibilty, it becomes a bit more adaptable at conforming to the area to be sanded, as in the multiple “corregated” surfaces in your photos.
The more dense foam will be more apt to retain the shape as carved, so the sanded area remains consistent throughout the surface. Any of the mentioned foam bits can also be attached to sticks, using contact cement or cyano.
A little experimenting will tell you if you like the idea. I hope it does.
I use ‘sanding sticks’ for areas as you show. The ones I have (from Hobby Town IIRC) are about 1/8" square. 5" long and have two grits one on either side of a stiff foam board and the grits range from very fine to very coarse. Easily cut to length and are ‘safe sided’, i.e. you can sand a 90 deg corner and only sand one surface. Flory models sells similar (from Sprue Bros). I find them very useful.
Sprue Bros. also sells sanding needles that are about about 1/8" diameter and 4" long, and have one end tapered. They are really handy but unfortunately don’t come any finer than 320 grit.
What I like to do most of my detail sanding with are homemade “blocks” made from 1" x 2" strips of .005 & .010 styrene. Using rubber cement, I wrap them with wet & dry sandpaper in a variety of finer grits. A local automotive paint store sells sheets that go from 180 to 2400. While this “tool” is a little time consuming to set up, it’s super cheap and every bit as good as the sanding sticks made specifically for modeling.
Wow, this is all so great!!![:)] Thanks guys! You’ve all given me a lot of ideas, and something to think about.
I will definitely try some PPP, and pull that trigger.
I hadn’t thought about using foam core even though I work with it sometimes on my job.
I do have some Squadron sanding sticks that I haven’t opened yet although the sanding needles or, the Sprue Bros options are looking like the direction i may want to go.
I’m going to sleep on it, and let you know in a day or two, and let you know what I tried.
3M makes two foam sanding pads that may work. One is only in a few grits, and is about an eighth of an inch thick with a couple of medium grits available. The other is a perforated pattern one, a bit thinner, with lots of fine grits available, especially a 600. The perforated pattern allows water to flow through and around the abrasive (it is wet or dry pad).
For long straight channels I use a length of basswood strip wood and make u-shaped folded sandpaper that just surrounds the piece.
I found the ultimate electronic sander at Wall Mart for less than half the price of Micro Mark’s $92.00 sander.
It’s a $37.00 Amope’ electronic finger nail buffer found in the cosmetic section. (Not the barrel/roller type used on feet ) It’s a battery operated little gizmo that really gets into any small area and does the job quickly. ( I saw it on TV ) It does way better than my modified electric toothbrsh. I simply removed the sanding material from the 3 supplied attachments , slapped on some double stick foam weather strip tape and added my own sand paper.
So far the thing sanded down an entire 1/48 sabre paint job and spot jobs on 4 other models including very tight spots on wing roots etc. and the batteries are still going strong since December. It’s like this thing was first made for models and not finger nails.
Use red glazing spot auto putty.Let dry then use a cotton swab dipped in acetone base finger nail polish remover.Rub into the small areas till smooth.Practice w/ parts.
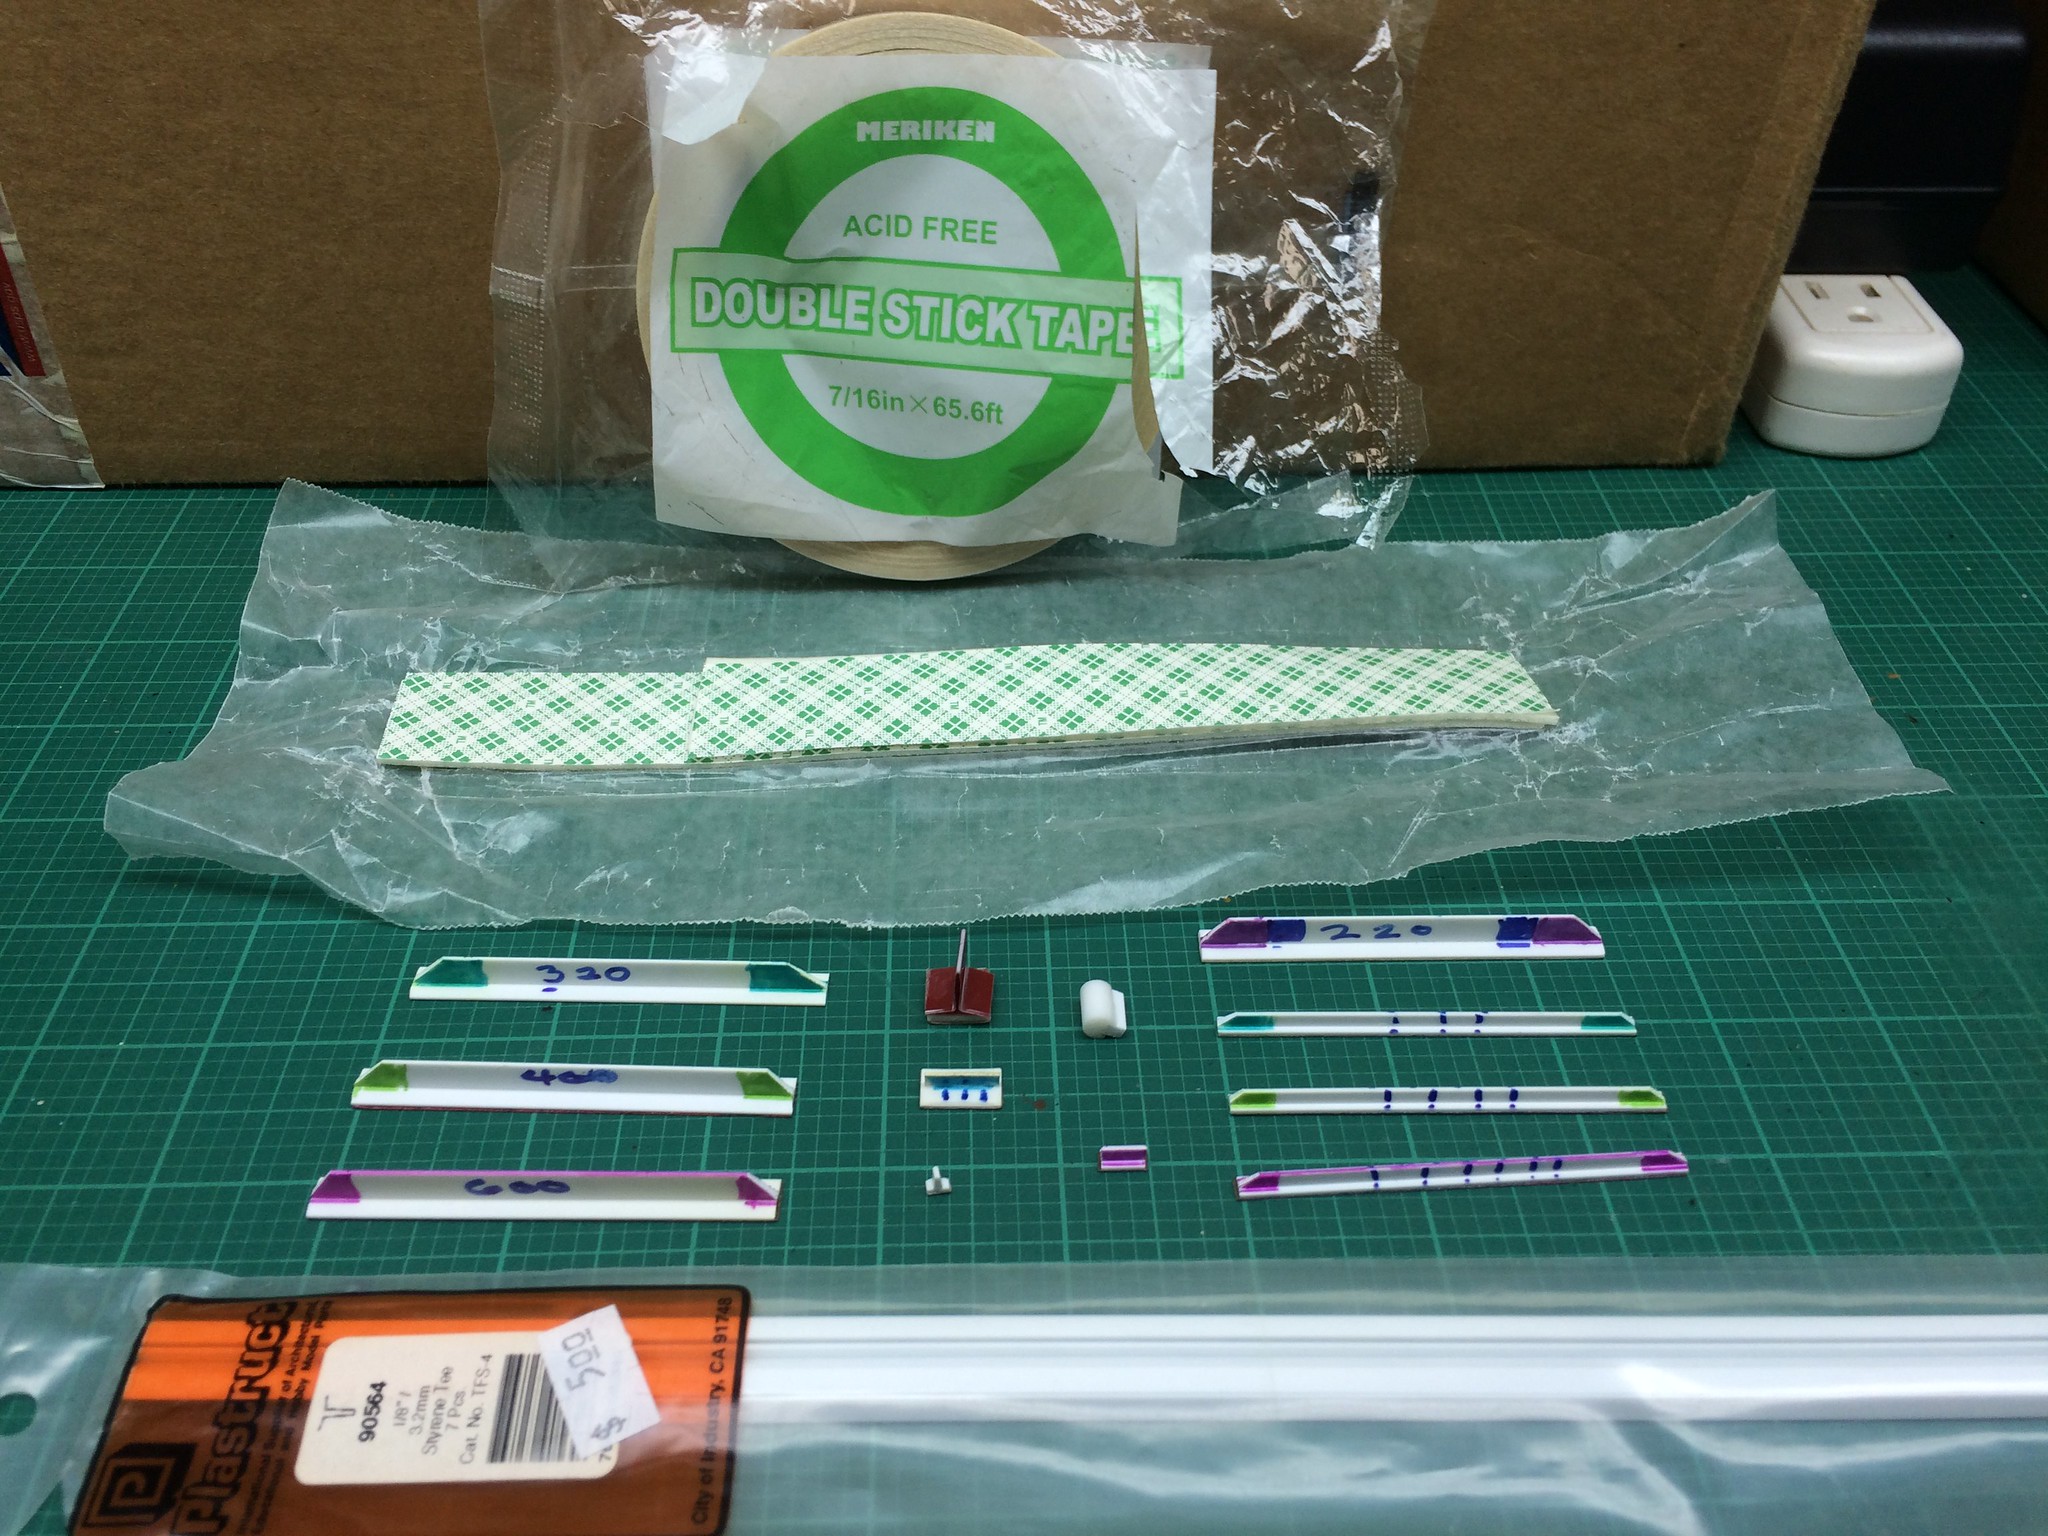
I use double sided tape to attach the sandpaper. Use tweezers to hold the small ones. I have also stuck a piece of rubber band as well as foam tray bits between the “T” backing and sandpaper to deal with curved areas. HTH.
Thanks for all of these great suggestions guys!![:D] I knew it would be a good idea to ask the community about my problem. What I settled on was using a popsicle stick with the round end cut off. I simply wrapped a piece of 320 grit around the squared end, and it worked like a charm! I will post a picture in a day or two with results. You guys are all great, and thanks again for you help!


 [/url]
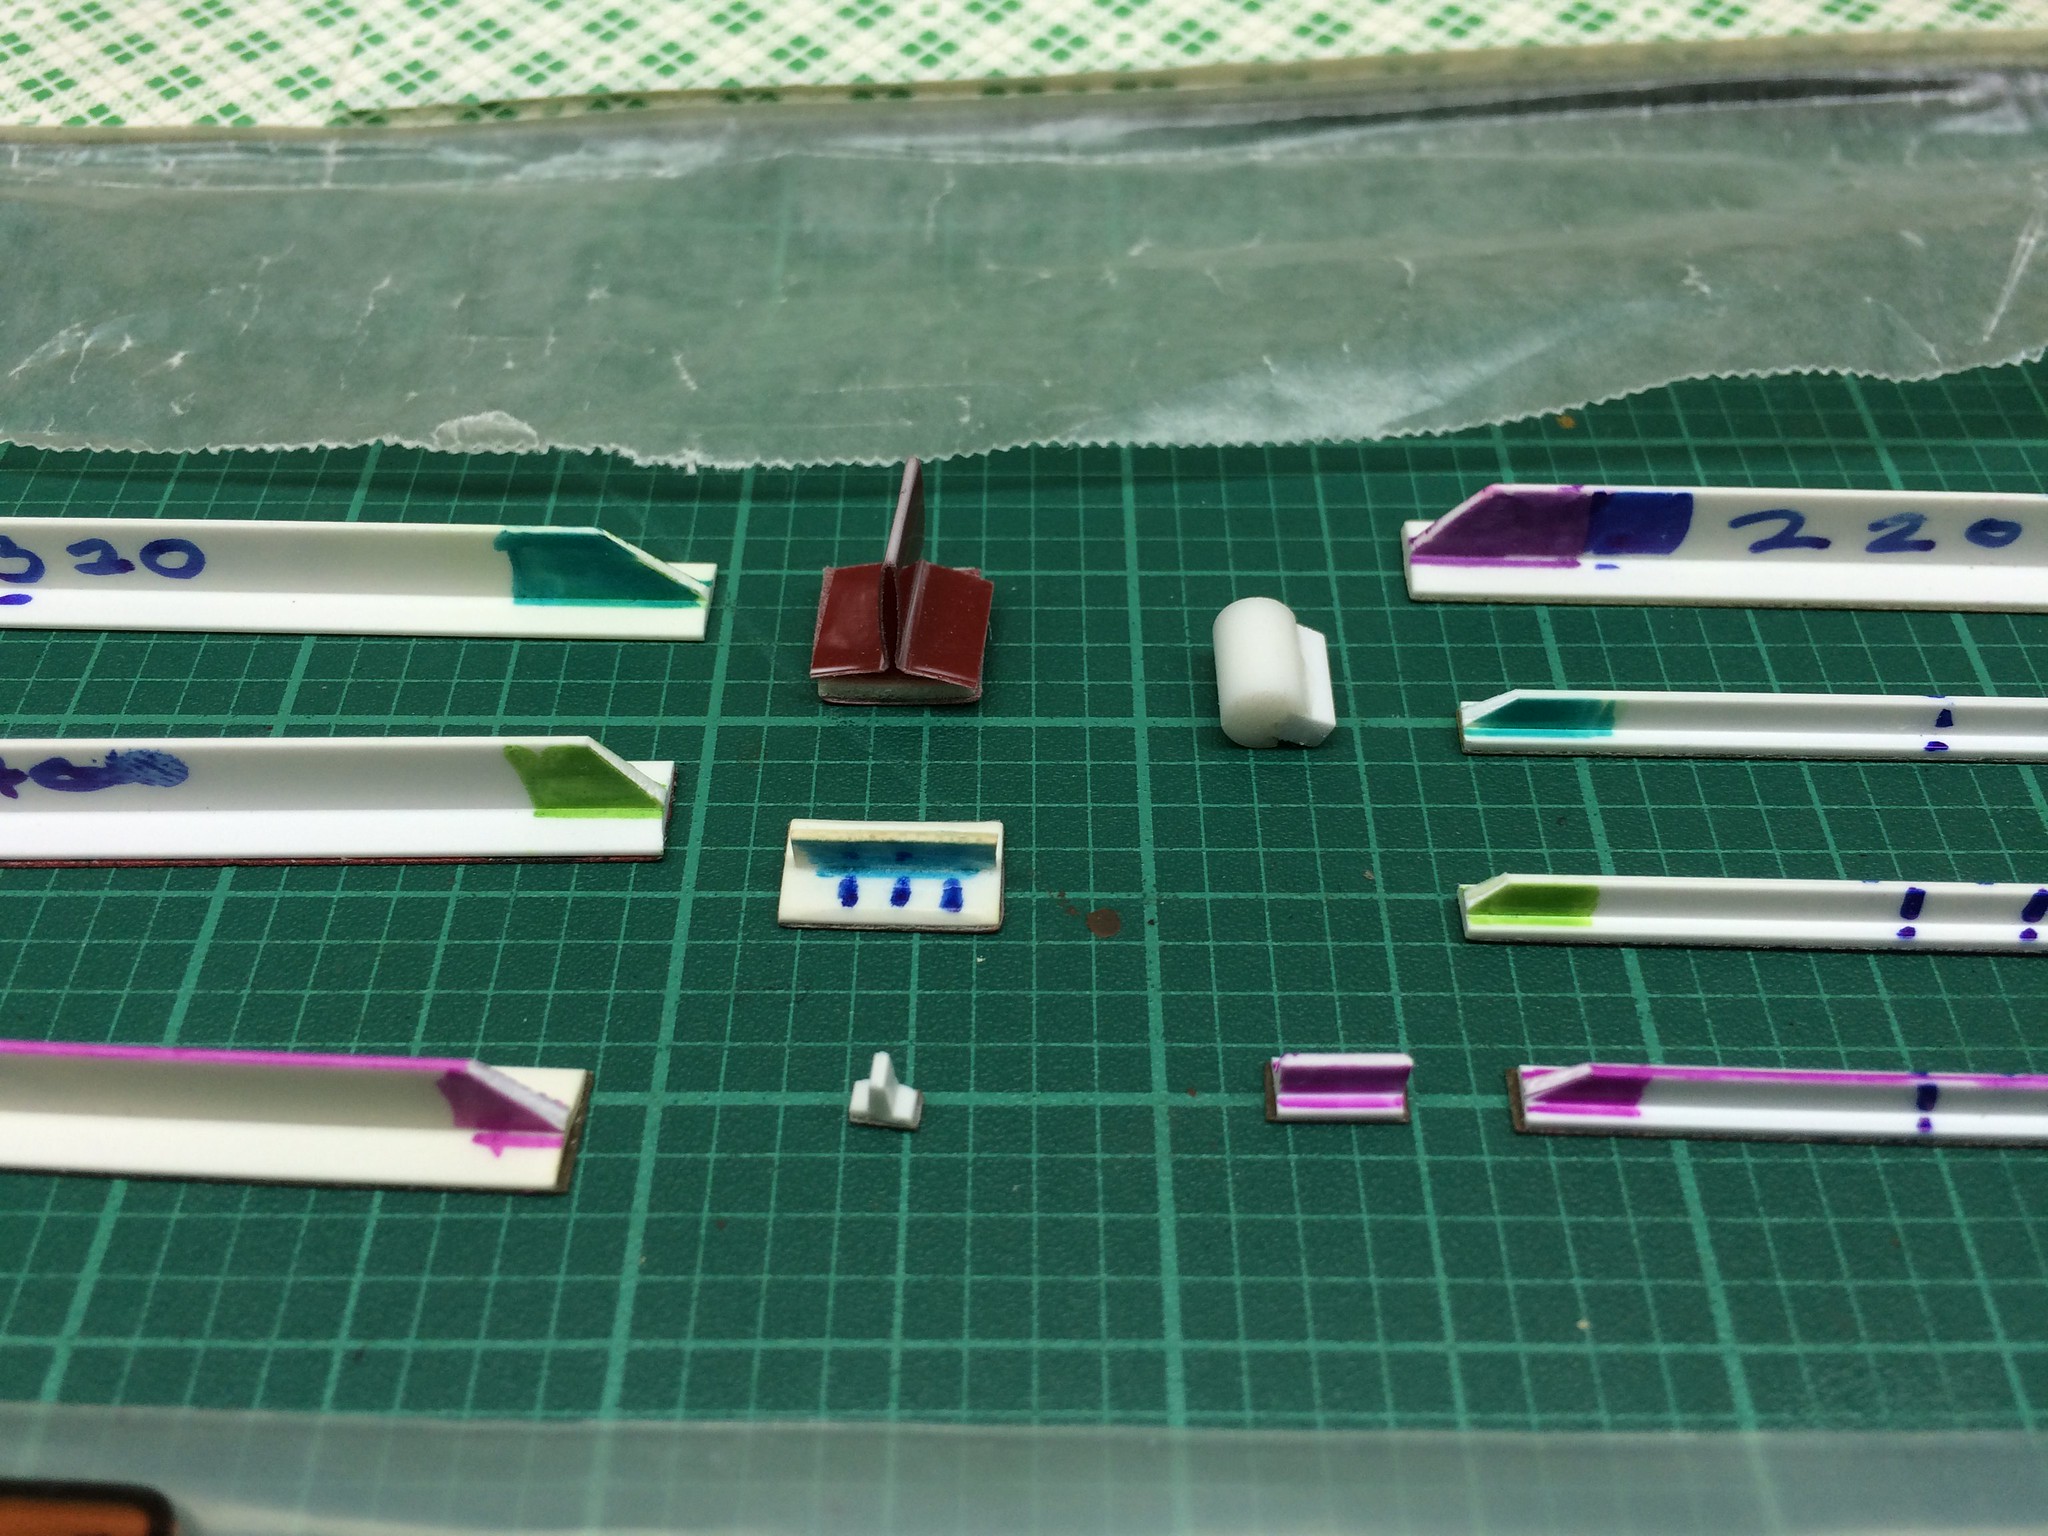 [/url]