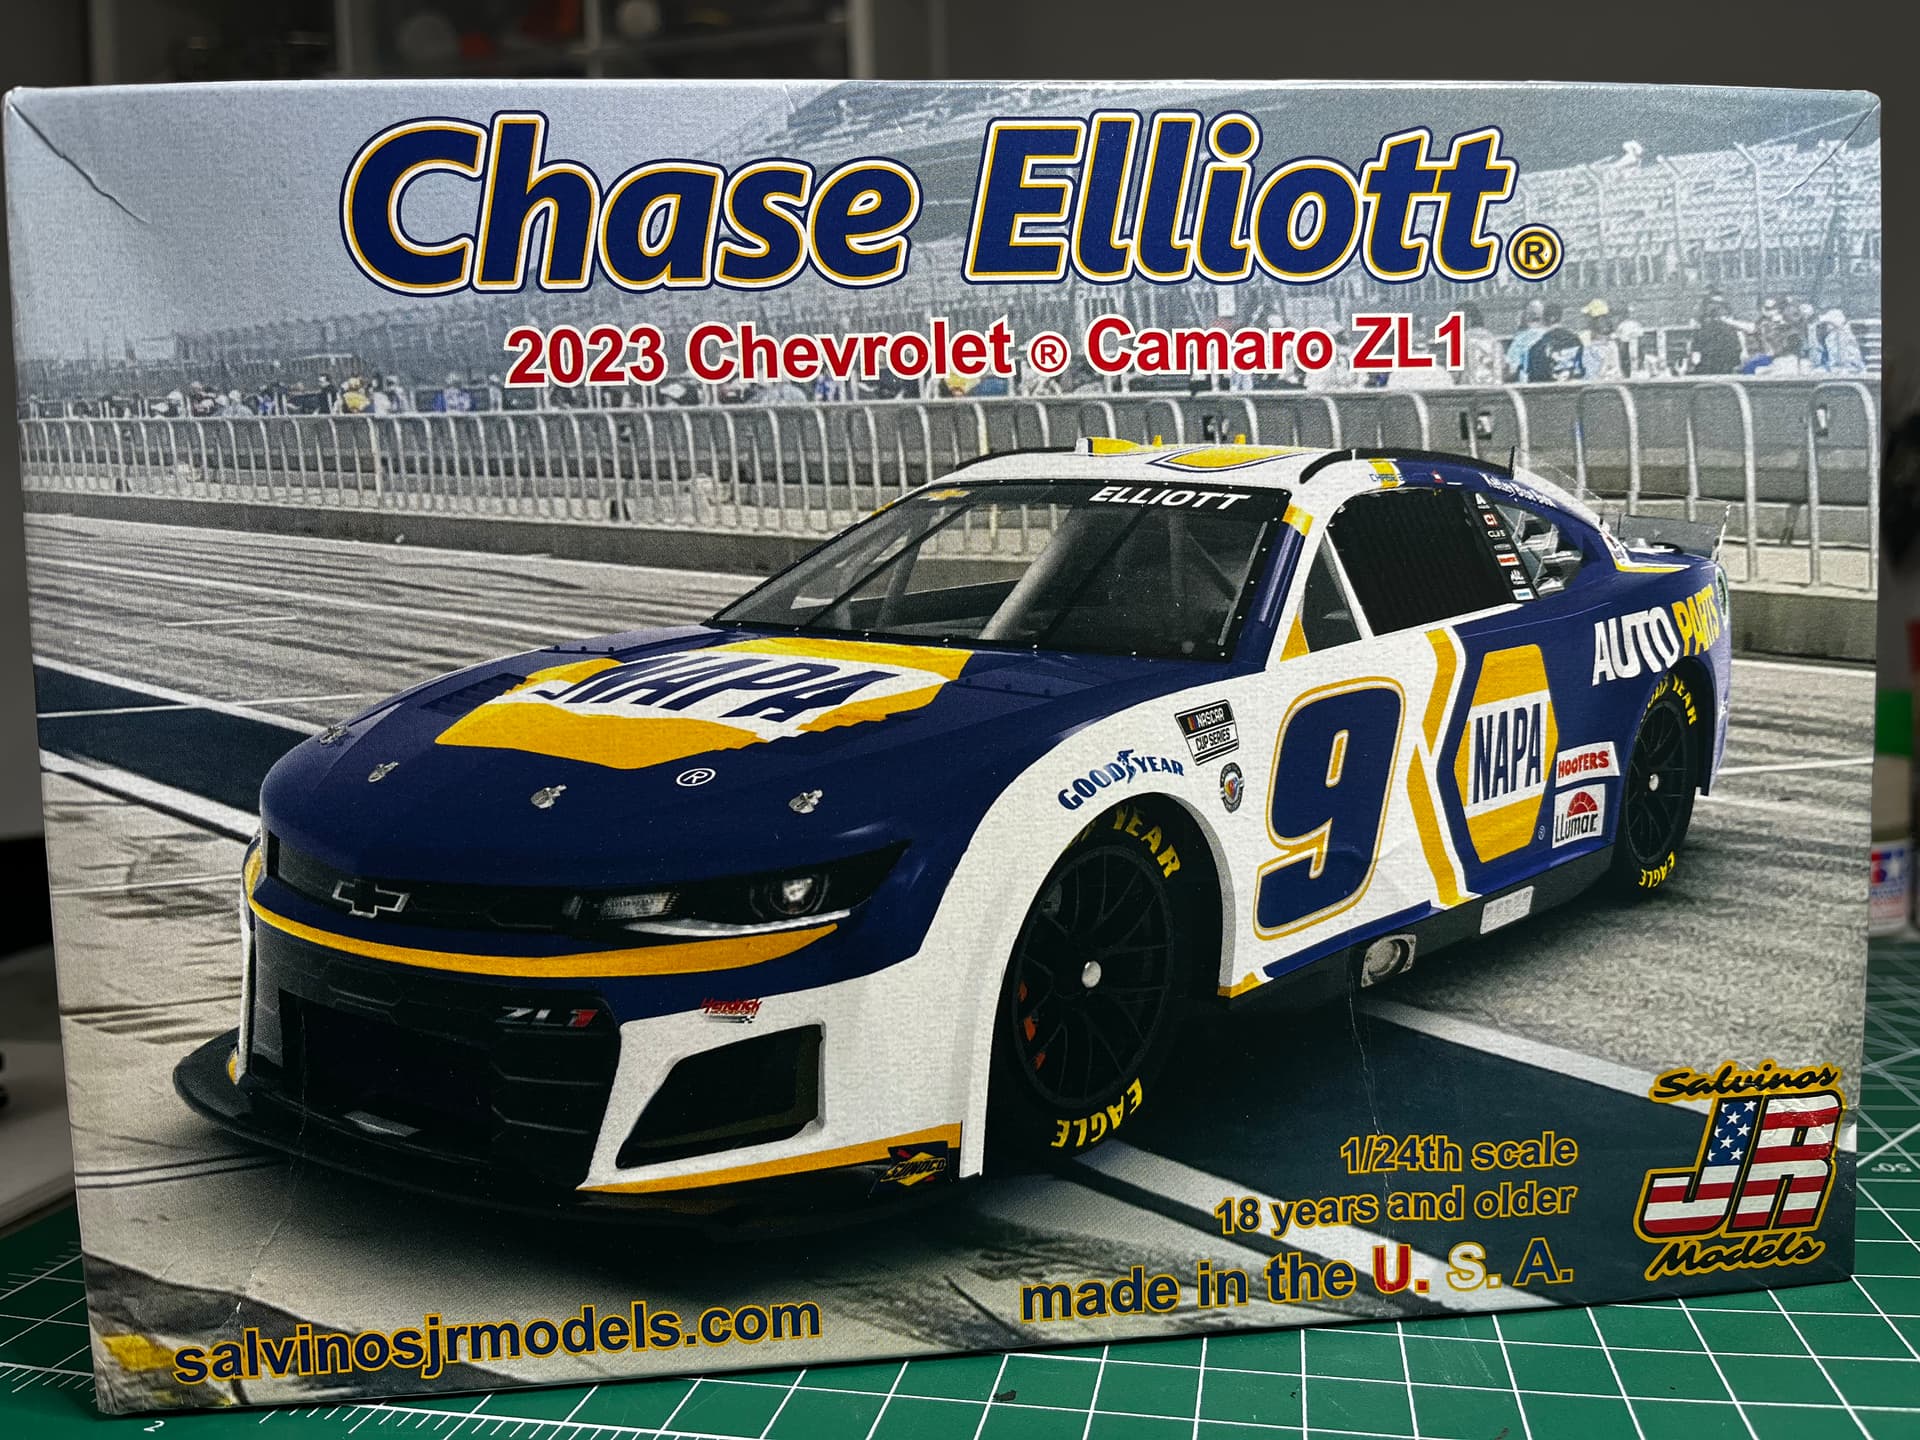
Salvinos JR Chase Elliott 2023 Camaro


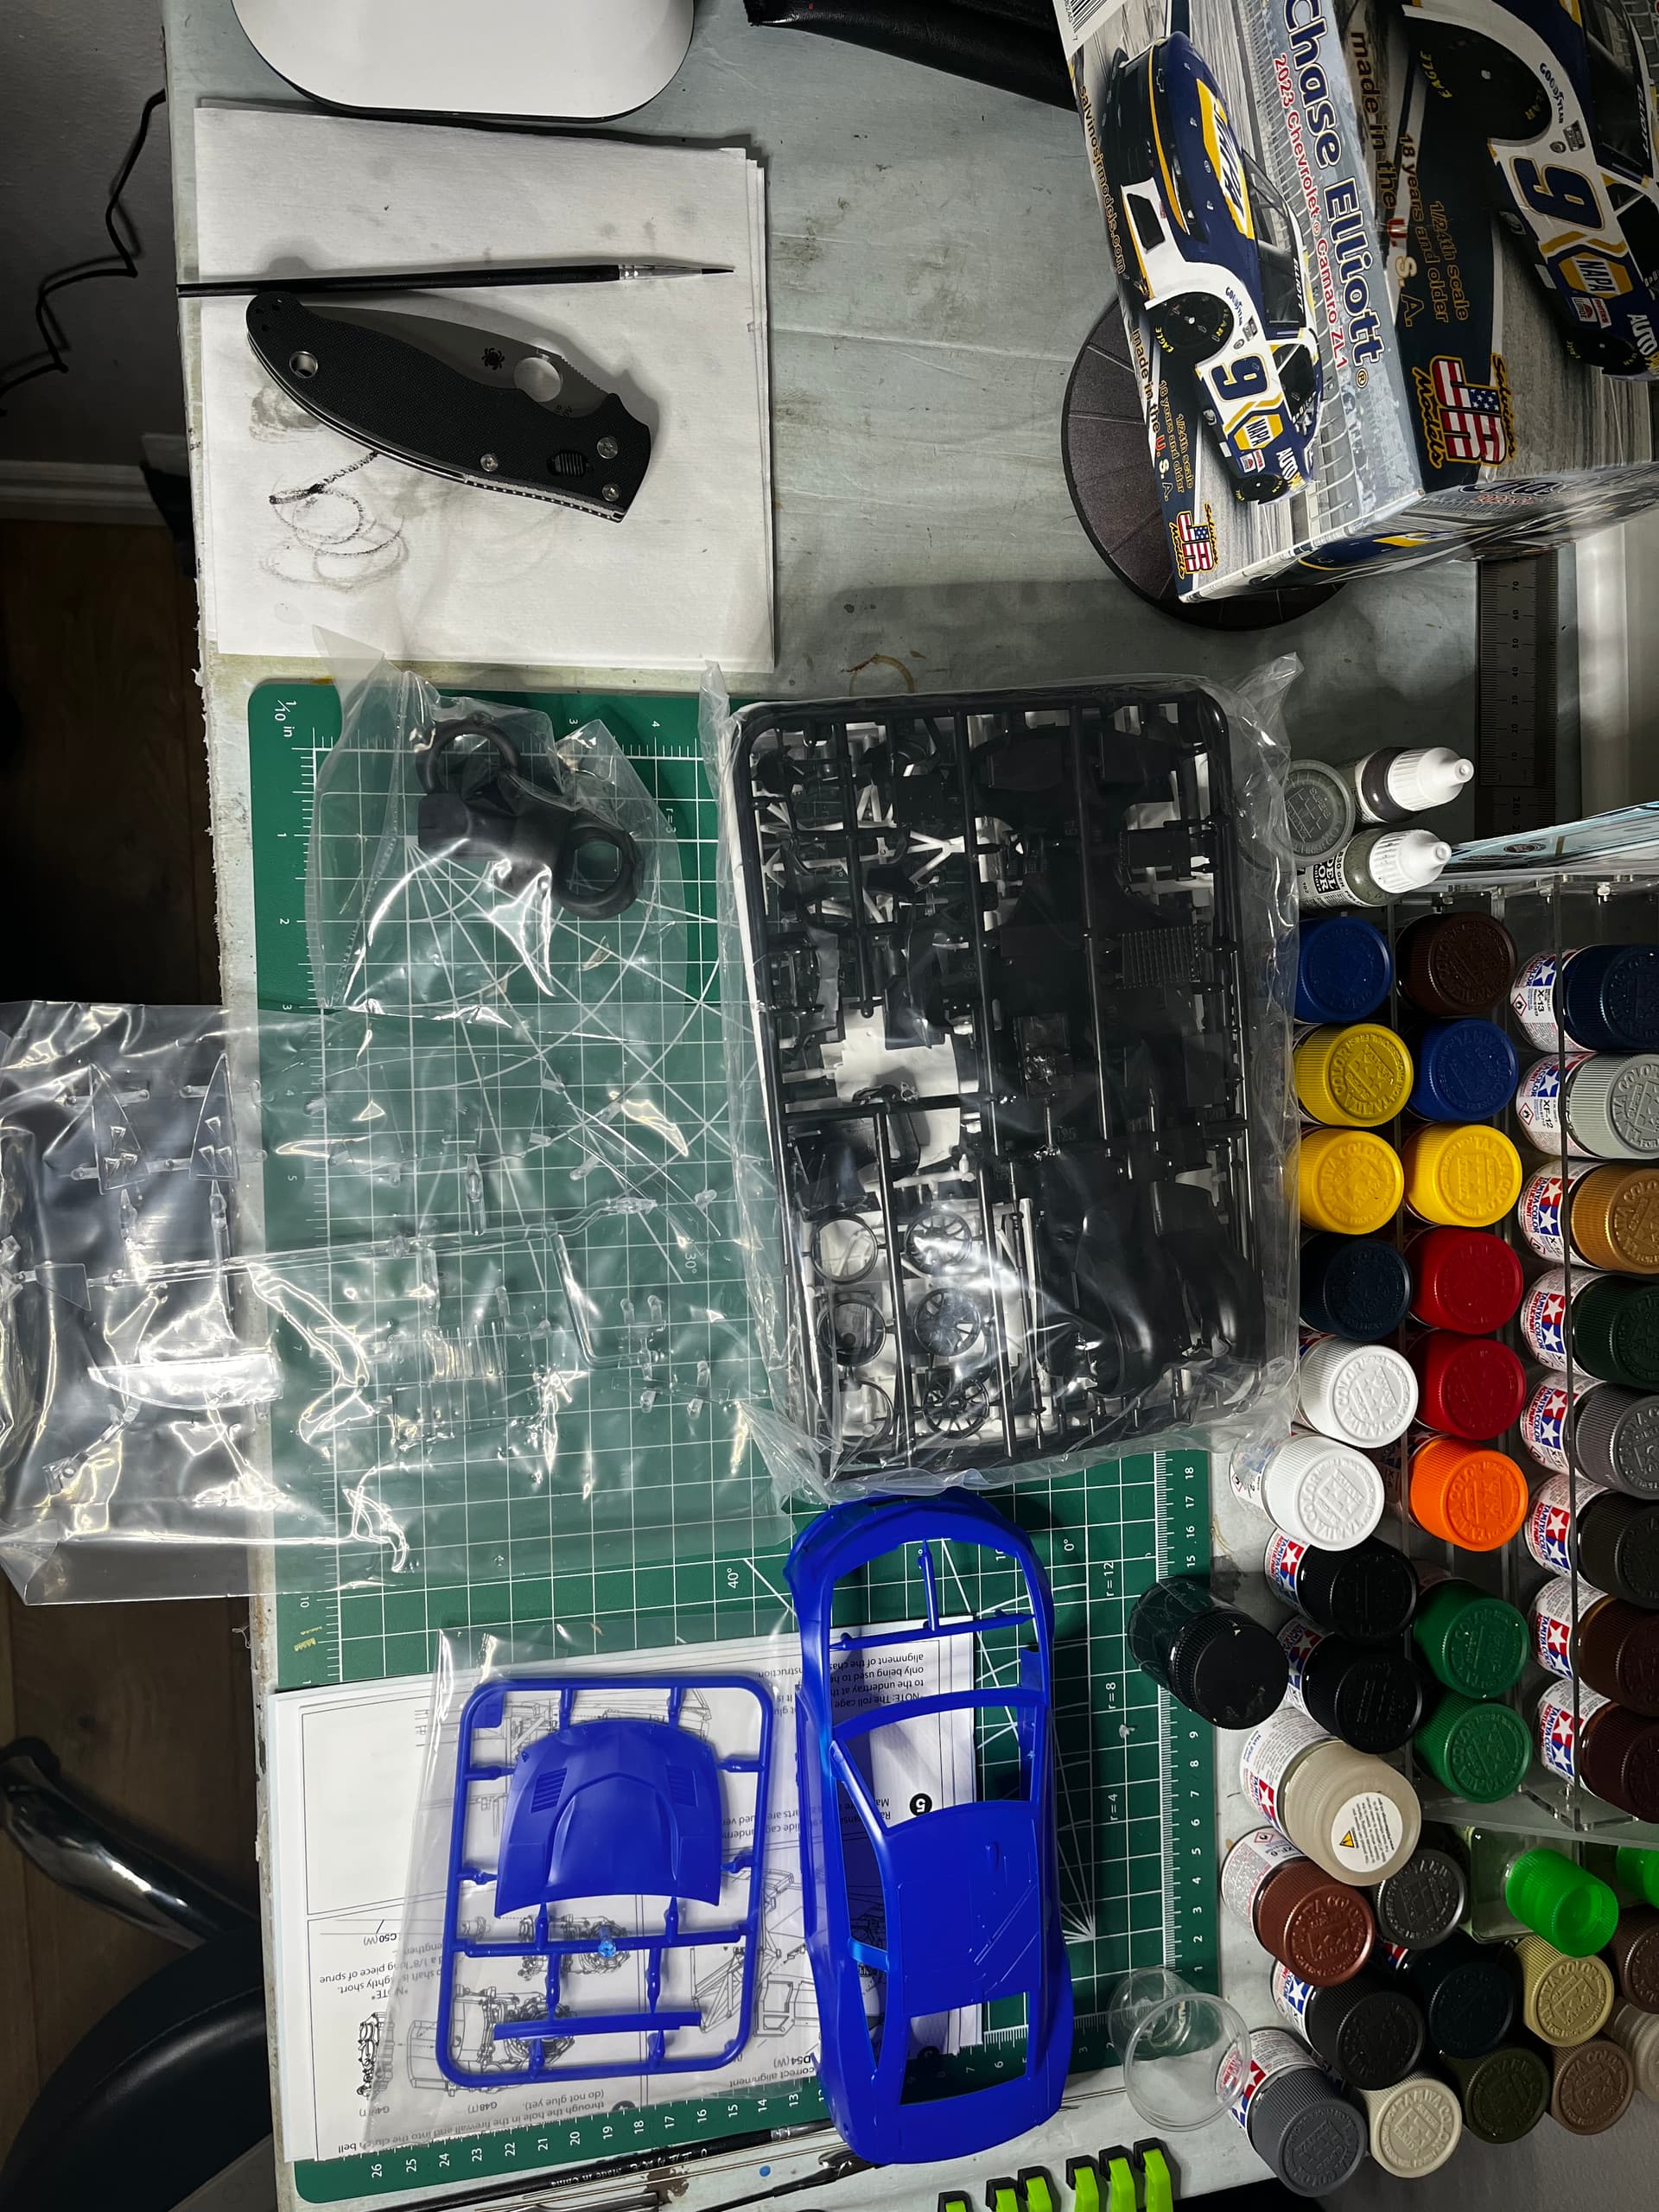
First time with a JR kit, my first thought after opening the box is why on gods green earth is the body blue, it’s going to take a lot to get the paint scheme the way it needs to be starting out with a deep blue body…… there is a bit of flashing and a few loose parts, looks good though. We will see where this takes me.

Edit: ok I understand the blue body, all the other body colors including the white is all decals, I expected the blue and white to be paint and the rest decals.

3 Likes

Seriously???

1 Like

Ya, that’s not good. Amend the instructions and shift the problem onto the consumer rather than fixing the problem frontline. :roll_eyes:

This causes me to ponder the mega delay of my Revell Germany Stranger Things Jim Hopper’s Chevy Blazer, pre-ordered November 2024 and finally shipped just last week. Perhaps the delay was something like this (mold imperfection). If that is the case then I happily accept the delay. But I digress.

Sorry for your dilemma.

Cheers,
Mark

3 Likes

Yeah I’m already disappointed, for $50 you would think the parts would fit together, I guess I know why it was on clearance for $30.

1 Like
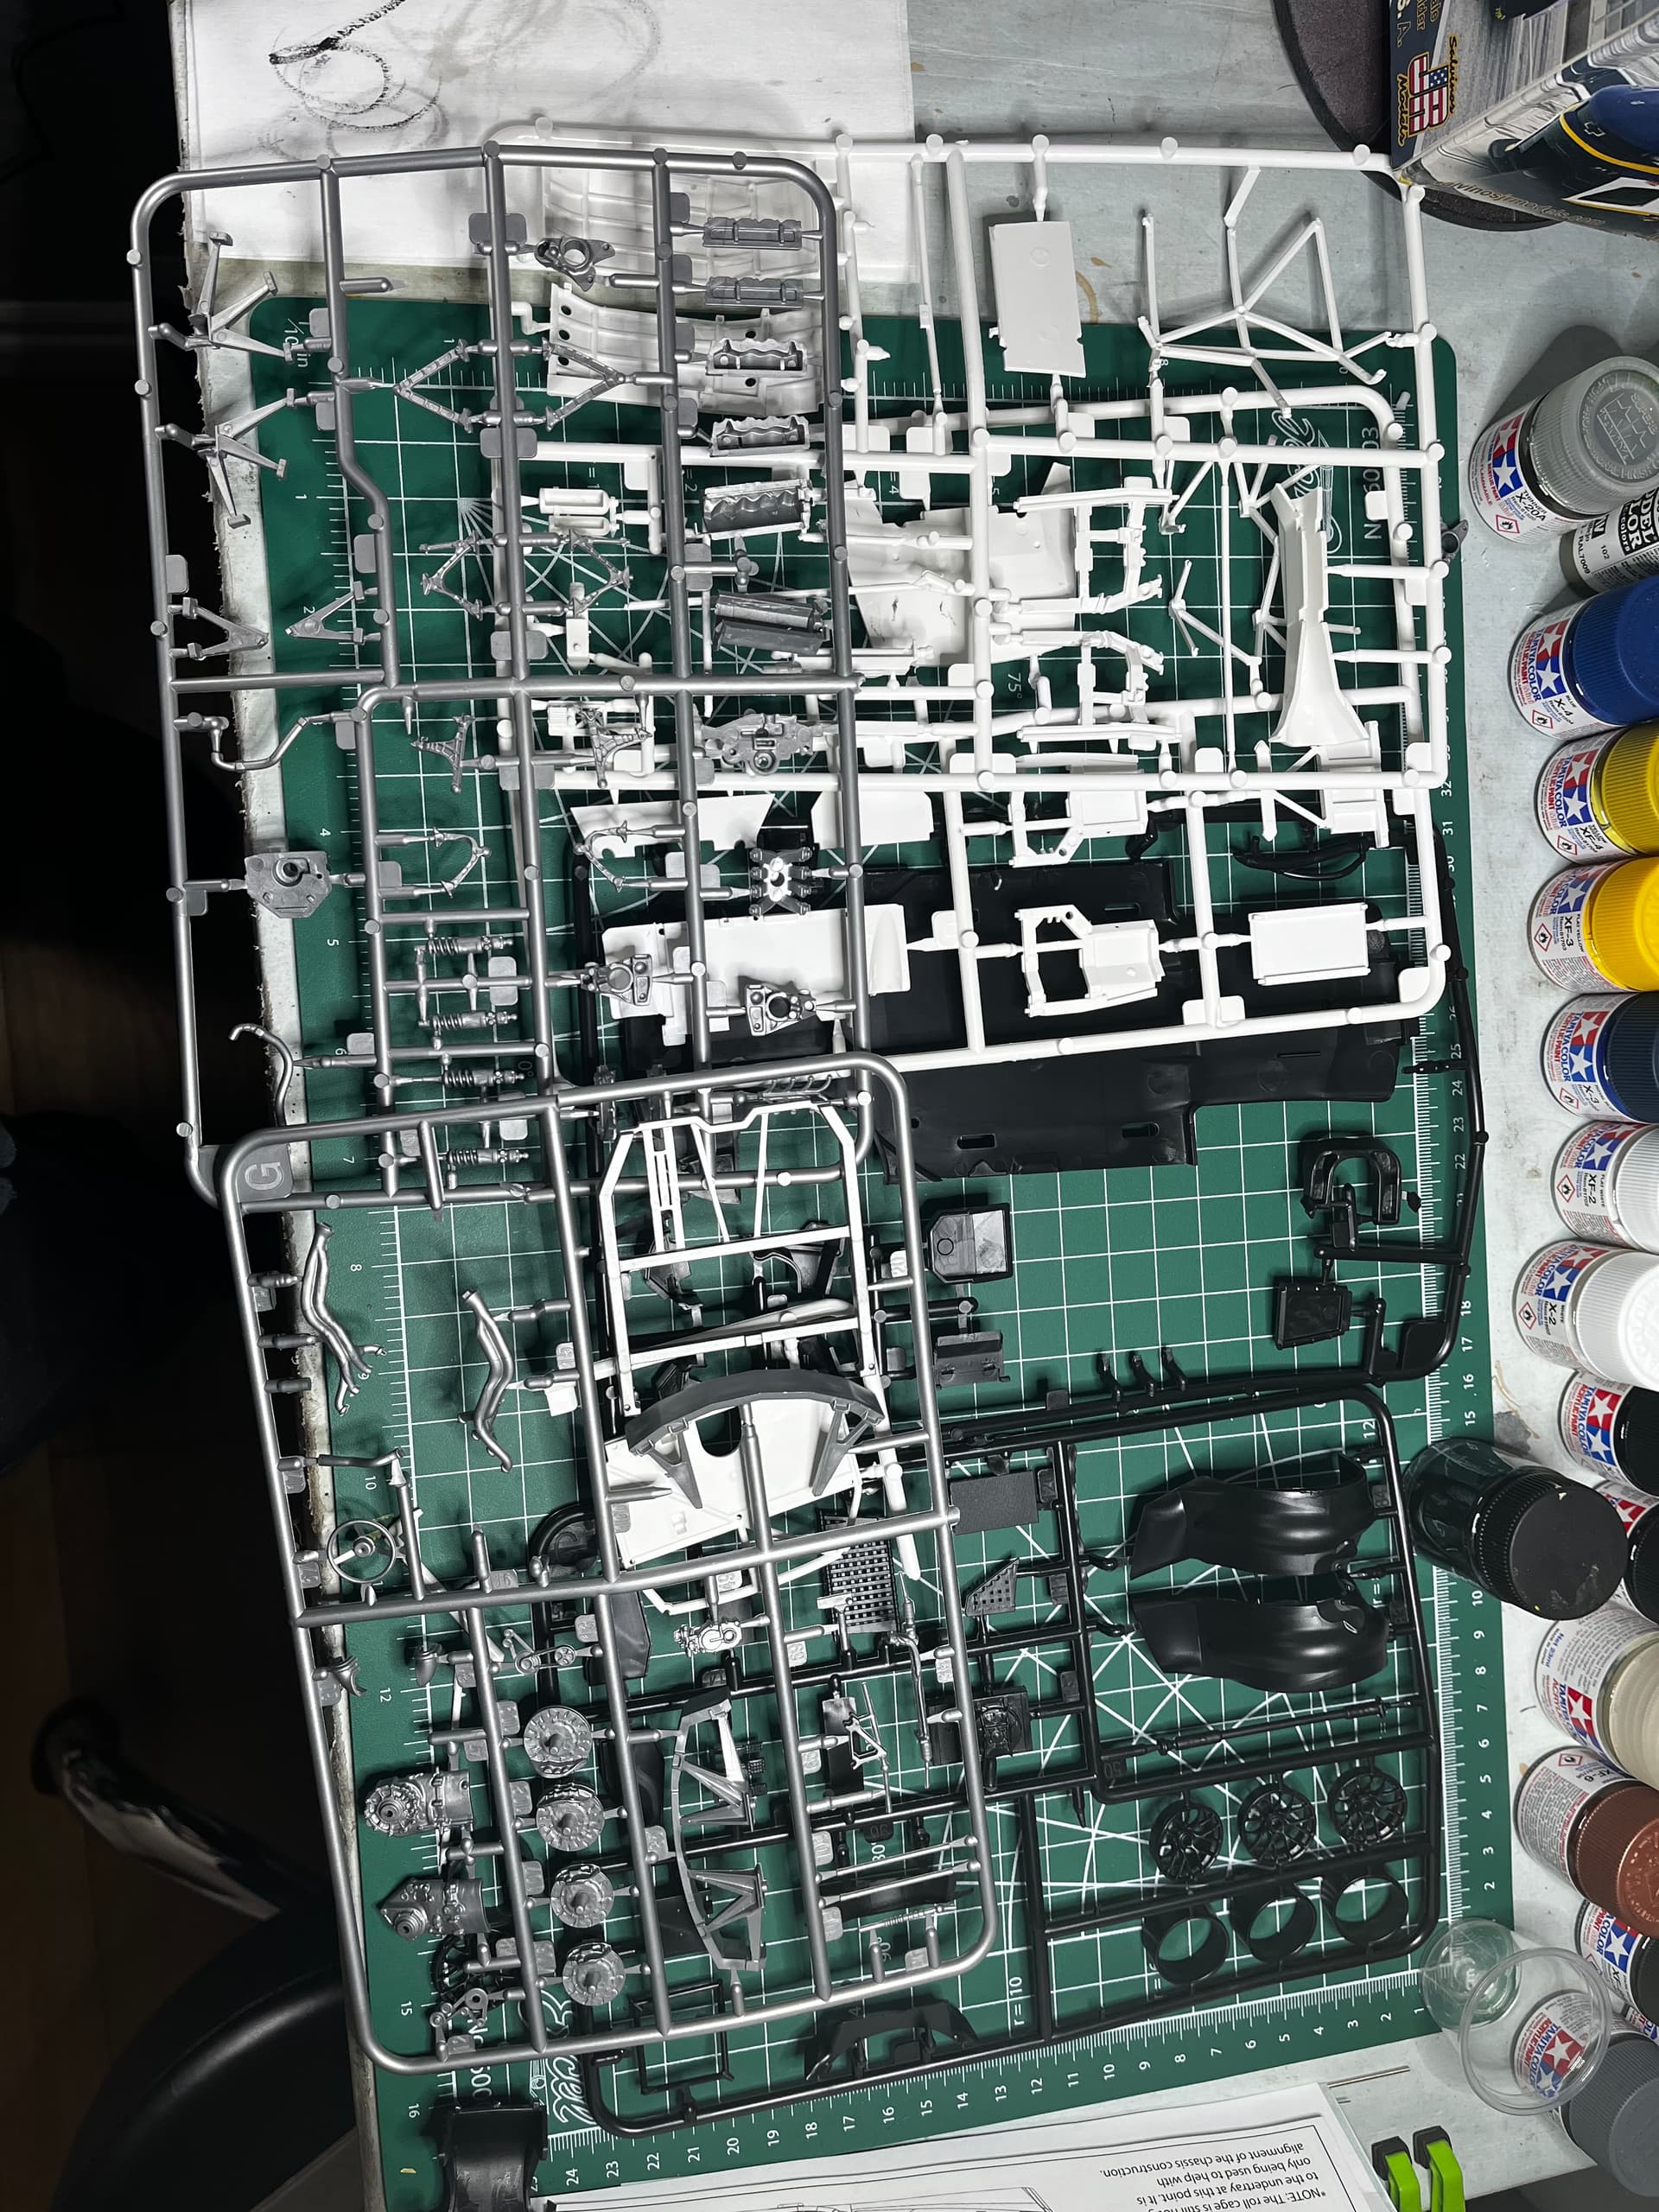
Alright, been about 4 months since I sat down to build something, started by cleaning things up a bit and catching up where I left off. Sanded the primer down on the body getting up to 3500, going to shoot another coat of primer but black this time to darken the blue top coat, got the transaxle put together and painted titanium, got the rear chassis put together for the most part.

Im still mad about the drive line post above, just agitating that a kit has a known issue and was being sold for 50-55$ regular price. I digress,


2 Likes


Added some pin wash this morning, put a coat of black primer on the body and hood last night and was able to shoot some Tamiya blue on this morning. Got a touch of orange peal effect on the body which caught me off guard, haven’t experienced that on a body in awhile but I try to use tamiya TS for body’s but I don’t have any blue so I shot it with tamiya acrylic. I’ll wet sand the body next weekend before I hit it with the Mr super clear.

4 Likes

Looking good. I have Kyle Larson’s car from them - following along.

1 Like

I like the pin wash effect on the metallic parts. Did you solve the drive shaft issue as described?

1 Like

I didn’t feel cutting the driveline and adding a 1/8” was a reasonable option as getting it straight and then having do deal with the sanding would have been a real pain, I heated it up with a lighter and stretched it an 1/8” or very close to that anyways, problem is that created a few bows as well so I’m not sure there is a great solution. Good news is I don’t believe you will be able to see it when it’s completed.

2 Likes

Actually, good thinking.

1 Like

Not going for a perfect representation but looked up a few photos for the engine to get a basic idea. Anyways starting on the engine this weekend and I’ll see how for I can get.

3 Likes


4 Likes

Your motor’s looking pretty sick!

1 Like

Wow,the detail on the engine is outstanding

1 Like

The engine is looking like those reference photos.

1 Like

I looked through my decals I had laying around in hopes I could find something at least close to the valve cover markings in the reference photos but I really didn’t have anything. Happy with it so far. The pin wash really helped bring the aluminum down to a realistic shade.

This kit is silly, first you need to add a 1/8" to the drive line, now you need some change to put it together. They could have supplied a shim, or a measurement, no no no not JR. What if it’s a teenager that has never seen a penny? Or a different country that has never seen a penny or, now hear me out, maybe the person has a debit card and doesn’t use Penny’s, not to mention the penny production stopped last week I do believe. Ok end of Rant.

2 Likes

Alright, wrapping things up for the weekend, pretty happy with what I got done, sanded the body and hood down and shot it again. This time I raised my air pressure to 19-20 psi, thinned the Tamiya x-4 60% and heated my garage up to about 65° to try to get the 90% humidity down. Seemed to work much better that my first shot. Got the engine cage on and installed the engine, chromed the exhaust, I plan to heat stain it.


3 Likes

Yeah, you def got the pin wash on metallic parts on lock. Looks good. How did you chrome the exhaust?

1 Like

Just used a liquid chrome pen.

1 Like