I built these four kits during the past few days. Spray-painted them with industrial spray can in Silver and White, plus Tamiya’s Flat Black and Olive Green acrylic color by brush:
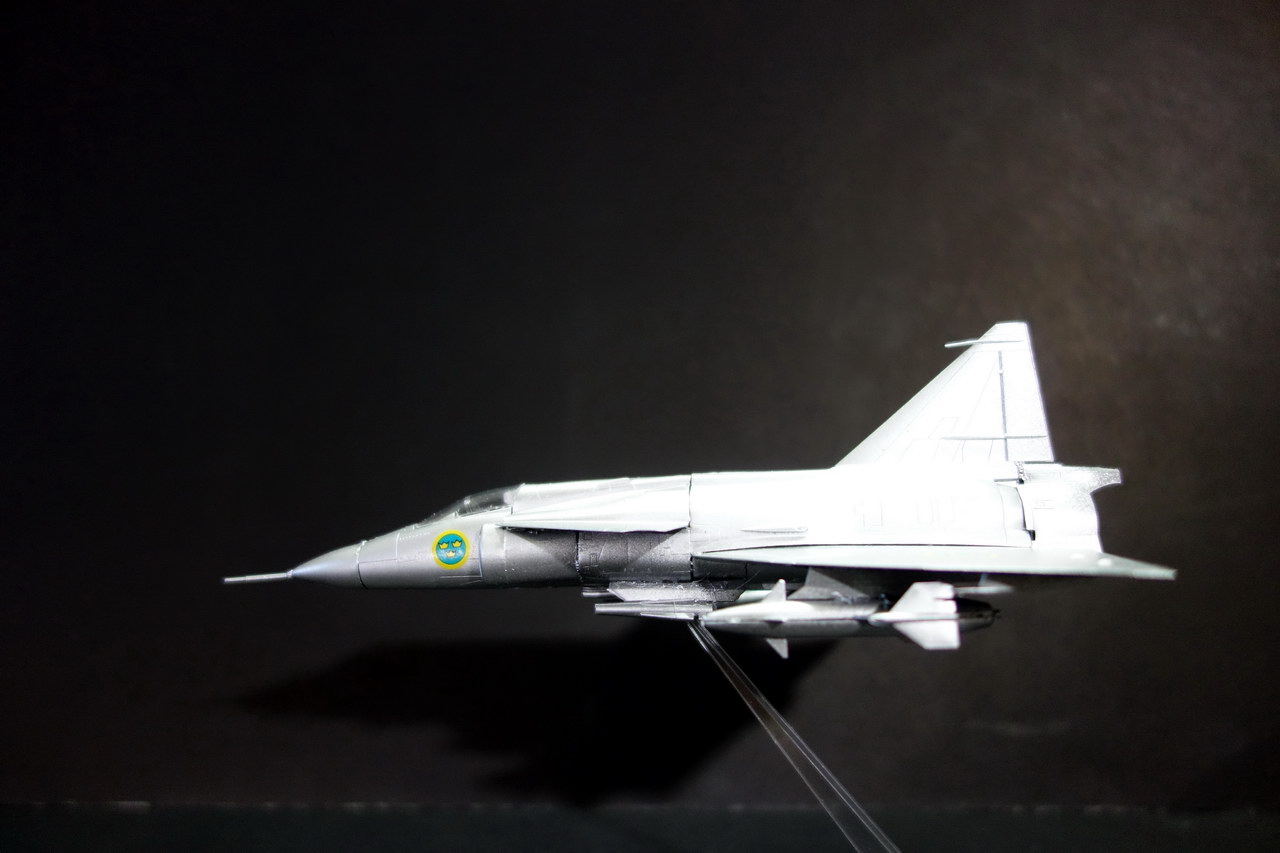
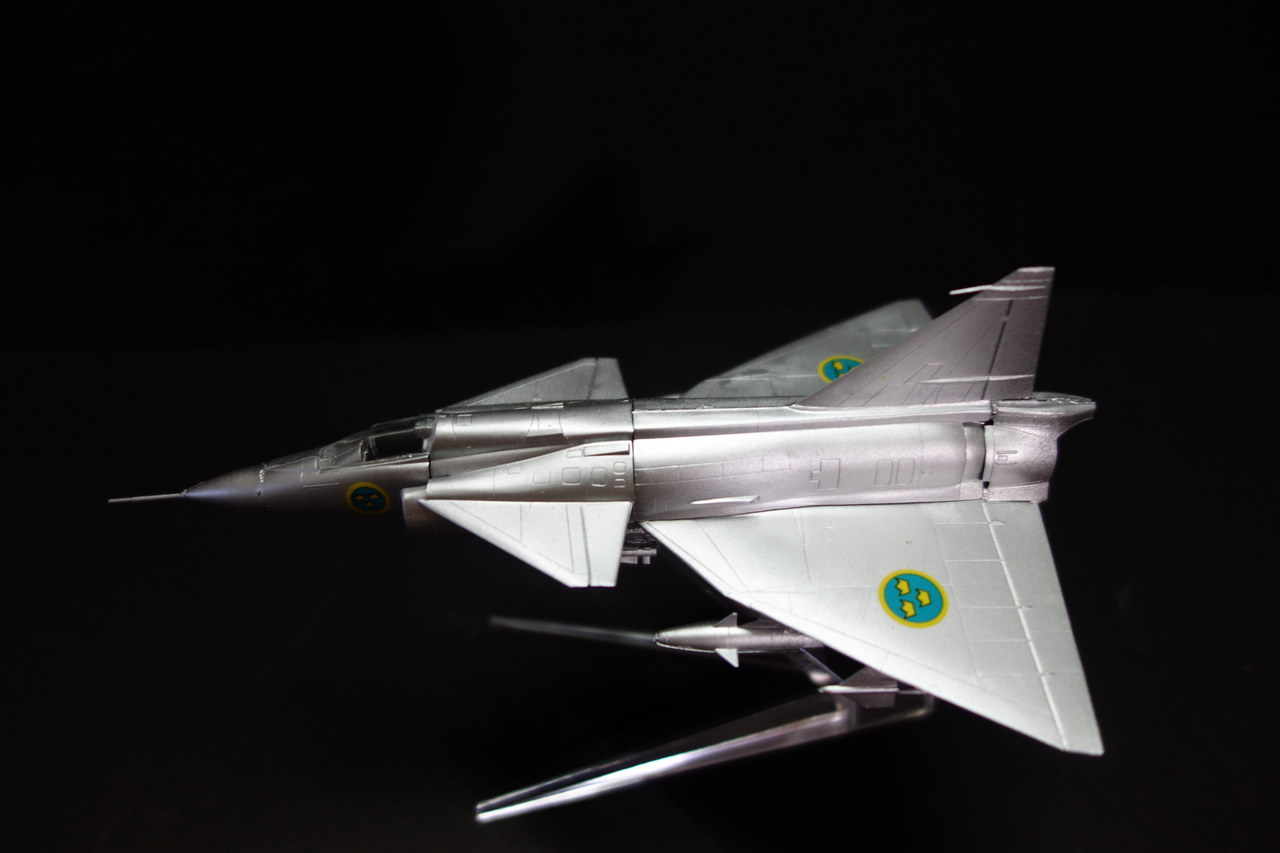
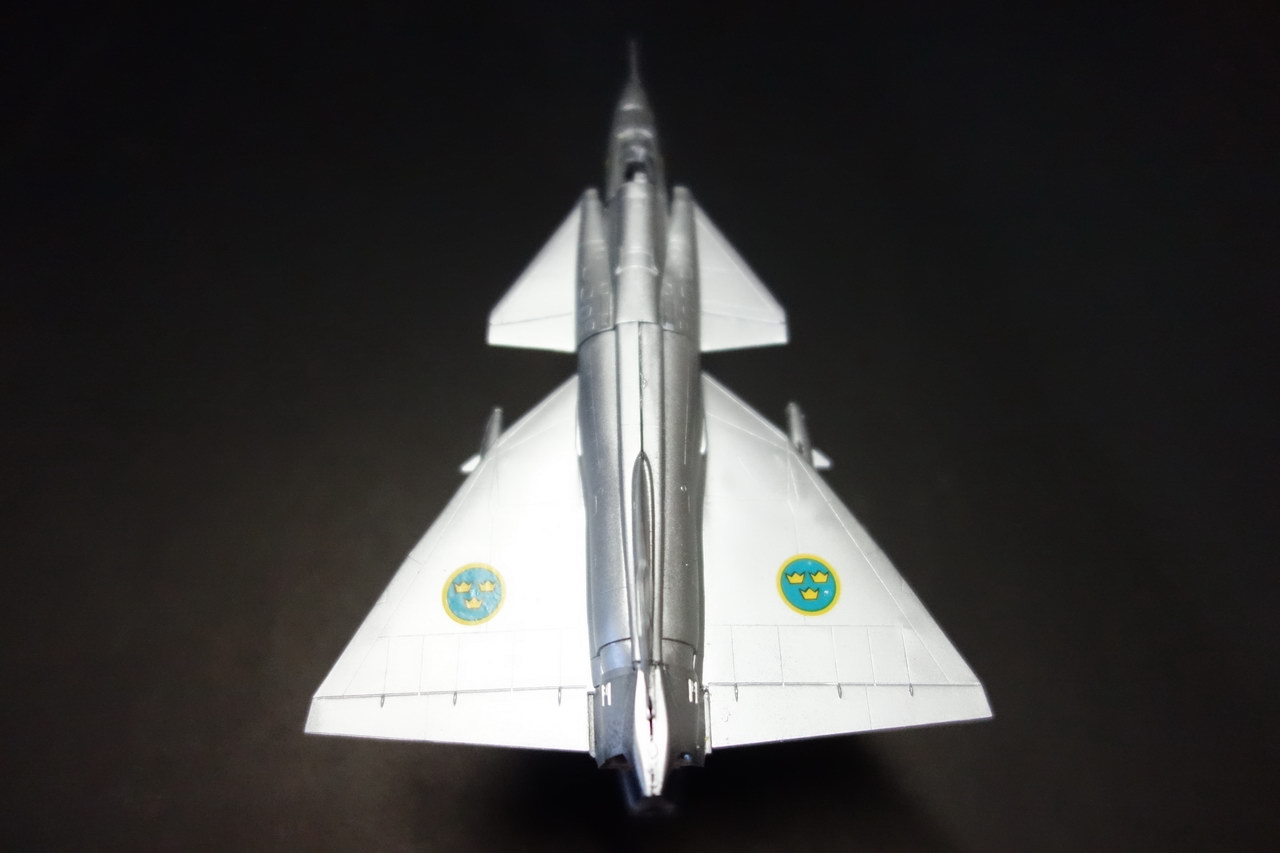
Tamiya’s SAAB AJ37 Viggen 1:100
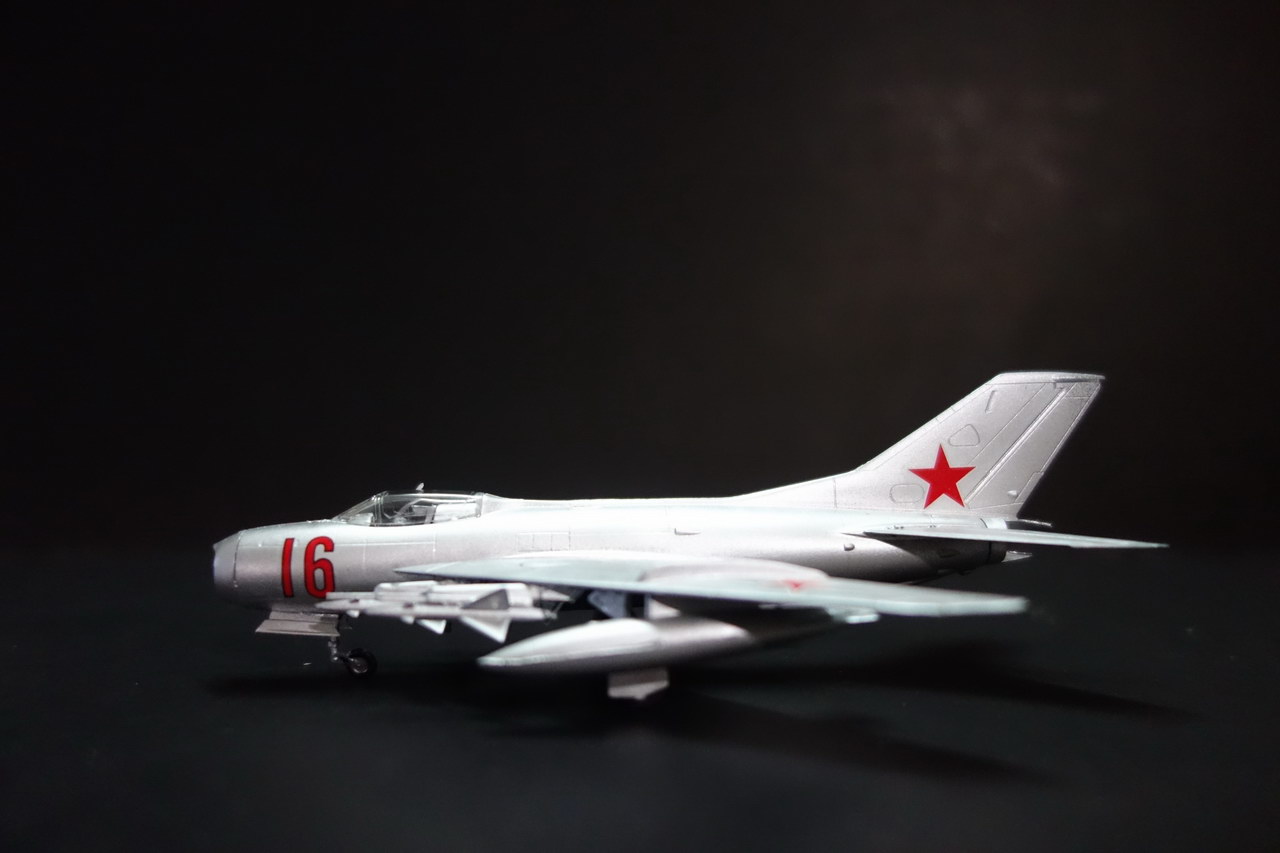
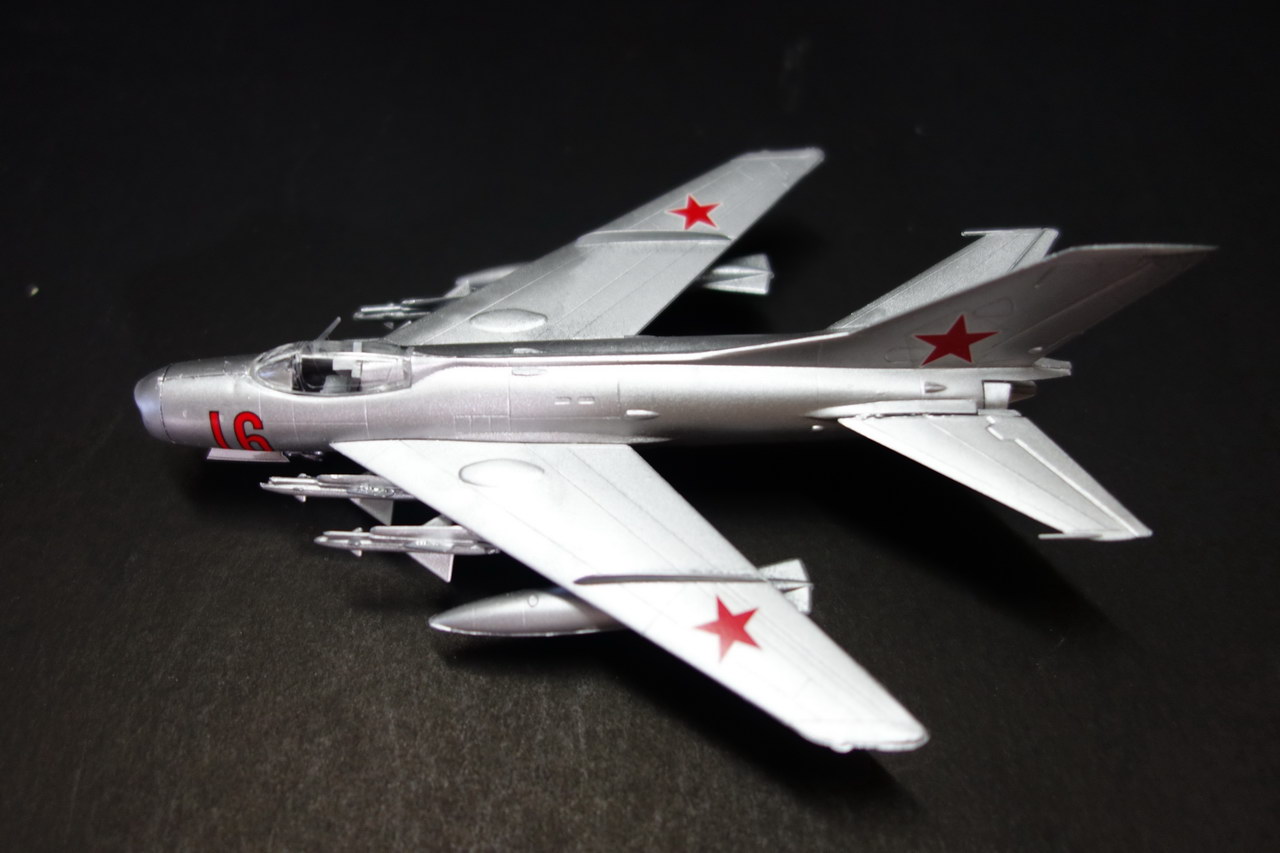
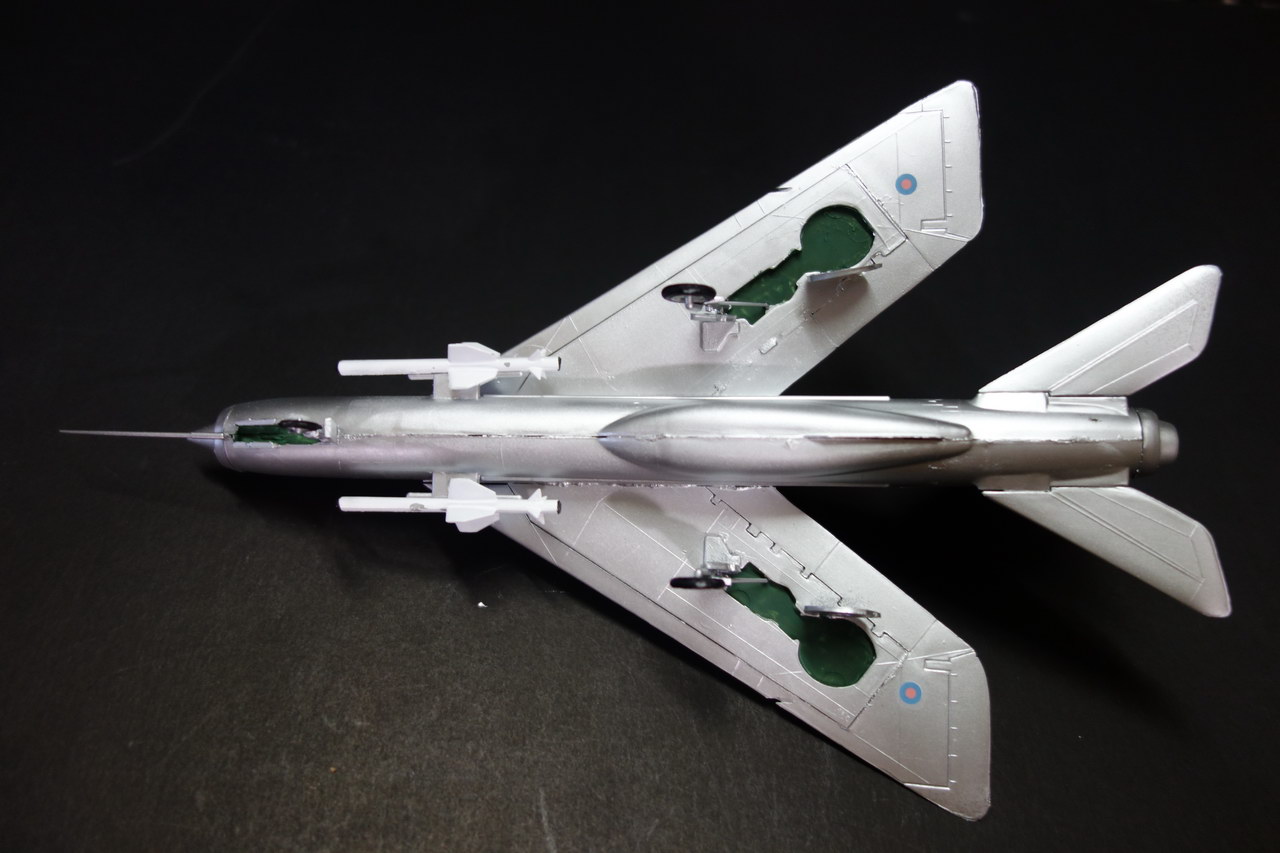
Tamiya’s MiG-19 Farmer 1:100
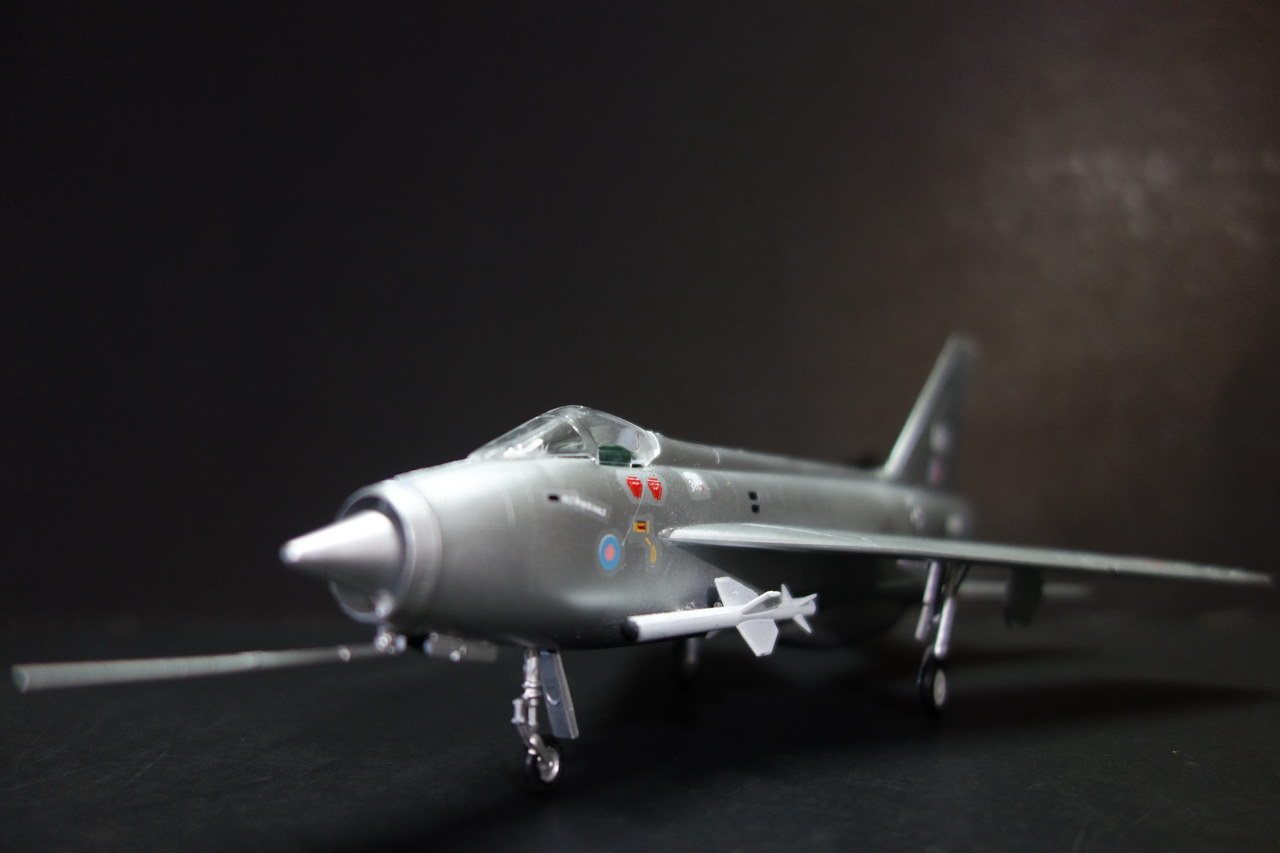
Airfix’s BAC Lightning F3 1:7
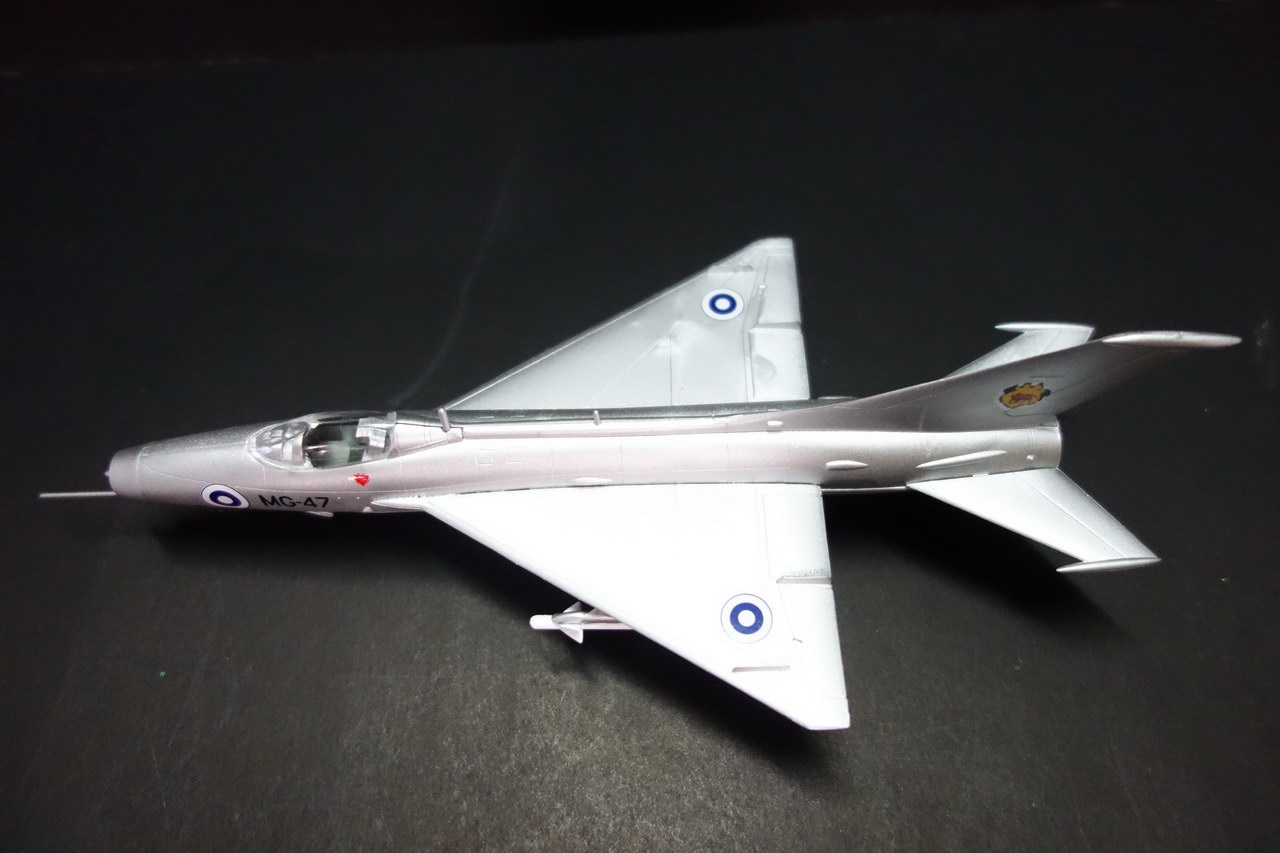
Academy’s Finnish Air Force MiG-21 Fishbed 1:72
Sample images:
–
–
–
There are more images and 18 more models in my latest page:
Well, well, now you’re building your kits personally? Congratulations!
As you can probably see, the silver finish is quite unforgiving - every seam and imperfection of the surface will show through it! That’s why it’s so important to take your time and work those seams slowly but surely!
On Soviet aircraft you can get away with silver that’s not so shiny - those babies weren’t very glossy, nobody polished them neither. Such finish is much more forgiving.
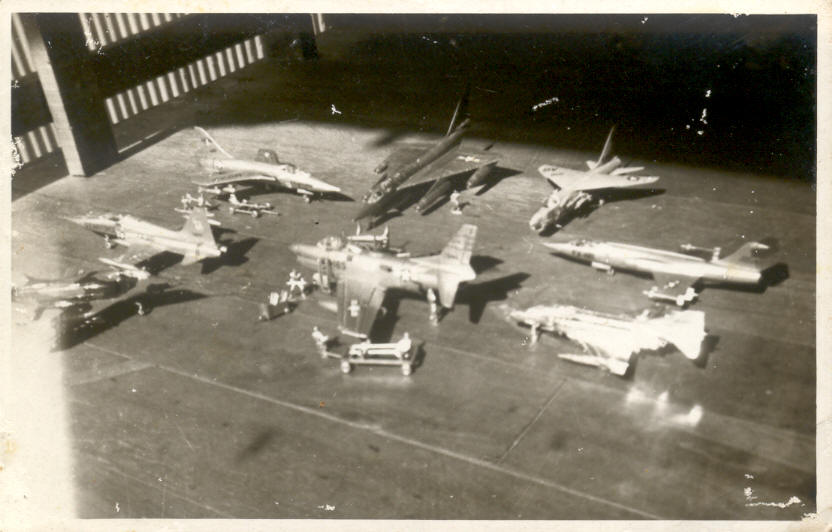
Well, actually I started building warplanes some 50 years ago. Here’s a picture taken in 1968 of my first batch of build. It’s also my first model photography so to speak:
I should have had more patience and put more effort on those seams and slurs of glue. I have the fine sandpapers 400-600 to do the job, but I don’t have putty to fill the gap. Anyway, when displayed with other models those shortcomings are not so noticeable.
Thanks for your kind feedback and comments. Have a nice day too.
Model Maniac - in a pinch you can make your own putty, here is how: take a small bottle, one that used to hold nail lacquer is best. Clean it with lacquer thinner, and then put some lacquer thinner inside. Then take some sprue from a model kit and cut in small pieces. Put the pieces of sprue in the thinner in the bottle until the bottle is 1/2 - 3/4 full with the mixture of lacquer thinner and plastic particles 1:1. The plastic should dissolve in lacquer thinner and in about 24 hours give you a bottle of very nice seam-filling putty. It dries slowly - needs about a day to cure, but has perfect adhesion to plastic, doesn’t shrink after sanding and sands very smooth. And is very cheap, too!
Toshi - thanks for your kind words and continuous support.
Pawel - thanks for your kind suggestions. It will be useful for my future build. I’m also wondering whether latex glue + talcum powder will work for the same purpose or not.
Greg - thanks for your kind comments. In the far past I built everything myself - warplanes, tanks and warships. The biggest piece I built was the Yamato 1:350. That will be too troublesome for me now.
The 4 kits that I built in 2 days are easy to build. I believe Toshi can do faster and better.[:^)]
LOL! I don’t think I’ve ever done a marathon of 4 kits in 2 days let alone better. LOL![:)] I’m doing a WIP Minicraft 1/144 B-15G and it’s been 4 days and I still don’t have the decals on.[8-)]
No problem. What is the length of your B-17G 1:144? I recently saw a B-17E/F 1:32 released by a new company (HK Models) with price tag plus shipping of around $300. This will be 4.5 times the length of your kit.
New kits these days are so big. Battleships come in 1:200 scale. And now I see U-boat type VII in 1:48 scale by Trumpeter. Soon they will make it in 1:35.
Something is wrong here. Your length and wingspan is too big to be 1:144 scale, too big even for 1:72. I googled and found out that the wingspan of the real B-17G is 103’ 9" or 1,245" divided by 21 = 59.28, while the length of the real one is 74’ 4" or 892" divided by 14 = 63.71. This means your kit is around 1:60 scale, very far from 1:144
Length of a B-17G in 1/144 scale should be a little under 6 1/4 inches
There’s lots of things you can use as filler apart from the usual hobby filler products. As mentioned above, you can melt sprue in lacquer thinner/liquid cement. Also, a lot of people use automotive body filler. Arguably, it’s pretty much the same stuff as hobby branded putty but much cheaper. Some people even use typewriter (who still uses one of those?) correction fluid.