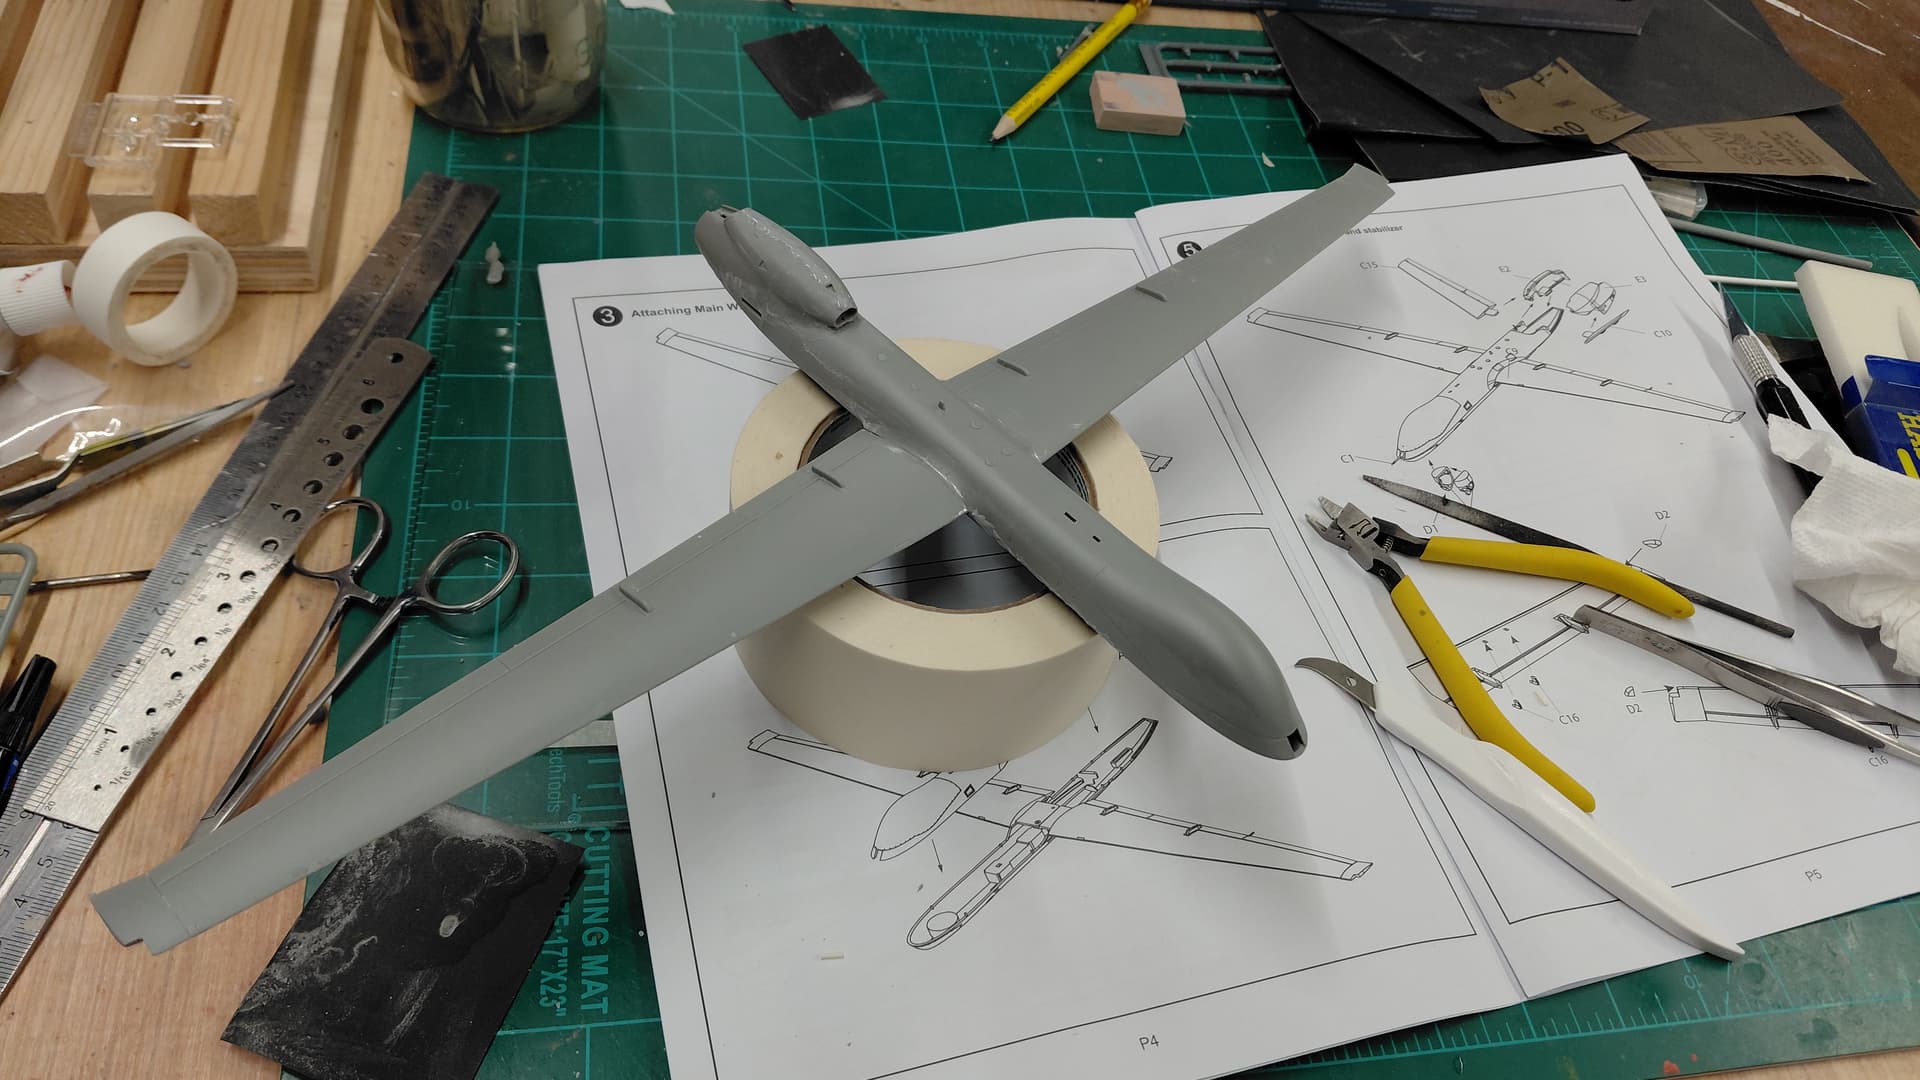
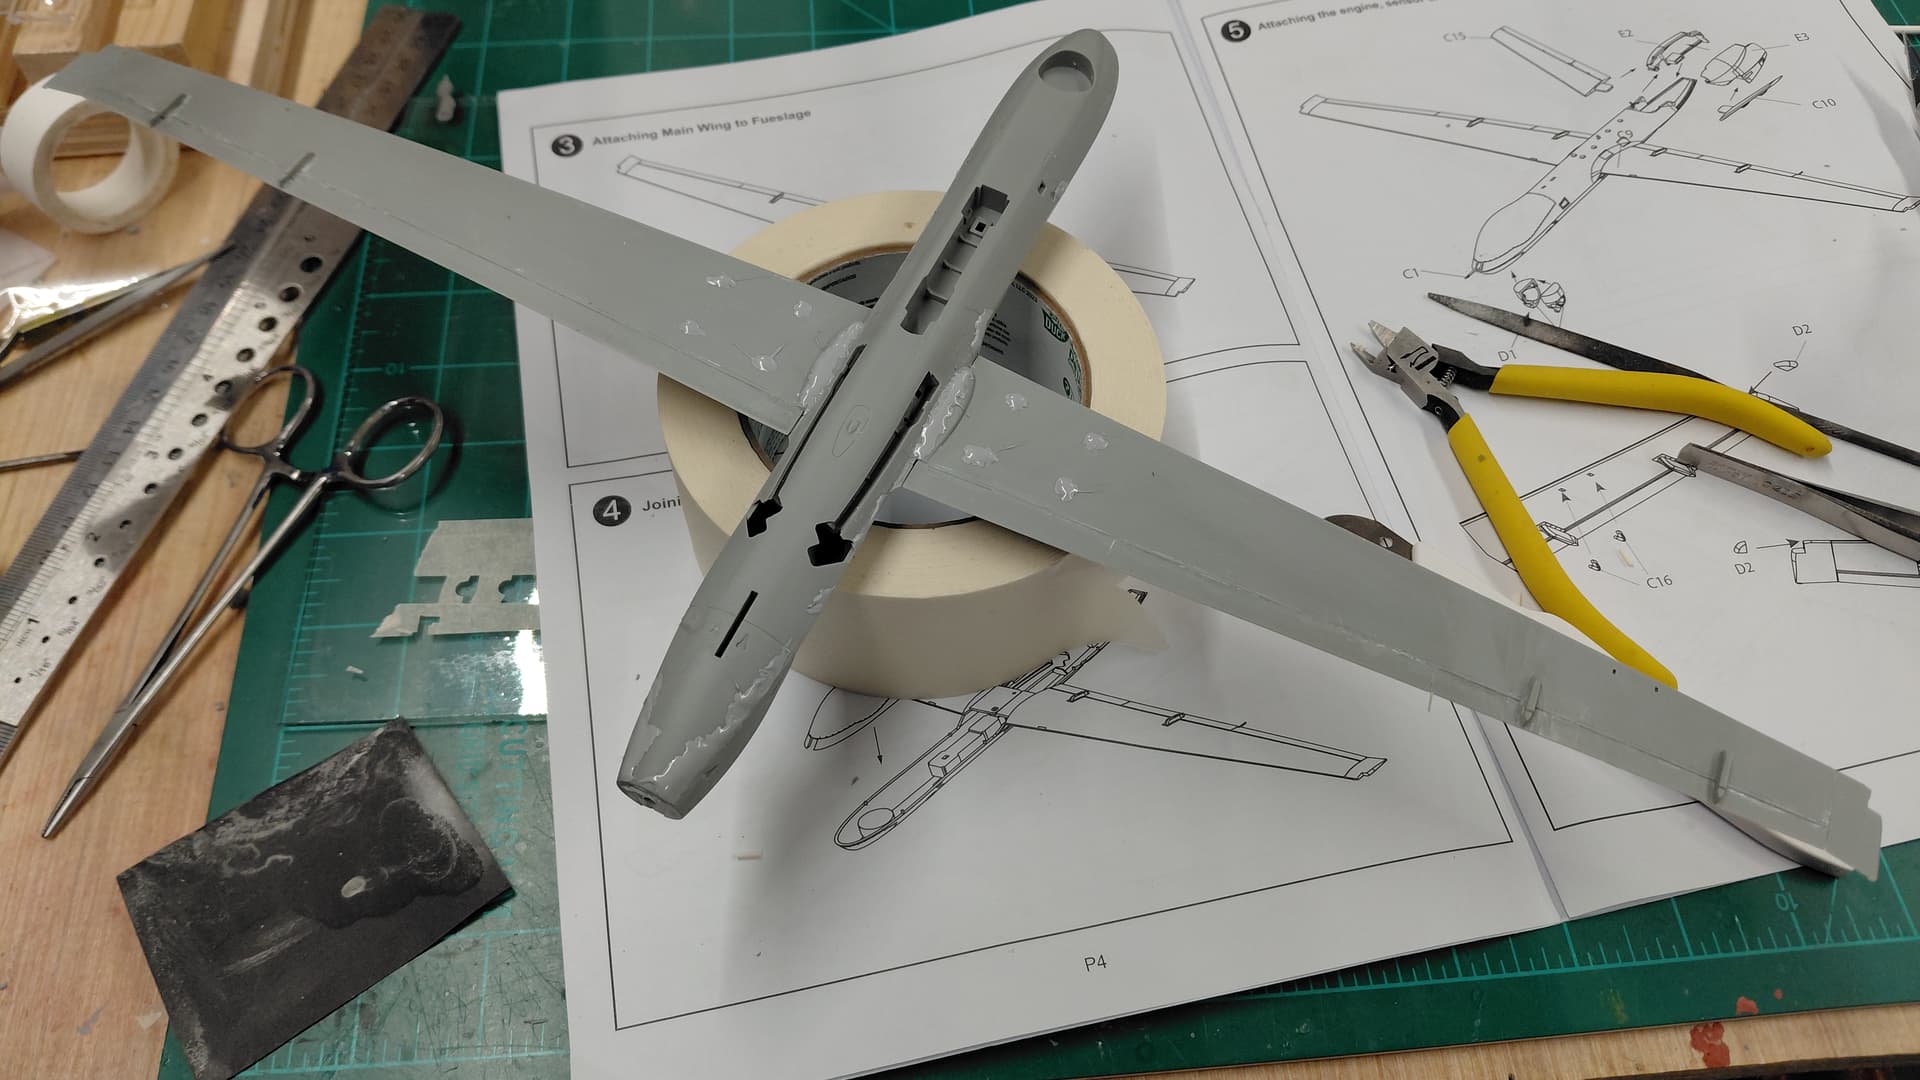
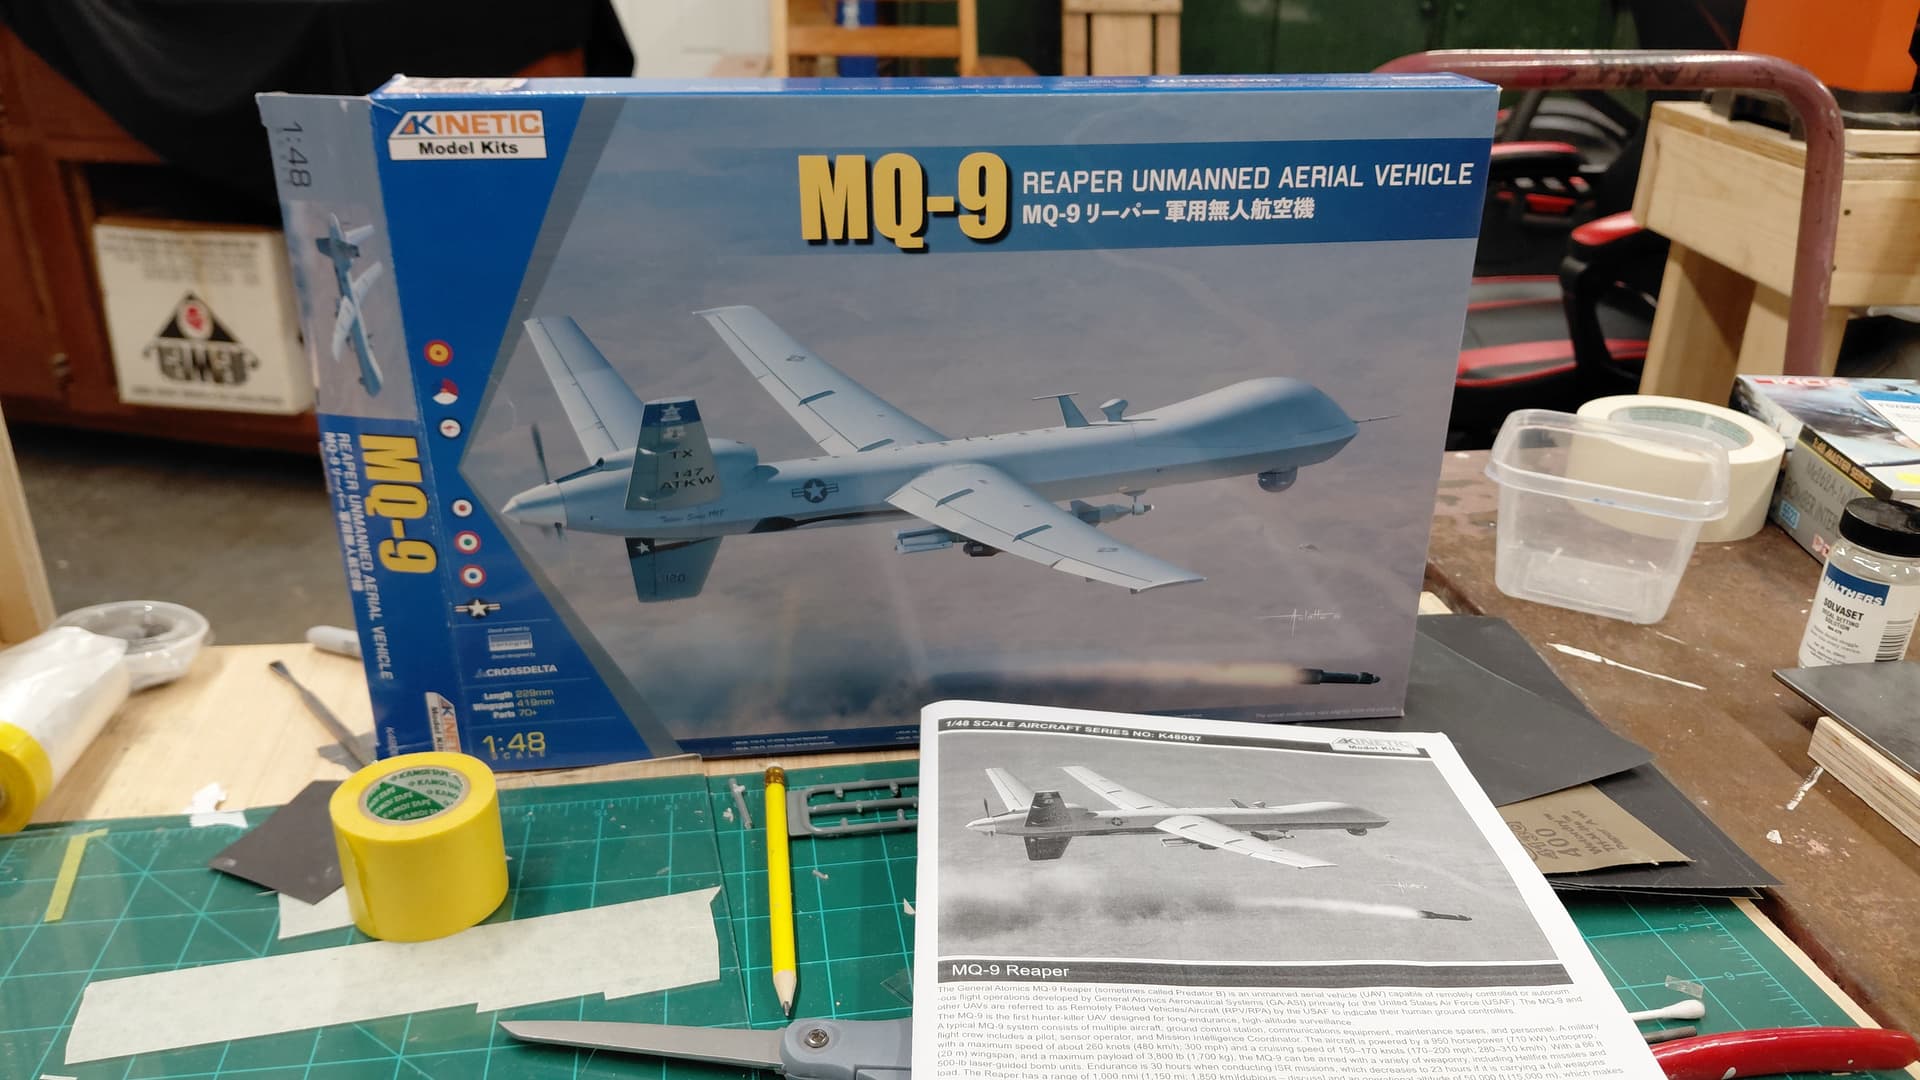
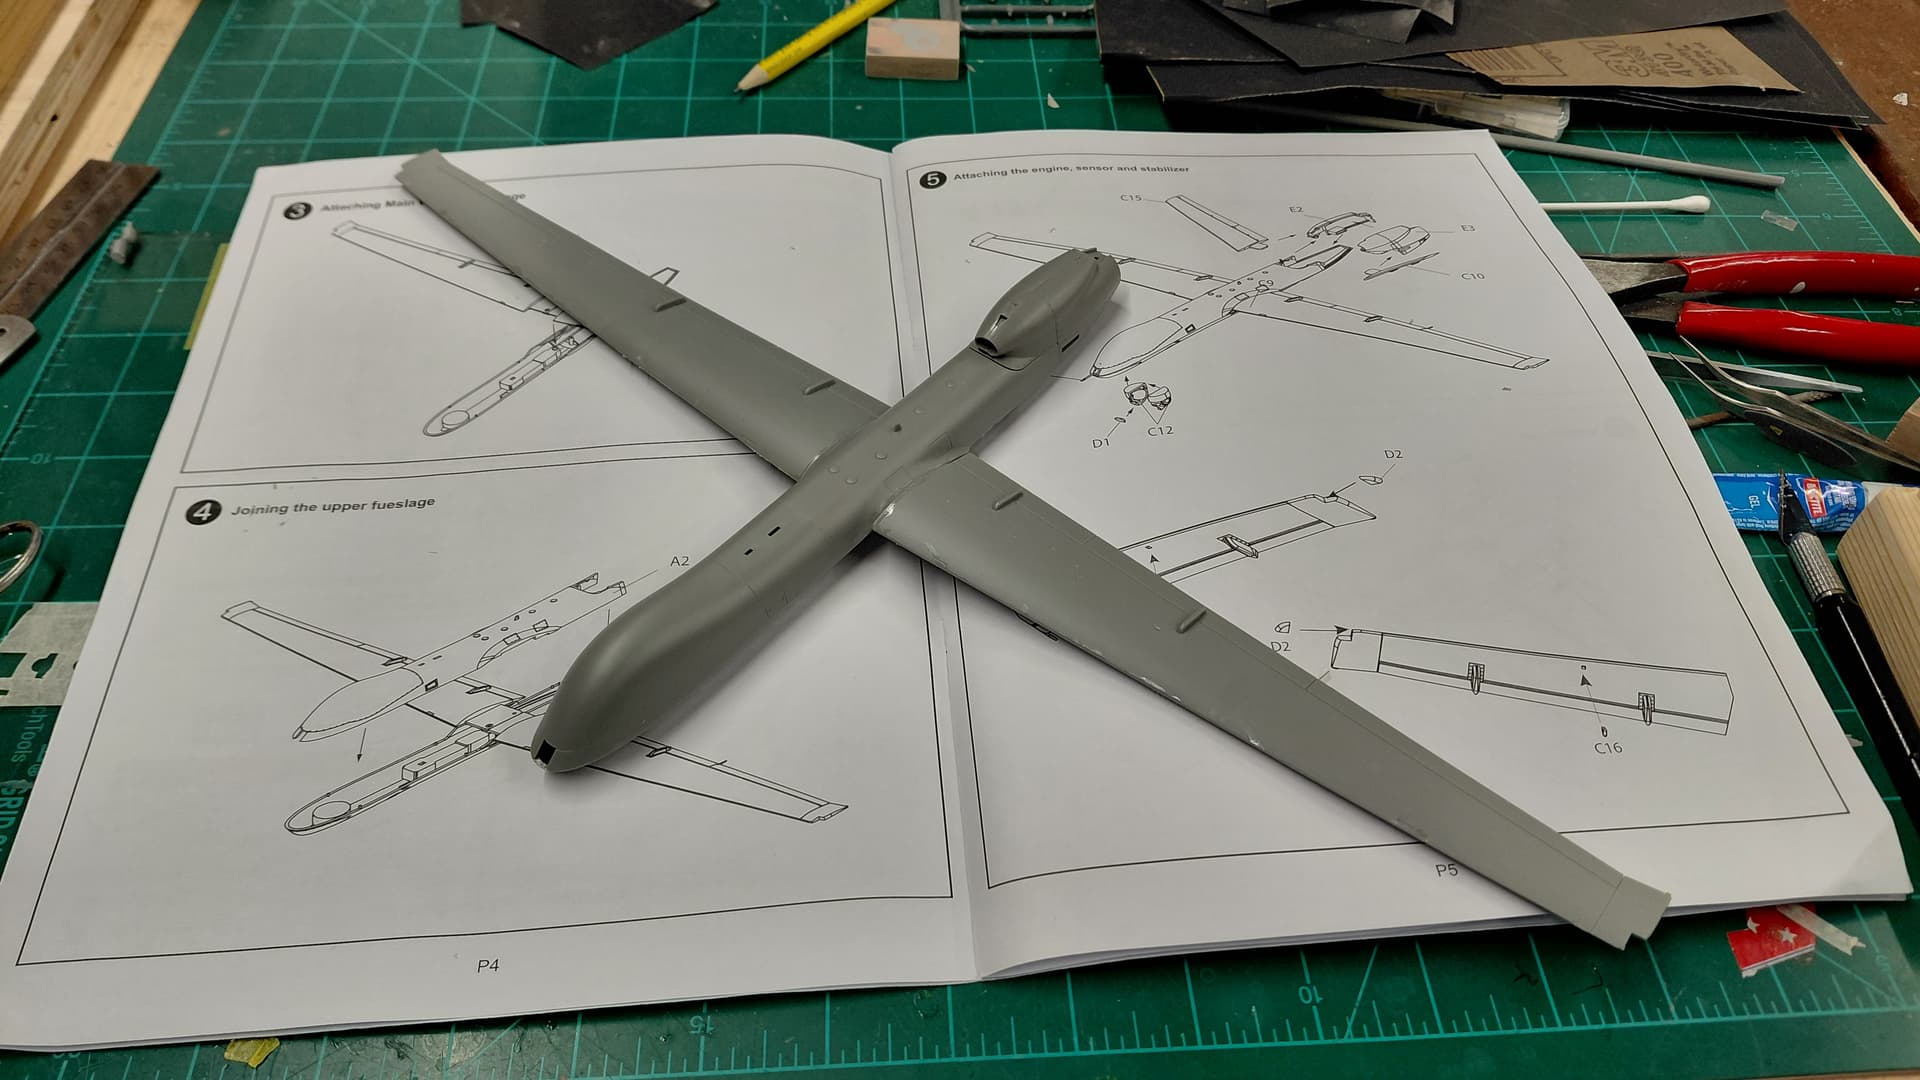
Started building the Kinetic 1/48 MQ-9 Reaper drone for my son who works on them.
This a fast build and it will take me longer to fill & sand than any thing else.
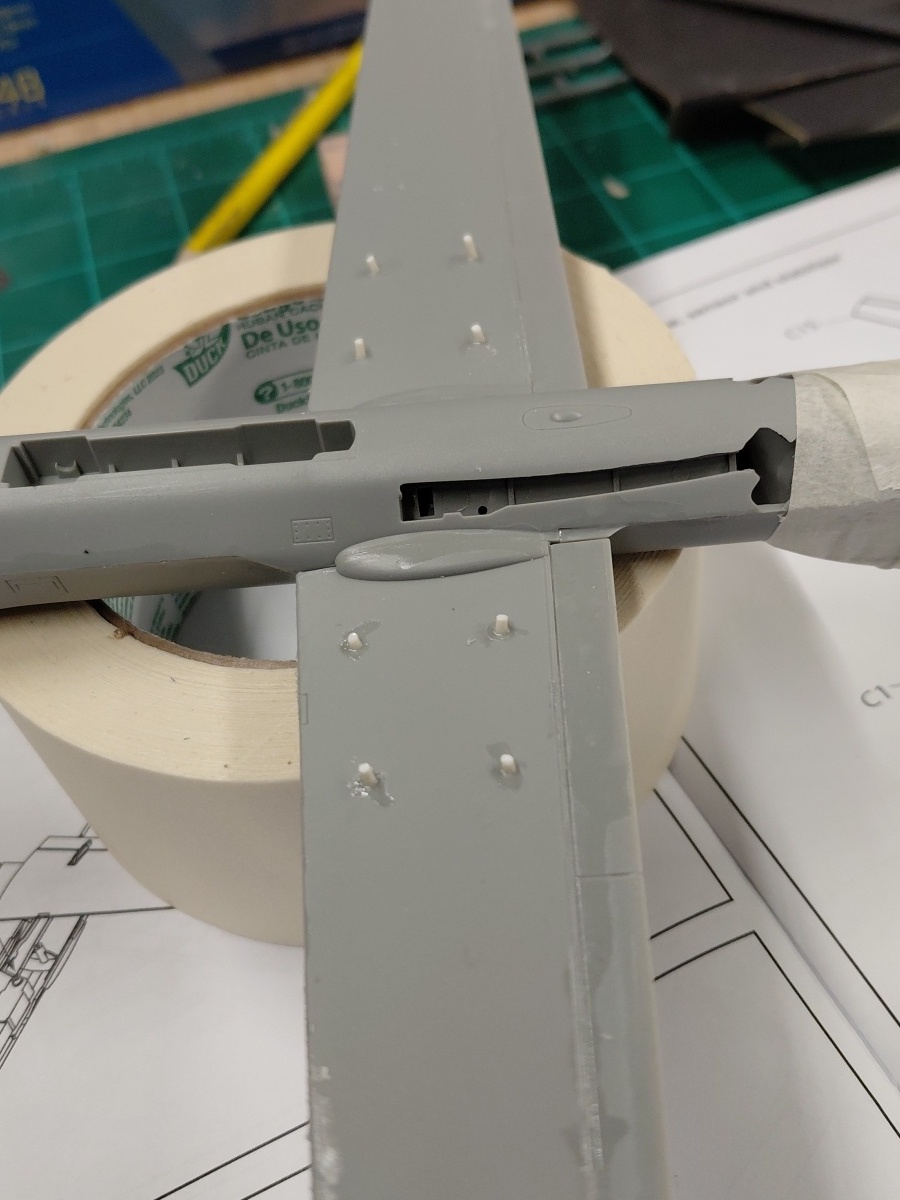
I had to fill the pylon mounting holes with rod stock I had and now need to wait for the glue to dry before cutting them flush.
6 Likes
Interesting project. Good to know about the holes that need filling. I have this kit as well but haven’t started it yet
1 Like
Watching. I too have this one in the stash. Two tone paint right?
1 Like
Yes, because I use MRP Lacquers the colors are MRP-93 dark mod grey FS36176 for the underside and MRP-38 Medium grey FS36375 for the upper surfaces.
2 Likes
Kinetic’s MQ-9 is a rebox of a rebox… Still it’s a pretty nice kit. A good kit to get your mojo back with. Kinetic’s instructions aren’t very good - particularly about decal placement. When I built mine a few years back, I downloaded Revell’s instructions from their website. The Revell instructions show where the servicing markings are placed. (Revell’s kit number is 04865 - you’ll need that to find the instructions).
The MQ-9 is surprisingly large!
2 Likes