what a great build!
Thank you .
Continued great work! The exhaust pipe work sounds hard, but I like the way they turned out.
knox
Thank you . The exhaust work is not hard time consuming
I’m slowing working on gluing the two fuselage together
Enjoy
Rick
Absolutely stunning!
Toshi
Thank you
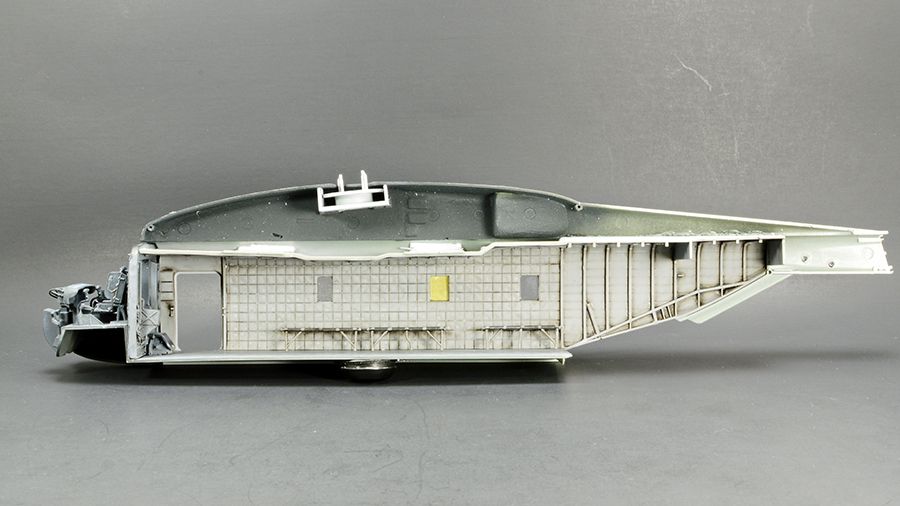
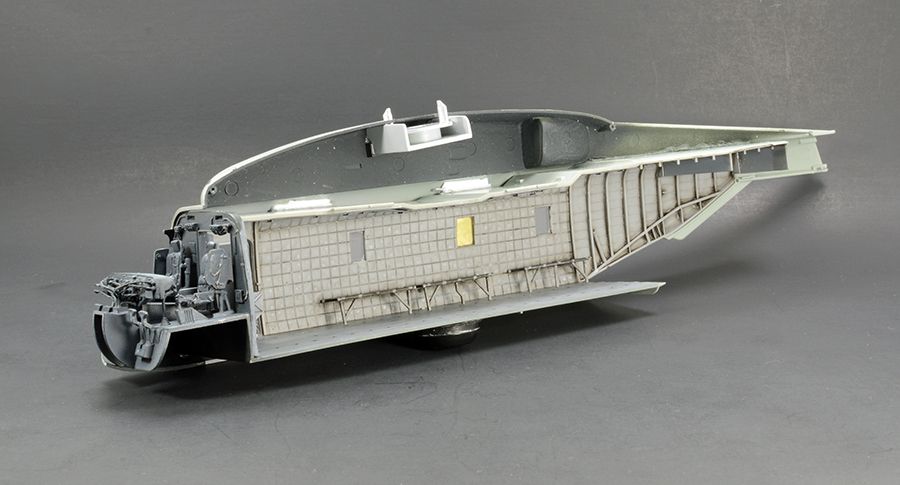
My build , there is a interior build first .
Then the wall , ceiling and floor gets glued to exterior fuselage .
Ok
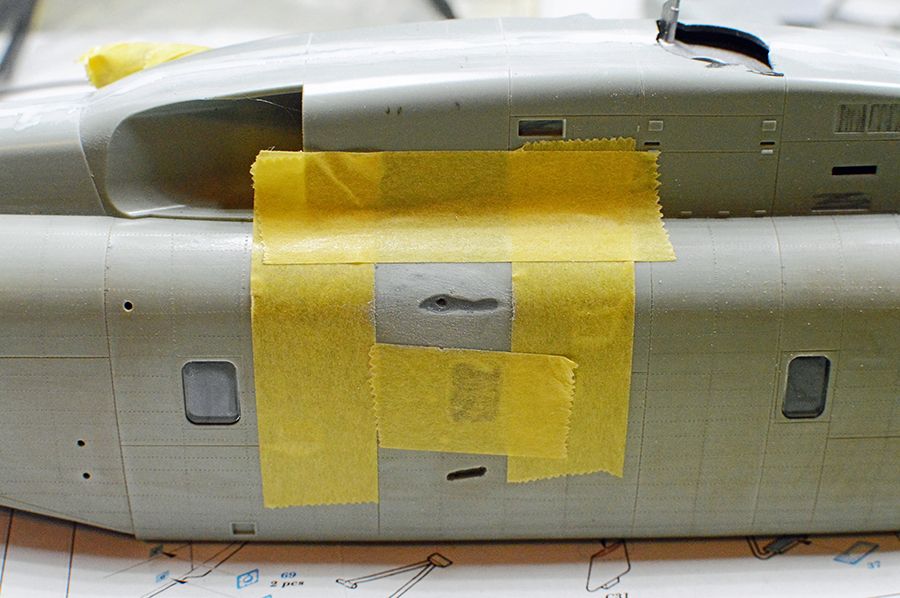
i think , my glue ( Tamiya Glue ) migrate to two areas . Those areas, the glue settled . Then caused this little but a set back problem
The areas are very soft very soft …
photo below
What do I do . I e mail Nigel a freind for advice .His advice , is to let it sit tell the glue cures out . Not to touch or do any repairs .
A big thank you again NIgel my friend
This is why I wished there was a model group here for low skill people like me . .I’m getting there .
Enjoy
Rick
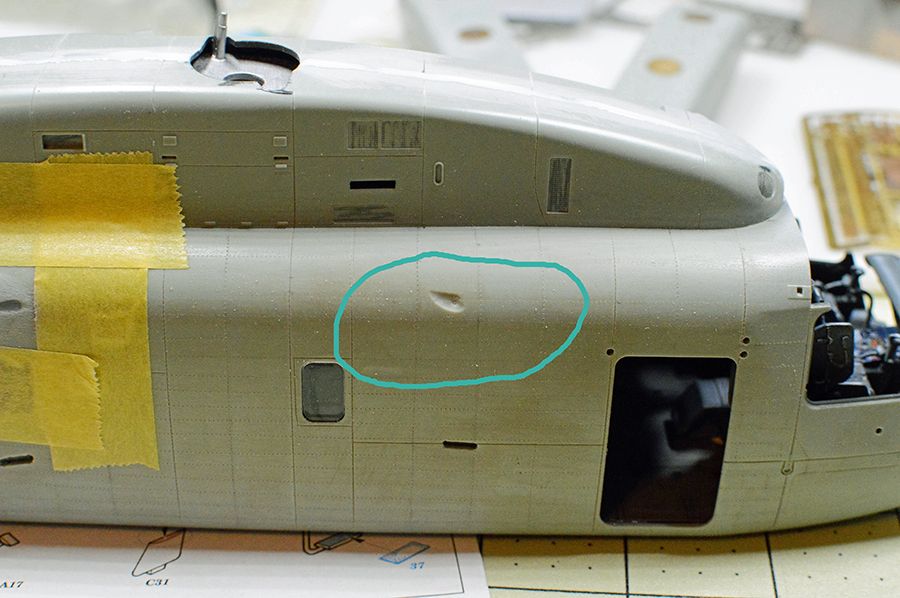
Day 2 . The bad areas still soft …
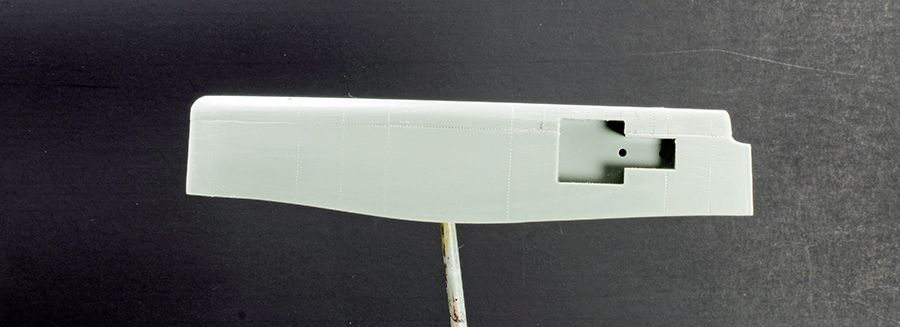
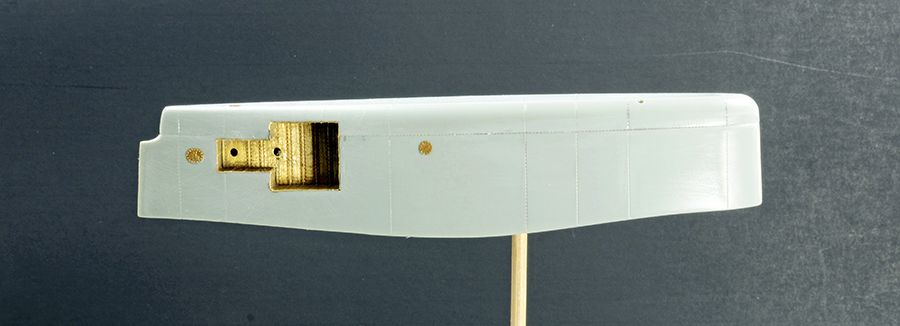
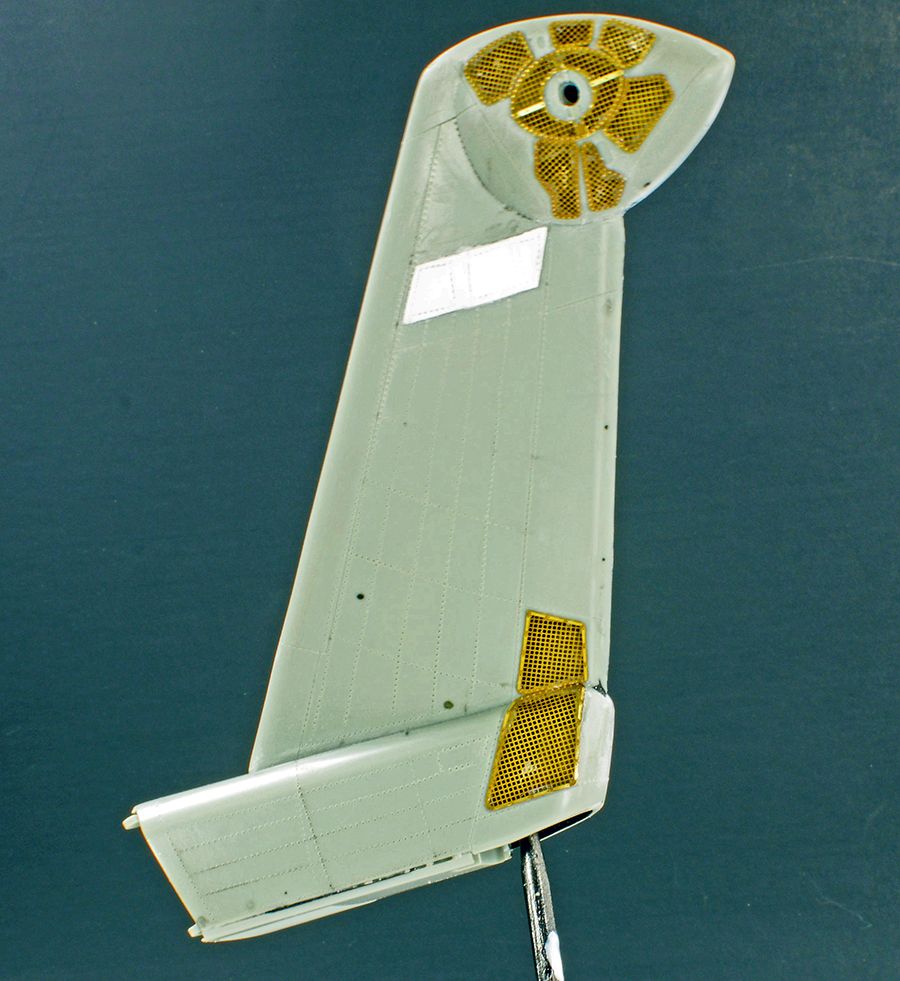
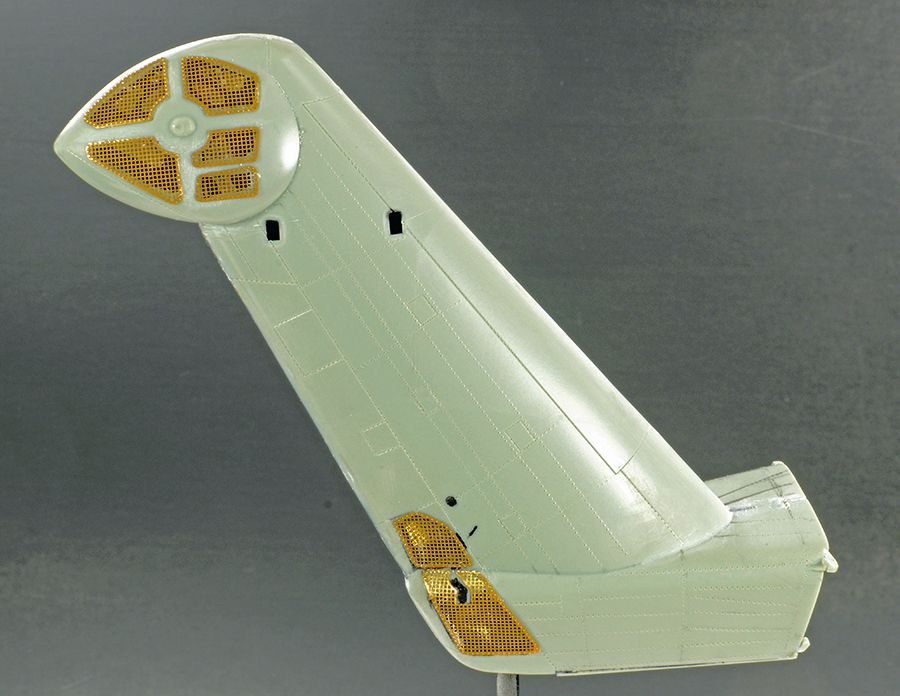
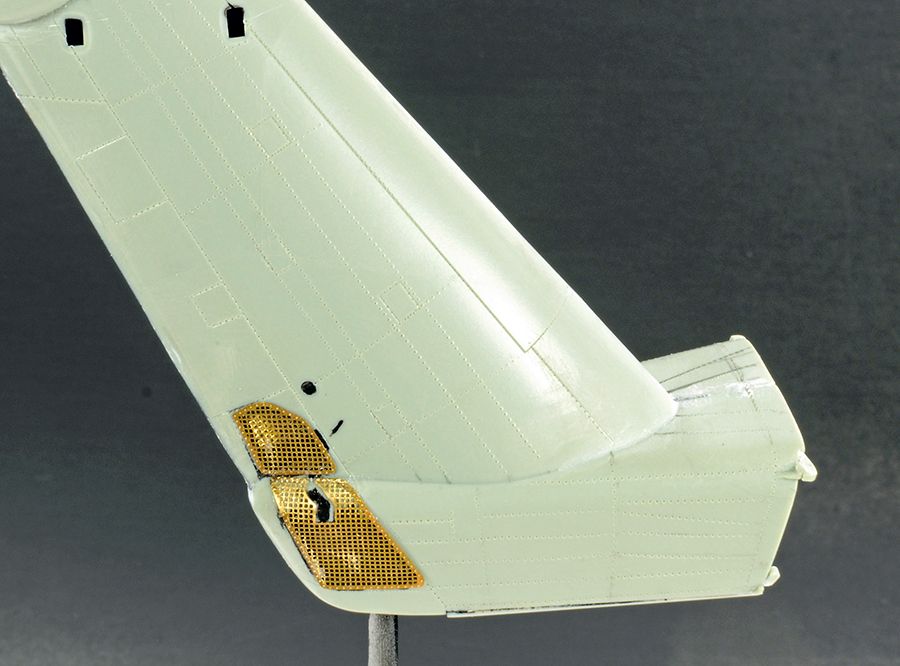
i am working on the tanks . I added some photo etch . It help the look a lot .
Enjoy
Rick
Top view
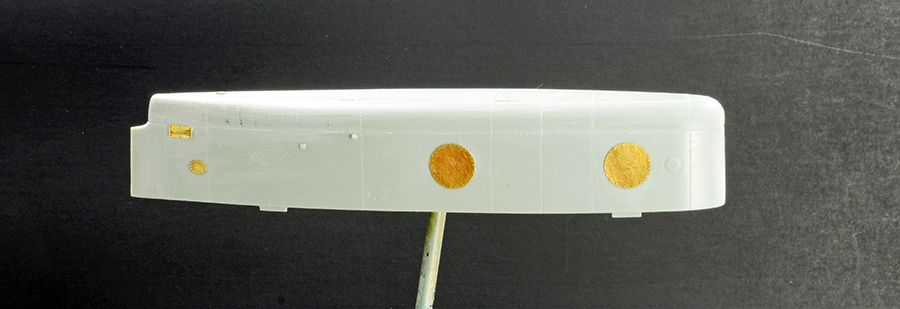
Bottom veiw
after photo etch
PE definitely adds a whole new dimension to models. Everything looks great!
Toshi
Hi can you Tell me which oil or color have you use and which tecnica?
Thank you
Not sure what you are asking . Sorry
The color ? If your talking about this model Tamiya paints and Alclad .
Tamiay sky gray and Nato Black so far
The oils . I used Mig . They are costly , but i like them … It may last life time for me …
http://store.spruebrothers.com/product_p/migabt080.htm
I’m really enjoying this. Happen to be building a couple in 1/700 (basic little things).
What is the right base color for the exterior?
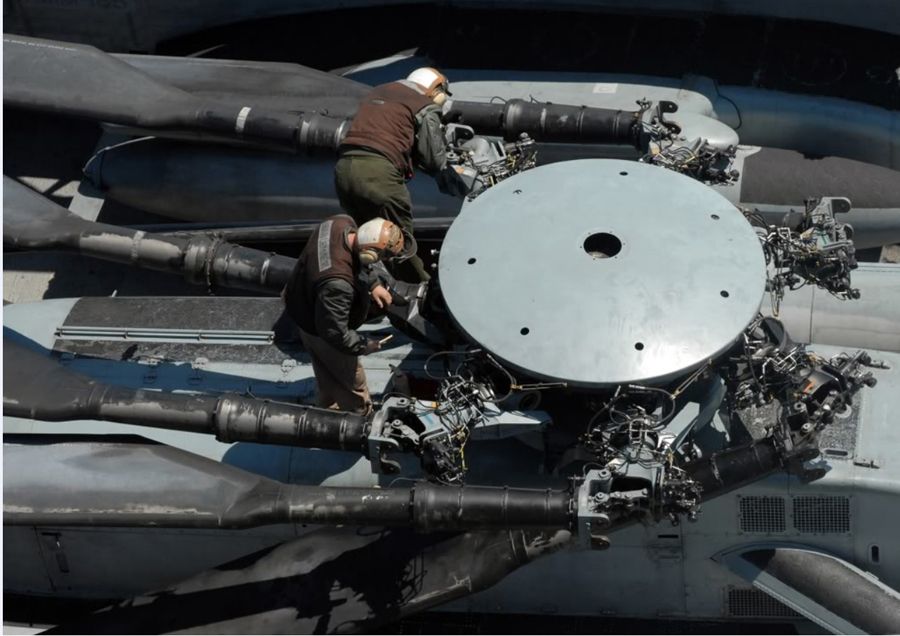
I used to crew RH-53Ds in the NAVY.you can stand up straight and they can seat 37 troops plus crew.
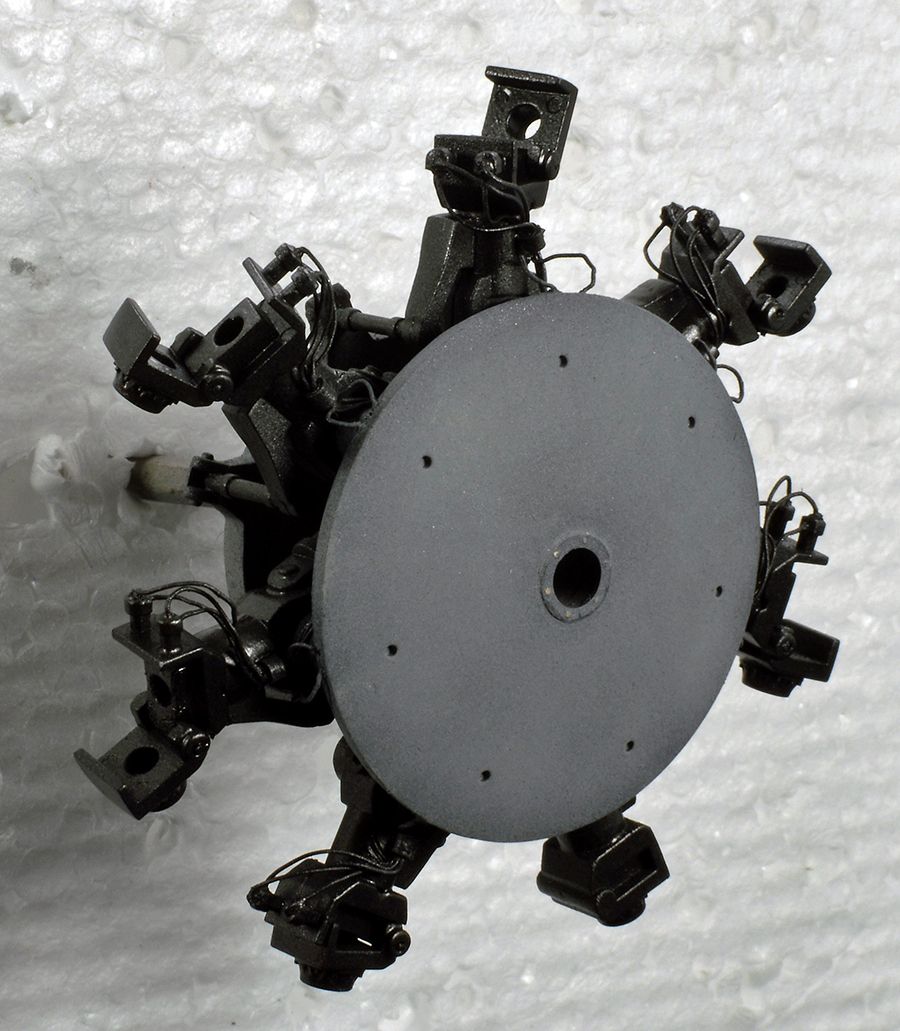
i been working on the main rotor paint job .
First i painted the rotor sky grey . The hinges started with gloss black , then dried . I air brushed over the black with Alclad Steel …
Then lightly over cast the rotor with Alclad steel . The over sprayed that with heavily thin sky grey …
Does not look so bad
Enjoy
Rick
Also my baby boy ,I got one good photo of him
It looks really good.
It’s a… DOOG!
thank you all
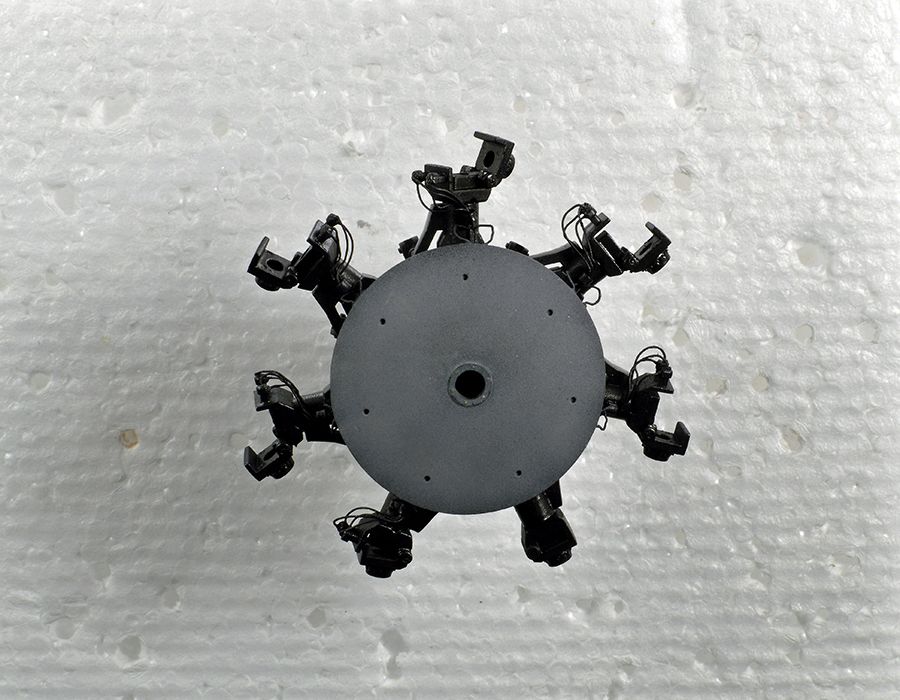
Today has been very busy day( baking bread ) … I did get the wiring connected to main rotor blades . I will get these primer tonight
Enjoy
Rick
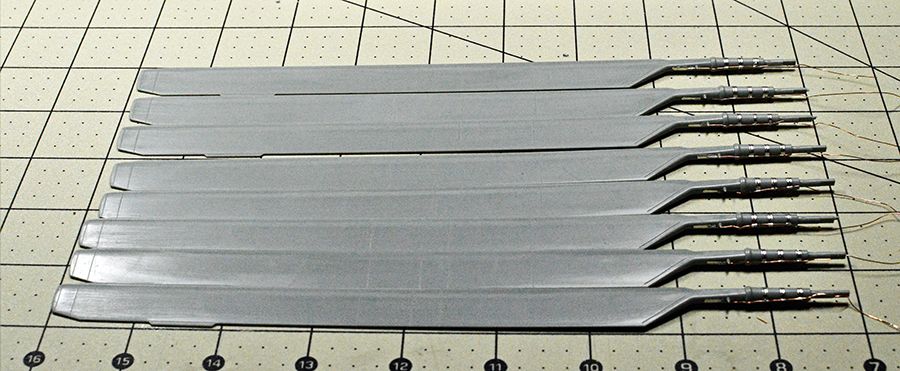
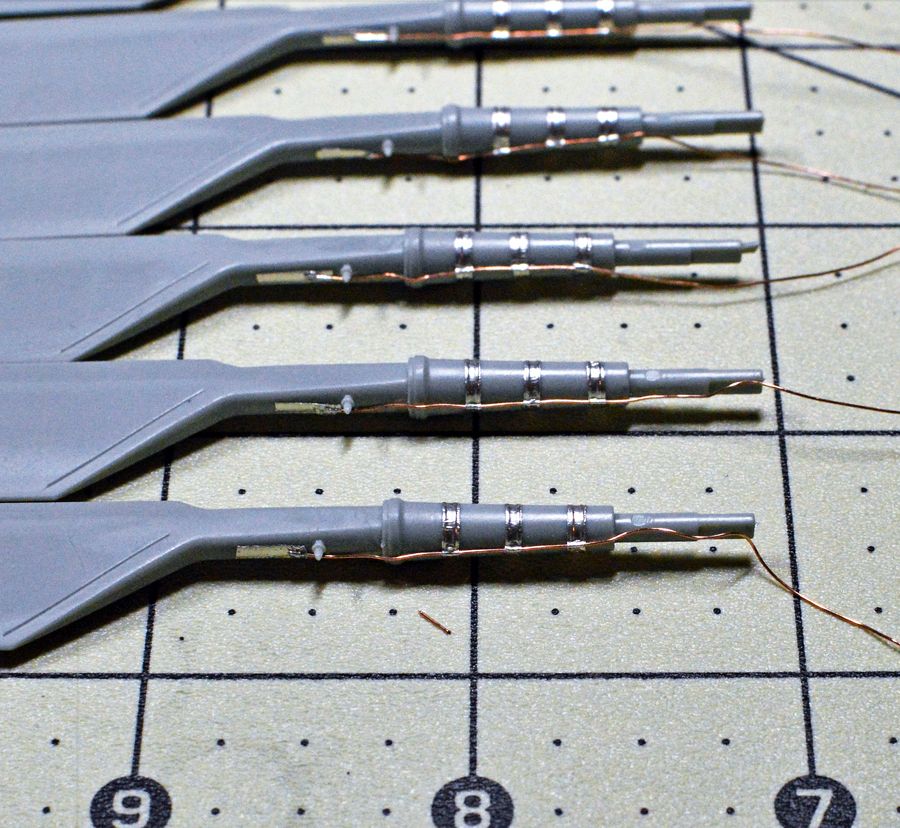
How did you set those leads on the blades?
The wire is from car audio speaker wire . I removed the casing , Then unwired one string wire . Perfect size for this project .
Then I used a tooth pick to dab ca glue to hold in wire in place .
Then used Bare Metal foil for the rings
Rick
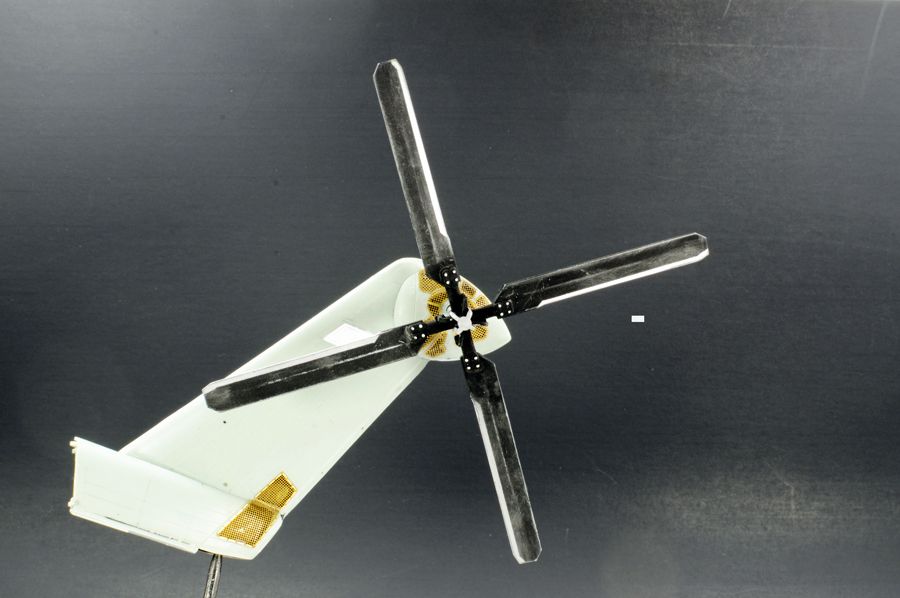
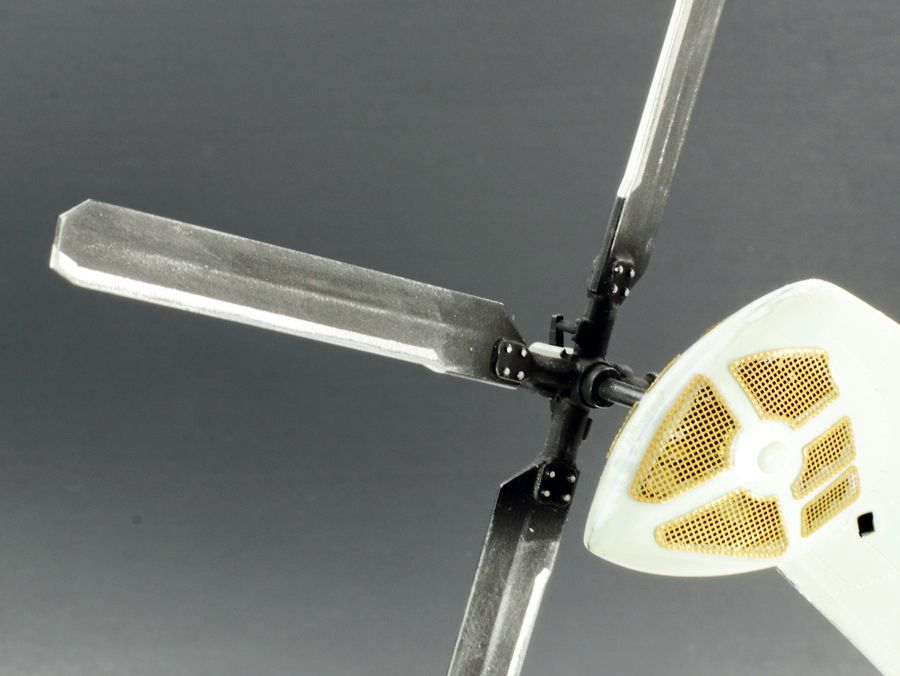
Some update on the tail end , rear rotor and blade
Also i have the rivets done …
Enjoy
Rick
I sprayed the inside with black primer …
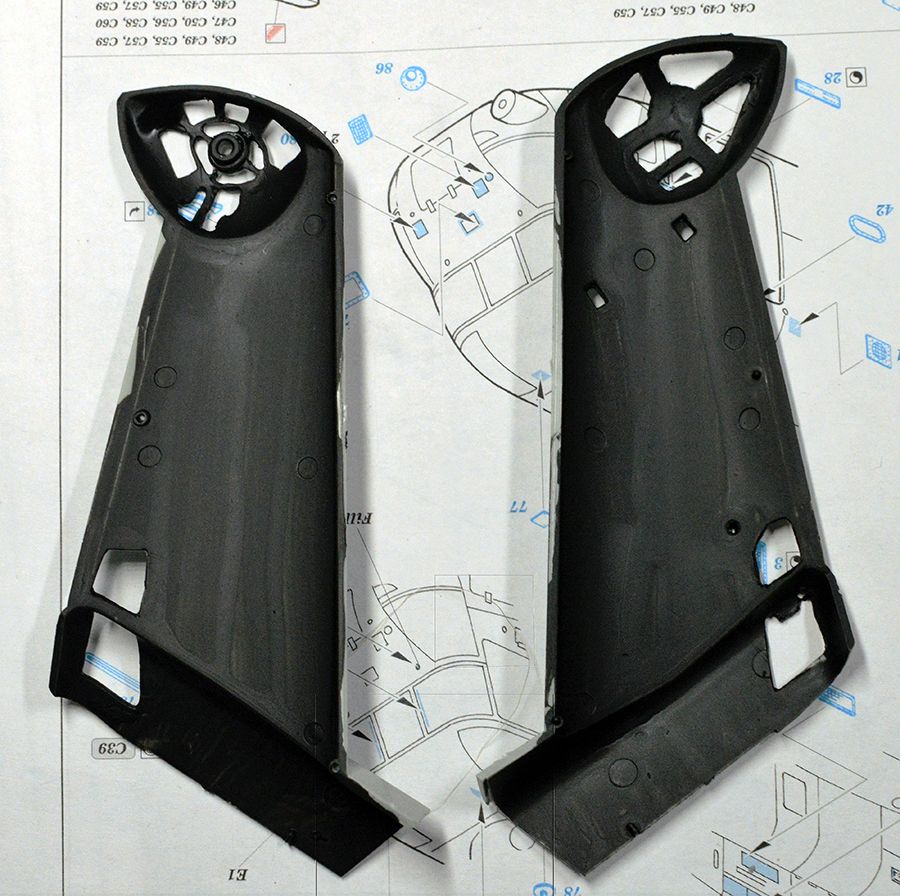
Here I have the Photo Etch glued on
My rear blades . Painted Black with Alclad aluminum , then wet sanded to show some weathering …