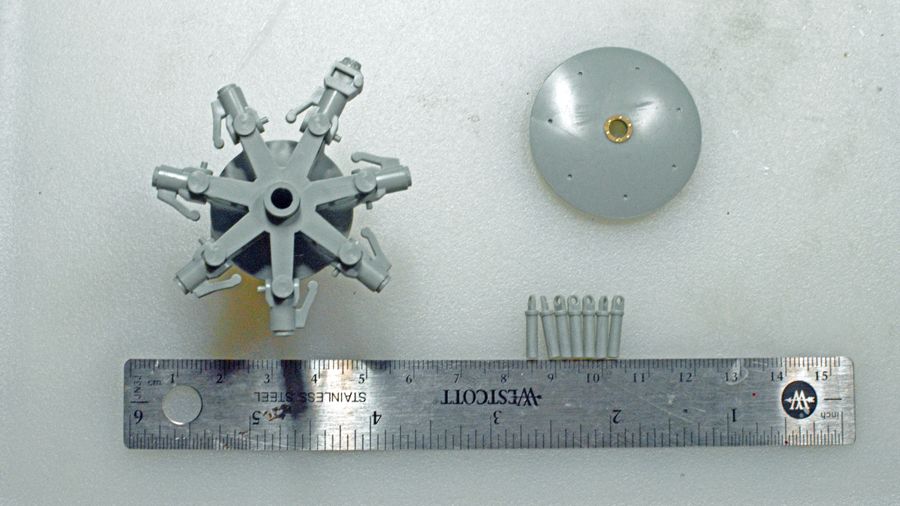
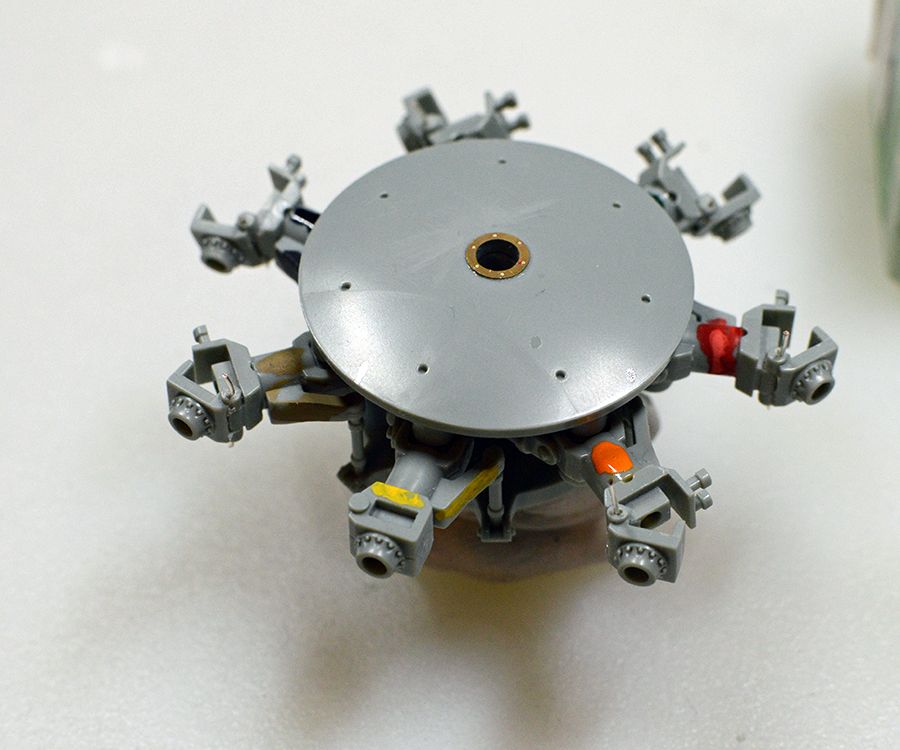
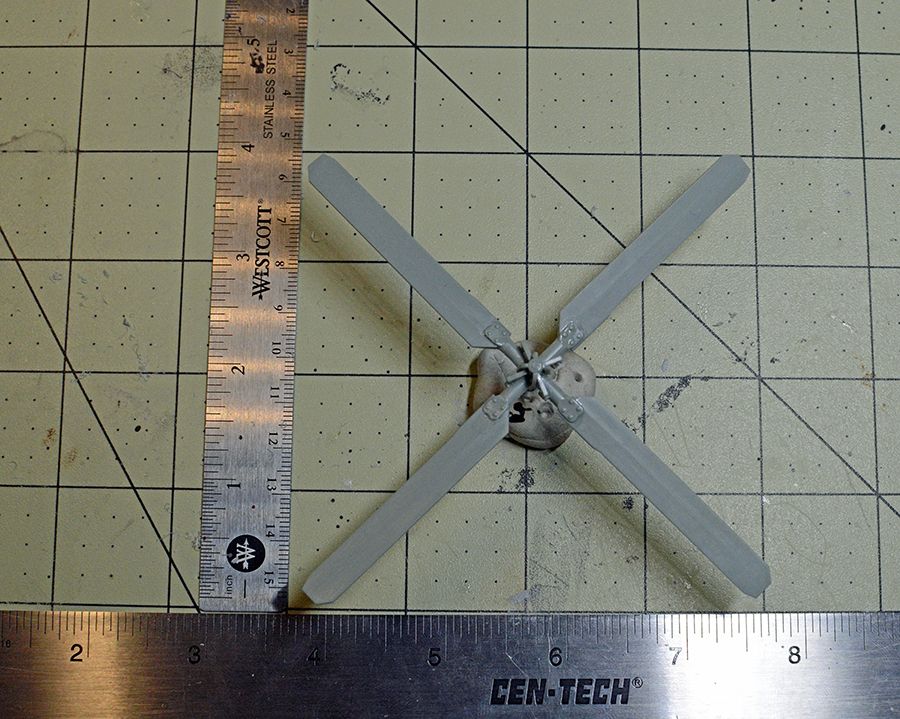
They are huge aircraft! Figure that rotor head plate, pictured above, is 6’ in diameter. My feet used to dangle off one wen while I preflighted the other. The blades are 383", roughly 30’ long and weigh 400 lbs.
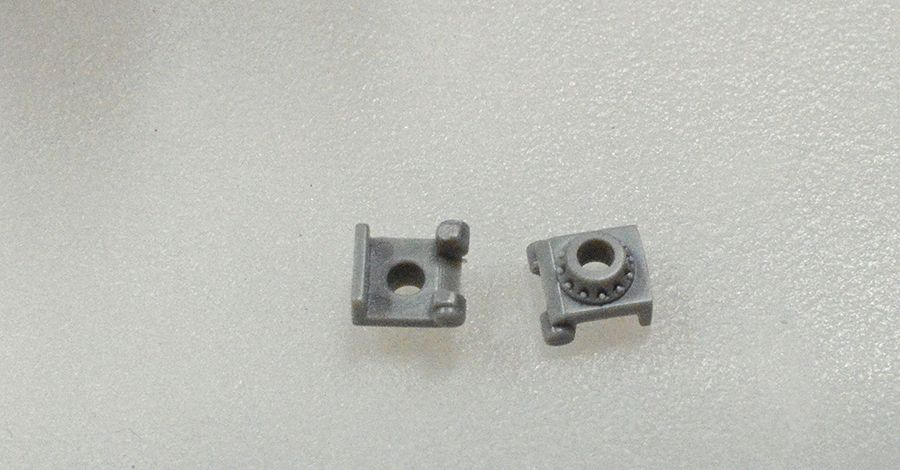
This morning i was working in the blade / rotor hinges . I had one holding with my tweezers . It pop off and went lord only knows . It seems this happens a lot to me . HEHEHE
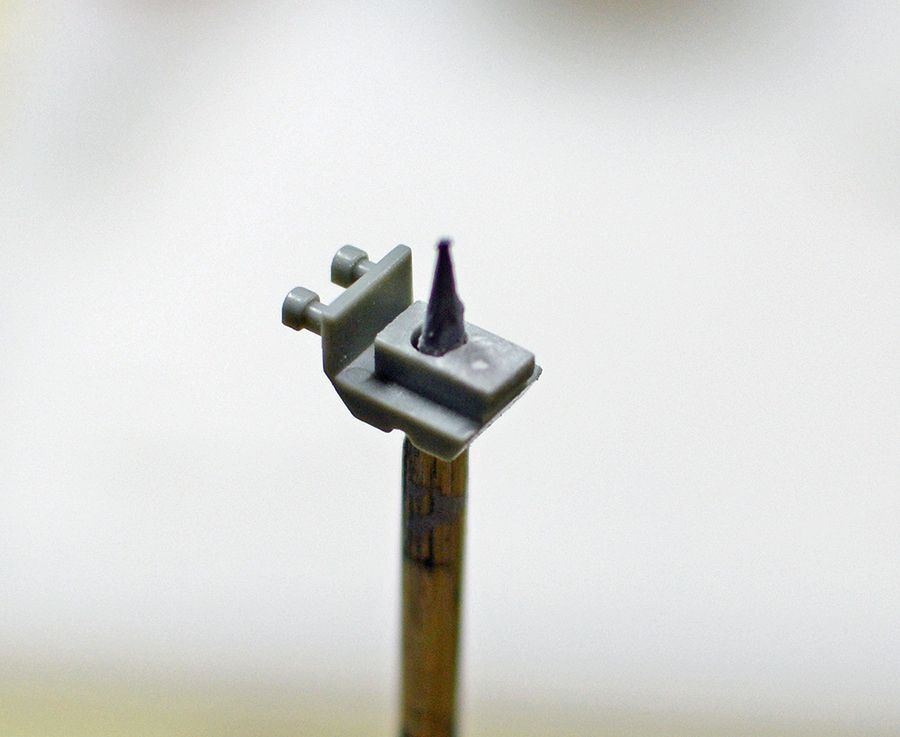
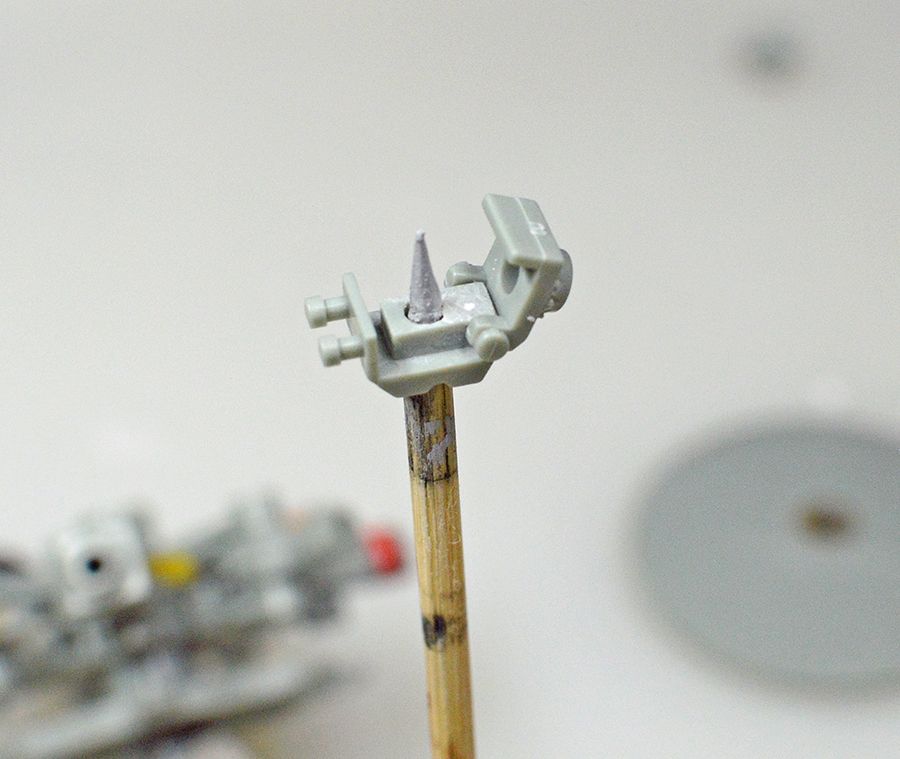
Now I’m in the process building a new hinge
Enjoy
Rick
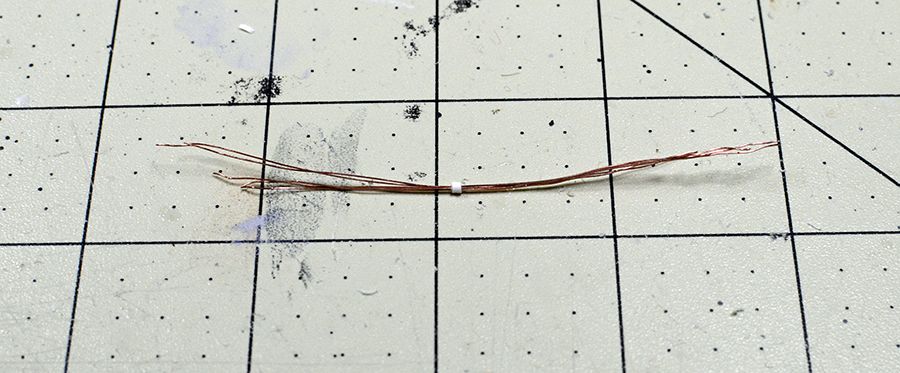
model hinge
My hinge I’m building
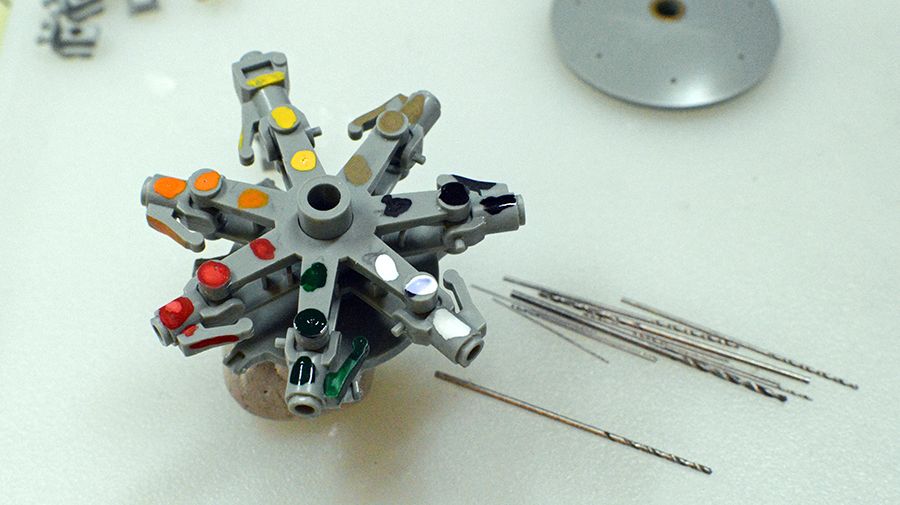
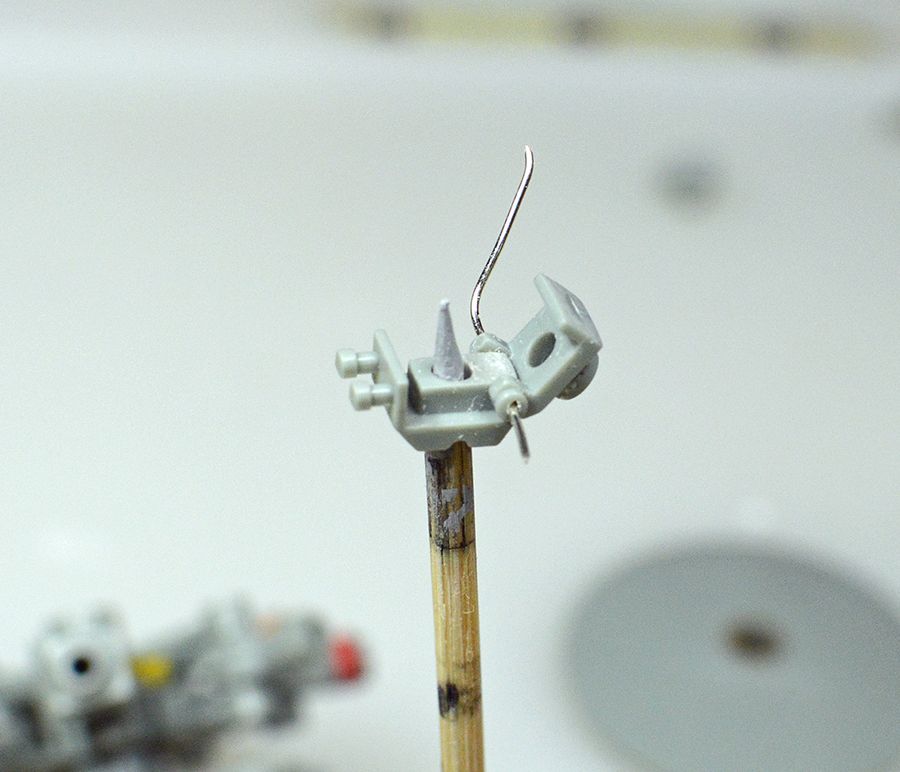
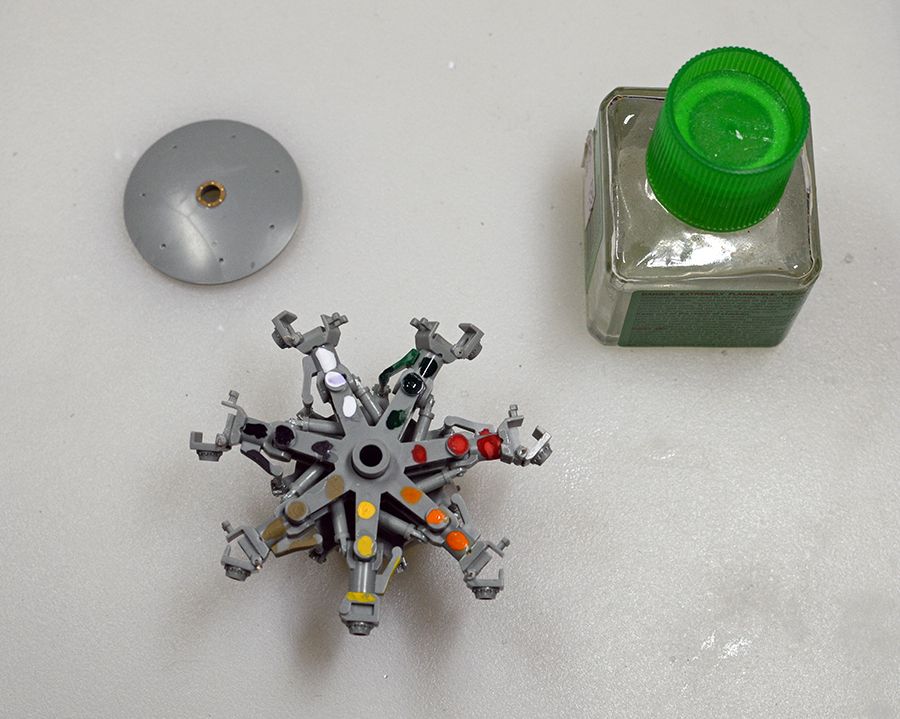
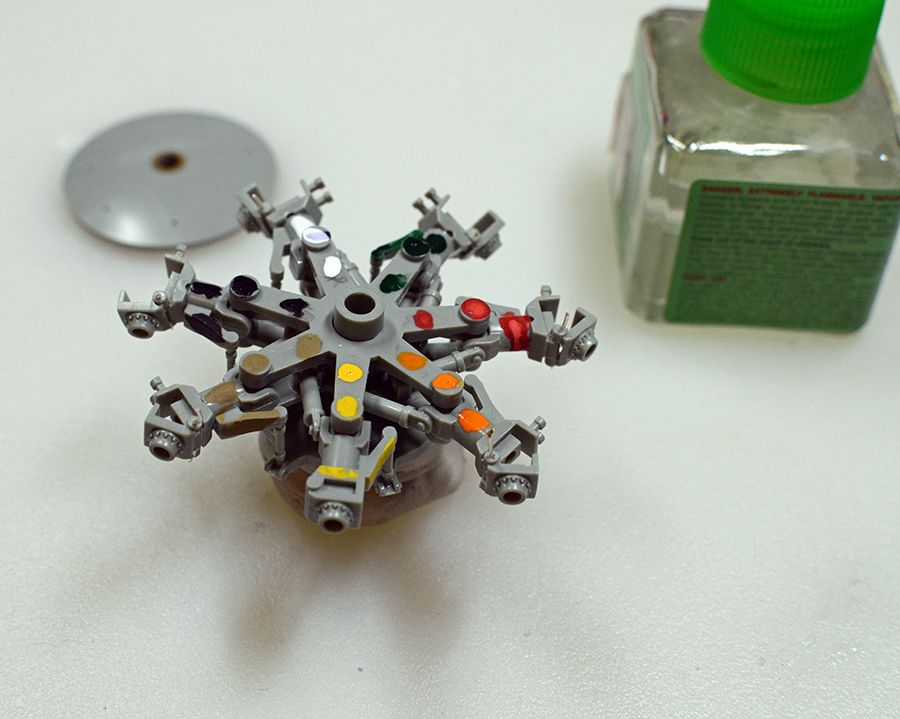
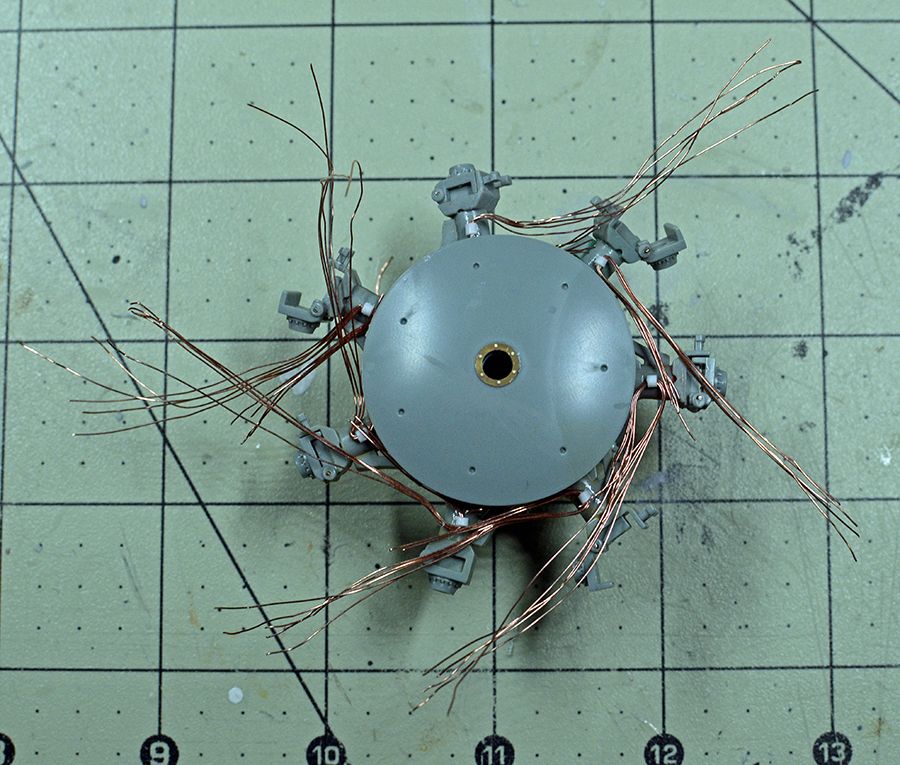
My rotor head I thought , I would color match parts tell its glued in place . Since I’m going to fold the blades in . There is a one way these parts need to be . I’m sure glad i saw this . Those hinges were all in wrong . I fixed and color code them
Good luck on the build, it looks like an awesome kit. I just haven’t gotten around to picking up that model, only have the CH-46 in the stash collection with the fast movers. Gotta watch out for that carpet monster, he’s certainly a hungry one and got his fill from kits of mine.
I use to catch hops on the 53’s when I was station at K-Bay back in the 70’s which was fun but nothing beats sitting in a Huey with the doors open and hedge hopping over the countryside or skimming off shore from Oahu.
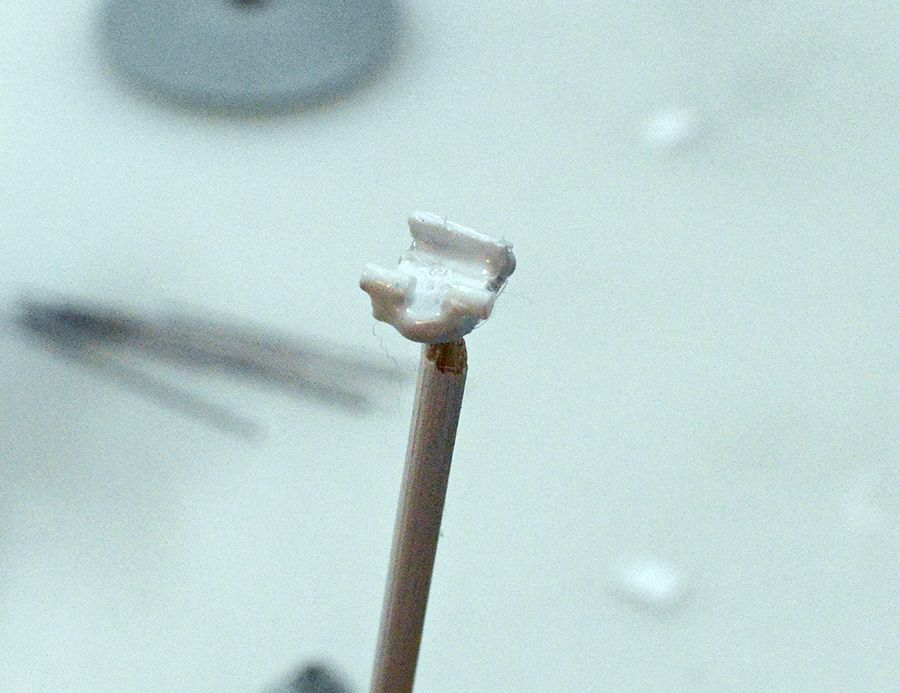
I was almost finish making this part I lost Saturday .Then this evening Nigel Scot the baby toy poodle found it for me . My wife goes what have you got Nigie . Them boom the part falls out of his mouth . I was happy to have it , then same time that could been very bad .
then the wife jumps my a@@ hard . i may be sleeping on the couch tonight .
Since everything turned out ok, this is a funny story. I suppose if any more small parts are lost you will feel the need to sort through Nigel’s droppings:)
This model is not going to get lost on the display shelf. If not too much trouble could you explain a little more about why you color coded the rotor head. Thanks knox
That rotor head has several pieces . I’m going fold the blades in . With that said , the head pieces and hinges need to be in correct order for the blades to lay proper … I had those parts apart several times . I colored coded them so I know where they need to be .
Rick
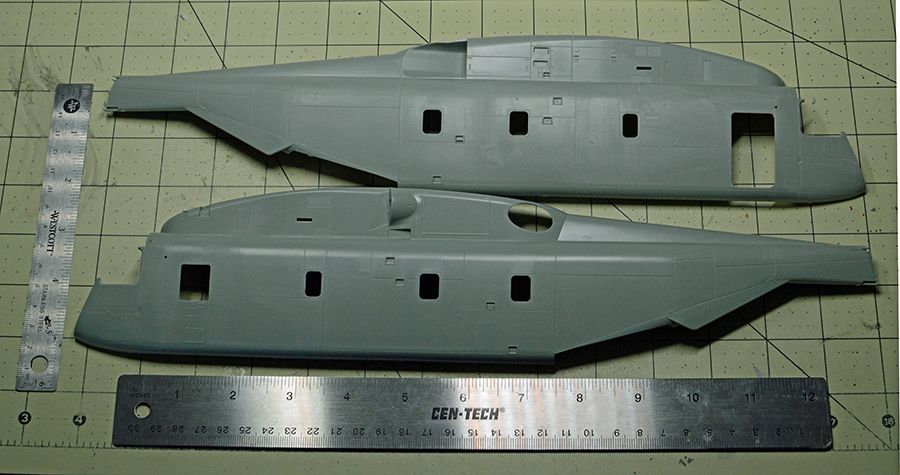
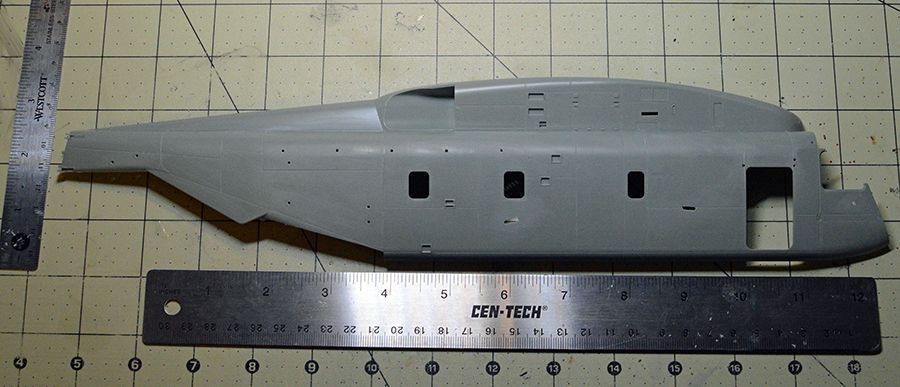
Glued the rear blade together . Drill holes into the body for later uses