[:I] I have seen and read recently lots of information about preshading of panel lines. What I would like to know is does the reverse technique of lightening the centre of panels exist when the overall colour is going to be very dark (i.e the undersurfaces of my Lancaster B1). How dark could you go with the top coat before the effect is obliterated? Has anyone out there experimented - I look forward to hearing from you. Thanks Simon U.[:D]
I never heard of this technique but there’s some sound reasoning behind it. It sounds very viable.
Here’s the guy for you - Gregg Cooper. Read through his 3 features on the Gekko, a wealth of info on this shading technique, glues & thinners. The camo looks terrific but sounds like a lot of very fine work. These are all on the Hyperscale site:
http://search.freefind.com/find.html?id=4701565&pageid=r&mode=ALL&n=0&query=Gregg+Cooper
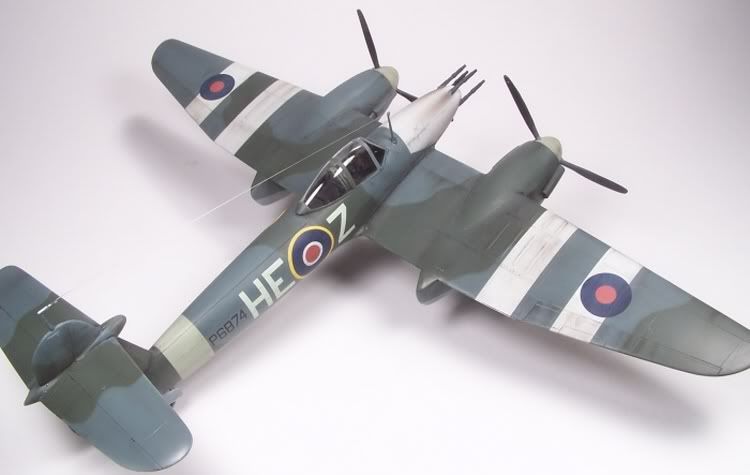
I’ve tried that more trying to fade the center panels, here’s a sample

I didn’t do a big fading job, you can make out the subtle difference right next to the fueselage and the area right next to that on the wing section. Some of the effect was lost when I overcoated with future. Next time, I’ll have to go lighter than I want in expectation the gloss coat will deepen the faded colors.
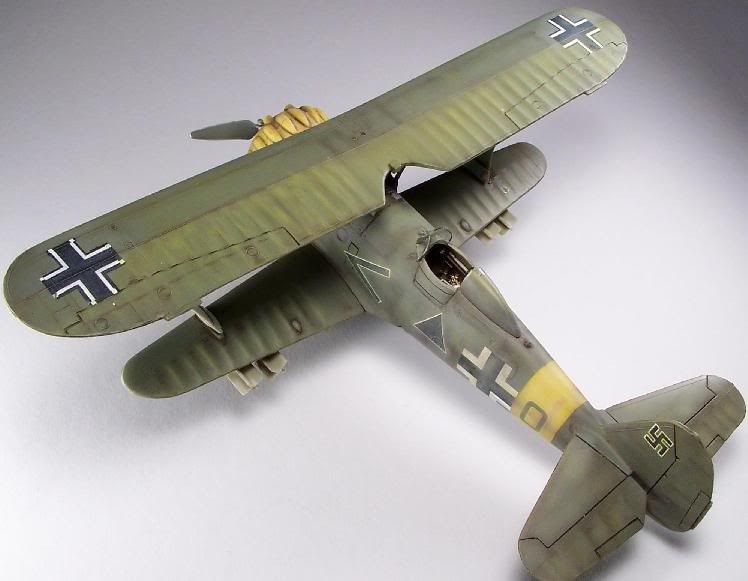
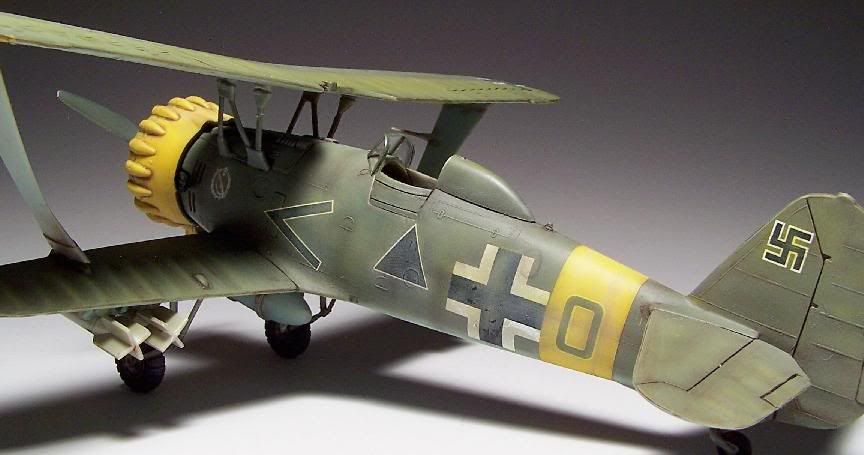
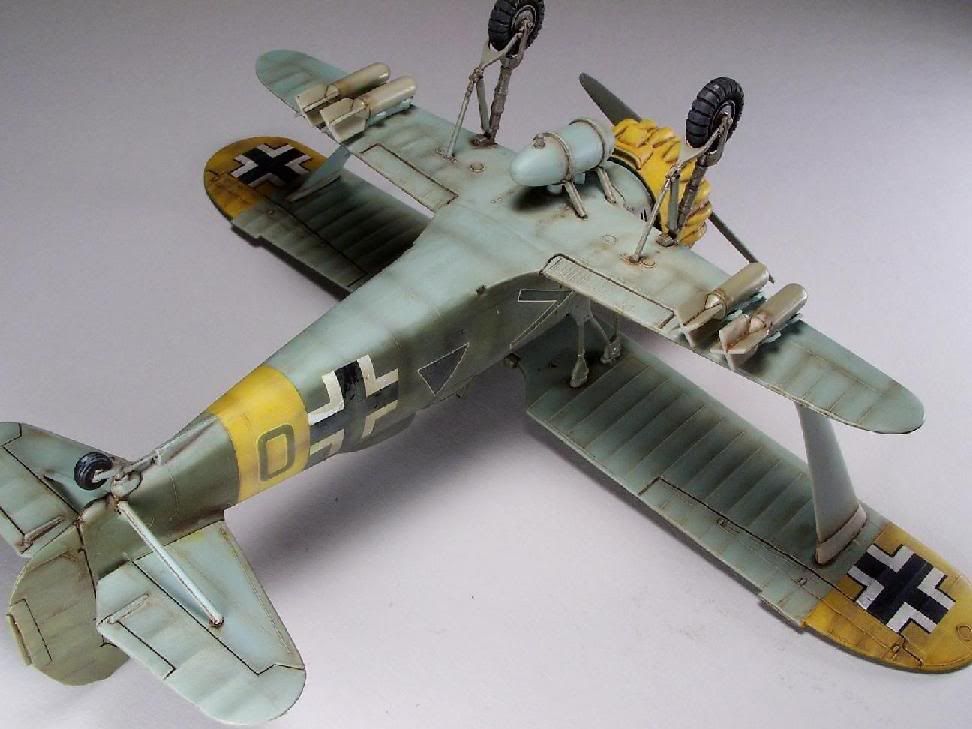
i prefer postshading over preshading. i feel i have more control with post shading, and find it more enjoyable. its all personal preference and i use both techniques, though the majority of the time it is postshading. just have fun with it. here are a few samples i finished a while back using mostly postshading. good luck. later.
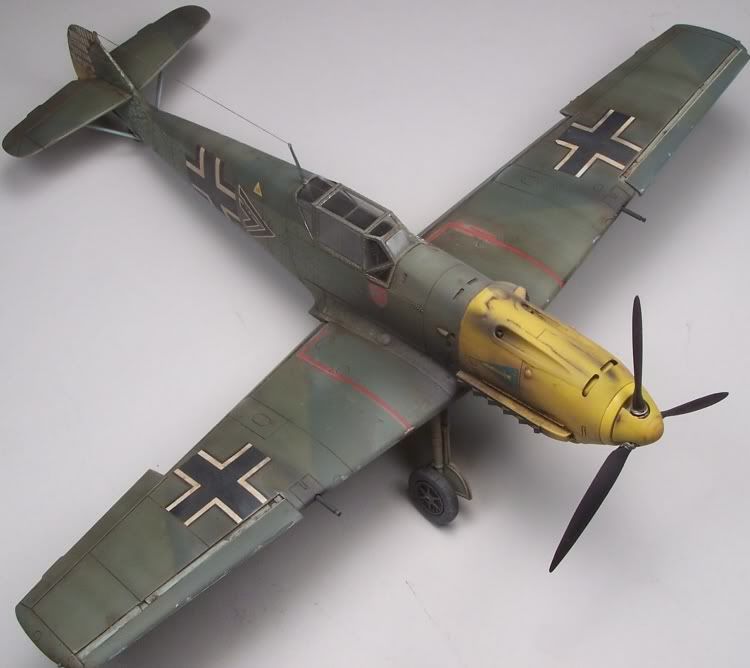
I love that dirty 109 but it looks like you’ve used the traditional post-shading - darking panel lines - rather than the reverse technique of starting with a non-scale colour & then bring everything except the panel lines up to scale effect? I guess one would always have to include a darkening sweep of some level so as to put some age on the decals etc. What I find daunting about Gregg Cooper’s method is to do it to each shade of the camo separately. (He weathers every panel with the lightest shade, then puts on the next darkest, then weathers that, then puts on the next darkest etc). I mean, you’d have to match the level of effect with each successive coat so a 3 colour camo, for example, would require quite skillful judgement, particularly where shades cross panels at angles.
I’ve heard of it, and it should work, but I’ve never tried it.
I have tried both post and pre shading, and have had NO success with either.
I think it’s just me, and it being one of the things in life you simply can’t get right.
So instead I make all my shading post, but using Tamiya smoke rather than any of the base colours or mixes there of.
Being translucent in appearance, you simply apply as much as you like till you get the desired effect, on panel lines layers will give a draker shade, and allow the base colour to show through, effectively tinting it in reality, and therefore higlighting the inner panels themselves.
This works well for me, and saves the mess around of multi colour camo schemes.
Mind you, for rivet counters, it may not be authentic enough.
Horses for courses really.
[2c]
A key trick in the Gregg Cooper approach is to use Mr Color thinner with Tamiya acrylics (75% thinner) as a levelling coat (x3). He says that this thinner renders the Tamiya paint as somewhat transparent so he uses it to even out the shading at the end. Neat idea, allows you to use custom coloured ‘smoke’.
What you’re referring to is called postshading, and it seems to be a technique I’m seeing a lot more of. I myself generally tend to use a combination of both, but lately I do tend to use post-shading a lot more than pre-shading. I find it much easier to get nice results with than with preshading. I tend to lay down the base-coat unmodified at all. I’ll take that base colour and add either a little bit of white or buff to lighten it, then spray in the centres of large surfaces and panels. I may lighten it further and apply one more layer, which generally adds more depth and a finer degradation between the colours. Afterwards I’ll use a 80% thinner to 20% paint mix of buff, thus essentially a very thinned dust coat, and use it as a filter, spray or paint over the whole model to blend in everything.
Hmm, that 80% thinner/20% paint mix of buff is a good idea, I have to try that next time. Thanks zokissima. But does it tones down or lighten the color significantly? This is Tamiya Buff?
Yes, it’s tamiya buff that I was using. You may wish to even start with 90% thinner to 10% paint, it has to be very very lightly tinted. For the most part, filters will darken the coat underneath, however not to any significant degree.