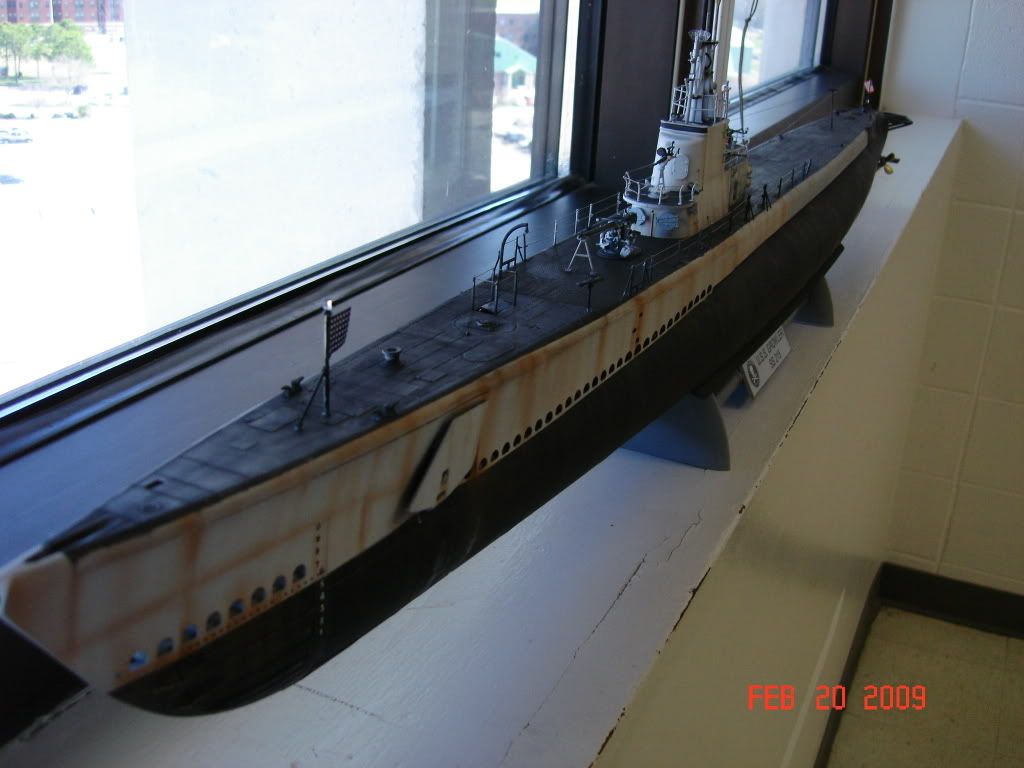
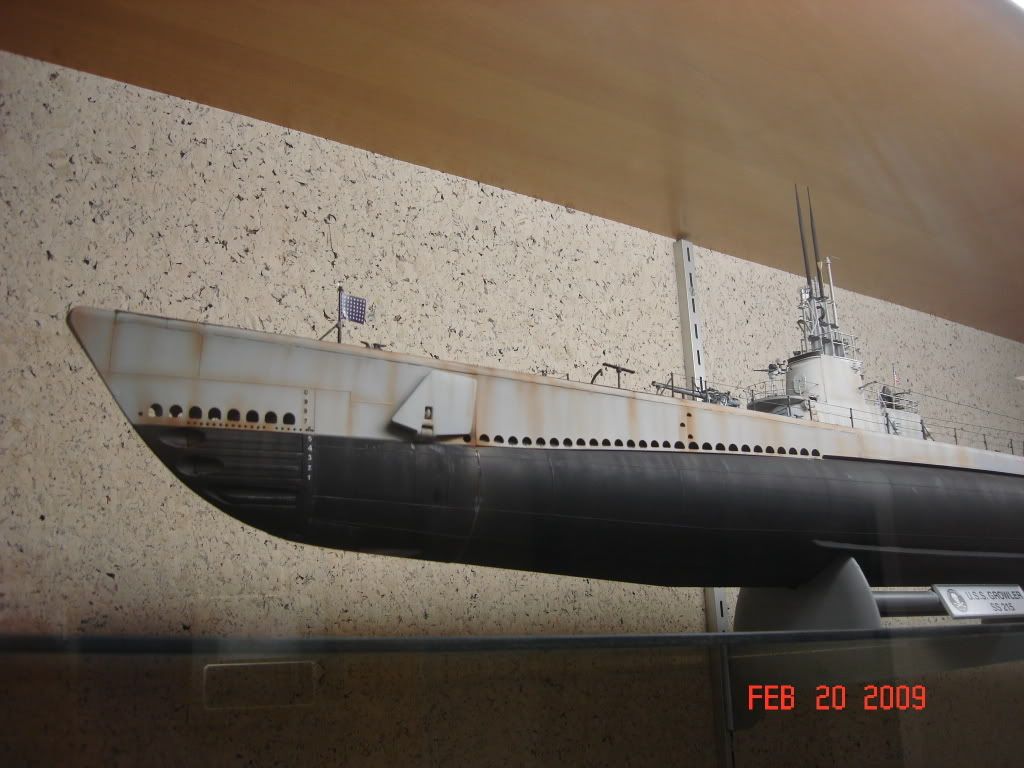
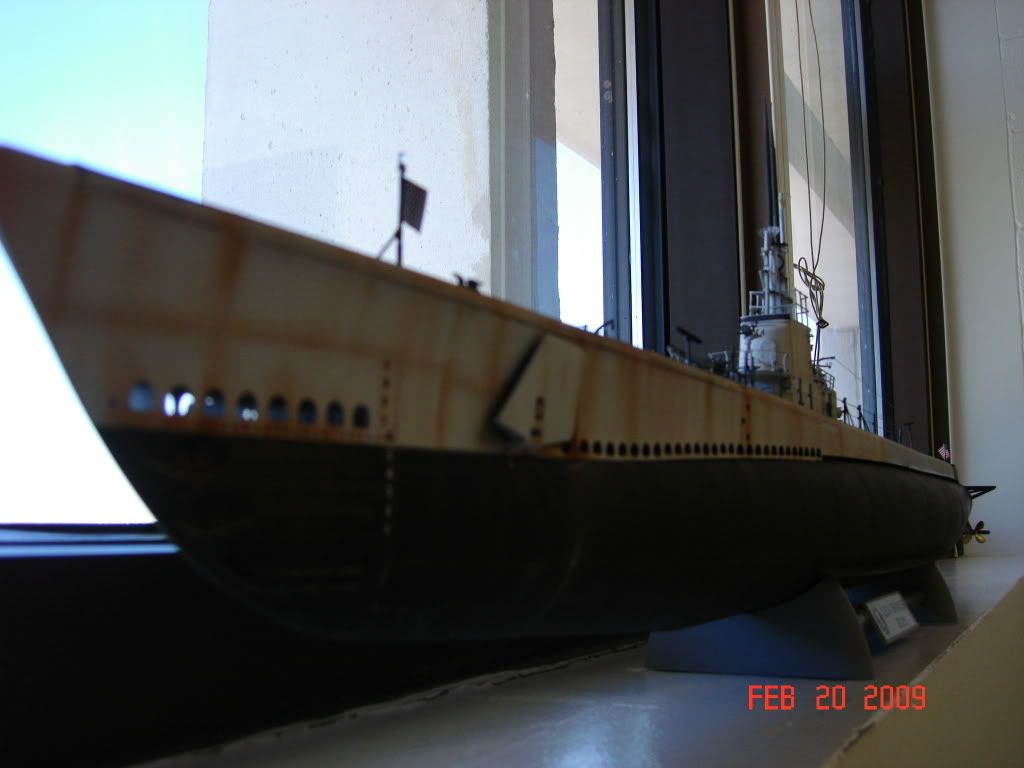
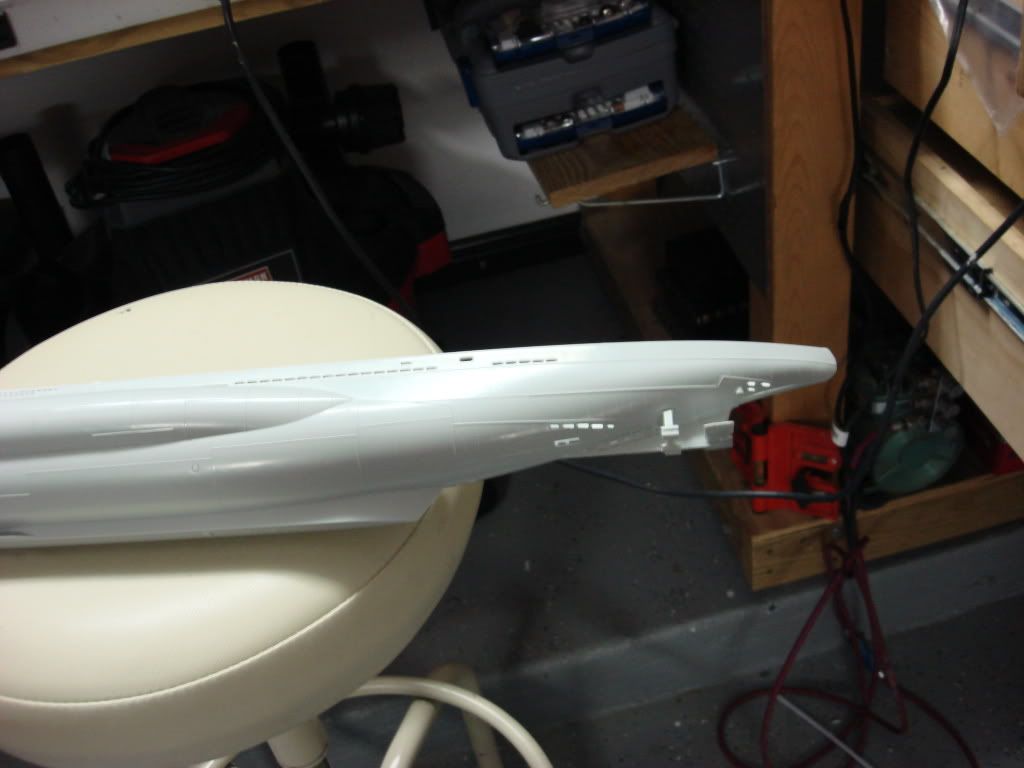
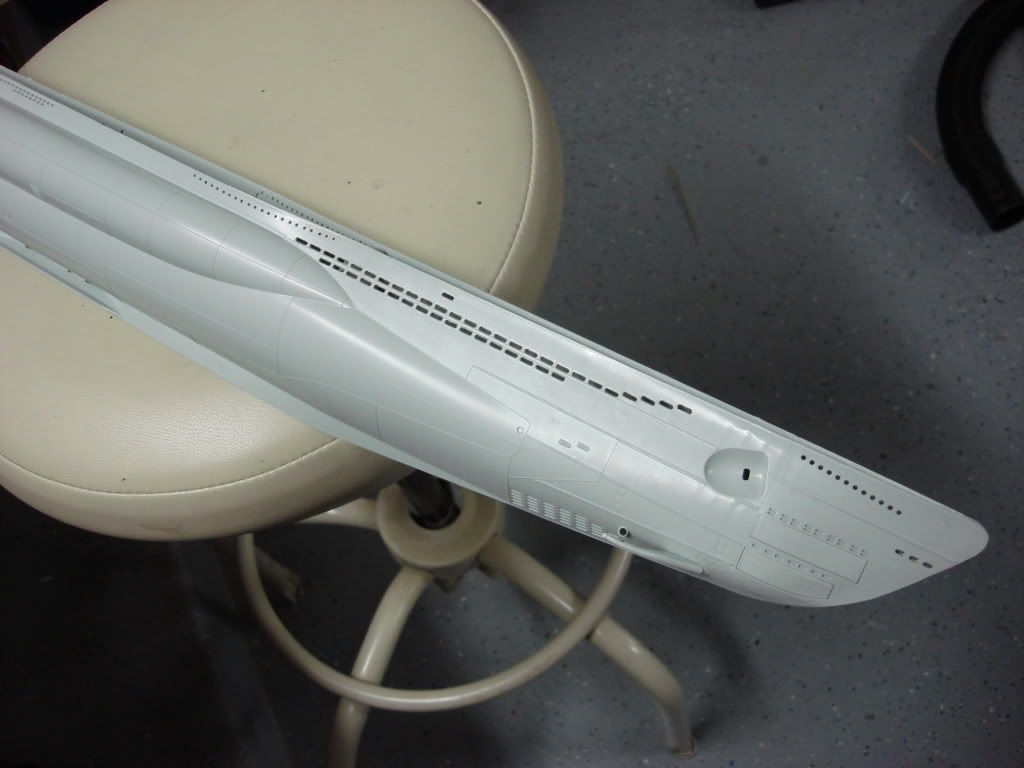
Finally finished the Revell 1/72 Gato. Donated it to our Naval Architecture College. Comments criticisms appreciated!
Finally finished the Revell 1/72 Gato. Donated it to our Naval Architecture College. Comments criticisms appreciated!
She looks like she was out on a 3 month patrol. Looks very good and impressive. Can you post some pictures of the conning tower? Did you use any PE parts? I’ve been wanting to build one but its so darn big!
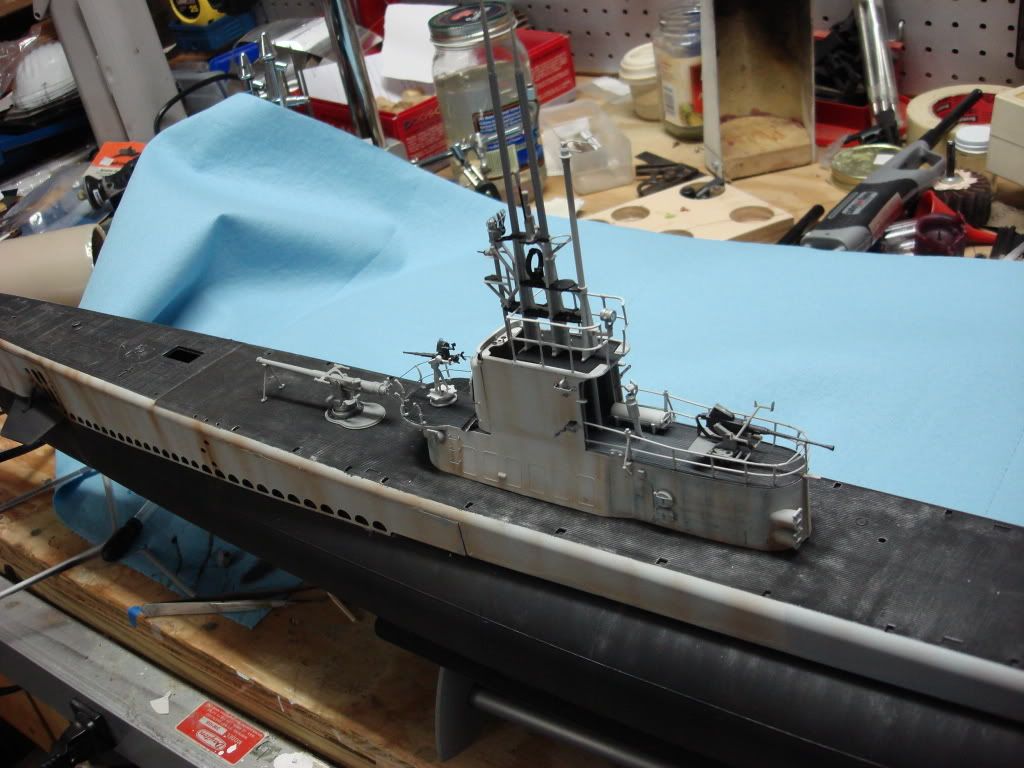 Thanks. I was afraid that I might have overdone the rust.I’ll have to get back to (my) work and get in the glass case to get more photos of the conning tower, but I’ll be happy to do so. Yes, I used the Eduard PE set… well… most of it… the hull numbers are PE as are lots of little details on the mounted optics, hull grates, upper gun deck on the sail, and gun reticles. I used MOST of the PE but not all. The finish is the kit recommended colors light gray, light ghost grey , but I used flat black instead of semigloss. All were model master enamels. The rust is model master leather enamel thinned and sprayed at a fine setting with a Paasche VL airbrush. I also used powdered graphite on a Q-tip to bring out most of the deck detail and drybrushed model master steel over most of the deck surfaces. Overall, I have to say , the kit was a fairly easy build. The dive planes do raise and lower and well as pivot. The PE was a challenge and a magnifier, good tweezers, and a good viscous superglue are recommended. Surprisingly… did not use that much paint to cover the ship. Mainly most of a 1/2 oz bottle of MM flat black. had i not airbrushed it, I could easily see using about 3 bottles to do the same job. Build this one if you got it in your stash, but definitely get the PE from Eduard as well.
That is one sweeeeet looking rig!!!
Brian
No, you did not overdo the rusting. You did a great representation of the effects of the elements after a long patrol. It looks outstanding! I have built a couple of the big Revell Type VII’s and drilled out all the flood holes. That was a tedious task. I also used the CMK crews to add interest. You can also experiment with pastel chalks for the rust effect. With the chalks you can add or remove until you get the desired effect. These boats are really impressive. Some years back, I went aboard the Pampanito which is a floating museum in San Francisco. The old timers that volunteer there had very interesting stories about their long patrols.
thanks! it is the first ship I’ve done in about 25 years. I usually stick to armor and aircraft.
Thanks. I was a bit leery as i normally build aircraft and an occasional tank. This looked like an awesome kit though, so I was happily surprised how it turned out.I have just started the Revell 1/72 type VII and was also considering drilling out the free flooding holes. Did you apply anything to the inside( of the hull) as a backing when you did yours? I’d be afraid to see daylight through it, if I wasn’t careful. I imagine that I would probably use a pin vise with a bit the same diameter of the outside radii and a good sharp #11 blade to clean out the area between. Got the PE from eduard for the U Boat as well. I’ll try to post pics of the finished Conning tower of this one, but I’m off of work till Wednesday. ( We have the Mardi Gras/Carnival) down here going on through Tuesday so work is closed…) I have chalk pastels too, but somehow, it never occurred to me to use them… Guess I need to think out of the box more. I’d appreciate any pointers on the type VII or things to watch out for…
thanks again…
Claude
Beautiful piece of work and very nice weathering.
Julian [tup]
You Boat looks really good.
For your U-Boot check out this forum, especially Siaras U-552 doing it my way.
An increadible build.
Also this site
Both sites have ideas for building the inside preasure hull.
One is currently being made out of beer cans since they are the same diameter.
Just don’t buy the resin one since it doesn’t fit right and most of the detail won’t be seen.
Eric…
Claude
The two Type VII’s were a joy to build. Everything fell together like a puzzle. The decks are really nice and have very tight joints. I would not use the rigging string provided in the kit, its too thick and fuzzy. I used ‘Wonder Invisible Thread’ smoke grey in color, and very thin. This is available at any craft store for under $2. The decals are of high quality and are very well done.
This is how I did the drilling in my Type VII’s. While the hull halves were separated, I thinned out the plastic on the inside to make the drilling and cleaning easier. I used my dremel with one of the many abrasive wheels and set it at a low speed to keep the plastic from melting. I then used a drill bit size slightlty smaller than the flood hole on my drill set at low speed and drilled on both front and rear of the flood hole. I then took the Xacto with a new sharp #11 blade and carefully cleaned out the flood holes. Then I used my needle files to carefully smooth everything. After joining the hull halves, I used a piece of thin cardboard and secured it on the center of the hull, meeting the bottom of the deck. This takes a little patience until you get the angles which do not have to be perfect in there. I then sprayed the inside of the hull and the cardboard flat black. This will not let you see thru the hull but still provide the benefit of the drilled effect on the flood holes. I sold both U-Boats so I don’t have any pictures to post to show you how the final products ended up. I did this to keep cost to a minimum. There are so many aftermarket and PE sets out there that you will spend more for these parts than the original price of the model.
Division 6 posted some good info on the conning tower details. Wow, I thought I detailed this area on my boats but that’s really a work of art, specially the railing.
Very nicely done… as mentioned, not too weathered, fits one at the end of a LONG patrol…all about context!
thanks to all for the kind words on the Gato. No one was more surprised by the results than I was. Since I must have some wierd threshold for pain, I have started the Type VII U Boat. Two words to describe monotony and tedium: Limber Holes! Drilled them all out by hand and cleaned them up with xacto and files…more pics to come!