Well, it’s been quite a while since I built anything, been out of the country working for quite a few months.
Anyways, Xmas done and dusted and much to my surprise…despite dropping hints…nobody bought me a model! So, with the money given in lieu of a model I procrastinated for a while and then took the plunge on this baby…it arrived yesterday. Already started her and got the hull buttoned up, the nose and tail pieces built up, started on the PE for the decks. Waiting on paint to arrive from Jamie at Sovereign. Not taken any photos yet but will do in the next day or so.
It’s a rather big baby…but I thought about this a while ago, about a year ago when I finished my first and only maritime model which was a bit of a slog. Most of my stuff is aircraft and usually gets done inside of a couple of weeks, not the months it took for this ship.
That is a wonderful kit! I built the non-platinum edition a few years ago and loved every minute spent building it. I wish that I would’ve gone the extra mile and spent some money on after-market resin and/or PE, because this kit deserves it. Sadly, it took a nosedive off of the shelf. Amazingly, very little breakage just some pieces, still intact, that have to be glued back on. This was one of my most favorite models that I’ve built since getting back into the hobby. I’ve also built Lindberg’s 1/72 Japanese sub, the one with the midget subs, and though it’s impressive in size, doesn’t compare with the Gato as far as details go. Now all that’s left is Revell’s 1/72 U-Boat that I have waiting in the stash. Probably will need to buy a bigger house to display all three of these. Good luck with the build, you’ll love it!
Got a few more hours in this evening, at ~1.3mt (4.2ft) long she sure is a long puppy, Heaven knows where I’m gonna put it when done…guess I’ll worry about that when I’m done later
Got the wooden decking attached.
Got all the PE on the decking.
And made a start on the conning tower (think that’s what they call it)
That’s it for today, more progress in the coming days.
For those that have gone before me on this I would appreciate a heads up on any problem areas of things to keep an eye on.
OK…so it’s been about 9 months since my last attempt at PE…still no easier this time round
I use a very thin CA and find things don’t stay in the right place immediately and I have to try hold them in place for a few seconds. Am I using the right type CA or do I need a thicker one?
(I find thicker ones tend to cause a ‘blob’)
Anyways, time to give the old Mk1 eyeballs a break…MOTD on in a mo so footie and a G&T for me!
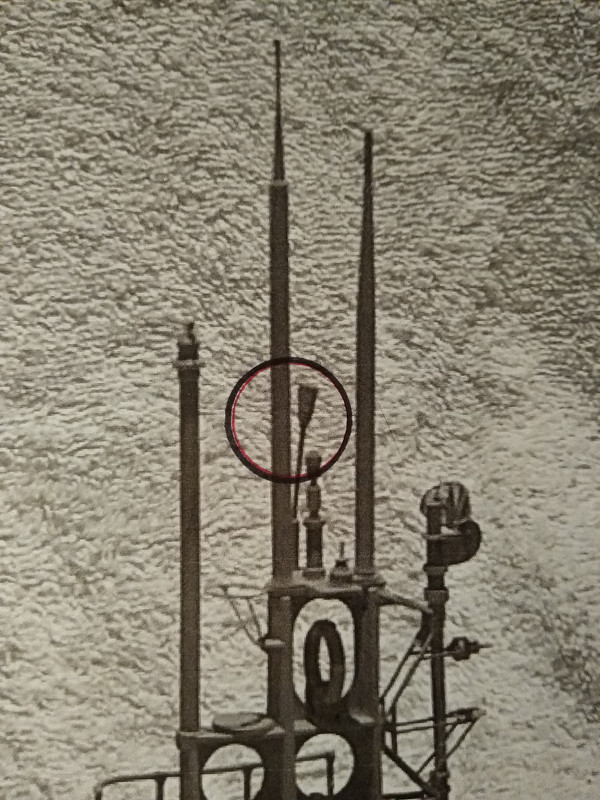
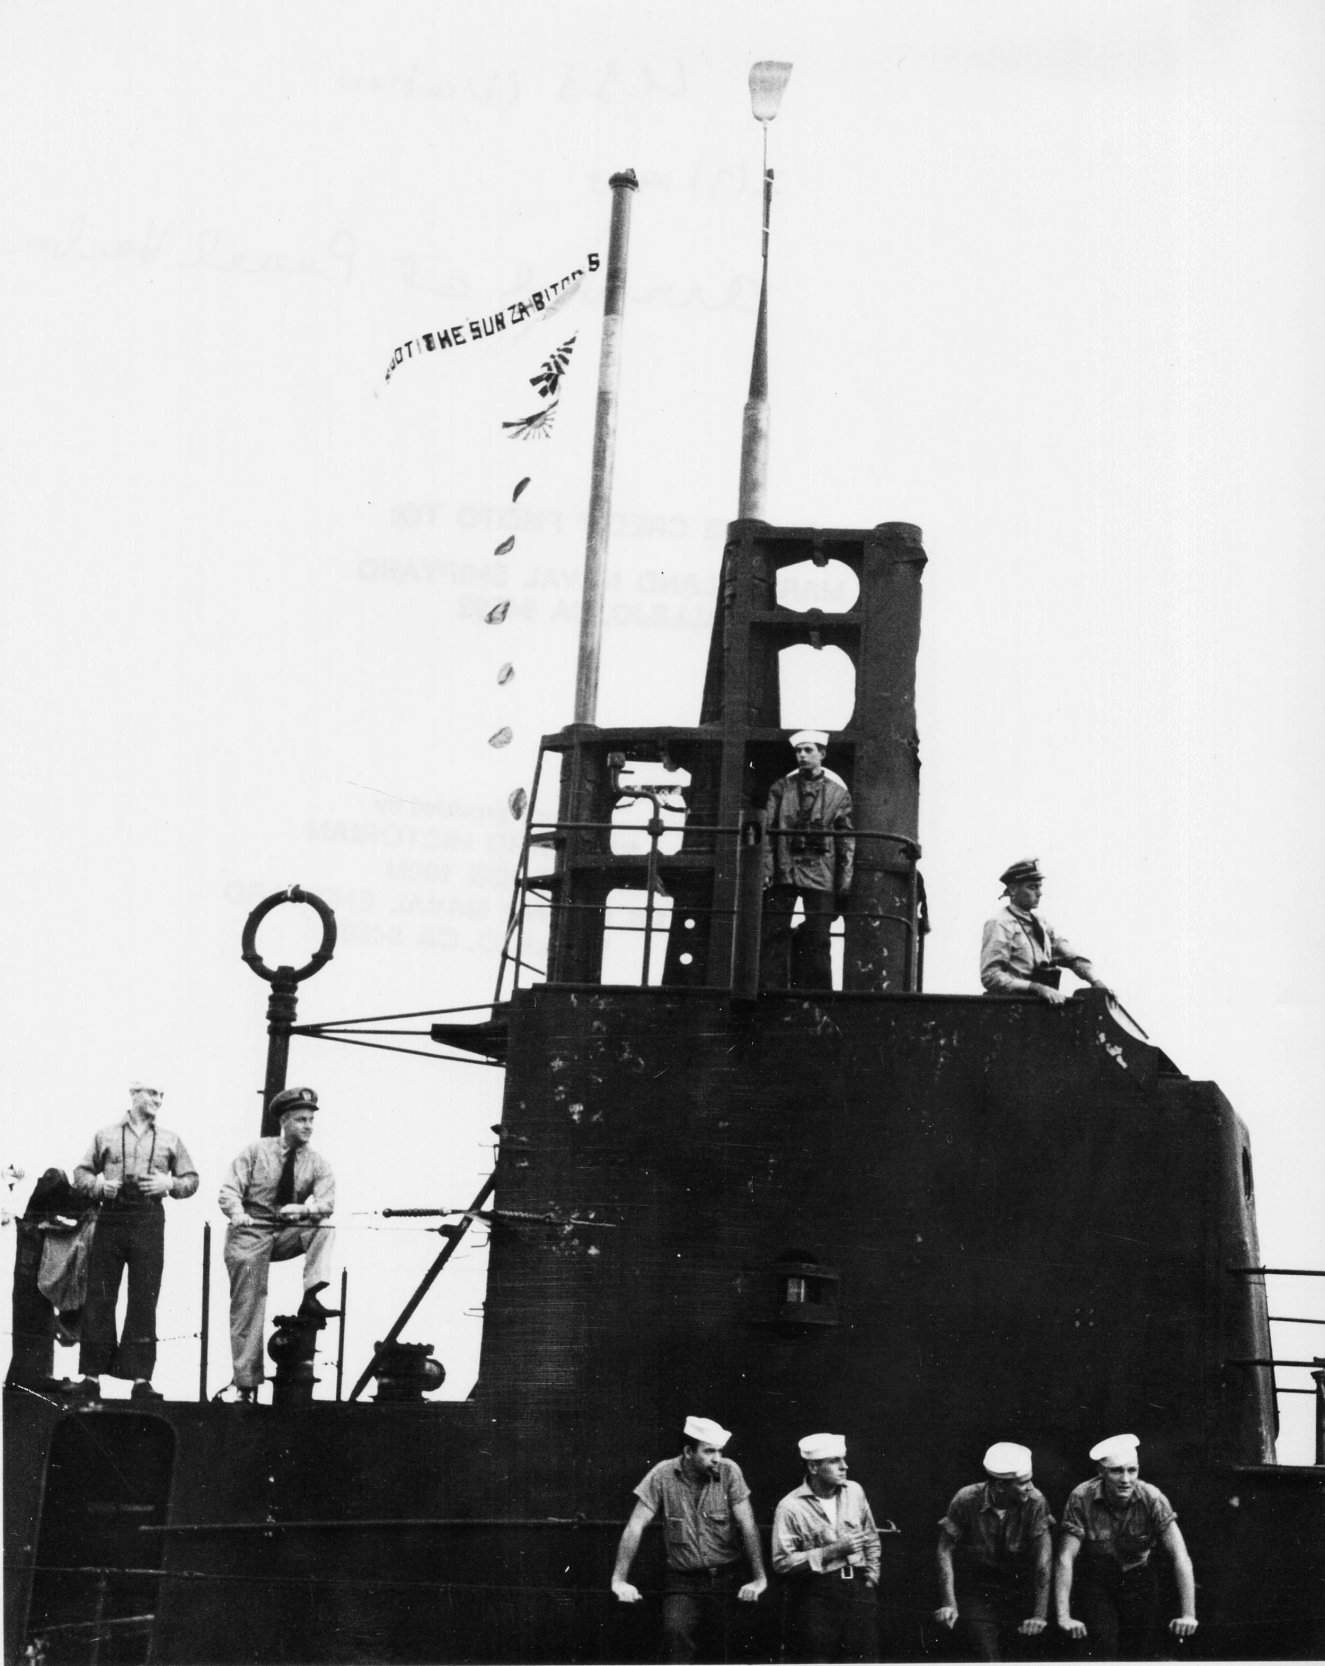
Which one is the attack scope (and don’t say “the crooked one” [;)])
If it’s the one that looks like it’s leanig forward, then this is just an optical illusion due to the angle of the phone camera. In real life it isn’t bent like that!
On the side toward your camera, between the two scopes, in gray plastic is a common house broom, bristles up.
Brooms were placed there when entering harbor at the end of a patrol to indicate a “clean sweep” of their assigned patrol area. Thus, if you leave it there, your model is indicating (among other things) that it has just returned from a succussful patrol.
And that being the case, your scopes should all be in the down / stowed position.
A little more work done and the conning tower is almost complete, just one small gun assy for the rear to do (more PE!). Got a coat of primer on (Tamiya Fine Grey) and it’s all looking good.
One small gun assy to go on the rear here:
Front gun done…a bunch of PE
These binoculars were tricky to do, lots of very small PE parts
Spot-light has a small clear lens that I have covered with Maskol and will remove it one finished painting.
And the small radar dish (another PE replacement of kit part)
That’s as far as I have got. Got the paints from Jaime at Sovereign yesterday so will move on the spraying all the hull tomorrow or the day after. Ordered 5 x 14ml tins so hoping that is enough as there is a lot of hull to spray !!
The binos are the TBT (target bearing transmitter), was tied to the control room, and the plotting table to give more accurate bearing data on targets . Your small antenna is the SJ surface search radar.
Be aware the deck the gun is on, is the rear, or cigarette deck, aft of the scopes. It covered the main air induction for the diesels.
Just to clarify, and add that I’m not trying to be a !@$#$%^&; this is ‘the broom’ that I am referring to. It should be painted as one would a standard household broom; plain wood handle and yellow-ish bristles.
The model appears to be going very well and looks great. I just want you to know what you’ve got there. That way it will look correct, which I assume is your goal.
[/quote]
Good call on the broom details Hoo Ya.
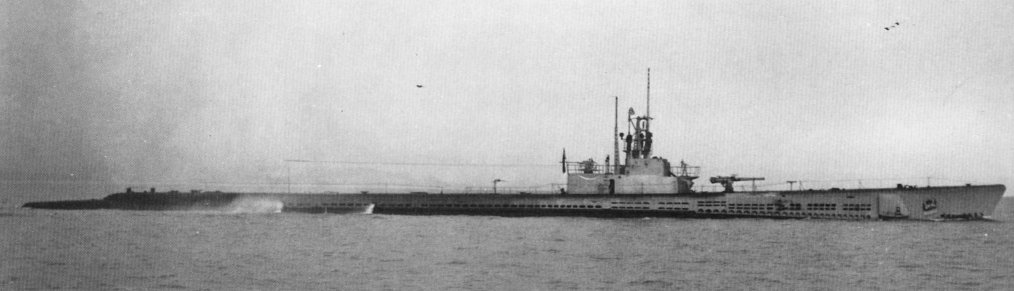
This is a gorgeous kit and is gargantuan in size, looking good! Lot easier to work on than the 1/144 one I did updated to a early 44 refit. I used a 3D printed 4" gun on mine that is just amazing in details.
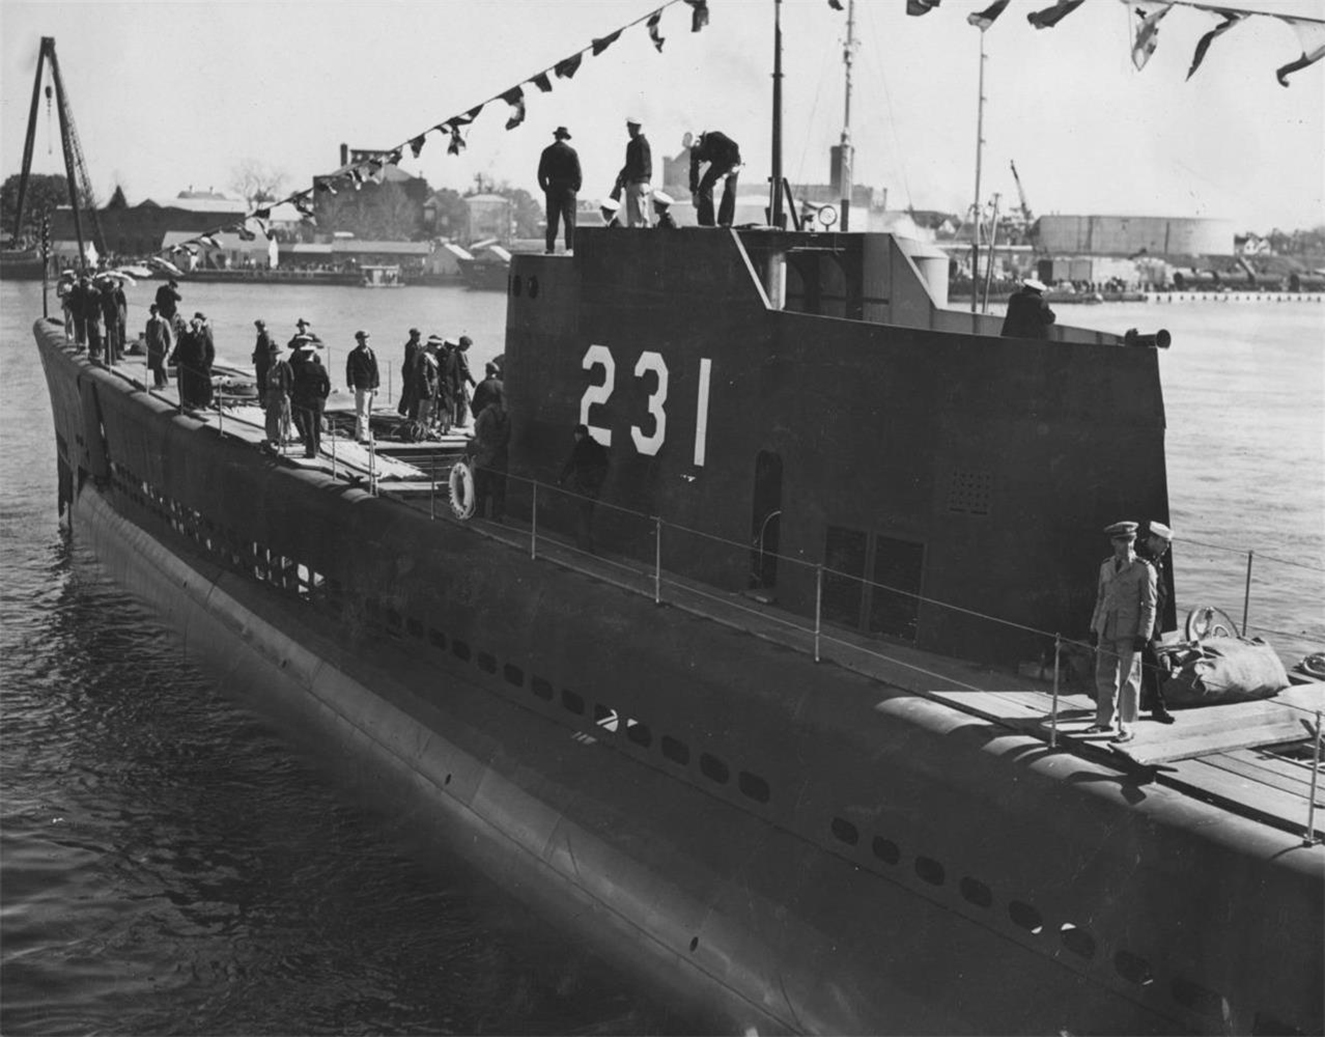
Nice detail from 23 NOV 44
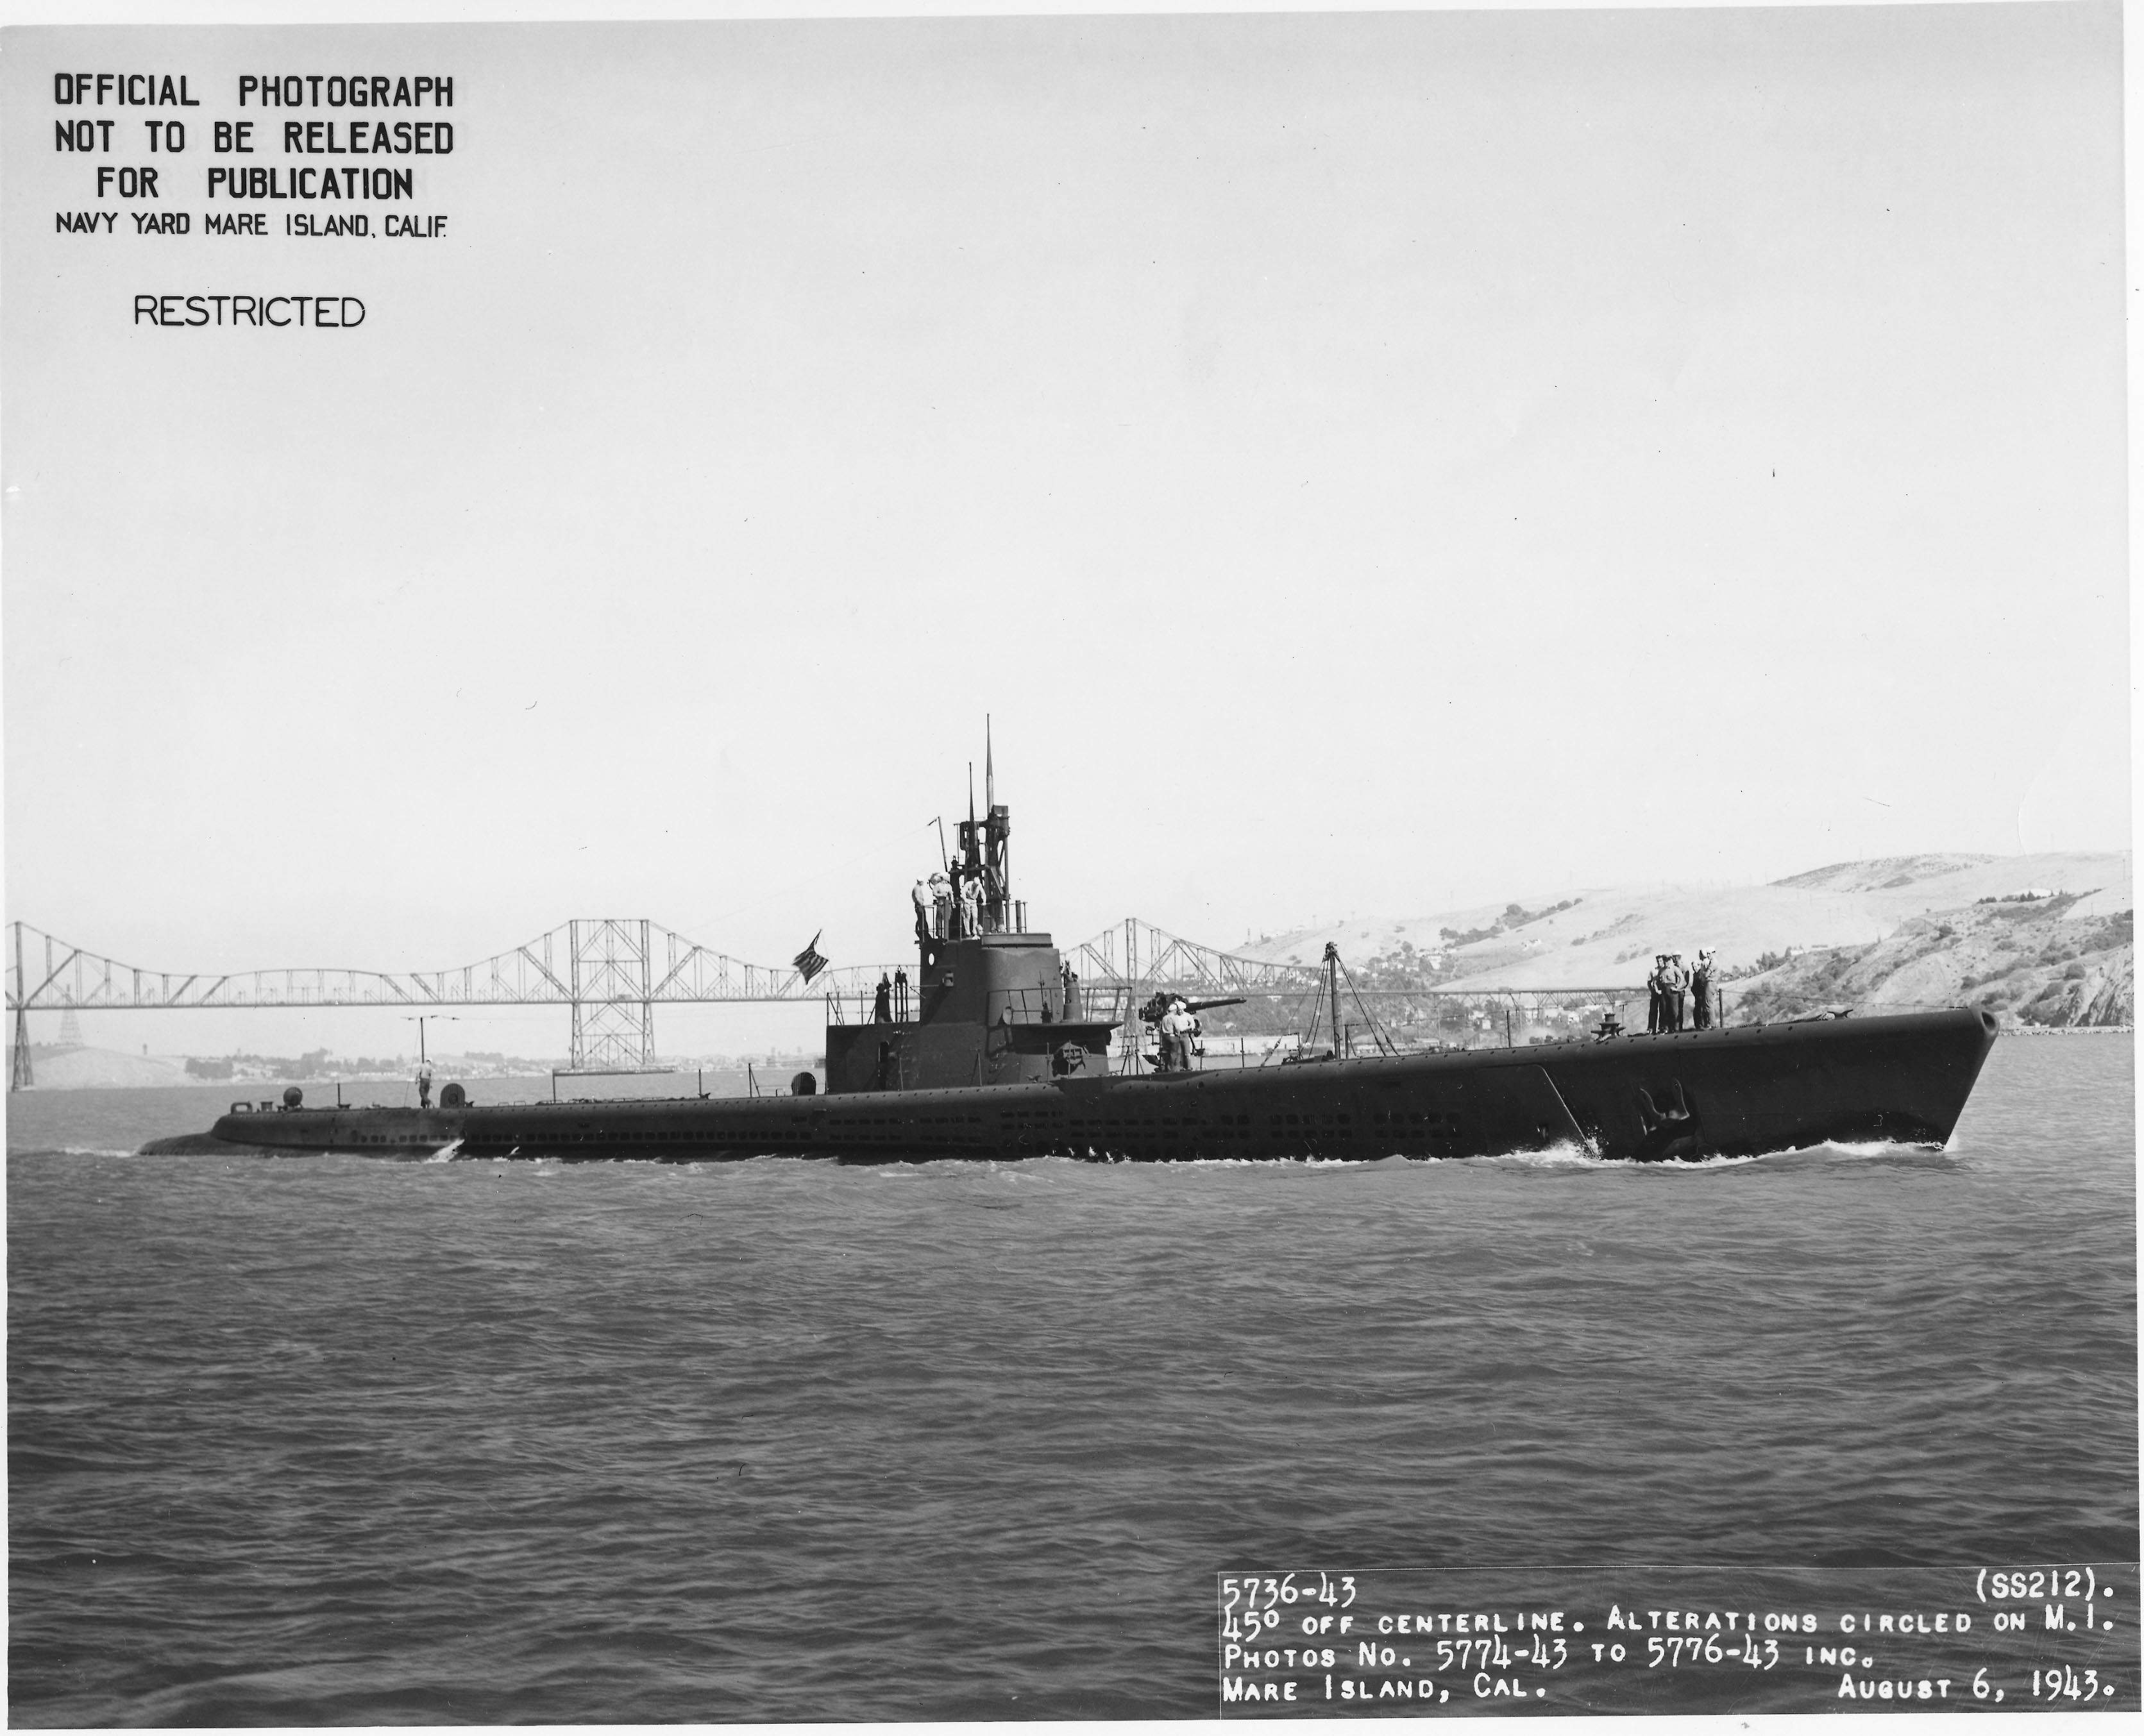
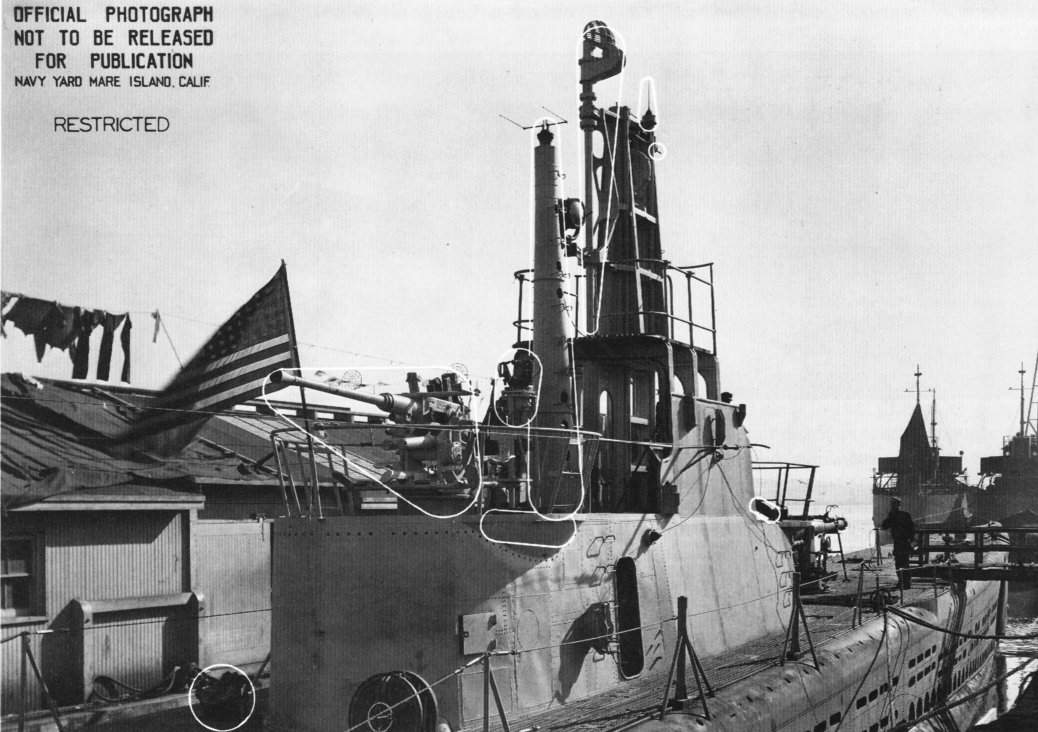
Caption: "Modifications made on 29 November 1944 at Mare Island for __Gato (SS-212)__include installation of a new freestanding mast for her SD radar and relocation of her SJ to a new mast supported by her periscope shears. In some boats the new SJ mast was mounted forward of the periscope shears.
The three girders supporting the shears are the only remnants of the prewar enclosed bridge: their height indicates how far the fairwater has been cut down. Note also the ammunition-passing scuttle let into the deck abaft the bridge fairwater. "


 )
)