This is a pretty inexpensive kit. I paid about $14 for it and that’s a steal for the detail this kit has.
Today was a paint and very stubborn decal day.
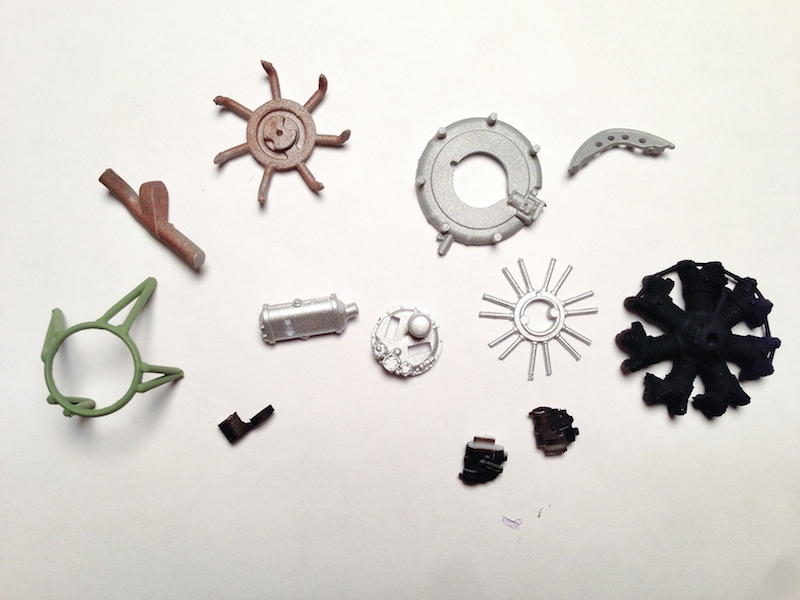
First, a lot of small engine parts needed to be painted before assembly.
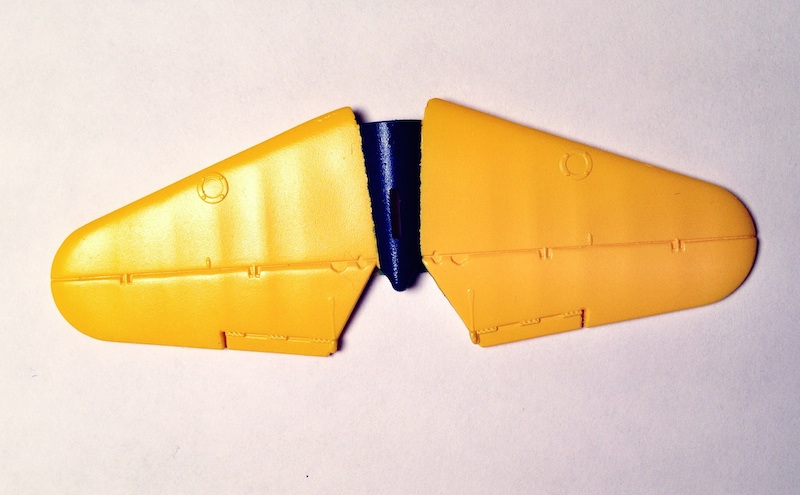
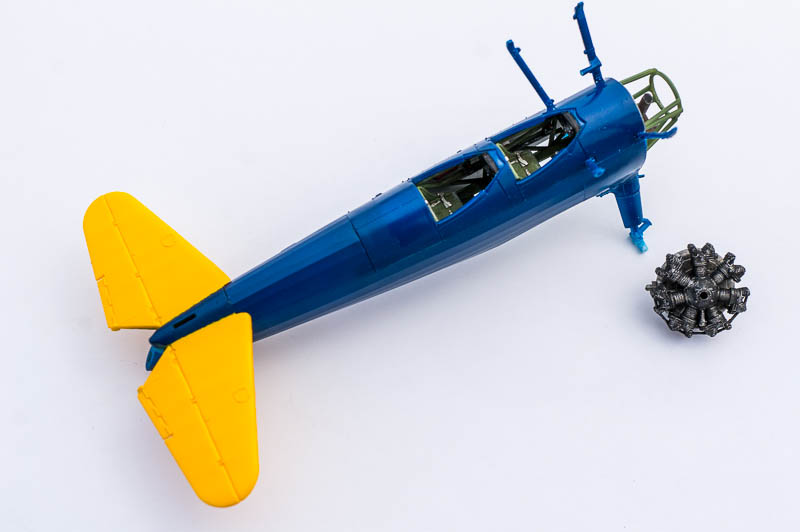
Then some touchup and blue on the horizontal stabilizers.
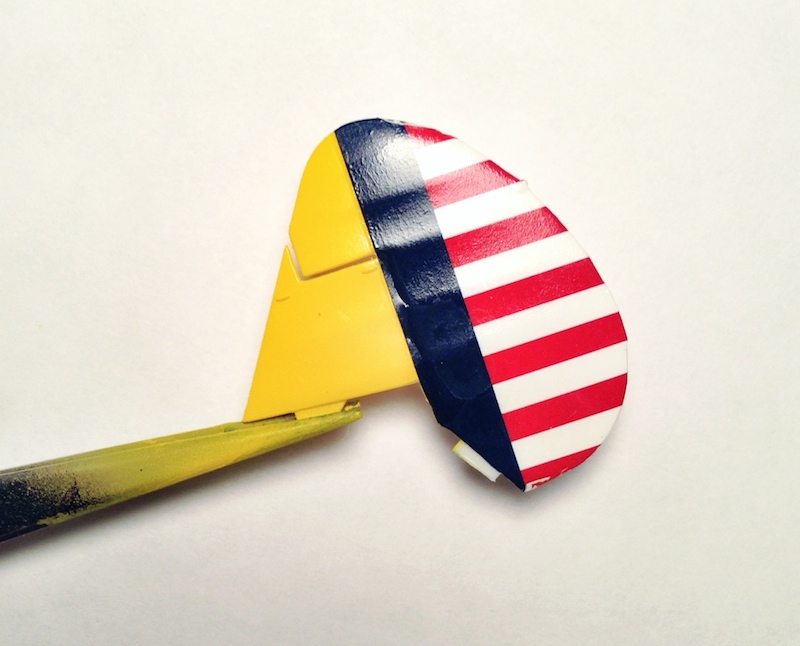
Then a decal attempt on the rudder. The kit decals look good but they are way too thick and almost impervious to any kind of setting solution. They just won’t conform to the rudder detail and this was after multiple Solvaset applications. This kit cries out for some aftermarket decals.
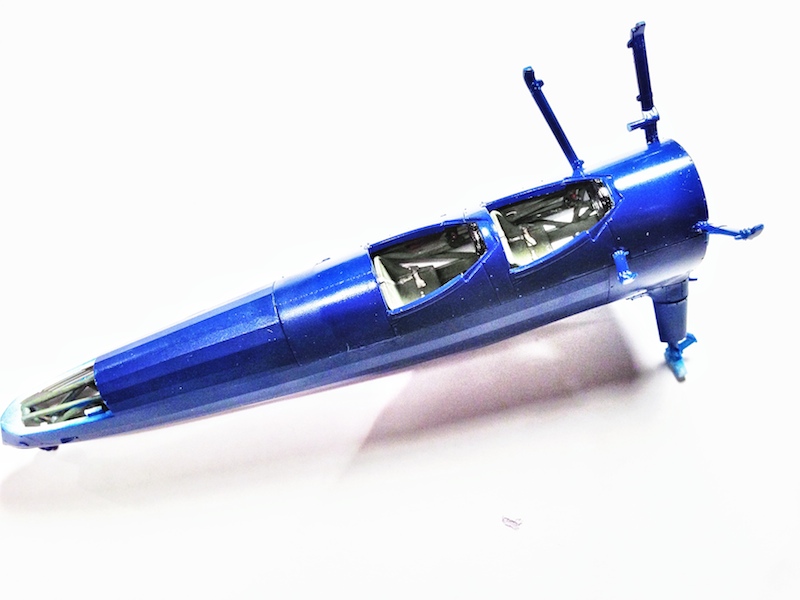
The then fuselage top was glued in place and touched up.
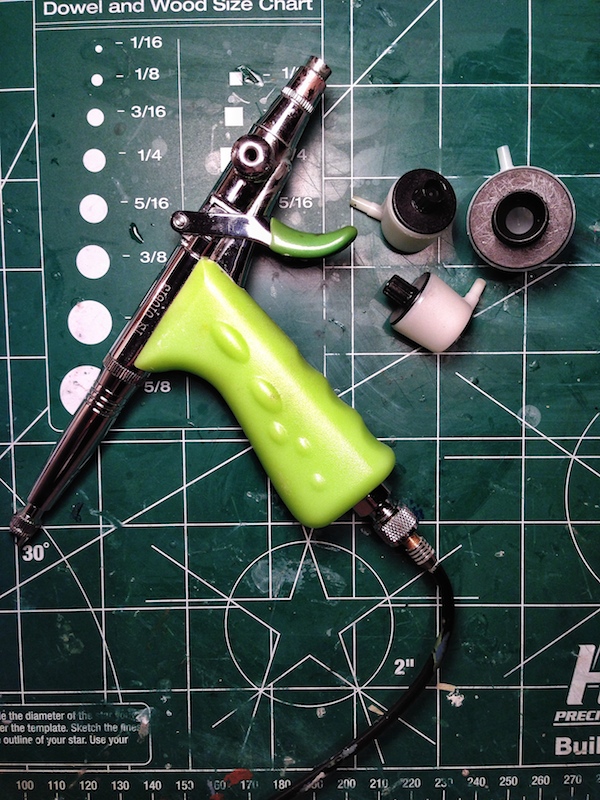
That’s it so far, but here is an airbrush tip which some of you may know. When you have a lot of colors to go through in a painting session, the best thing to do is use small Aztek color cups. I have a Grex Tritium TS3 with an Aztek adapter and those 3cc Aztek cups are perfect for small jobs and they make cleanup a snap.
I picked mine up just like 2/3 weeks ago and I posted questions soon as I got home. At that point nobody had posted anything about them. A few days later they was all over the forums. At that point somebody told they had bin out for a month or so. There new
I picked one up today and already started on it. Just getting parts cut out and some assembly done tonight. I just watched tora tora tora too and the plane in there is from a flying school, not Navy or Army. I plan on doing the all yellow Navy version.
You are doing great work Alan, I’m glad you inspired me to get this plane. I haven’t bought a Revell kit in a few years but this one is great for the money.
I would recommend trying to get your hands on Mr. Mark Setter and Mr. Mark Softer. These are pretty aggressive decal solvents that seem to do pretty well with Tamiya’s notoriously thick decals.
Your build looks very nice so far, really looking forward to seeing you complete this bird.
I was going to mention those decal solutions but Max beat me to it, so I’ll second it. I refer to them as my heavy artillery, used for only the most stubborn decals, and they work a treat.
Thanks for the suggestions for using Mr. Mark Setter and Mr. Mark Softer. I never heard of that duo. Unfortuantely all the US online stores I checked were out of stock. [:(] It must be popular stuff!
I think everyone who picked up a kit will be pleased. I’m probably going to get another to do in the yellow scheme or wait for some after market schemes to appear.
It was pretty nice day so I decided to take my real camera (a Sony NEX-6) and macro lens outside with a white diffusion umbrella to take the pics today instead of using my iPhone. Hope you like them.
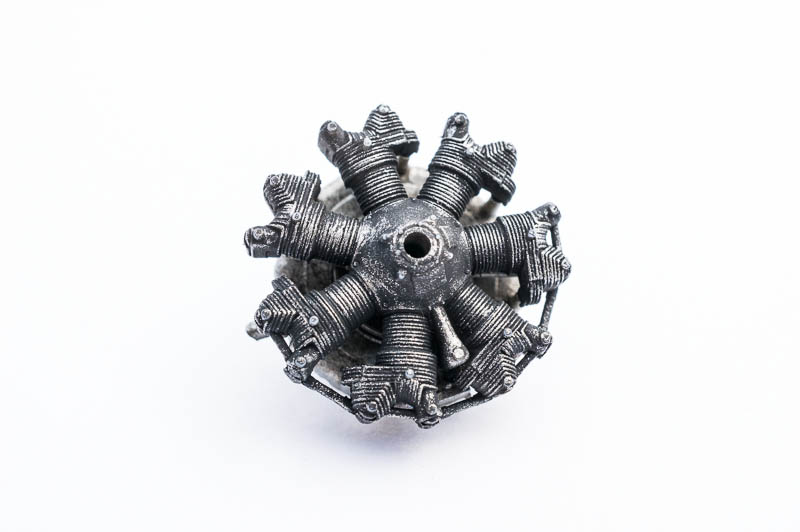
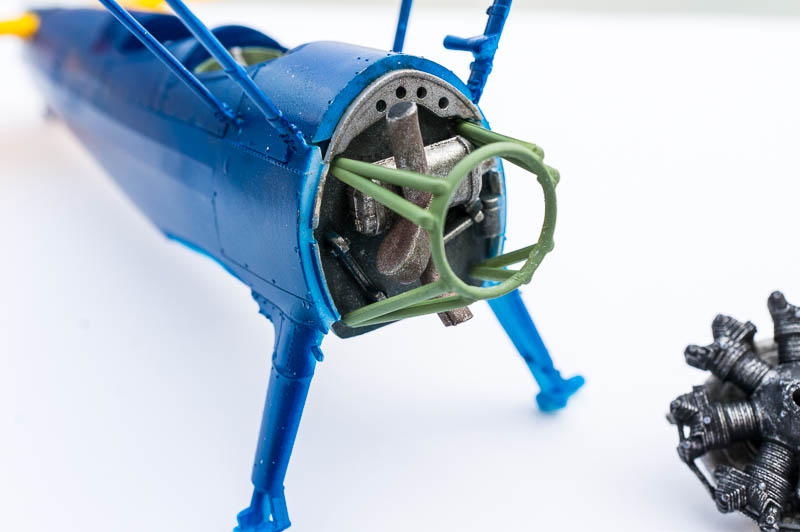
The engine is finished, assembled and weathered. Front…
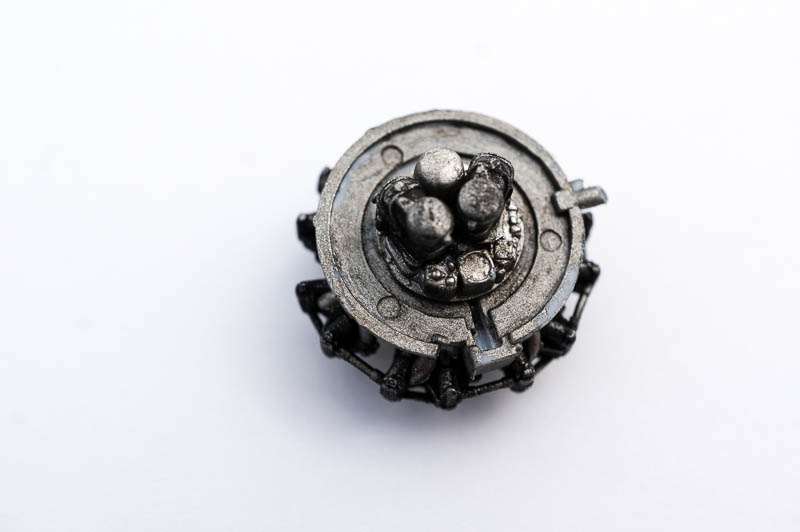
Rear… Yeah, I know - injector pin marks but no one is going to see them, so they weren’t removed. In fact, all the back detail probably won’t be visible. Kind of sad.
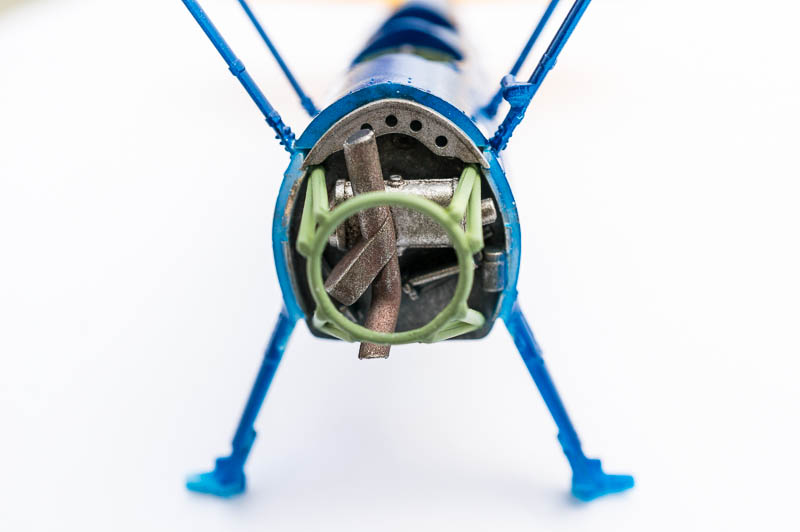
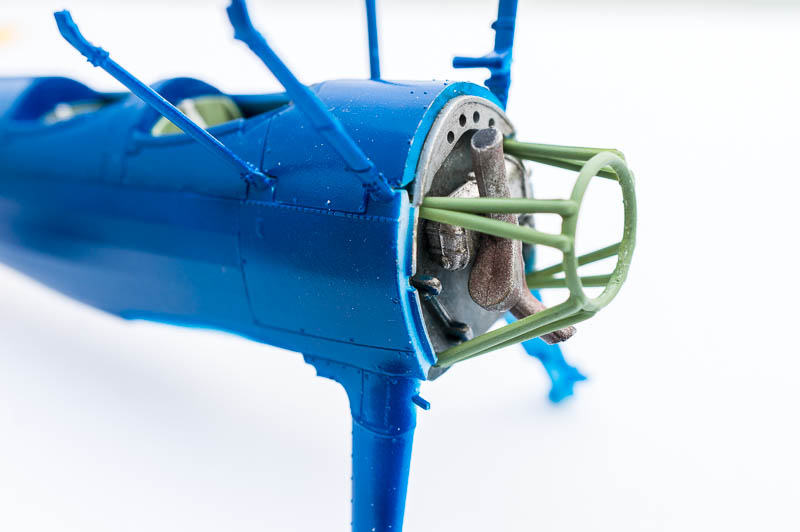
The front engine mounting has also been installed and “worn-in”.
Alan, that’s odd, I had no trouble at all using Microscale Solvaset and Microsol on my rudder decal. You must not have been holding your mouth just right.[:O]
This is indeed a new kit and was just released a few weeks ago. All new molds, etc. The only other 1/48 Stearman out there is the Lindberg kit from 1966.
I’m doing a base coat in Tamiya Flat Yellow (XF-3) as sort of a “primer” and then using Tamiya Lemon Yellow (X-8) Gloss on top. If you use the X-8 directly over the white plastic it gives a a weird transparent-like look. The flat yellow takes care of that problem.
Well I’m really going to have to get on the stick and get that MiG-29 off the bench now. I just caved and ordered this thing…dam! One lament I have though. On the Yellow Peril option I wish they would’ve provided markings for the more colorful version vs. the rather monotonous all yellow. As has been previously stated, this model cries out for some aftermarket decals
Nice picture, Don. It clearly shows the birdcage of aluminum hat section that gives the Stearman it’s rounded shape in chromate, and the fabric behind it. Looks like ceconite or something like that, a little more blue toned white than cotton fabric would be in WW II. The other thing of note is that the pad of foam rubber is missing from the instrument panel. It was 1 1/2 inches thick or so, but deteriorated rapidly. I’ve only seen remnants of it on original parts but in WW II with a cloth helmet it was the crash pad for the noggin.
I think the rudder heel panels (clumsy wording but you get the drift I hope) are too far out and too narrow maybe in the kit. They were also sometimes varnished wood on Stearmans. They should line up with the rudder pedals, which are manfully wide apart compared to most light planes.
Just snagged mine from Hobby Lobby. It came out to $10.19 OTD with the 40% coupon. Quite a deal! Was looking over the parts and it’s an incredible value for a very well tooled kit. Way to go Revell! Now we need a more colorful navy marking option than the included one. Bearcat’s colorful picture may be an option to custom make.