Revell 1/48 Ford pickup truck

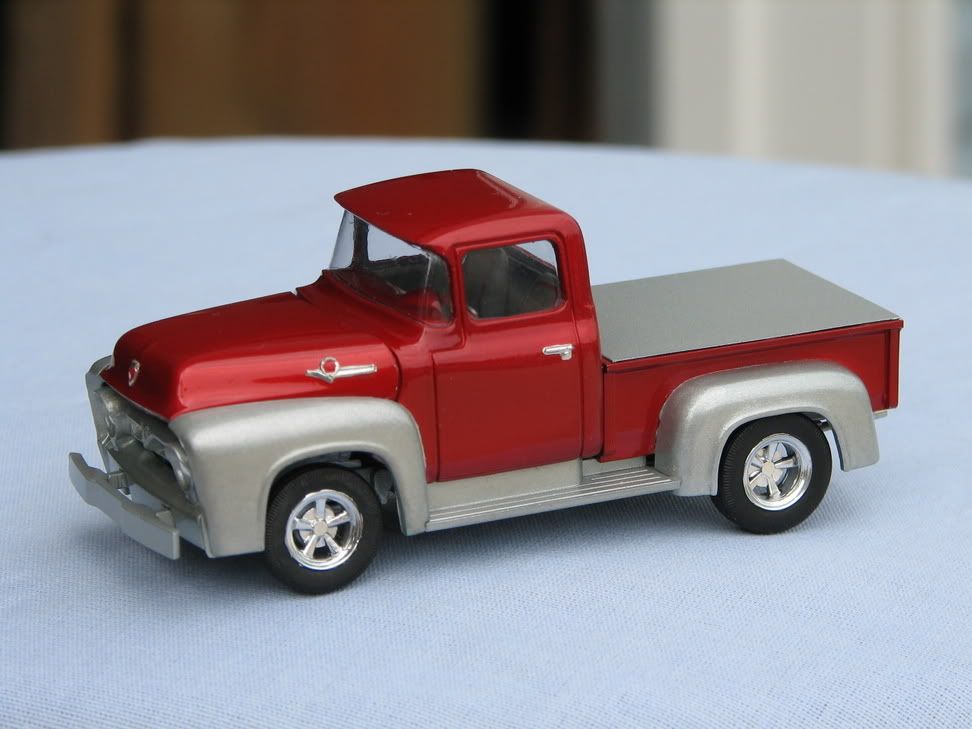
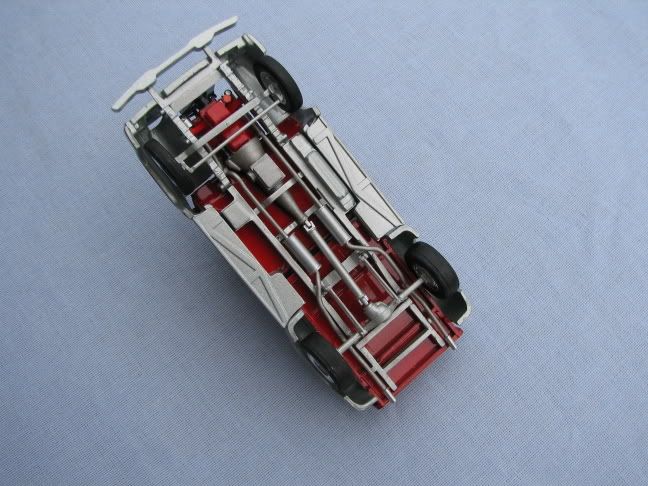
Here’s some pictures of my 1956 Revell pickup truck. This is the repopped version of the one that came out in about 1957. I built one over a year ago where I had opened the driver’s door, scratch built a 302 V-8, machined a bunch of aluminum parts and made a buck to form a windshield for it. I had another one in my stash so with this one I scratch built a 427 SOHC for it. I took the dimensions off of the 1/6 engine. I scratched the Cragar wheels and modified the interior, adding bucket seats and a console with gauges. Underneath it has a scratch 9inch Ford differential along with the exhaust system. It was finished with Testors Candy Apple red up top and German Silver below. The small chrome bits (door handles and emblems were foiled with BMF.) The airfilter and the Cragars were done with Alclad Chrome. Being as I had made the windshield buck for the last build I again made all the glass for the windows. Remember this thing is only about 4 inches long. I’ll post a couple of pictures and include the link for my Photobucket account so that you can see the entire build.

gbritnell

http://smg.photobucket.com/albums/v43/gbritnell/New%20Ford%20Pickup/

If that link doesn’t work you can go to this one and look in the album named New Ford Pickup

http://smg.photobucket.com/albums/v43/gbritnell/

sweet! I have a few of these myself, but because there was no windshield I have hesitated to build them. How did you make the windshield for yours?

Hi noxaf,

I made a template of the top shape of the windshield and one of the bottom shape. I then measured from the top template line to the bottom one and layed it out on a piece of basswood. I roughly carved it to the lines from the templates and then finished it to size with varying grades of sandpaper. I then took some of the clear plastic from the containers that tools, food etc. come in and cut some strips that I could hold between my two hands and held it over a candle until it just started to sag. At this point I stretched it over the buck to form the windshield. When it cooled I cut off the excess and started filing and sanding until it fit the opening in the body. The first time I made one it didn’t come out very good but I have made a few by now so I have gotten pretty good at it. I’ll show you a picture of the buck and the rough windshield if you like. Just let me know.

gbritnell

You did a great job on it. I like the color, that is sharp. Great job!

Jerry

That is too cool![tup].

-60

looks good![tup]