Not much progress tonight. I painted a second coat for the water line with the paint marker. I eyeballed the location and width of the waterline. Hope it is close enough for government work.
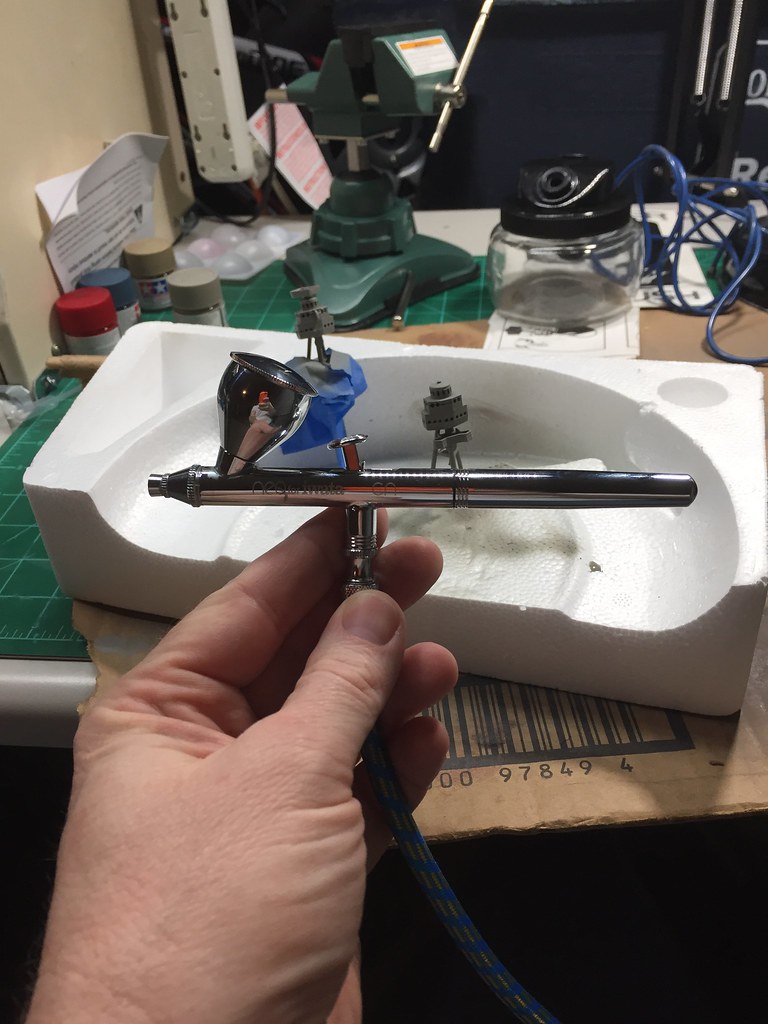
The masts are on for dry fitting. Wanted to paint the masts with my new Iwata Neo gravity fed airbrush. Should have known there is no standard airhose lines for airbrushes. So didn’t get the masts painted yet.
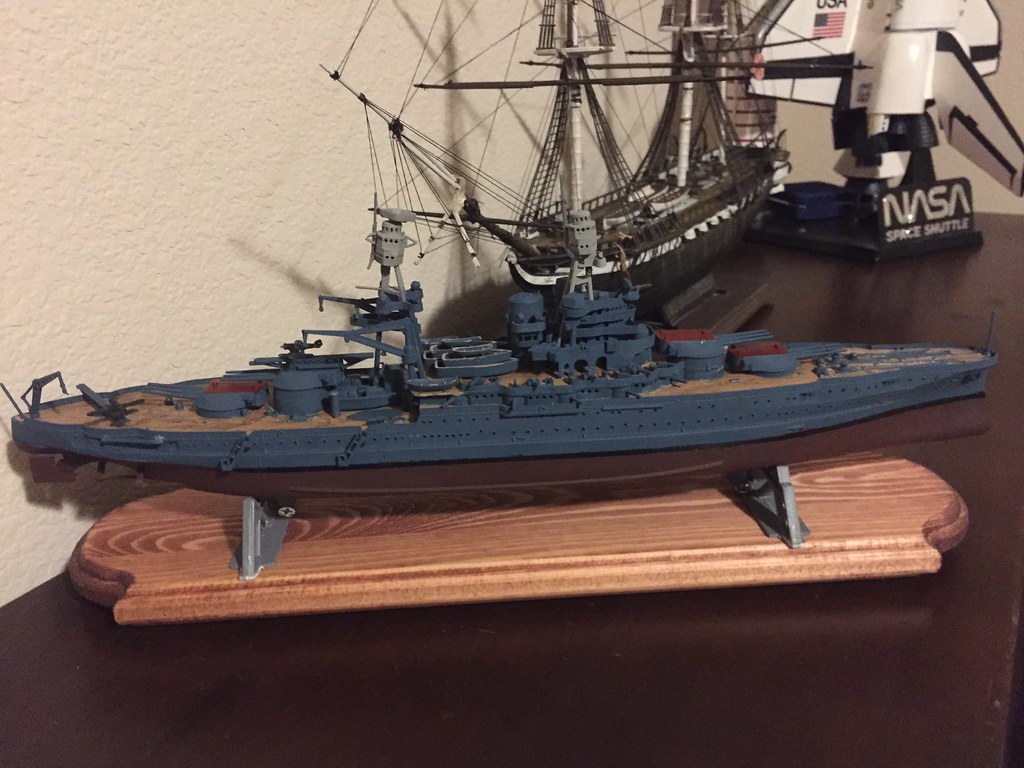
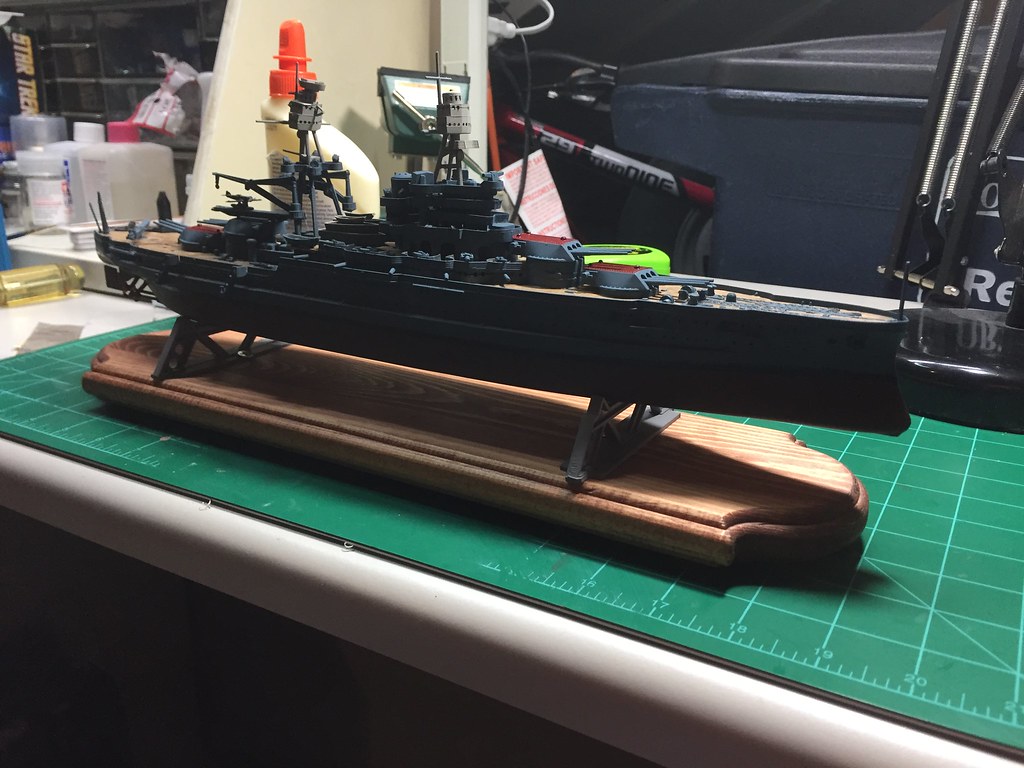
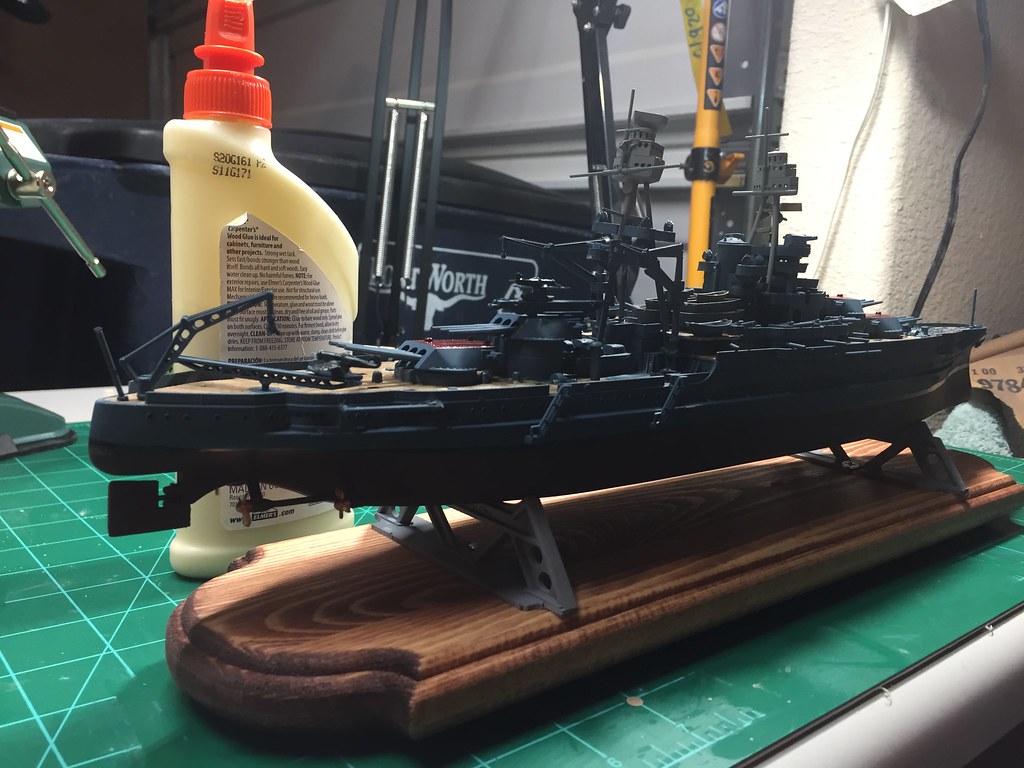
Bought some decorative wood from hobby lobby to mount her on. Sanded and stained that.
I have the Trumpeter 1/200 at 90% for a client .I took the Blue and overcoated it with a mist wash of Grey/White to lighten the blue . The Pacific environment is very hard on painted surfaces .
I always tell everyone "Just build a good model in your eyes ". You are building for yourself right ? I also have an Arizona in that size in Grey and one in Blue . Both look good to me . No extra detailing stuff , just OOB .
Looks like a Neo. I’m a gravity guy too. Once you get used to making up the paint off line in a container and pouring it into the a/b cup every little while, the control of the lighter a/b is so much easier.
Looking real good. Nice Hull Color and good looking deck.
I too am a 5-S believer, although I’m not convinced the entire ship below the Funnel top was completed in Sea Blue.
Are you planning on adding any additional AM parts to the kit ?
Thanks for this Thread on this old Revell kit. I’m sure most of the folks here have built it several times. There always seems to be new evidence that contradicts the last “build”. It’s one of those models you don’t get tired of.
Thanks Nino. I’m build8ng her as is. To be honest, this ship began as an inexpensive learning experience. But it has increased my interest in her and other historic ships. Originally it was going to be Texas related ships. But after this, I’m adding two more. Trumpeter’s 1/700 USS Hornet CV-8 for the Doolittle raid. And their 1/350 USS Indianapolis. I would prefer a 1/700, but they don’t make one. And I think Tamiya’s kit is only waterline.
GM, it is the Neo by Iwata. Only thing I struggled with is the cup cap. It’s good that it’s tight. But they don’t have a tab or lip to make it easy to open for adding more paint as I go.
Thanks. It’s Tamyia Medium blue. Their Sea Blue was too dark. Although I did use it on the planes and anchors.
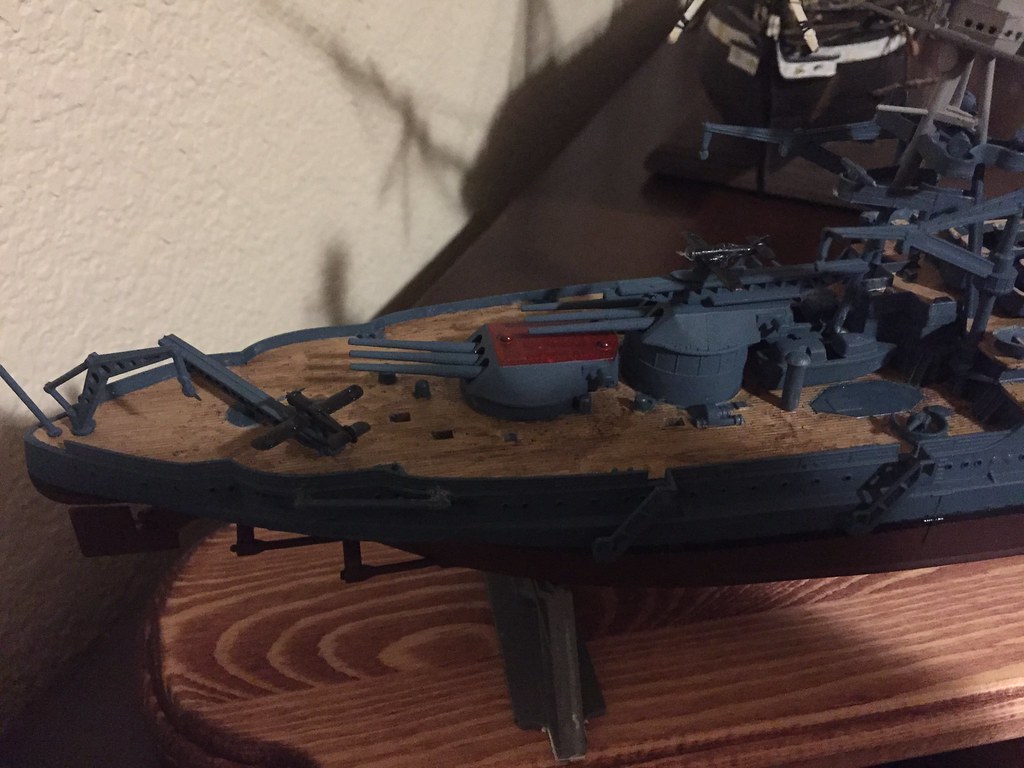
The screws were painted with a the Folkart bronze acrylic. I picked it up years ago for the original Star Trek Enterprise’s deflector dish. Hobby Lobby sells it. Although it would have gone on easier if I had primed them first.
The Arizona had Kingfishers in 1941. No one sells aftermarket models of them in that odd scale.So made the Gulls singlenwing to approximate the Kingfishers.
I think it would be safest to glue her to the stand.
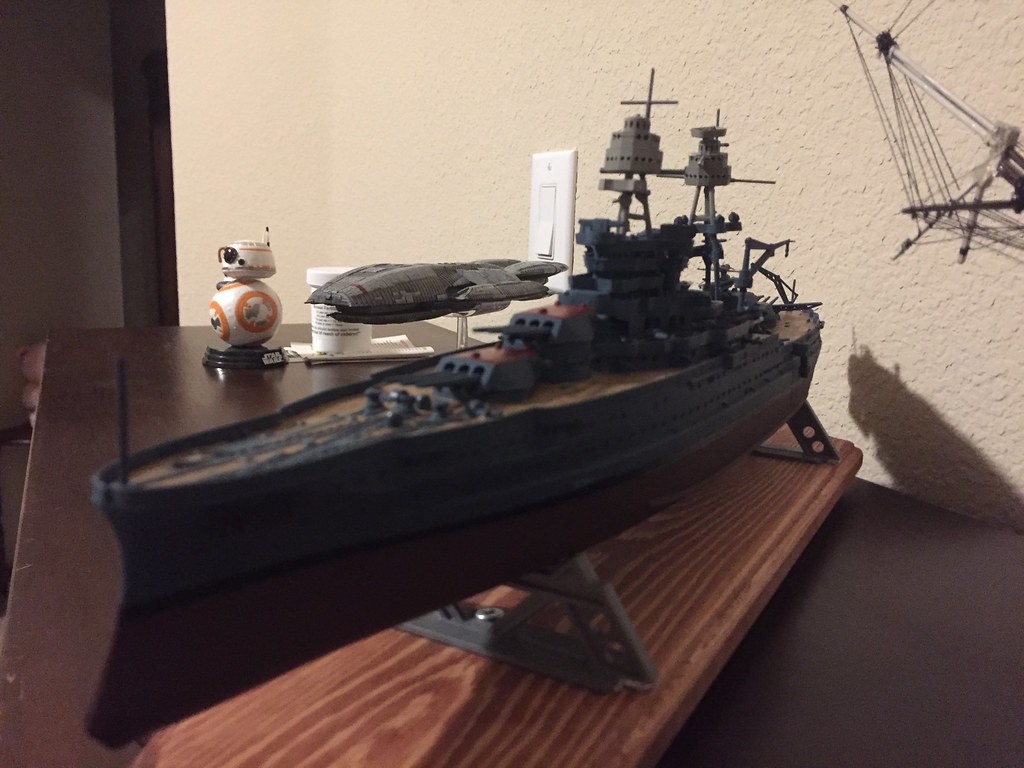
Well the screws are attached. The kit stands painted with grey primer and glued and screwed to the wood stand. Mike Holmes would be proud. The Arizona is tacked to the stands with a few drops of super glue. Thanks to Imagna for pointing out that Revell’s instructions have the turret plane mounted backwards on the catapult. I flipped it around. But need to decal, rig and clear coat. Forgot to get beeswax. So I’ll continue working on this tomorrow.
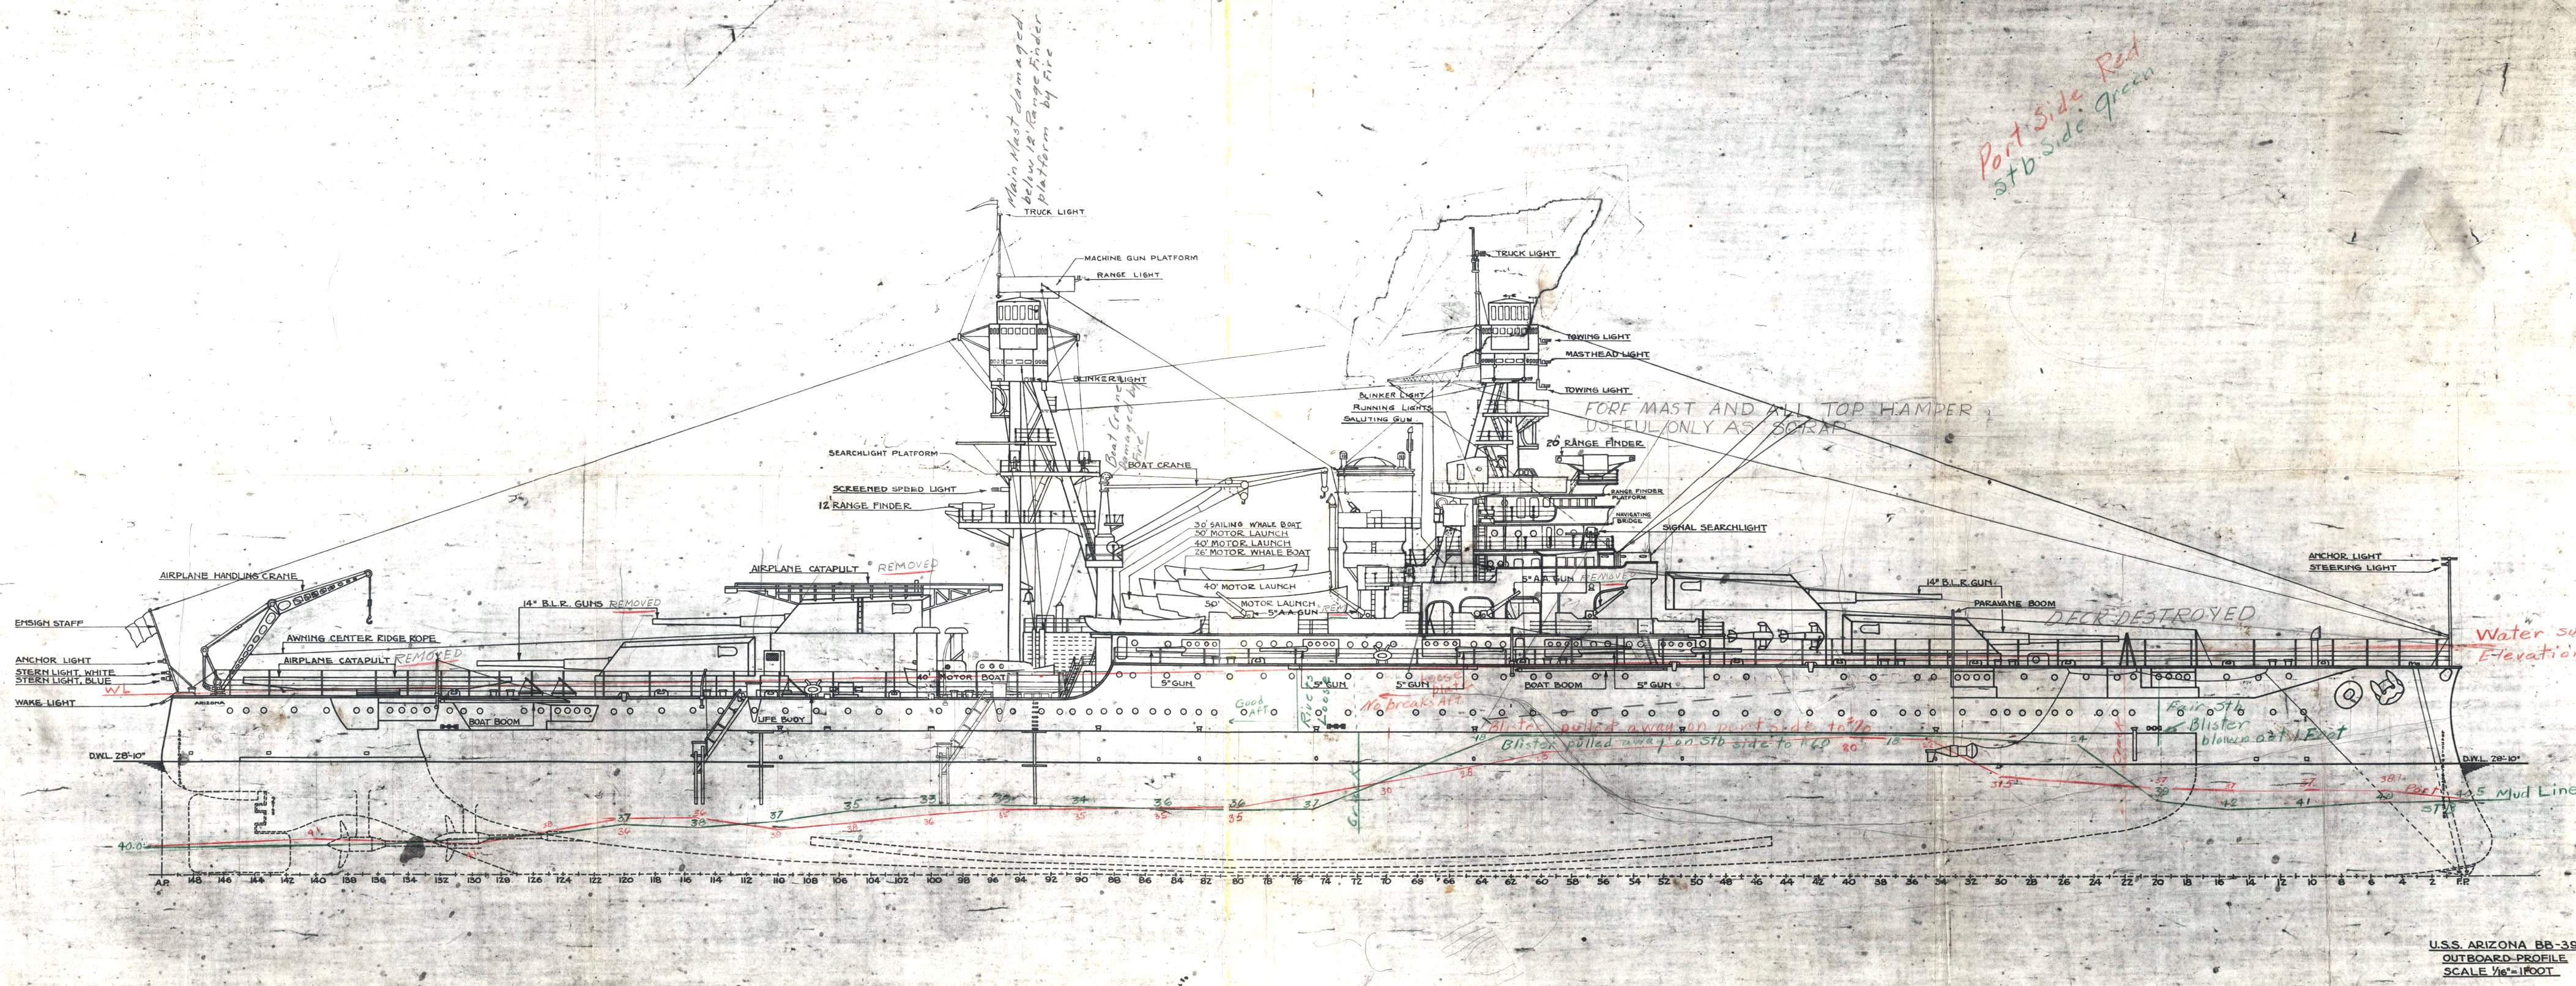
Glenn, are you Canadian or American because you mentioned Mike Holmes? your stern deck catapault is too high as you have it clearing the top of the deck railing when it sits below the top of that same railing. http://navsource.org/archives/01/039/013939q.jpg
What are often called “railings” on the No.1 deck of a major ship are in fact stanchions and cables that are struck when the ship is going to fire it’s guns.
In the case of the stern catapult, it should be hunkered down on the deck and since the “railings” are up, squared away fore and aft.
I would also say that you should get rid of those horrible girder stand things.
Putting the ship flat on the base would be an improvement.
Another possibility at this point, and easy to do, is the so called “dry dock” display.
It is in no way even close to accurate, but it looks pretty good. Get a bunch of 1/4" x 1/4" strips of wood and cut them all to length slightly shorter than the width of your base. Glue them down 1/4" apart using extra pieces as spacers.

