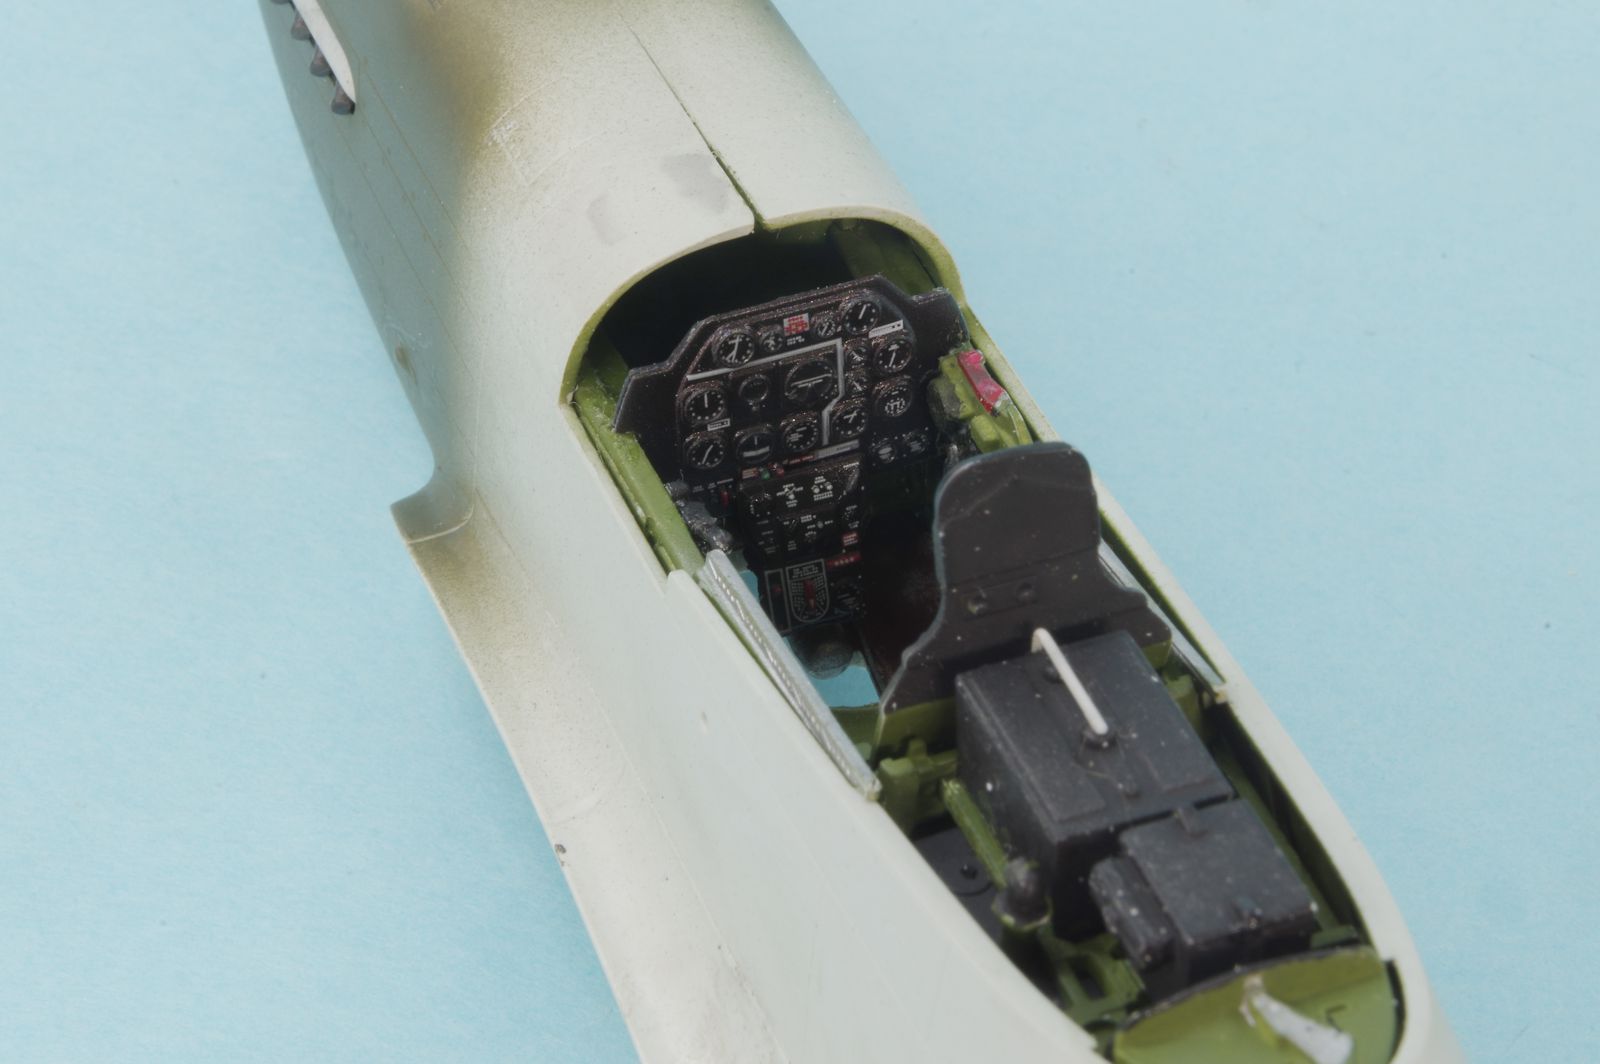
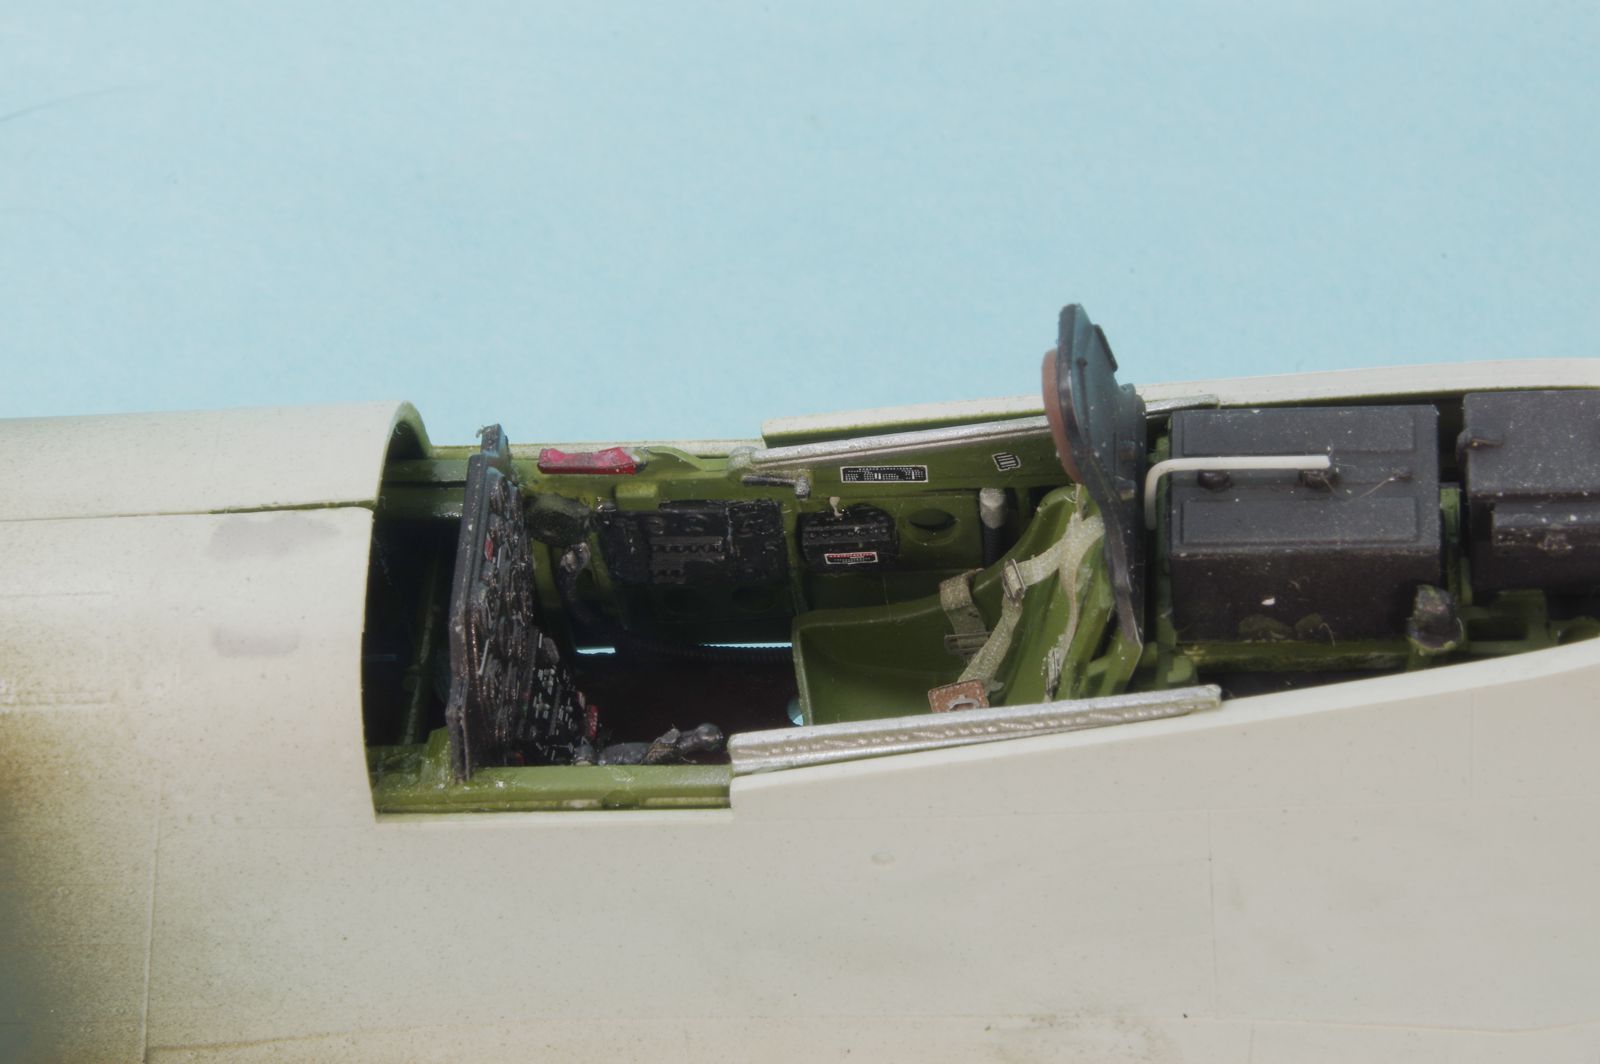
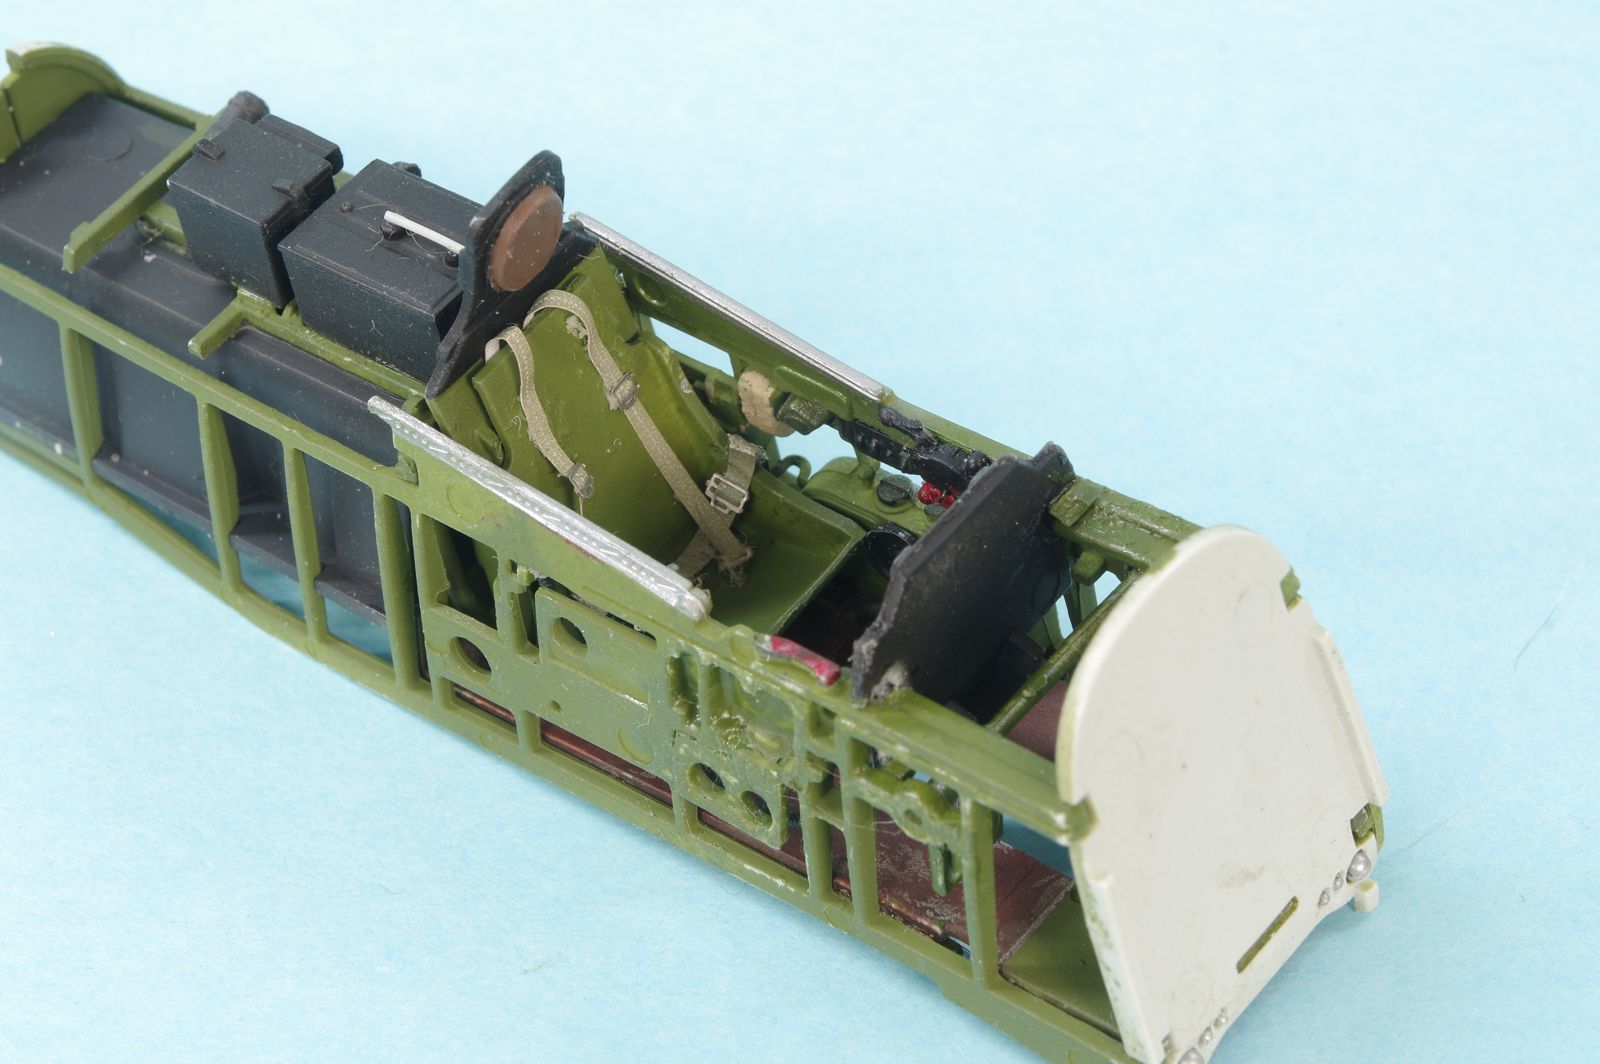
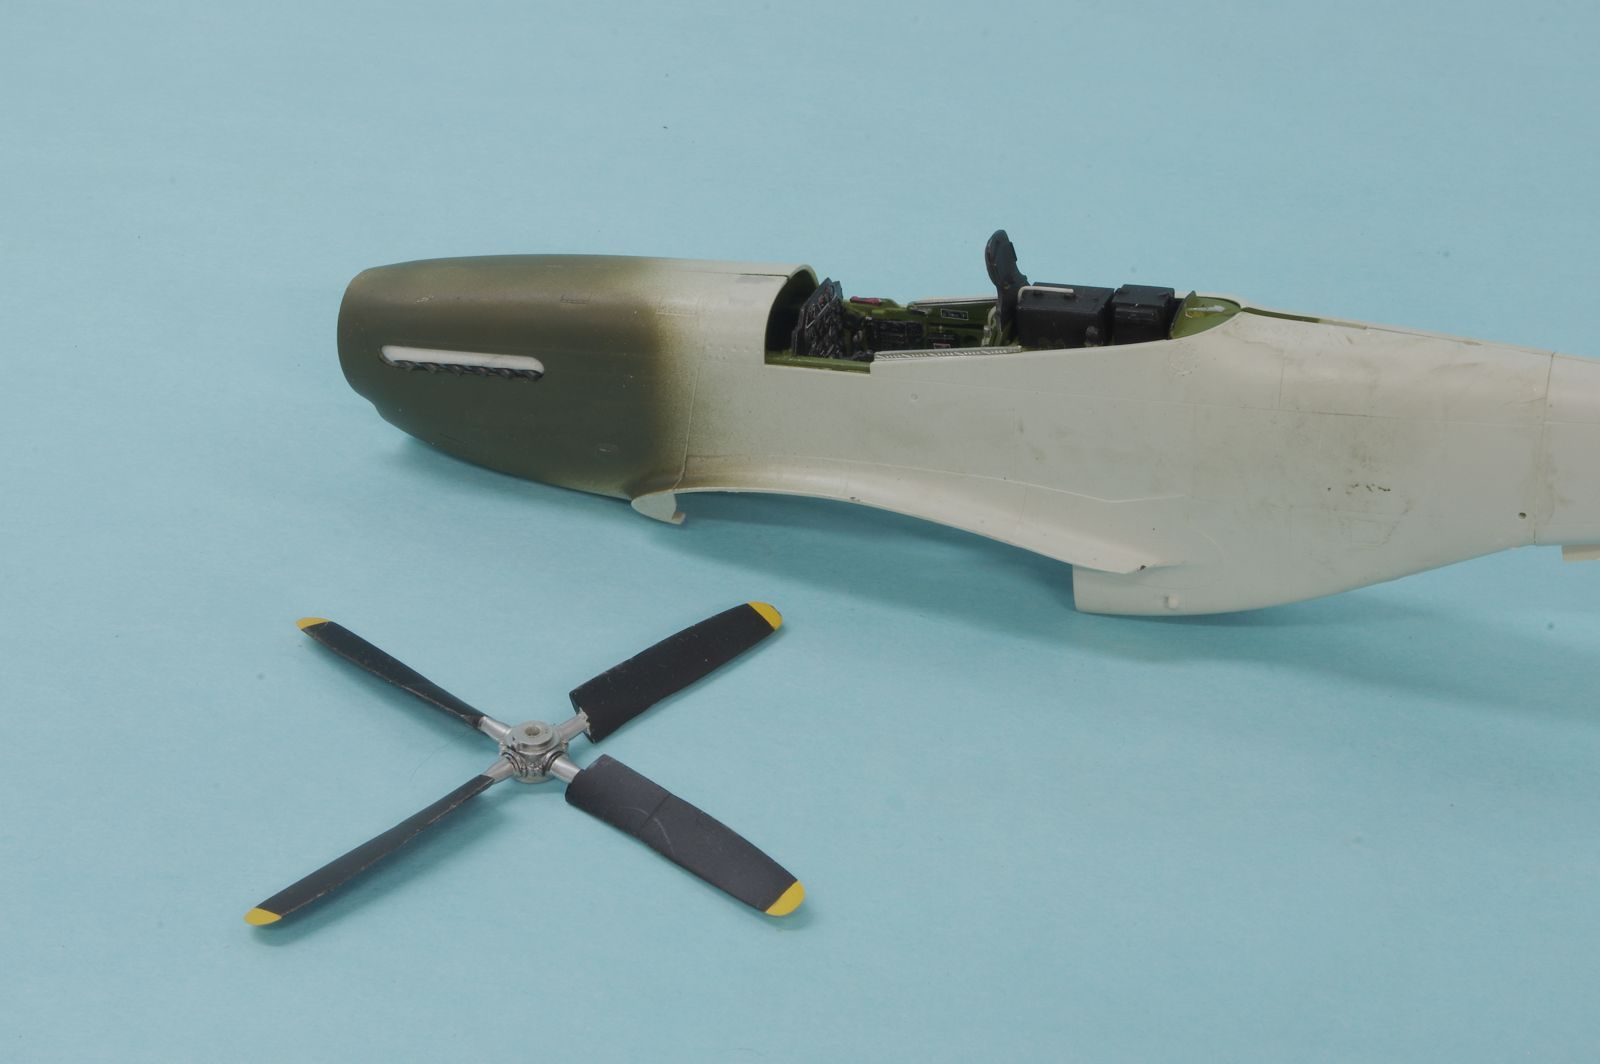
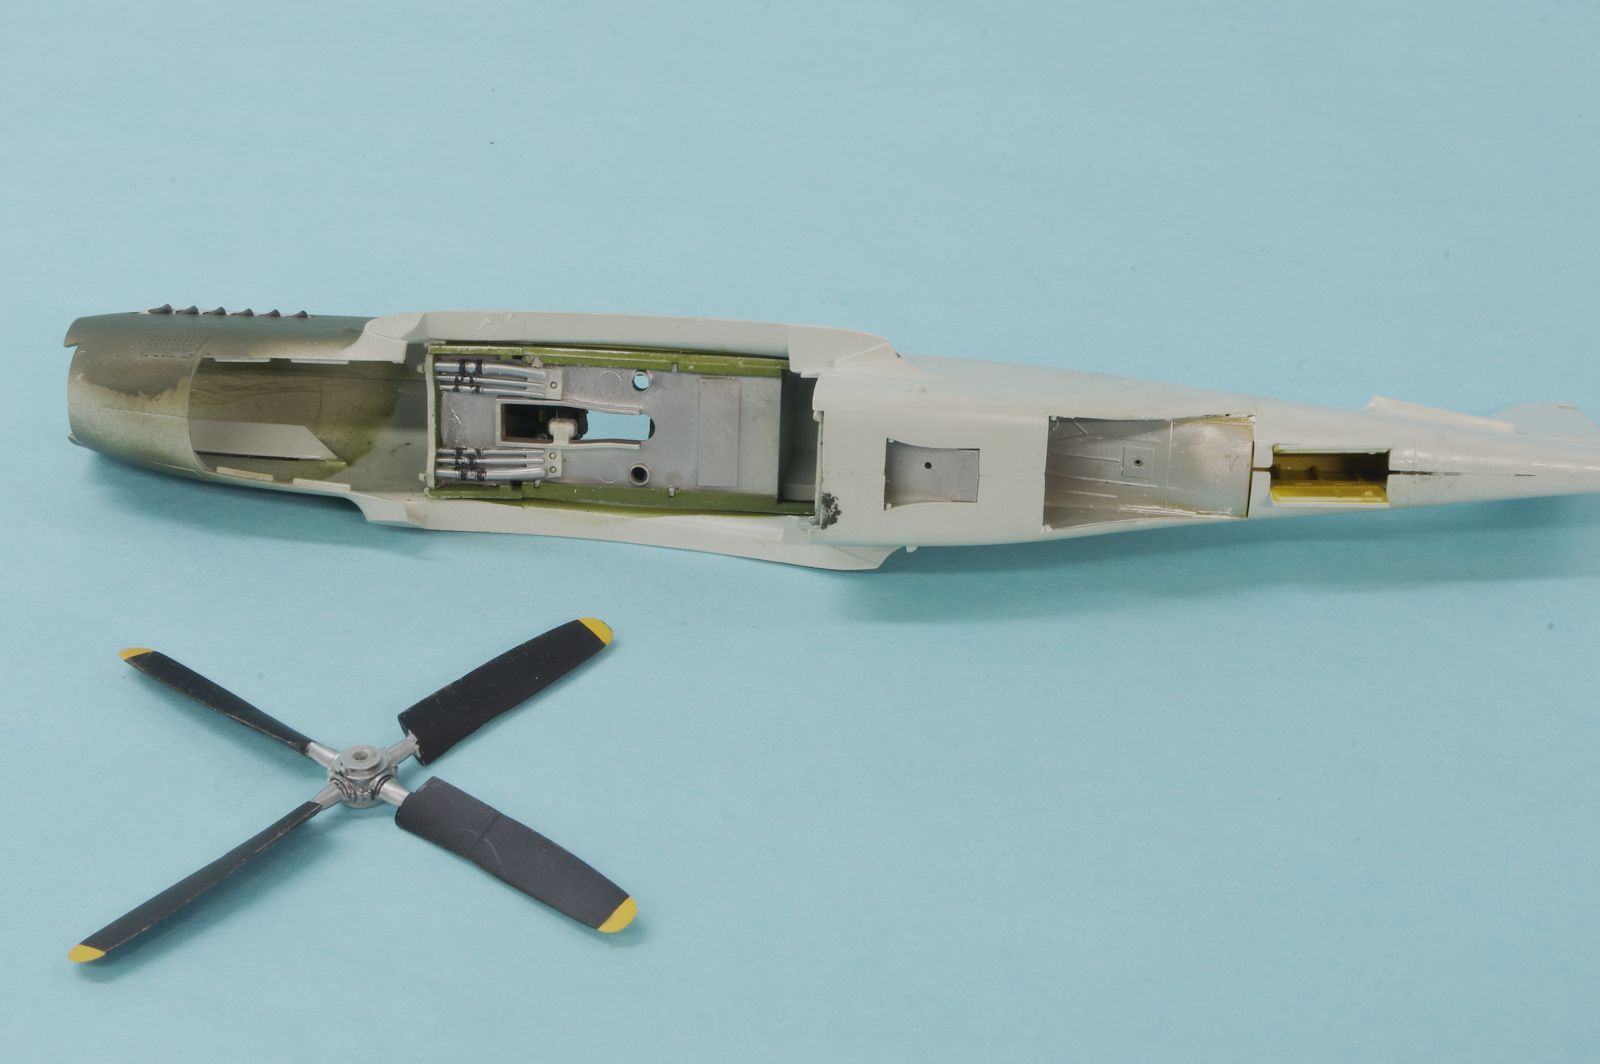
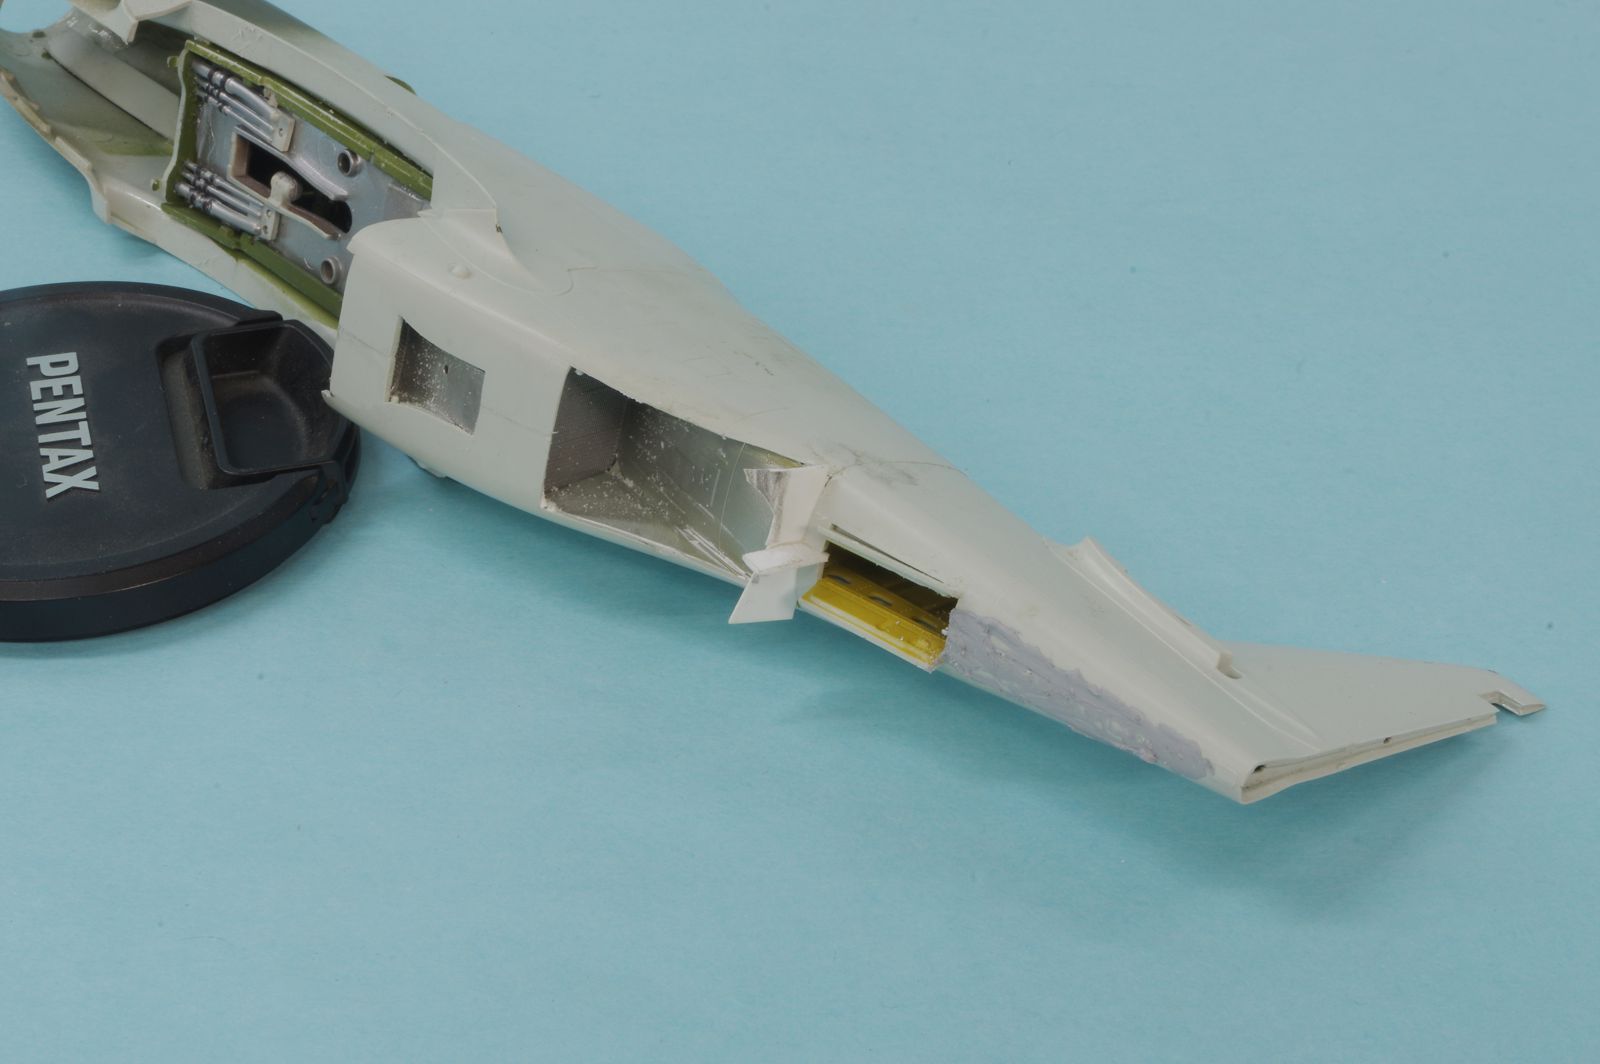
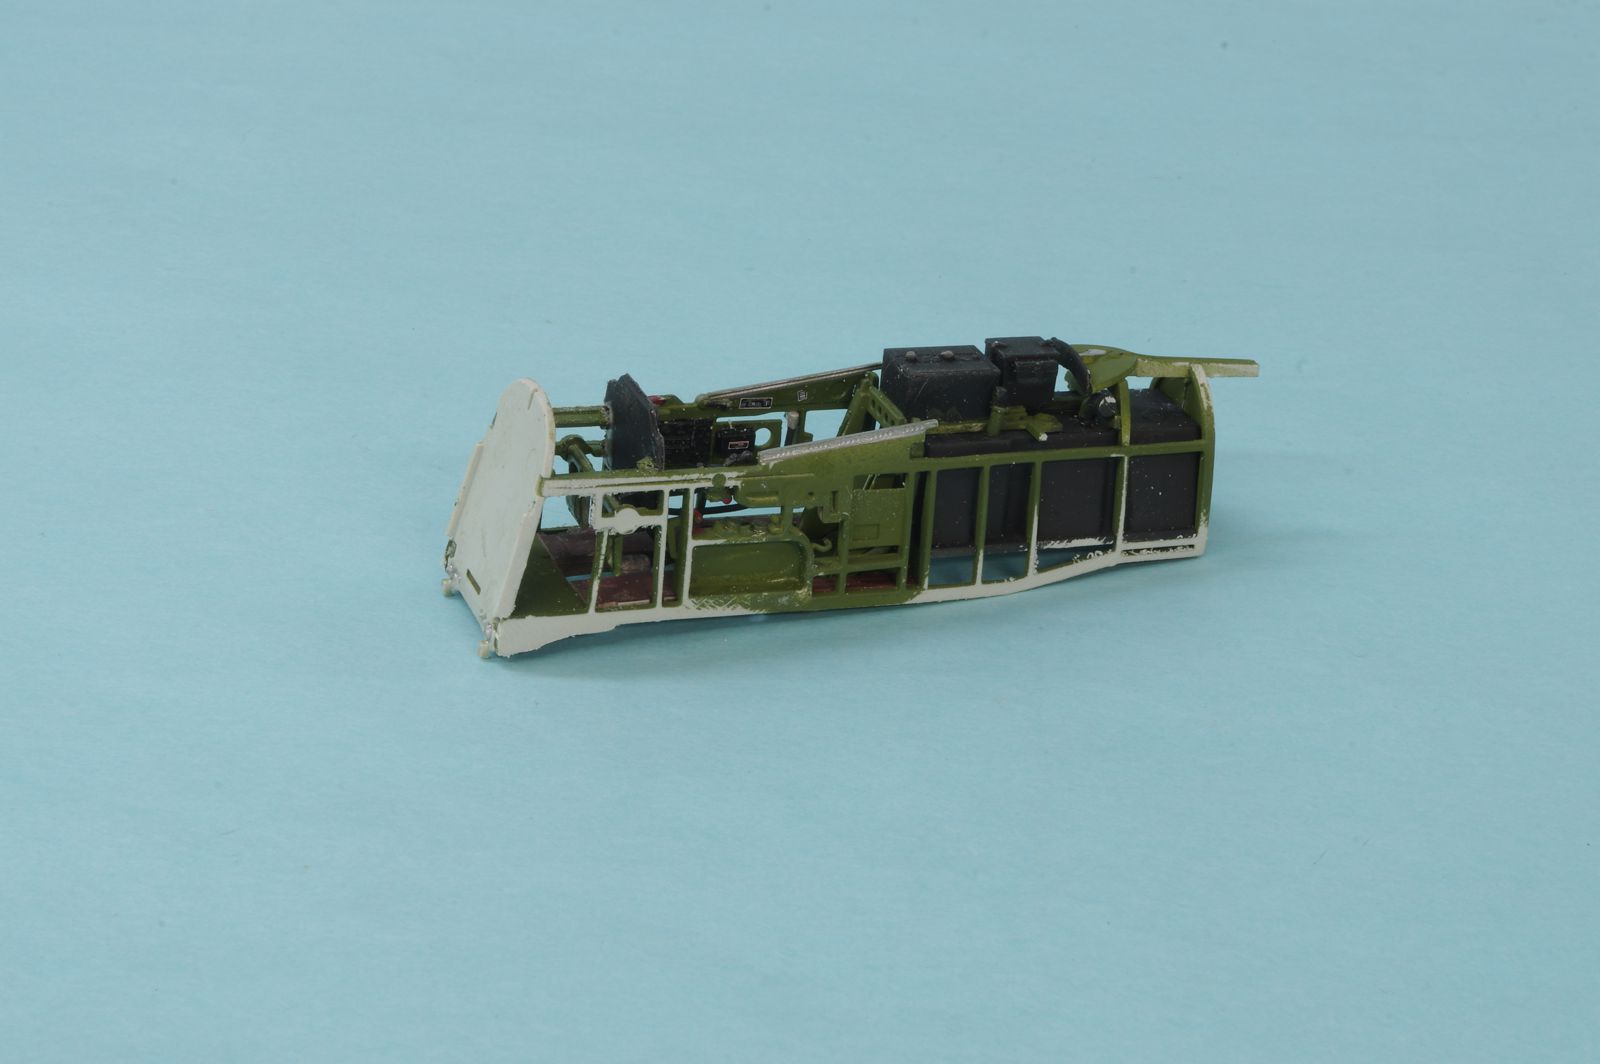
Finally got some work to show on this one. I had done some cockpit work before I started cancer treatment in March, and had gotten up to needing to add seat belts. I had to be away from home during much of the treatments, and then the side effects and need for caution about infections due to my immune system being compromised (the treatment is a form of transplant) made it so no modeling was possible. I still have to be careful but I am cleared back to the bench now. Unfortunately one of the side effects is that the tremor I have always had was made much worse. Putting together the HGW seatbelts was a 5 or 6 hour challenge but last week I got them done and installed. The interior parts are together and closed up in the fuselage. Don’t know why but there are areas where I just couldn’t get things to fall in to place without some gaps, but nothing too bad. Still, disappointing, and I don’t thing it is all my errors. The way the exhausts and shrouds are engineered causes some complications as they have to be installed from the inside. I painted and assembled the exhaust parts, and painted the fuselage area around the exhausts the British Dark Green that the topsides are in for the scheme I am doing. Then I installed the exhausts from the inside. I will mask that area off before doing the rest of the topside painting.
Yeah, John, good that you’re back at the bench. The HGW belts look good. They’re fabric, aren’t they? I have this kit in the stash. I haven’t figured what to do with it yet, so I’ll be watching your progress here.
Thanks, everyone. At this point I am done with treatments unless there is a re-occurence. Working on recovering from the treatment’s effects now. I was very fortunate get into the clinical trial, one of only of twenty subjects. Much better than any chemotherapy in terms of effectiveness and side effects.
Steven, I don’t think I would use them for anything smaller than 1/32. PE is good enough for me in 1/48 and for 1/72 I use painted masking tape.
Yes, they are some kind of fabric, there is a paper backing you remove before threading them into the PE parts. I put the PE fret in a holding clamp and thread the belts through the PE before removing it from the fret.
I remember I had some trouble with fit too on the P-51D-15 on the cockpit and the wings. Couldn’t get them to seat right. Hope your canopies are all good! As for seatbelts… forget about it!
I do have tremers. * deal with them by having two blocks of wood on my bench, one 3" high, one about 5" high. Parts jigs and stuff on top block, Base of thumbs on smaller blocks. Definitely helps.
First and foremost, glad to see you back at the bench!
My dad had a bout with stomach cancer about 10yrs ago which resulted in 2/3rds of his stomach being removed.
The complications, setbacks really stunk and to be honest, not sure what was worse, the cancer itself or the meds.. Ugh
Stay strong and keep on building… Building helped my dad out a lot!
Now back to your build… Maybe i missed it but have you decided on the markings yet?
Love the cockpit!
Happy Modeling,
Mike
Happy to see you back at the bench John. I pray that your treatments for the cancer were/are successful. Sorry your going through that. The cockpit looks great.
Thoughts and prayers go out to you while you’re going through your treatments. Your cockpit work looks fantastic! I’ve discovered the many benefits that scale modeling provides while one goes through a “health” crisis. Good Luck!
Thanks for all the well wishing sent my way. I will do my best to not disappoint!
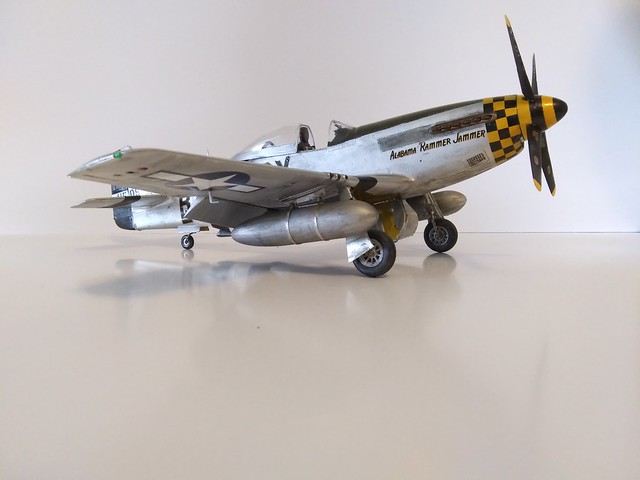
I will be doing this one as Passion Wagon, British colors of Dark Green upper and I think Medium Sea Grey below.
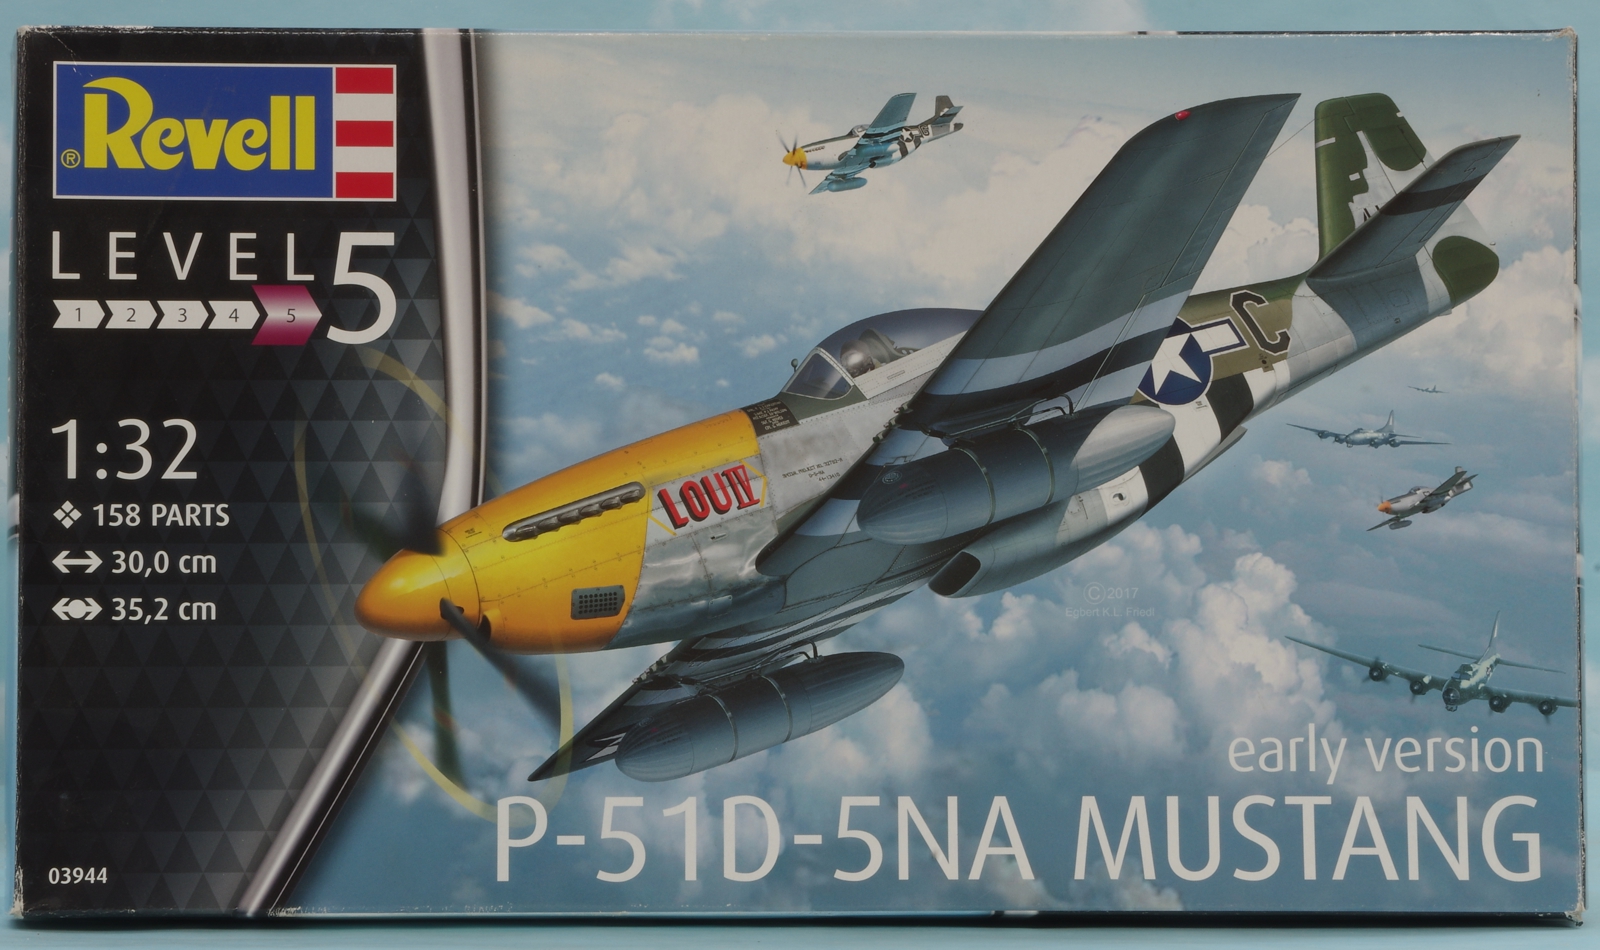
I was really disappointed in how this one was turning out. I could deal with the gaps on the fuselage seams and the wing fit, but there is no way to disguise the fit of the windscreen which only fits if the fuselage is closed up properly in that area. I bought this kit when it was first released and it was only $30 or so, but now they are twice that. However, I was able to buy an open box kit for $30 missing decals and clear parts which of course I already have. So now I need to break apart the fuselage without damaging the cockpit module. I think by sanding down the internals I can get the new fuselage parts to close up. Since I have a nice tight fit on the front fuselage bulkhead I am pretty sure the cockpit module, which includes the bulkhead, is just too big in both vertical and horizontal dimensions. There is also something wrong in the area of the tailwheel.
Sorry to hear about the difficulty with the windscreen. When this kit first came out I remember all of the “hype” about “Tamiya quality at a Revell price.”
It’s about half the price of a Tamiya kit. If you don’t want to detail an engine and open panels then by all means this is for you.*
Detail is good on pit and surface detail . You can look at “Plasticjunkie’s” P-51 NA-5 to see what can be done with it. Sufficient parts are available to make different versions (3 canopys, 2 seats, etc.)*
Sufficient decals are there to build two versions. I didn’t use all of them as I figured they would be painted over as time went on. They went on and laid down nicely, so I have no complaints about them.*
Fit is tight. I had to sand the bottom of the cockpit some to get the wings to fit. Watch out for assembling parts and one out of alignment can mess you up, but at least it cuts down on putty!*
The Bad:
Canopies sometimes are bad. Ask “Plasticjunkie” about his troubles. Also, canopies are not wide enough to show closed, but are okay if shown in the open position. You might want to check if you have one.*
The landing gear is weak, and metal ones are recommended. Ask me how I know!*
The instructions are poor. It doesn’t tell you about parts, and you have to do some research to determine what to use. I know more about P-51s than before, at least.*
Guess you’re having some of the fit issues. The part fit is tight.
Good luck on getting it all together! I know you won’t give up!
Yeah, it looks good in the box. I can’t understand why they haven’t redone the molds for the canopy parts to get rid of the distortion. It’s not like they don’t know because when I bought the kit I told them about that and they sent me new parts, but still the same distortion evident. It is close enough to a very nice kit that they would be well paid to fix the issues. Oh well.
Back on this one now. Yes, I did rip it apart, luckily with no damage to the innards other than popping the seat out, but that will be OK, just needs to be re-glued. I am only using the fuselage shells from the partial kit I bought so I’ll have lots of extra parts. If the carpet monster attacks anyone, let me know as I will not being doing another one of these. I have a Zoukei-Mura P-51D kit and two Tamiya 1/32 P-51D kits in the stash. I had thought the Revell kit would be a quicker build than those but it does not seem to be the case so far.
I first started back by fitting just the bare fuselage together with nothing inside, and test fit the windscreen and wing. The windscreen is not an exact fit, but it is very close and should be fine. The wing is another matter. The fuselage is supposed to fit into channels in the top of the one piece upper wing, but even without any internals the fuselage is a bit too wide to fit. In addition, the wing fairings sit proud of the upper surface of the wing far more than they should. I filed down the underside of the fairings, and also took a bit off each side to narrow that dimension up some, it didn’t take much. At this point the wing fit was acceptable with the wing to fuselage fairing only slightly above the wing skin as it should be.
The next step was to fit the cockpit capsule into the fuselage. I filed down the sides at the front. When I assembled the fuselage with the cockpit inside, but not the radiator assembly, the wing would not fit . I removed some material from the bottom of the cockpit assembly, making sure it was level with the wing fairings, but still the wing was down too low.
Lastly I removed the aft sections of the coolant pipes and finally the wing fit properly.
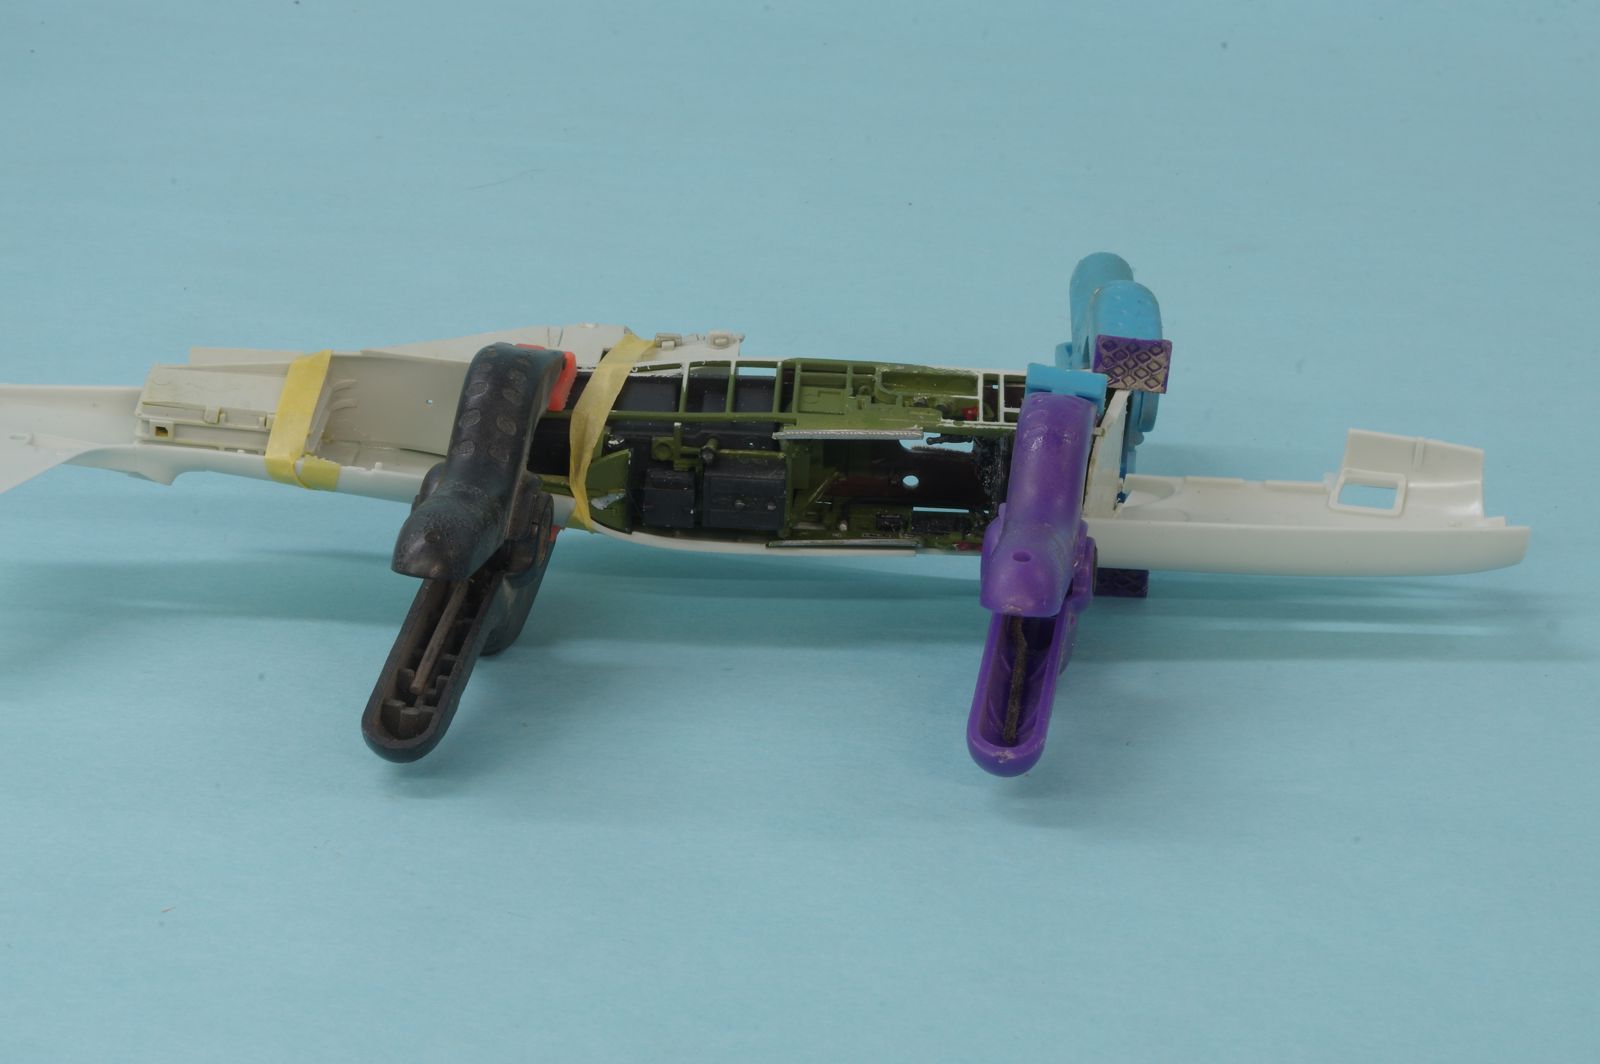
After that I checked the fit of the radiator assembly, which without adjustment fit well with the exception of a slight gap between the radiator duct and the tail wheel well, which I will just fill as it would be very difficult to make any adjustment without fouling the fit of the radiator duct and fuselage sides. Next I test fit both the radiator assembly and the cockpit in both fuselage halves, which seemed pretty good, so I glued the radiator duct and cockpit into one fuselage half and clamped them tight.