Got a present from the postman this morning…a lovely big box:

For those that have built this before…any tips or things to watch out for?
Got a present from the postman this morning…a lovely big box:
For those that have built this before…any tips or things to watch out for?
Only tip I have is get a large shelf!
If you do a search on Revell 1/32 F-18 you will see a lot of moaning about fit.
What kid of aftermarket is available for this kit. I am thinking of buying one. I got burned out on building MAC aircraft models while working there, but I have been away from MAC long enough to start building their aircraft again.
Hmmmm, first impressions with this kit is that there is quite a lot of flash on smaller parts. When instructions tell you to ‘remove flash’ then I guess you should have a concern!
I only bought this model as I found it on sale for a reasonable price and honestly didn’t do any research. Having now looked (as Jeatons suggestion) I see that there a lots of complaints on fit. Guess I’ll just have to wait and see what comes down the pike.
I am very surprised at this seeing as this is supposedly (Scalemates) a new 2019 kit.
Very nice! I’ll be following along.
Your friend’s, Toshi
So, over the past few days I have been tinkering with this. It’s not the easiest kit to work with what with the flash and fit. Lots of clamps etc having to be used to get things to stay in the right place when fixing…but still enjoying it and thats the main thing isn’t it !!! BigEd kit (EBIG33101) and bang seat (AIRE2173) have arrived so that’s something else to get my teeth in to. All this BigEd PE is a first for me, never used it before and decided this was the time to try.


The below 3 photos show some sort of intake, just to the rear of the wheel wells. The fit of the part is absolutely awful and I cannot find any photo of what it ‘should’ look like for real.
Anyone got a photo of what this should be like anywhere…much appreciated if you do. Guessing that it should go flush with just a bit of the internal ‘point bit’ poking through??


I think it fits on the outside after some fettling. Be sure to click on the photos to make them larger.
Thanks for the photos Jeaton. Now I know what it ‘should’ look like! Looks like they are just a little proud so thats what I’ll go for.
A day of PE and a bit of seam filling/sanding…now got a headache! never used so much before and have found it ‘fulfilling and frustrating’ in equal measure!! BUT, the end result is a vast improvement so worth the headache. Still got a few more knobs and handles to go…but that will be tomorrow!


That instrument panel looks great and that seat looks fantastic!
Thanks Chad,
I guess the pain of PE is worth it in the end [;)]
So, a little more progress over the last couple of evenings, got the front fuse built up and mated to the main body, got all the seams filled and sanded. Then a coat of primer…then a bit more filling for bits I’d missed or was not happy about.


Have just fitted the vertical stabs, boy…there are gaps big enough that you could drive a bus through them!!


Will leave this the night to go off and then I guess tomorrow will be a bunch more filling and sanding to fill the massive gaps at the stab roots.
For such a ‘new’ 2019 kit this is massively bad…but from other build reviews it was expected…and this is not the last of it either.
Aren’t the horizontal tail surfaces flying surfaces/ That is, I think they are one piece, called stabilators, where the whole surface rotates. You must leave some gap.
I have no idea what the correct name for the horizontal tail fins are called either, but yes, they are one piece and the whole fin rotates. Nowhere near that stage yet - stangely, they are THE final step in the assembly book!
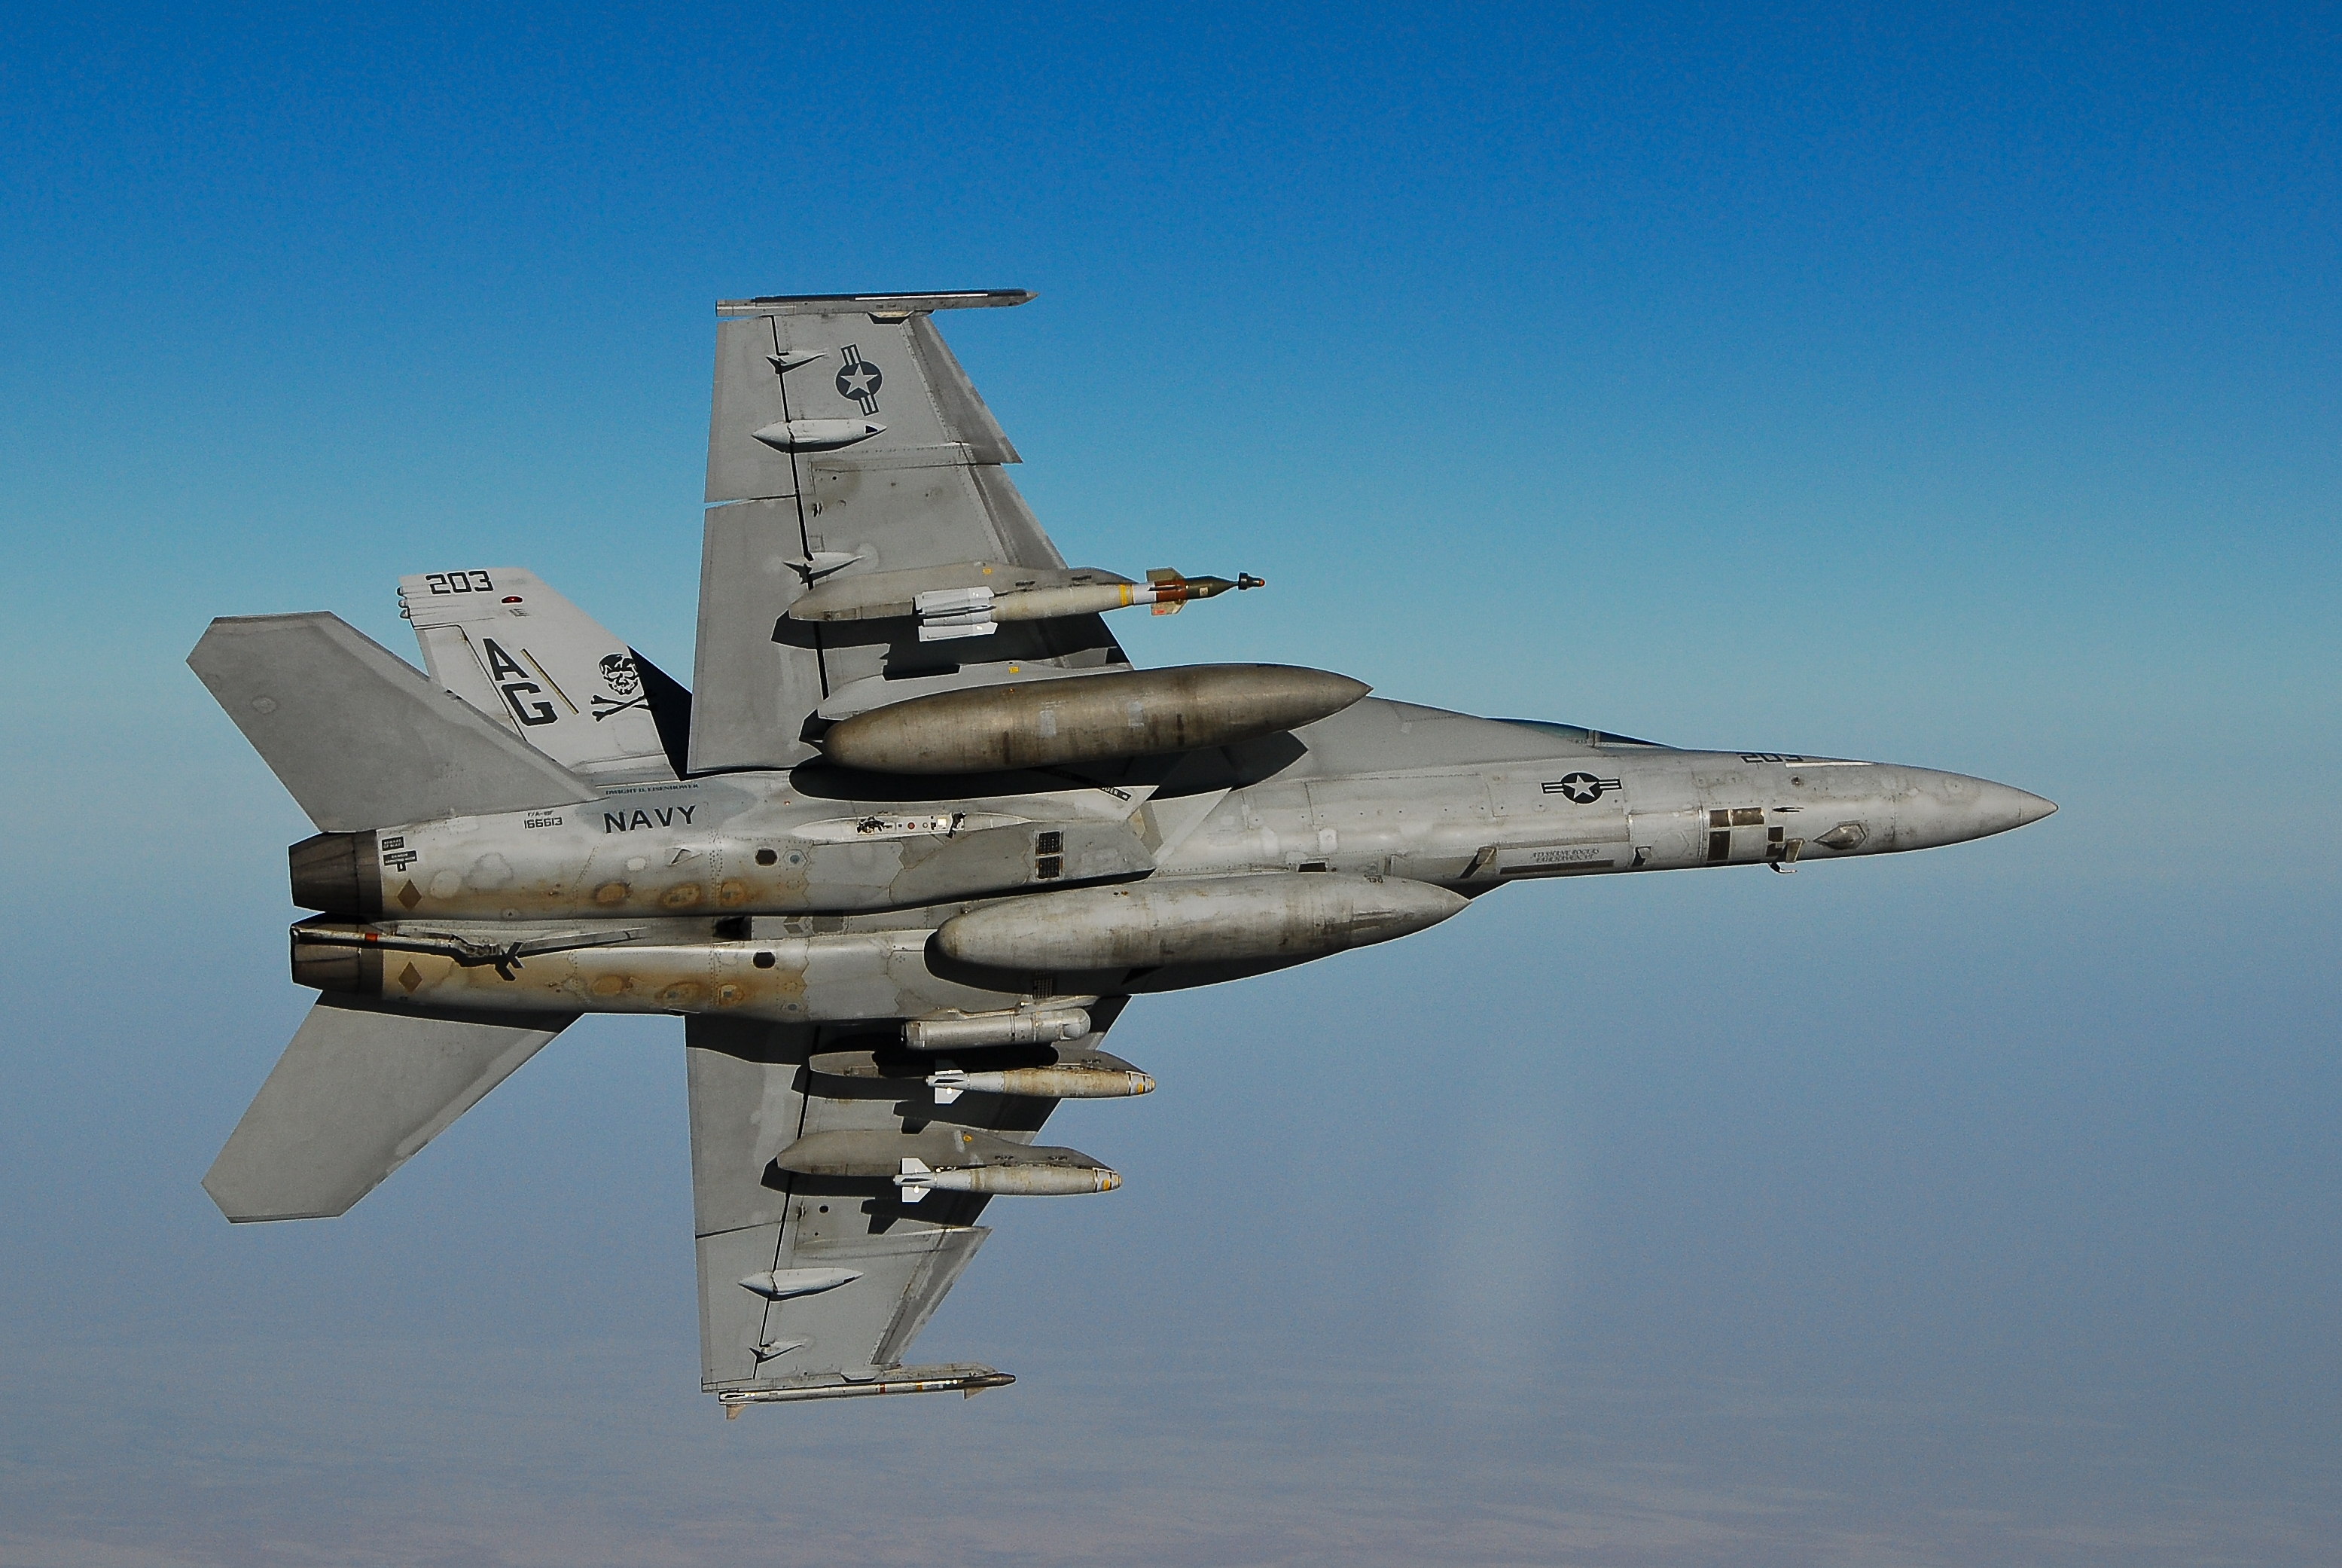
They seem to droop a bit when the a/c are parked, in a “down” (stick forward) sort of way.
Much as the flaps and slats droop when parked, too.
Had little spare time over the past few days but have managed to get a little more done. Have got the wing front flaps on now. They were a little awkward to get on and involved some sanding of internal hinge parts to get stuff to line up properly, but a little perseverance (and filler) paid off!


Also made some progress on the undercarriage. Front one looks fine but think the 2 underwing ones are gonna be difficult to fit as parts don’t seem to line up with where they are supposed to go. I’ll have another look tomorrow in the clear light of day.

Finally got more or less the whole plane built and primed now. Also pre-shaded it, trying a mottled look this time. Have tried pre-shade before with (to my eye) good results so this time I thought I would try a mottling as I have seen others do…we’ll see how it goes over the weekend. Also going to try pre-shade some areas with white (reverse high lights?)


Going to spend the evening building up the ordinance, once I have decided what the load-out is going to be 
TPS always seems to render link you ought to have both light and dark in the undercoat. Like maybe hitting panels with a mix of Sky type S and a dark blue-violet.
Or not.
Loadouts on supers seem to be set up with a roulette wheel–any pick you make is likely legit.
Sorry Capn…TPS?..render link? I don’t understand