I am building this for a another website as a review this kit, most kindly provided to us by Revell. Since this is a build review, no after market parts or scratch built add ons will be done on this project. The only modifications that I plan to make are in painting as the color call outs in the instructions and image searches of the real deal do not match up.
http://www.spamodeler.com/forum/index.php
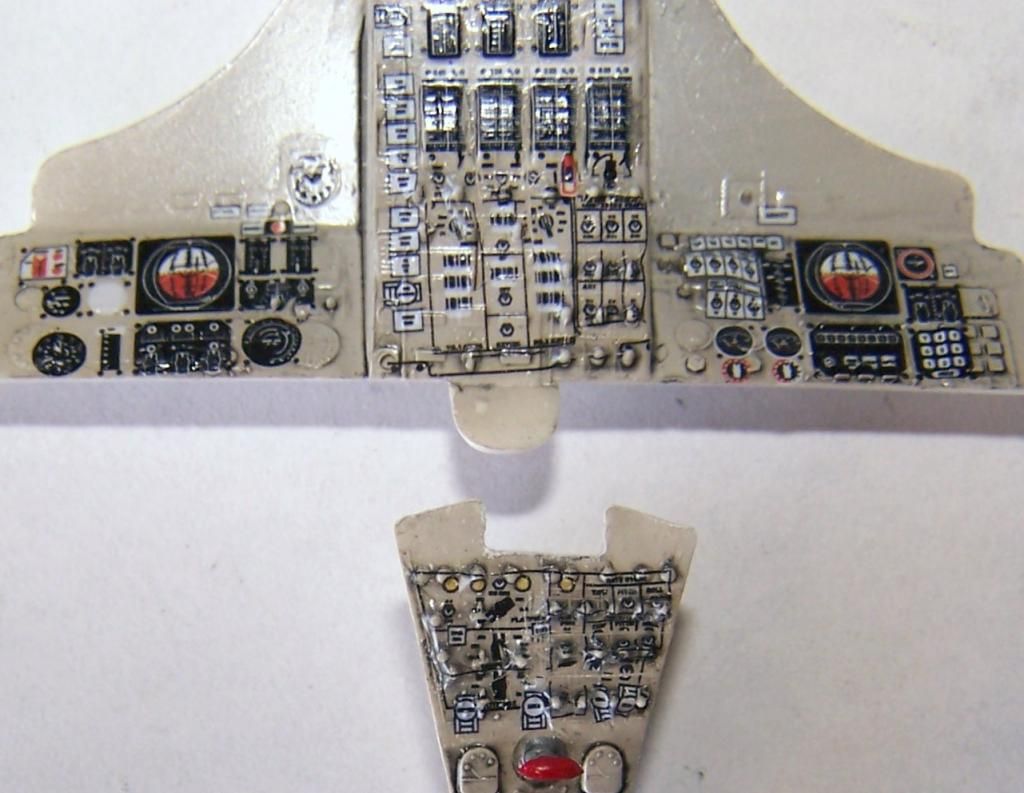
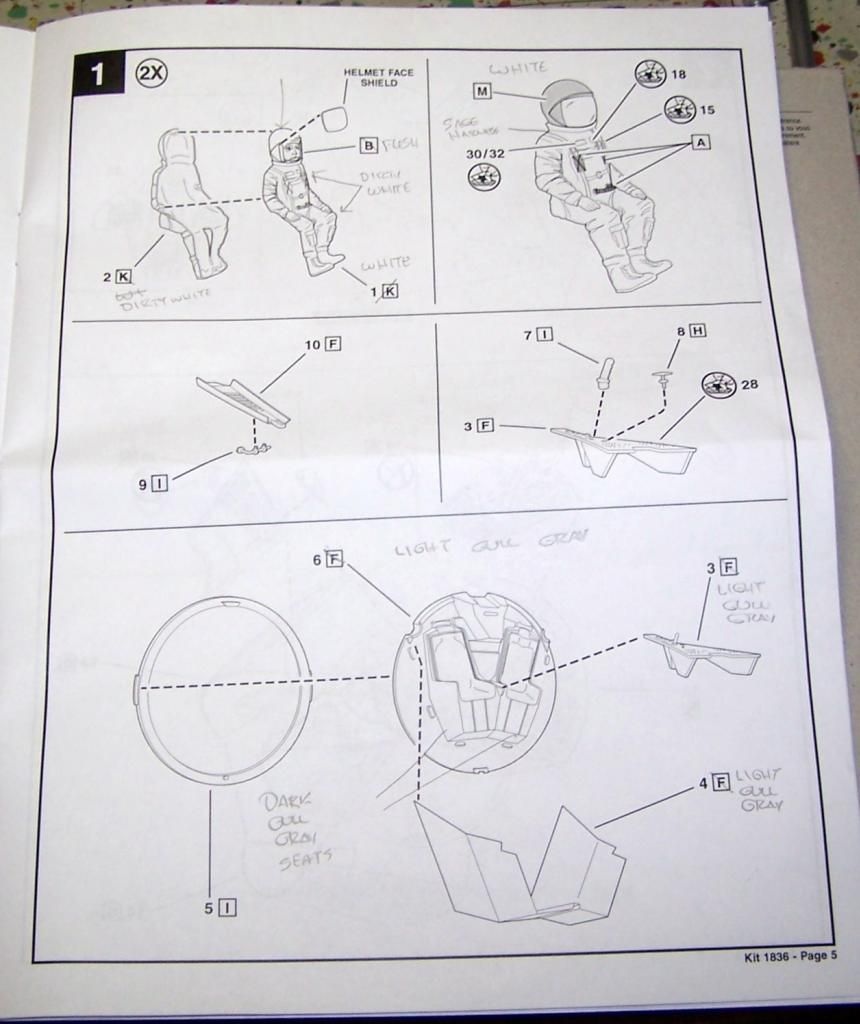
So here we go with my build of this kit. The color call outs seem to be based off of a NASA illustration and off of early/pre operational Gemini mock ups and equipment. So the first thing that I did was to go thru various image searches and find photos of actual mission equipment. So I went thru the instruction sheet and annotated my own color call outs for use during construction. One thing that I do like about the instruction sheet is that it goes back to the old Revell tradition from back in the day where the parts are identified by name so that this kit can be educational during the learning process, naming this lever or that box.
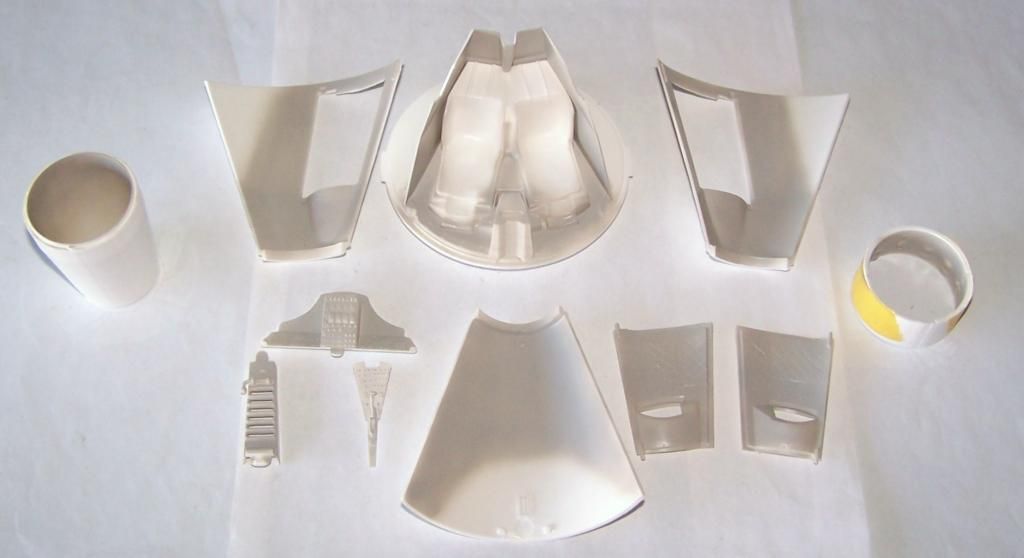
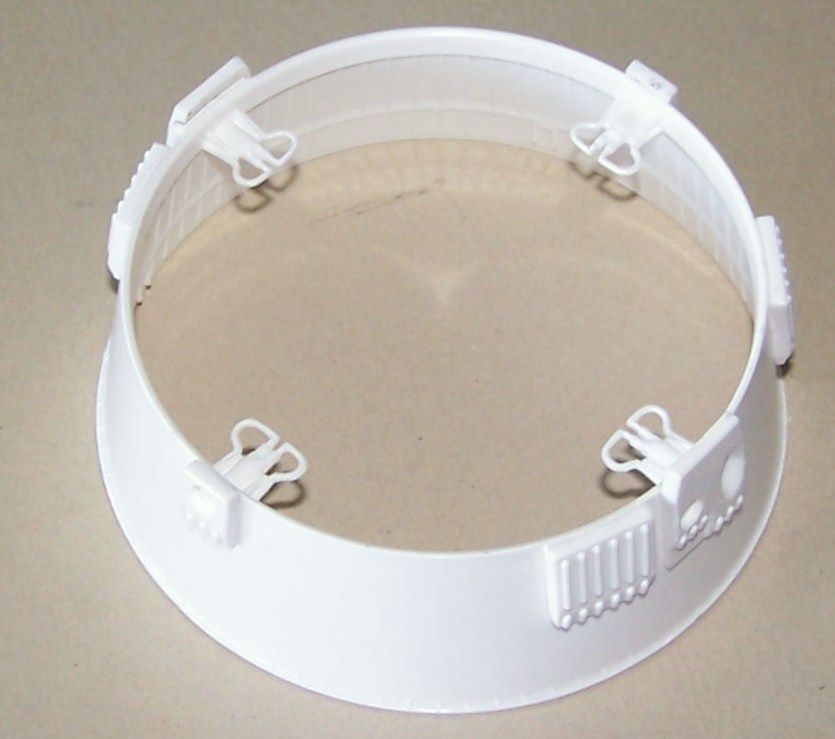
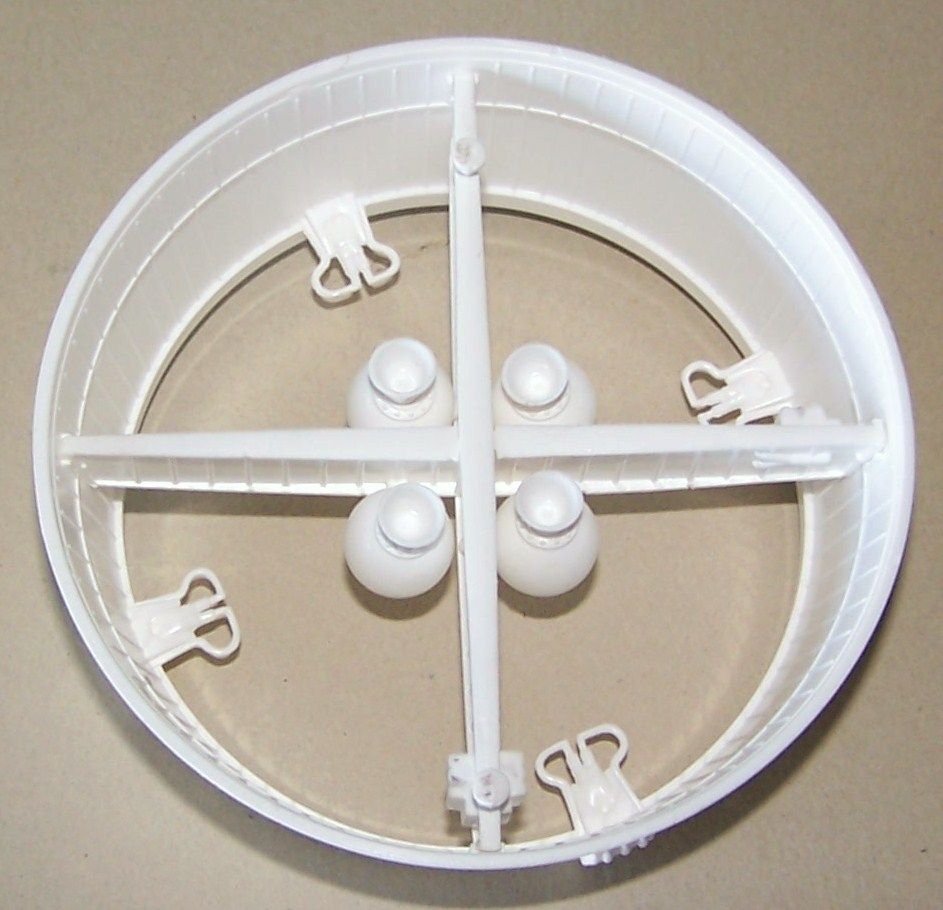
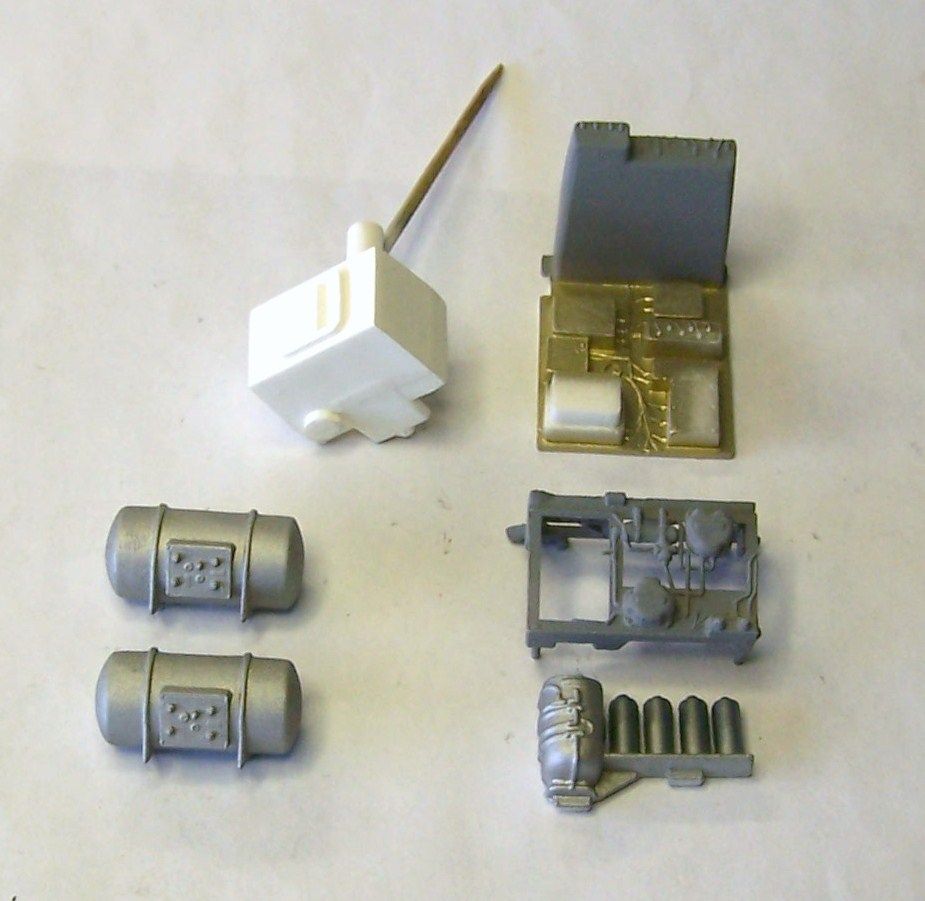
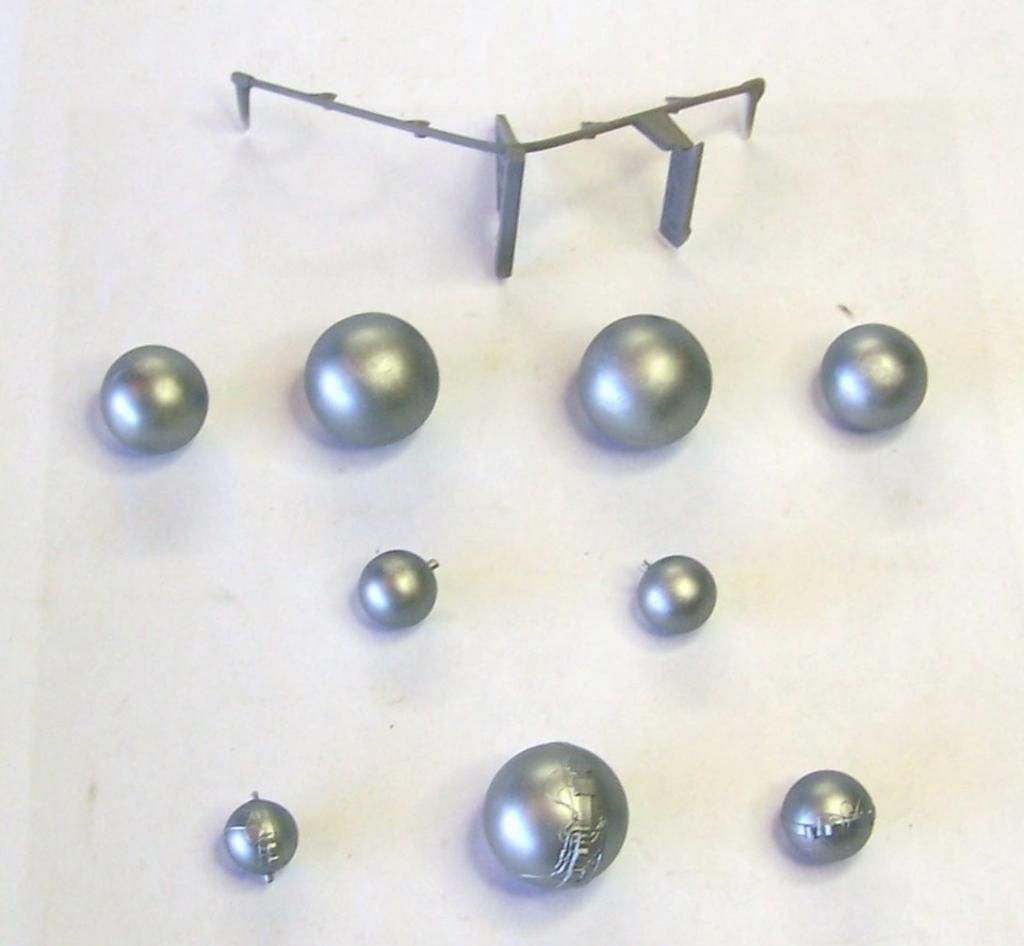
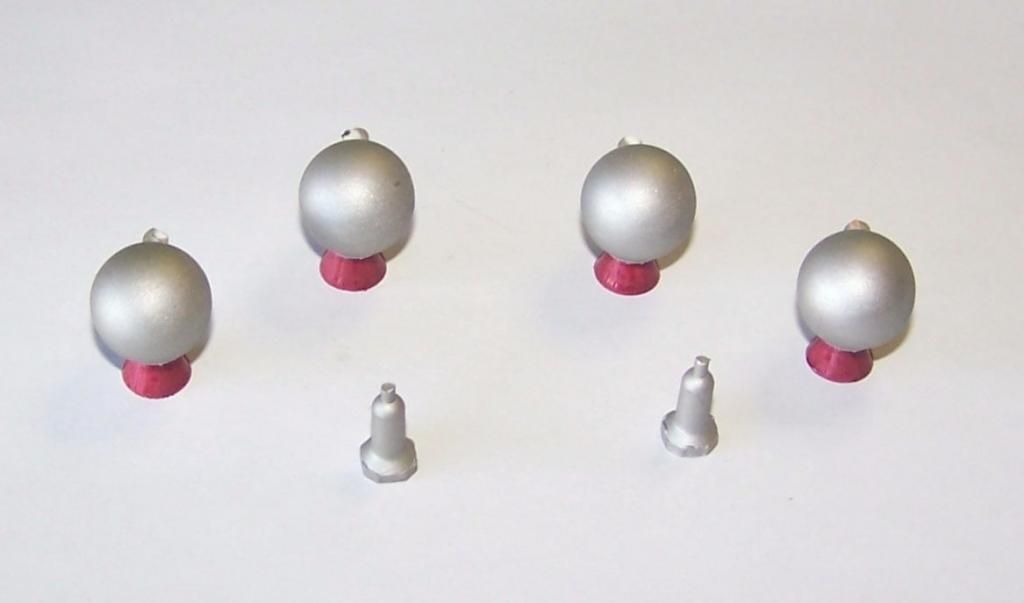
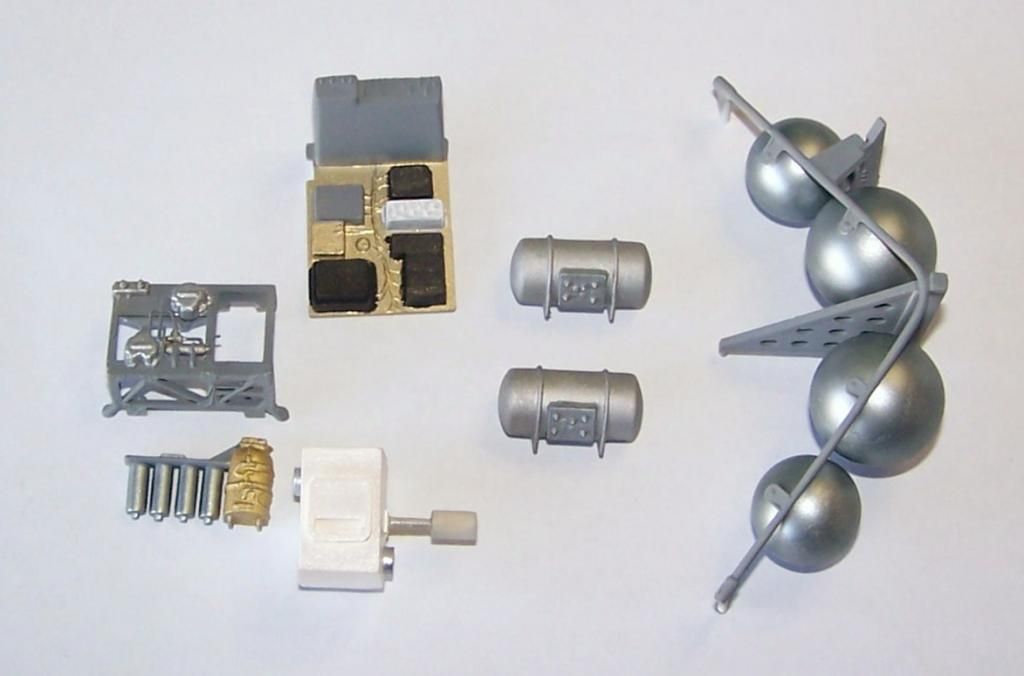
Then I began cutting parts off of the sprues and gluing them together. The plastic itself is a tad on the soft side and not brittle at all so far. Mold seam and attachment stub clean up was quite easy with my needle files.
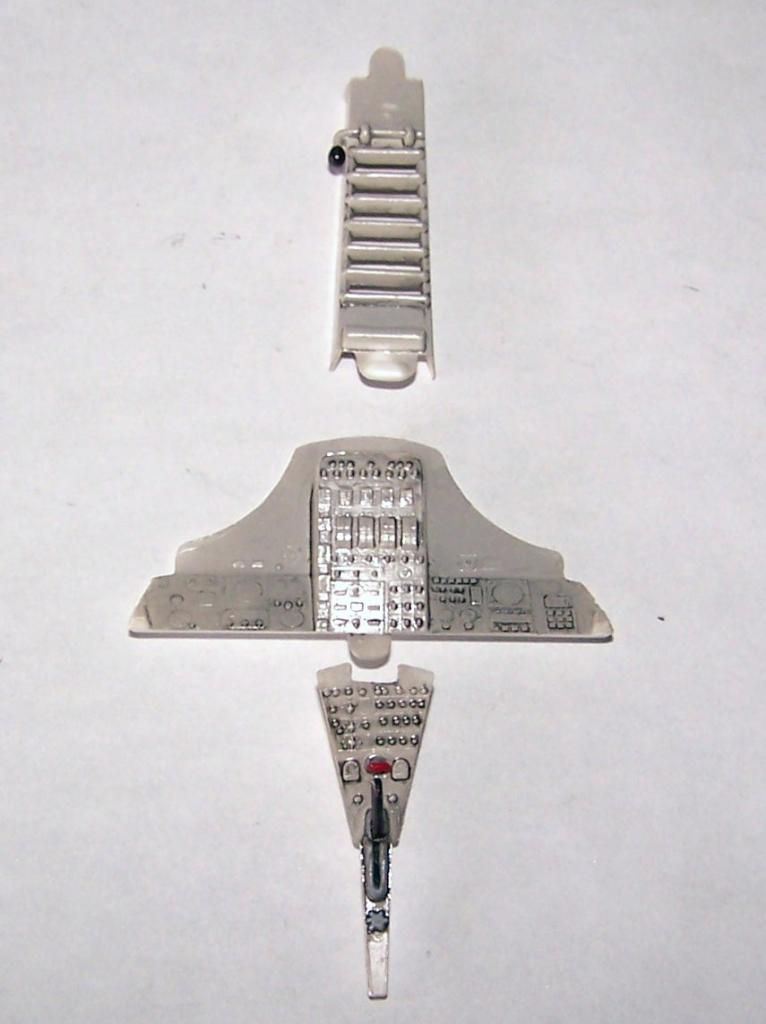
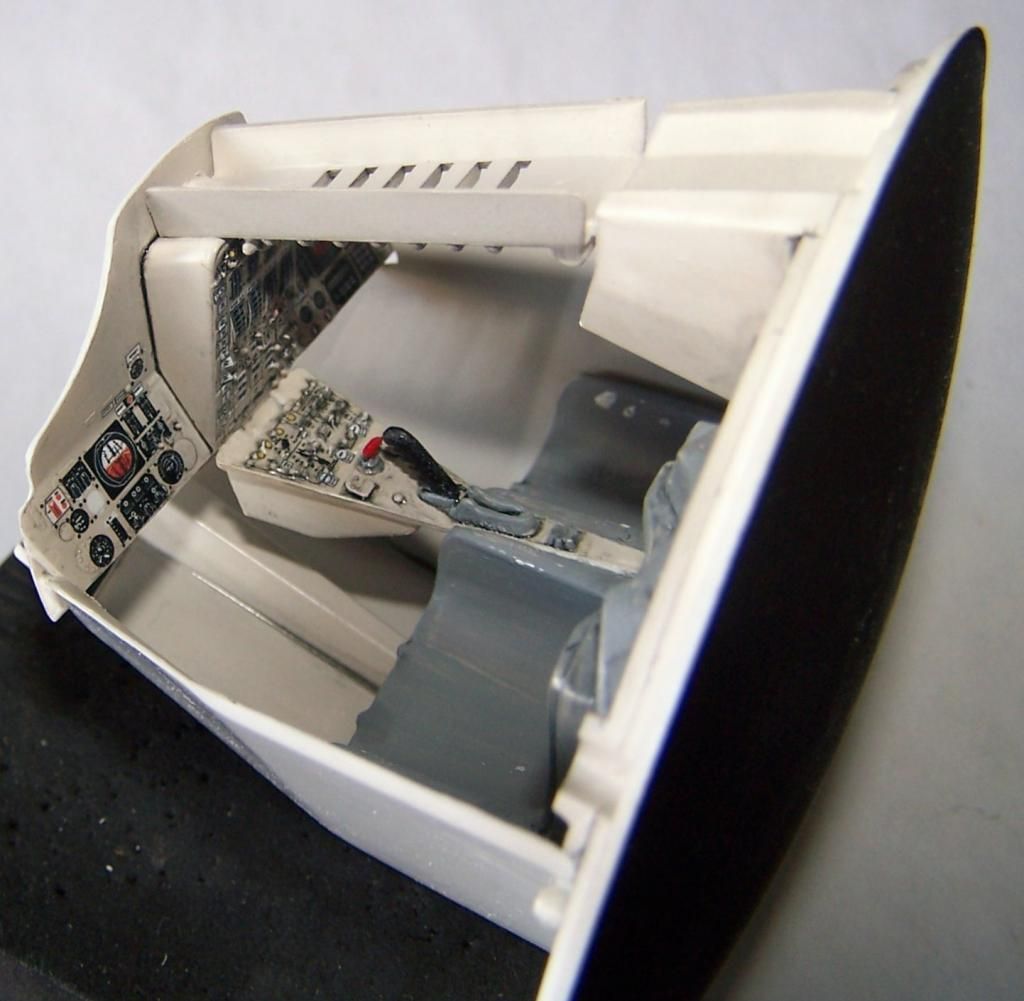
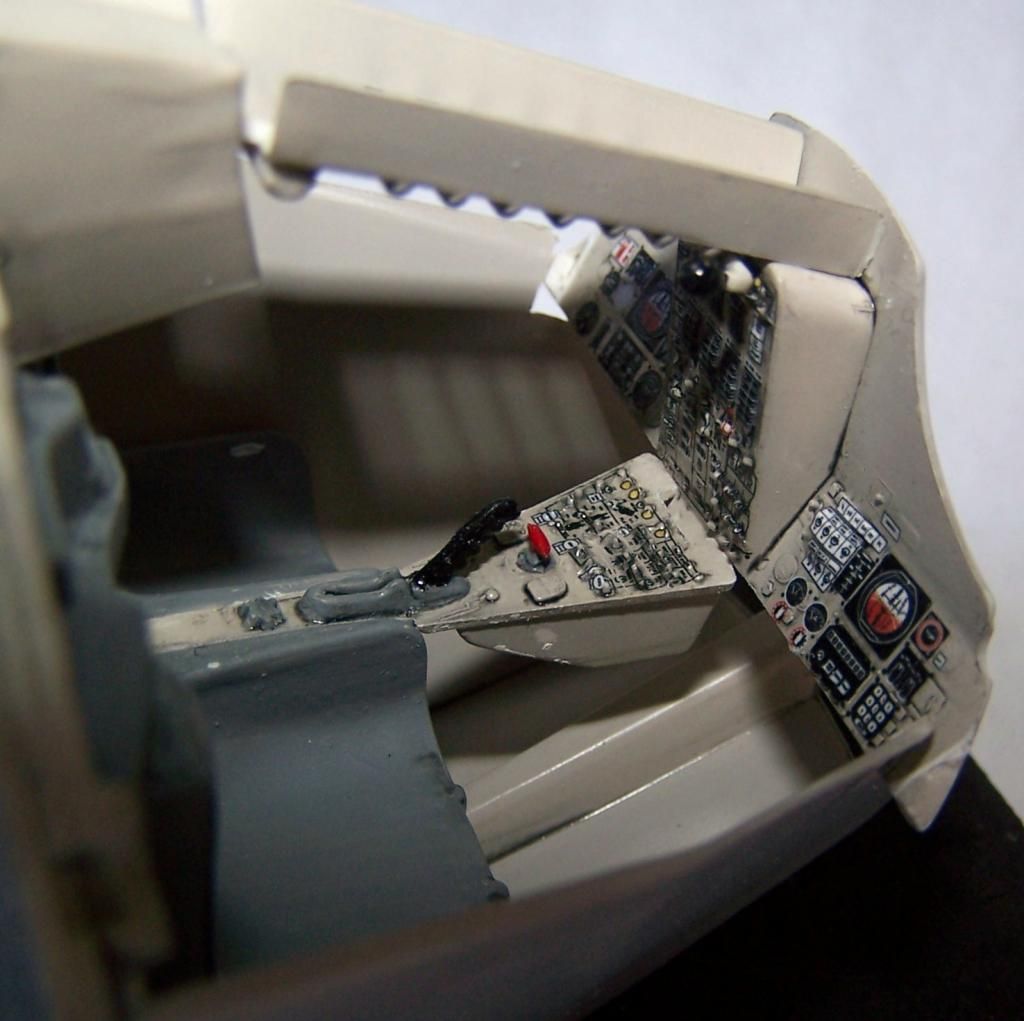
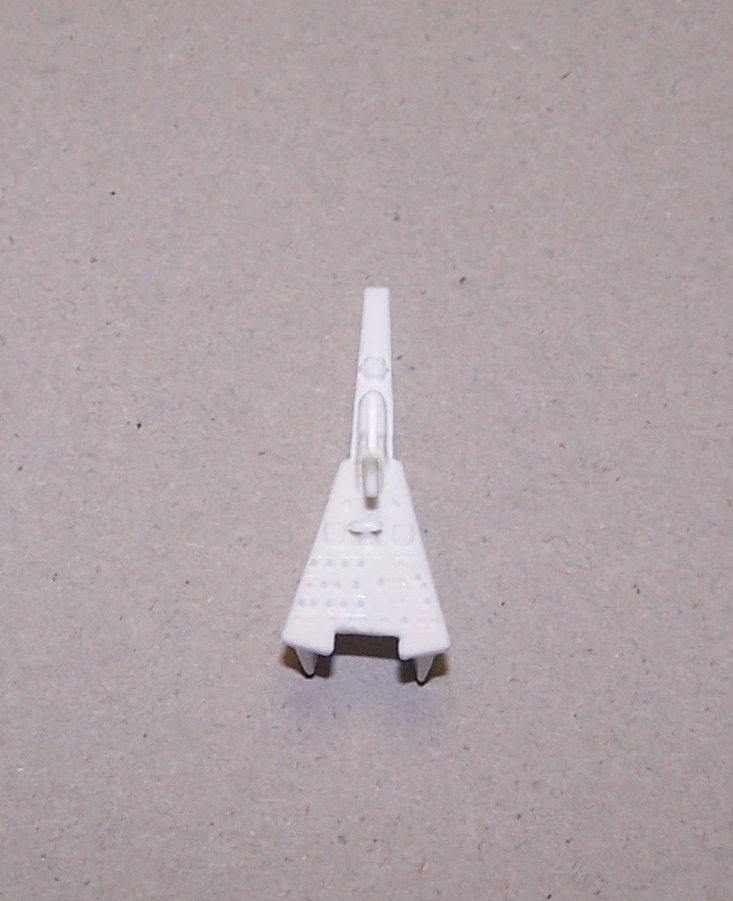
center console with control stick and release handle installed
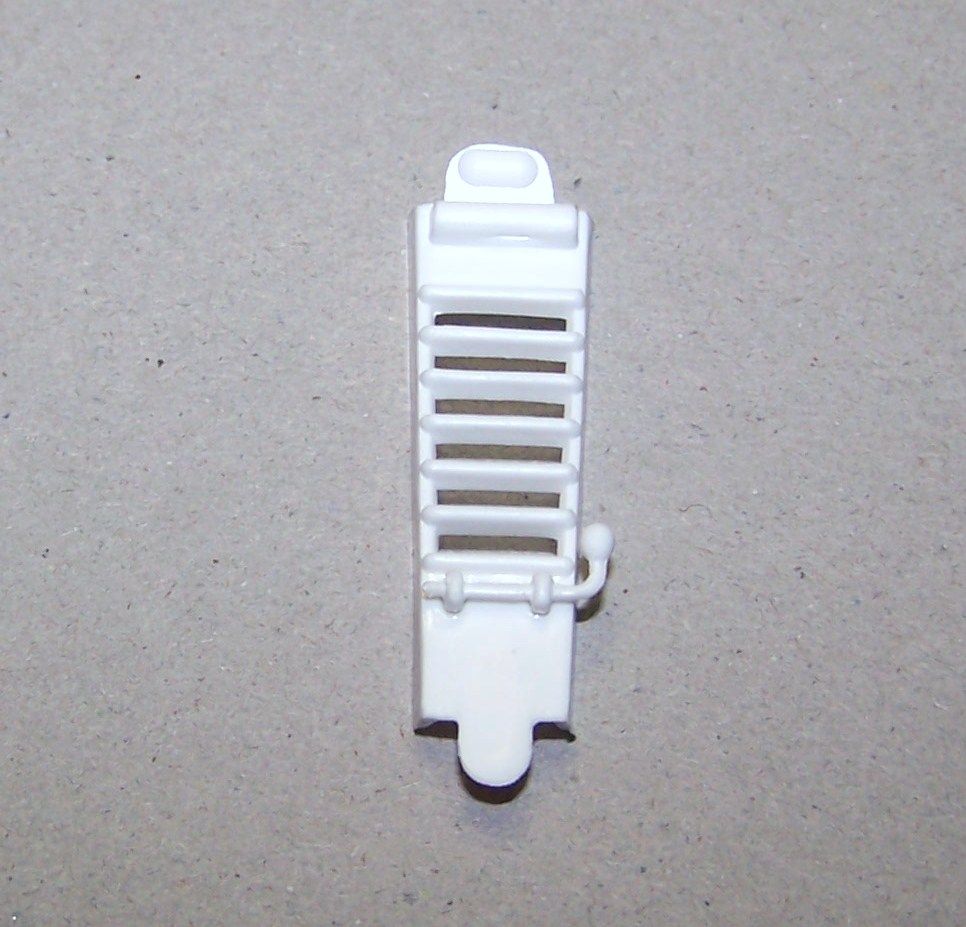
overheard center console with lever installed
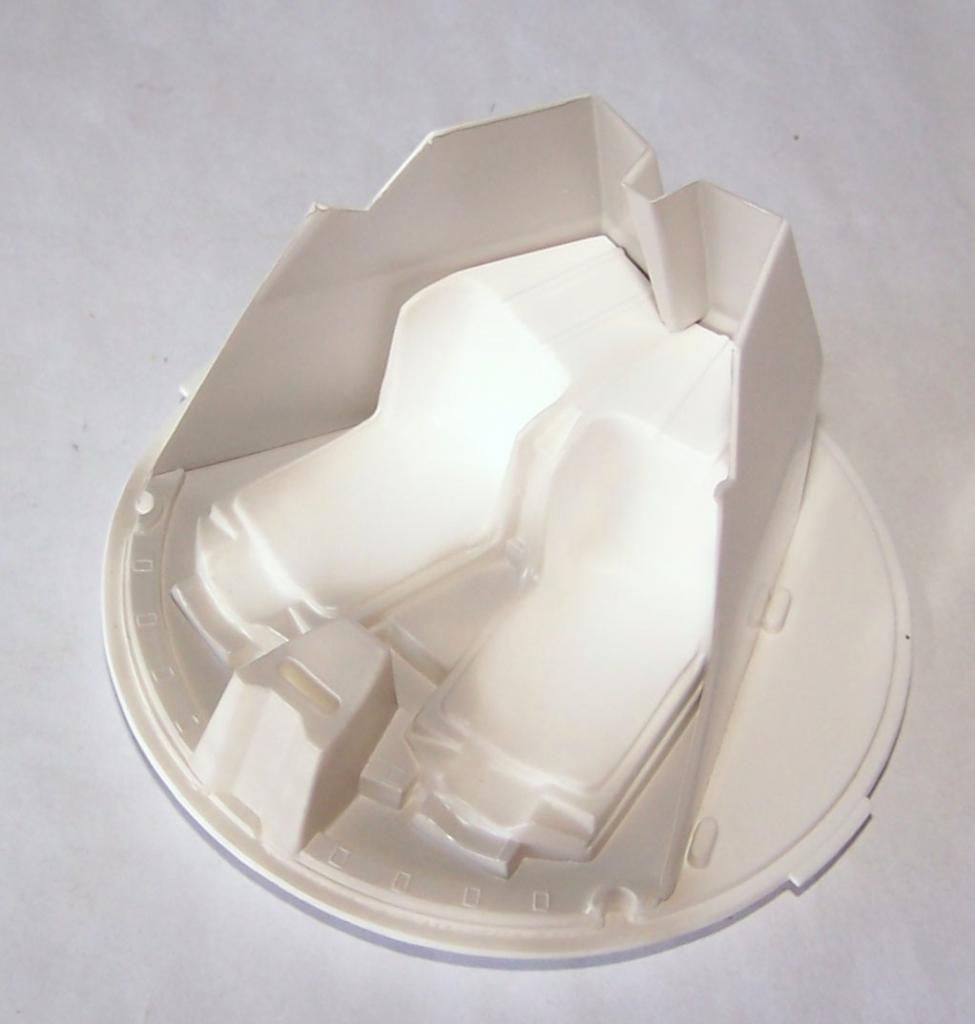
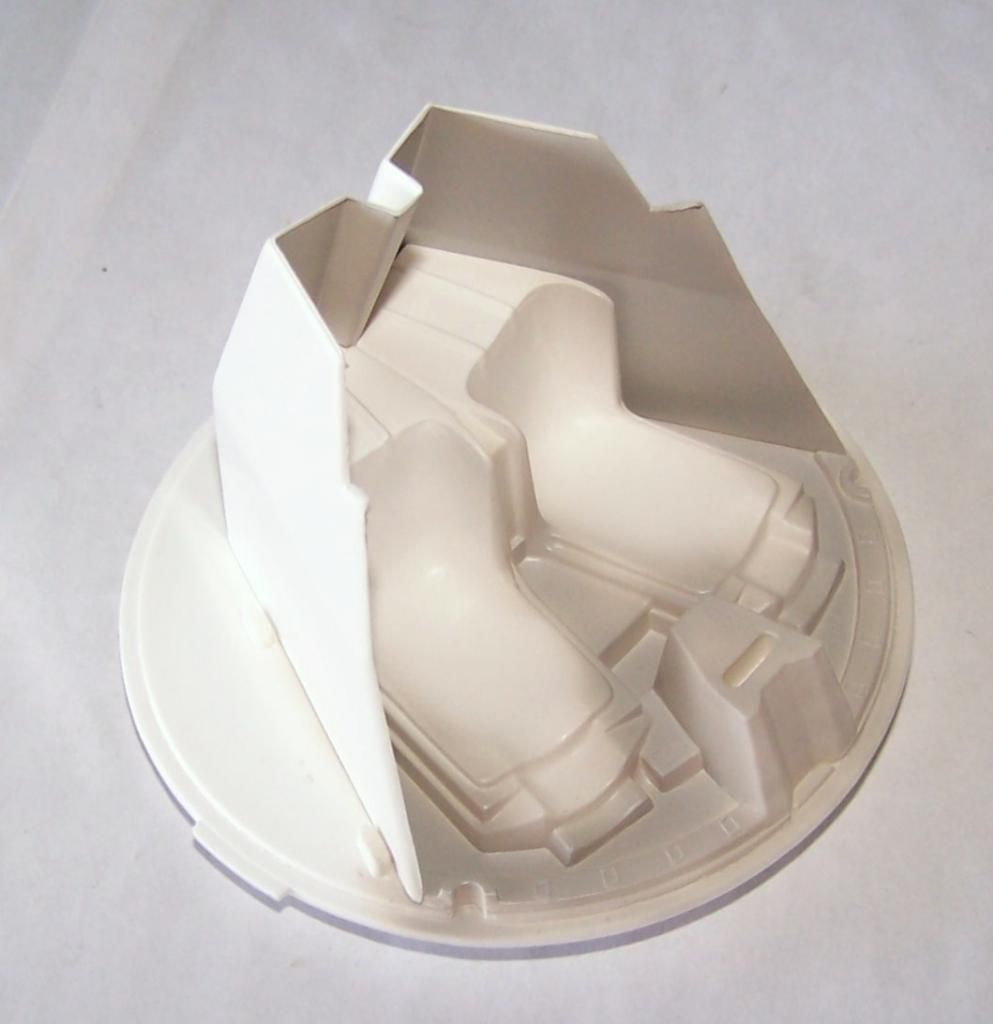
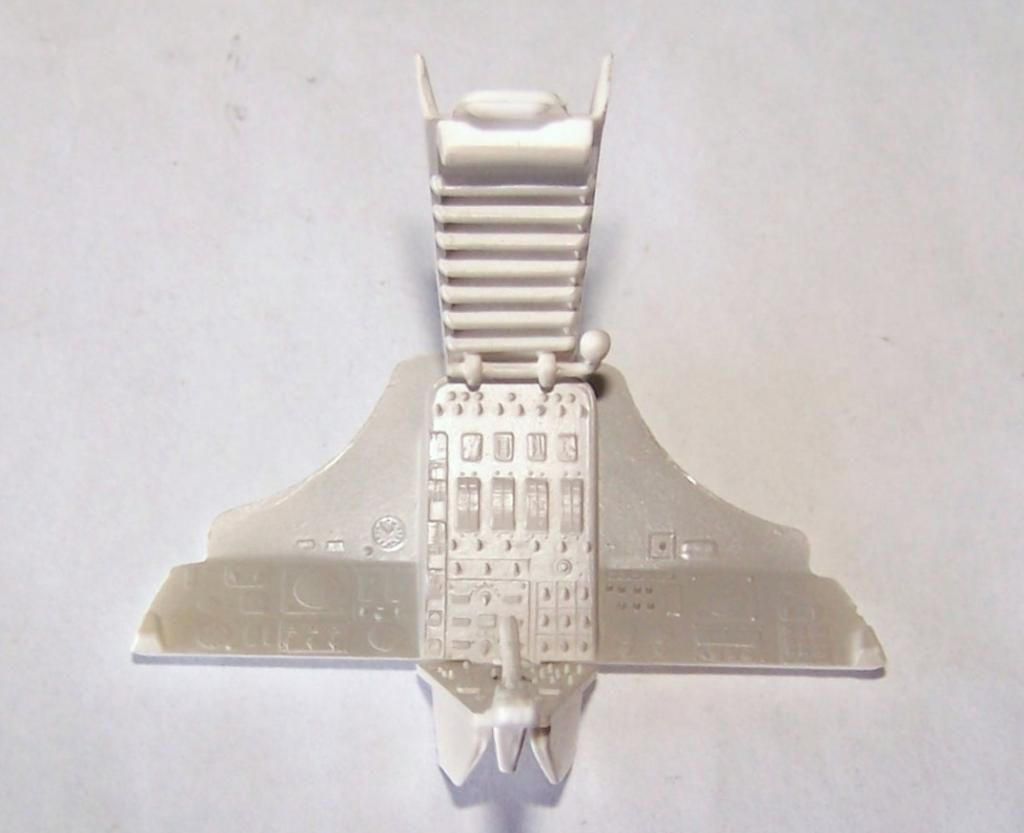
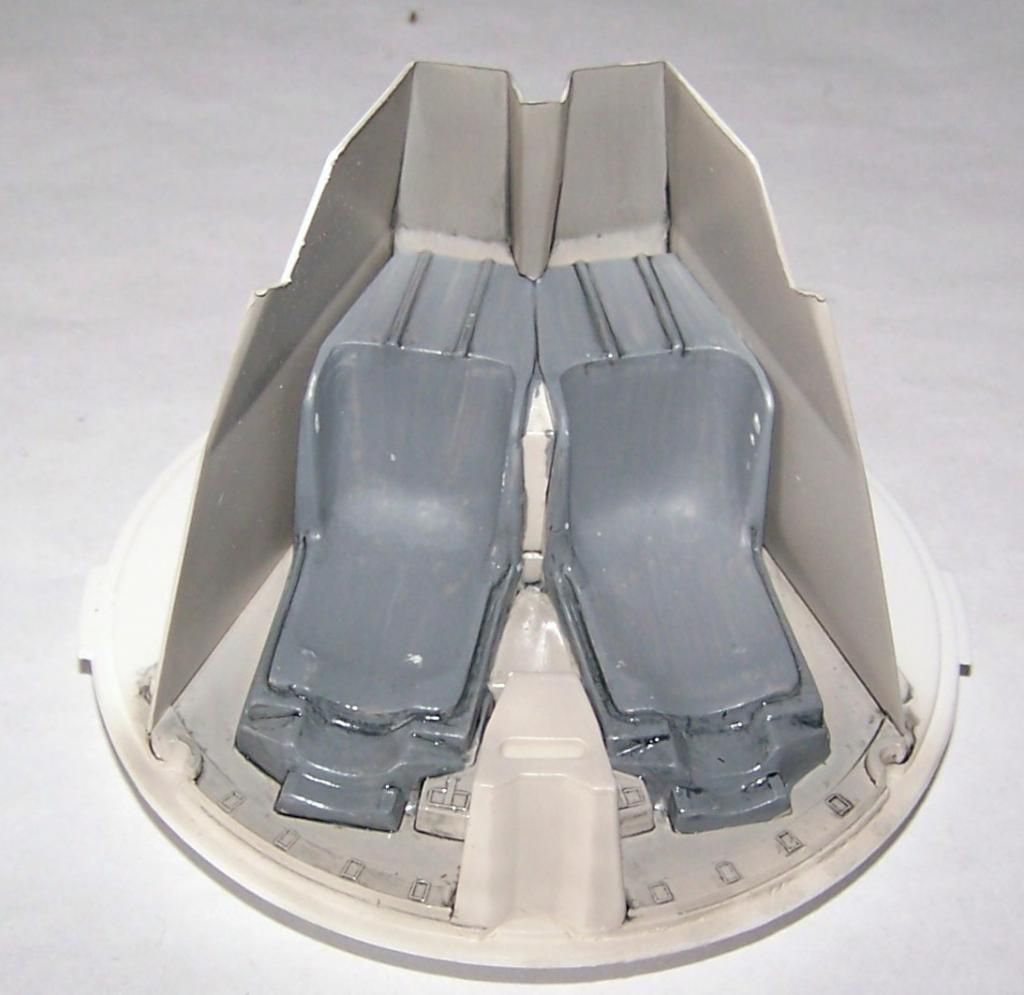
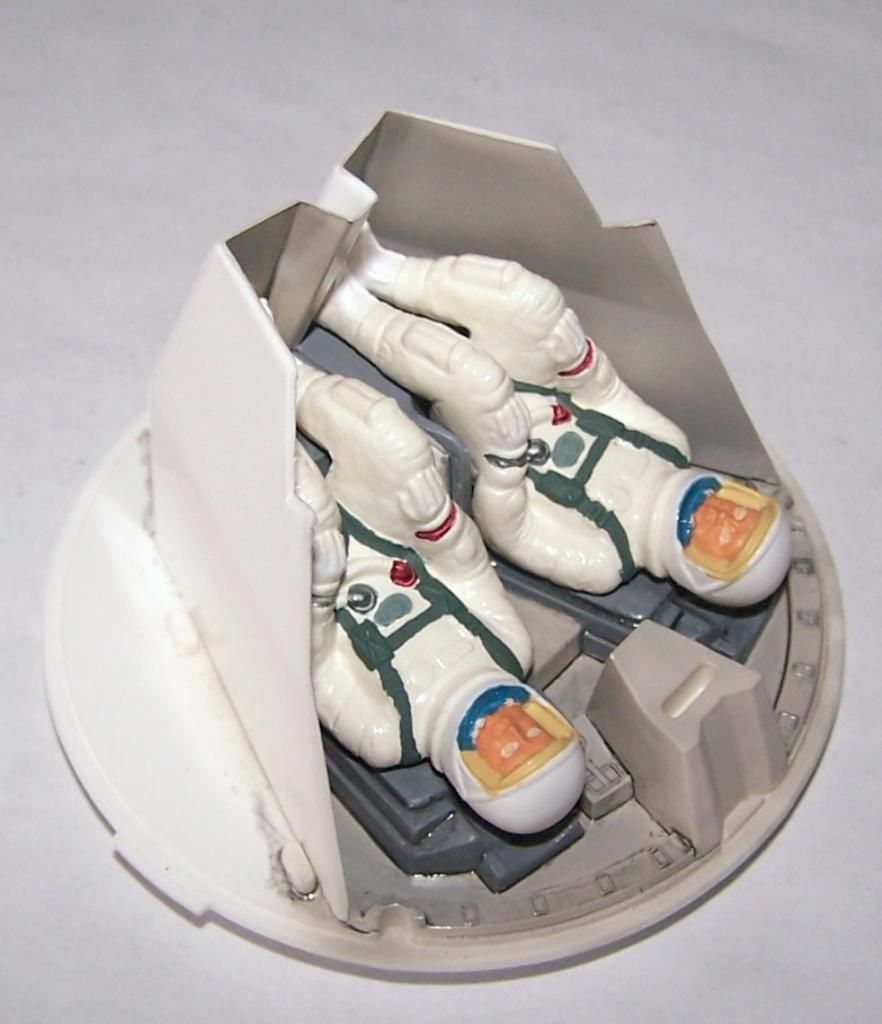
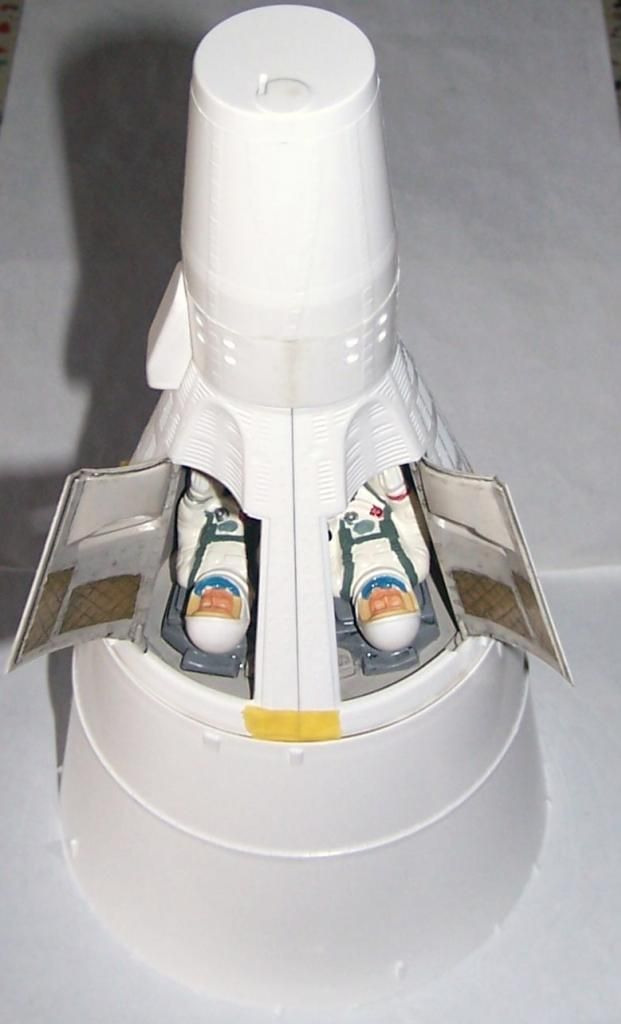
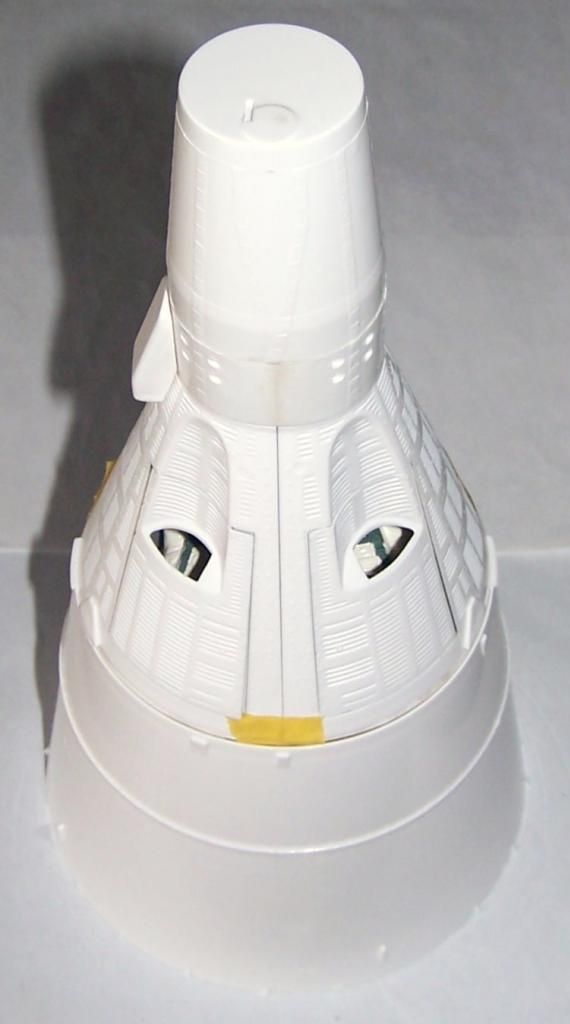
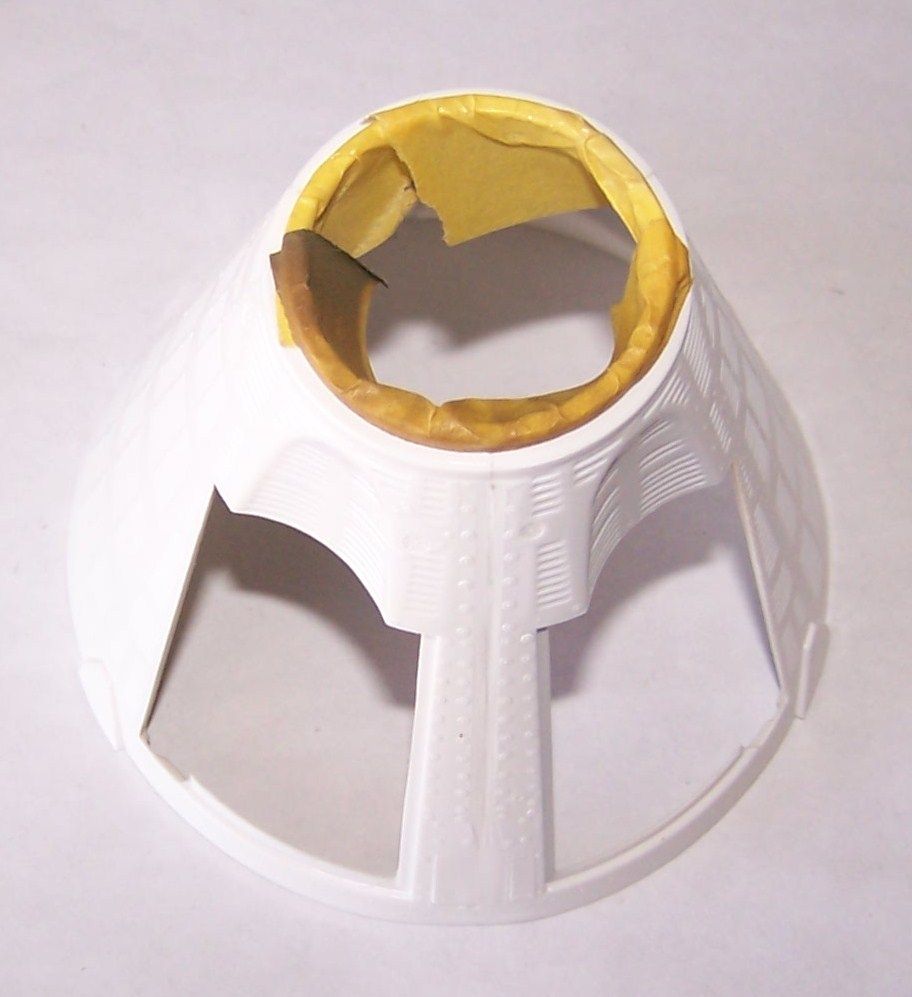
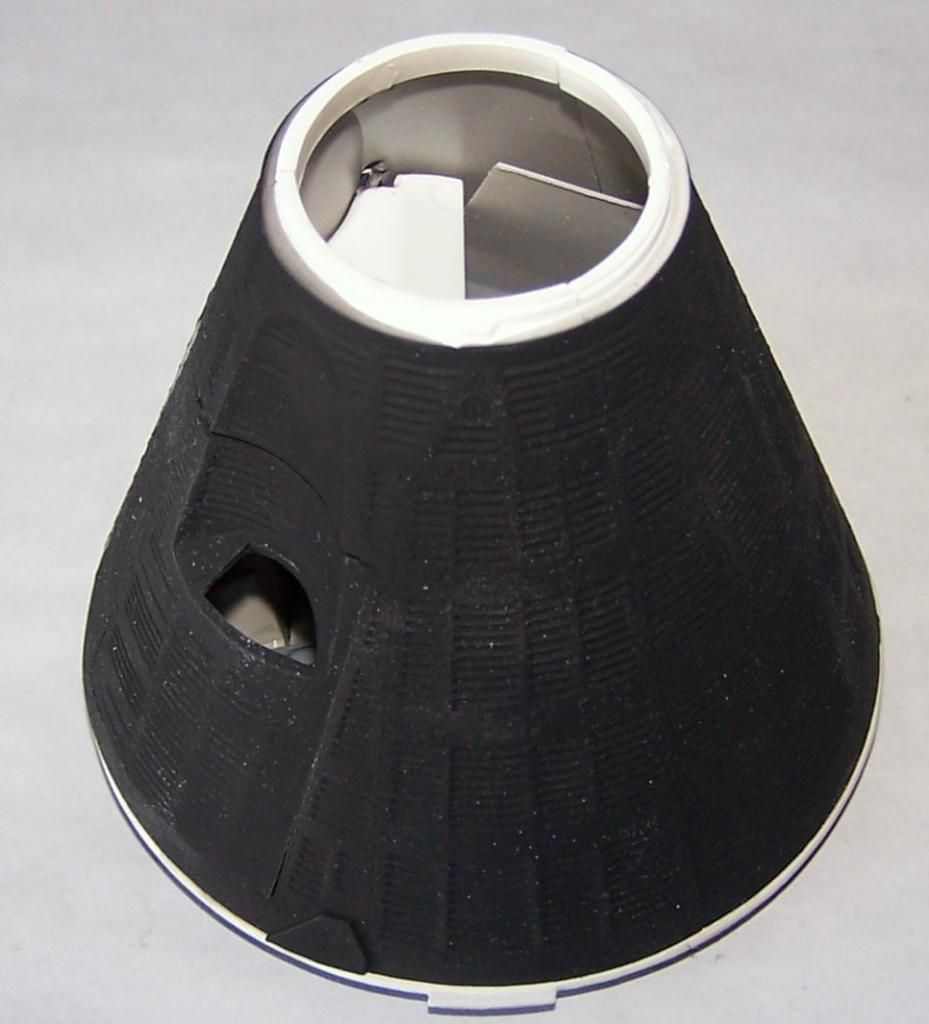
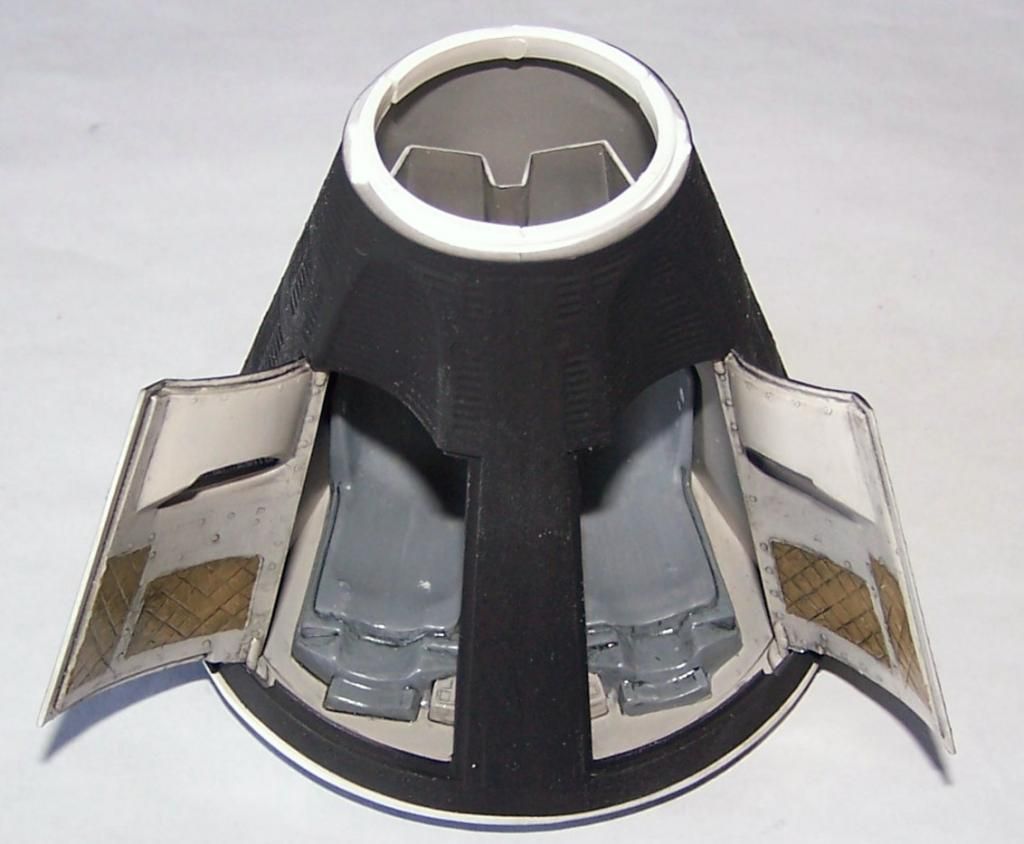
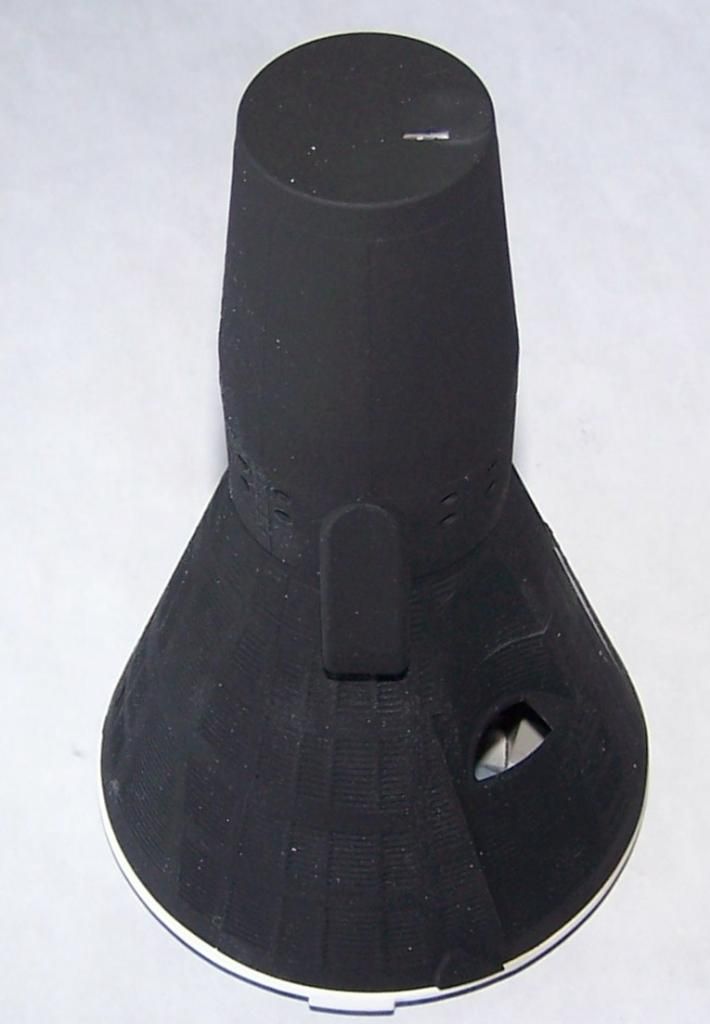
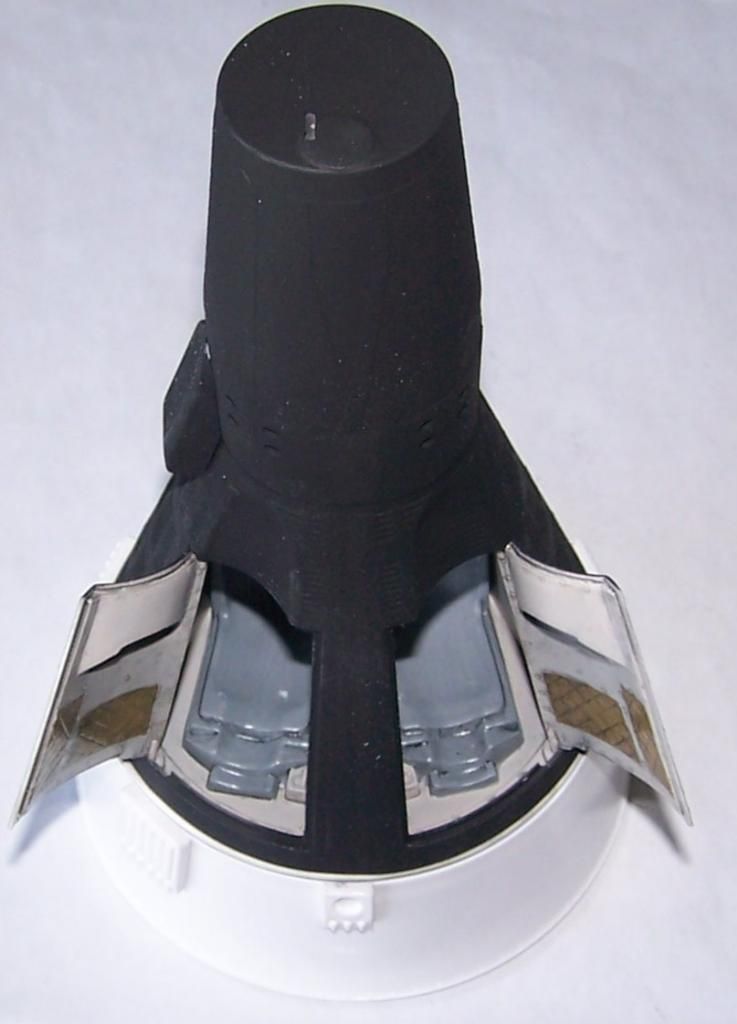
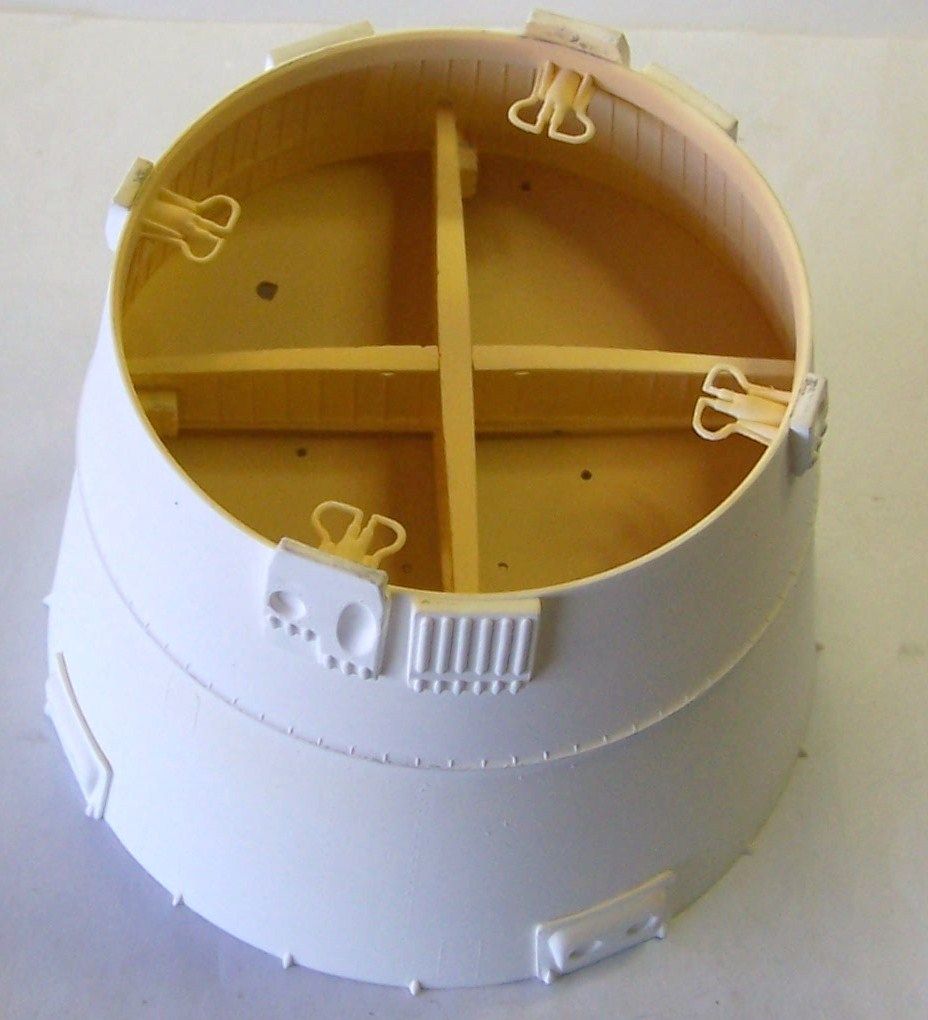
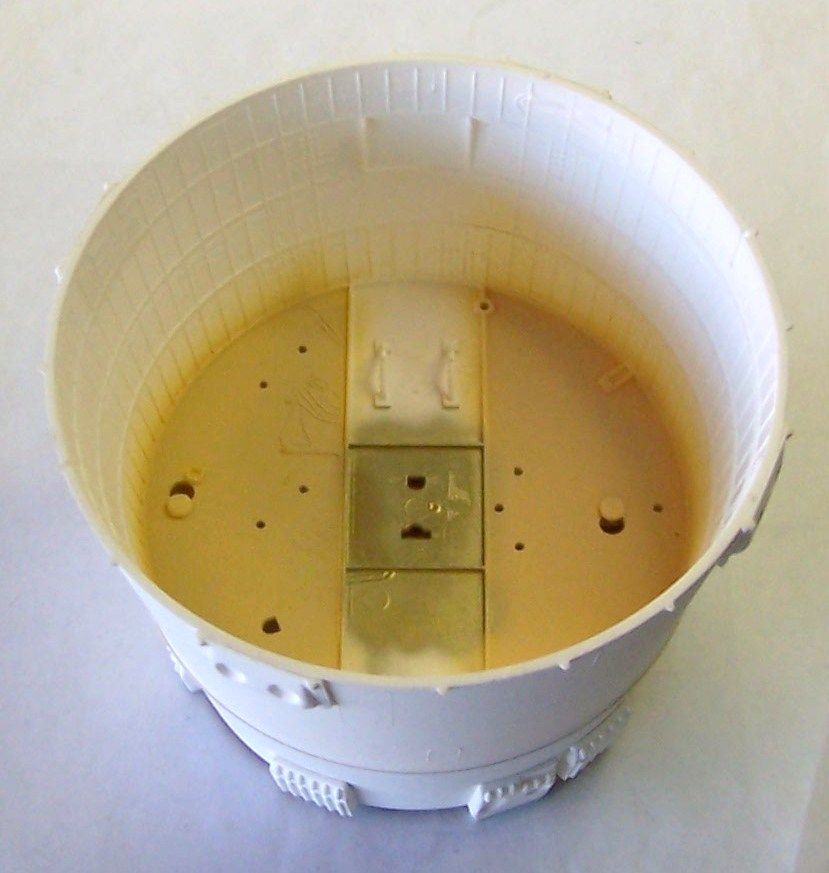
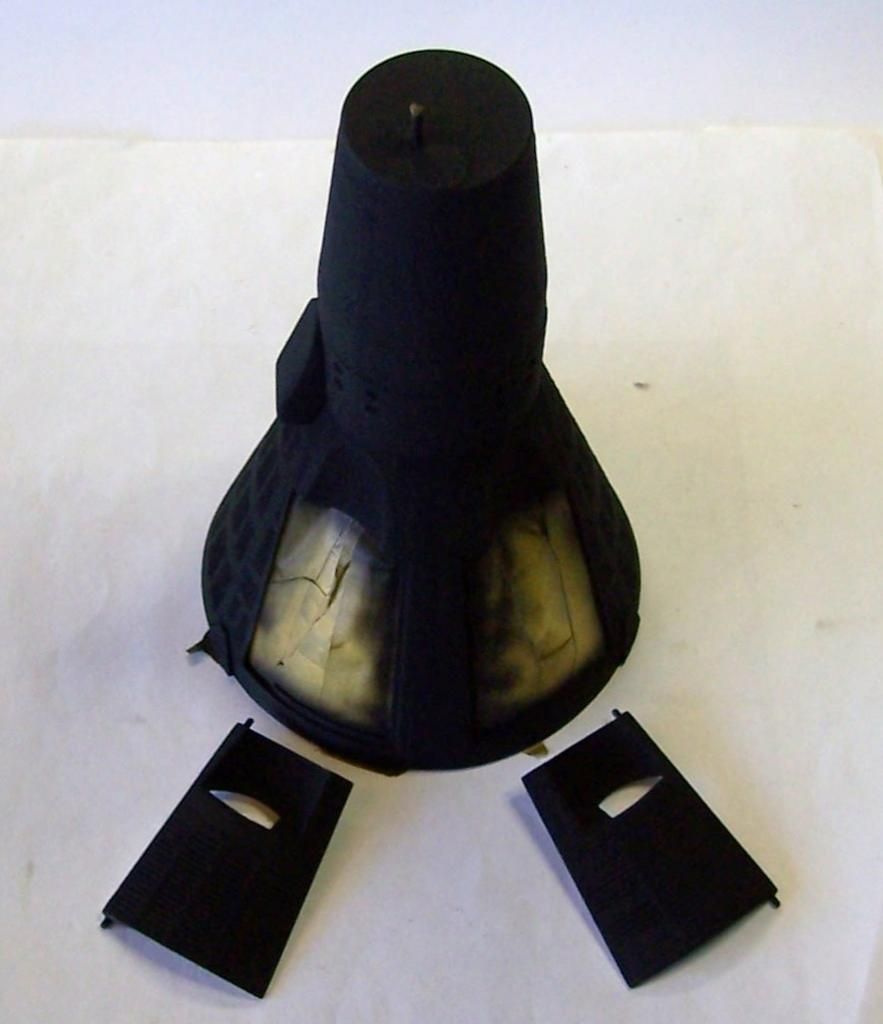
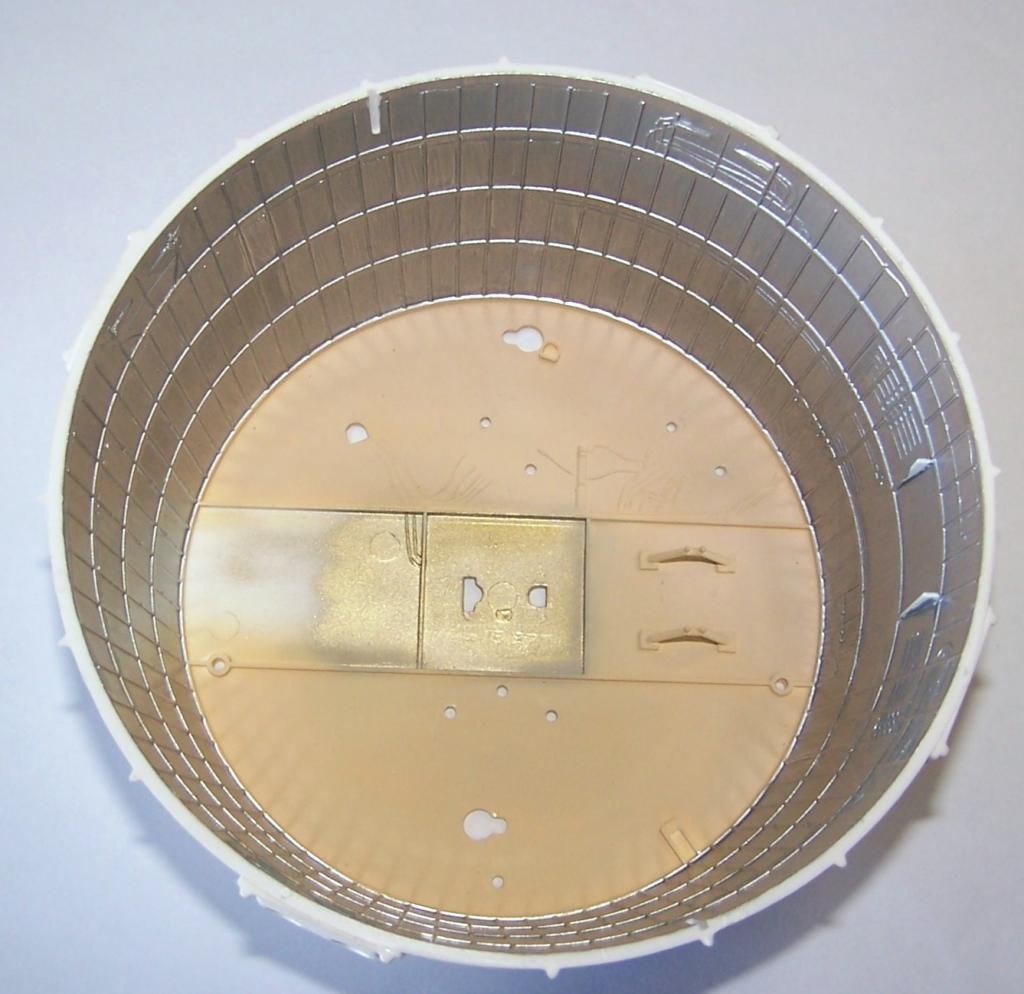
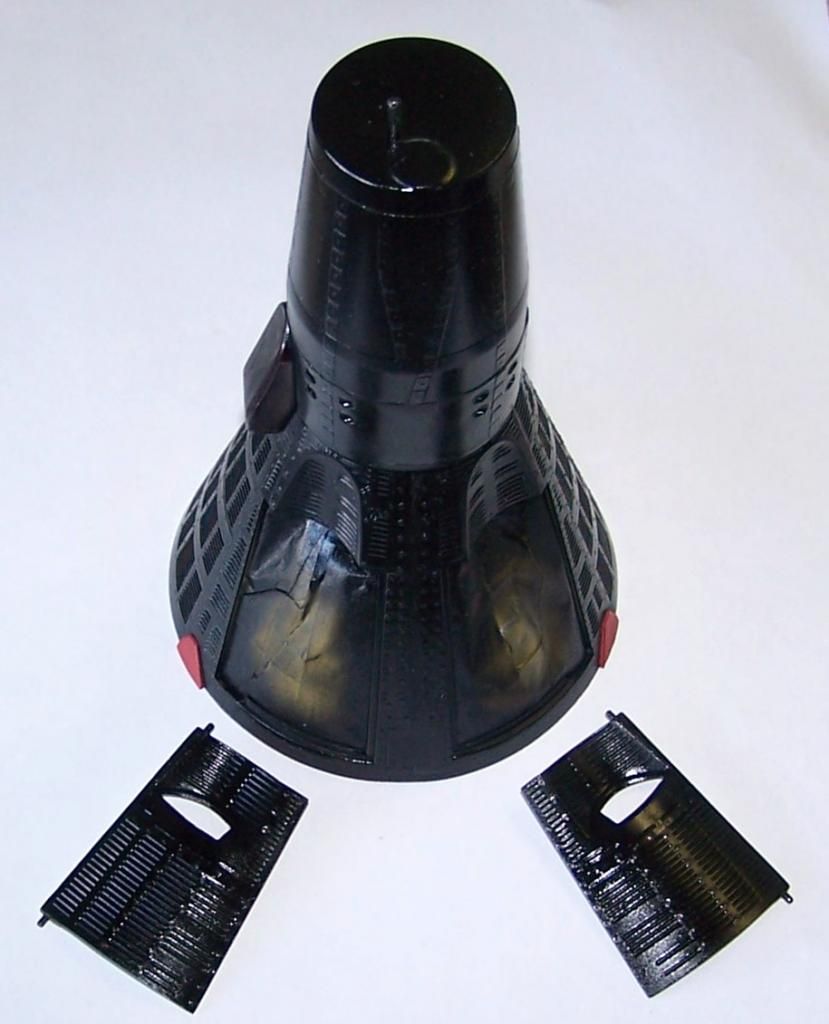
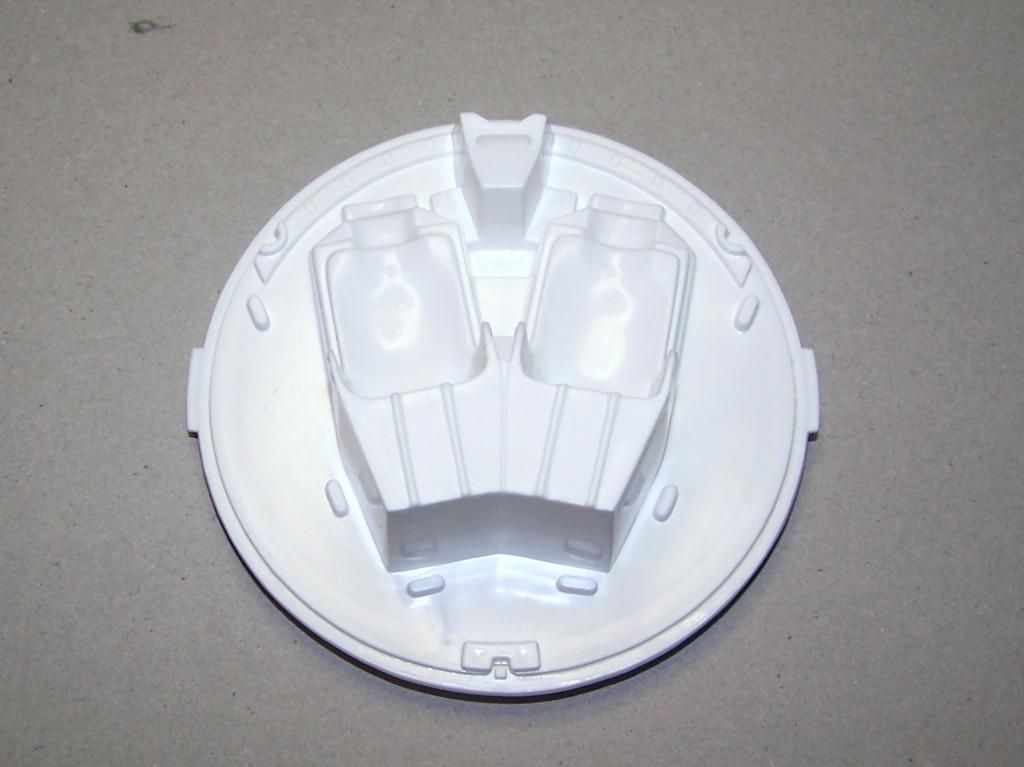
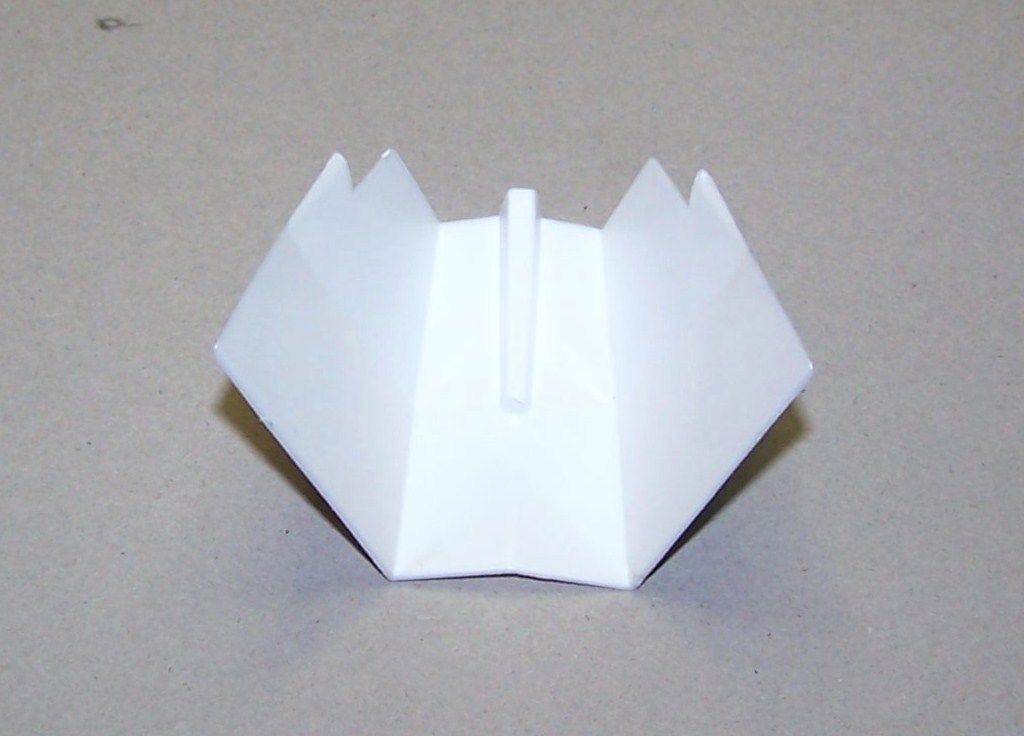
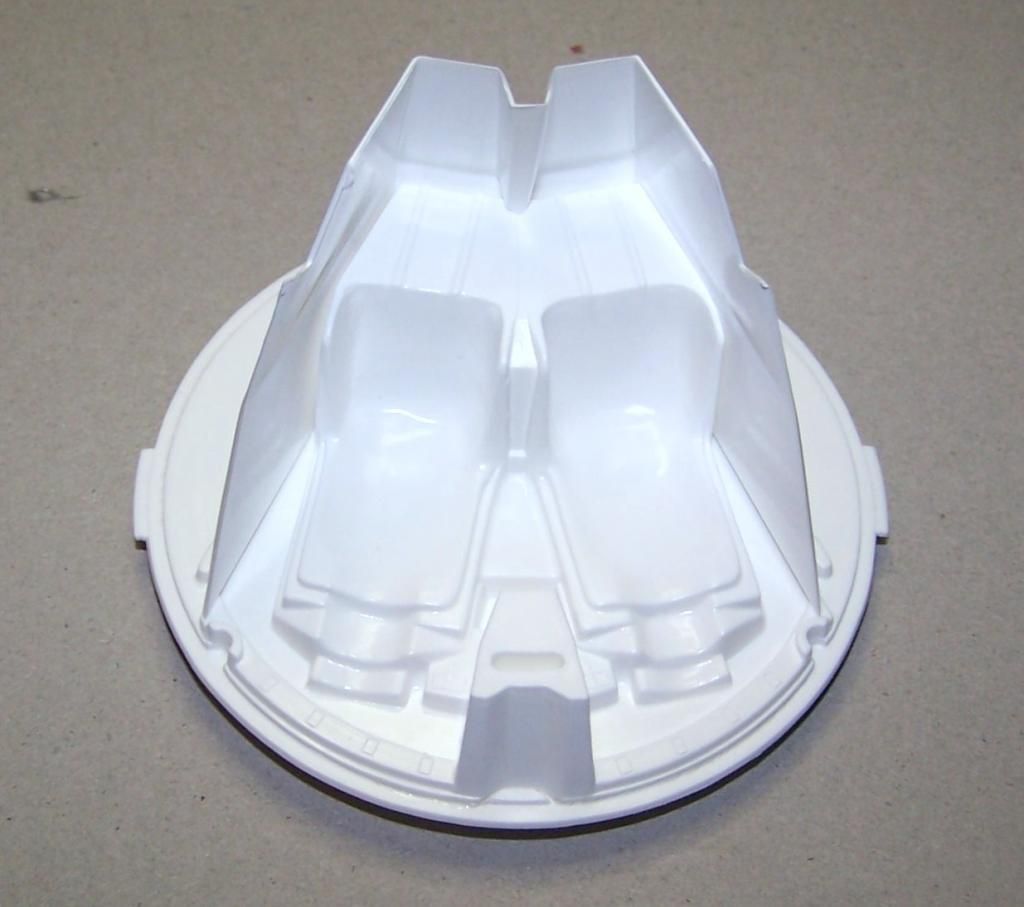
rear bulkhead attached to heat shield
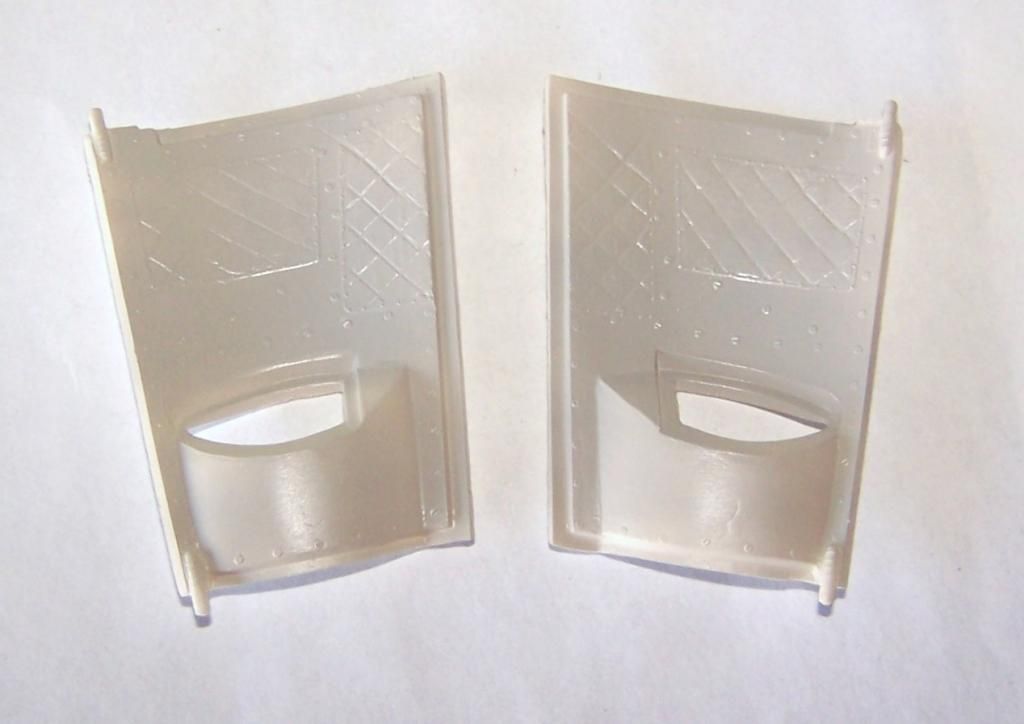
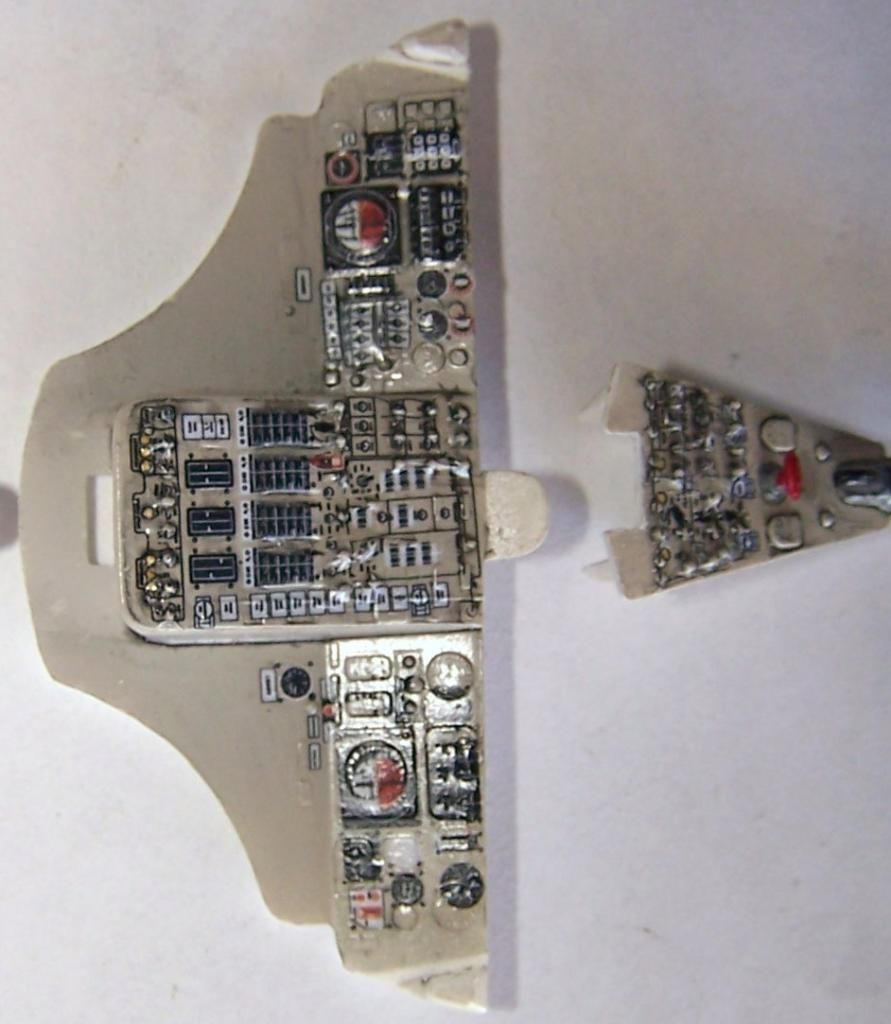
and I have the front instrument panel and cabin sidewalls removed from the sprues but will not glue them in place until after painting is done in the next few days

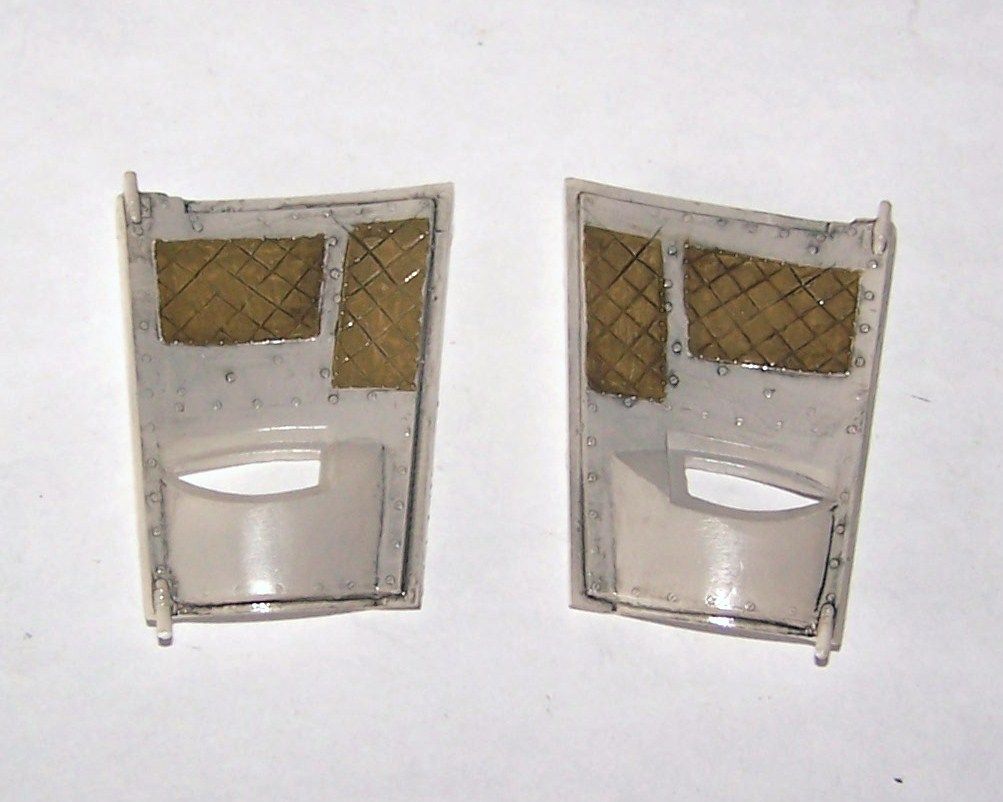
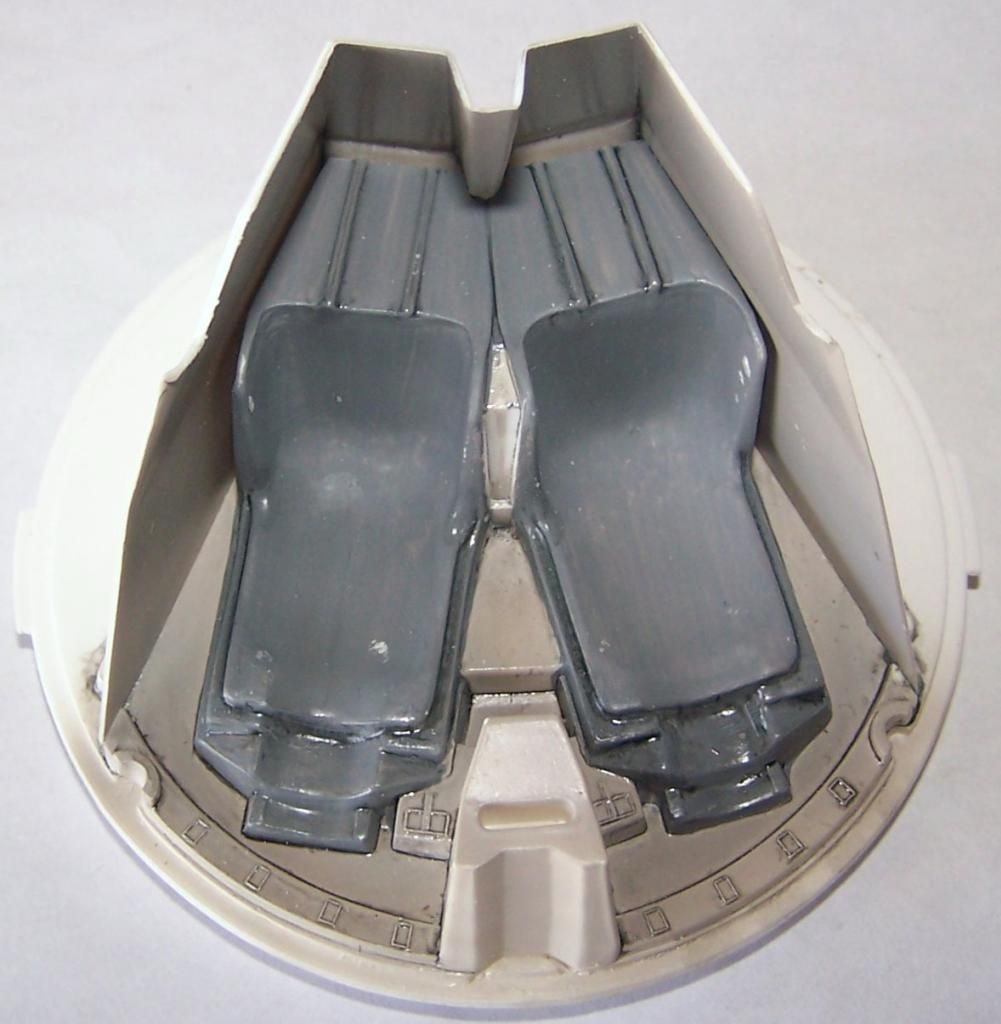
with the sidewalls placed on the rear bulkhead
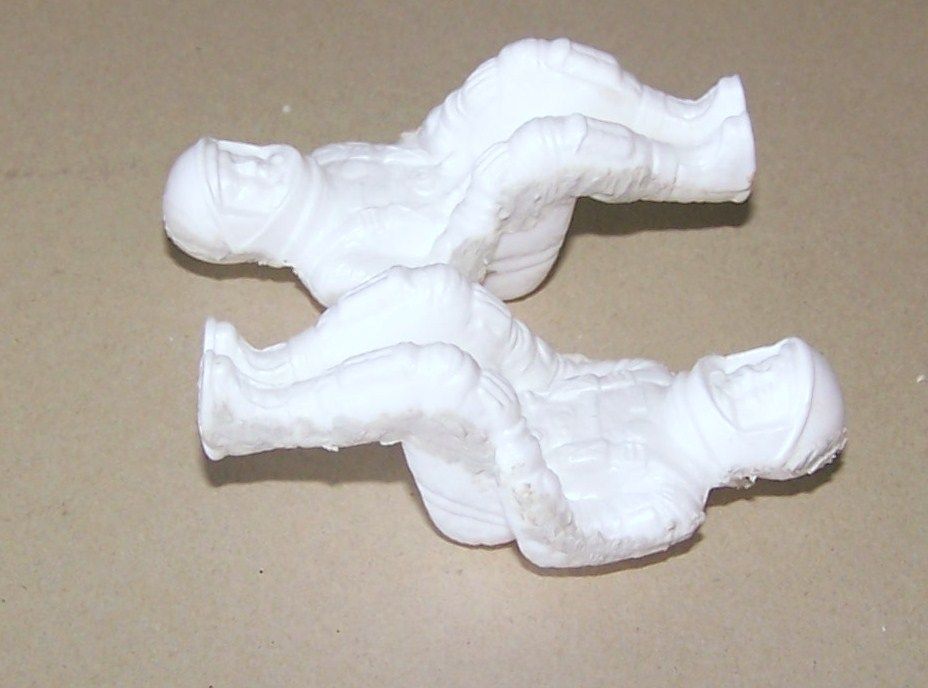
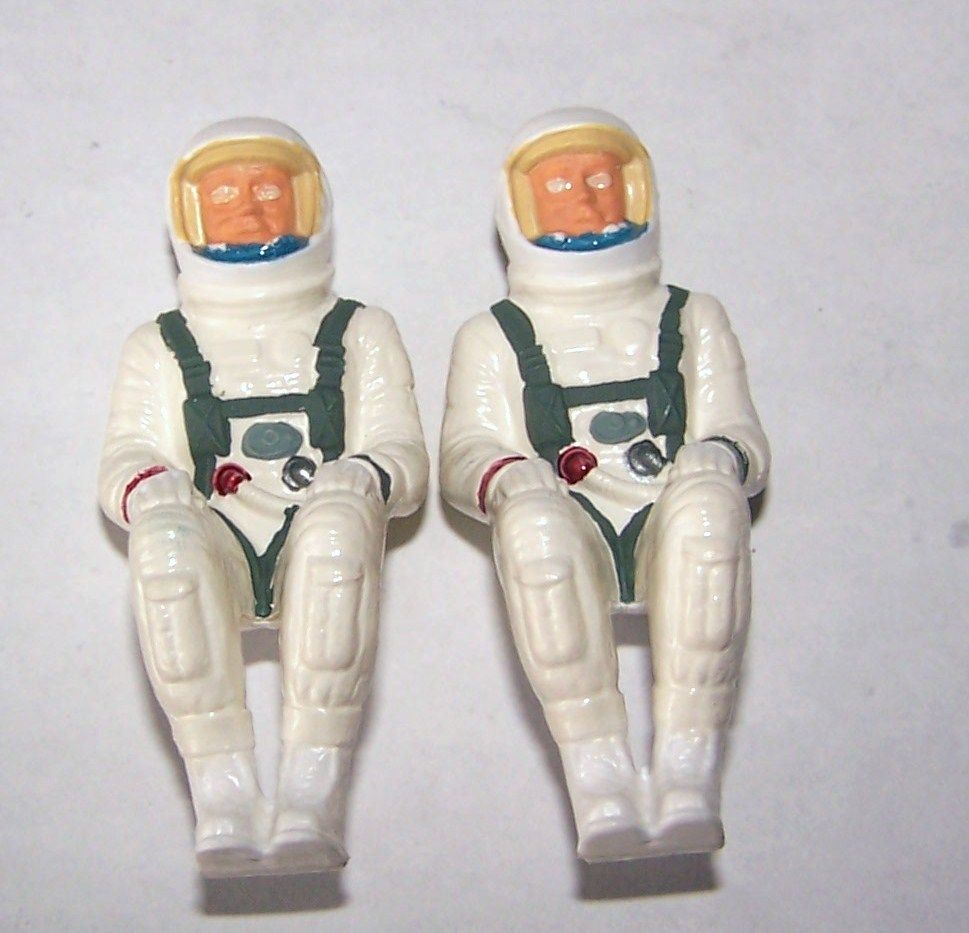
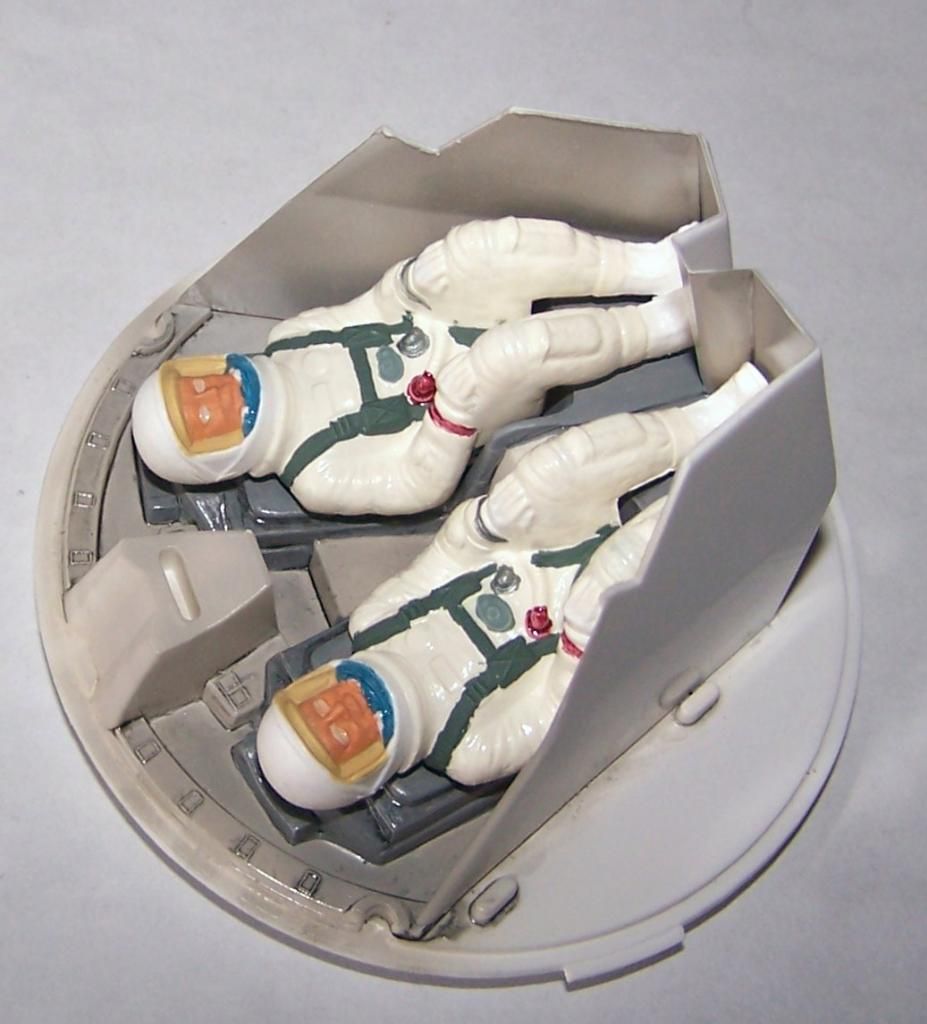
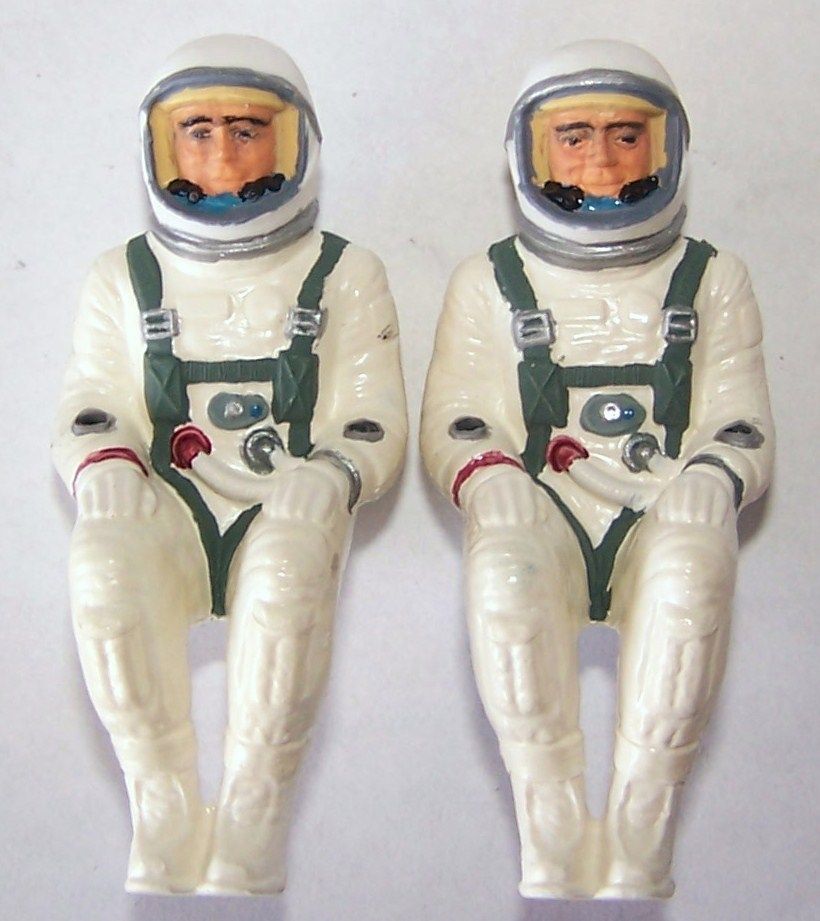
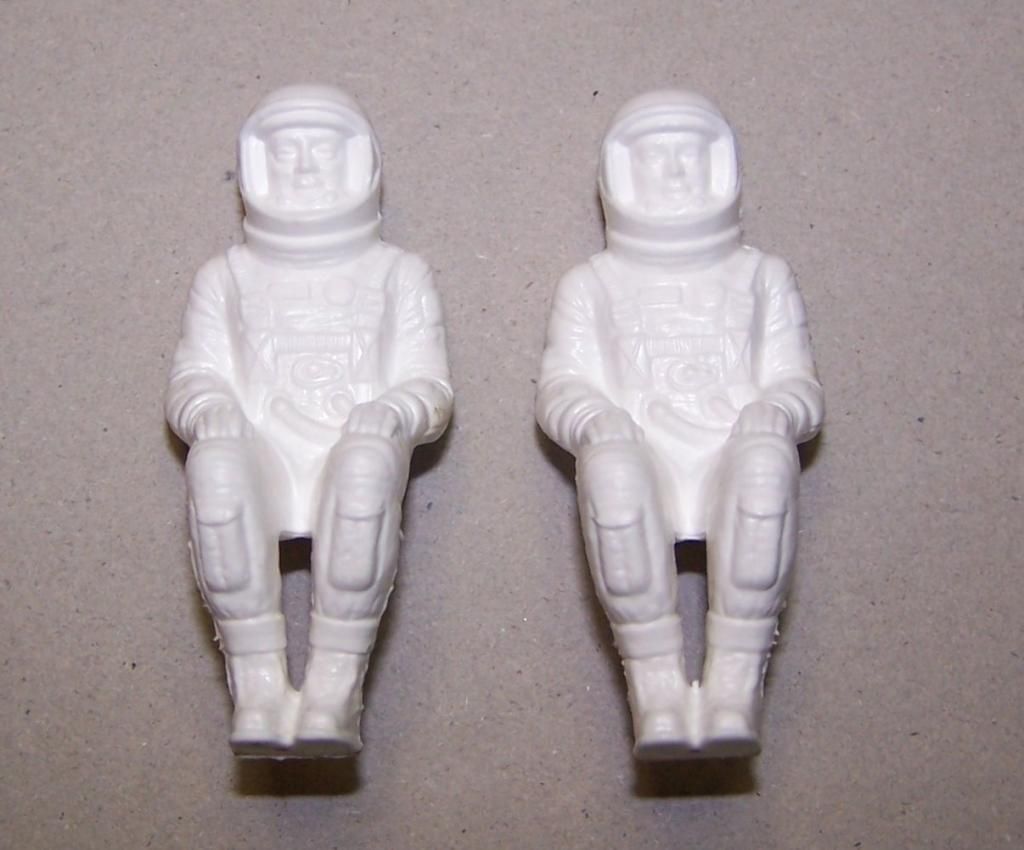
and finally the two Astronaut figures. I will not add their clear face shields until after painting
I know that painting all this will take longer than building it did