Wow! that coat of primer is looking nice! Great work!
1 Like
Hey y’all! How’s the progress going?
I managed to finish the construction and puttying for my L-100, and I’m going to start painting it this weekend. I’ll post soon with pictures
I have glued the flying surfaces together and am in the process of making the joints neat. I discovered that the left half of the vertical stabilizer was a hair short (with the panel lines matched to the right side), so I’ll have to add a shim to get a clean joint. No biggie. Better to notice it now than to see a crooked fin after painting!
I am also cleaning up the engines and prepping them for assembly. The only challenge is the inevitable seam lines inside the intakes. The parts do seem to fit well though. The pylons are unnecessarily complicated, molded in front and back halves as well as left/right sides. I hope they fit well. They are all handed, so I better keep them sorted during assembly.
But for now, priority will be given to getting the wings and fin attached. Pics to follow!
sounds like it’s coming along! looking forward to seeing the pics!
I shimmed the left side of the fin last night and got it to be reasonably vertical. I need to scribe in the panel lines before gluing it onto the fuselage.

The separate wall liners for the outboard gear wells had some questionable fit. So, after some fettling and adding locating bars, I decided to glue them to the upper wings to help with alignment.


The locators for the main gear legs had to be trimmed for the wall liners to fit - I should have tested the main gear to make sure this won’t be a problem.

I cut a portion of the fuselage away at the nose gear opening and placed a sliver of sheet plastic to eliminate the seam line, something that really annoys me to no end. The front edge will not really require a shim, as the doors are normally closed when the aircraft is on the ground.

So now the airframe just needs a bit of tweaking for fit, a bit of filler and sandpaper, and some ballast to make sure the model sits properly on its nose gear. I did a balance check, and found out the model was very tail heavy. To minimize the amount of ballast needed, it will be placed behind the radome, as far forward as possible.
2 Likes
looks great! what do you use for ballast? I know some kits like the Hasegawa airliners come with a big screw (A320) or weight (737). The L-100 I’m working on didn’t have a ballast with the kit, so I ended up using some old, weak refrigerator magnets that almost perfectly weighed 5 grams.
I used a screw for a 787 kit I have, cribbing the idea off of Fine Molds’ 1/48 Kikka. I initially laughed when I saw Fine Molds’ solution to nose weight, but I then realized the genius behind the idea.

For the 747SP, I’ll just stack some nuts on a screw and embed it in a blob of epoxy putty.
Well, some stuff arrived today. My next build for the Group Build is an old Airfix 737-200 in COPA Airlines livery. Since I live in Panama, I figured it would be appropriate. Also received decals for the Connie, Voe Pela Real, a Brazilian airline. Plus, I ordered a set of Airfix display stands since I am going to pose both airplanes in flight. Now I’m ready to get up and go!
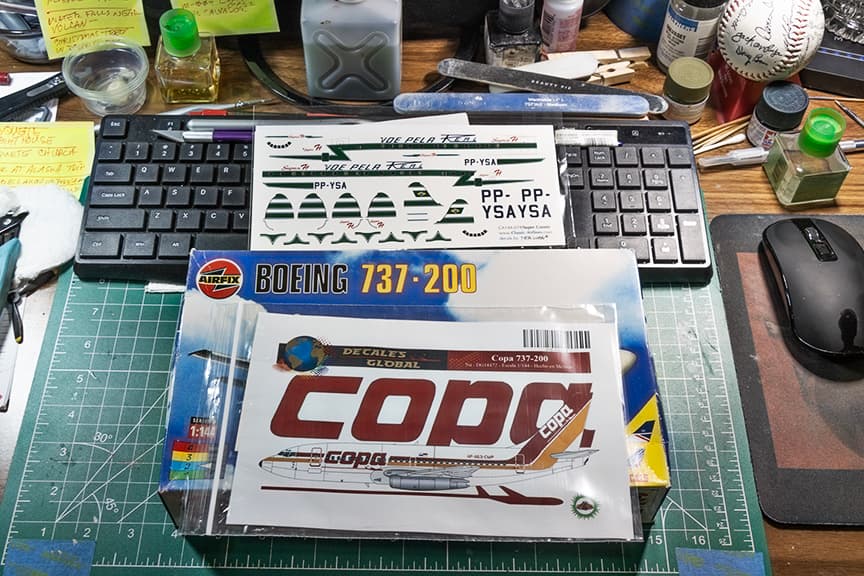
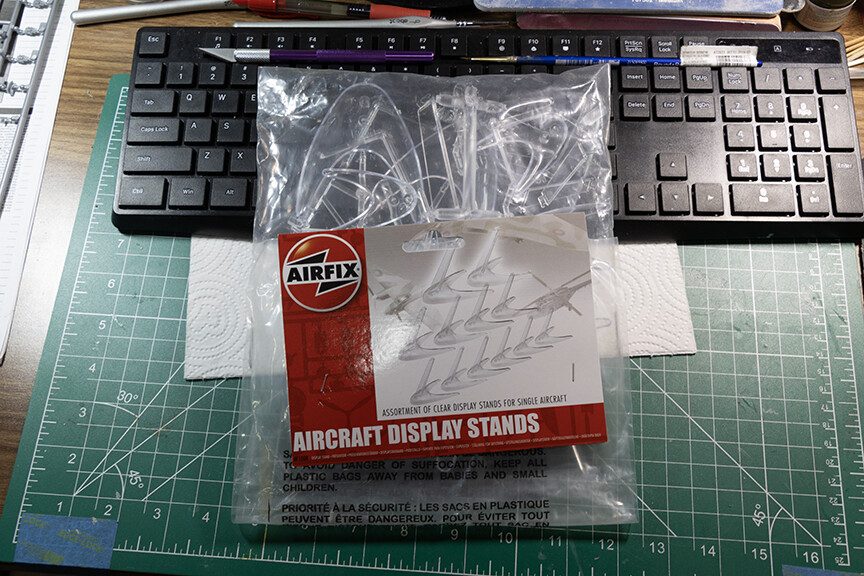
I love the COPA livery! I was actually gonna pick up a prebuilt skymarks 1/130 one a while back but my better judgment (my wallet) decided not to. Anyways, I’m excited to see you finish up that connie and get that -200 built!
sweet, I should keep some spare nuts around. thanks for the info!
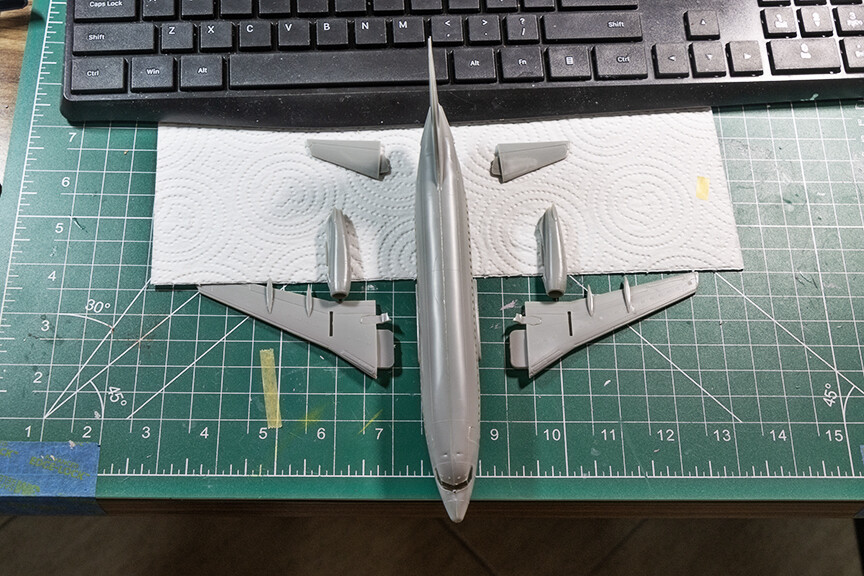
Well, not much of a parts count with this old Airfix 737-200 kit. Major components are assembled. Tomorrow, I clean up seams and fill the fuselage windows. This is used kit and there was no clear parts for the windows but fortunately the cockpit glass was still there, so, putty.
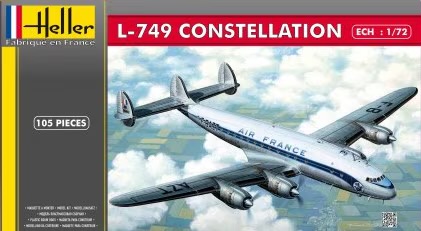
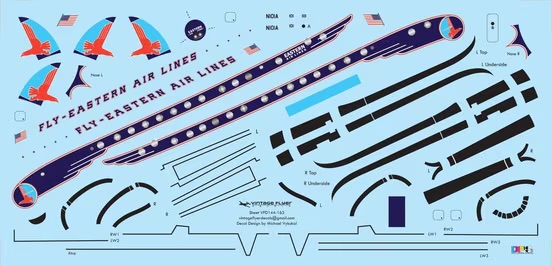
Mmmm….decisions, decisions. In the stash are 1/72 Connie (Eastern), Super Connie (TWA), DC-6 to be backdated to DC-4 (Braniff and 2x 1/144 Electras (American and Eastern). Leaning to the EAL Connie to start with…
2 Likes
Looking good! Are you planning to do any rigging on this one?
awesome! welcome to the group build! Look forward to seeing your finished bird!
Added your EAL connie to the roster
Hasegawa does that with their airliner kits.
Boy, this is an old kit. Copyright 1988. Lots of Tamiya White Putty on the seams and around parts that don’t fit too good. After I take care of all of this, then I’ll fill the windows. Hoo boy. Some fun.
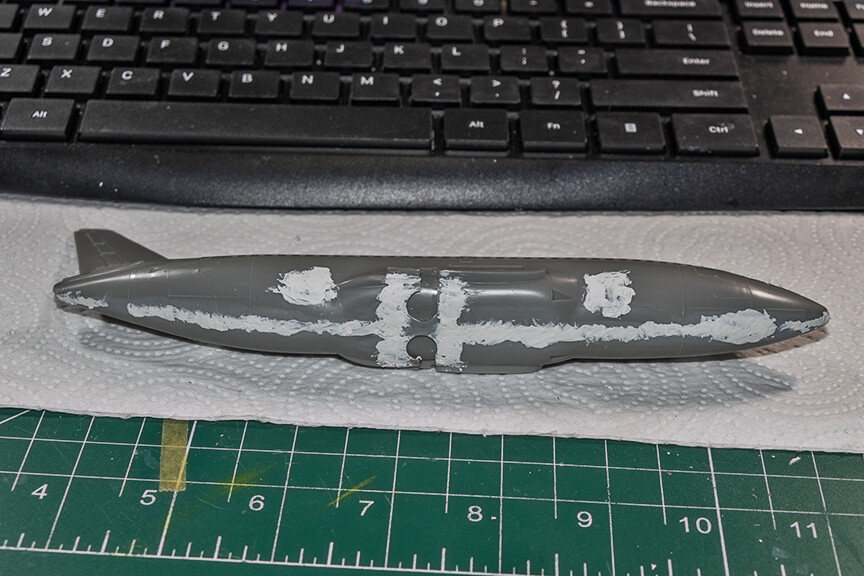
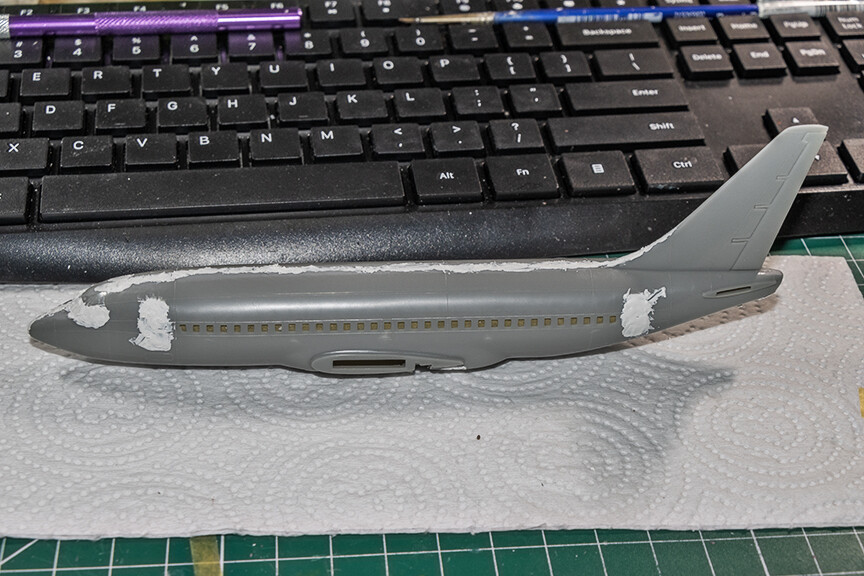
@fotofrank I just had the same problem with my C-130/L-100! It was putty craziness because one half of the fuselage was slightly taller than the other and there were so many unnecessary scribed lines. It was a good exercise, but I really am happy that it’s over lol. That kit was from 1985, when my dad was only 17!
Yeah, a lot of raised detail is going away on this 737, but when it’s done, the fuselage will be a nice shiny aluminum tube.
Your dad was seventeen in 1985?! Yikes! I was 39, just like Jack Benny.
1 Like
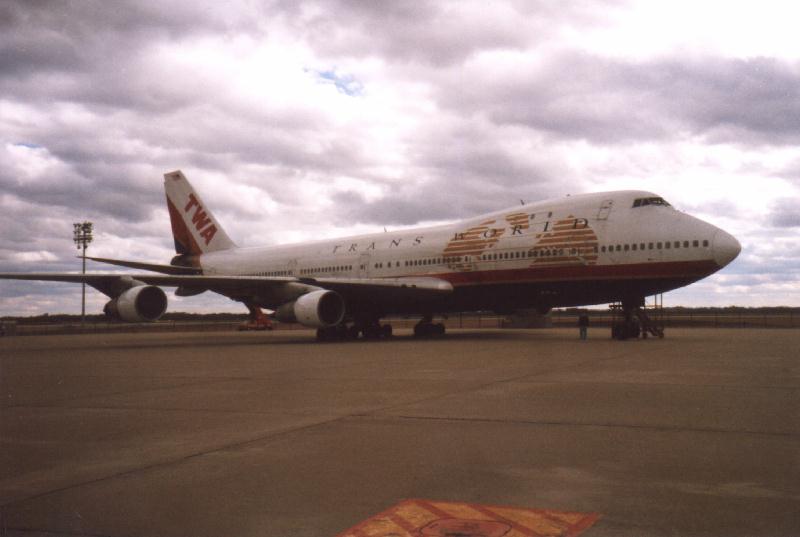
I do like the TWA liveries! This is probably unpopular, but I like the dual stripes livery from 1962(?). I think that’s the retro livery they put on the American heritage -800.
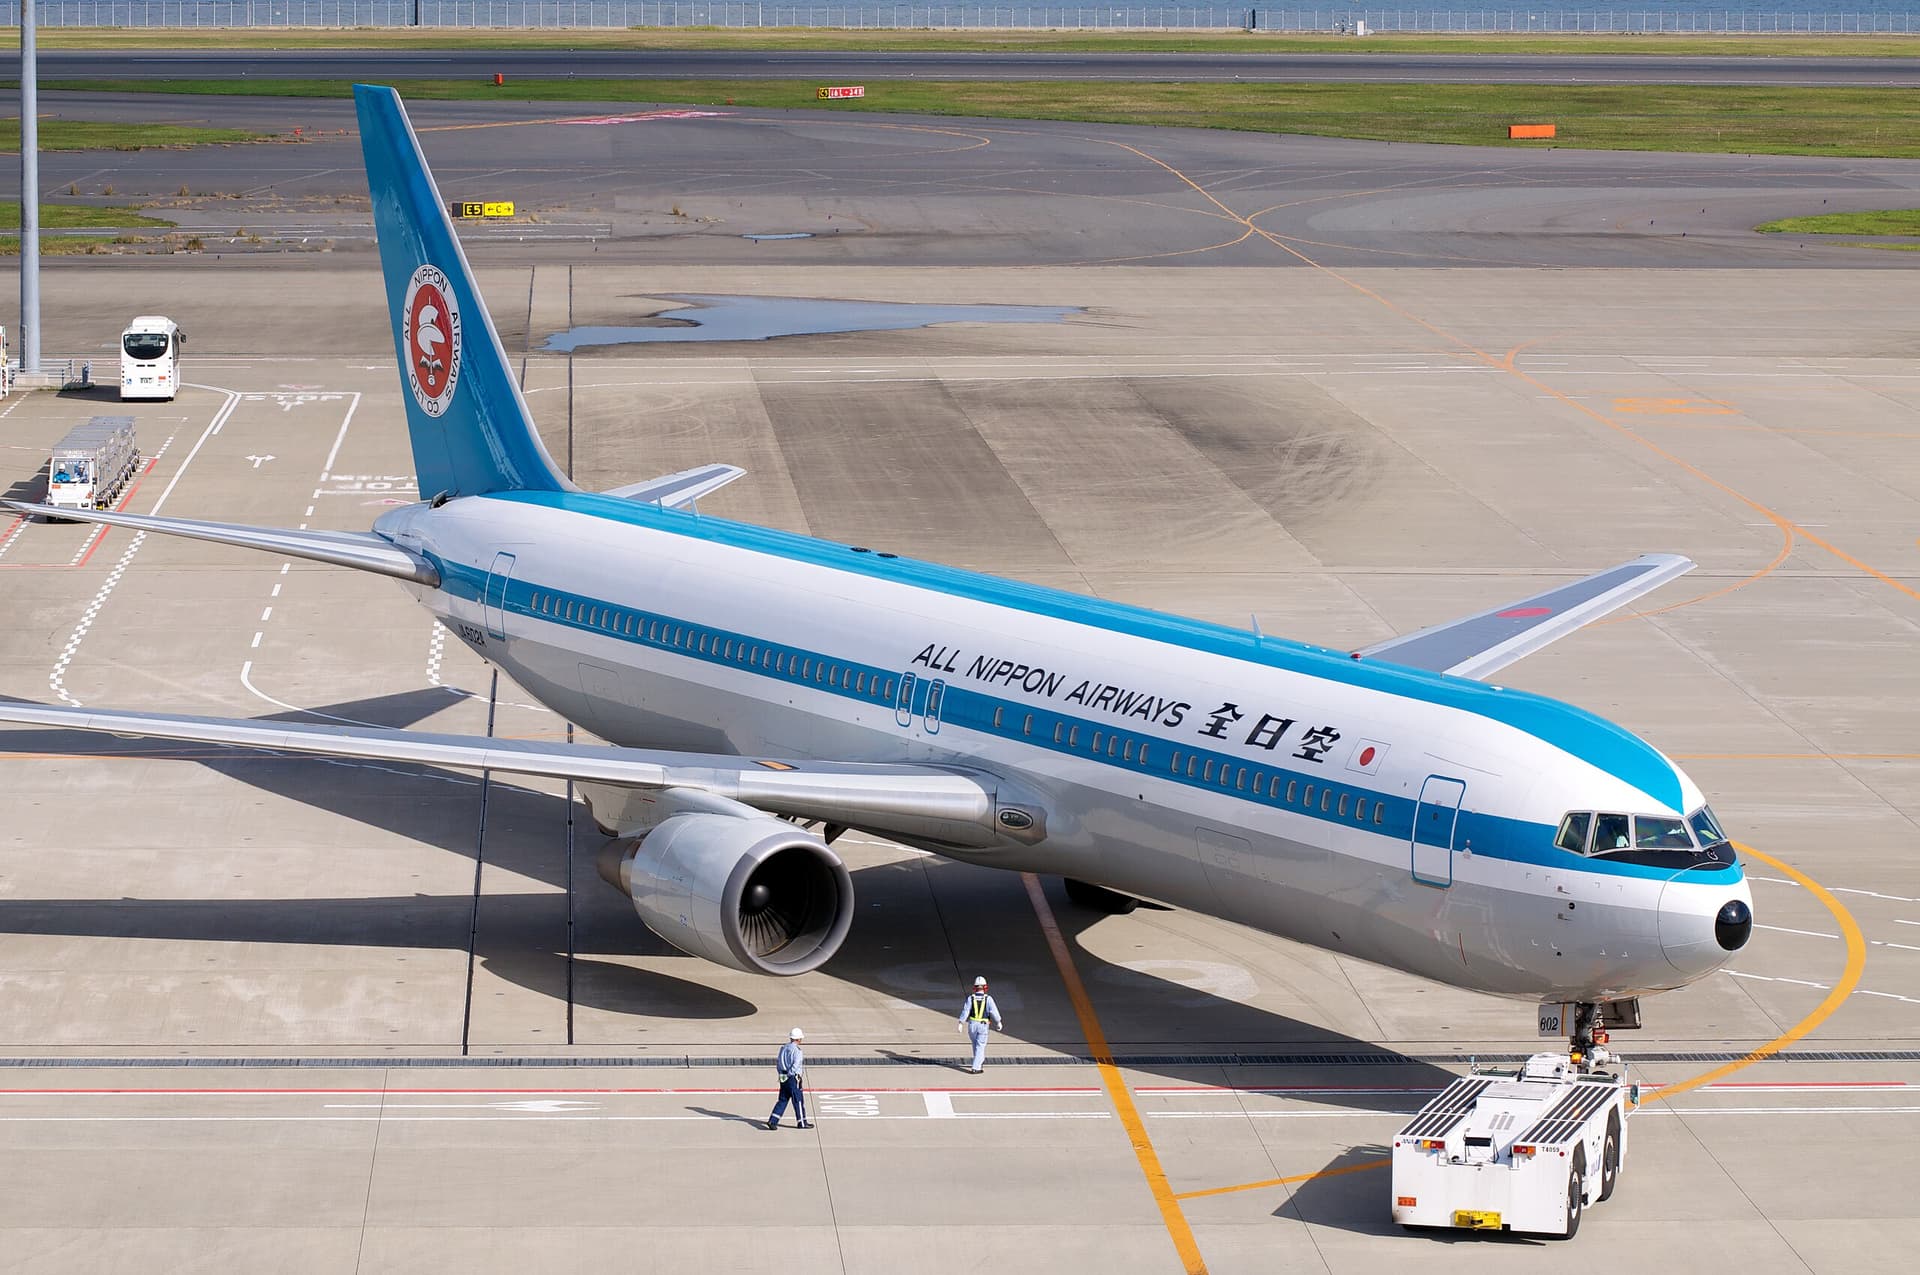
My favorite livery is the ANA retro livery!
I was born too late to see any of the cool liveries to be honest. Kind of sad. The only “retro” livery I remember was the old SW Canyon Blue -700s.
1 Like