Thanks Andrew. Thast some nice work there.
Eduard Fabric seatbelt, i’ve not heard of those. I know they do PE belts.
Thanks Andrew. Thast some nice work there.
Eduard Fabric seatbelt, i’ve not heard of those. I know they do PE belts.
Bish,
I’d noticed that Eduard has teemed with HGW and recently released a set of fabric (HGW contribution) with etched buckles and jewelry (Eduard’s contribution). There’s a 1:48 set for Luftwaffe aircraft and a USAAF set as well. I’m hoping they’ll release a Sutton harness suitable for a Spit before long.
www.eduard.com/…/Seatbelts-Luftwaffe-WWII-Fighters-FABRIC-1-48.html
www.eduard.com/…/Seatbelts-USAAF-FABRIC-1-48.html
I’m not sure how easy they’ll be to use yet, but I’m looking forward to finding out. Luckily, I already shave my head, so no hair to rip out in trying.
Yes, now i remember hearing about this a while back. Odd how they have teamed up as i thought HGW did there own PE bits anyway. I wouldn’t mind trying a set of tehse in 72nd, as i think they might be easier to position than the PE ones.
Nice start, Andrew! I assume you’re doing an open cowling for all that detail? Will there be a diorama base? Can’t wait to see more!
M/TB379
Bish, I’m not certain they make the fabric in 72nd scale, worth looking into though. I think they will be much easier to position and make look realistic as compared to etch. Just having a quick peek at the Eduard site, I don’t see anything in 1:72, but that doesn’t mean the don’t (or won’t) exist.
Mike, thank you. I’m planning an open cowl, but now trying to decide if I’ll use the supplied Tamiya clear parts or take a chance and learn to work with vaccuform pieces (supplied by CMK) that I’ve not worked with before. I’m a bit scared, as anything new is daunting, but without taking chances we don’t grow. At worst, I’ll attempt with the vaccuform and if it goes sideways, fall back on the Tamiya clear parts. And naturally, the cowl will be splayed open. Any day now I should see the arrival of my order of EZ line which will make up the antenna and the wires for the cowl.
As for a base, yes, I think so. I’ve got another BMW engine (from an aforementioned failed build) that may place nicely as though there were an engine swap out taking place, a few Verlinden figures (mechanics, a workbench, two maintenance crew cleaning guns) an ICM (I think? or the Revell reboxing of) set of ground crew with a dog (and I do love placing dogs in my scenery, just a shame it’s not a shepherd), an Eduard styrene hard stand and a set of Woodland Scenics fall trees (beautiful reds, oranges, yellows) that would probably look the part as well as several bags of turf and long grass from Woodland. I’m thinking fall in Germany, but all of that is a ways off yet. I still have to get my fuselage halves joined!
Well, back to the airbrush, as I want to get that engine finished off. Happy building everyone.
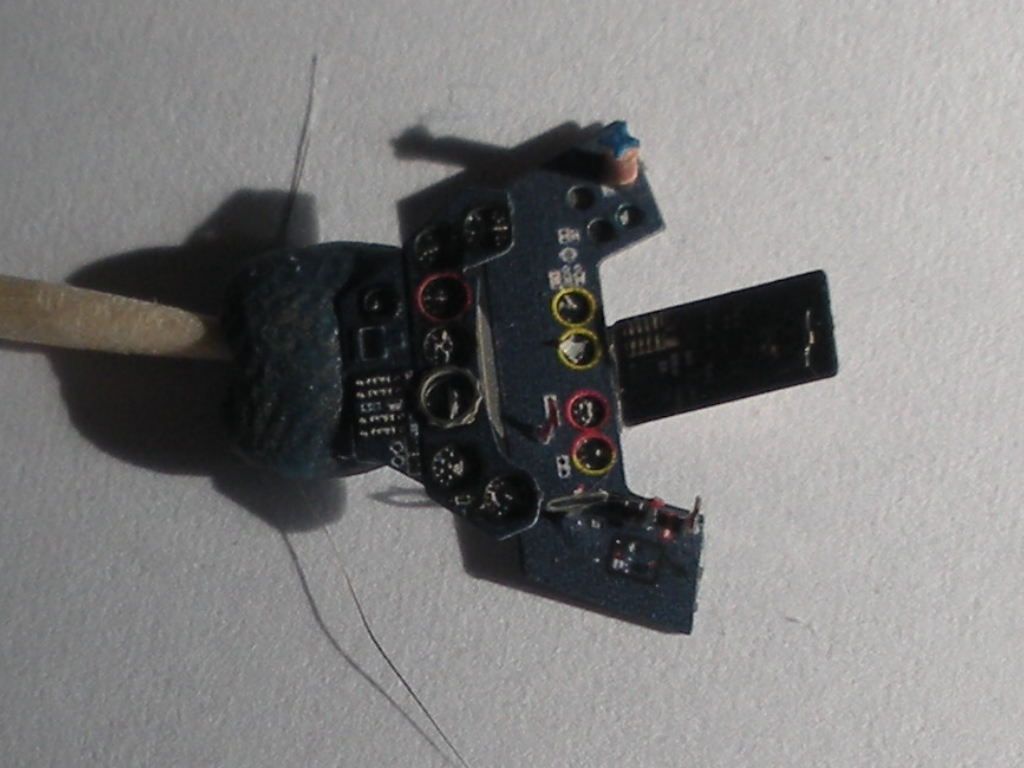
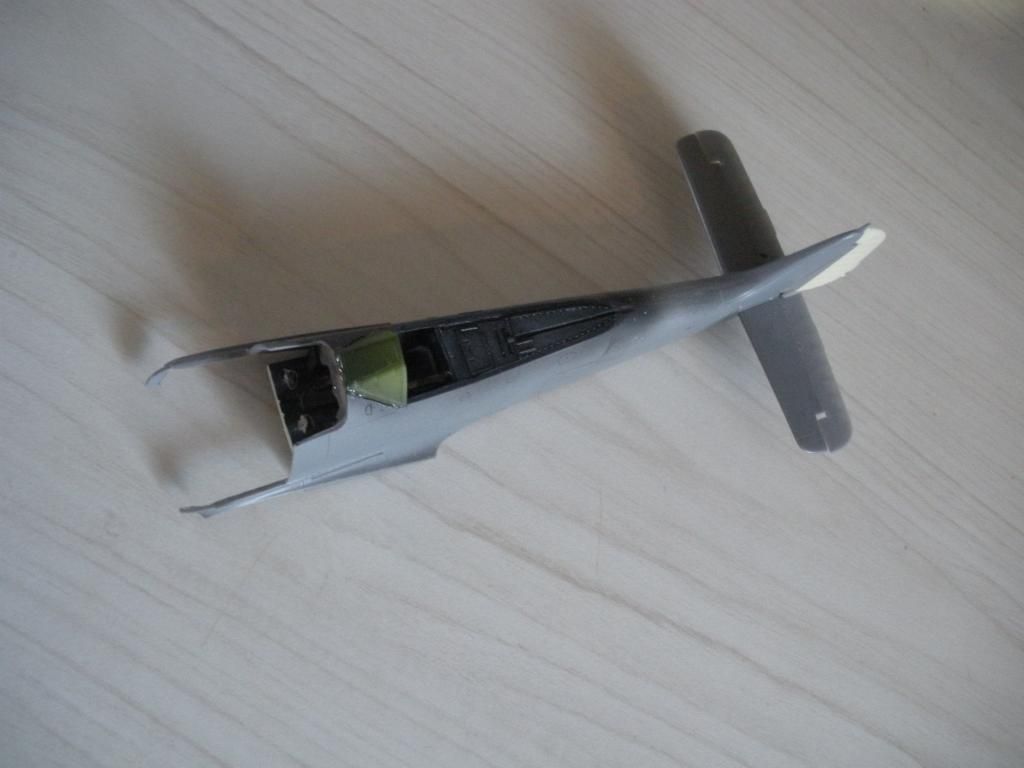
Well, another week gone by, and progress is slow, but it’s progress. I’ve built up Eduard’s etched instrument panel (complete with a dog hair in the background, as they’re constantly trying to help, though I’ll make sure it doesn’t get incorporated in the assembly)
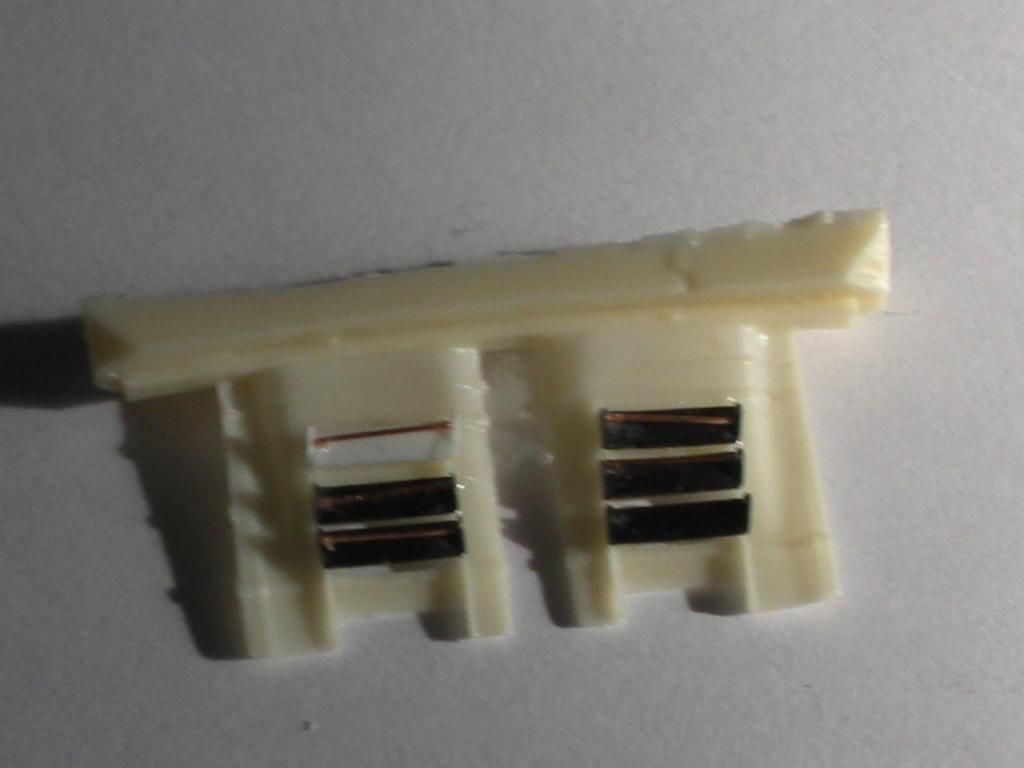
Exhaust shutters (I managed to lose one of the shutters from the etch tree, so I had to fabricate one from styrene strip)
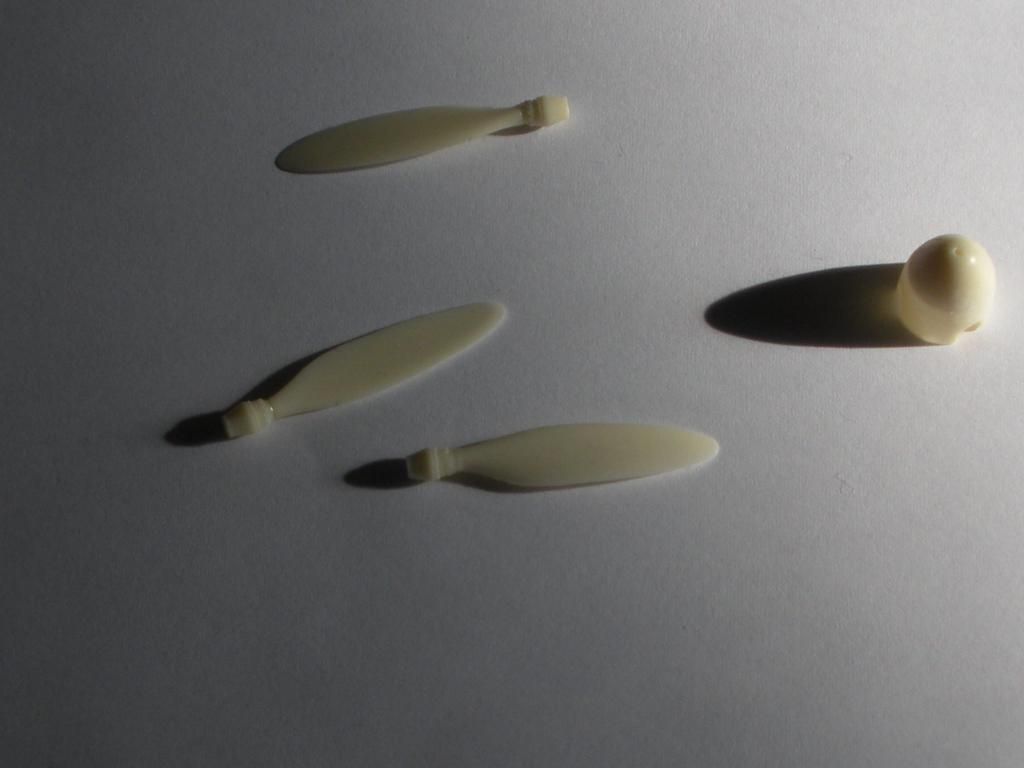
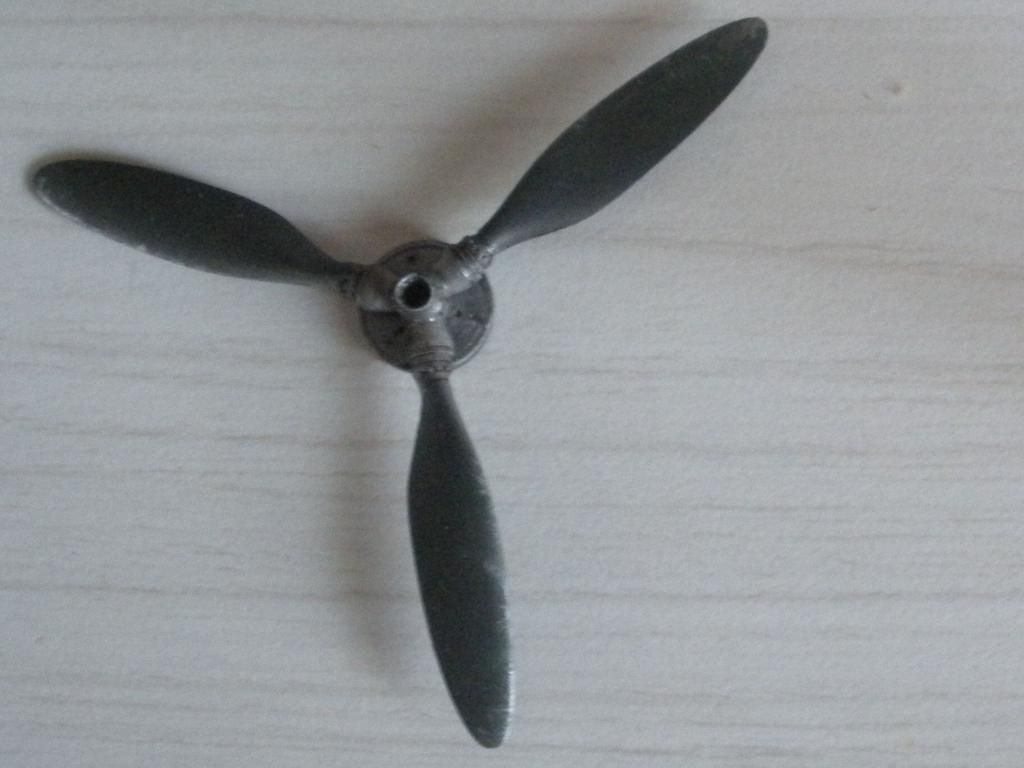
Prop spinner and blades built up
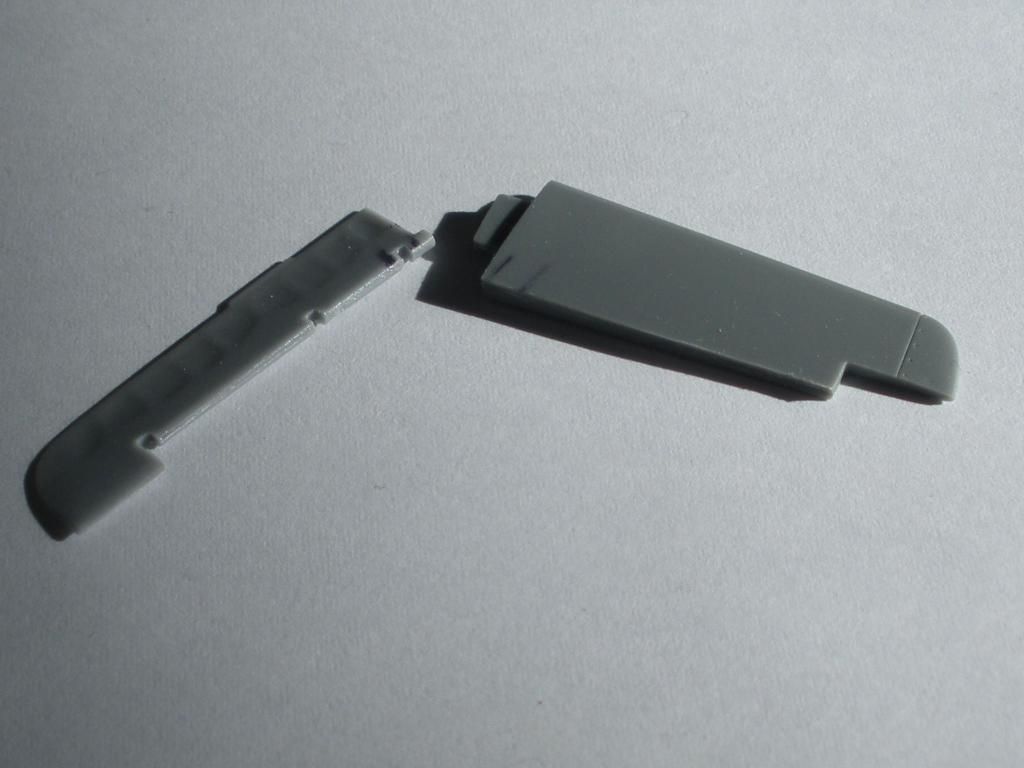
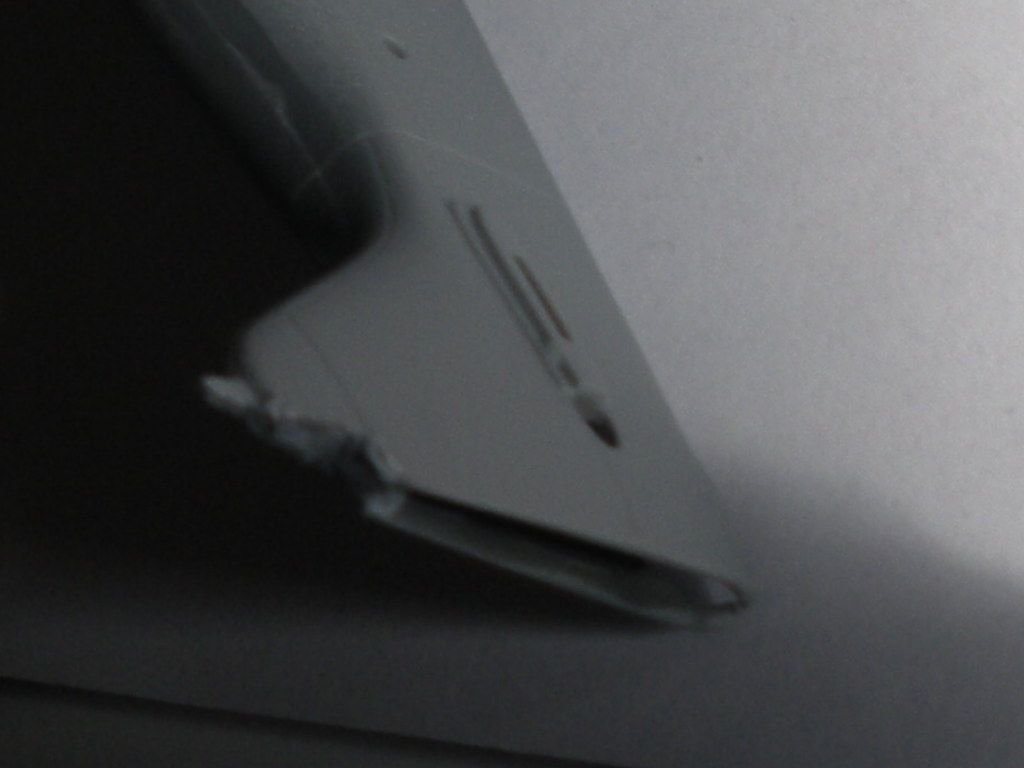
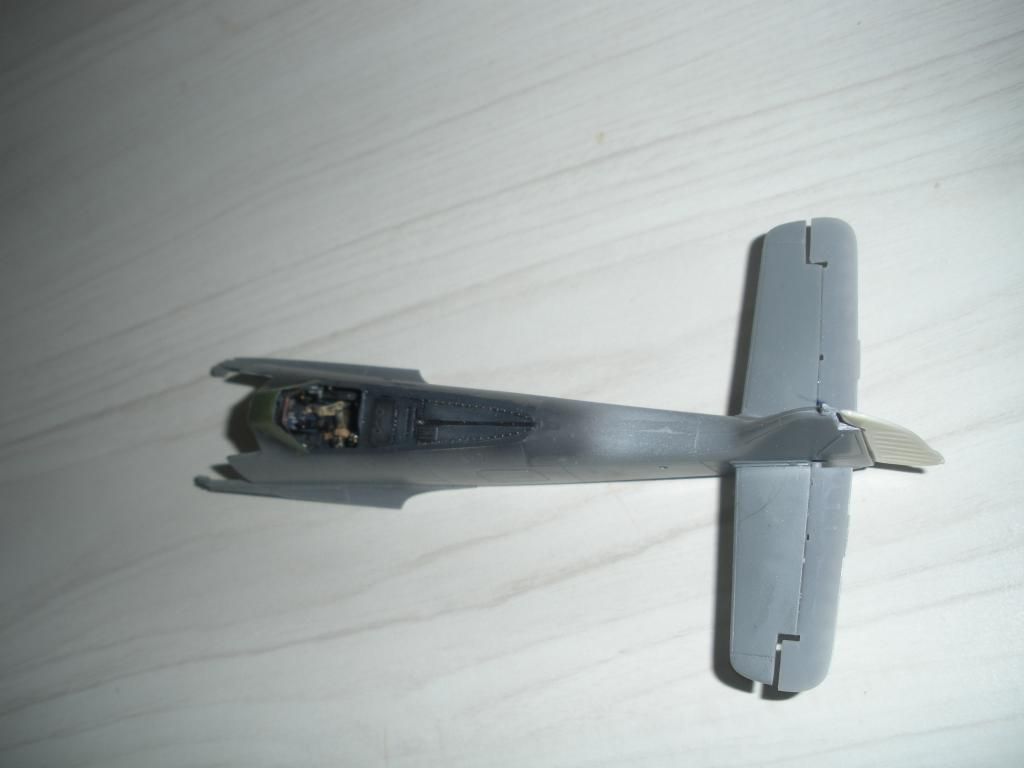
Elevators and stabilizers separated (though the picture doesn’t show it, I’ve beveled the trailing edge of the stabilizer to accept the resin elevator)
Fuselage halves joined up
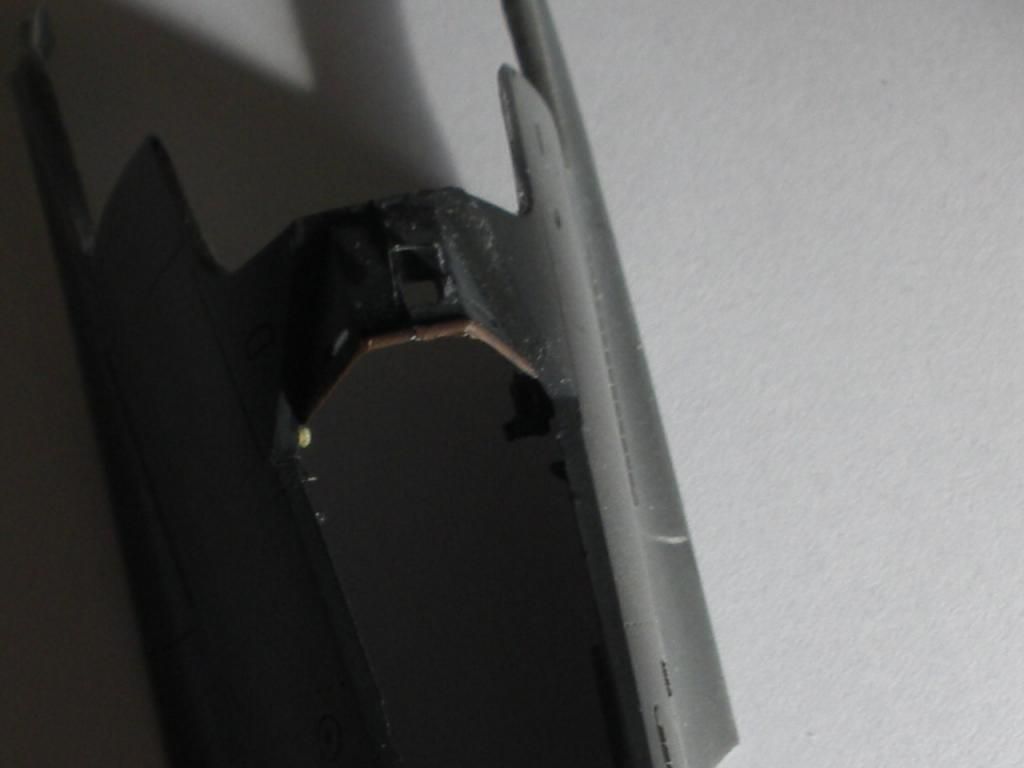
And the rudder separated in preparation for the resin rudder (though I’ve had to do quite a bit of putty work to counter my overzealous cuts and the fact that the antenna horn on the starboard side was messed up out of the box)
And finally, a few of the exhaust pipes leading from the BMW’s cylinder heads and most of the engine paint finished.
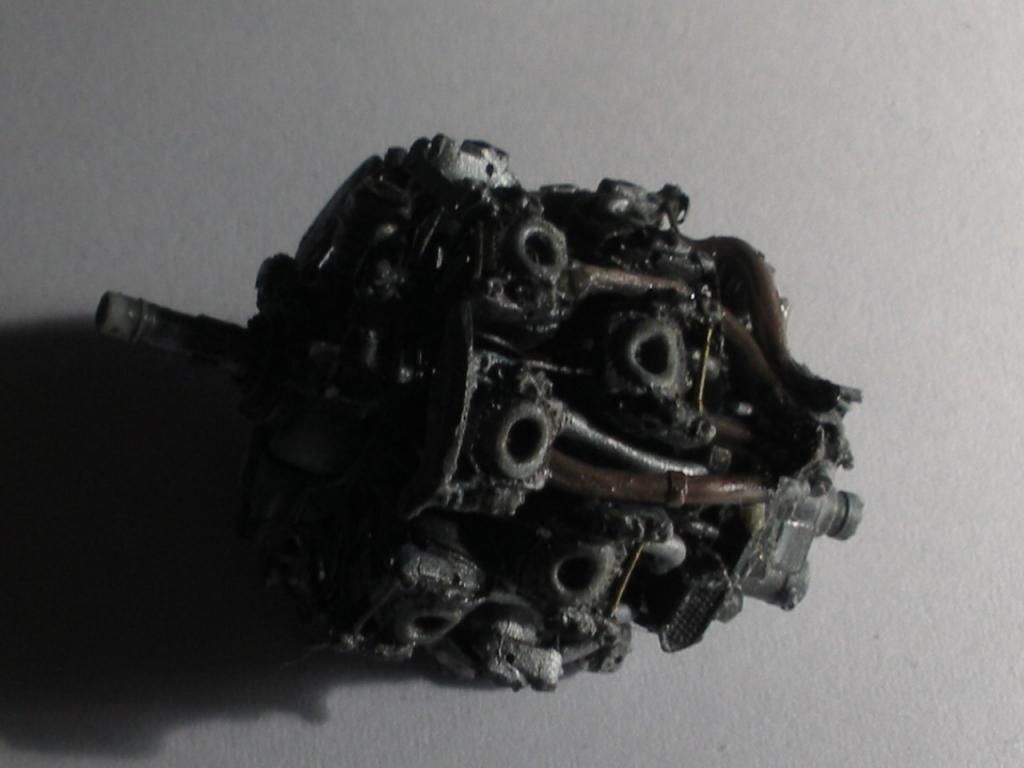
I spent a bit of time hollowing the prop hub centre so I could mount it properly on the engine shaft when I come to that point, and hopefully even have it capable of spinning.
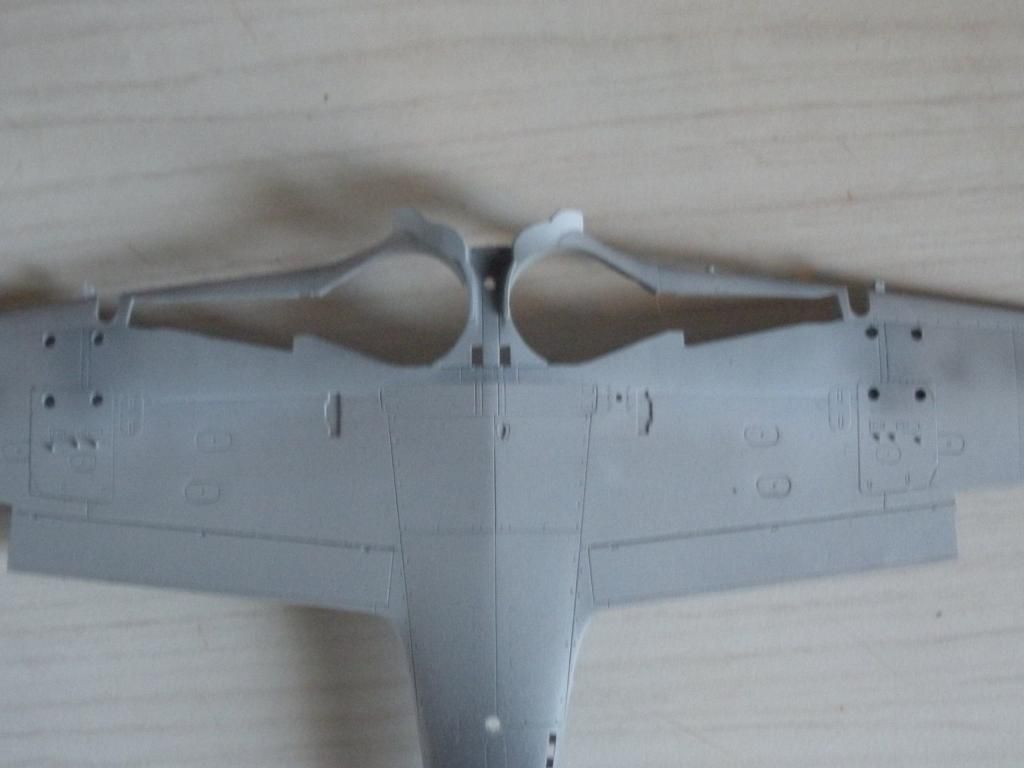
I’ve started assembling an aftermarket wheel bay, and prepainting the surrounding area on the lower wing which should make masking easier. I’ll have to wait for the mail again as I’ve ordered up some mg 151’s that were not included in the resin wheel bay. I know it’s going to be tricky fitting the last 6 exhaust pipes and having them line up with the outlet under the cowl, so I’m planning to white glue some parts in place over the next few weeks and trial fit once I come to that point. I’ve also begun at separating the vacuform canopy, and it looks quite workable. I’ll have to do a little prepainting and masking, as my cuts don’t allow it to close perfectly, but with an open canopy it should be passable. I’ve gone back to the well for masking the canopy, and used bare metal foil, as it is aftermarket and the Eduard masks didn’t fit perfectly. Now I’ll just have to figure out how I will remove the goo left behind by the foil.[:^)]
Slow but steady. Happy building everyone.
Andrew, no, there doesn’t sem to be any in 72nd. I might see it could be to small for the fabric belts, but i have seen fabric RBF tags in that scale. I am guessing that the PE HGW use in there sets is probably made by Eduard anyway and Eduard have just released them as well but with there name on the PE. I found this on Hannants and though it has a different number, i think its the same set. And the PE layout is pretty much the same as well.
www.hannants.co.uk/…/HGW148014
The build is coming along nicely.
Mike, i have made a small start on the 262, but nothing worthy of any pics yet.
Bish,
they certainly do look like the same components. Just roughly working out the exchange, seems the Eduard offering is a few dollars cheaper, but of course that does not incorporate taxes or shipping, and it’s a matter of about 2 or 3 dollars.
Thanks for the compliments on the build, I just hope it keeps going in this vein as I hit the more frustrating fitting stages (not my strong point). I figure if need be, I’ll just sand and force and push and squish til everything fits in there. I’m already realizing I may have to omit the oil cooler from the engine cowling to get everything to close up right (I think the omission will be invisible by the time I have the prop on and the engine cooling fan in place) and will probably have to twist the cowls a little bit to get it to seal up, but I expected that.
Looking forward to seeing some photos of the 262, one of my favorite luftwaffe aircraft and I have yet to attempt building one. I’ll have to put it on the short list, though I do have quite a line up on that list.
Presently, I’m finishing a typhoon in desert markings (hoping to drop that with the aircraft museum in Victoria BC for display), the 190 above, and then I have three spits (a mk v, a mk v trop and mk i) that I’m hoping to add a fair bit of resin and etch (already purchased and stowed in the kit boxes) on to and get to working on one of these years (get them off the shelf in the basement). Then I’d like to get at a 262 and a 109 and maybe some rotary wing for a change and a challenge.
Ye, the price difference isn’t that great. I have a few 262’s in the stash and i built one for an earlier RD GB, and that was a variant that didn’t see service as well, the C-1a. I plan on doing this build as if it was operational and so i am planning an unusal paint scheme for it.
Can’t say i have ever seen a Typhoon in desert markings.
Sounds like you still have some work to do on the 190.
Bish,
I cannot wait to see the paint on the 262.
The Typhoon really didn’t see much tropical service, but there were three aircraft loaned to the RAAF by the RAF for tropical trials, though the experiment was short lived as the tide turned in Africa / Italy and the Typhoons were required more in Europe. No modifications were made to the aircraft, they were just sent and repainted by the Aussies. I just figured it was a different scheme, something not seen too often and a little fun to do. I’m just about done with it, so I’ll be posting photos shortly in the aircraft section as I was running a WIP post for it.
I still do have quite a bit to do for the Wulf, and am pretty much stood still while I wait for the seatbelts (if I were more impatient, I’d use the etched set, but I want to do this right and I do want to see how the fabric build up and sit) and some machine guns that I didn’t realize the resin kit lacked. I wasn’t certain if there was a reason why they were lacking from the resin kit, but all my reading (vol 1 and 2 of the FW 190 from Classic Publications) seems to indicate that they were present on the Frederich’s. I don’t want to fit the wheel bay without the 151 mg’s, and then I can’t glue the lower wing to the fuselage without that or the cockpit tub in place. Hopefully later this week I’ll have a few boxes in the mail.
I didn’t think the Typhoons were used in the desert, but i wasn’t that certain. But makes sense that they were looking into it.
I am pretty certain, without looking at my referances, that the F’s had the same armament as the A’s, so yes, the 151’s should be present. Its always nice to get that sort of mail.
I am thinking of the 262 as a low level strike aircraft, comng in at tree top level. So i am going to assign it to a ground attack unit and do it in a wrap around scheme, so no blue undersides. Should be fun.
Well, one package in the mail today, and that was seatbelts. Wow, an three hours, a lot of patience, and a pair of cross action tweezers later and I have two belts to show for my efforts. I can see why they’re not making them in 1:72nd so far.
Pics man! Where’d you score those HGW belts from?
Well, as requested, a photo of the cockpit tub with the lower belts installed. I’m waiting to install the upper belts, as I want to drape one of them through the open canopy and over the fuselage side. I’m not sure why the photo shows the tub so ‘dusty’, it’s still got a high gloss on it and doesn’t look ‘dusty’ at all in person.
Nathan, the HGW belts are a new offering from Eduard, found here : http://www.eduard.com/store/Eduard/Seatbelts-Luftwaffe-WWII-Fighters-FABRIC-1-48.html. They’re also doing a US set.
A lot of work for the belts, but well worth it, I think. I’ve never been able to achieve this relaxed look with etch.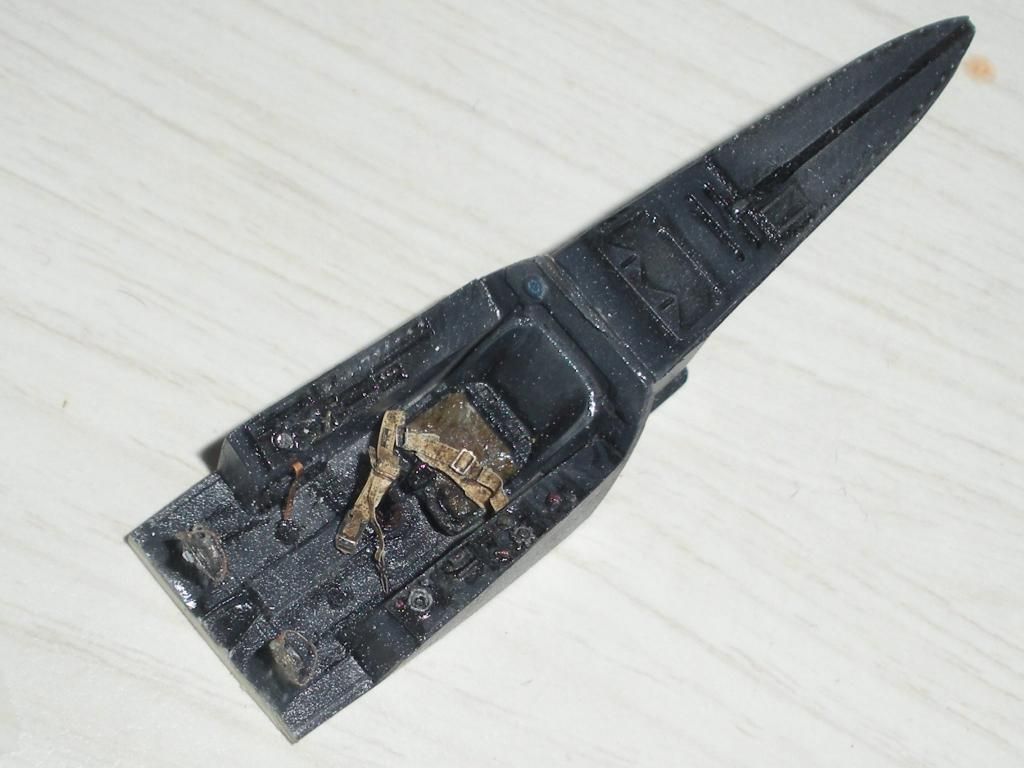
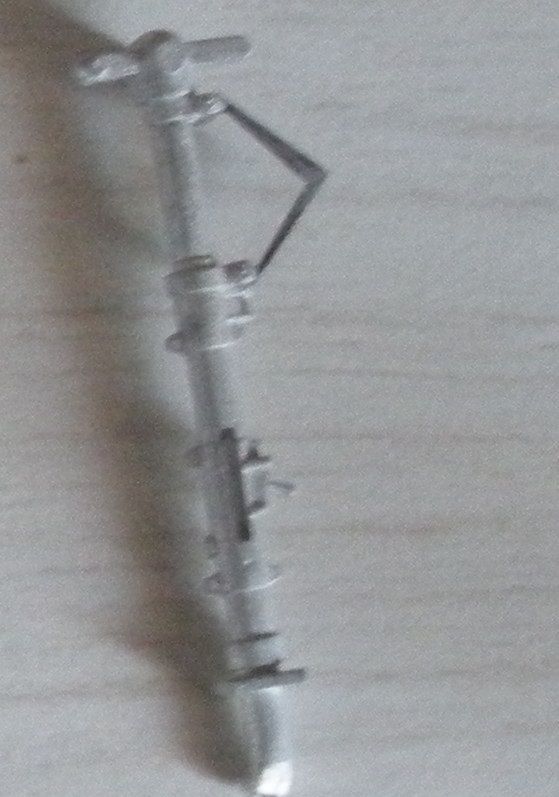
 I realize I missed posting up yesterday (I’ve been aiming for every Sunday), but it was a busy day with dogs. It was a slow week, overall, as I was hung up on my wheel bay. That got sorted this morning as I received a couple of sets of Aires machine guns (151’s and 131’s) which will allow me to place them in the wheel bay and paint and prime the wheel bay. Then, with the wheel bay mounted in the lower wing, I should be able to begin mounting wings. This week, I joined my fuselage halves, mounted stabilizers and elevators, and the rudder. I’m using a mix of Aires and CMK control surfaces (the CMK rudder was a little ‘fatter’ and fit better). I got the windscreen masked, painted and mounted, ensuring I had the gun sight fit and mounted first. I also got a bit of work done on the propeller hub (again, a CMK offering) and started work on Scale Model Conversions’ main landing gear. I did not like their ‘scissor spring’ (not sure what it’s actually called, but that’s how I think of it) so I carefully removed the white metal and added in Eduard’s etched parts.
I’d also started painting around the wheel bay on the lower wing, this way I can put the pre - painted resin insert in, just do a rough mask around the area, and not have to worry about doing a tight mask on those akward curves. I tried this recently on my Typhoon (which is just about done, just working on a display base and surround) and it worked out beatifuly. I’m hoping to have the same success here. I had a big stumbling block when I tried painting Vallejo’s ‘RLM 76’, which is no where near the right color to my eye. It’s a very pale grey, with almost none of the blue to it. One evening of patiently mixing paints in a few mixing bottles, trying a dab against my color chart, and I found I had a blue that looked quite passable, and even more so when weathered. Luckily, I was smart enough to write down my mix ratios as I went, so I can reproduce it. As much as I hate mixing my own colors, I knew I couldn’t put that light grey down and call it good enough. A few attempts (and in between, stripping and re-priming) at the lower wing and I had what I was happy with.
And that’s my progress so far.
Thats looking good Andrew, nice progress.
A little follow up, I forgot to mention, while the pit fit like a charm, I decided to use Eduard’s etched instrument panel. What an awkward piece to mount after having the halves joined. I placed my pit tub in first, as I wanted that to go in without an issue. I figured I could reach in from the forward end and mount the panel. (that gap over the foot pedals). Wow, what a tough job. I wound up (for those of you familiar with the Eduard panel) splitting the top from the bottom and mounting them as two separate pieces, the only way I could get it in.
Thanks Bish.
Nice work Andrew. Your detail painting and drybrushing is really making stuff pop out nice. Good mix on the 76. Unfortunately you’ll come to find Vallejo sucks at most RLM colors, but this is somewhat an opinion too.
Andrew, marvelous work, you have a very methodical and quite ambitious approach. Prepainting is often a stumbling block for me as I have to mentally switch gears between building and painting and sometimes my shifter gets stuck! Looking forward to seeing this bird come together!
Cheers, Mike/TB379 (still waiting on the mask set for the Fujimi Stuka…)