Mike,
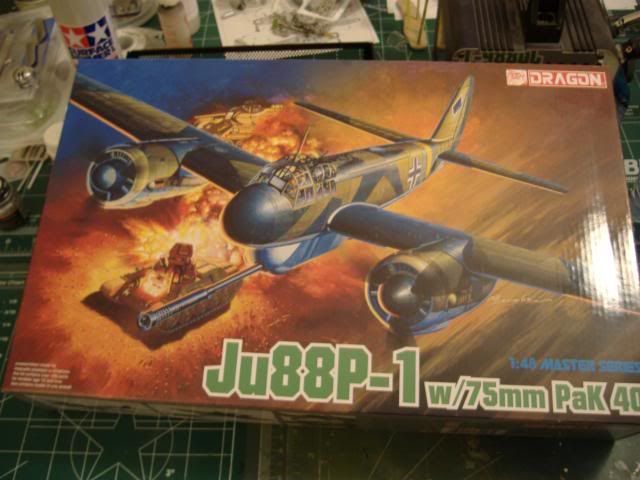
I’d like to join this group build. I have the 1/48 Dragon Ju88P-1 w/75mm Pak 40. Here’s a photo of the box.
Steve
Mike,
I’d like to join this group build. I have the 1/48 Dragon Ju88P-1 w/75mm Pak 40. Here’s a photo of the box.
Steve
Steve, you are SO in with that! Glad to have you join the outfit!
Mike/TB379
Mike,
Cool! I have to finish up my Macchi MC.200 and a B-26 Invader that I have for the 60th Anniversary Korean War GB. Not sure about any afermarket yet. Hopefully will get started in a few weeks.
Steve
Thanks Nathan… Couple of thoughts, Maybe a Bf110, or a Ju189(ugly as sin but still used as ground attack craft) or a Fw190-F? Any thoughts???
Mike. I’d like to join again. Have a bunch of kits to choose from. 72nd Ju87G-1. 48th Ju87G-2. 4xHs129B and Ju88P-1. John
I am finally able to build again. Bench was apart because of flooding in the basement. Its been almost 2 years. John
Glad to see you with us, John. I’ll list your project as TBA until you select a starter.
Cheers, MIke/Tb379
Thunderbolt… I think I’m going to do the Monogram Revelle Pro kit of the Bf110 “C” variation, 1/48 scale with some true detail Resin and PE, The decals will be Owl (likely) The “C” was used in both ground attack, as well as the "C-G (I think) as a night attack aircraft for hunting bombers. If that fits the requirements. Thanks
Doug
Hi Rigidrider – that sounds excellent. I wasn’t sure about a strike role for the 110 so I did some research and there it is: “The Bf 110 enjoyed a successful period following the Battle of Britain as an air superiority fighter and strike aircraft in other theatres. During the Balkans Campaign, North African Campaign and on the Eastern Front, it rendered valuable ground support to the German Army as a potent fighter-bomber (Jagdbomber-Jabo).” I got that from Wikipedea. Well, I had no idea, but there it is! I believe a 110 was proposed by one of the squadron earlier but was declined – a thousand appologies to the pilot concerned, and if any other Jabo 110s are fancied, have at 'em! My only stipulation would be to look for an example as late as possible so it falls within the period of Germany on the defensive, falling back to the Reich, say mid-43 onward.
Will update p1.
Cheers, M/TB379
Absolutely! My thoughts exactly, When I heard “Reich Defenders” That was what I was thinking of, The withdrawl from the occupied lands and the time of the retreat back to and trying to defend the Mother Land. I’ll be looking for something mid to late 1944, early 1945. The unit I’m trying to research used a couple different types ,one carried rocket pods under each wing(not very successfully) and one not only carried 2- 500 lb bombs side by side under the fuselage it also had an upward firing 30mm cannon for downing marauding bombers at night. I’m still looking up info, so I think were on the same page. Thanks…
Doug(RR)
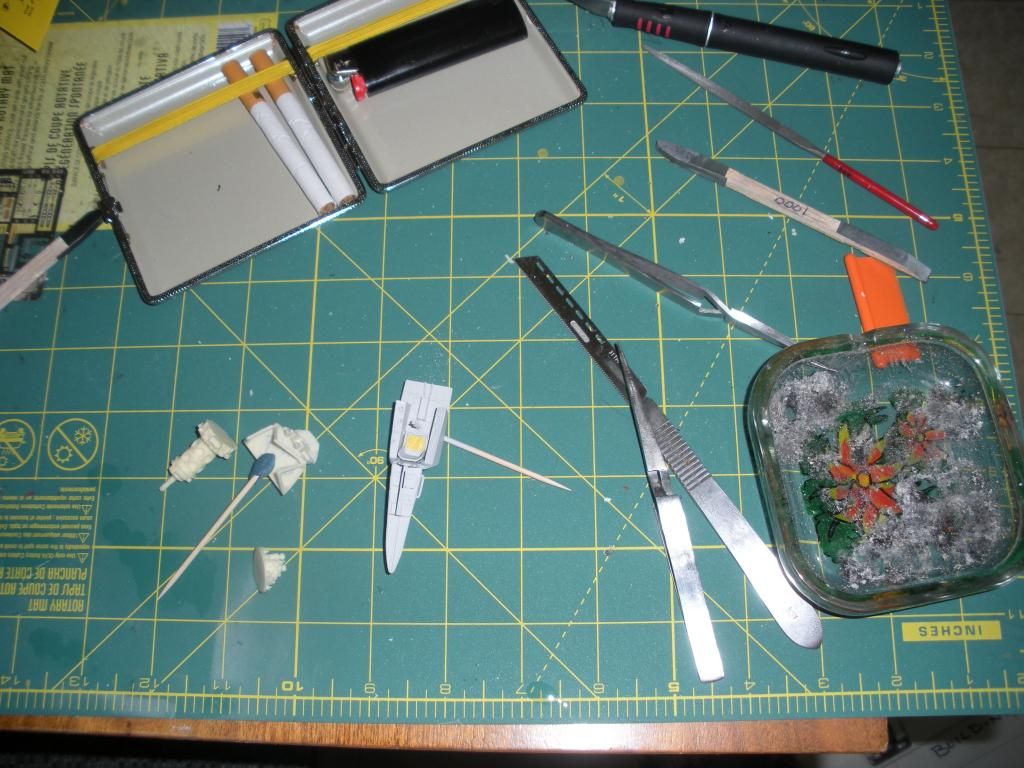
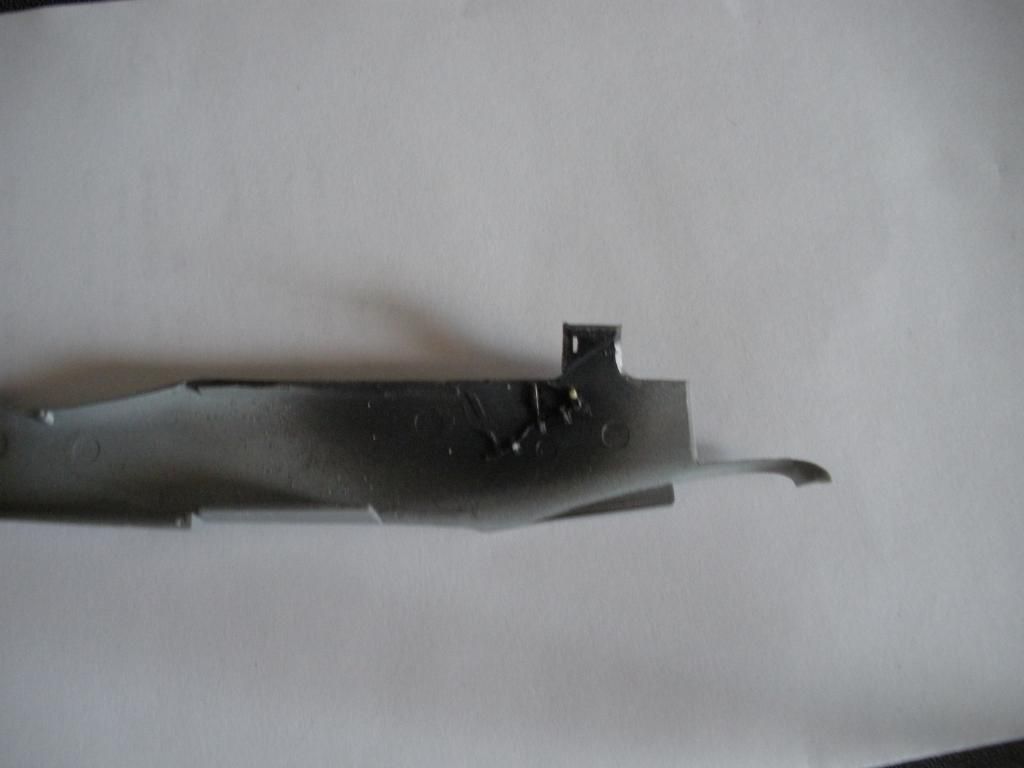
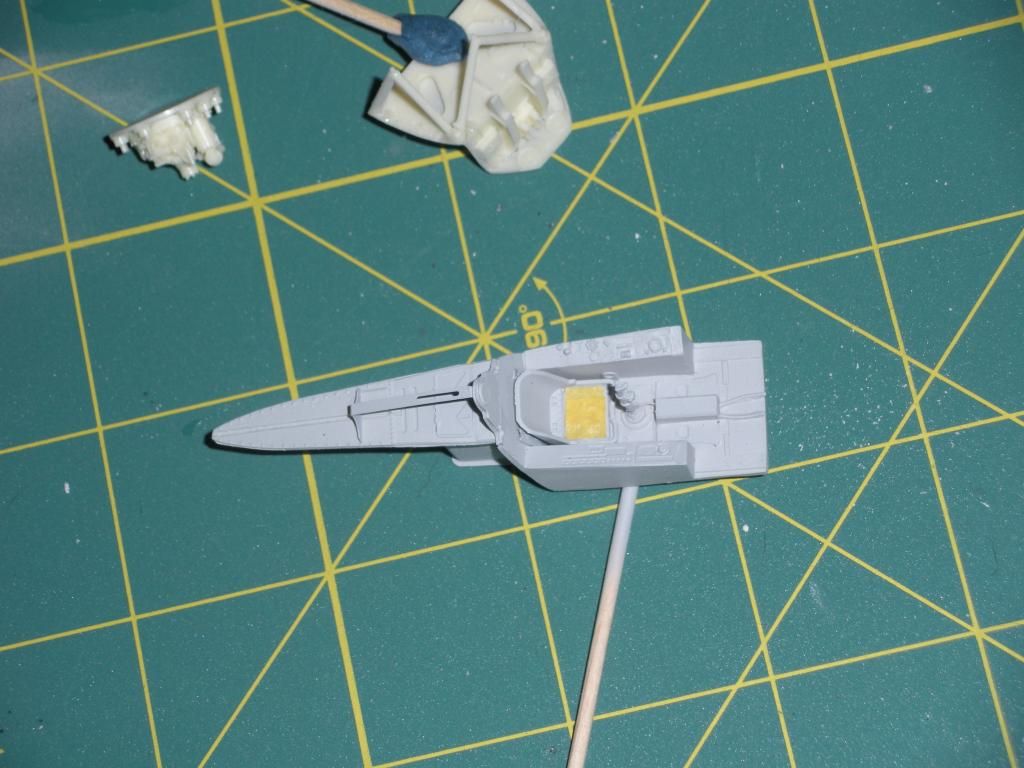 Well, over the last four days, I’ve started breaking open the kit (Tamiya’s 1:48 F8), washing styrene and resin, cutting up some resin, sticking things (and for once, not my fingers) together and even got a layer of primer over a few pieces this morning. I’m glad to get this kit moving, and I’m delayed on my Tiffy anyhow while I wait for masks that may (or may not, as it turns out, been waiting since december) be in the mail.
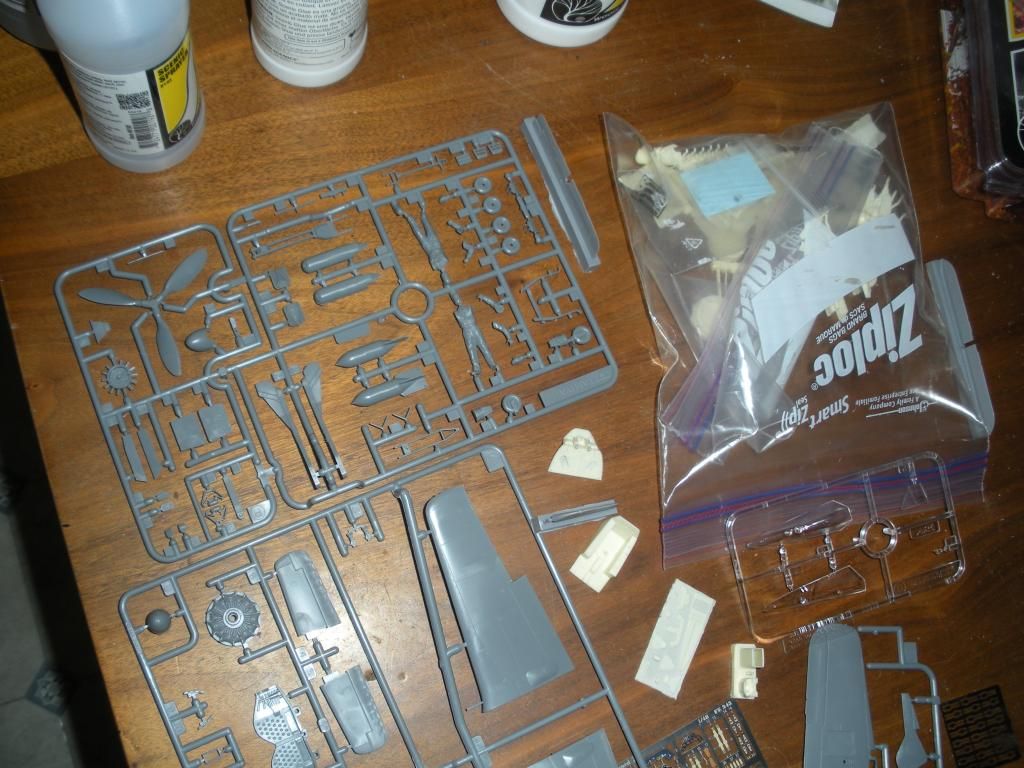
I’m hoping this time I can get this right, it’s my third go (the previous two disasters that sit in the basement) at detailing an FW 190. So far, I’ve got CMK’s F8 detailing kit (bad luck with the Aires set last time), Scale Model Conversions landing gear, a bit of Eduard etch and a set of Aeromaster decals. I’m planning to mostly use decals, but I may use a few paint masks I have laying around for the balkencruz. I’m going to wait for the arrival (hopefully quicker than Maketar’s paint masks) of the new Eduard Luftwaffe fabric seatbelts, and use those. I was disappointed to find that though CMK gives you the engine and firewall, absent are the MG131 cannons, so I’ve ordered a set of Eduard brassin guns as well as they will show. Otherwise, I’ve found CMK’s resin very nice, free of pores and pretty crisp. In a day or two, I’m hoping to start on paint for the cockpit tub. With this kit, I’m hoping to go with Vallejo primer, paint and clearcoats exclusively. I’ve picked up and experimented with a bit of their chipping medium, which I may use, and a few of their washes which I think I won’t use. Probably just go to the fallback of Flory or Windsor and Newton oils, as they behave better.
Well, slow and steady and hopefully she turns out as nicely as things are going so far.
Thought it was time we got a badge sorted. Been looking for a few images and found these 3.
SG3-(S7+BU)/images/Junkers-Ju-87G2-Stuka-10(Pz)SG-(+B)-1944-01.jpg)


If you guys like any of these i can add the details.
Been playing around with one of the badges and got this.

AndrewW – great start! Good luck on this 190, you certainly have a battery of techniques to bring to bear!
Bish – good pics! The Mistel is certainly imposing. The 129 is Airfix box art from the 70s, isn’t it? Nice layout, looking good! Maybe we need a variety, I usually line up several badges, but then Phantoms are much easier to find pictures of!
Cheers, Mike/TB379
Those are cool pics for badges. I reall like the one Bish marked up.
Mike, it could well be from the Aifix kit. I just found the image, but it didn’t mentiuon its back ground. I will add the details to the other two, trhen we have a choice of 3. I am torn between the 129 and the Stuka myself,first one because its a nice image and the second just because its a Stuka.
I am planning a Ju 87 GB for next year and was thinking of that for the badge, but went with a couple of other options.
Sorry for the delay. I just got the other two pics done. I hope these are ok, i am not really that good with coming up with decent badges.


Thanks Bish! These are really excellent, a great set and I’m happy to run with them! Now, GB badges are 150 pixels high (certainly in all my builds), can you produce versions scaled to that size? You may need to recreate the overtype at that size as reducing the current files will cause the lettering to fuzz up.
I usually have my sister, a graphic artist, create the badges, but she’s been unwell lately…
This is a great contribution to the build, thank you so much!
Cheers, Mike/TB379
Glad you like them Mike.I only have a few mins, off to work in a bit. I have quickly shrunk them, the text seems ok. But if it looks fuzzy, i will do them again tonight.


They do look good! Many thanks, will get them onto p1!
Cheers, have fun at work, M
Those are indeed some very nice looking badges. Beautiful work.
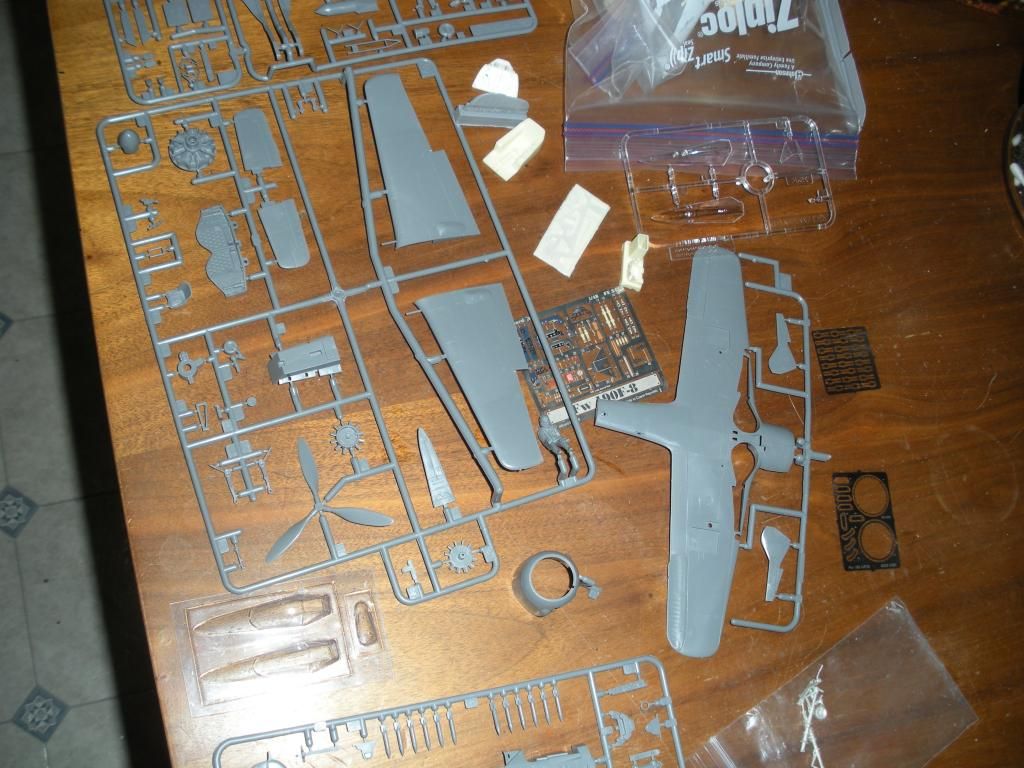
After a week, I’ve got CMK’s resin pit mostly done, just waiting on the arrival of the Eduard fabric seatbelts (which I’m hoping to have within two weeks)
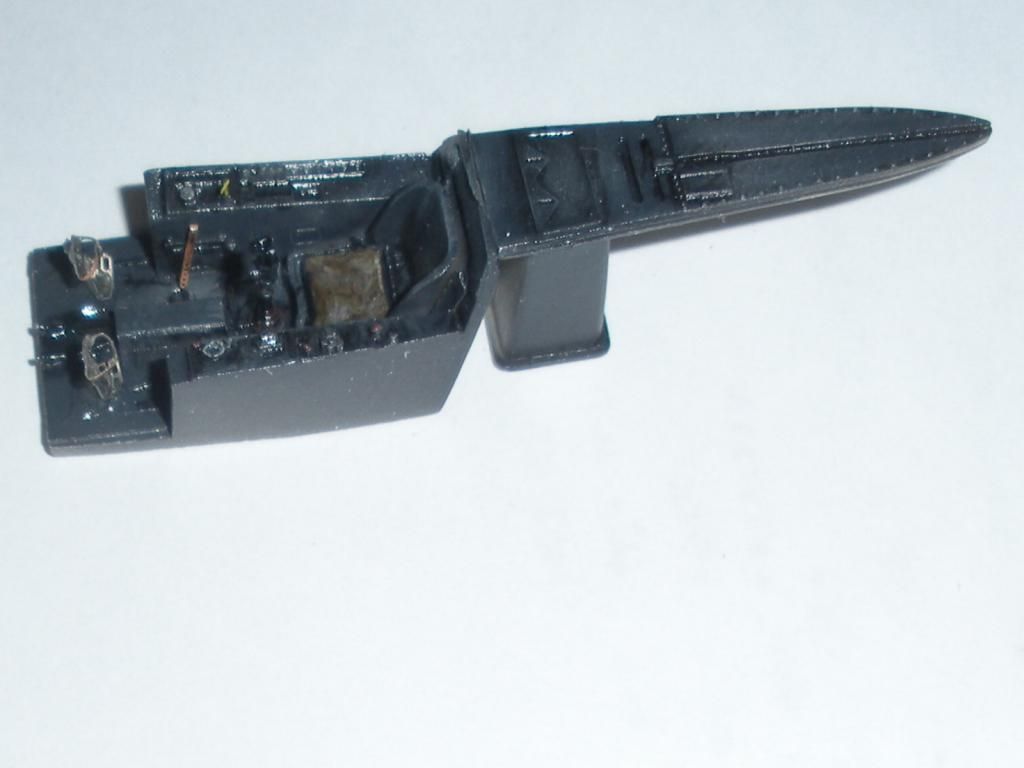
And my sidewalls painted up

And lastly, about half of the CMK version of the BMW 801 engine built and painted.
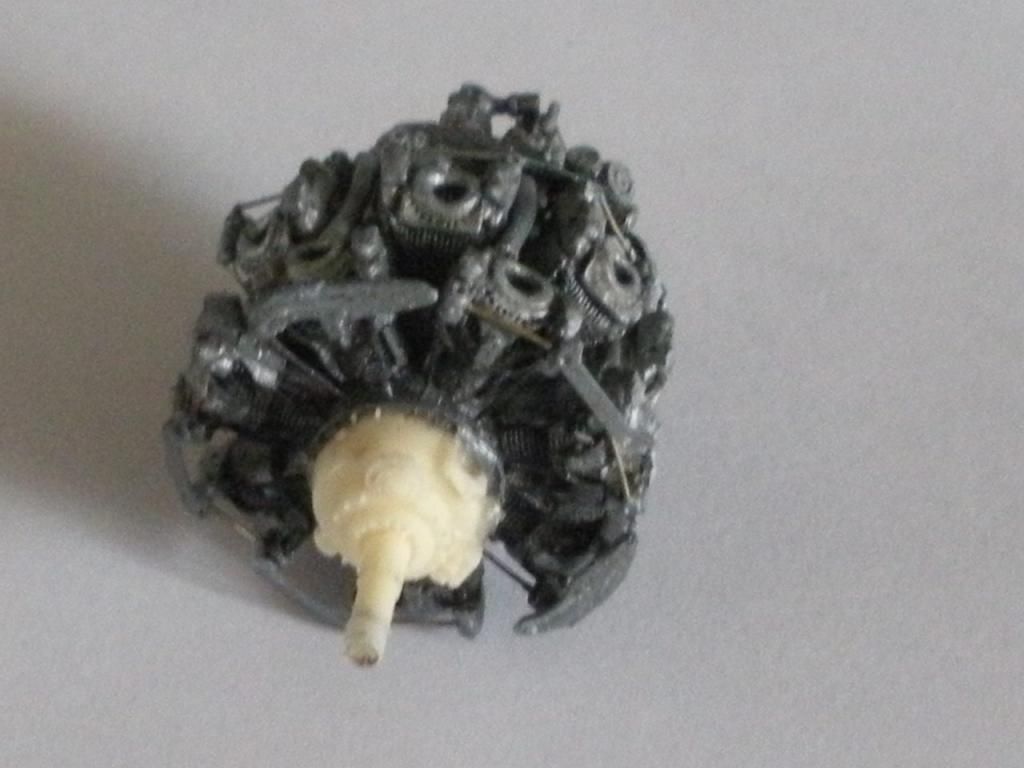
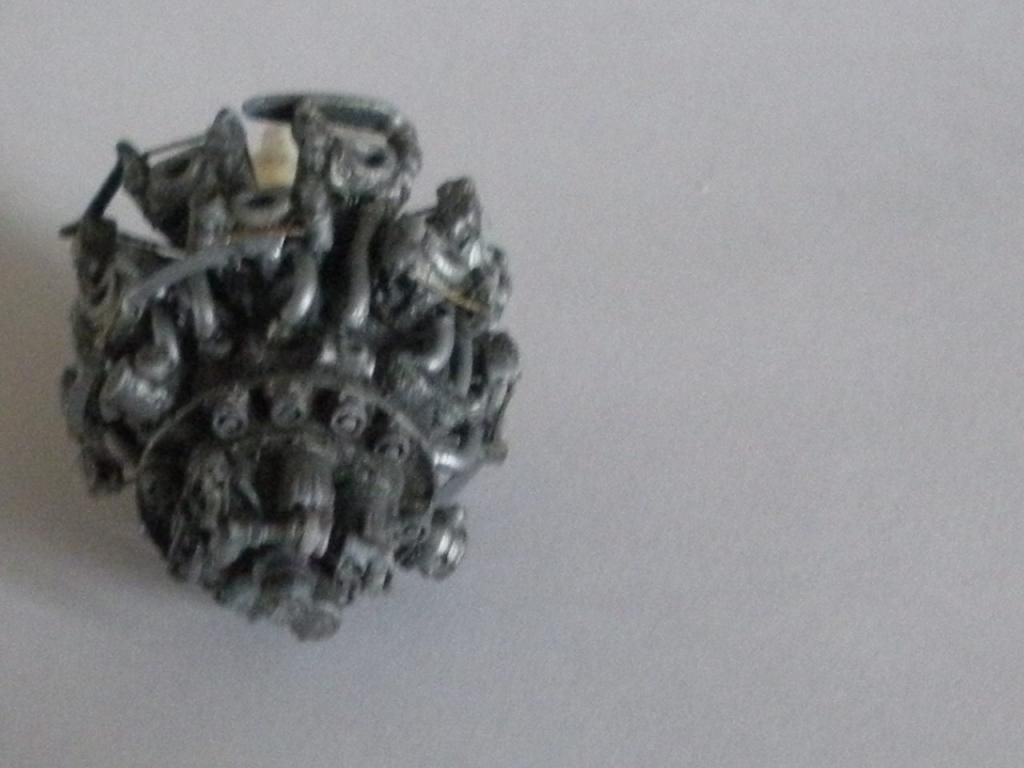
I do apologize for some of the fuzzyness in the photos. With all parts, I’m shading as I go. The engine was primered, then painted with a dark shade of grey, mid toned in spots with a mid grey and highlighted with white. Then a very thin layer of steel, some wash and white dry brush and I was happy. Next will be attaching spark plug wires (which I will have to thread through some of the braces) and the last little pieces before masking and painting the shaft end of the engine. Finally a few tiddly bits and exhaust pipes. I realized I’ve made a few minor mistakes in assembly (mostly in the location of the braces) but I think they are very minor, and in the long run I hope won’t particularly show. That, and they were attached with epoxy, so they’re there to stay. Overall I’m reasonably pleased with everything so far.