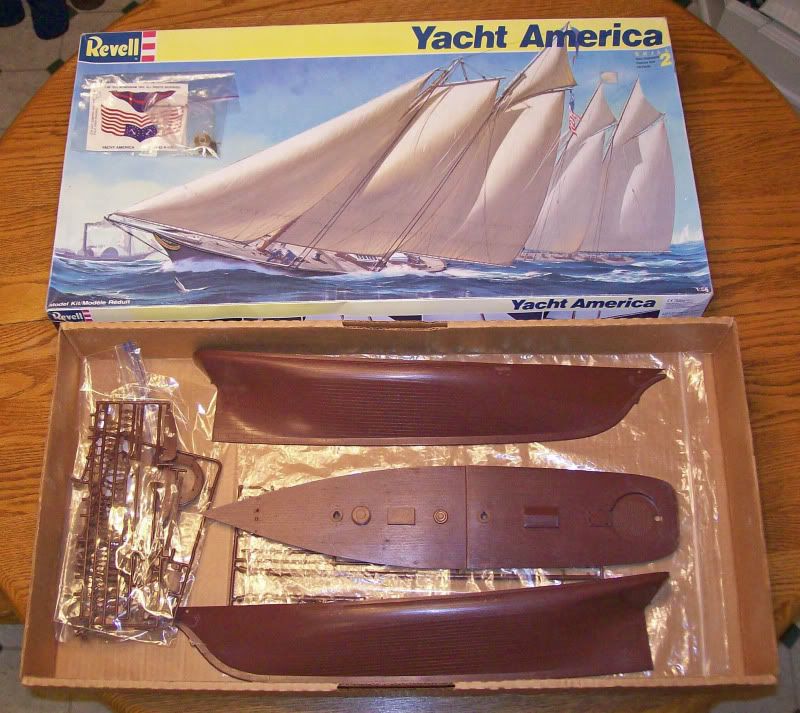
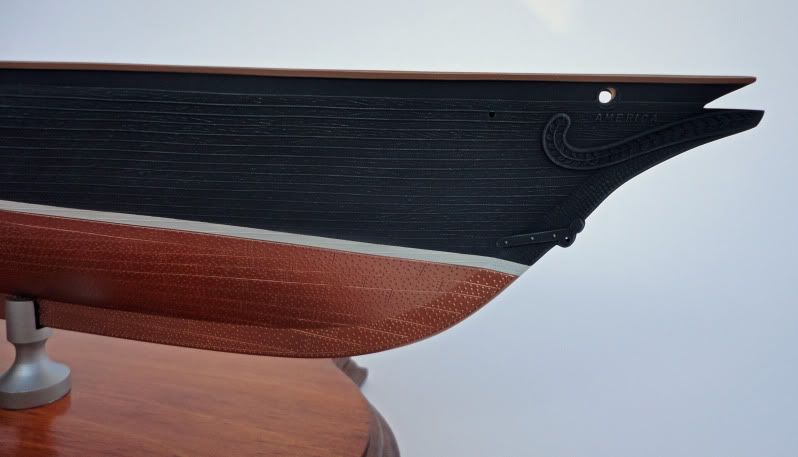
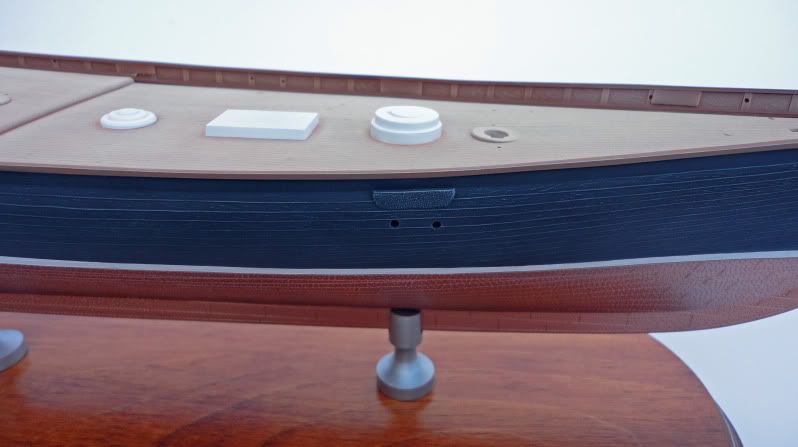
Progress Build Photos of Revell's 1/56 Yacht America

Fellow Modelers,

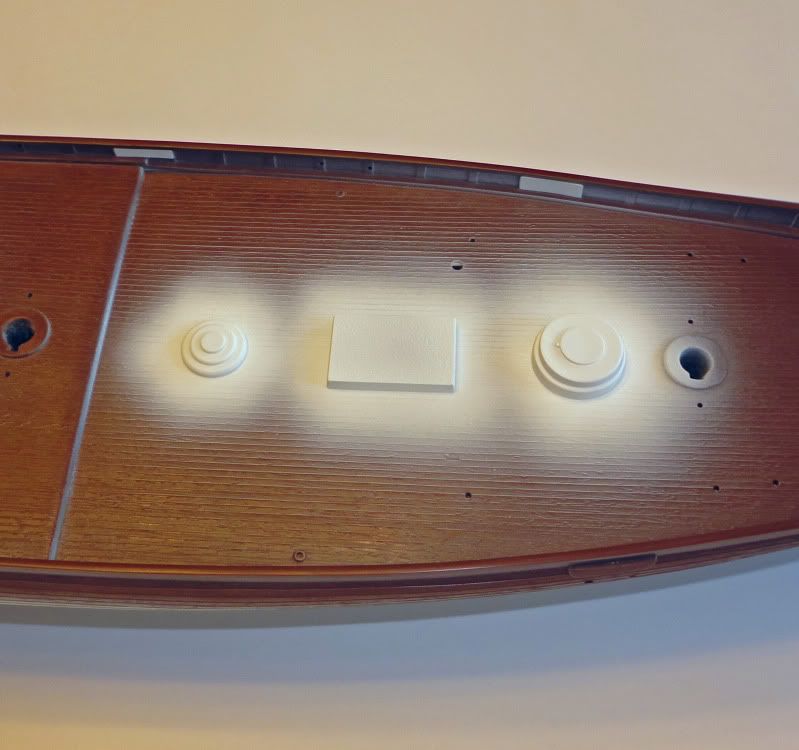
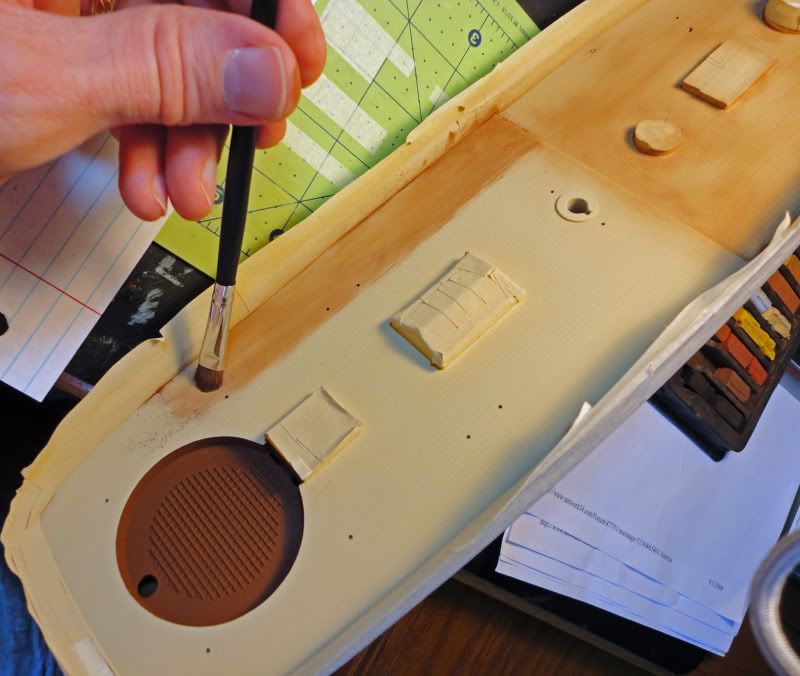
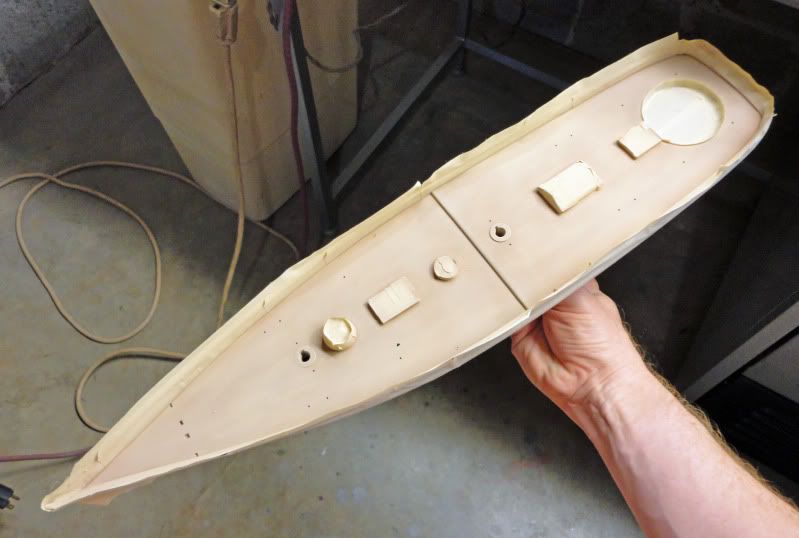
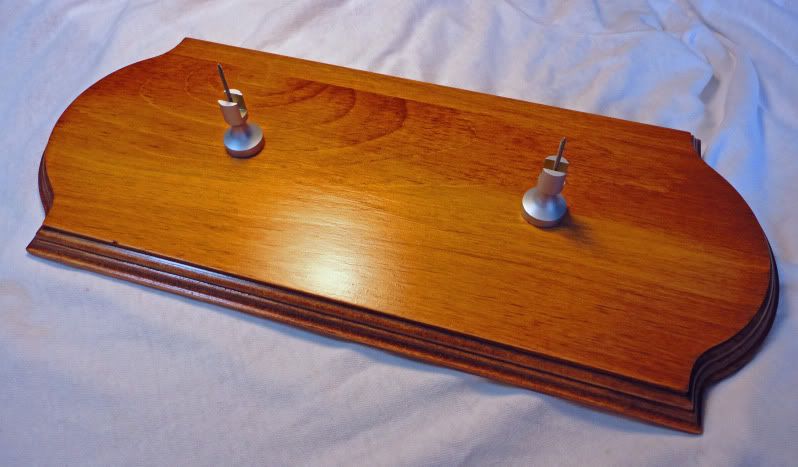
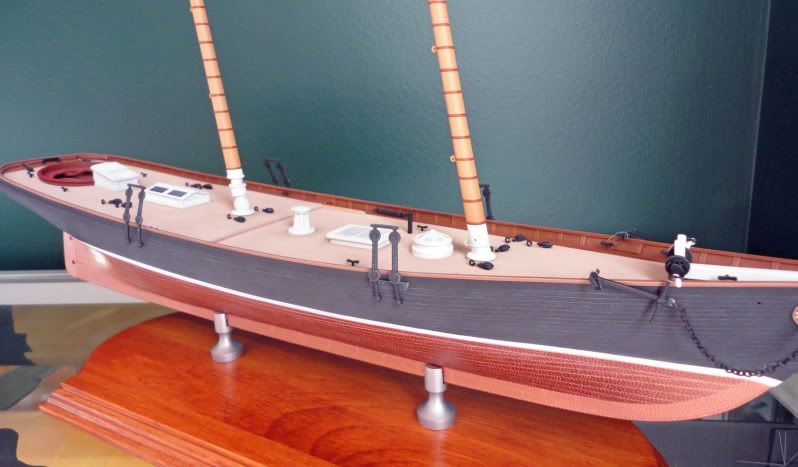
Attached are photos of my in progress build of Revell’s 1/56 scale yacht America. It is being built pretty much straight from the box. The America is the perfect sailing ship starter kit, as it has few parts, only four sails and minimal rigging. From what I have read it is very accurate and considered one of the best sailing ships Revell ever made, although it measures closer to 1/62 scale. Certainly it is a beautiful ship to look at. Revell first issued the kit in 1969. I believe this issue came with vinyl sails. The molds were slightly modified and it was issued again in 1974 as a “Civil War Blockade Runner”, this time with vac-form sails. I do not know how many more times the America version was released, but the 1992 issue is what I bought on E-Bay.

History of Yacht America

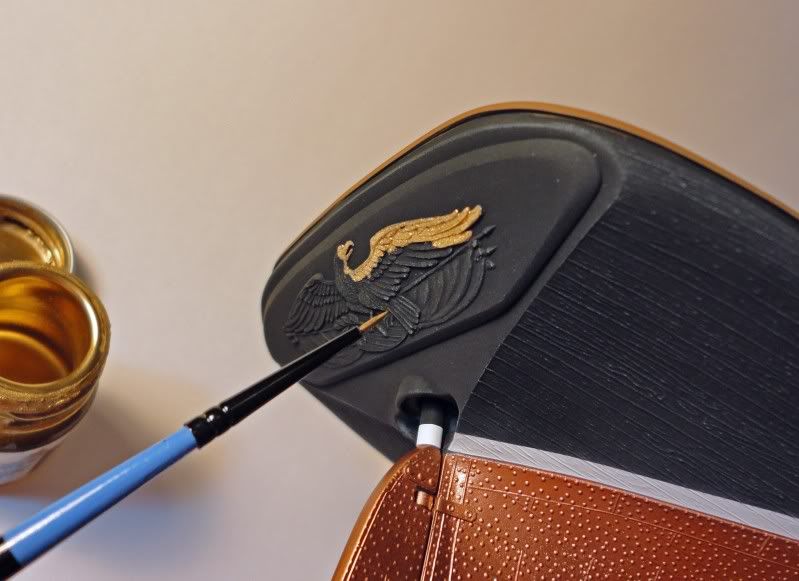
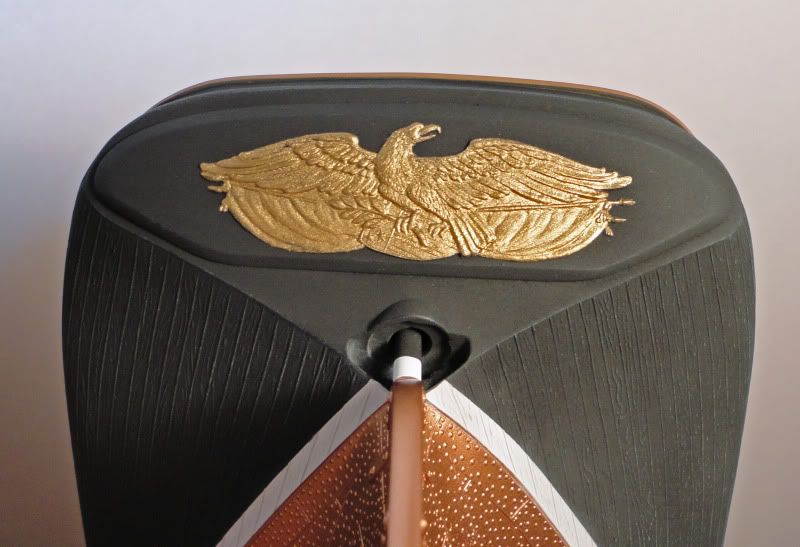
Designed by George Steers in 1851, America was built to specifically answer the racing challenge issued by England’s Royal Yacht Squadron. It incorporated many radical shape changes when compared to contemporary schooners. When completed, it sailed to England to race any challengers in the “Hundred Guinea Cup” race. When the race did take place on August 22, 1851, America easily beat all of her British competitors by as much as eight miles. After the victory the name of the race was changed to “The Americas Cup”, which is still the name used today. Just ten days after the race America was sold to a British Lord. Over the next nine years the ship would be sold three more times and the named changed to Camilla. The golden eagle on the ship’s transom was removed during this period and eventually made its way to the New York Yacht Club where it is still on display today. In 1861, Camilla was taken to America with the intention of providing service to the South during the Civil War, and was purchased by the Confederacy that same year. Service with the Confederate Navy was short and the ship (renamed Memphis) was scuttled in 1862 when her area of operation was captured by Union troops. The Union Navy had her raised, repaired and renamed America. She was put into blockade service, and some accounts state she assisted in the capture of three ships. In 1863 America became a training ship for midshipmen at the U.S. Naval Academy. In 1870, America was refurbished by the government to participate in the “Americas Cup” race that year, finishing fourth out of fifteen entries. She was sold to private owners in 1873, but eventually donated to the U.S. Naval Academy in 1921. America was not well maintained and by 1940 was in a serious state of decay. During World War II she was stored in a shed, but was severely damaged when a snow storm caved in the shed’s roof in 1942. After several years of indecision what was left of America was finally scrapped and burned in 1945.

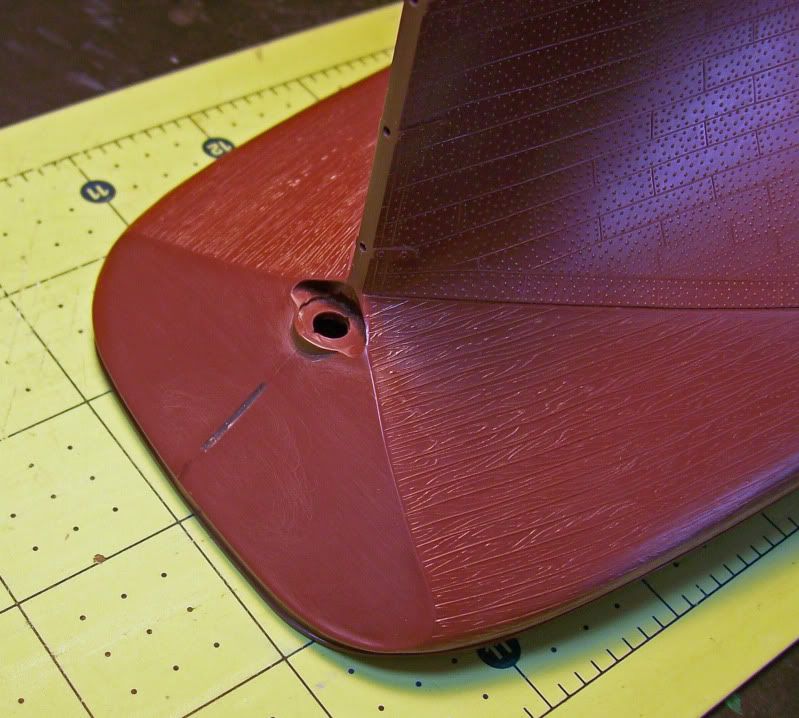
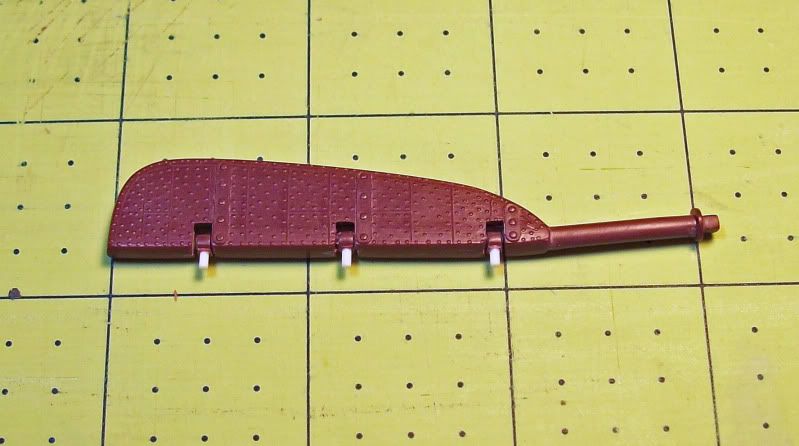
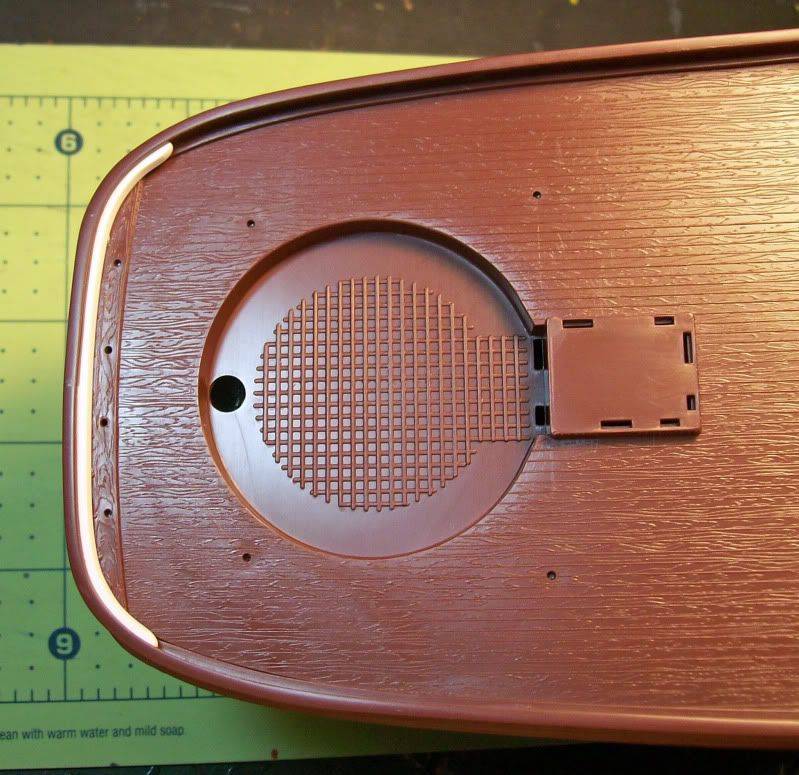
I hope you enjoy the photos. More will be posted as the model progresses.

Phillip1

Beautiful build so far Phillip. Looking forward to more.

Steve

This is one of several old ship kits I wish Revell would reissue. (Instead, they give us that awful “Spanish Galleon” again.) As Phillip notes, the America is an excellent kit for newcomers to sailing ships - and there aren’t many such kits around. And he also shows us that it can be made into a beautiful model of a beautiful and historically important ship.

Many memories of this kit.

Many of those going far, far, far back to when it had a set of vinyl sails and a detachable keel that it could be free-sailed on pond or pool (often wondered how many foundered for lack of a good seal along the keel joint–or from using tube glue to seal 4-5 ounces of BB’s into the hull).

Beautiful work so far. Will love seeing the finished Yacht on her Display Base…Cheers Mark

That looks great, Phillip! Looking forward to the next updates!

i build one of these as a kid. still have the wreck. a friend gave me one from his stash, he now does museum quality scratrch-built wood. also got PEDRO NUNES and locomotive GENERALand a bunch of old heller kits. it was an old stash. i am planning on building it this year so i will be following this thread. looks nice. i picked up some deadeyes and may make my own. there are some pics online where a guy added a couple of light cannon for commerce raiding.

i like the white boot stripe. i thionk i will do that too.

waynec/David_K/surfsup/jtilley/docidle-

Thanks for the compliments. They are appreciated. I really like looking at well built plastic sailing ships, but do not have the skill set or patience to do a major overhaul on one of Revell’s 1/96 scale ships. If I tried I would end up hating the project a month after I started, and everyone reading this knows if you end up hating the model your are working on you are going in the wrong direction. I tip my hat to the gifted guys on this forum who have that ability. I find their posts very entertaining and impressive. Once I saw Tory Mucaro’s build of Revell’s America several months ago, I knew this was the perfect sailing ship model for a “non sailing ship modeler”.

Thanks for the photos; such clean paint work!

f8sader,

Thanks for noticing the paint job. Whenever I am painting any exteriors or large surfaces I apply my paints in thin multiple coats. In between each coat I use a very soft cloth to gently buff out the finish. This takes longer and is more tedious than adding a single heavy coat, but the buffing makes sure any wondering dust or hair is removed from the finish. I use Model Master paints almost exclusively and they tend to be a little grainy (especially when shot into 90 degree corners). The buffing between coats helps eliminate this as well.

The buffing seems to be doing the job for you. I always use a tac rag between coats to insure the dust is gone. But that’s me. Super nice looking job so far.

Phillip,

You build is beautiful. One suggestion I might add for your referance. The blocks (single or others) can be directly attached the eyebolts IF you make up your own. Using small diameter wire make an eyebolt and before you close the “eye” put the block on it then close. This will allow freedom of movement with out using rigging thread to fix them on the eyebolt. You can then put the ‘bolt"’ through the deck or mast and the model will look neater. Give some though of how the block will be used as a pivot point and lay out the eyebolt correctly.

On my sailing ship stays, I run the riggin through the block eyelet before securing them, then go back and fix the blocks on the stays where needed.

Just a helpful hint I’ve learned many years ago.

Jake Groby

Great build!

As was mentioned before, this had to have been one of Revell’s best kits, especially for beginners. I built this kit some 20 years ago when in college and it is by far the most commented on in my display, probably because of all the sail it shows. You will be proud to display it. Its a show stopper!

Scott

scottrc/Big Jake/Tom Cervo-Thanks for the compliments. The are uplifting.

Big Jake-I like the your idea of attaching the blocks and eyebolts directly. It is a helpful hint. I will save that for future reference.

I hope to be posting addtional construction photos tonight.

Greetings Fellow Modelers,

Here is the next set of construction photos. Work moves to the final areas of construction: the sails and rigging.

1st Image: Shown are the vac-form sails that came with the kit, molded in a light beige color. Six were included, although America only had four in her original configuration. I believe the extra sails are for the “Civil War Blockade Runner” version issued in 1974.

2nd Image: To make cutting the sails easier, I marked the areas with a #2 pencil.

3rd Image: Each sail was slowly cut out with a sharp pair of scissors to avoid splitting or tearing the thin plastic.

4th Image: Various grades of sandpaper were used to remove any unwanted plastic “lip” around the outside edge of each sail.

5th Image: The kit instructions suggested using a sewing needle to punch holes in the sails for the rigging thread to be pulled through. I chose instead to drill out the rigging holes, which made getting the thread through the holes much easier.

6th and 7th Image: At this point I had to choose what I wanted the finished color of the sails to be. When I built Revell’s 1/96 scale C.S.S. Alabama the sails were weathered in very dirty brown/tan colors (see photo). When I built Otaki’s 1/32 scale Modern Yacht the sails were kept perfectly pristine, with no weathering at all (see photo). For this project I wanted something different, so the sails were given a varied and dingy light gray appearance.

8th Image: The first step in finishing the sails was to paint all of them Flat White.

9th Image: Medium gray pastel powder was applied to both sides of each the sails with a soft, sable brush.

10th Image: A very soft cloth was buffed over the part to remove most of the pastel dust, while leaving enough behind to accent the raised and recessed areas of the vac-formed sails.

11th Image: Finally, a weak wash of Flat White was airbrushed at random over the sails to make the color variations more subtle.

12th Image: Two sizes/colors of thread were used for this project. The main thread was the smaller, tan thread that came with the kit. The other was a heavy-duty, black thread used mainly for the standing rigging lines. It was “borrowed” from my wife’s sewing supplies. The black thread had a coating on it as well that prevented any “fuzzing”.

13th Image: Thread is used to lace up the jib boom to the jib sail.

14th Image: Reef points were added to three of the sails by cutting thread into 1” lengths, bending them in half, inserting them into the drilled holes and locking them in place with a small drop of superglue. Superglue was used almost exclusively to lock the thread in place.

15th Image: The mainsail was laid beside the mainmast so the proper gaff angle could be determined before it was glued in place.

16th and 17th Image: The two masts and their sails are finally glued to the deck!

18th Image: Thread is shown being pulled through multiple rigging blocks before being secured to one of the cleats on the deck. A technique I used many times over was to gently pull any “slack” out of a piece of thread along its length before gluing it in place. With any rigging, the key is always to produce a taut line, but not too tensioned where it bends any connecting plastic parts.

19th Image: The final pieces added to the model were the rope coils made with the tan thread. Theses tedious pieces were made by gluing one thread end to a toothpick, applying superglue to the thread, then wrapping the thread in a circle (1/2” at a time). This was more difficult to do than it looks because the thread diameter was so small. When each coil was big enough it was cut off the toothpick and brushed with dullcote to flatten the finish. My tired, old eyes gave out after making six, even though more could have been added.

The project will be done in a couple of days so hopefully the next post will be of the completed model.

Phillip1

Beautiful work Phillip. I do my Flemish fakes by using a piece of scotch tape, laying the line in the center and start laying the line out as if I was actually coiling a real rope. The tape keeps the line down without using glue and then I can use a little glue on the topside and then place it where needed with a pair of tweezers and slowly pull the tape off. That way the side showing doesn’t show any glue residue.

Steve

I forgot to ask you Phil, are you painting the boot or what? If you’re painting it what type of brush are you using? Also, are you using tape? It’s beautiful work and I’d really like to know how you did it

Thanks,

Steve

docidle-The waterline boot was airbrushed on the hull before anything else (see below). Then a 1/8" wide masking tape strip was place right above the copper plates while the other colors were added.

Flemishing lines is one of those things that irks me as a sailor. It–to me–rings of the sort of officer who feels all pathway rocks ought be whitewashed, not as a NJP activity, but as an ordinary task of trained troops.

But, there’s a practical issue, too. Let’s say the foremast of 40; tall; that puts about 30-some-odd feet of halyard down on the deck for the foresail, and another ≈30’ for the jib. The topping lift for the jib club will only be a negligible amount. The main mast will have similar quantities of line , and the Main topsail’s halyard, too.

Thirty-forty foot of line in a Flemish coil will "behave’ tied to a pier or mooring, but, underway, it’s sliding about and getting underfoot. As the coil slides, the belayed end will fetch up short and start going awry quickly, and the coils are going to tangle afterward in a most un-Bristol Fashion.

For my money, the halyards were likely flaked out on deck and lashed up with small stuff (marline and waste rope yarn) to be kept out of the way. That is, unless they were not just trailed to the nearest hatch and coiled up below.

However, flemished lines are a fixture of modeling, doing them well is a mark of skill and achievement.

For all you sale riggers, here is a helpful suggestion. Every run into the problem of installed lines sagging or slacking as you intall other lines in the same mast? What I found helpul is medical self locking forcepts. Run all your lines for a mast. Before securing the lines, use the forcepts to apply tension to all the lines. This allows you to tension all our lines (per mast) equally, eliminating previously installed lines from going slack.