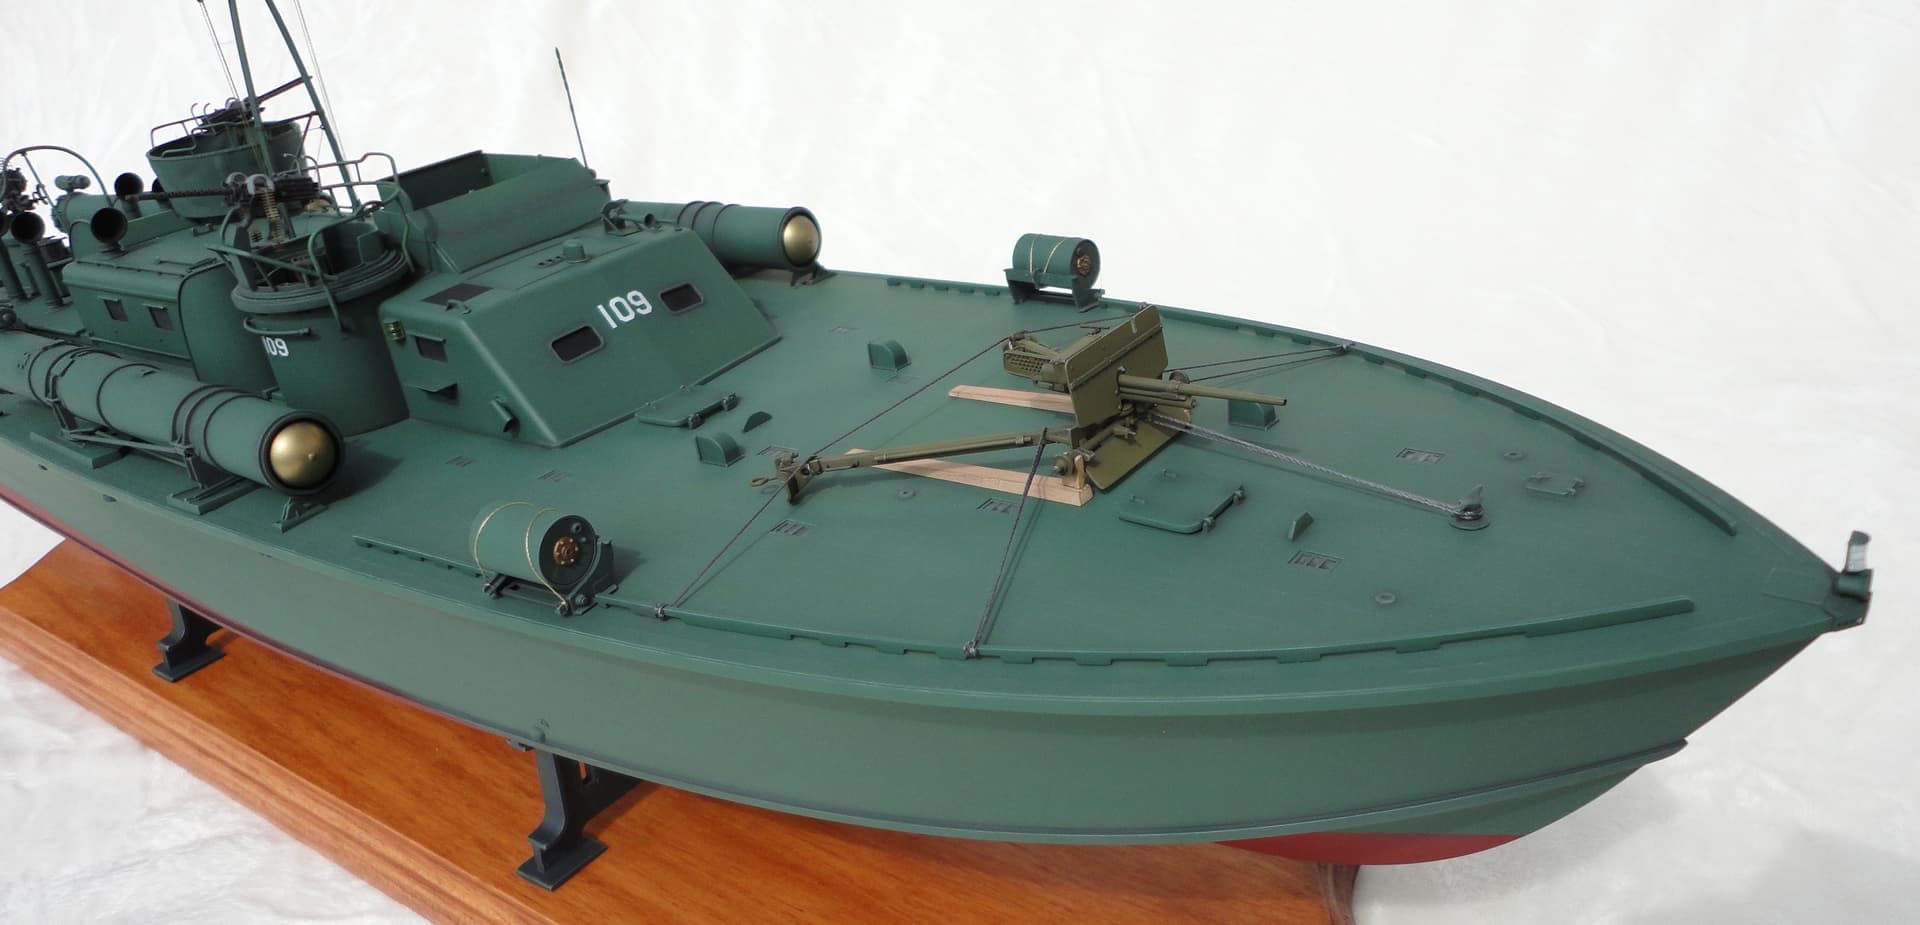
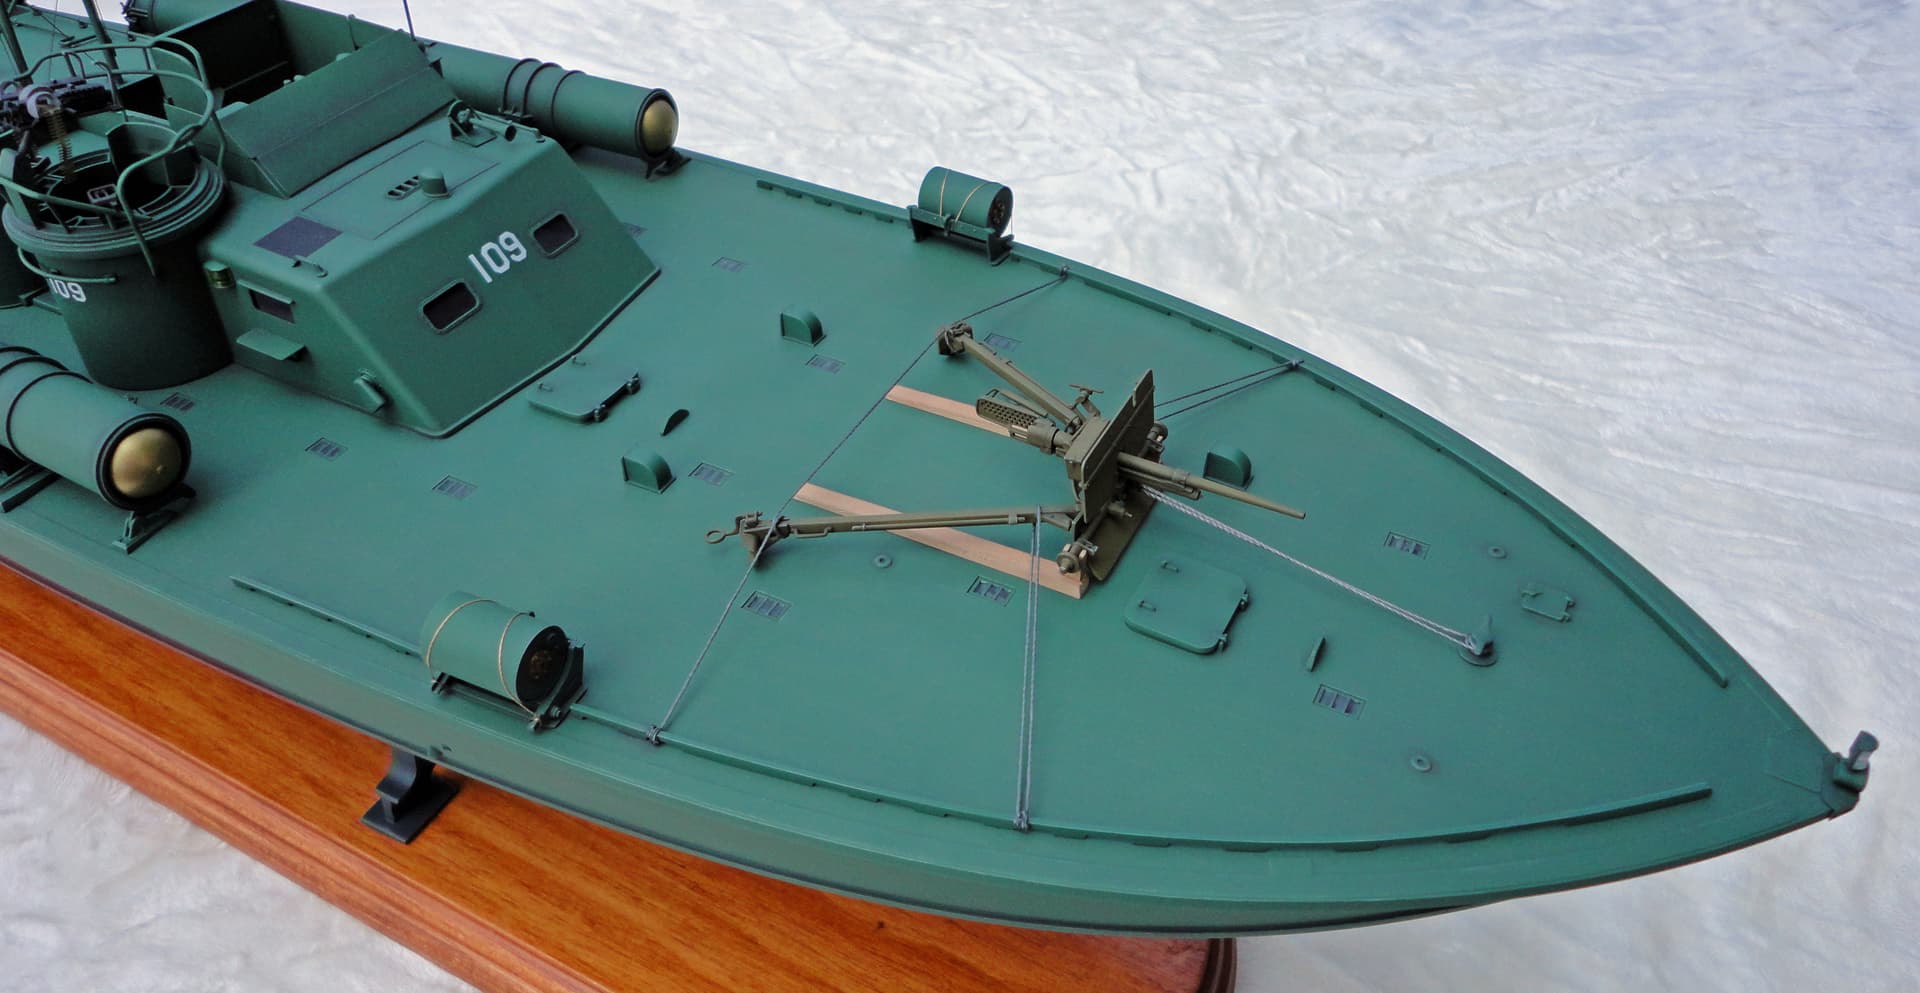
Fellow Modelers,
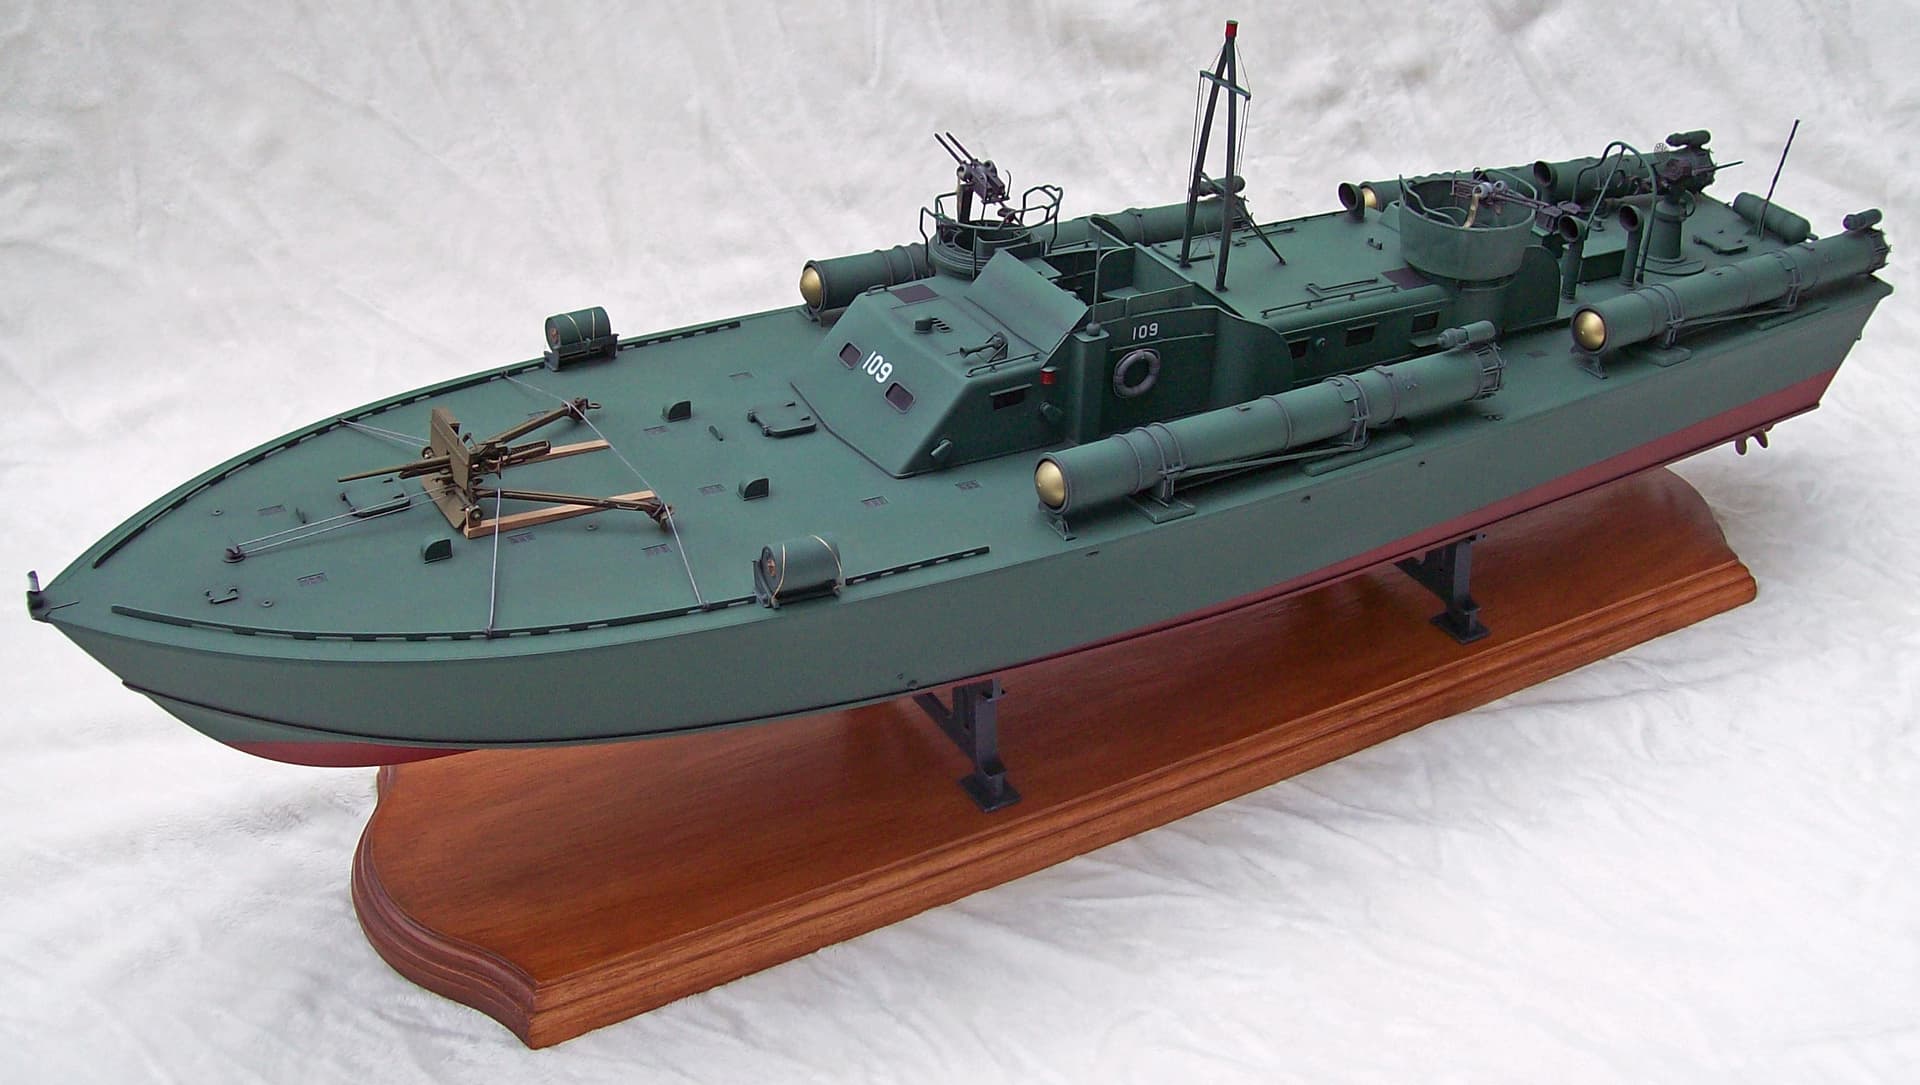
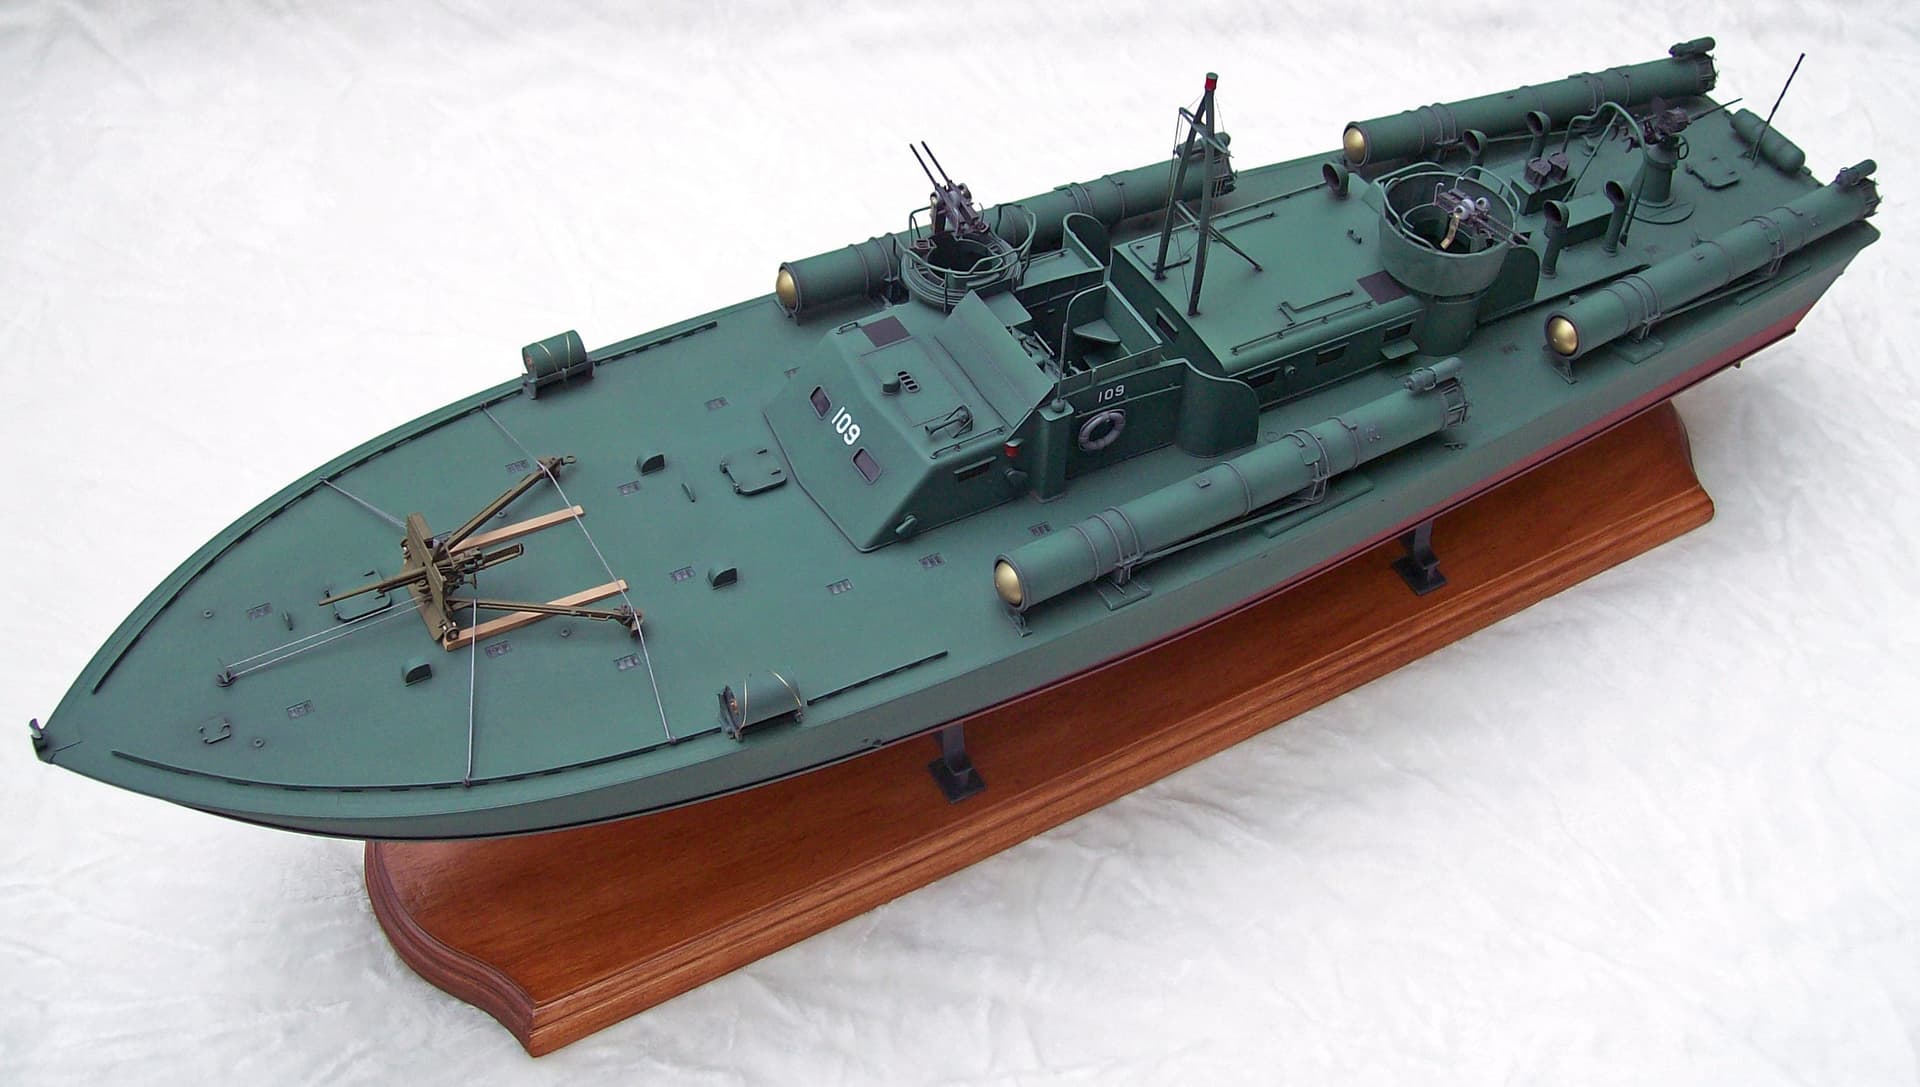
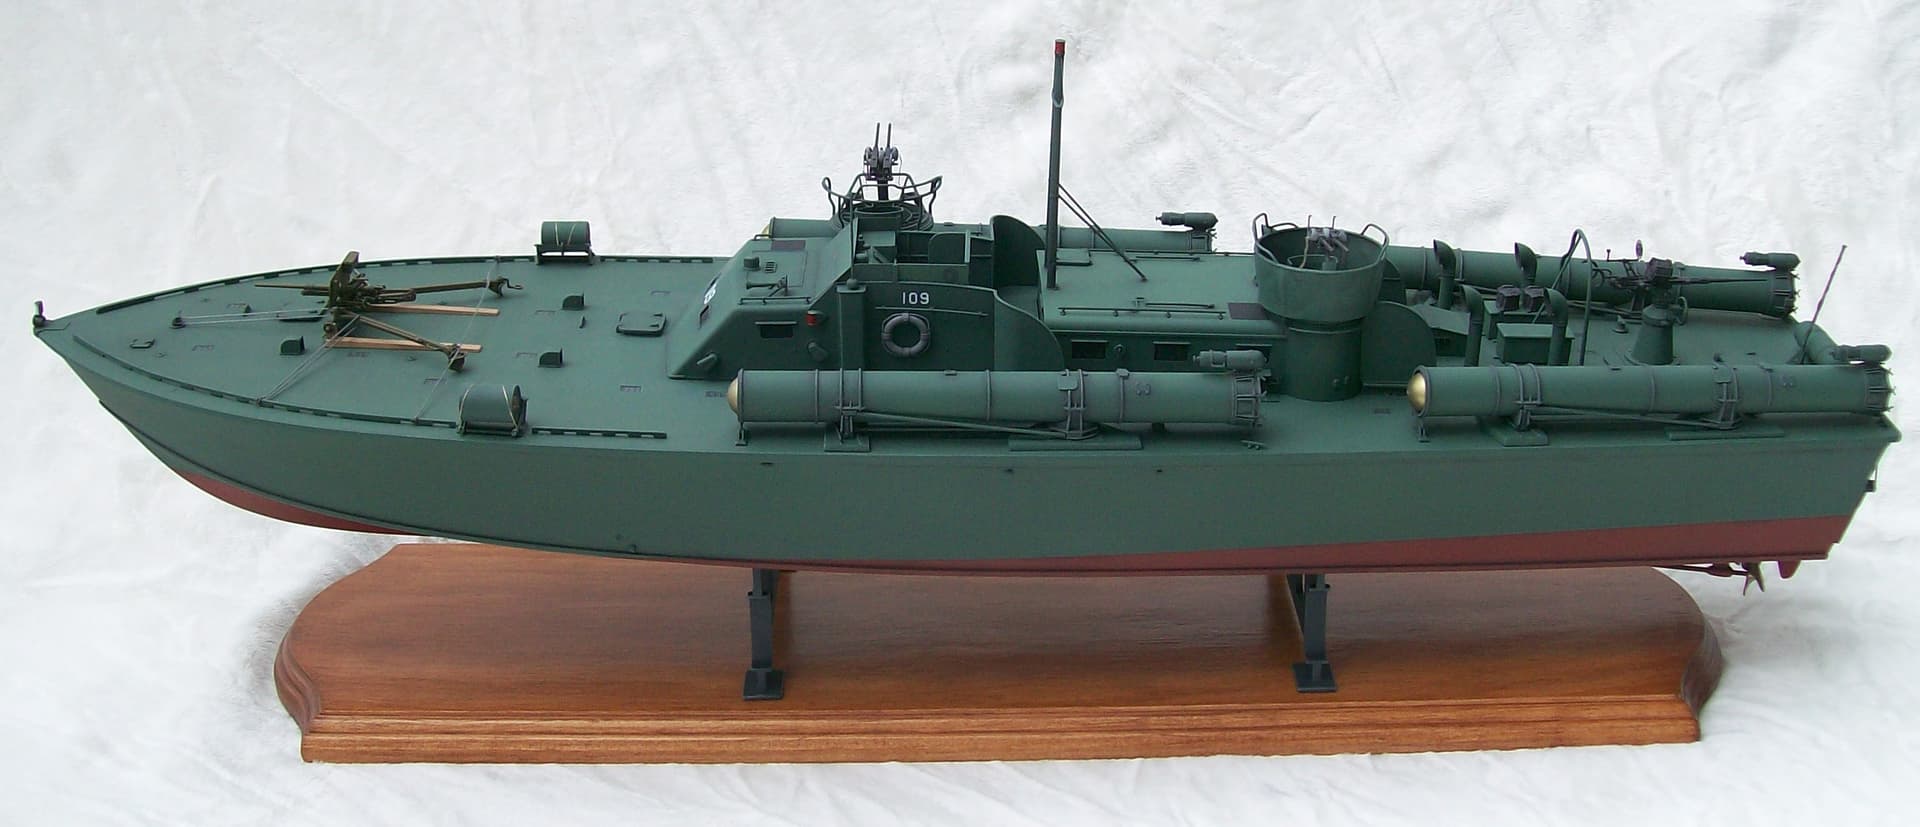
I recently purchased Italeri’s brand new 1/35 scale PT-109 and quickly moved it to the top of the “must build” list. What follows is my progress build of this excellent model. My build will be very close to “straight from the box” and will depict PT-109 at the time of her sinking (i.e. overall green scheme with a 37mm anti-tank gun lashed to the deck). My knowledge of PT boats is not very strong so I will probably not be able to answer many technical questions, but hopefully this information will be helpful to anyone else who builds this kit. I have been working on this for a couple of months so I have a lot to show.
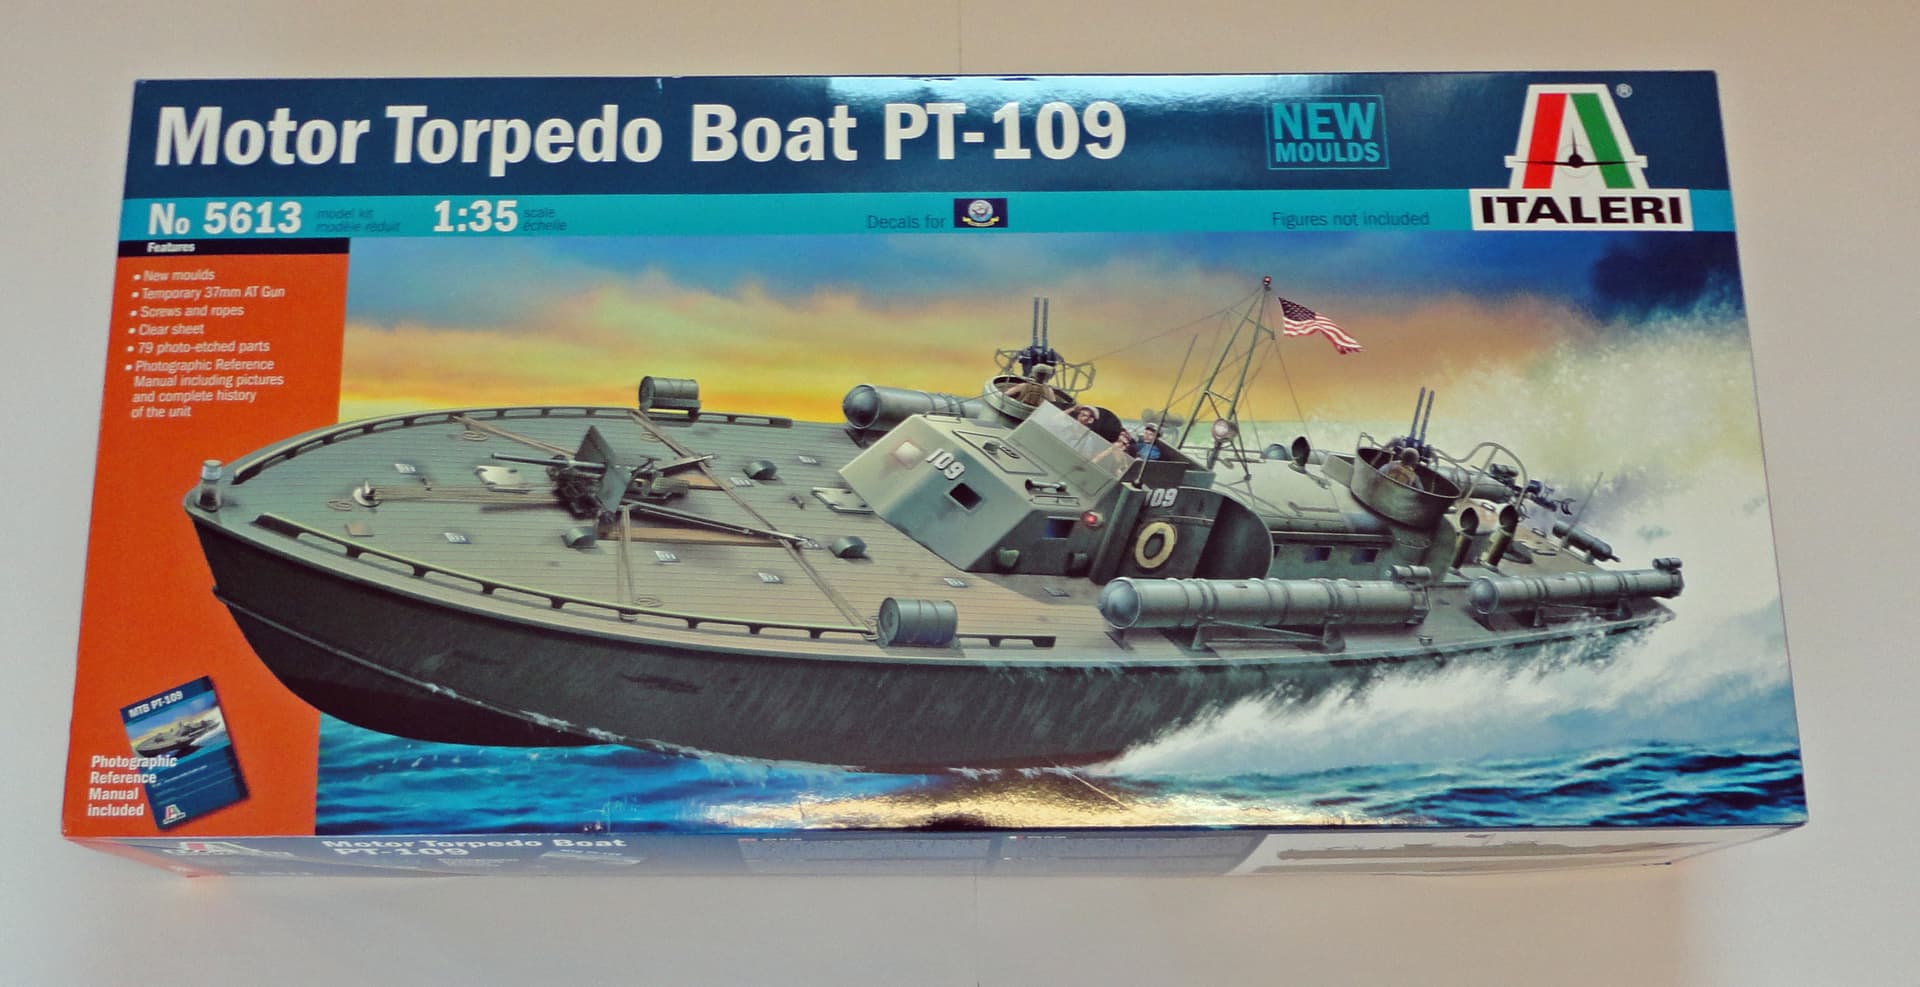
1st Image: The kit box top art-excellent!
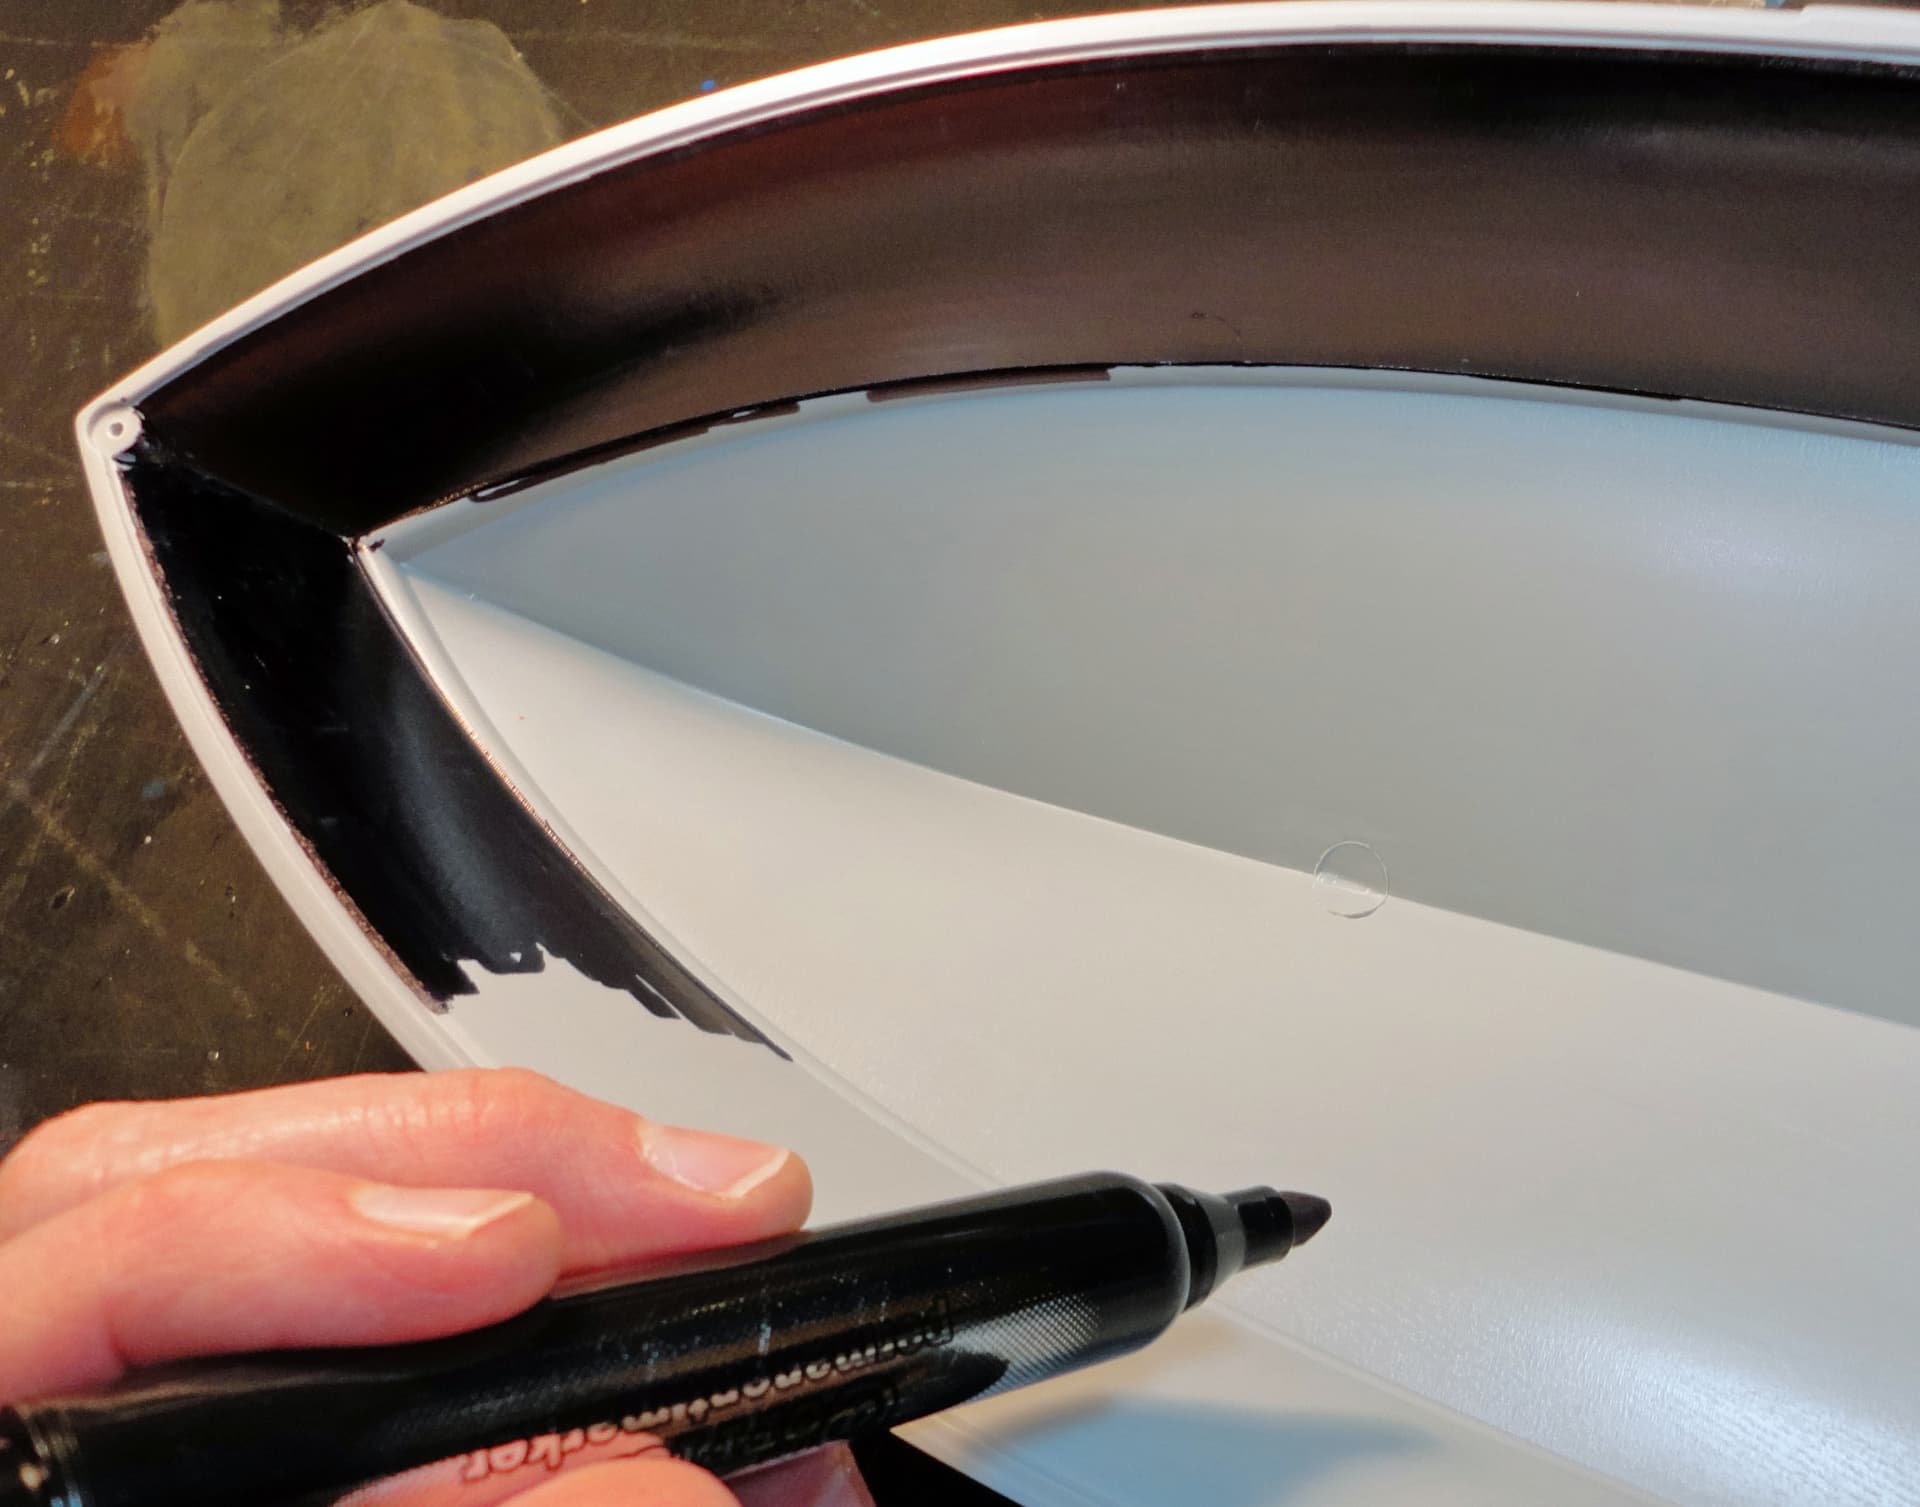
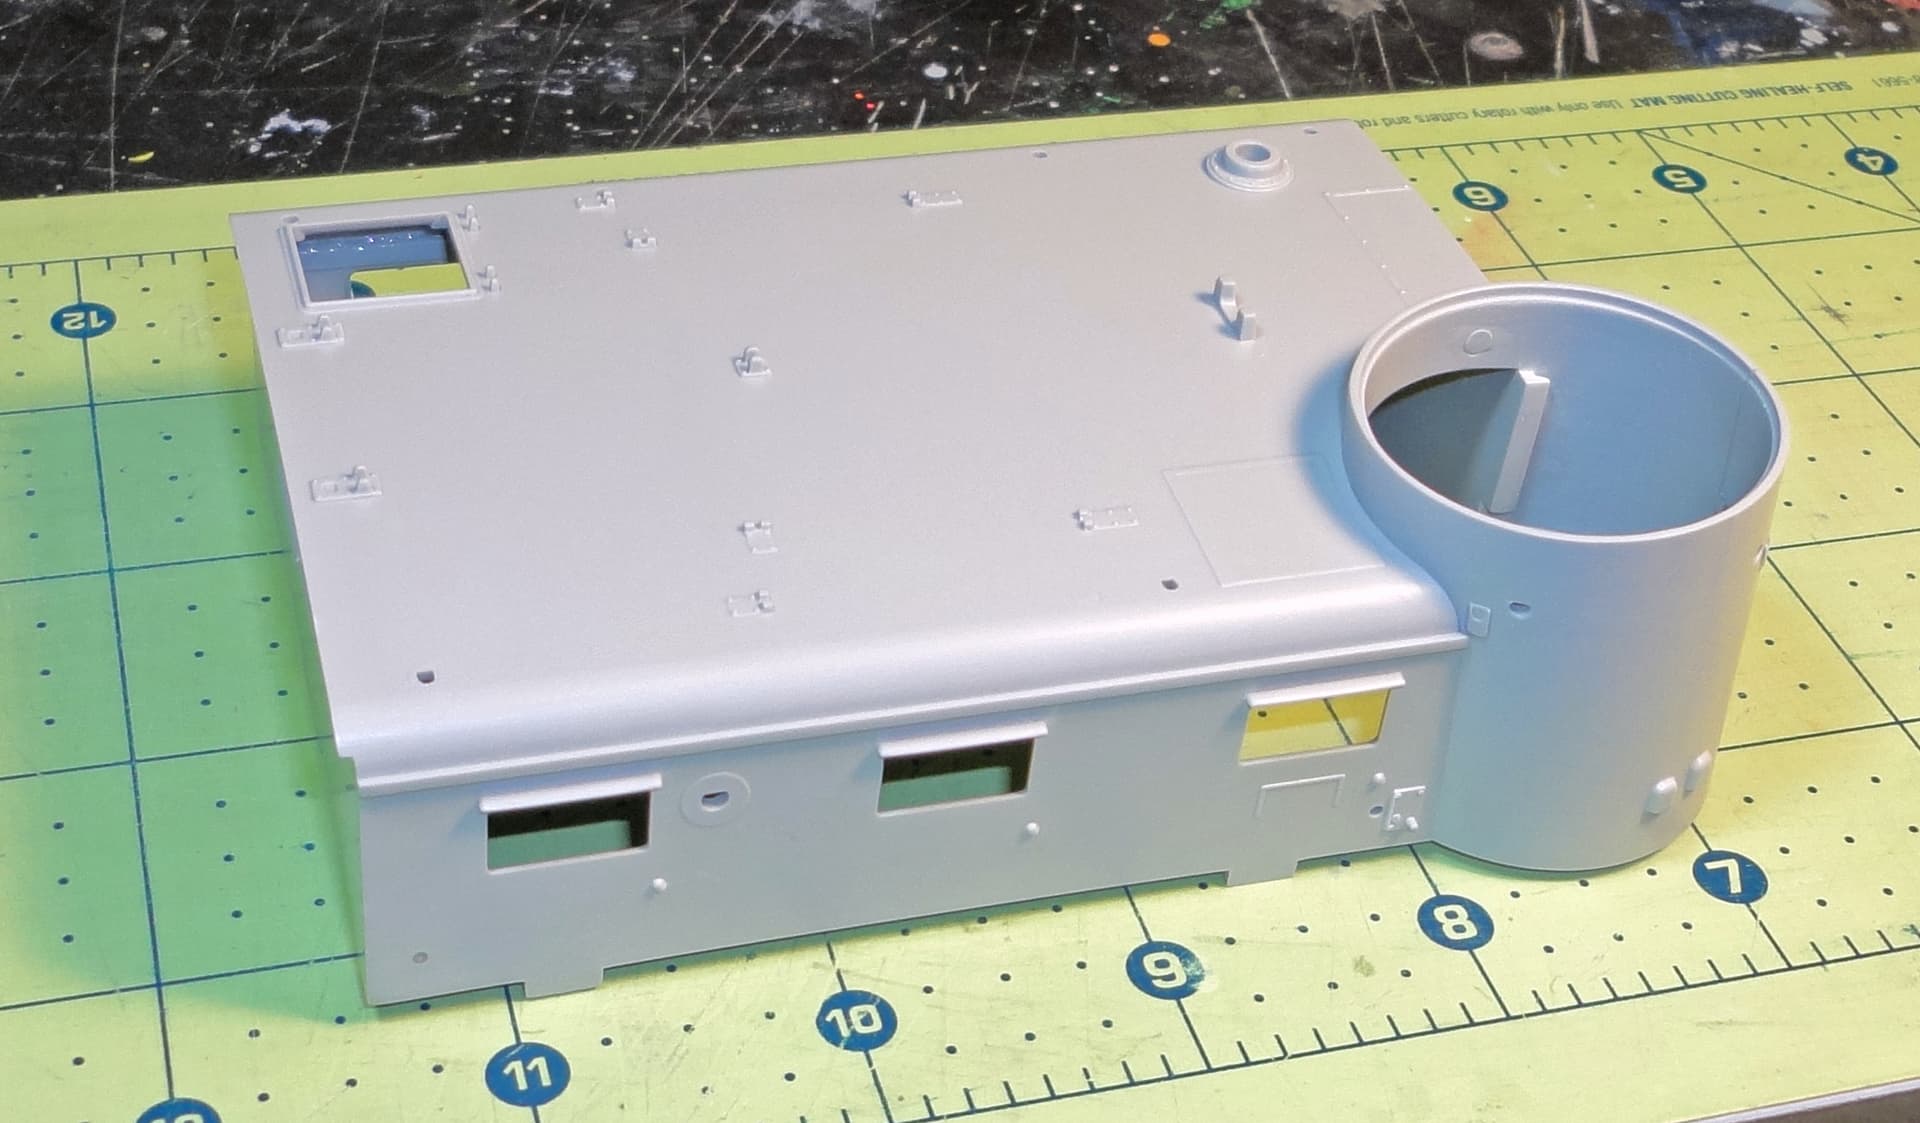
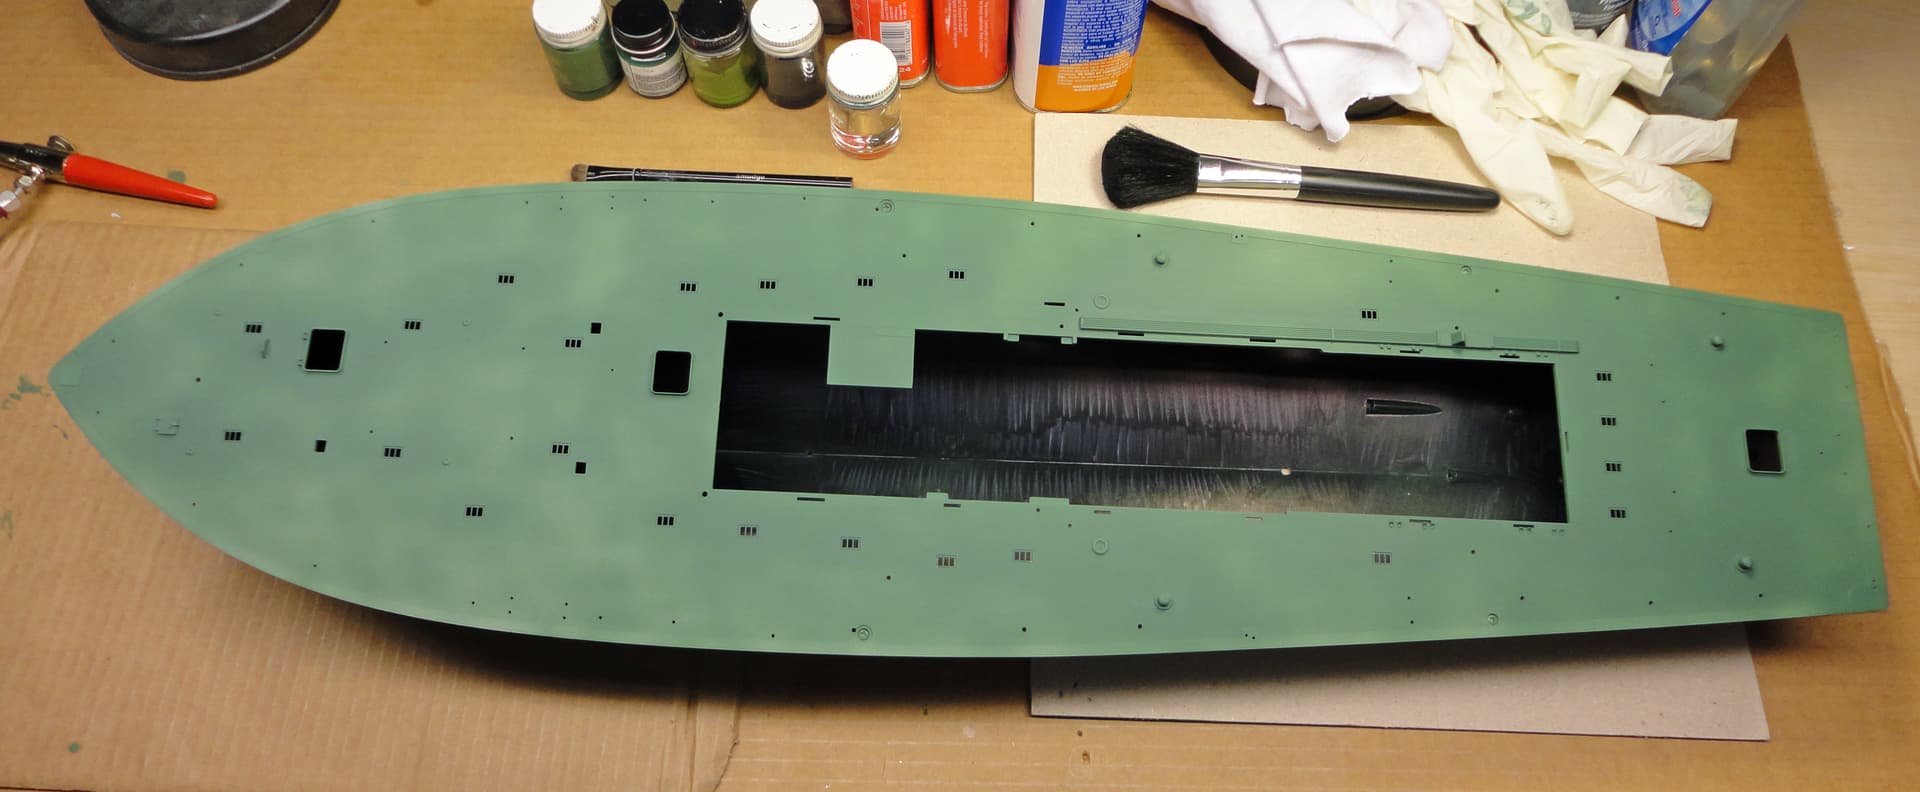
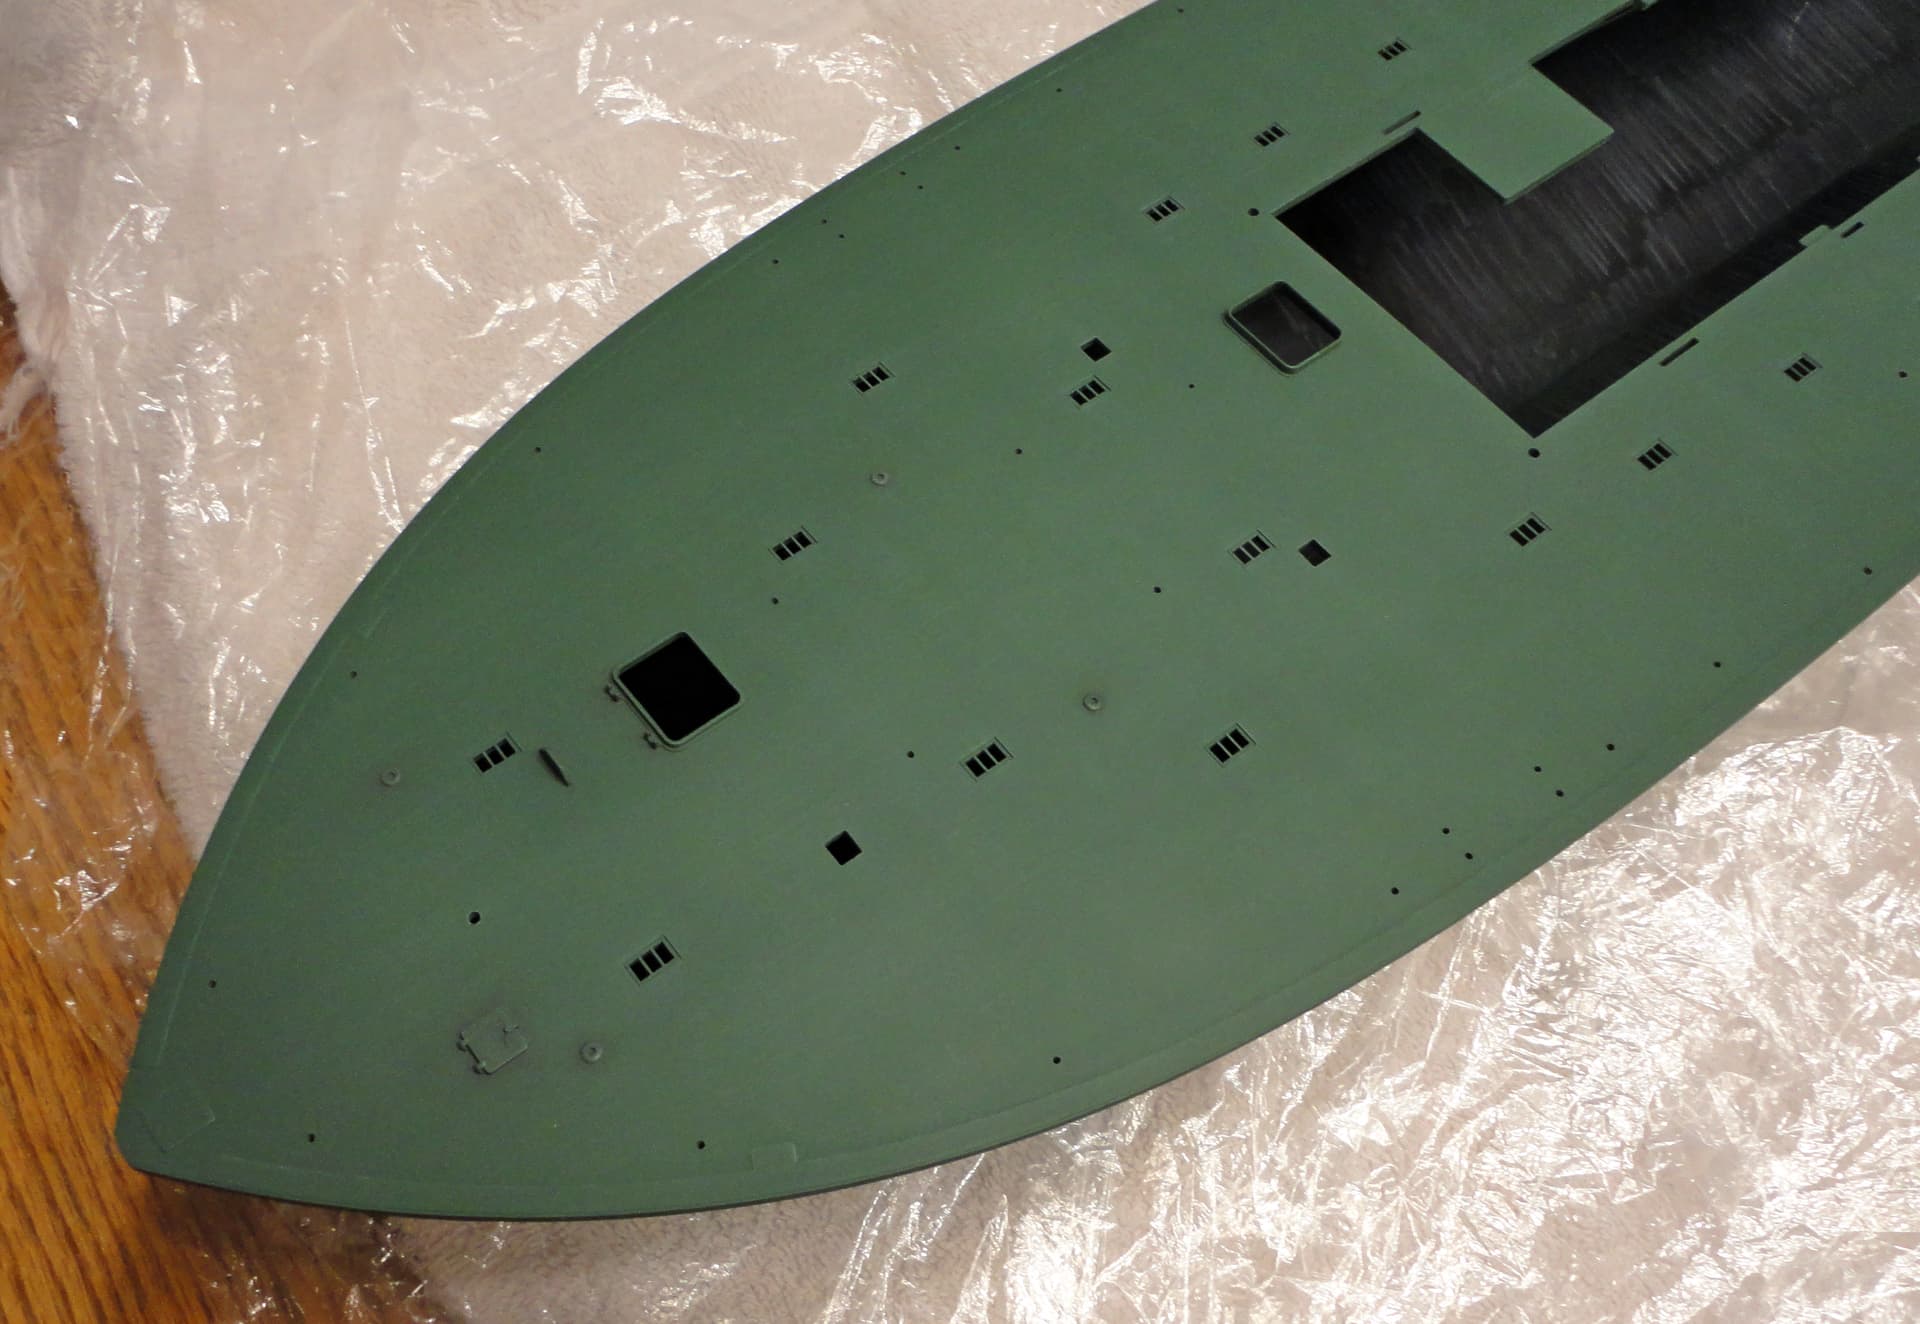
2nd Image: After the little nicks and imperfections hull on the hull were sanded away, a black marker colored the interior. This was done so nothing would be able to be seen through the many “deadlight” openings on the deck.
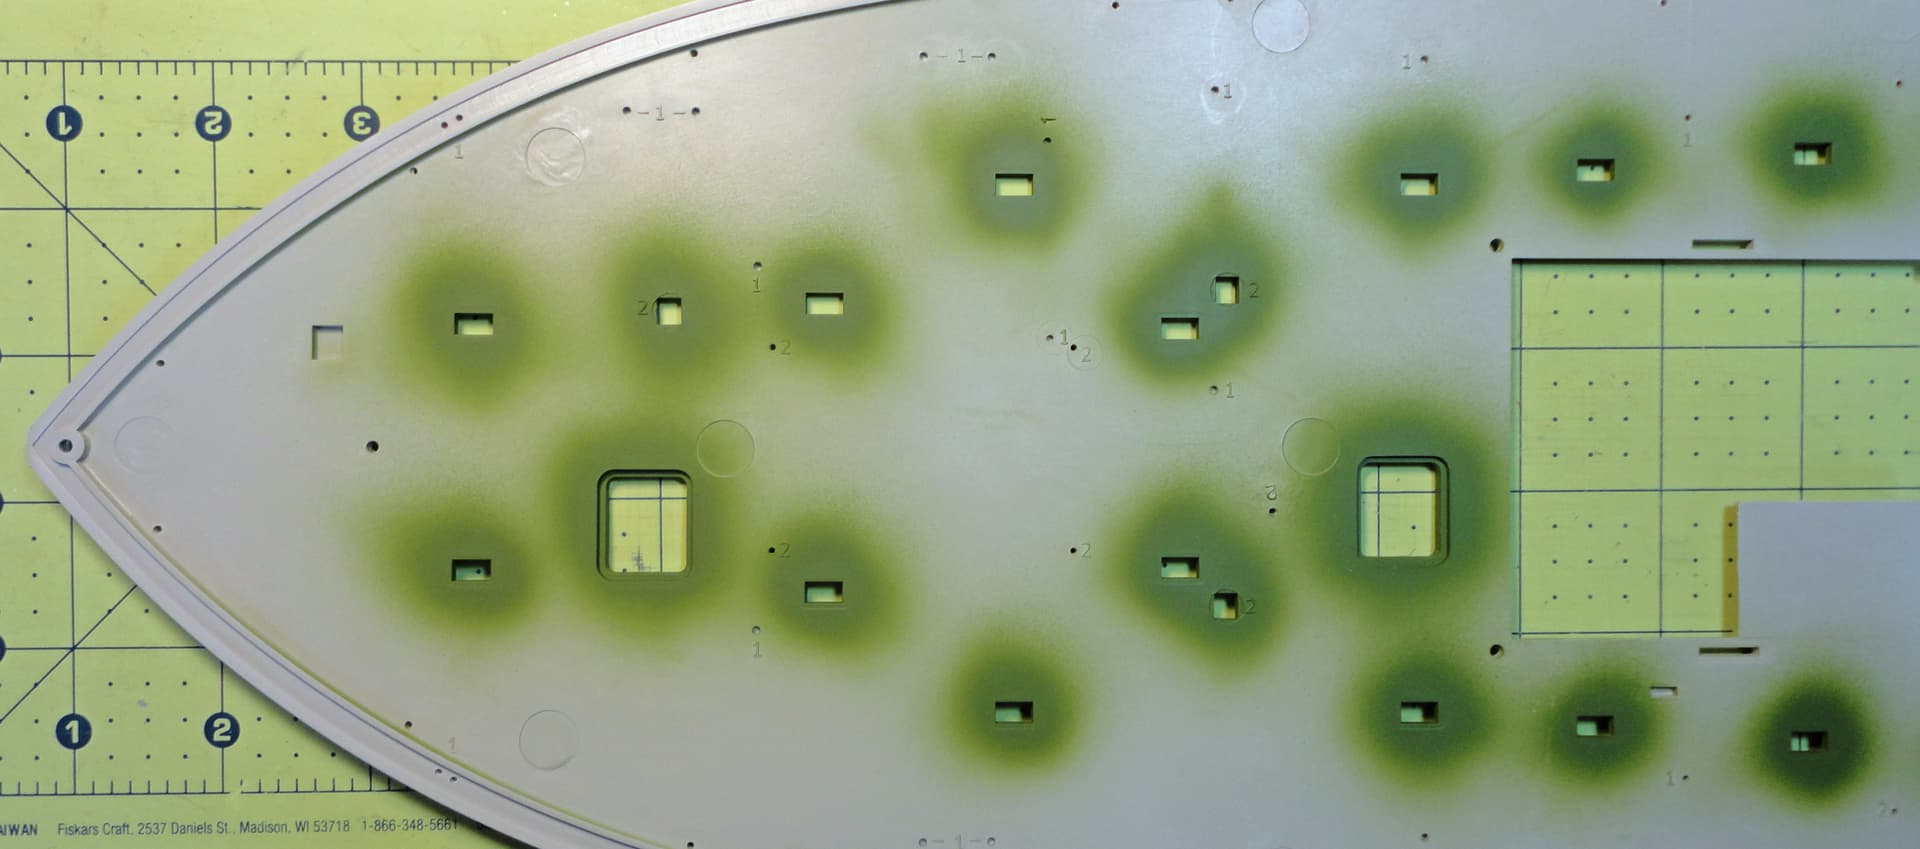
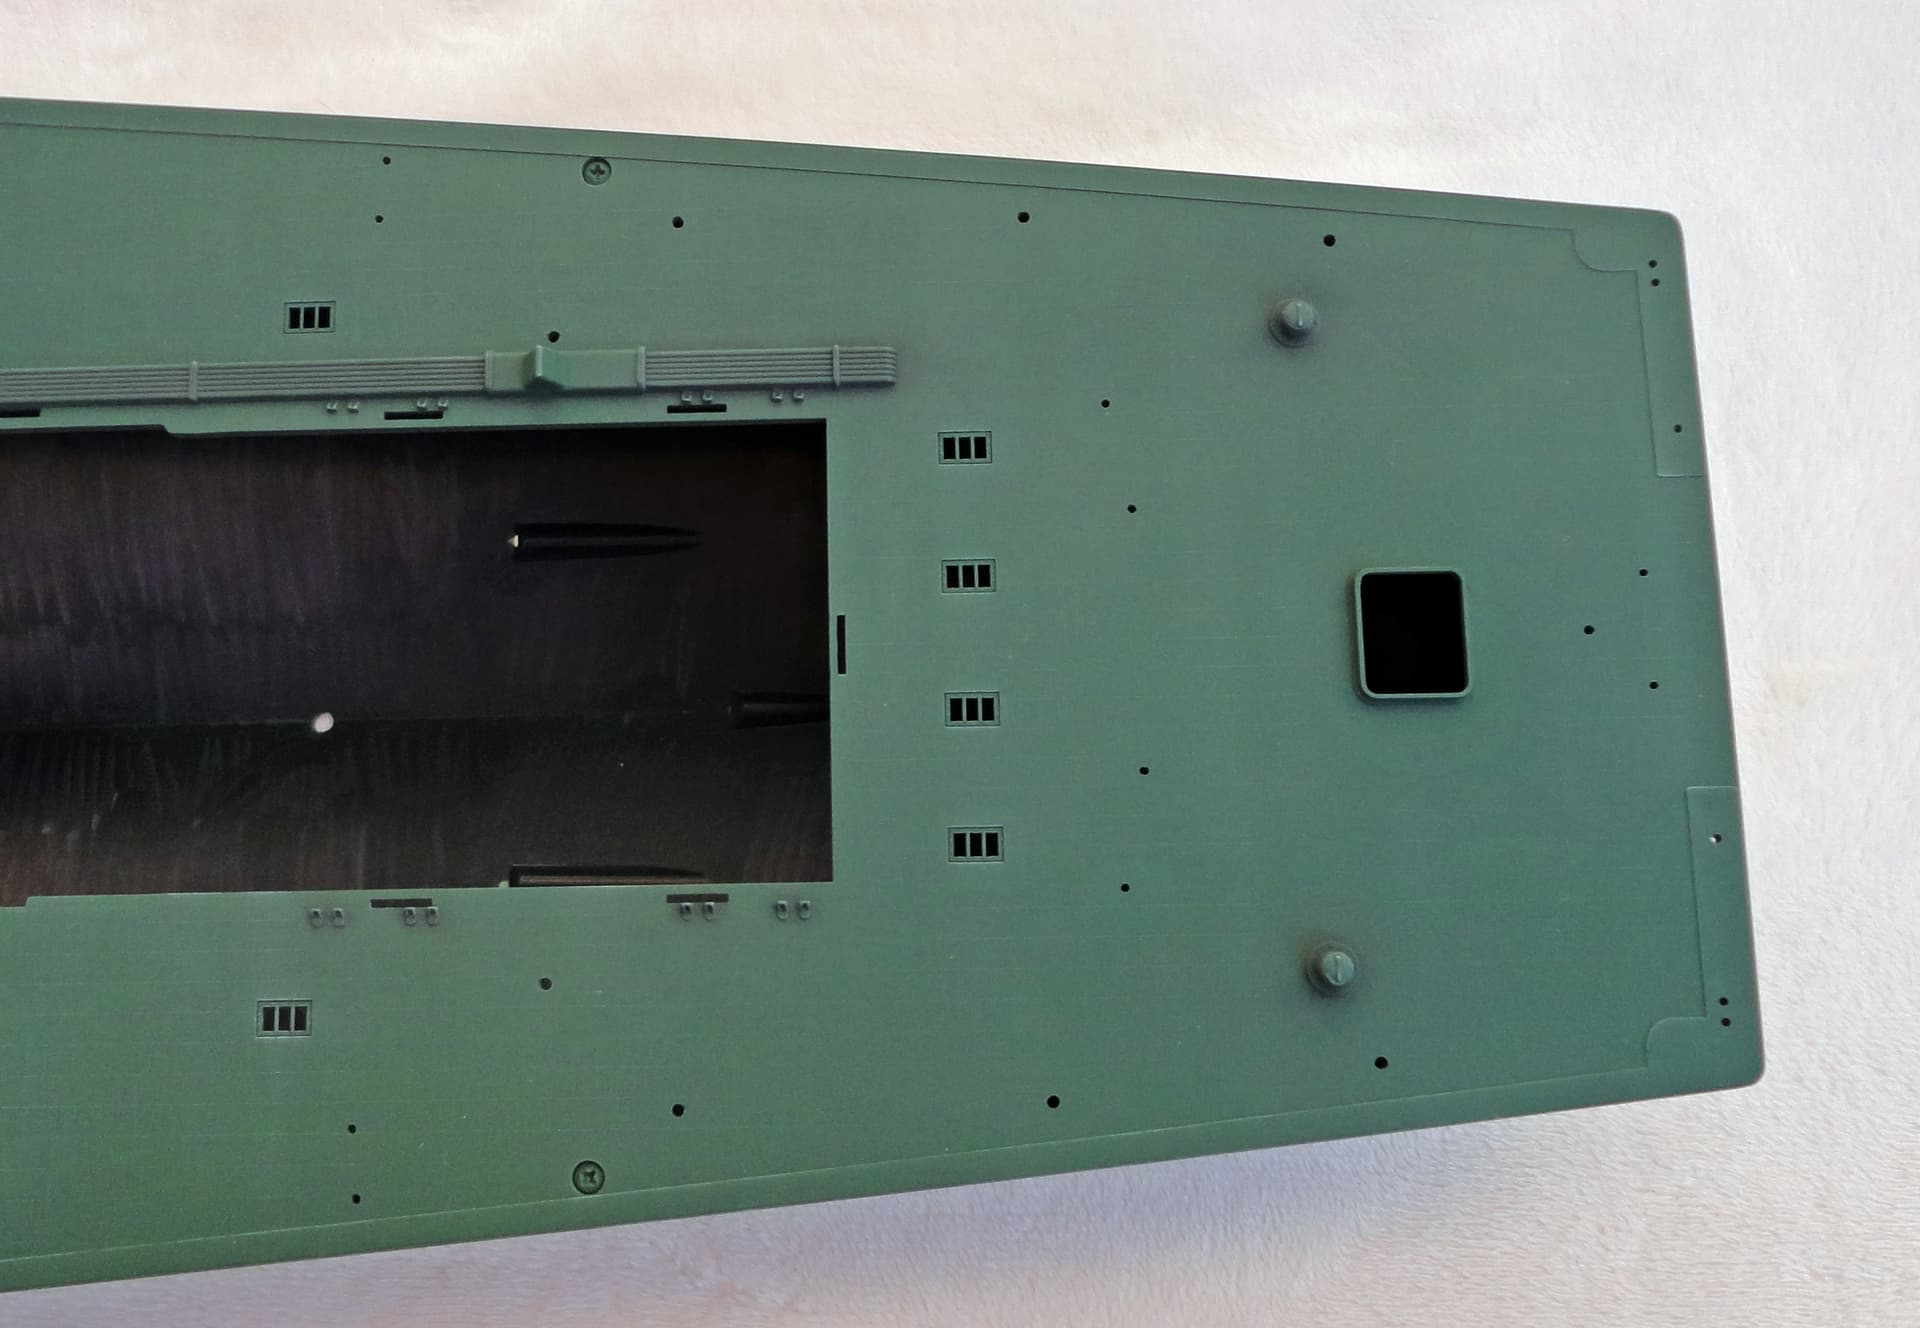
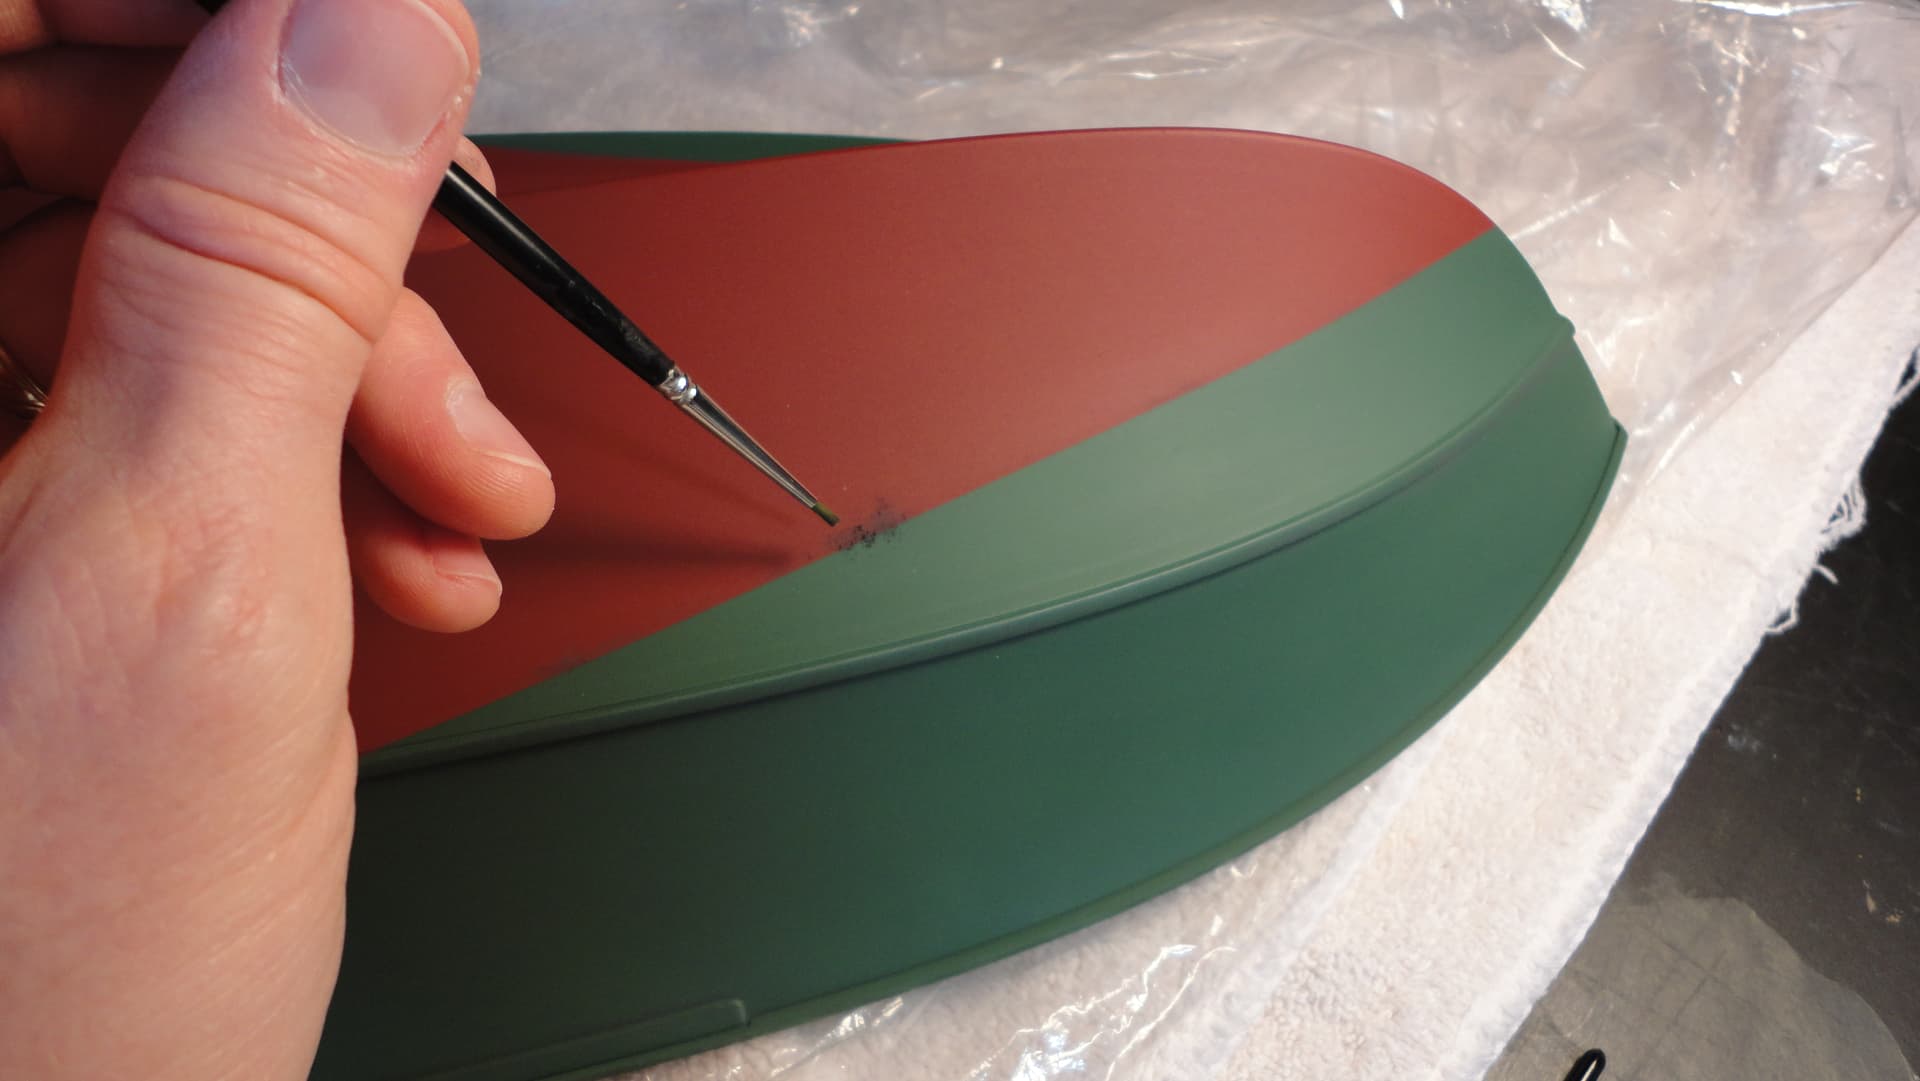
3rd Image: The lower sides of the deadlight openings were painted with the exterior color called out in the instructions (Model Master Flat Medium Green FS 34102). I was not happy with this color and used something else discussed alter.
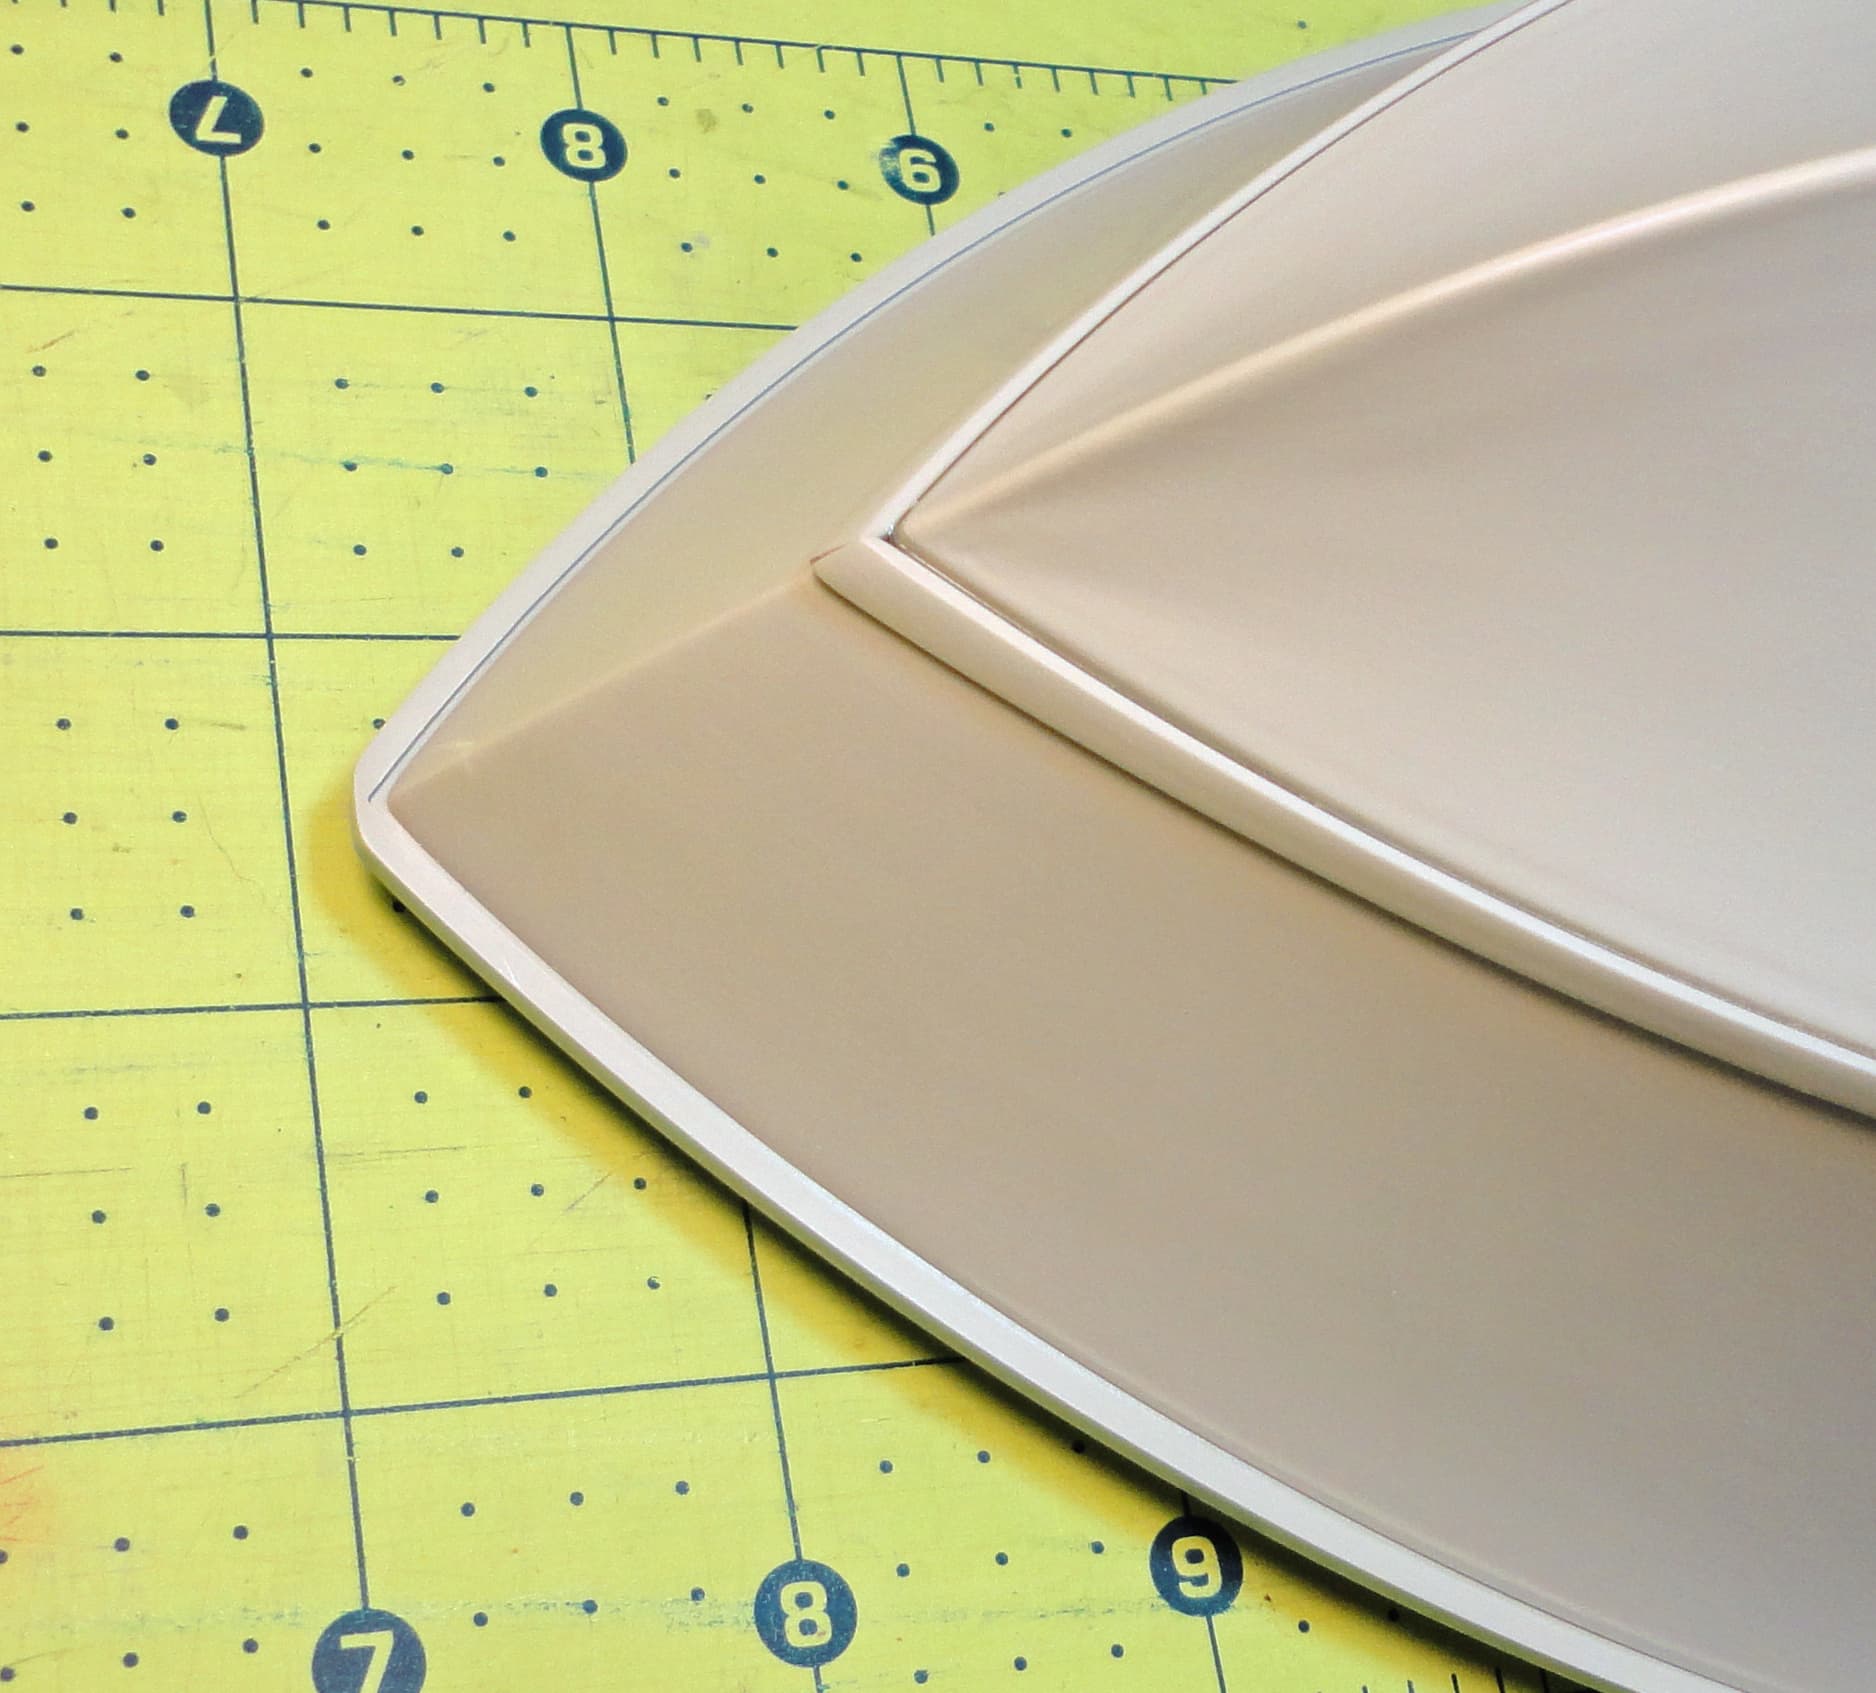
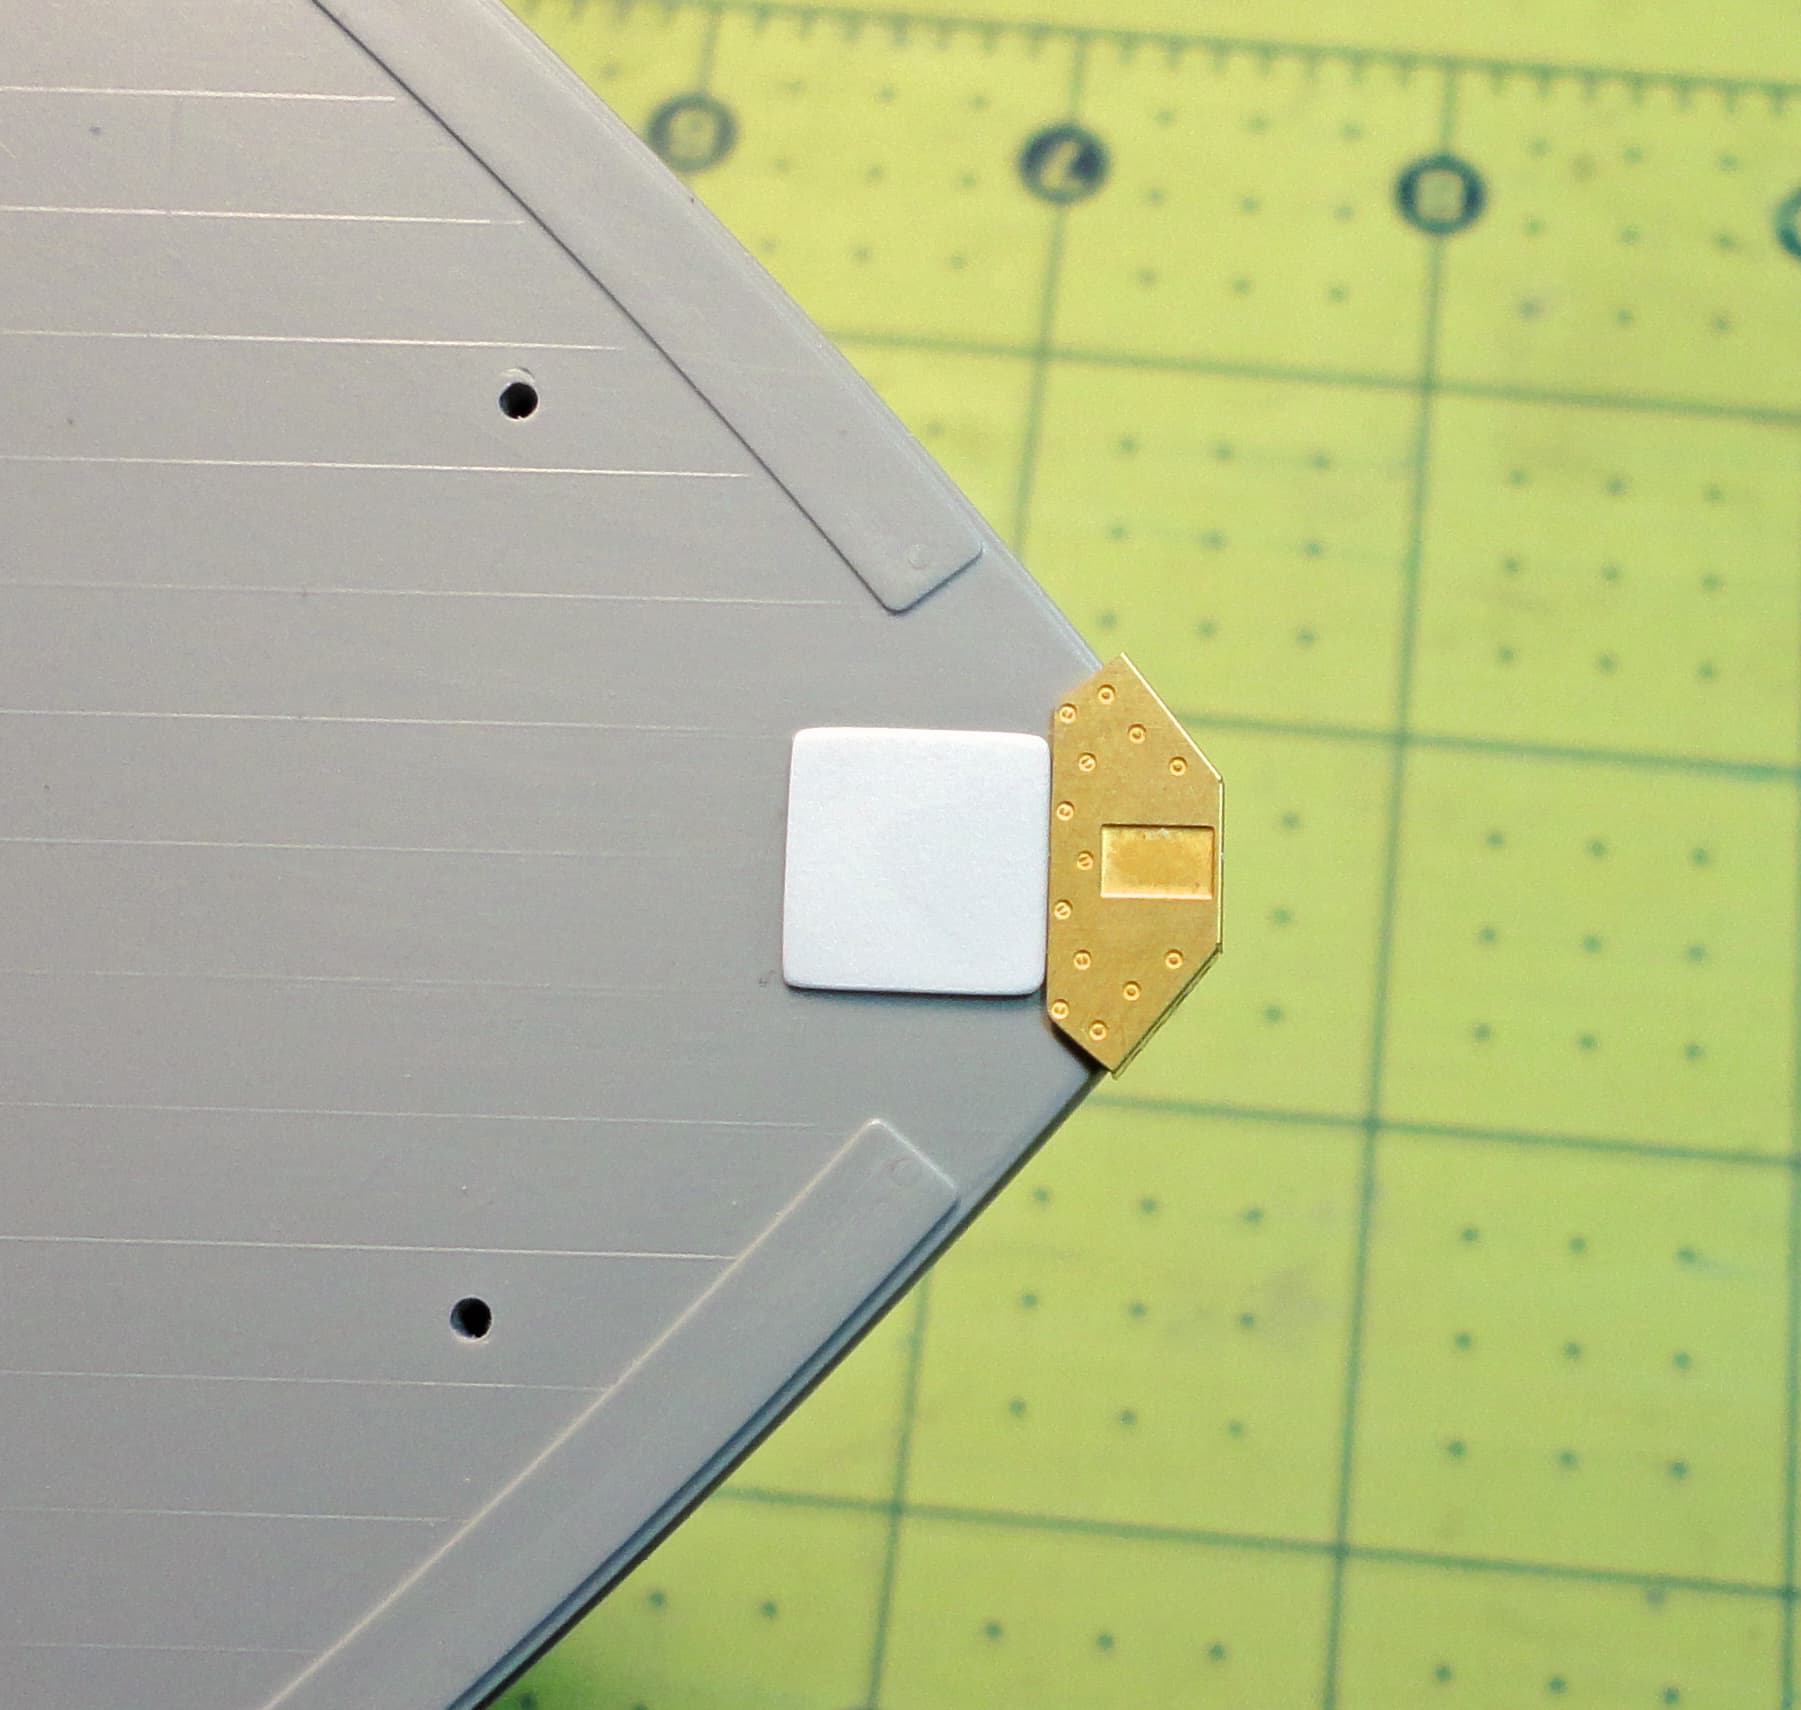
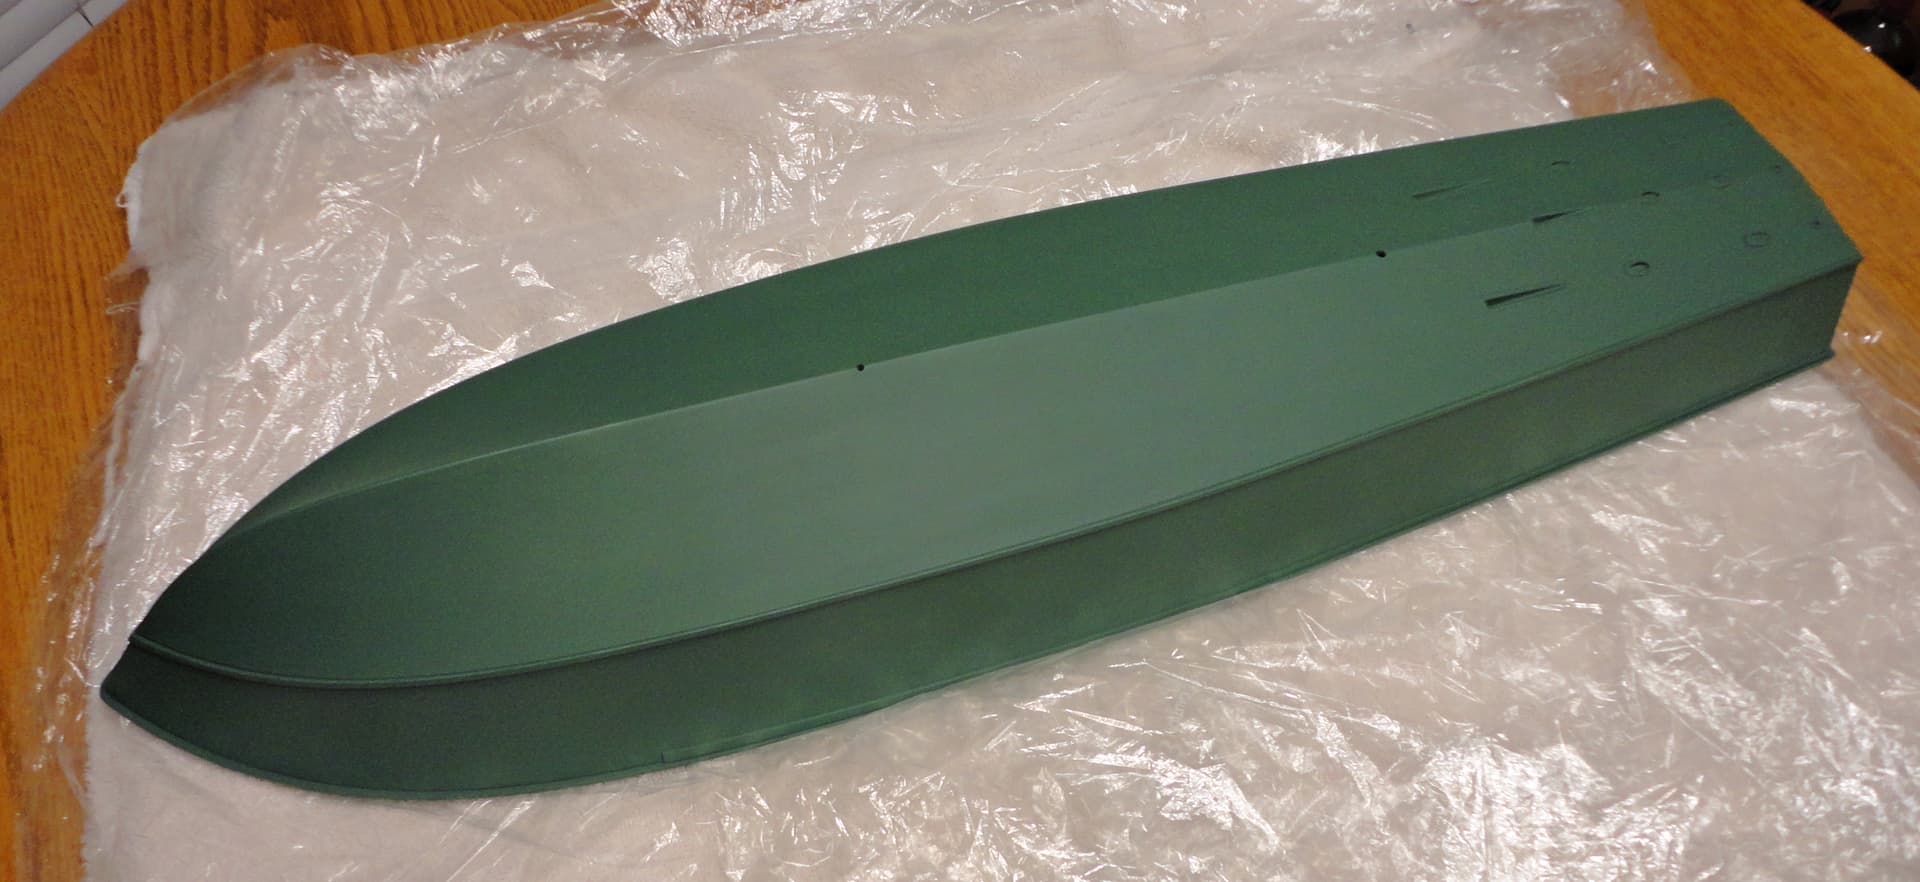
4th Image: The bow chines (i.e. bumper guards) are shown after being added to the hull. Some filler superglue and careful sanding were required to make the connection seamless.
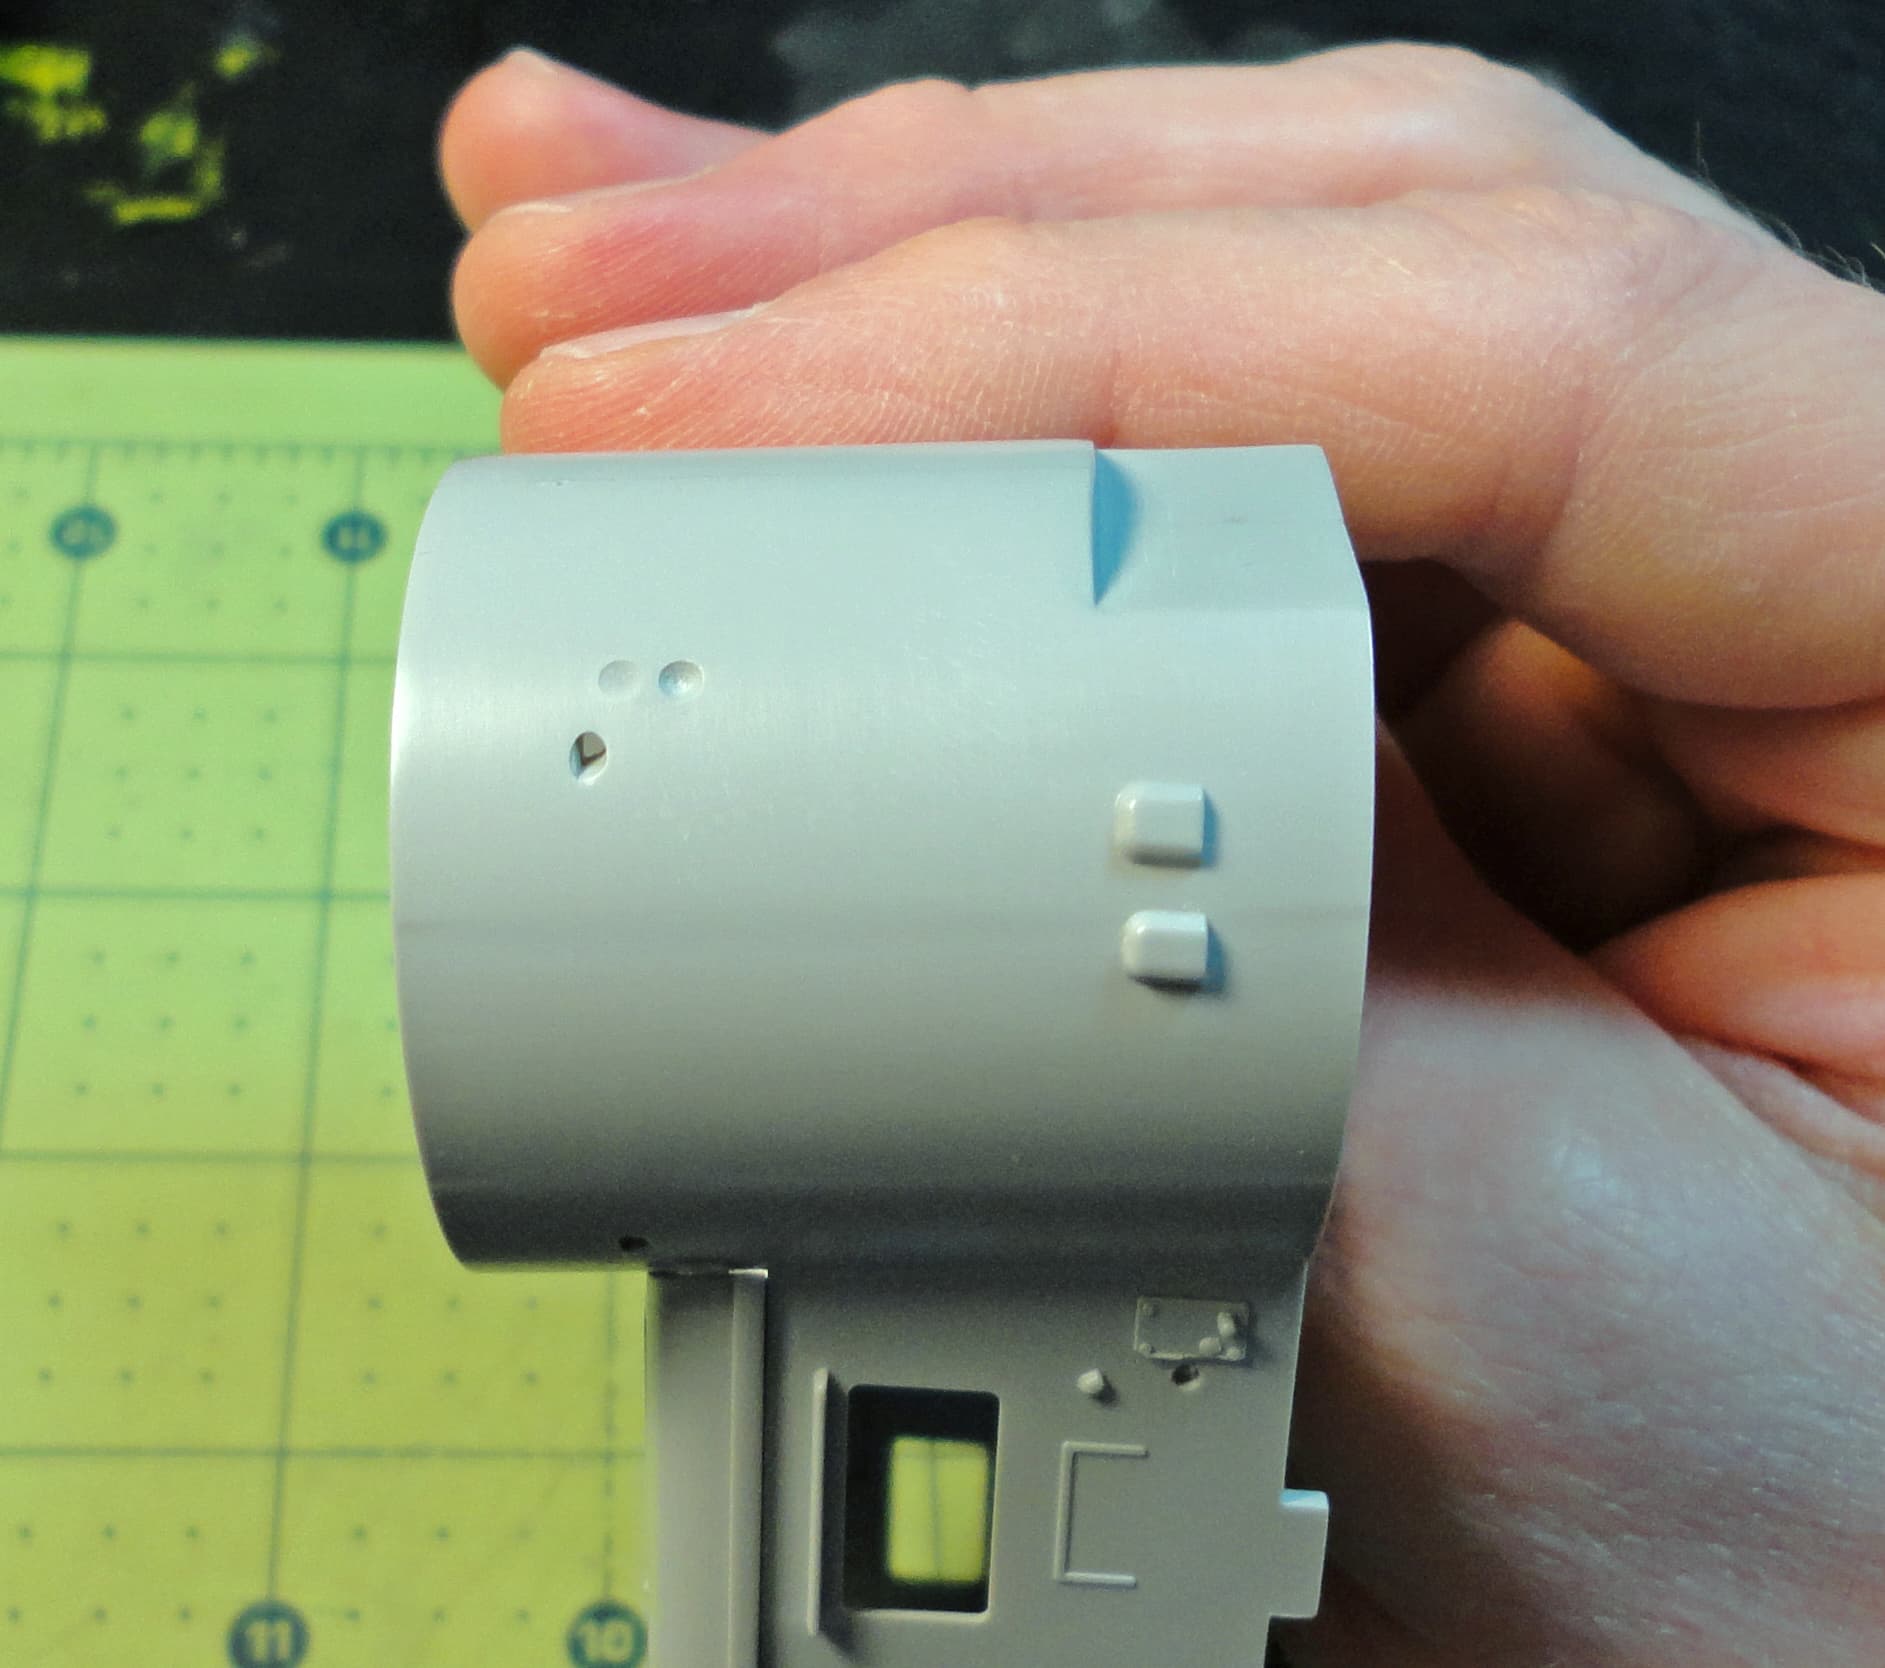
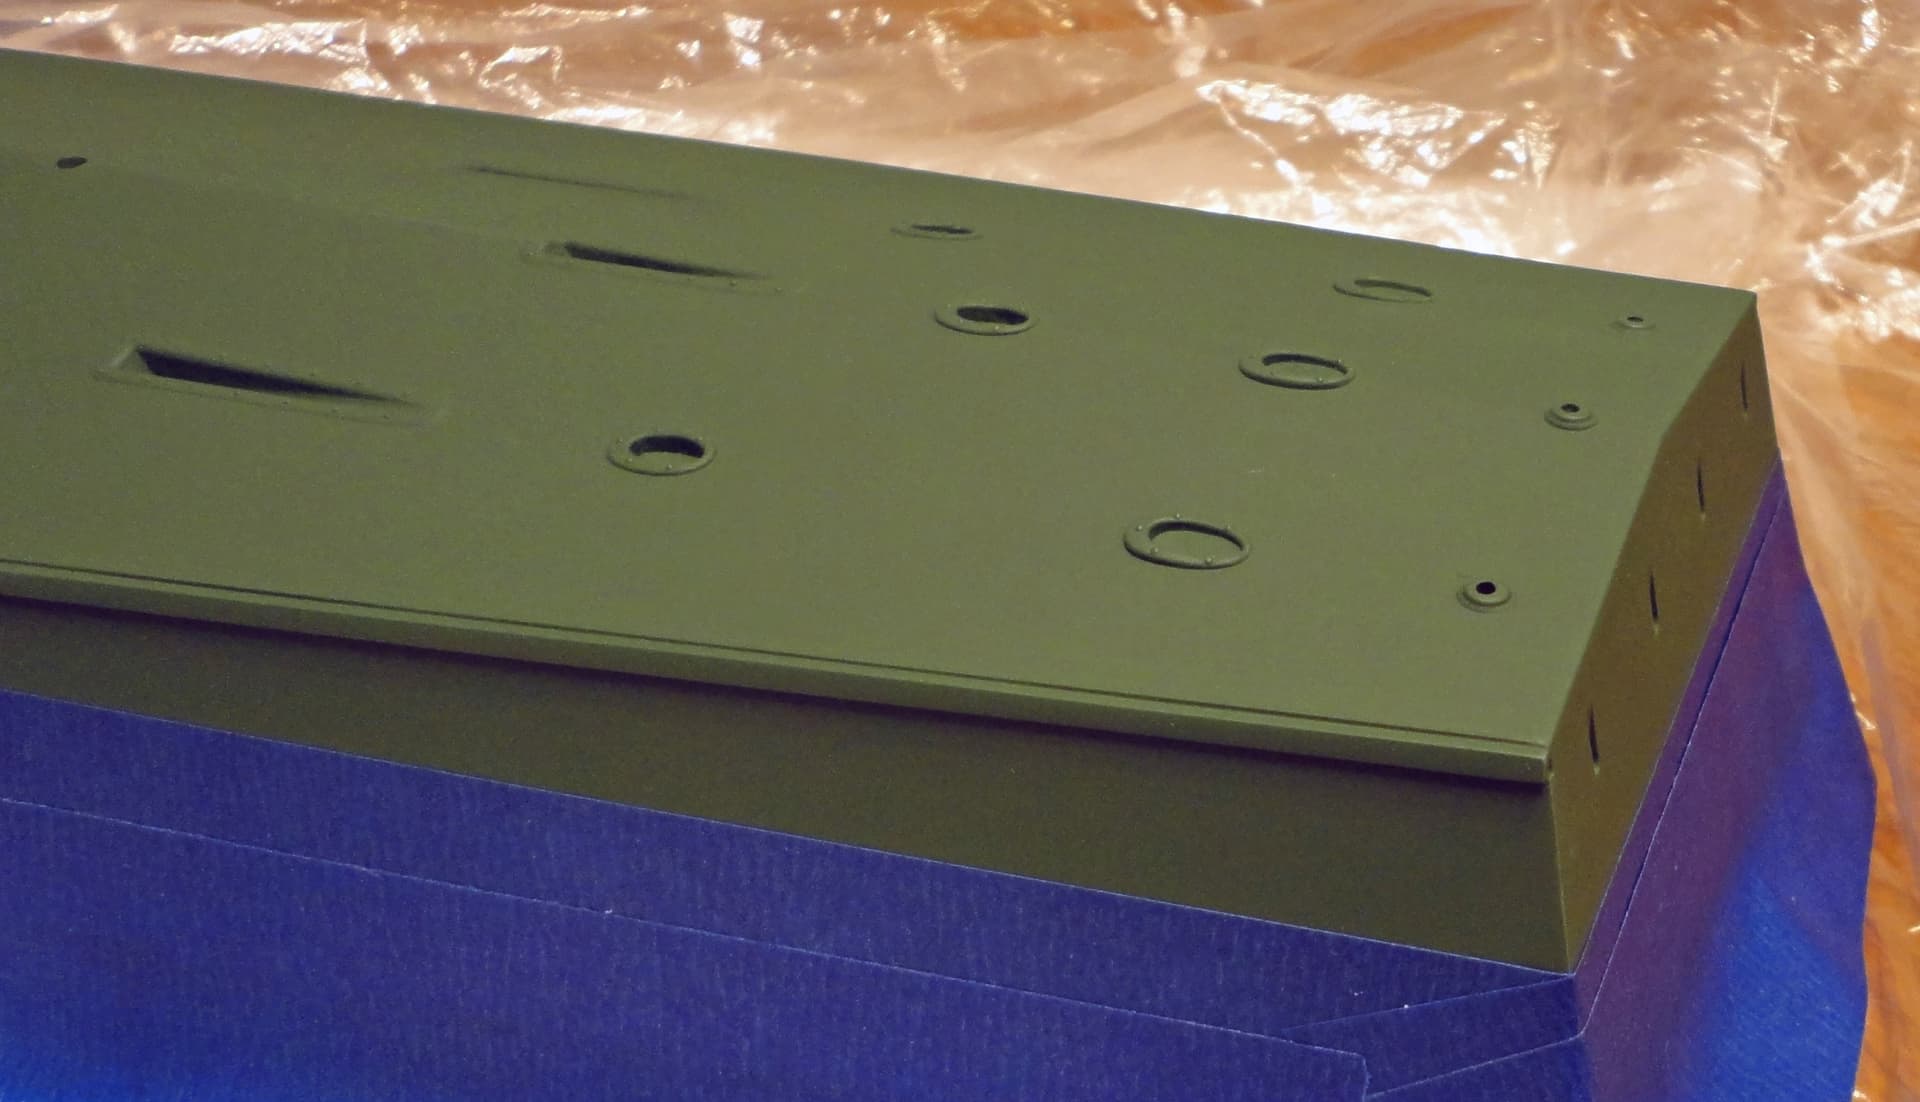
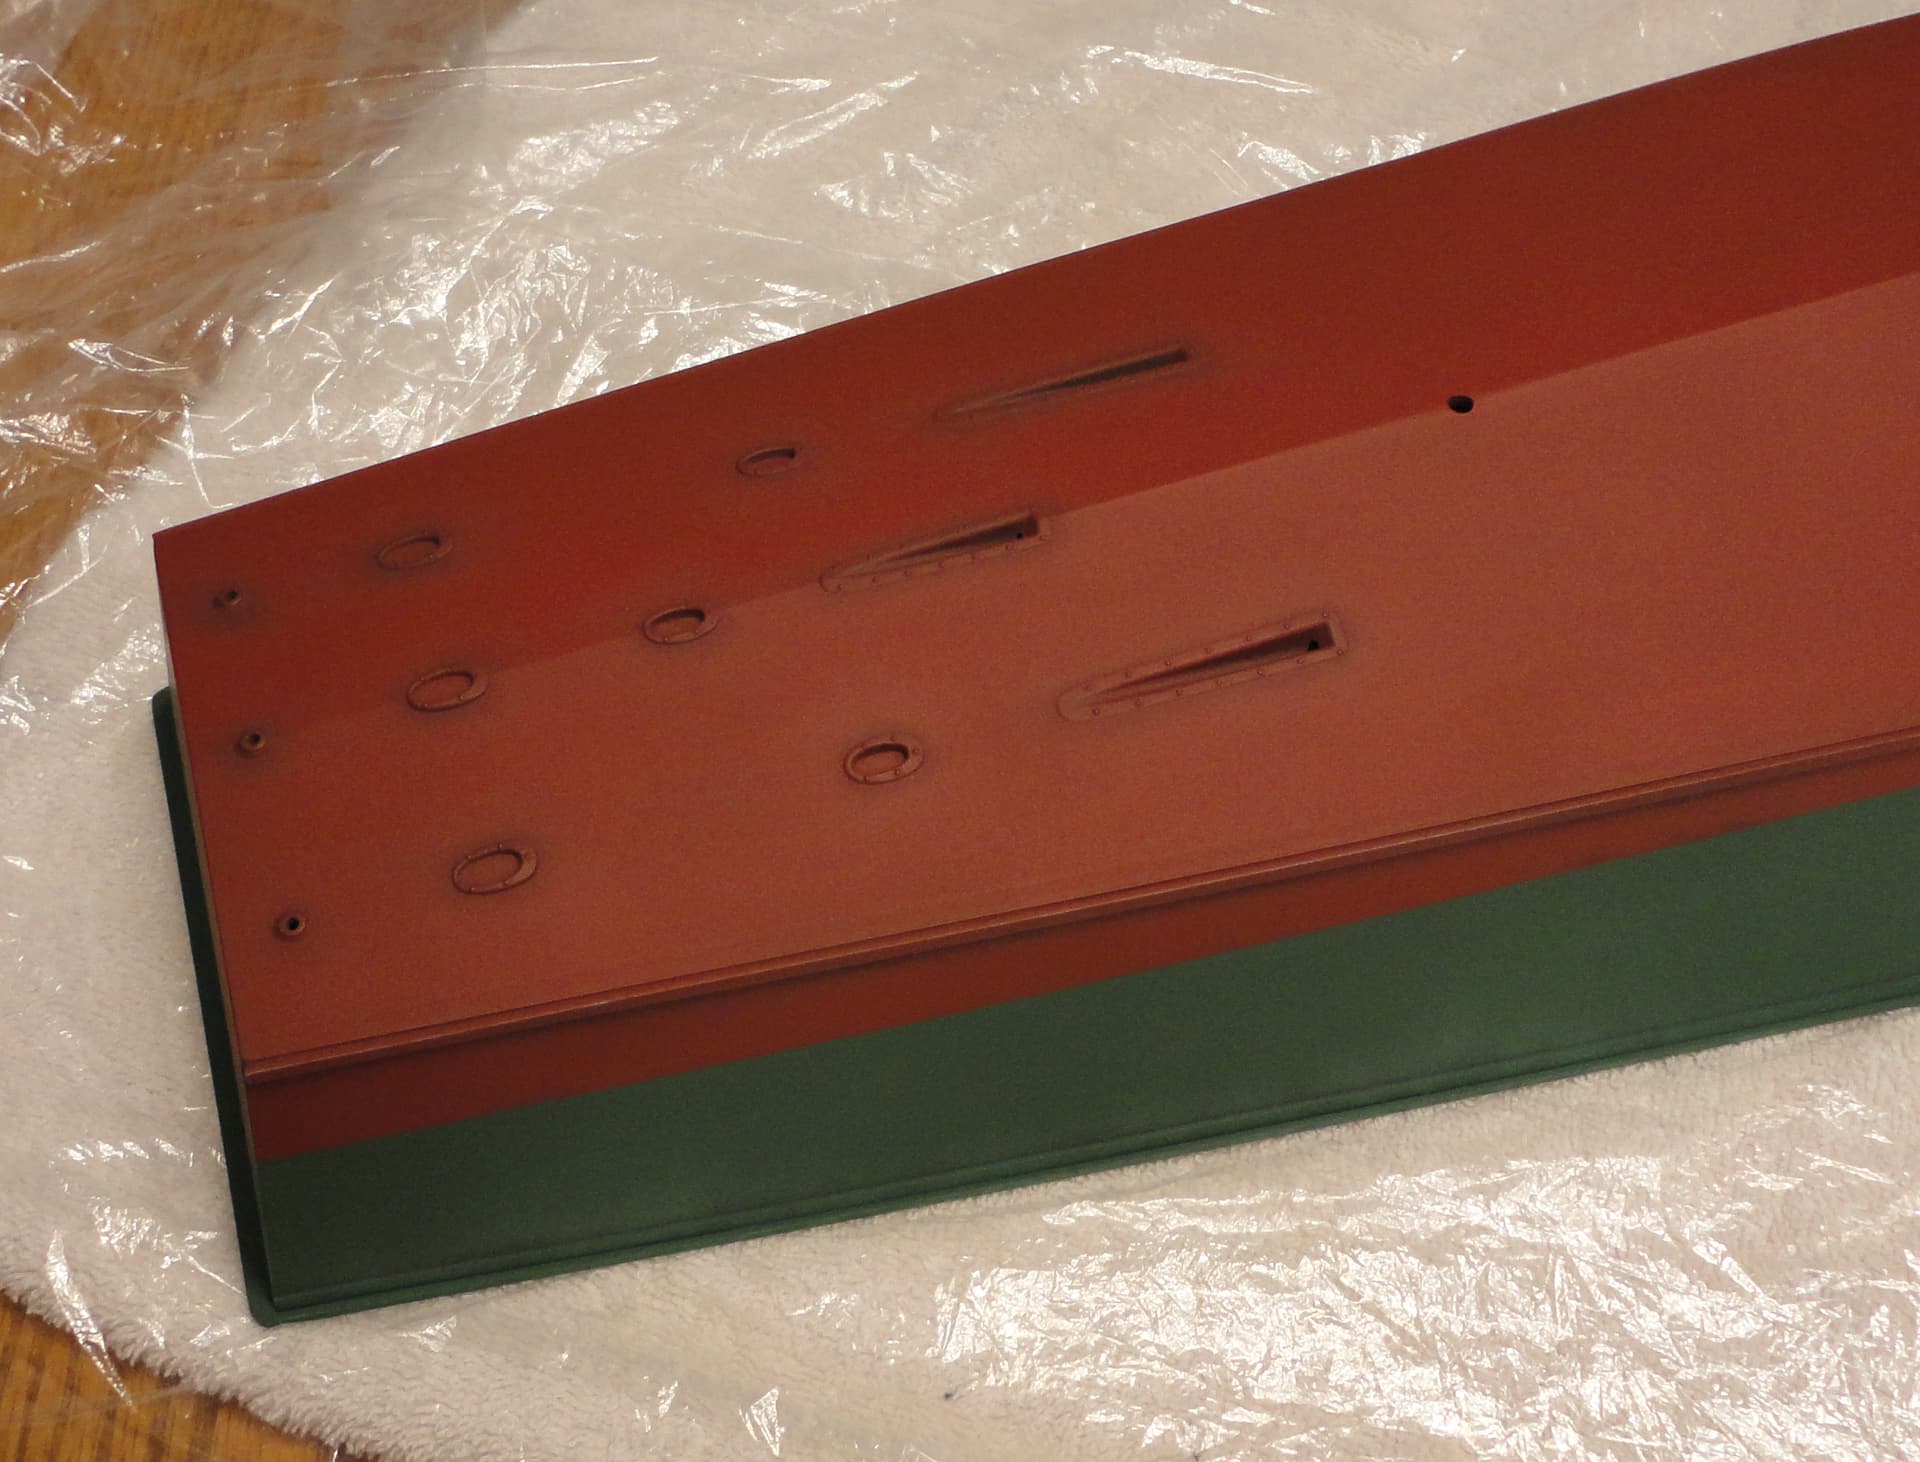
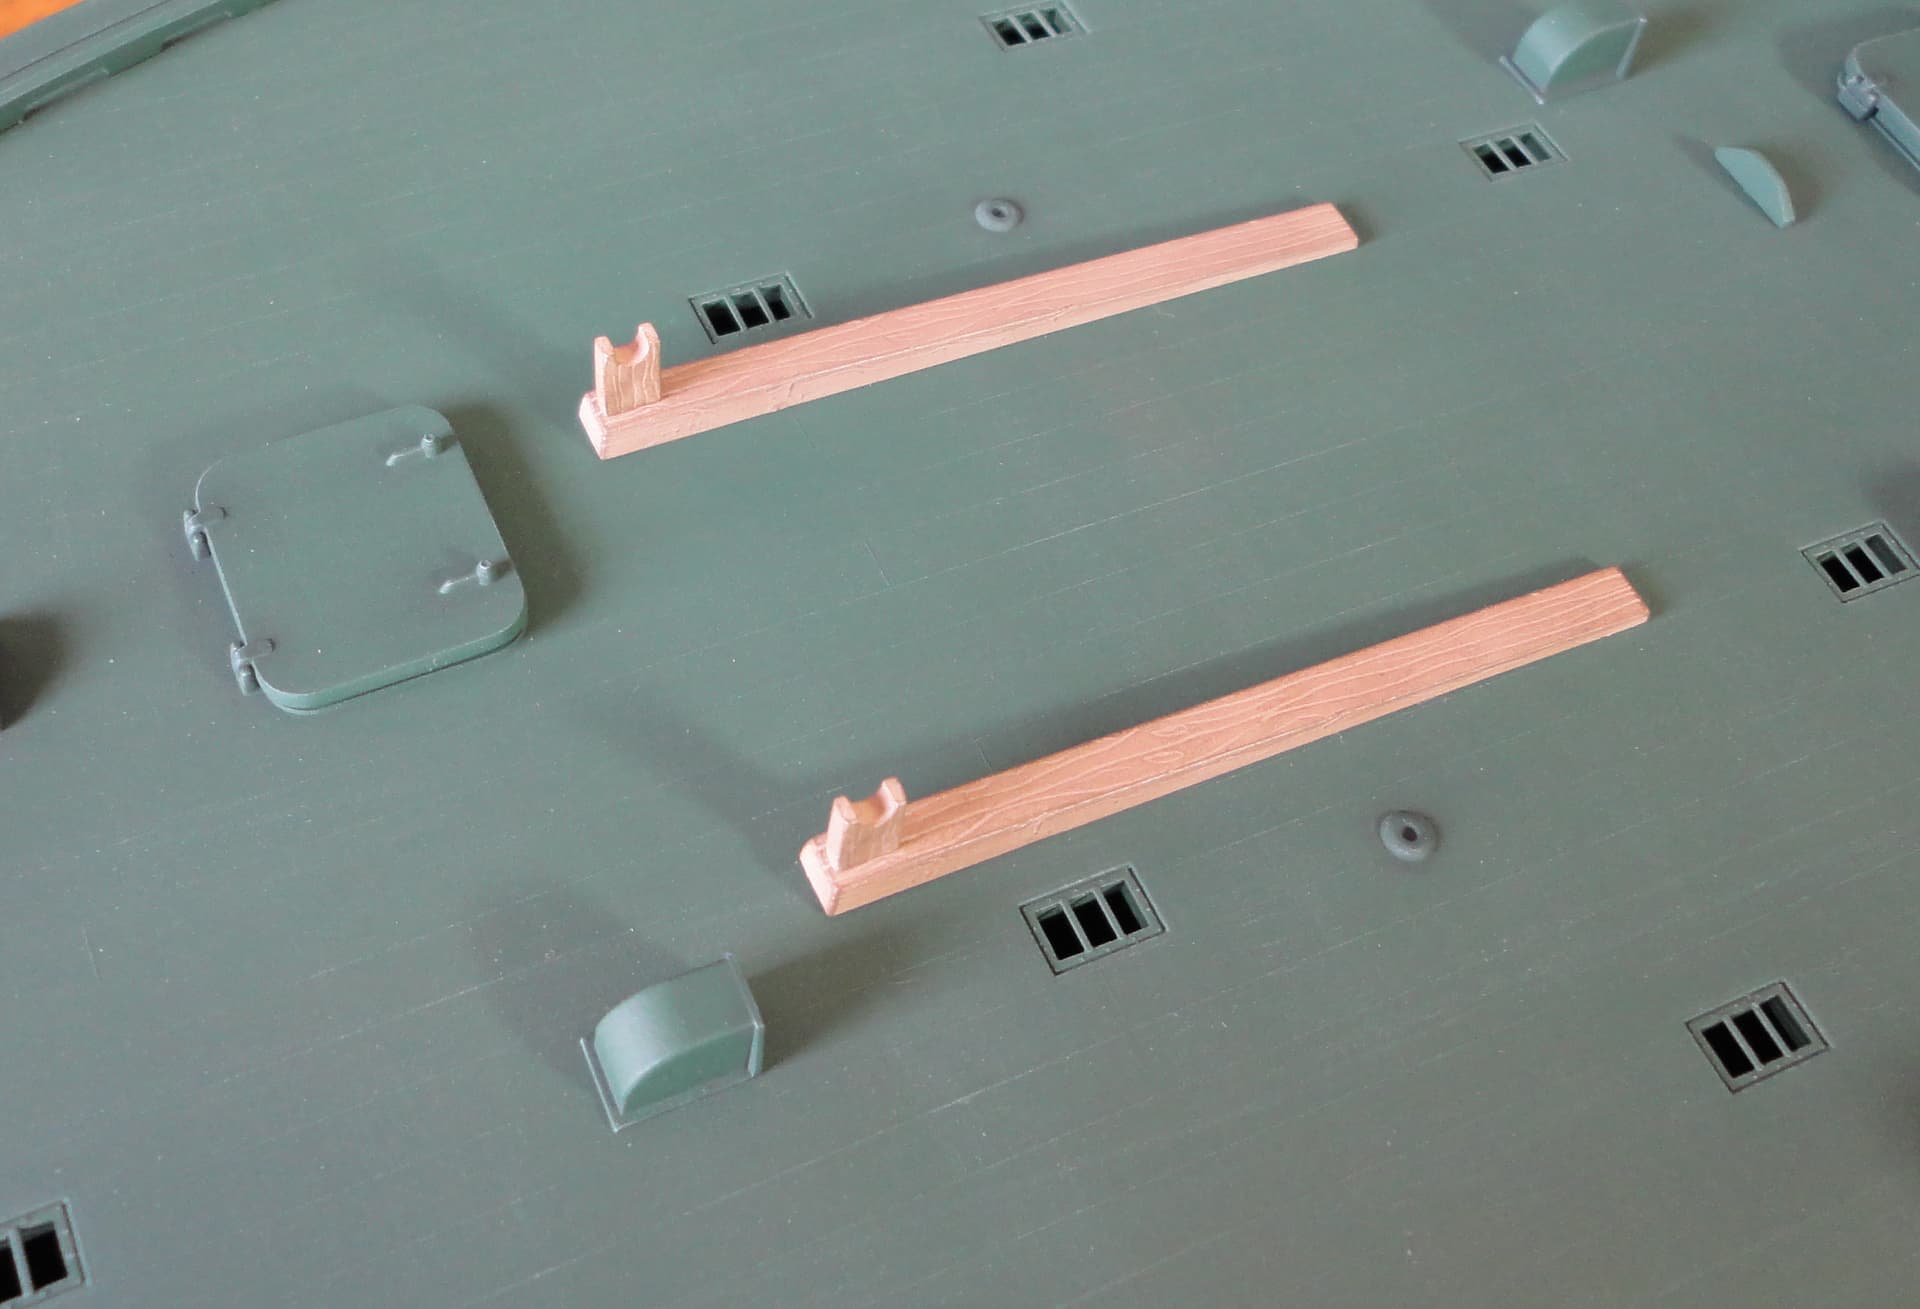
5th Image: After the screw hole covers were added to the deck, superglue was applied around the edges and the seams sanded way.
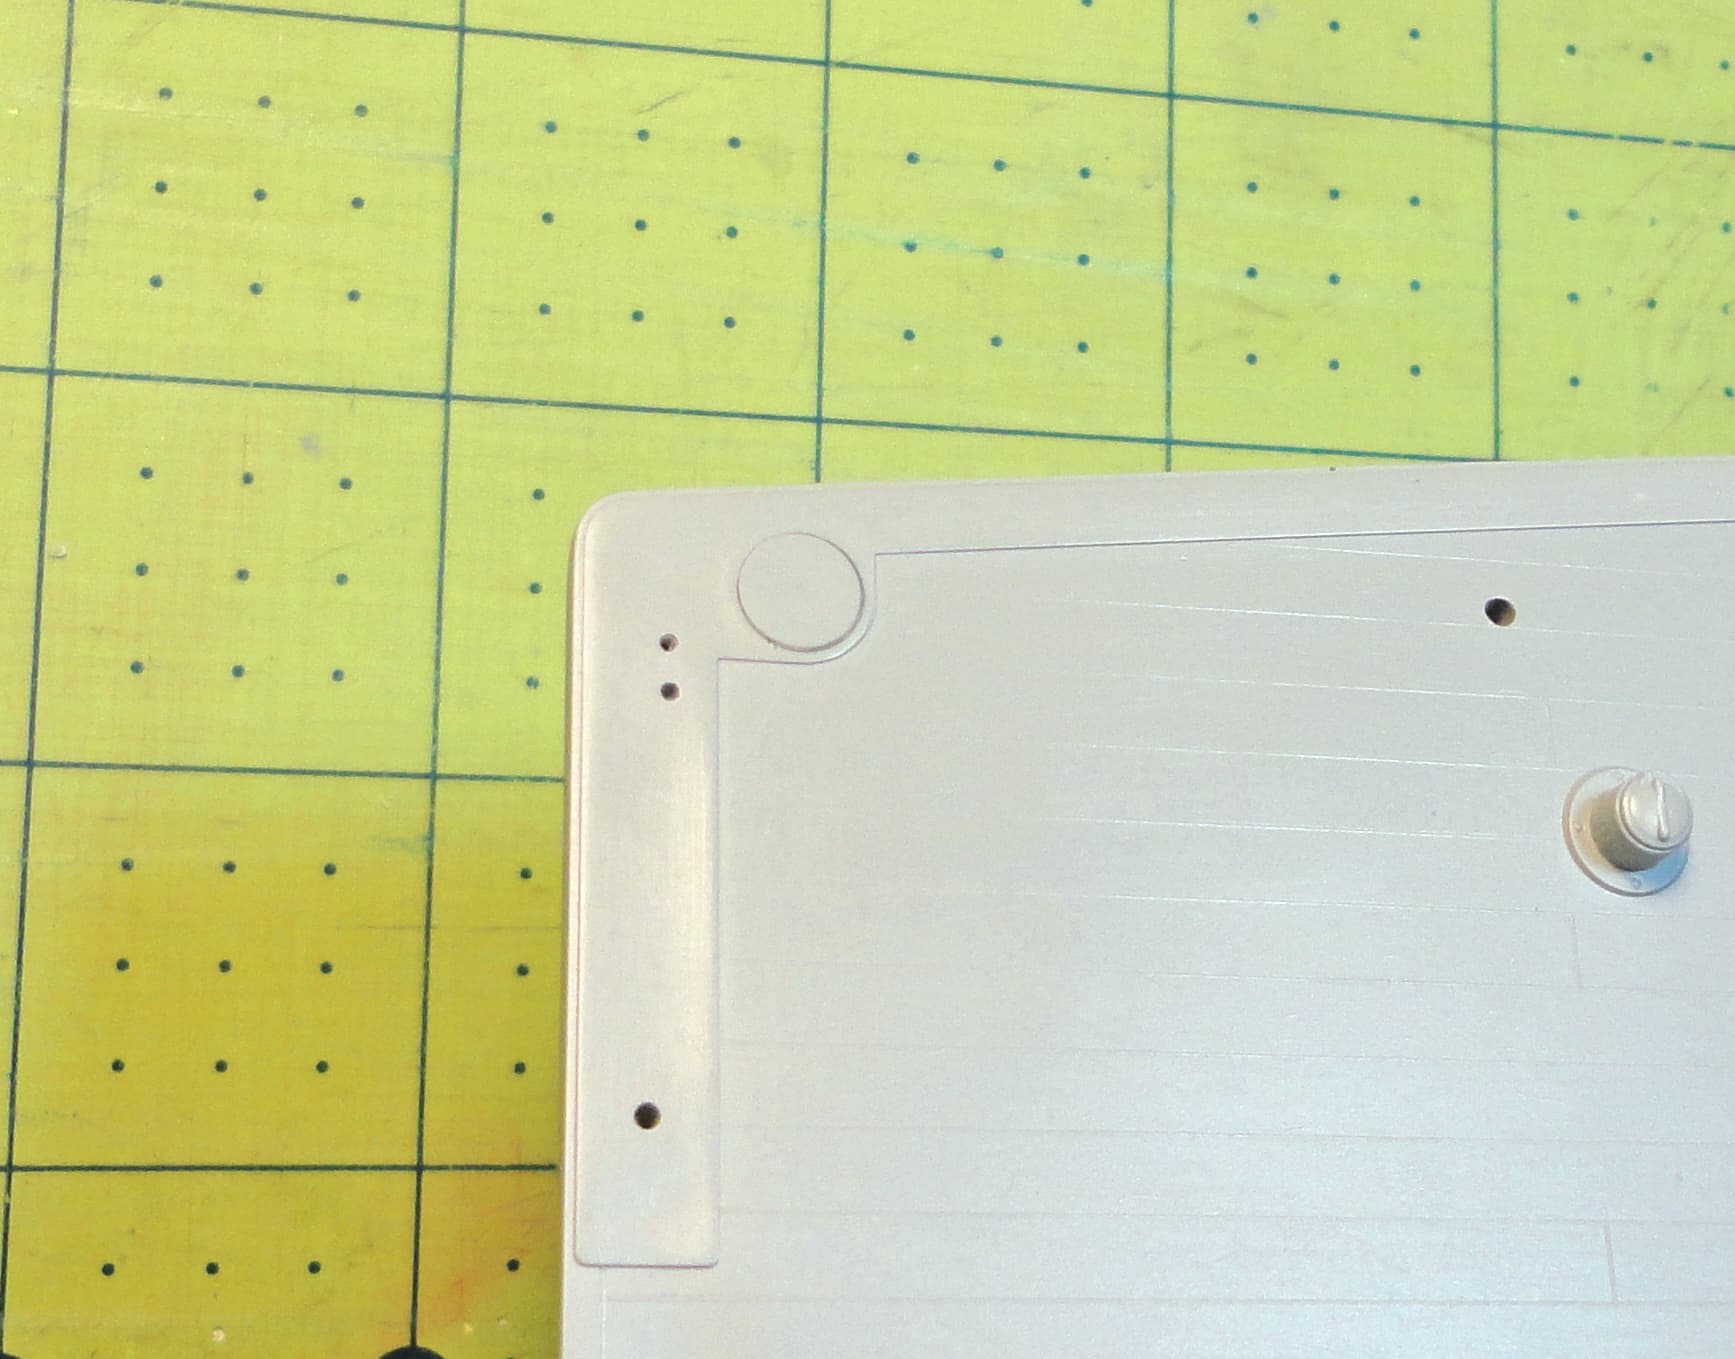
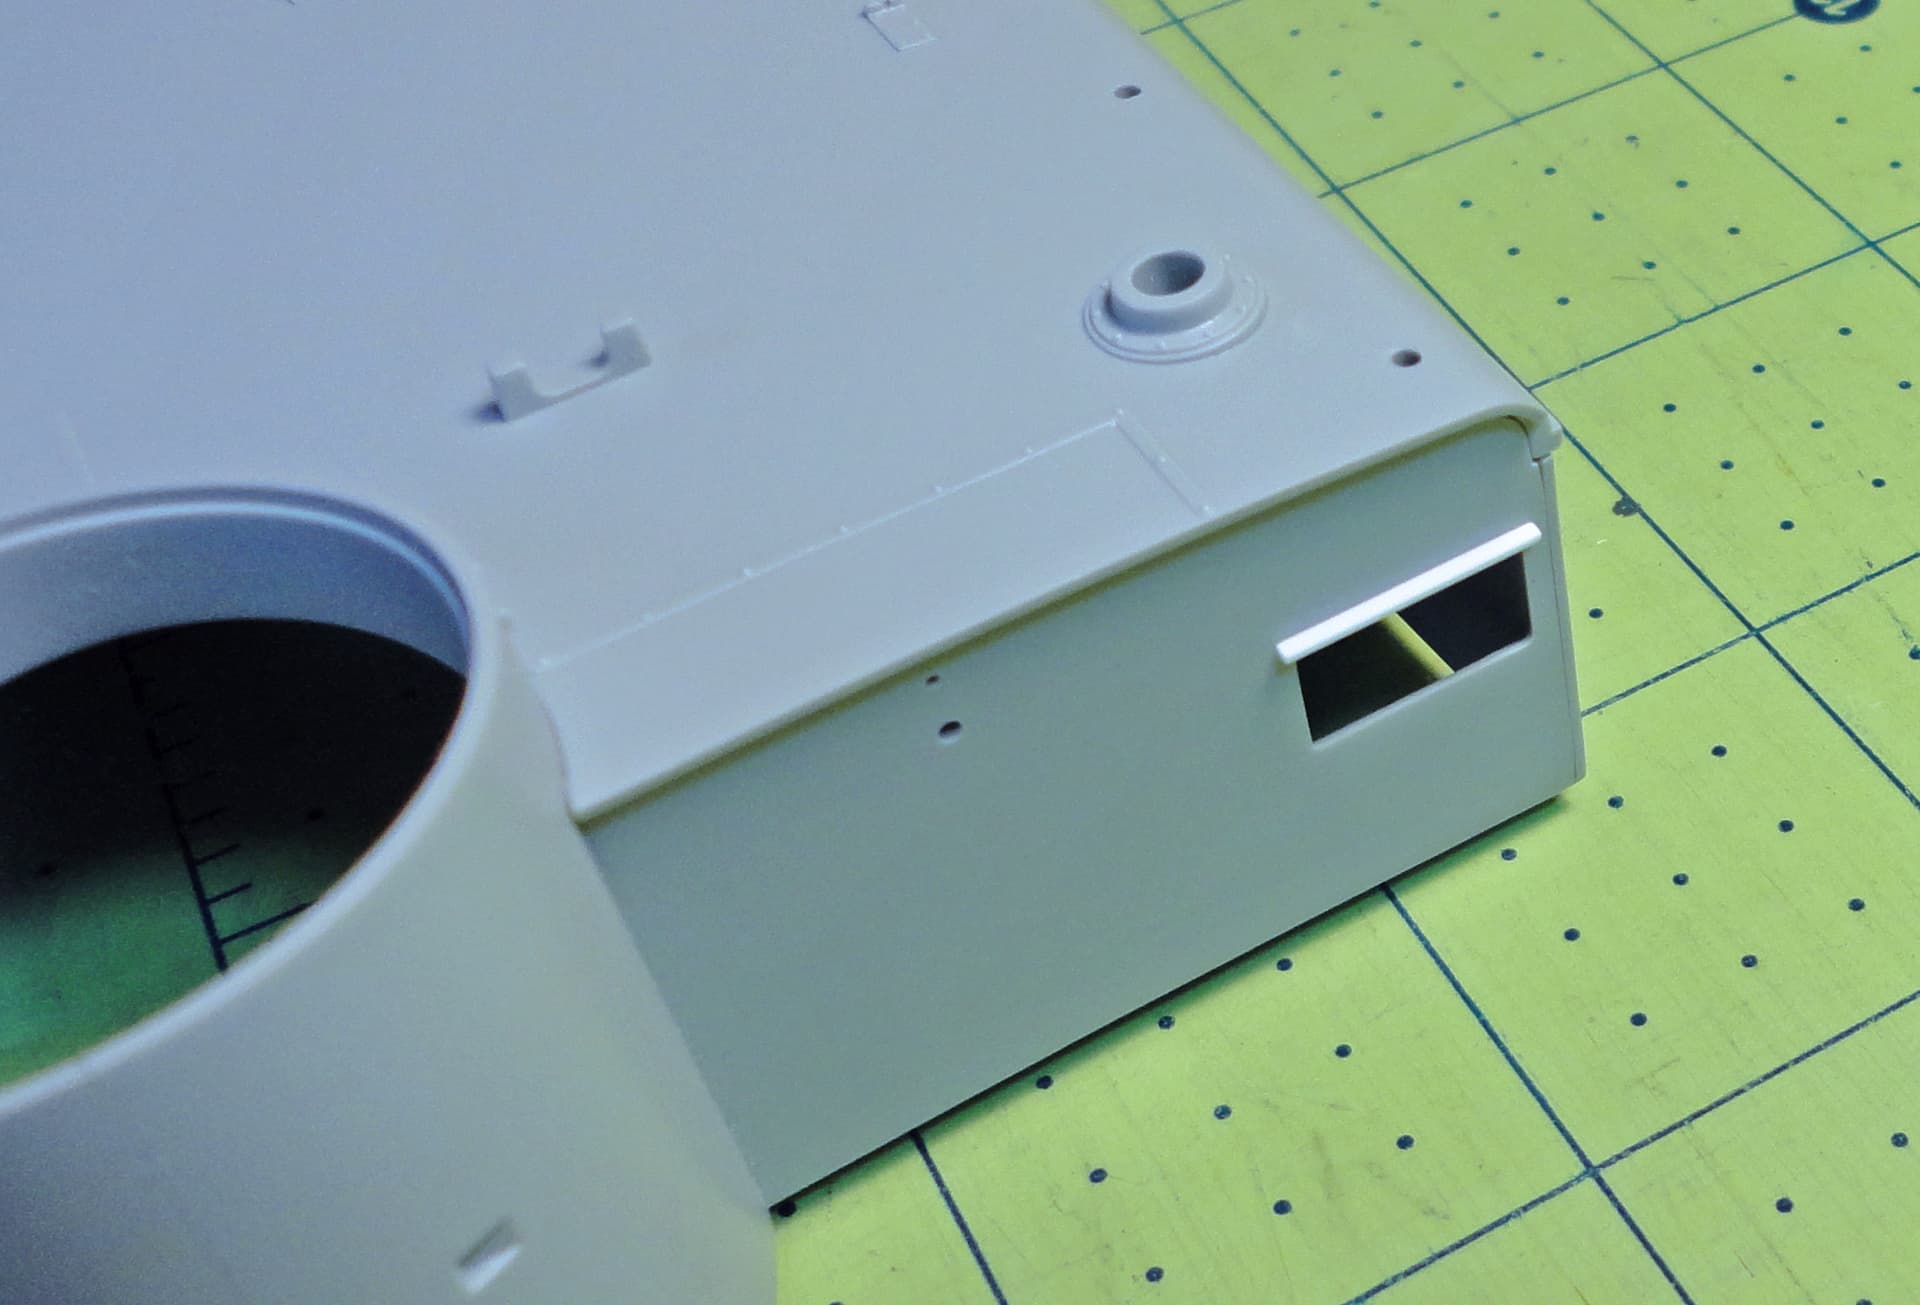
6th Image: The bow screw cover had a sink mark in it. My solution was to cover the area with a .015” piece of styrene. It was sized to fit against the kit’s photo-etch bow guard (Part PH1). I was careful to not sand away any of the kit’s deck lines, as they look real good.
7th Image: A small styrene strip was added to deck Part 33C to make it fit better to the main deck.
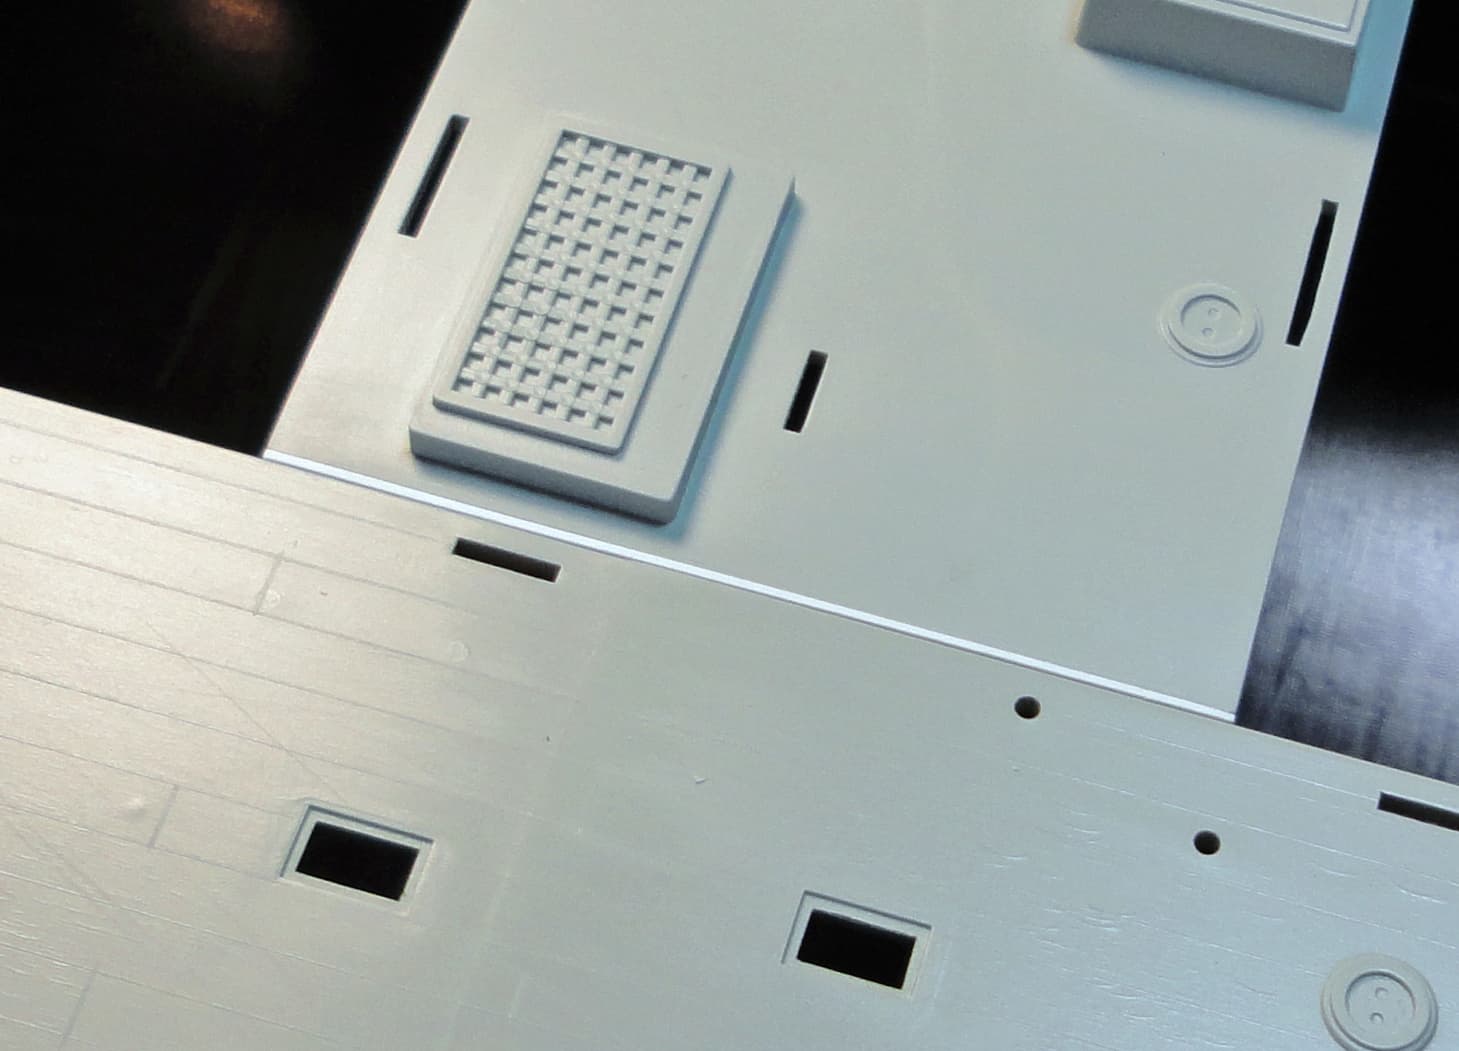
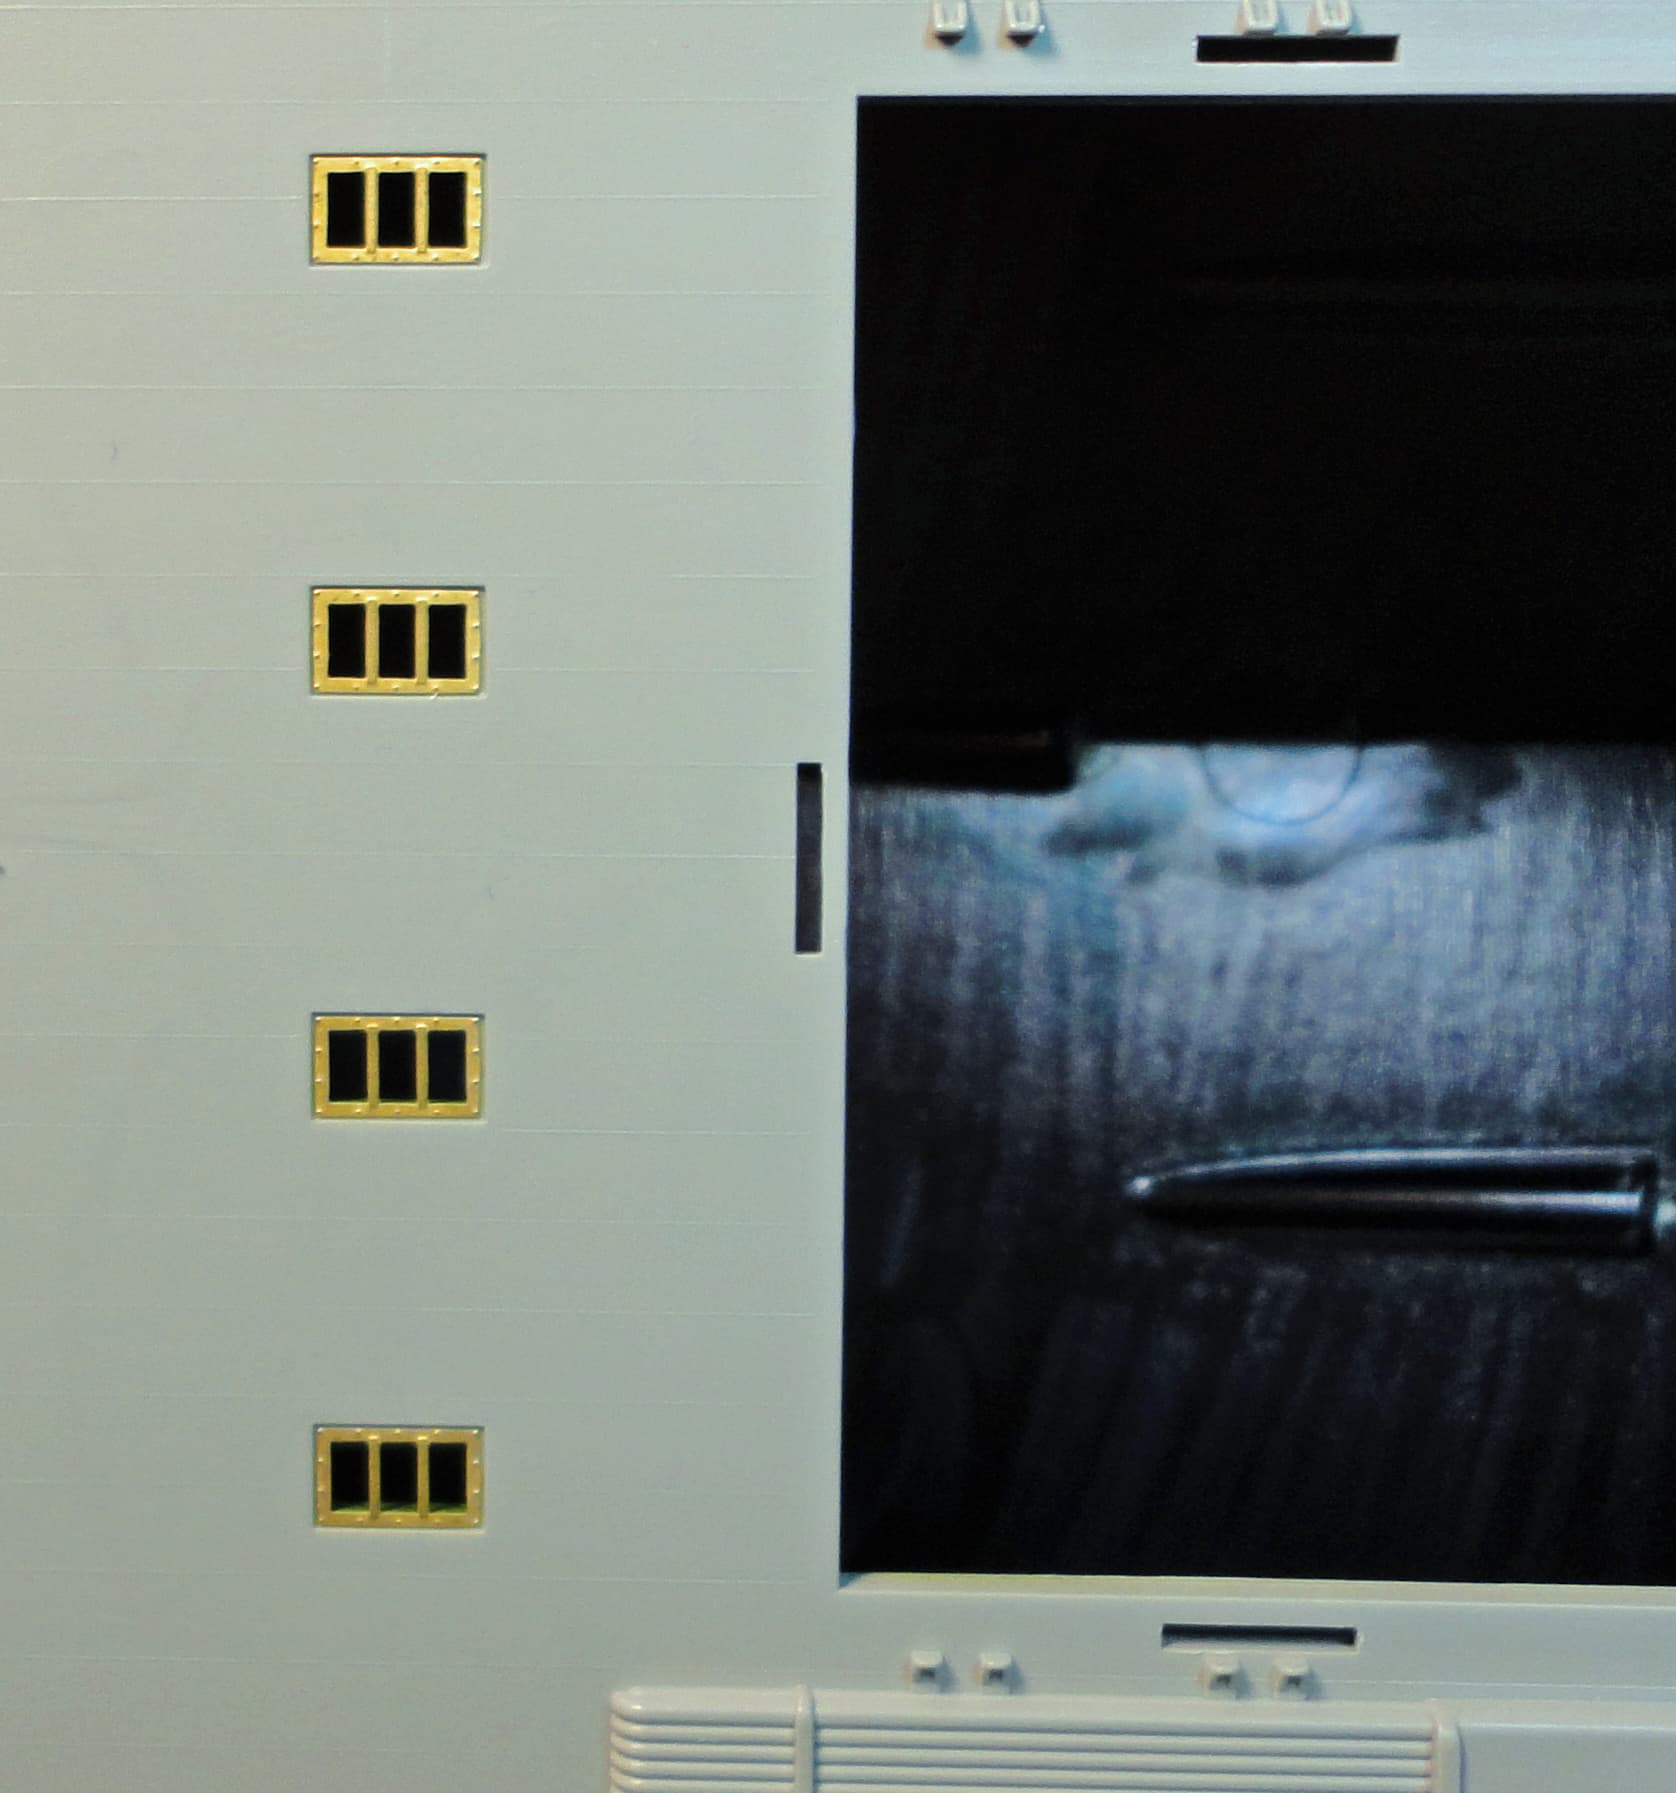
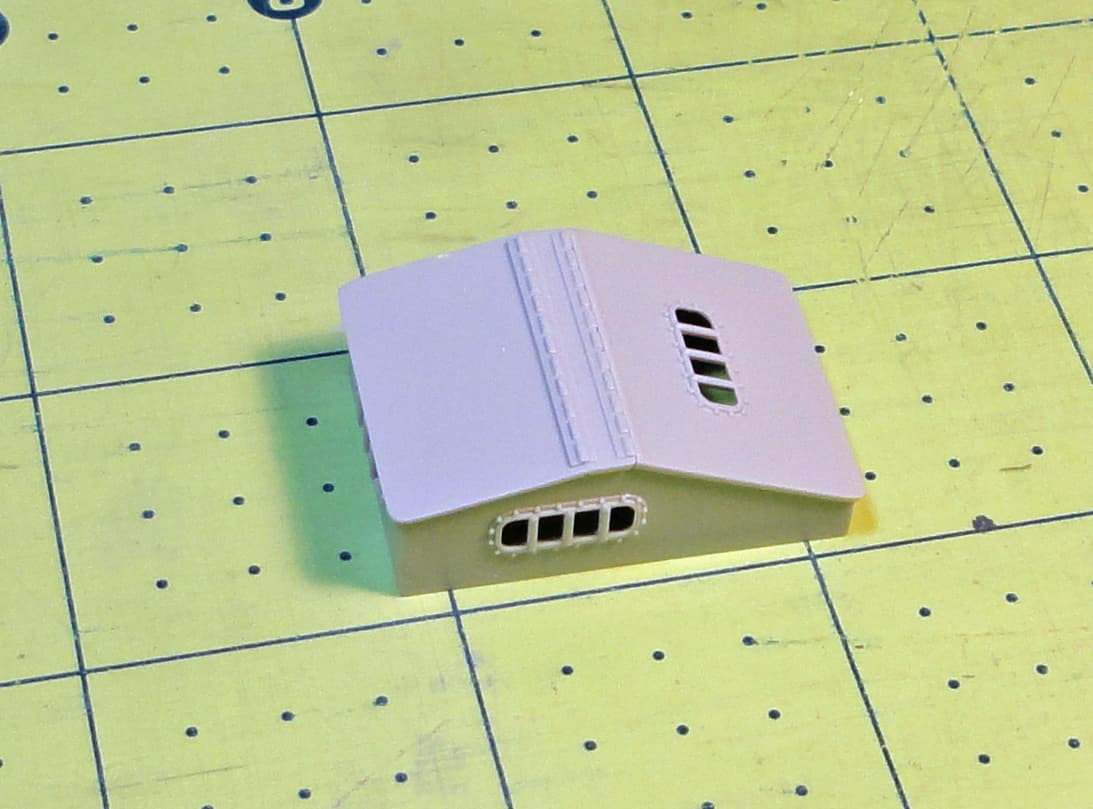
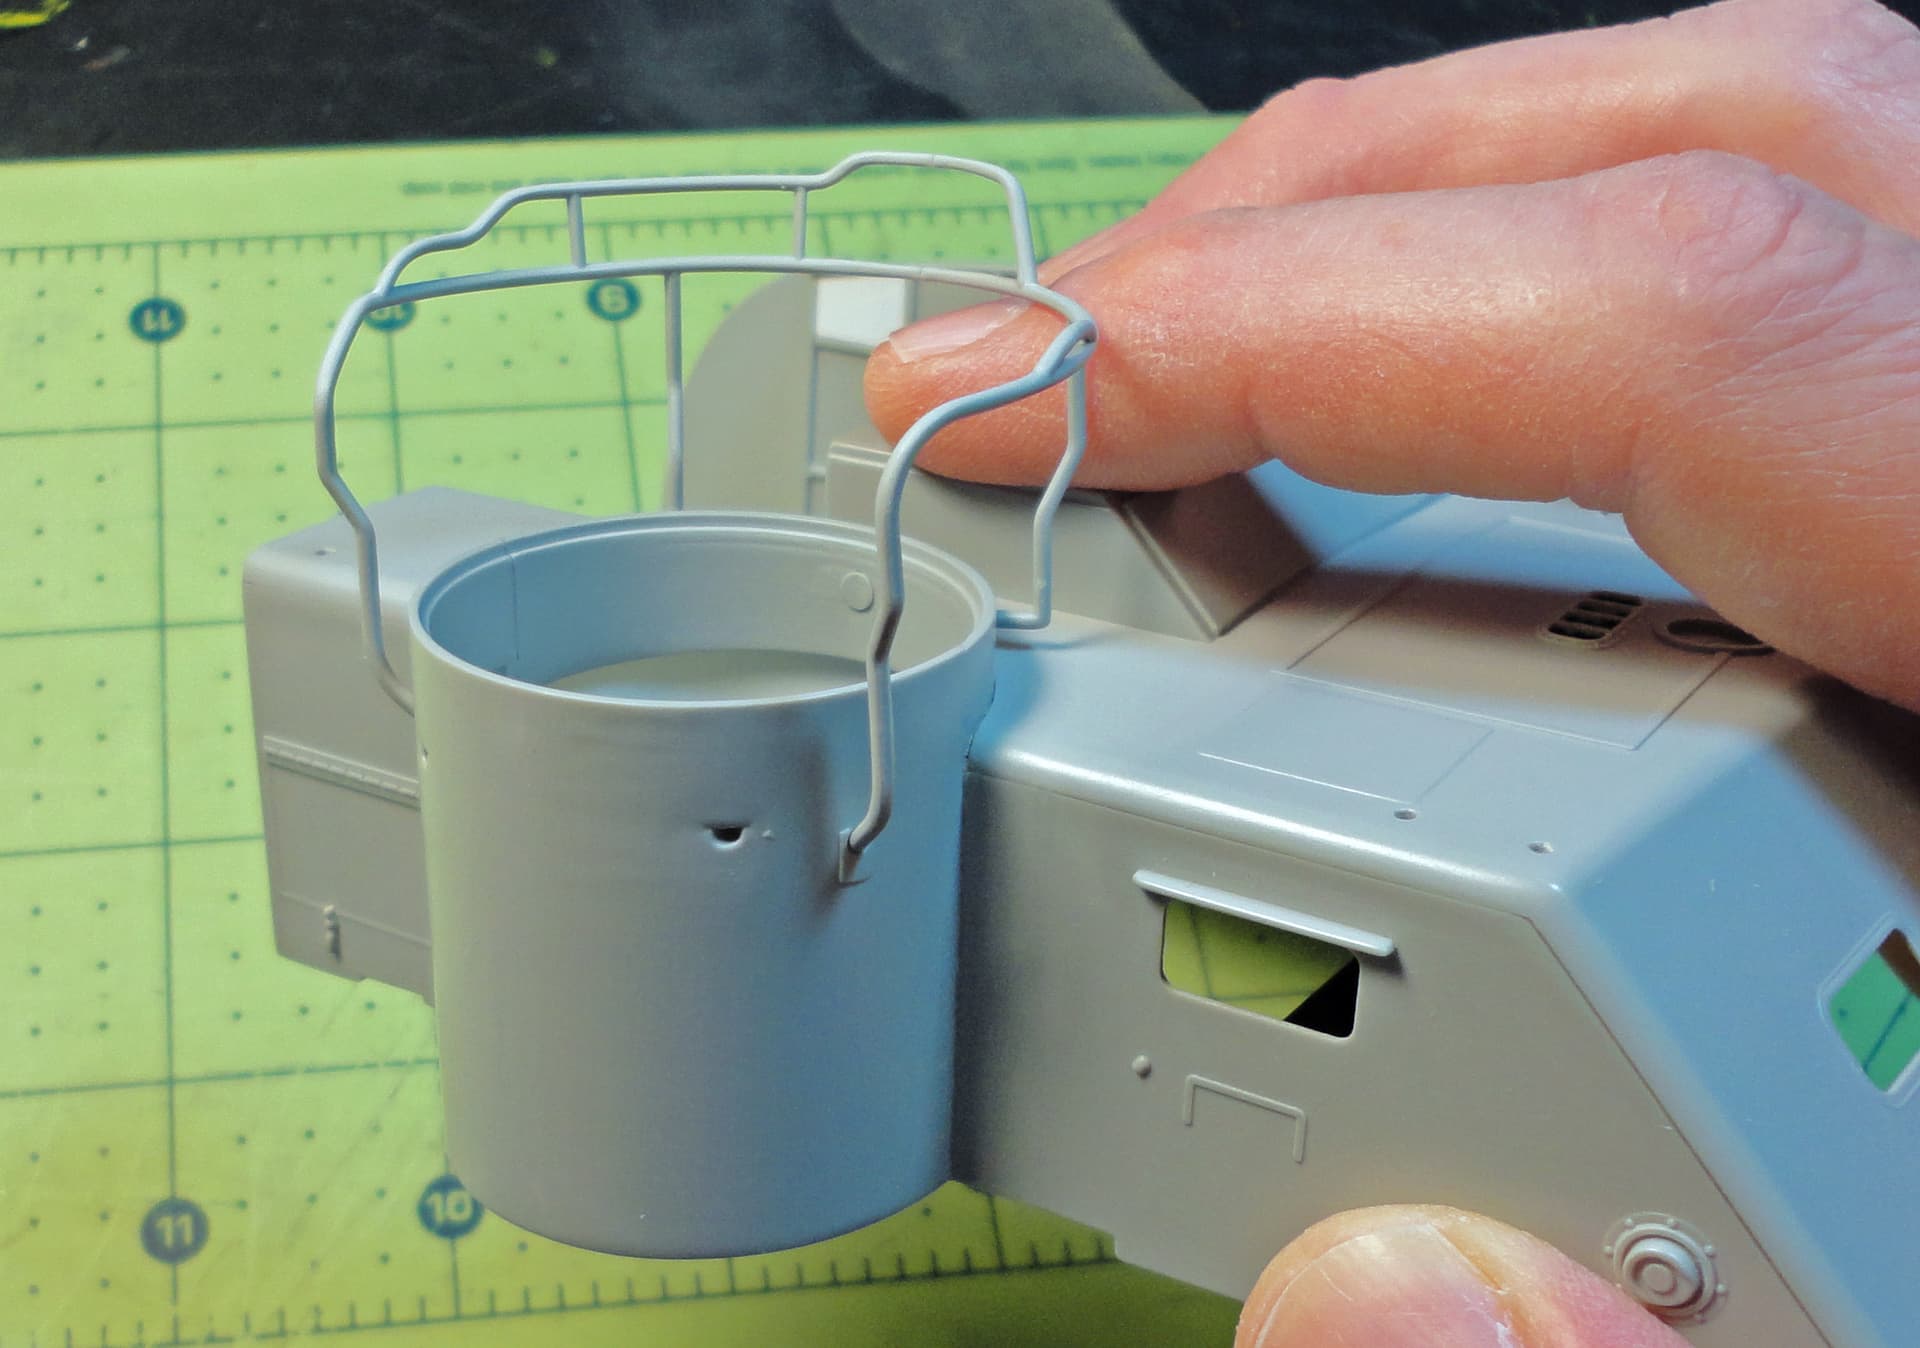
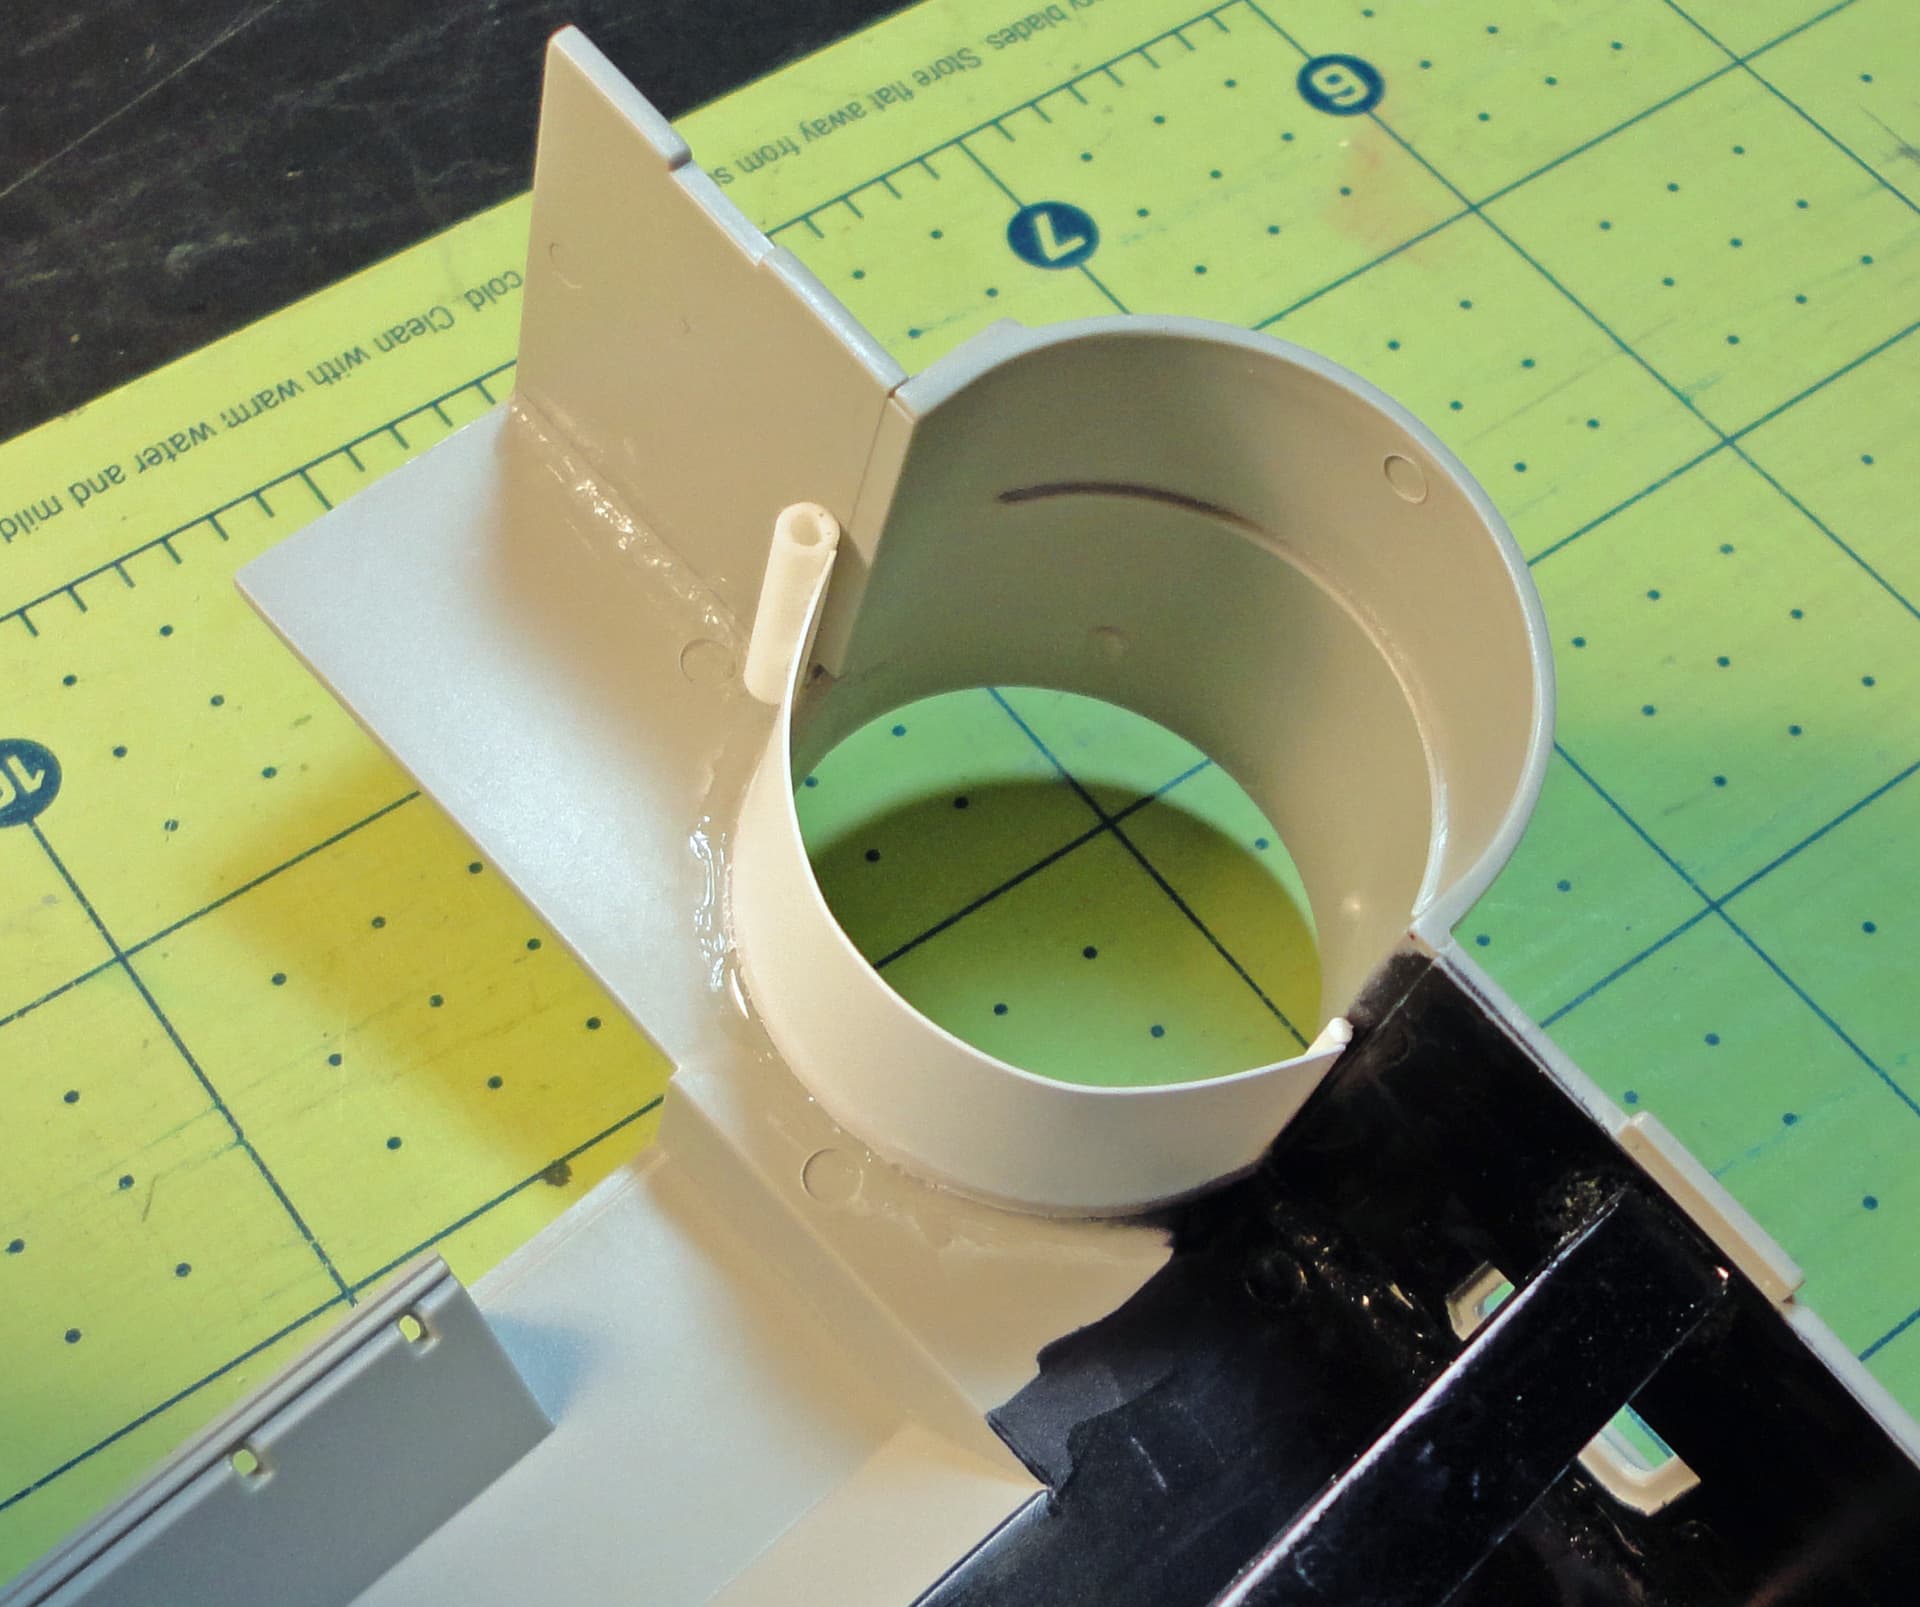
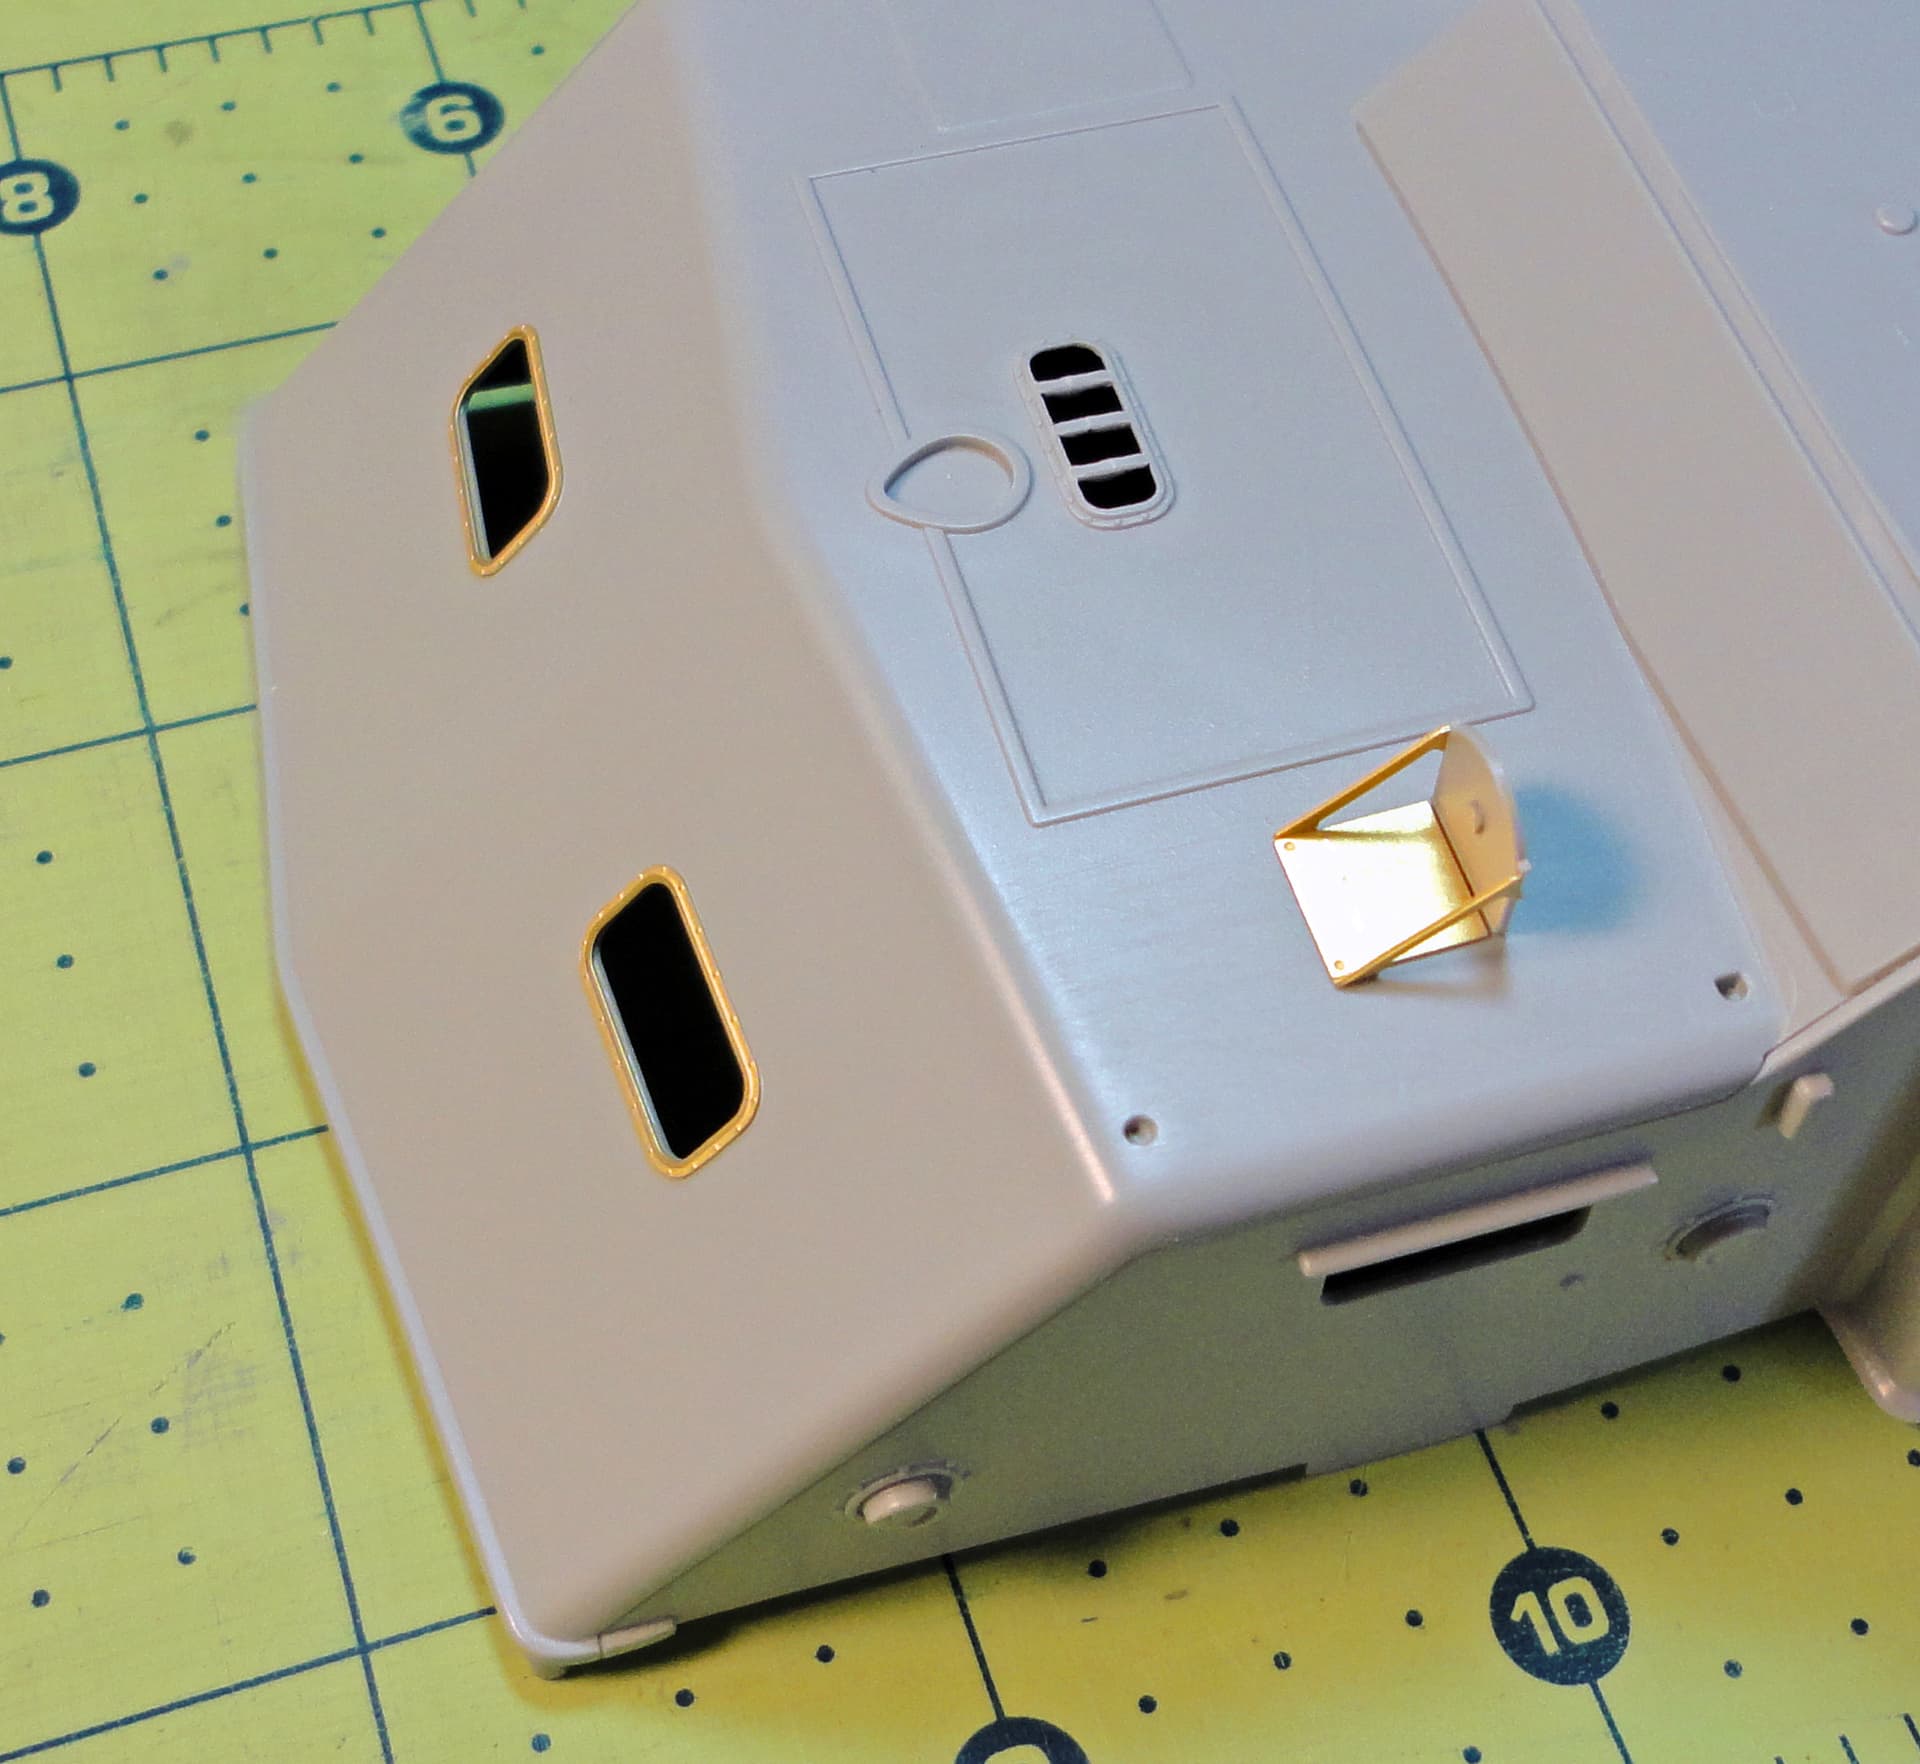
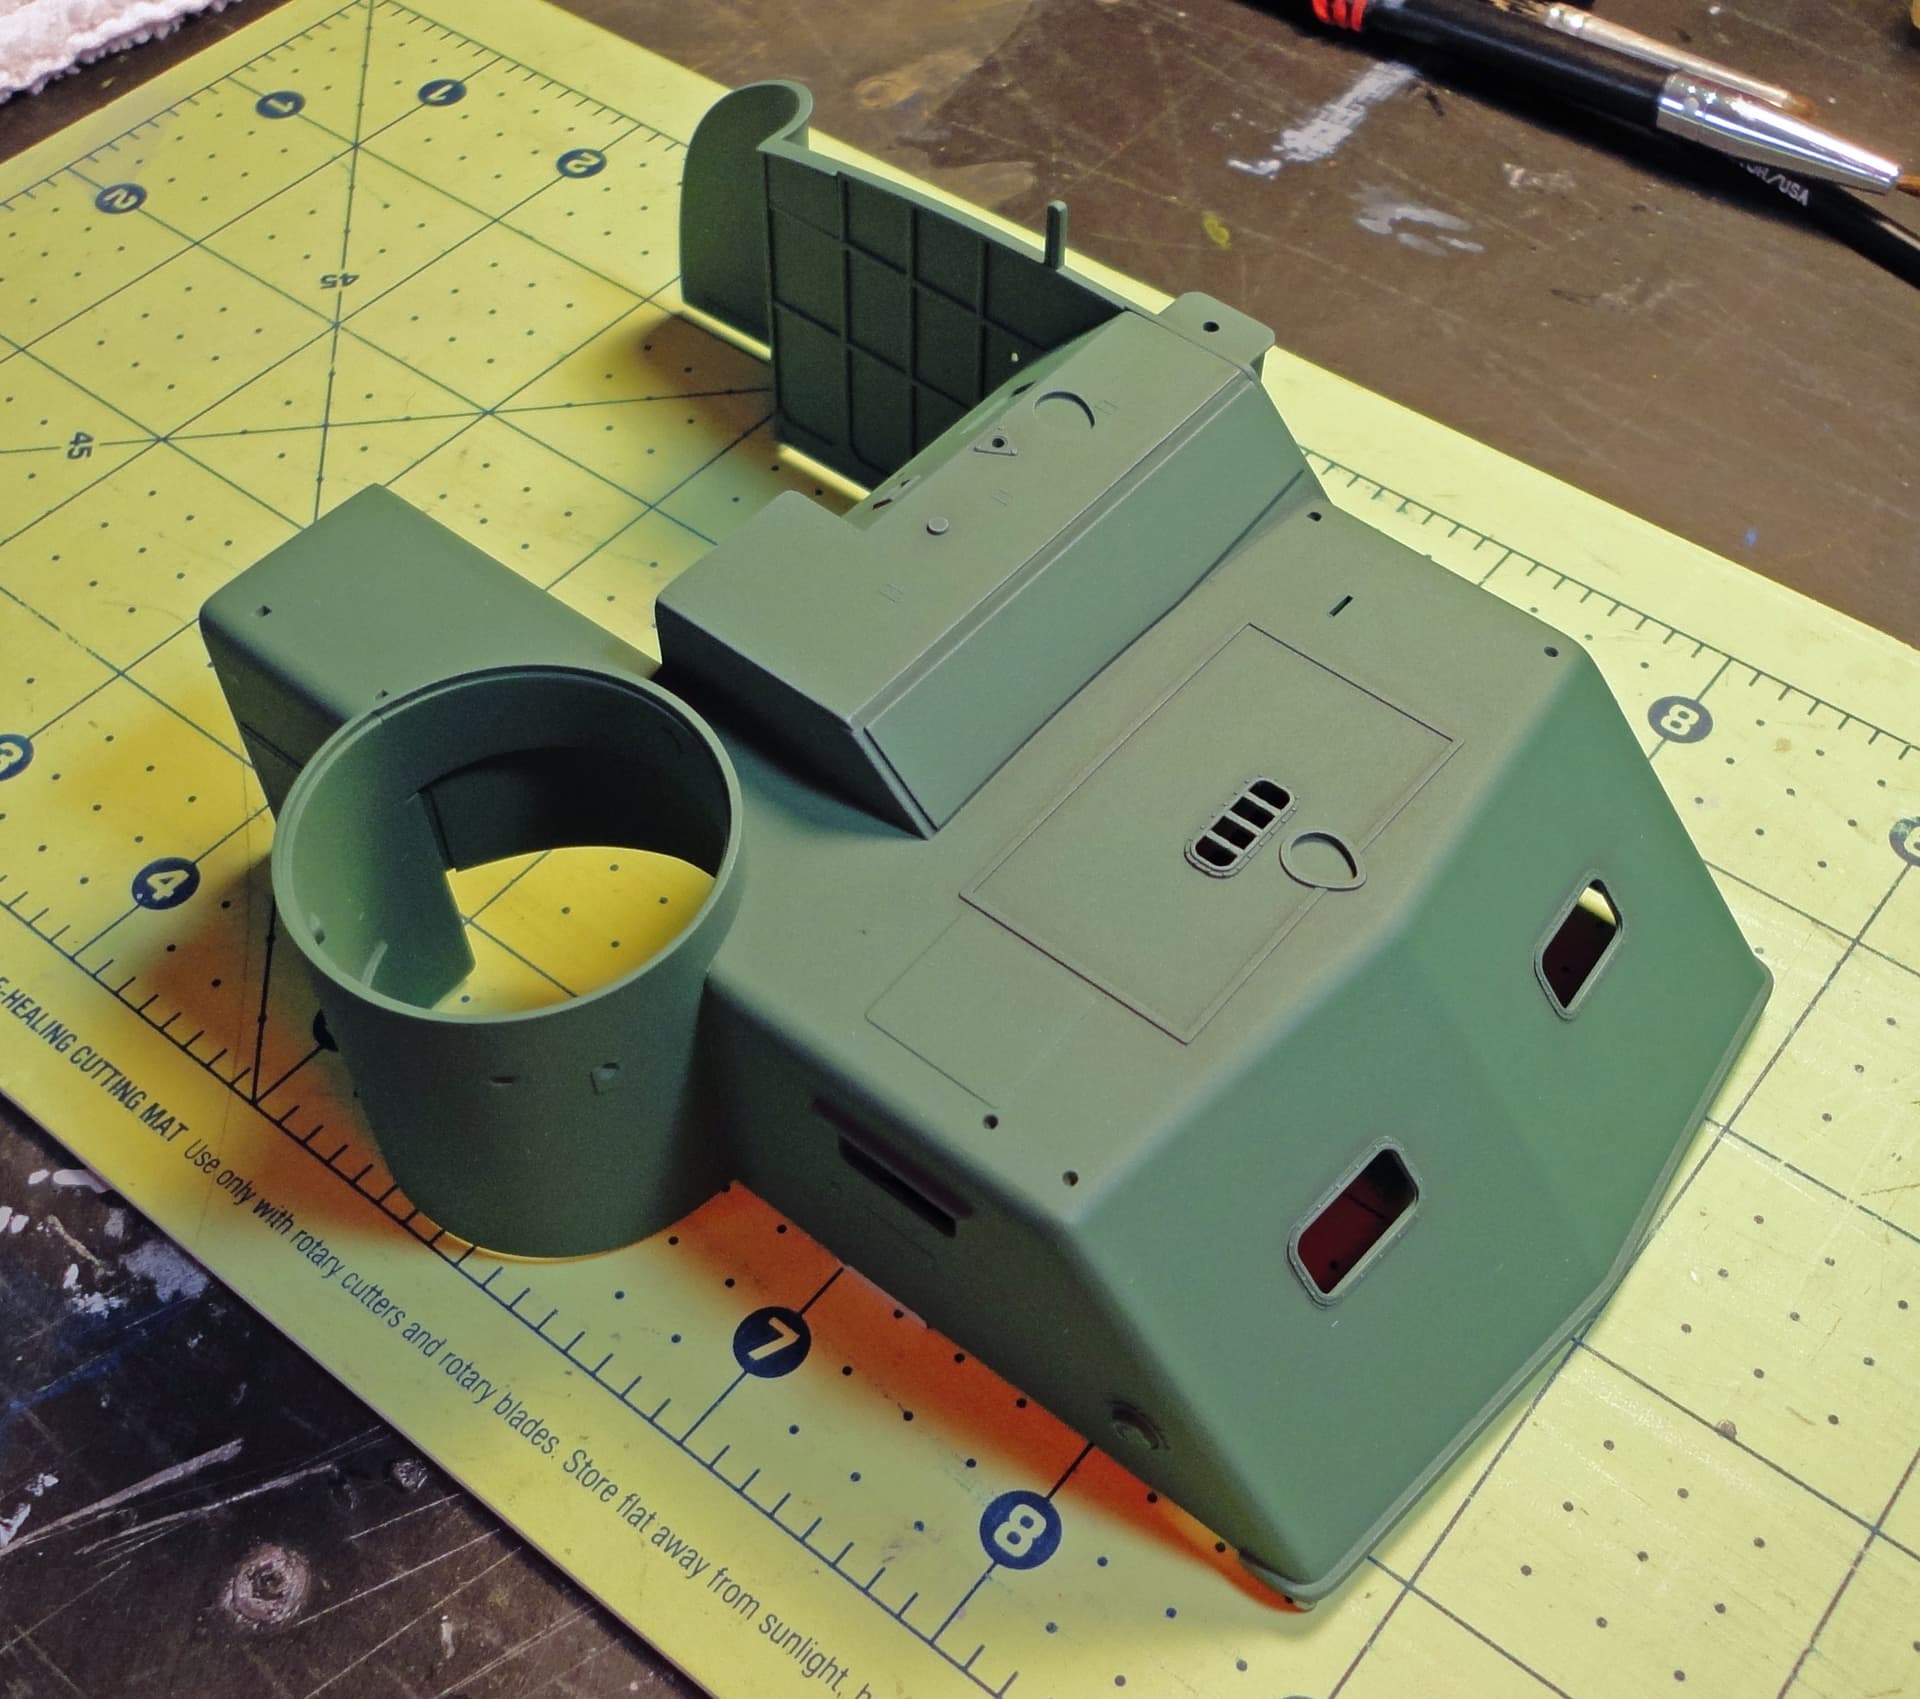
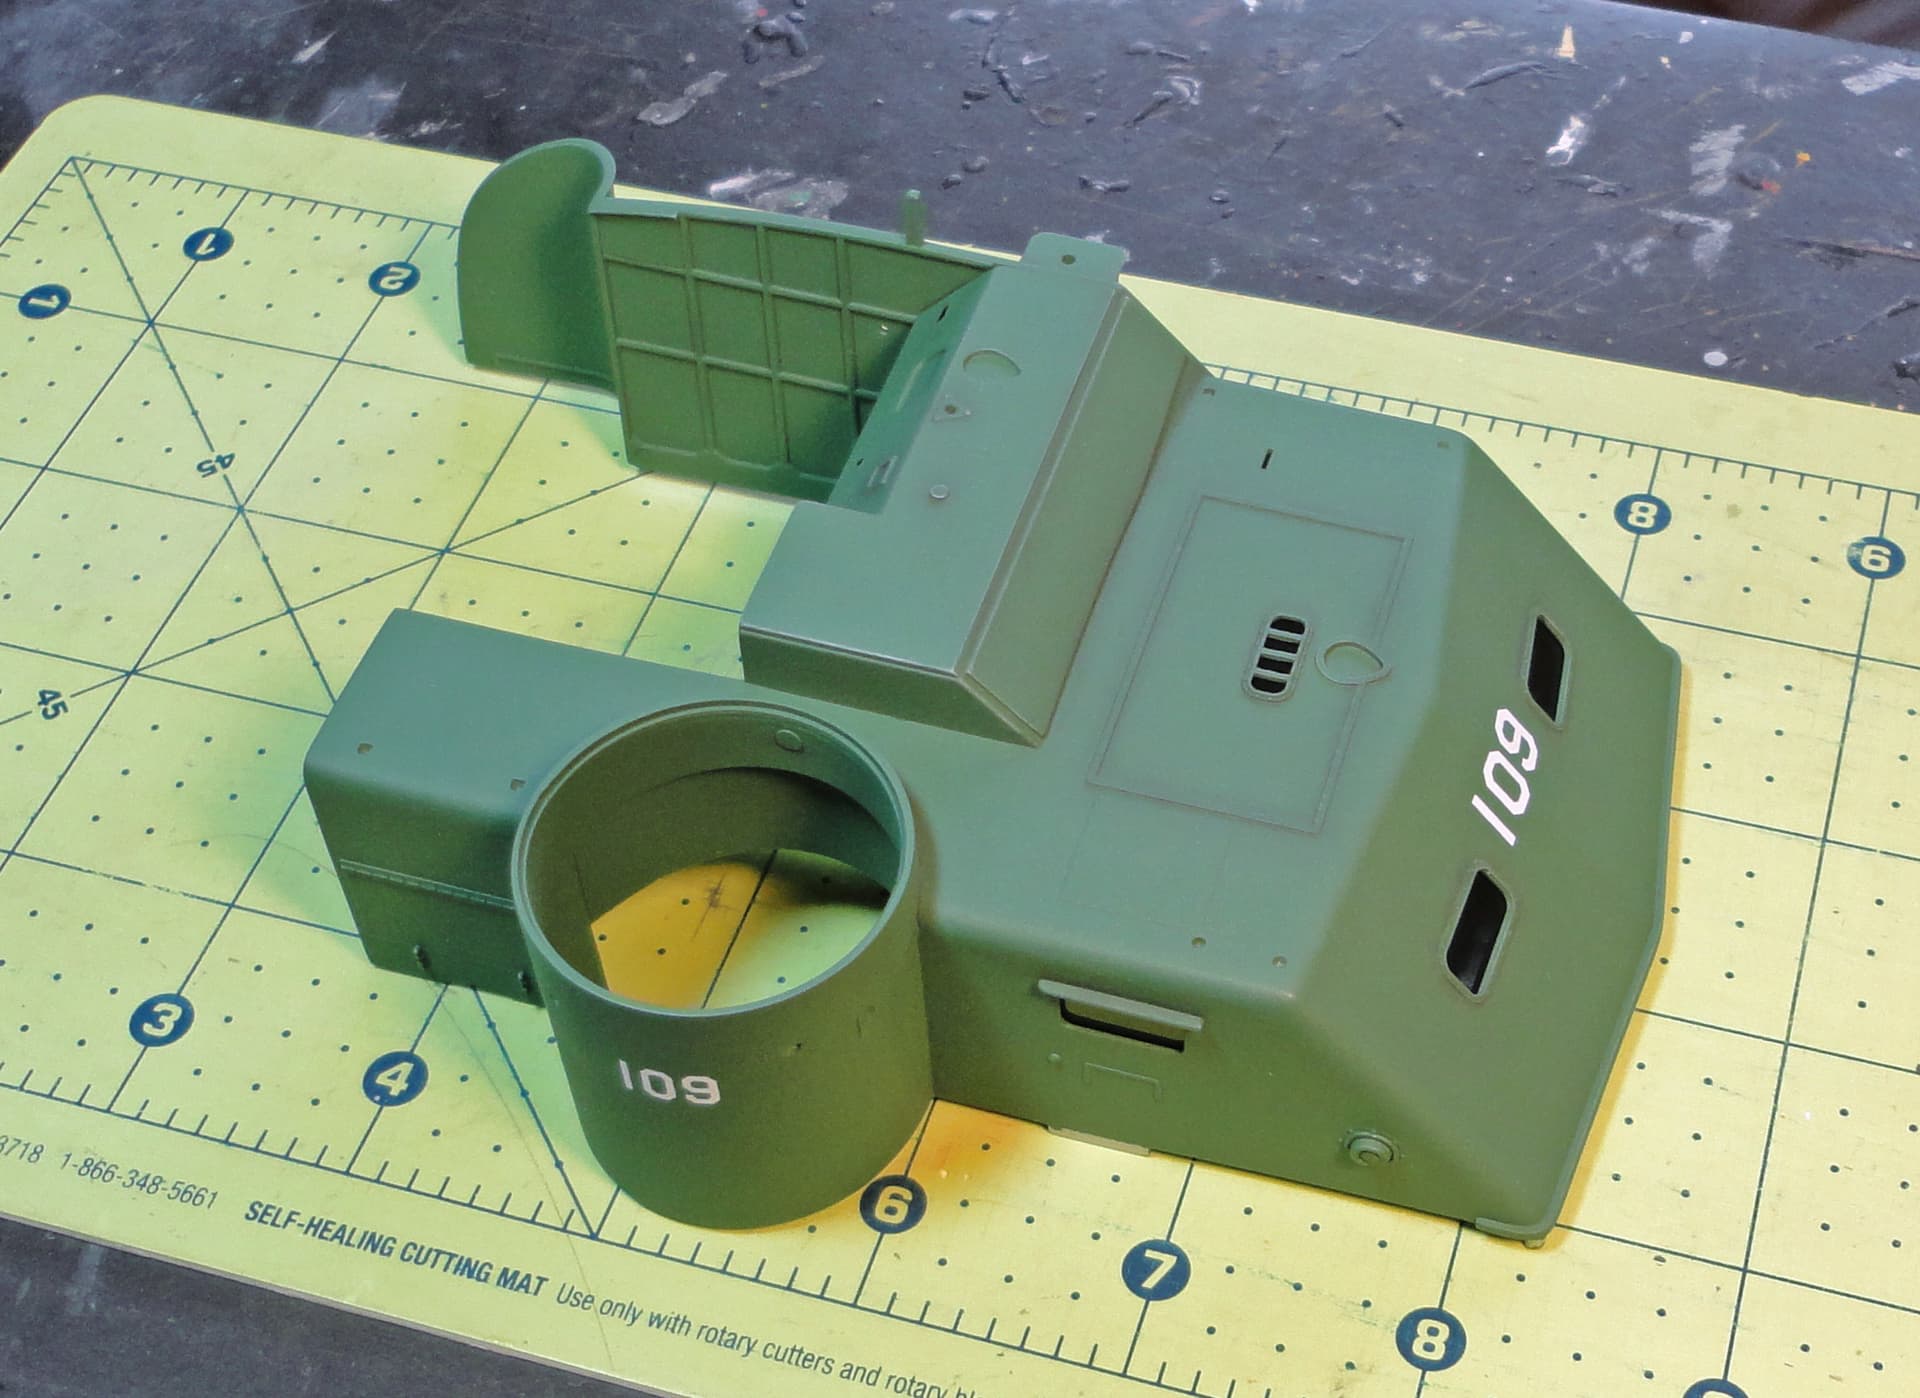
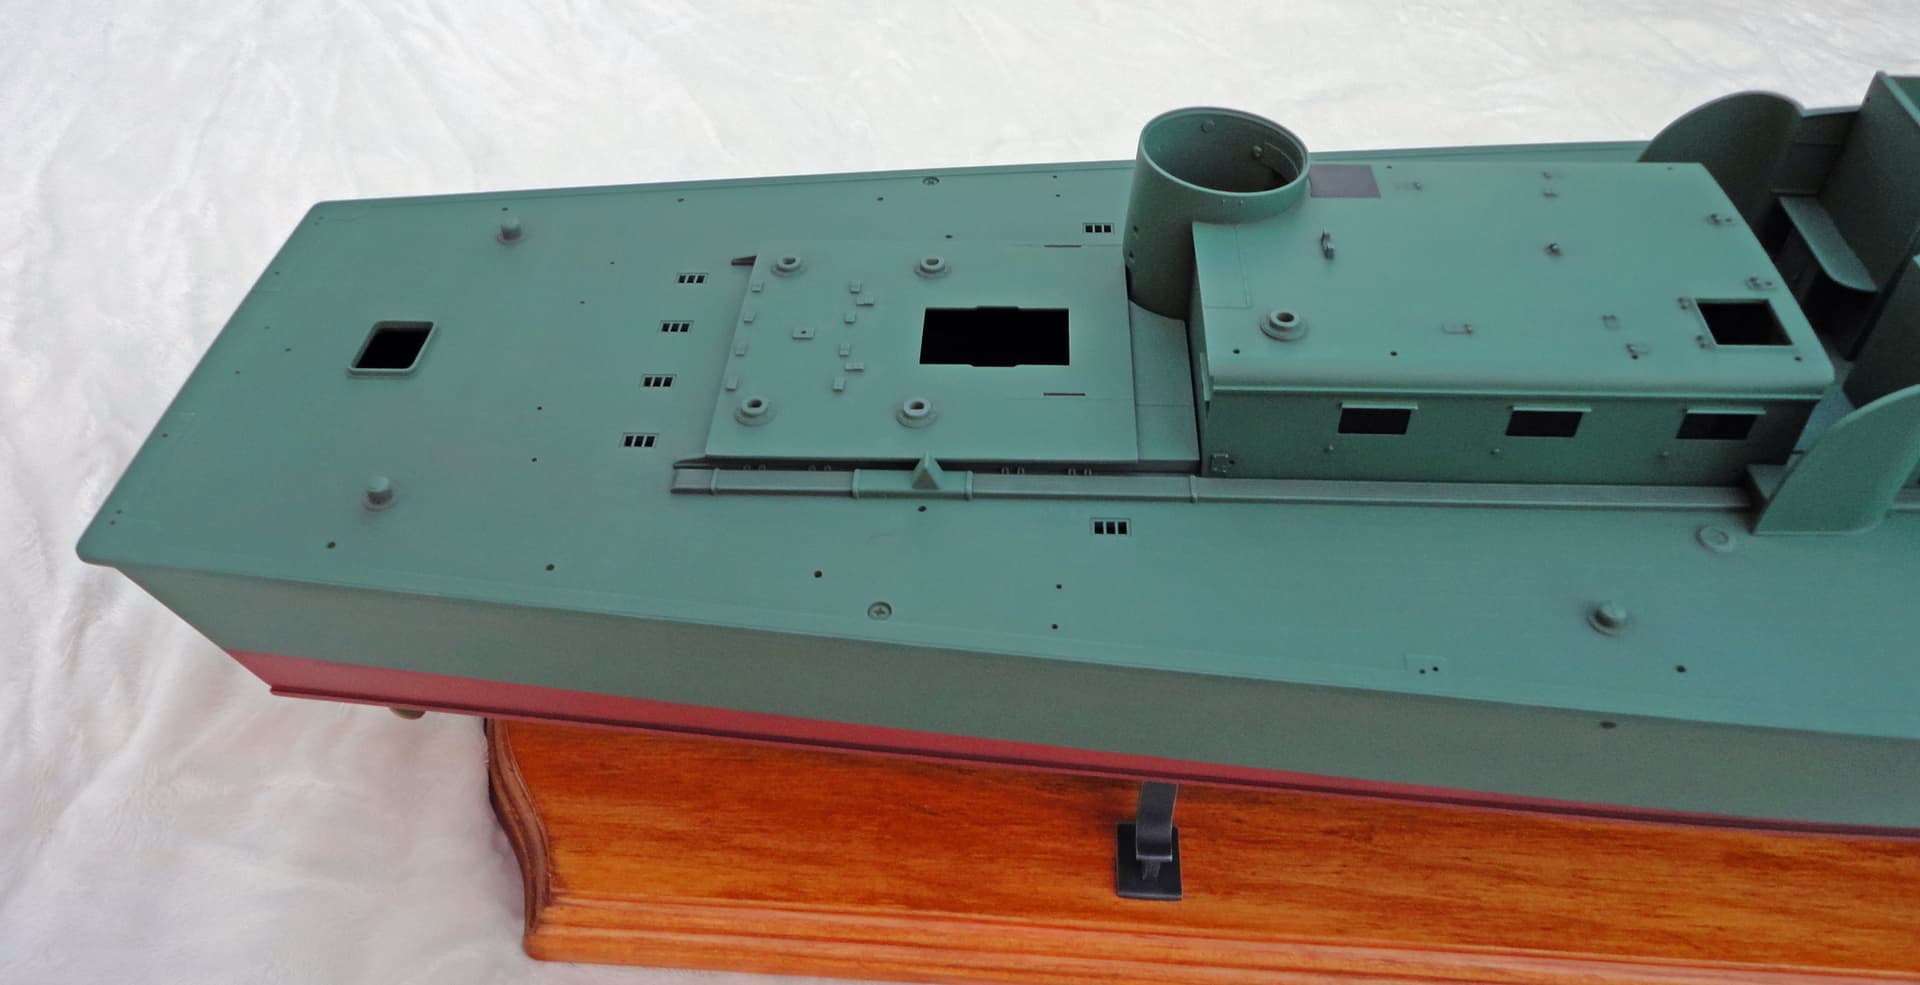
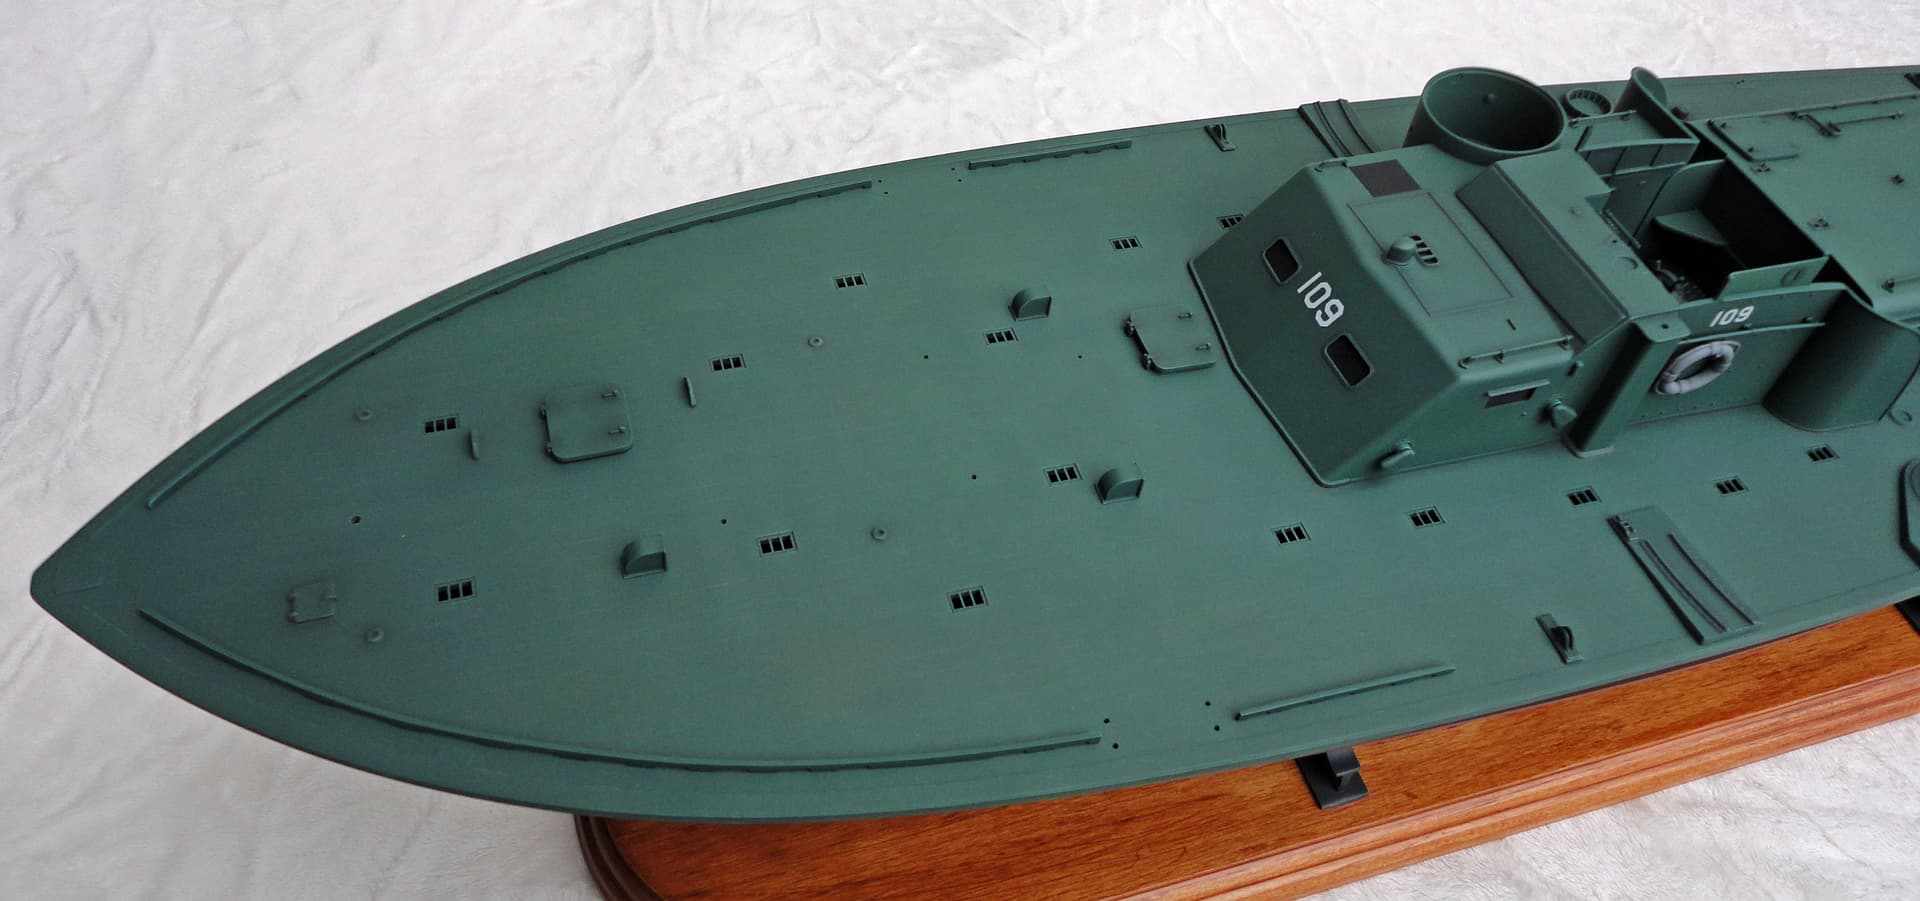
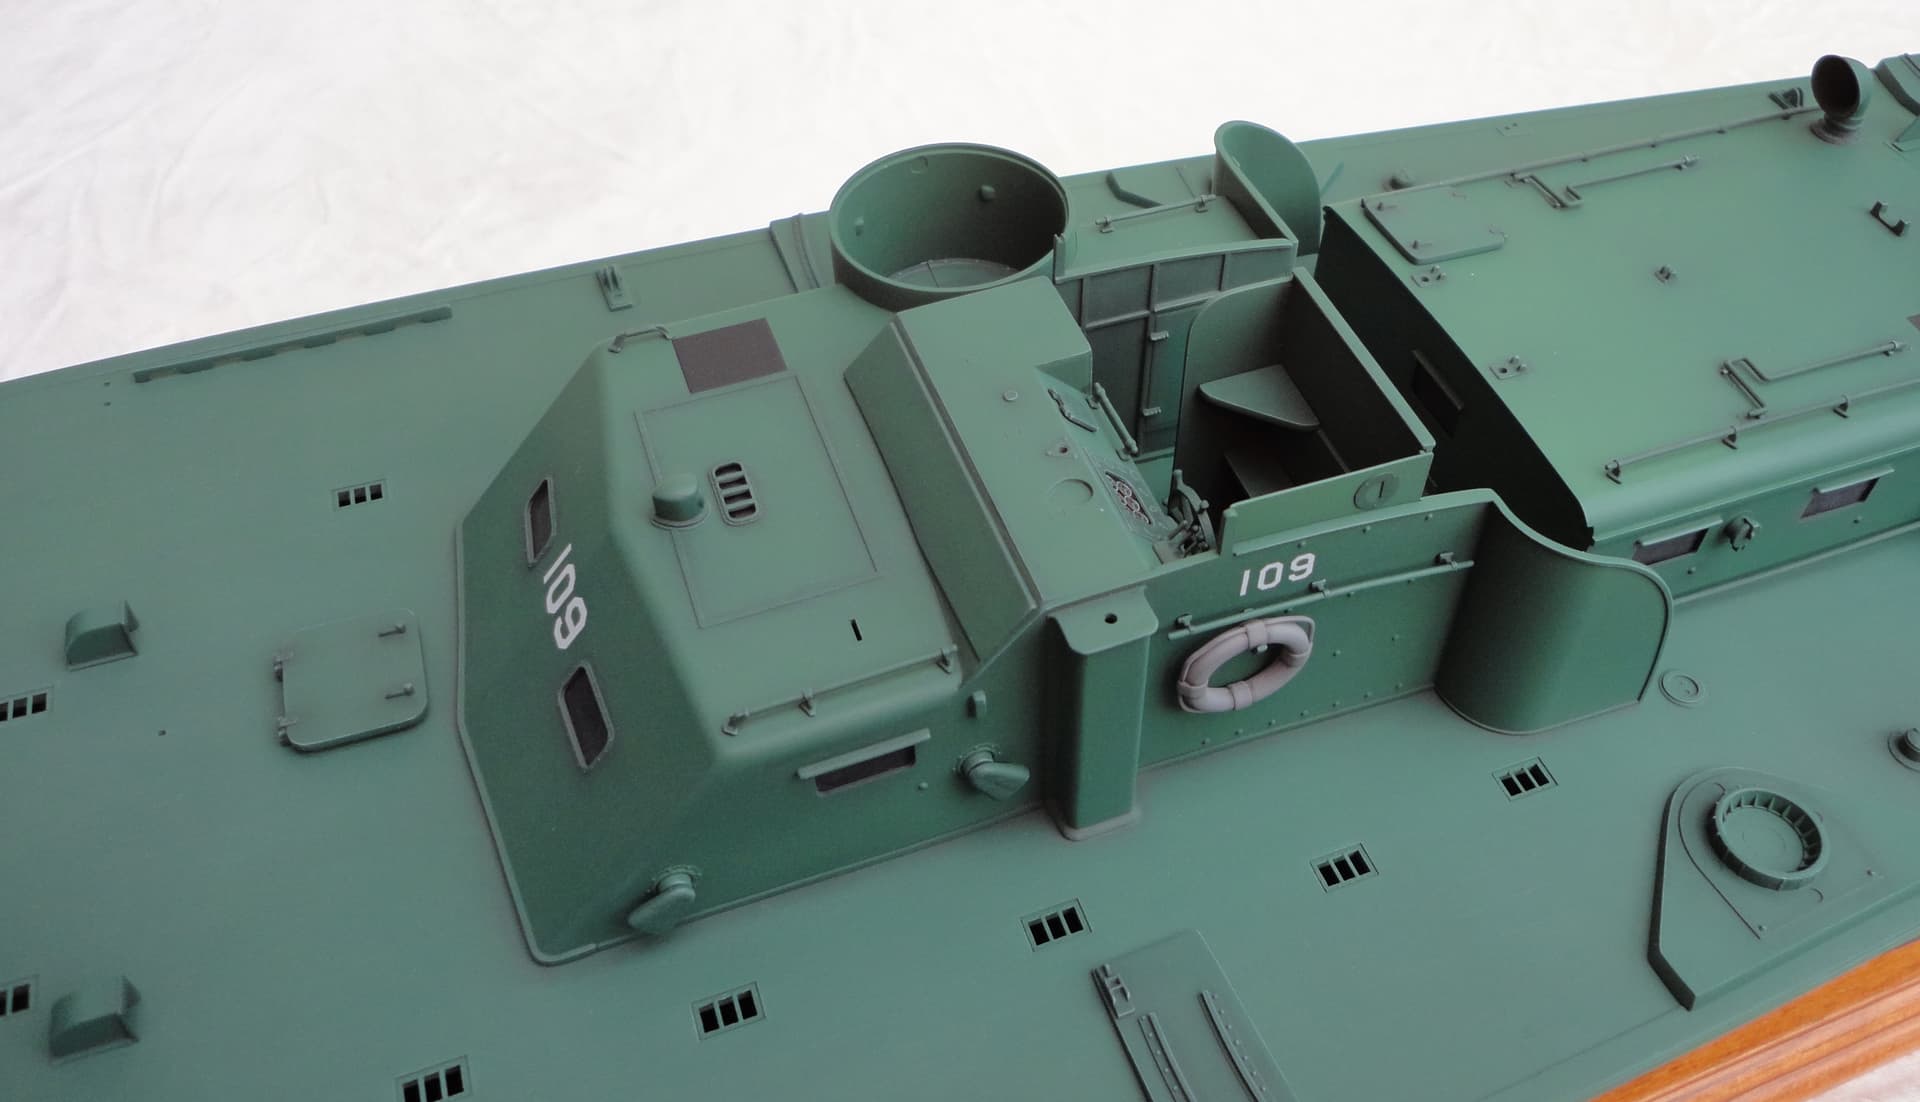
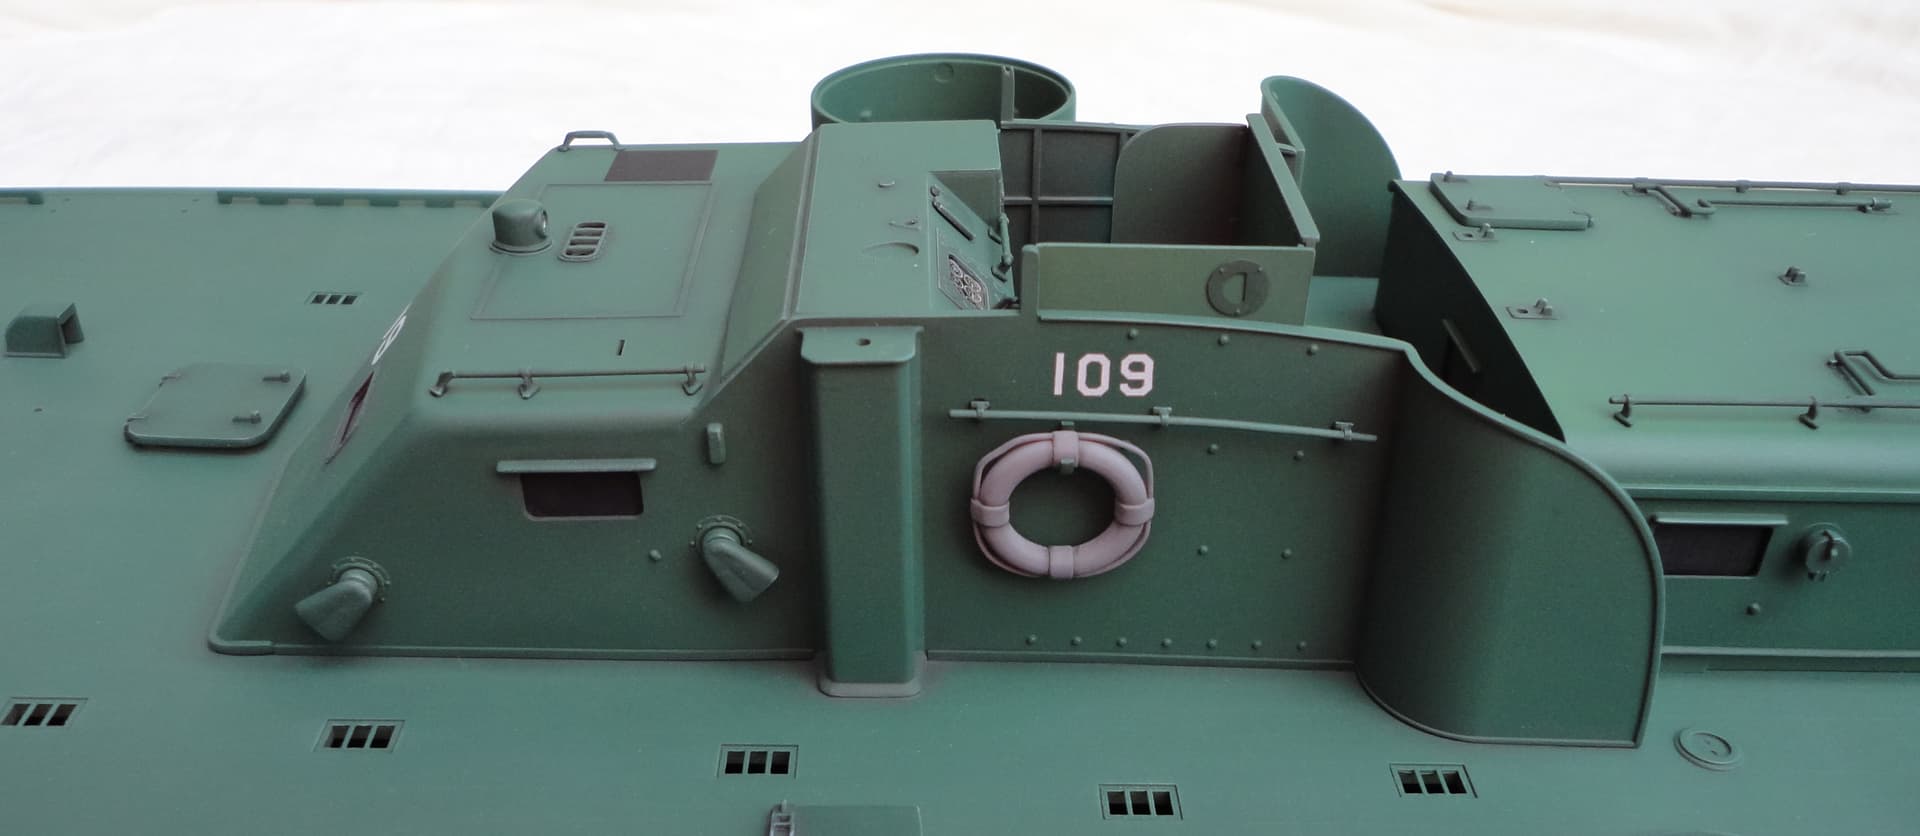
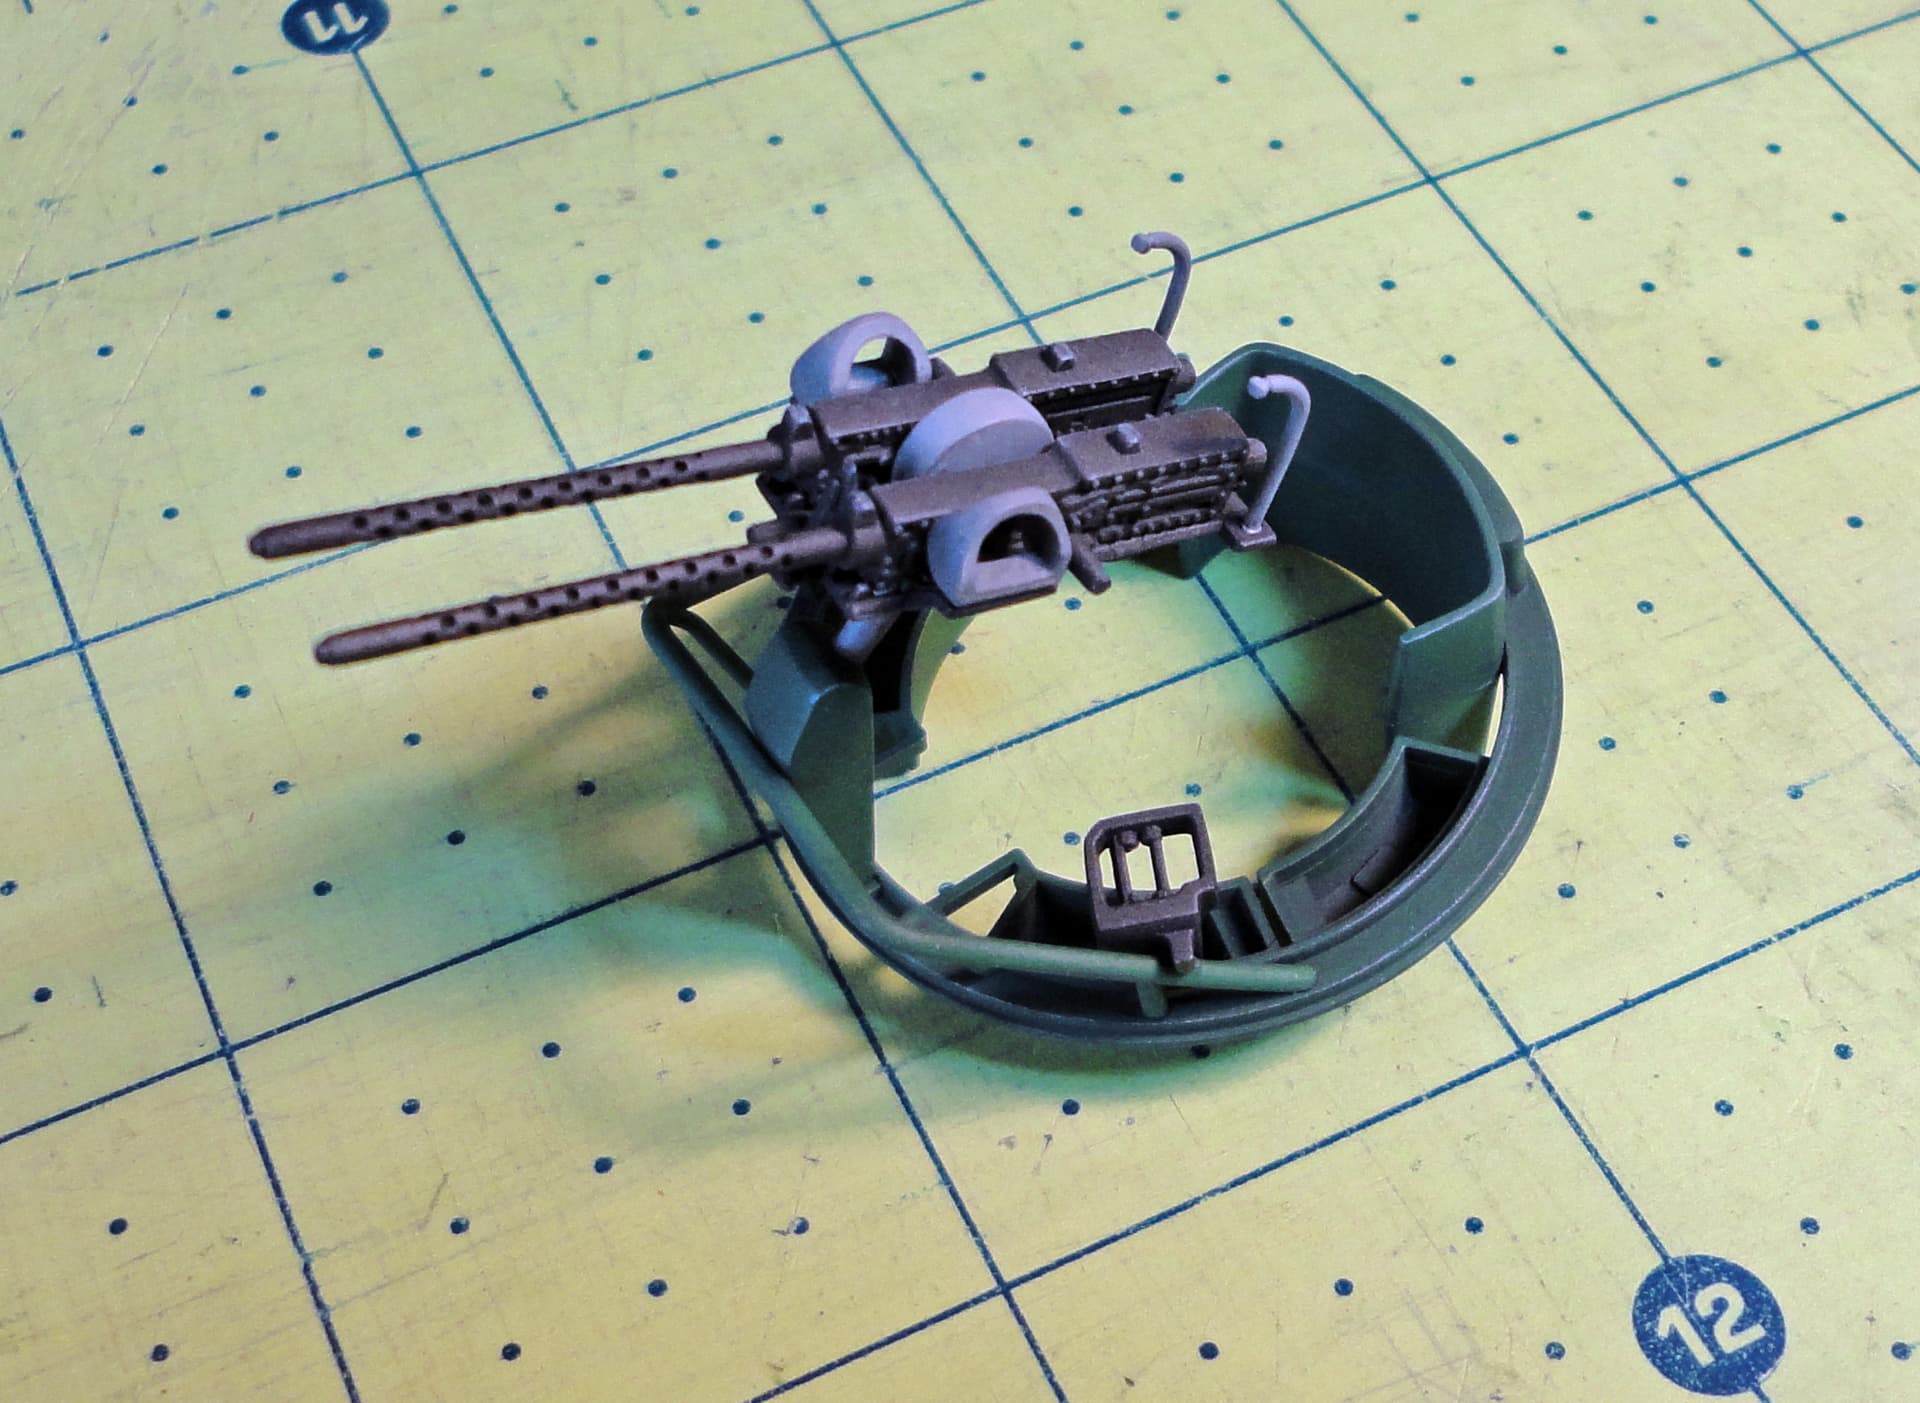
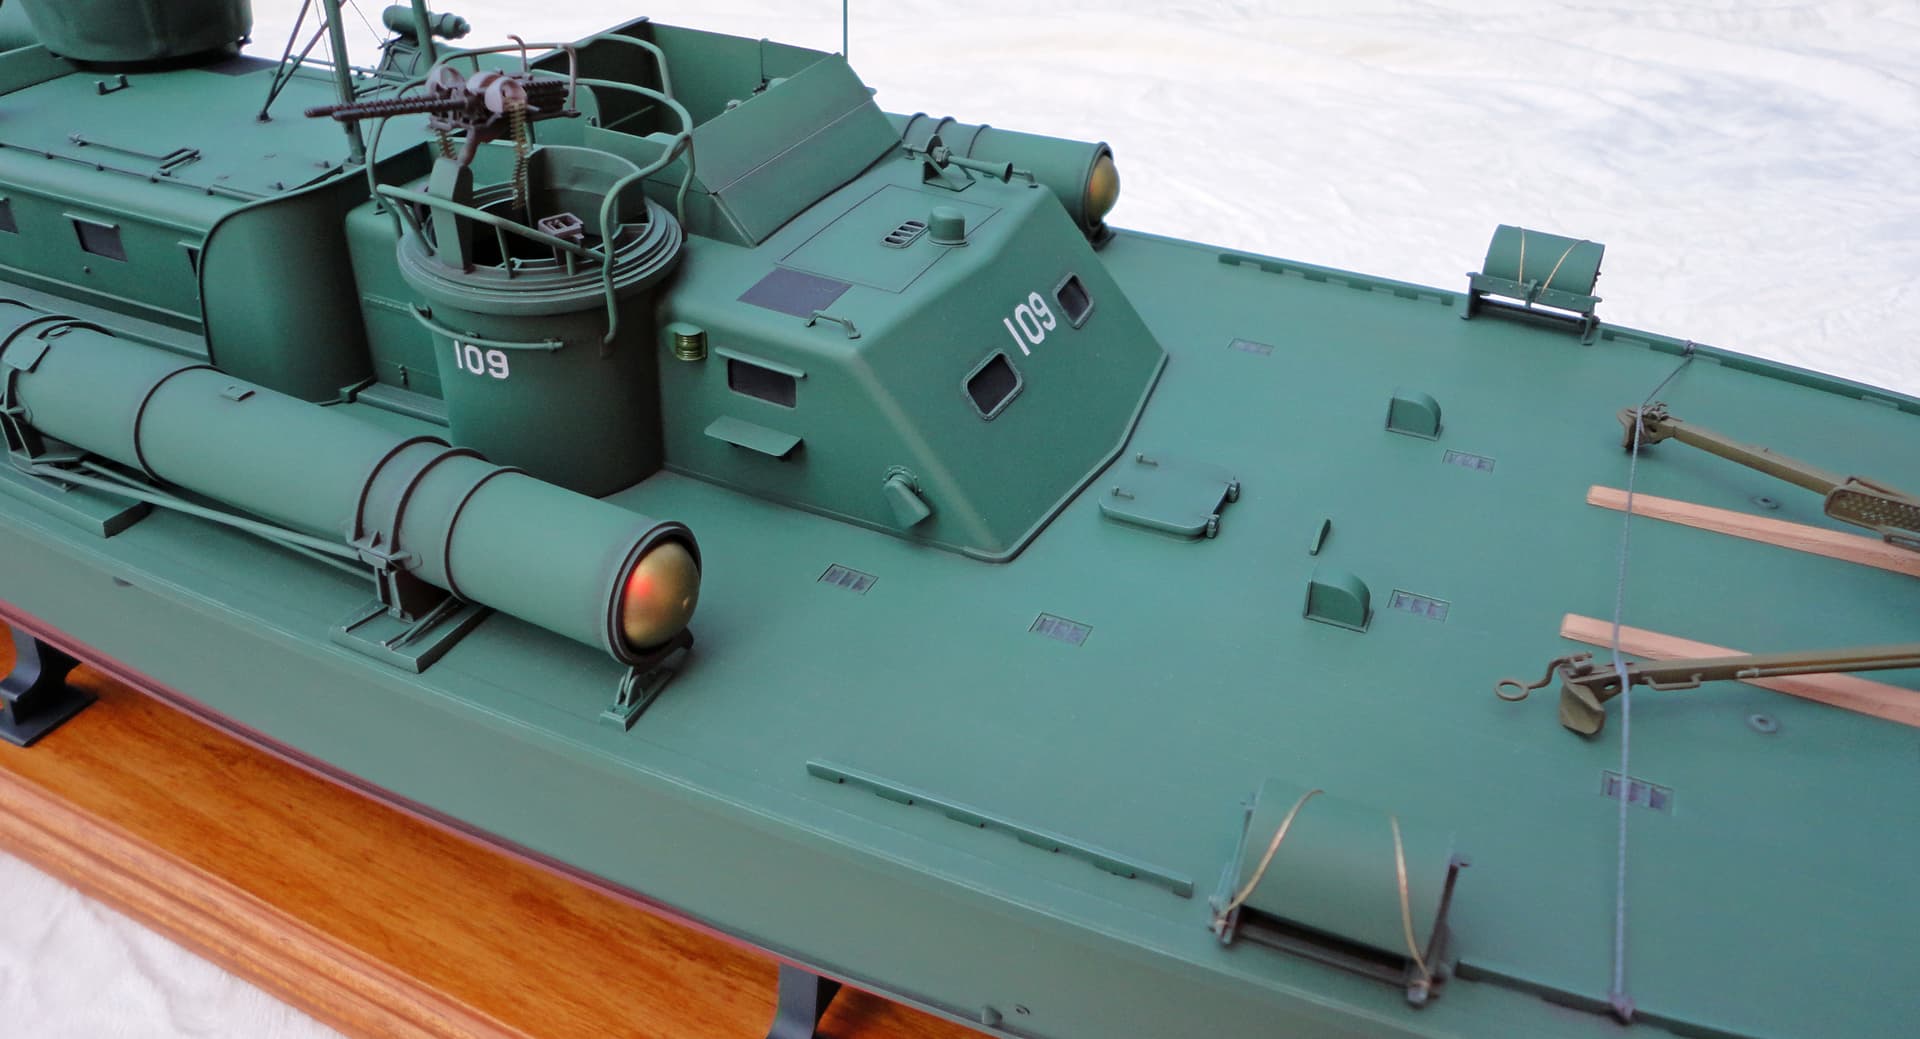
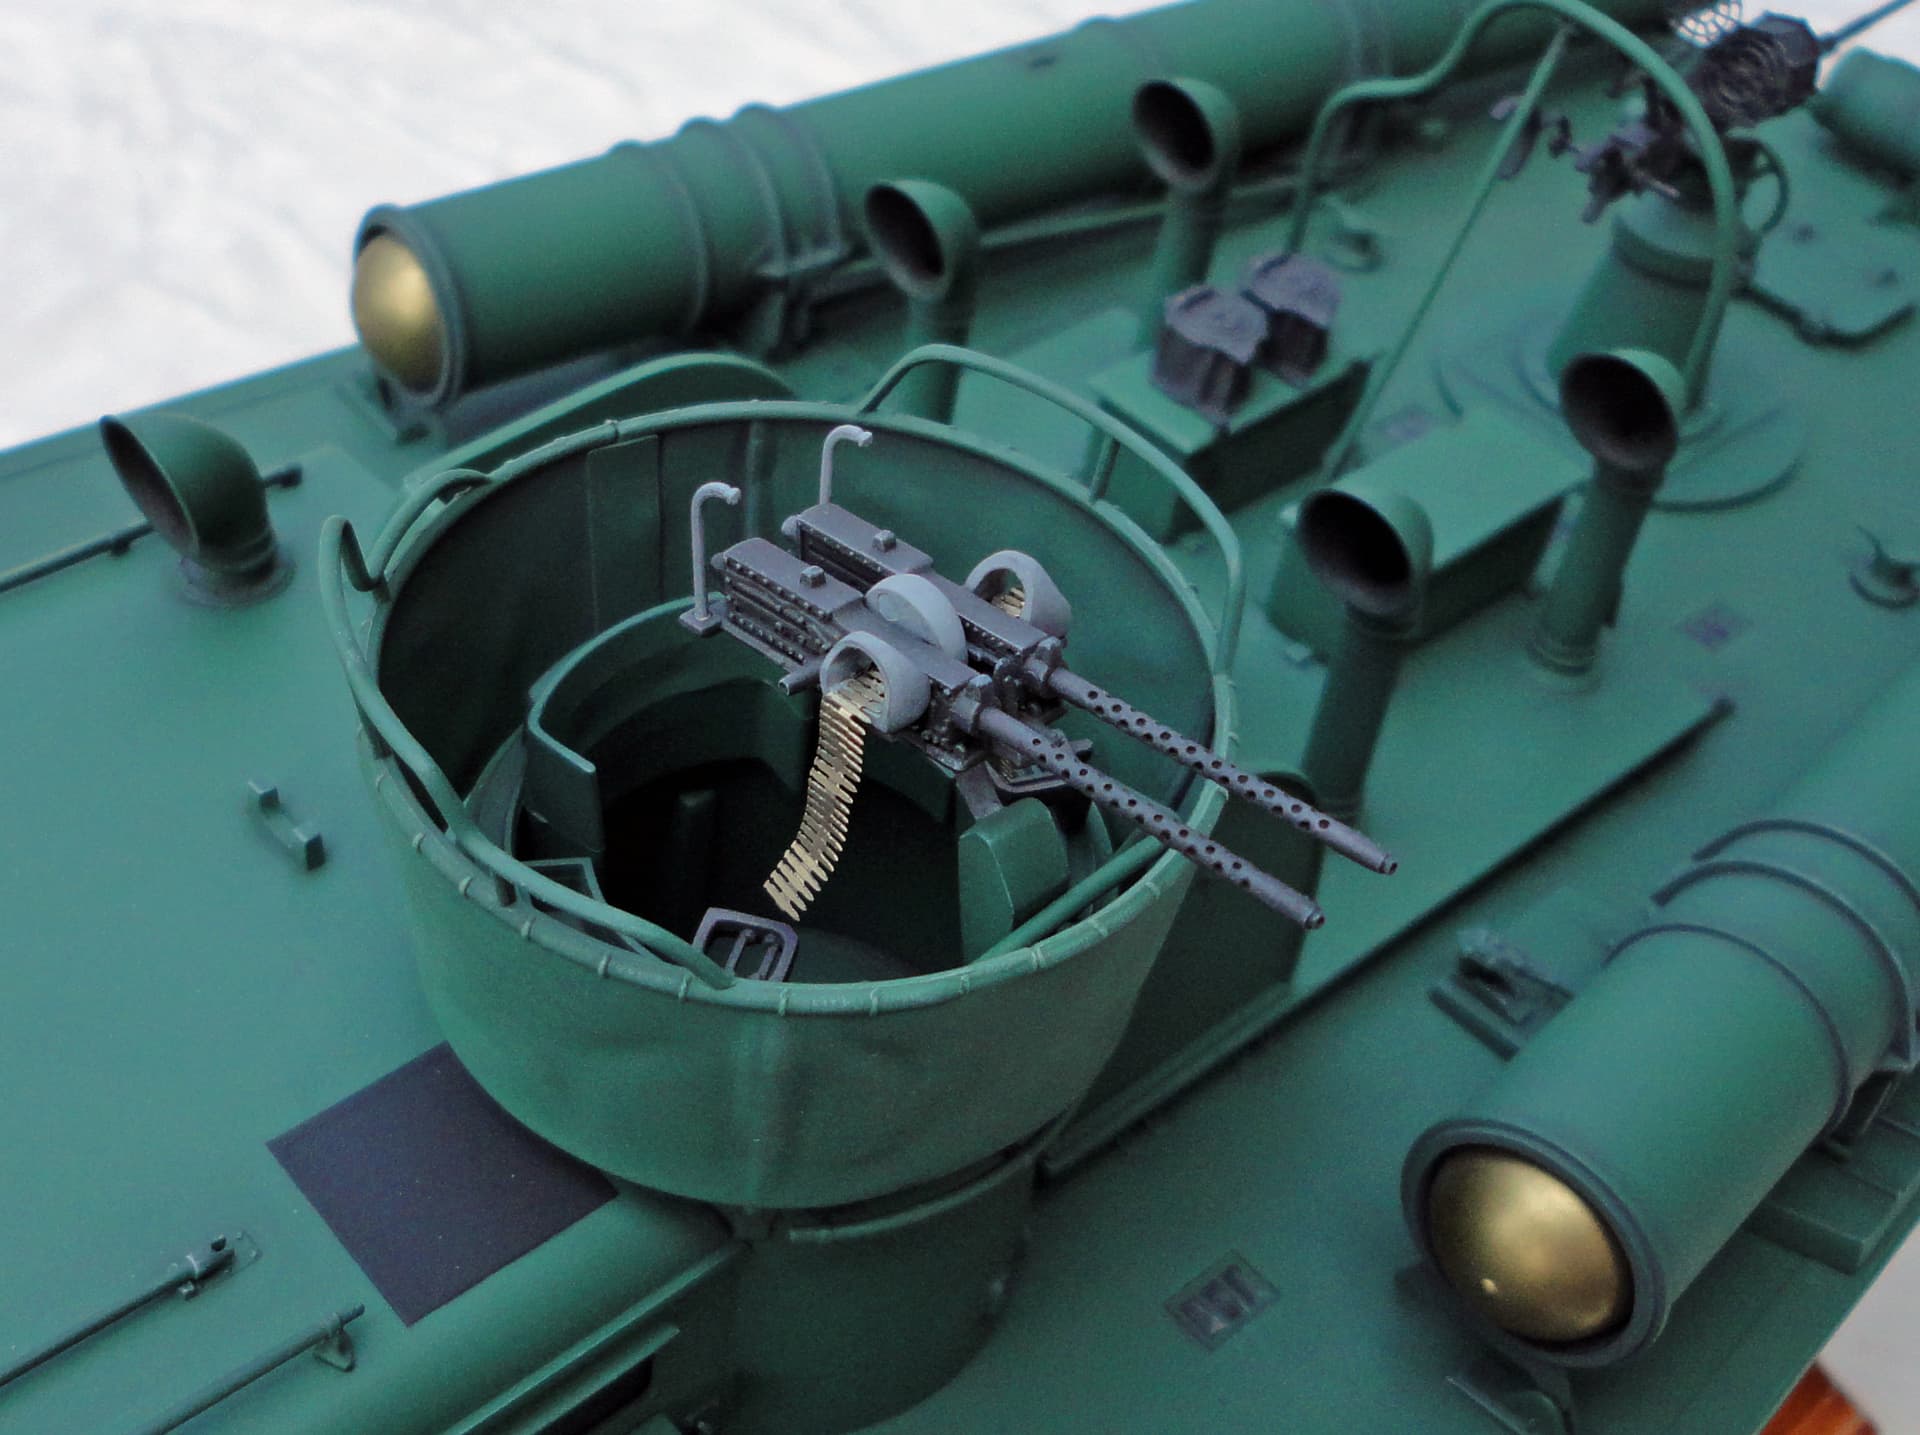
8th Image: The kit provides clear window parts to put under the photo-etched deadlight frames, but I opted not to use them. Instead, the deadlight frames were glued in place with plans to add Krystal Kleer with a toothpick into the openings after the exterior is painted.
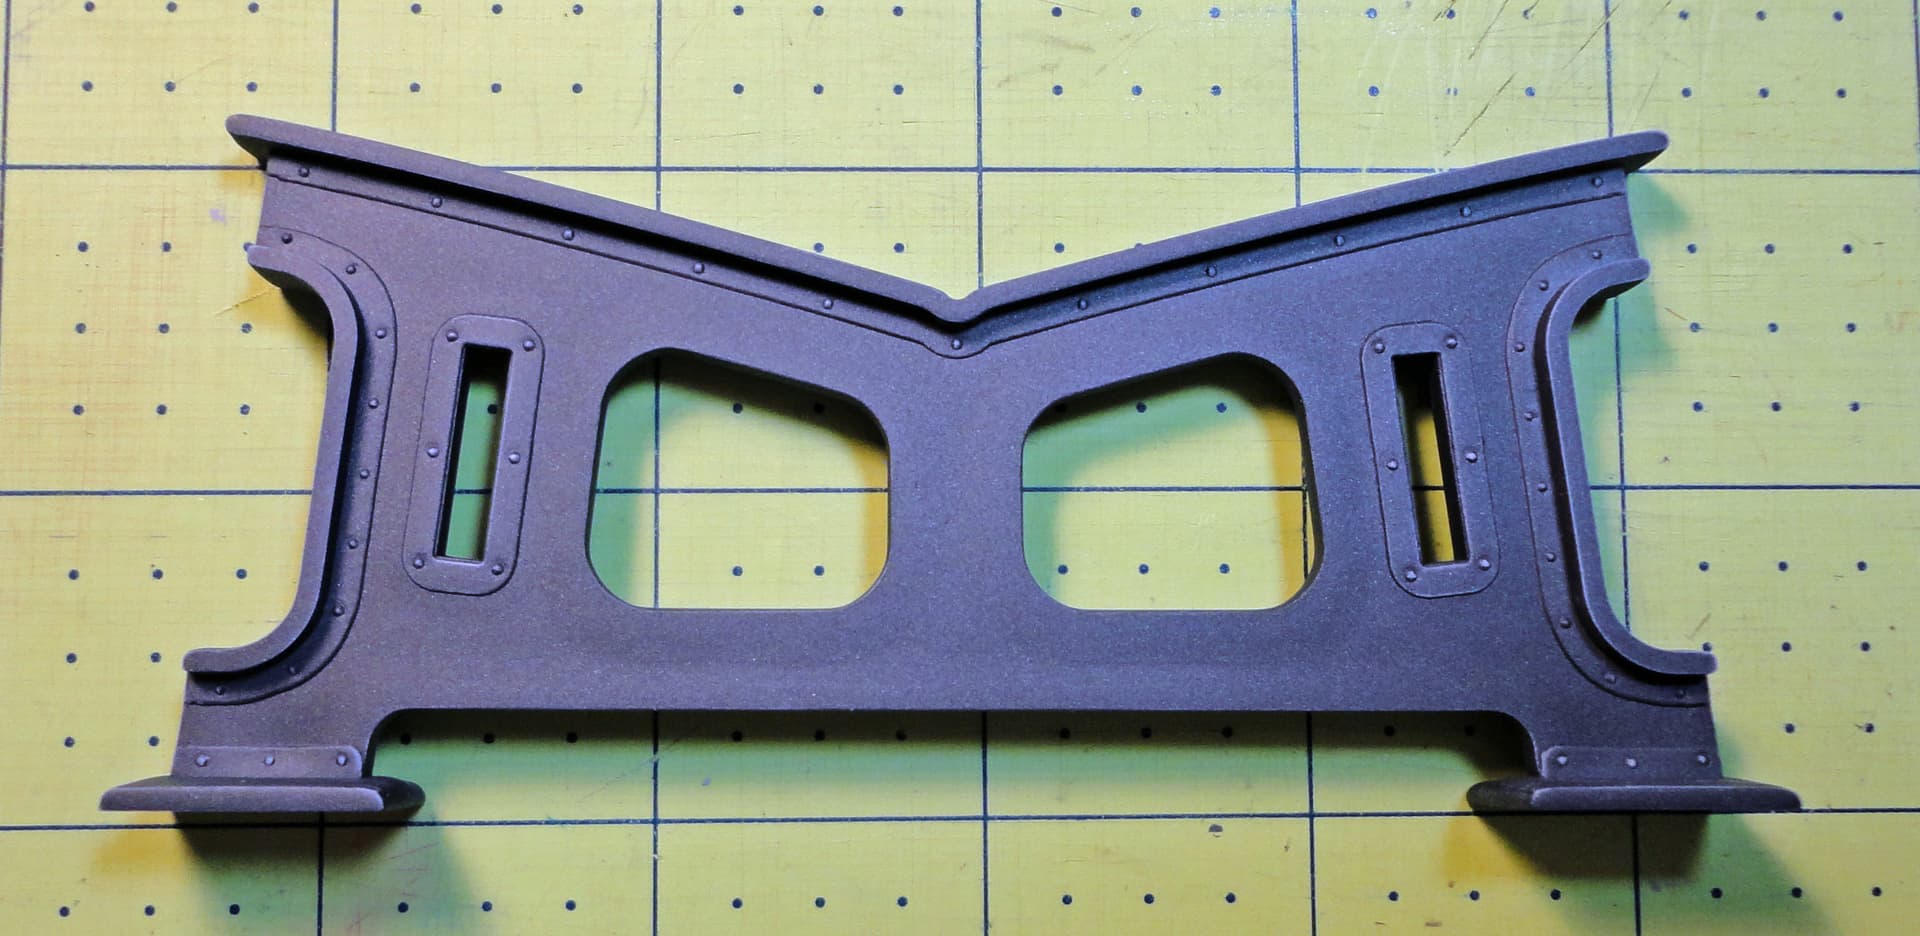
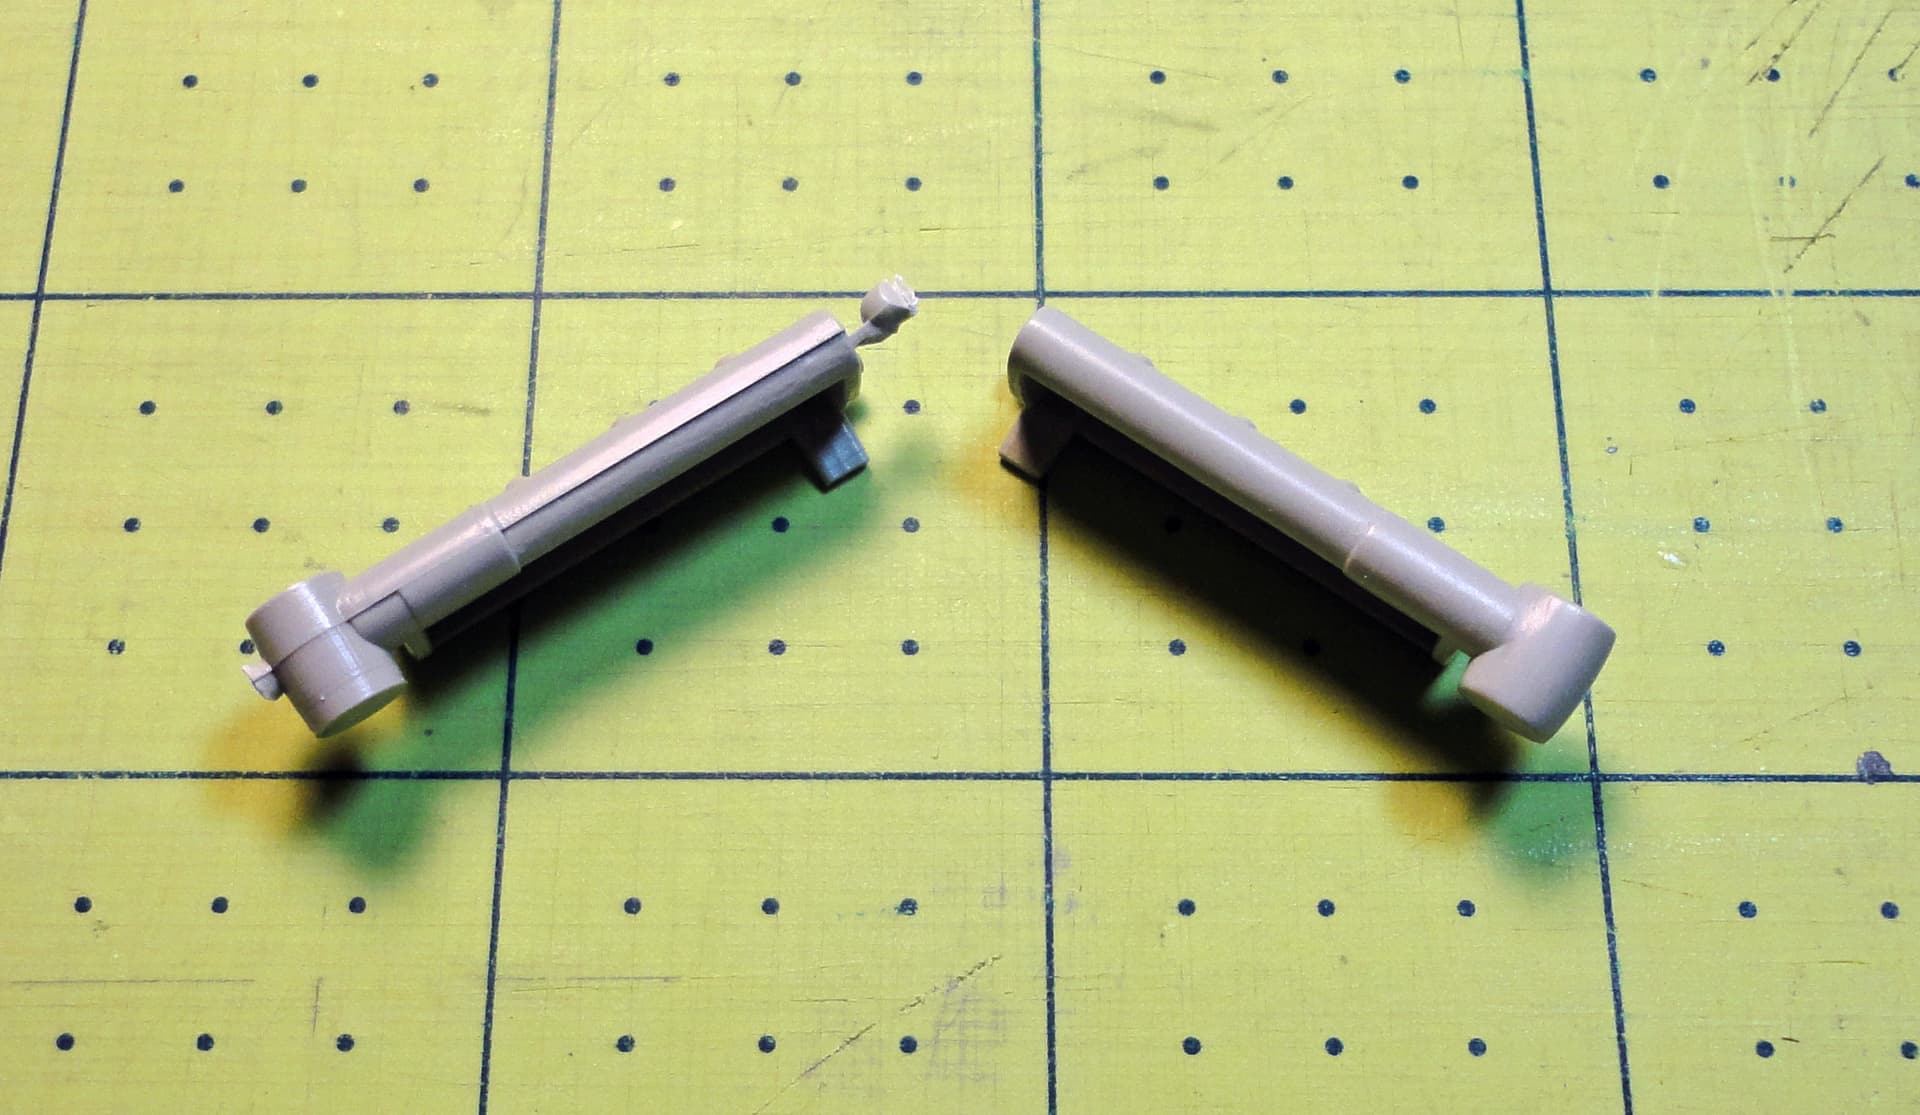
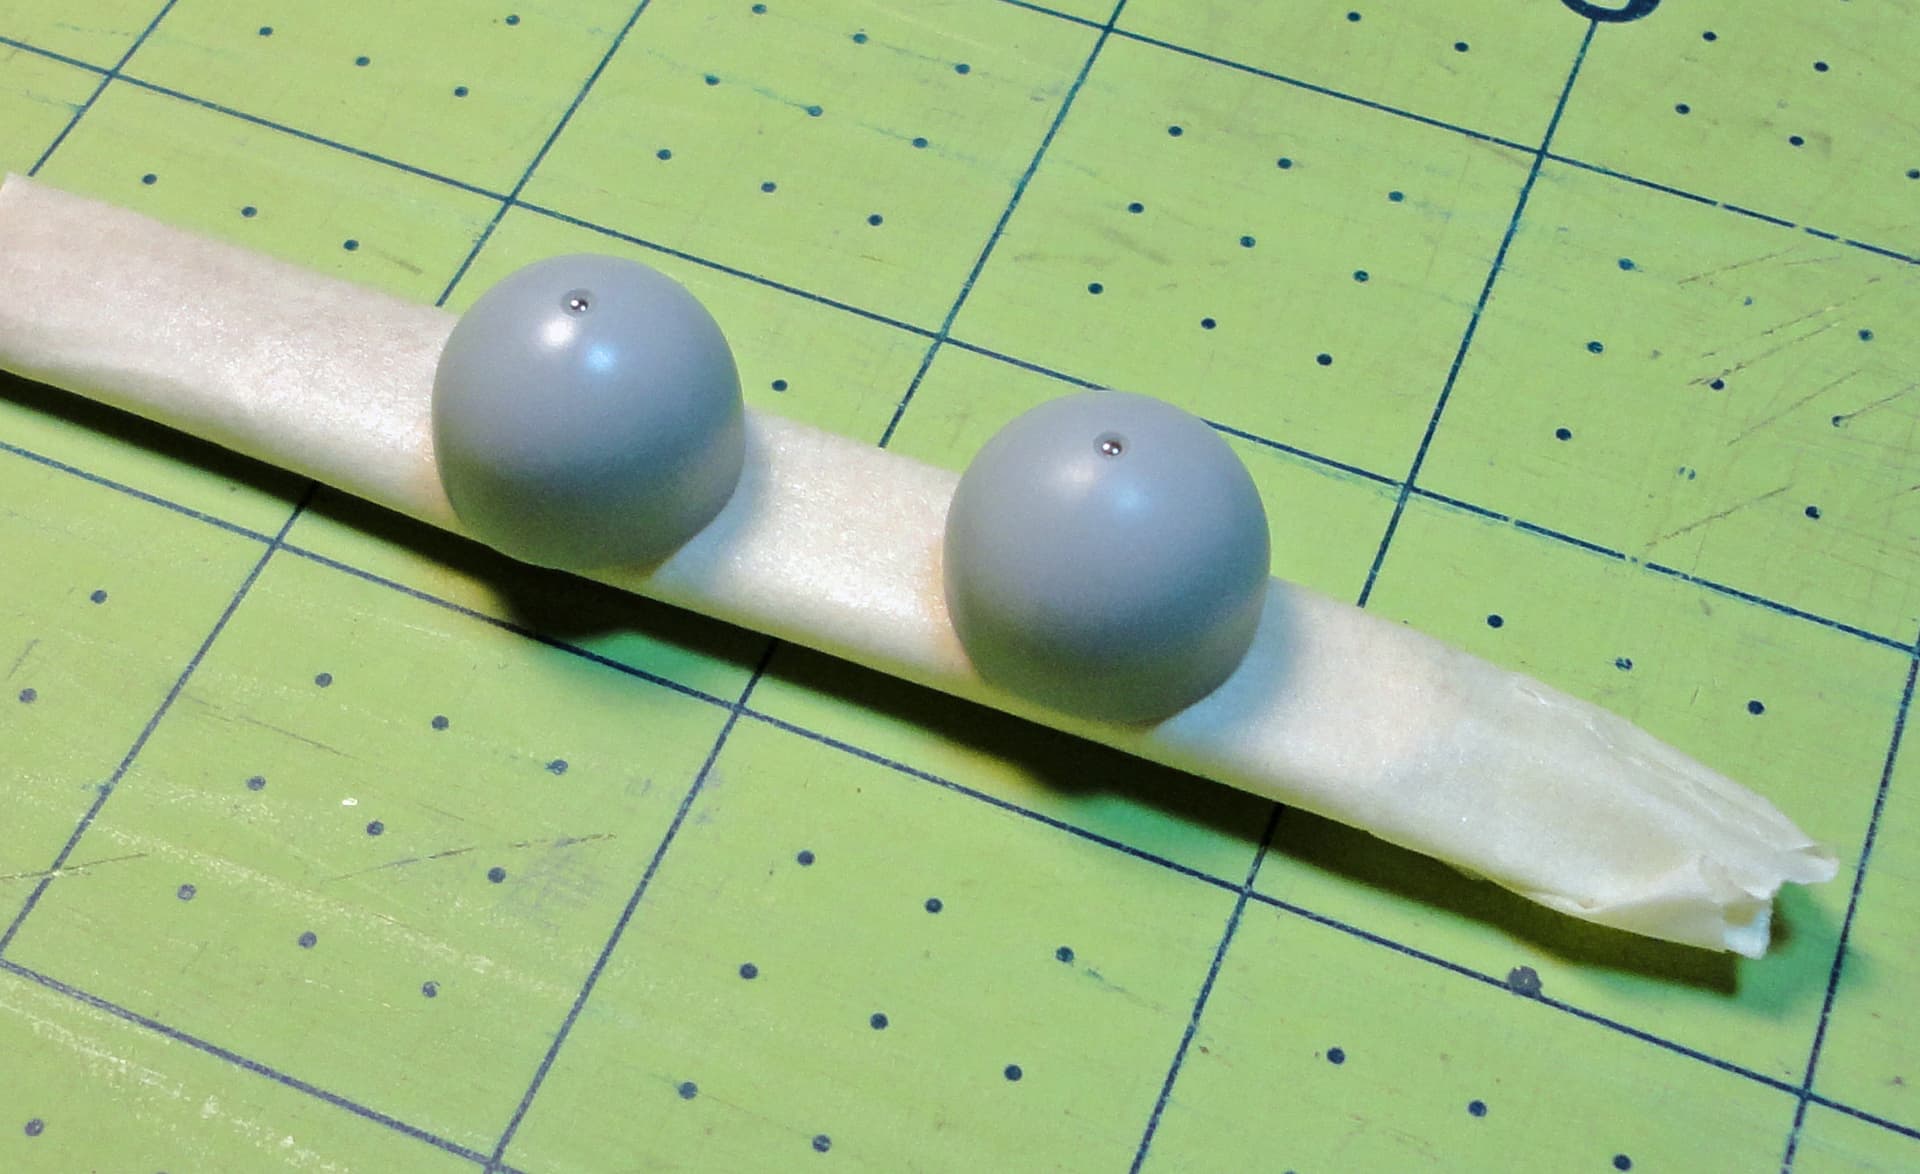
9th Image: This photo shows one of the kit’s support stands. It required a lot of cleanup to remove the injection pin and sink marks. It was painted Model Master Gun Metal and dry brushed with Model Master Dark Ghost Gray.
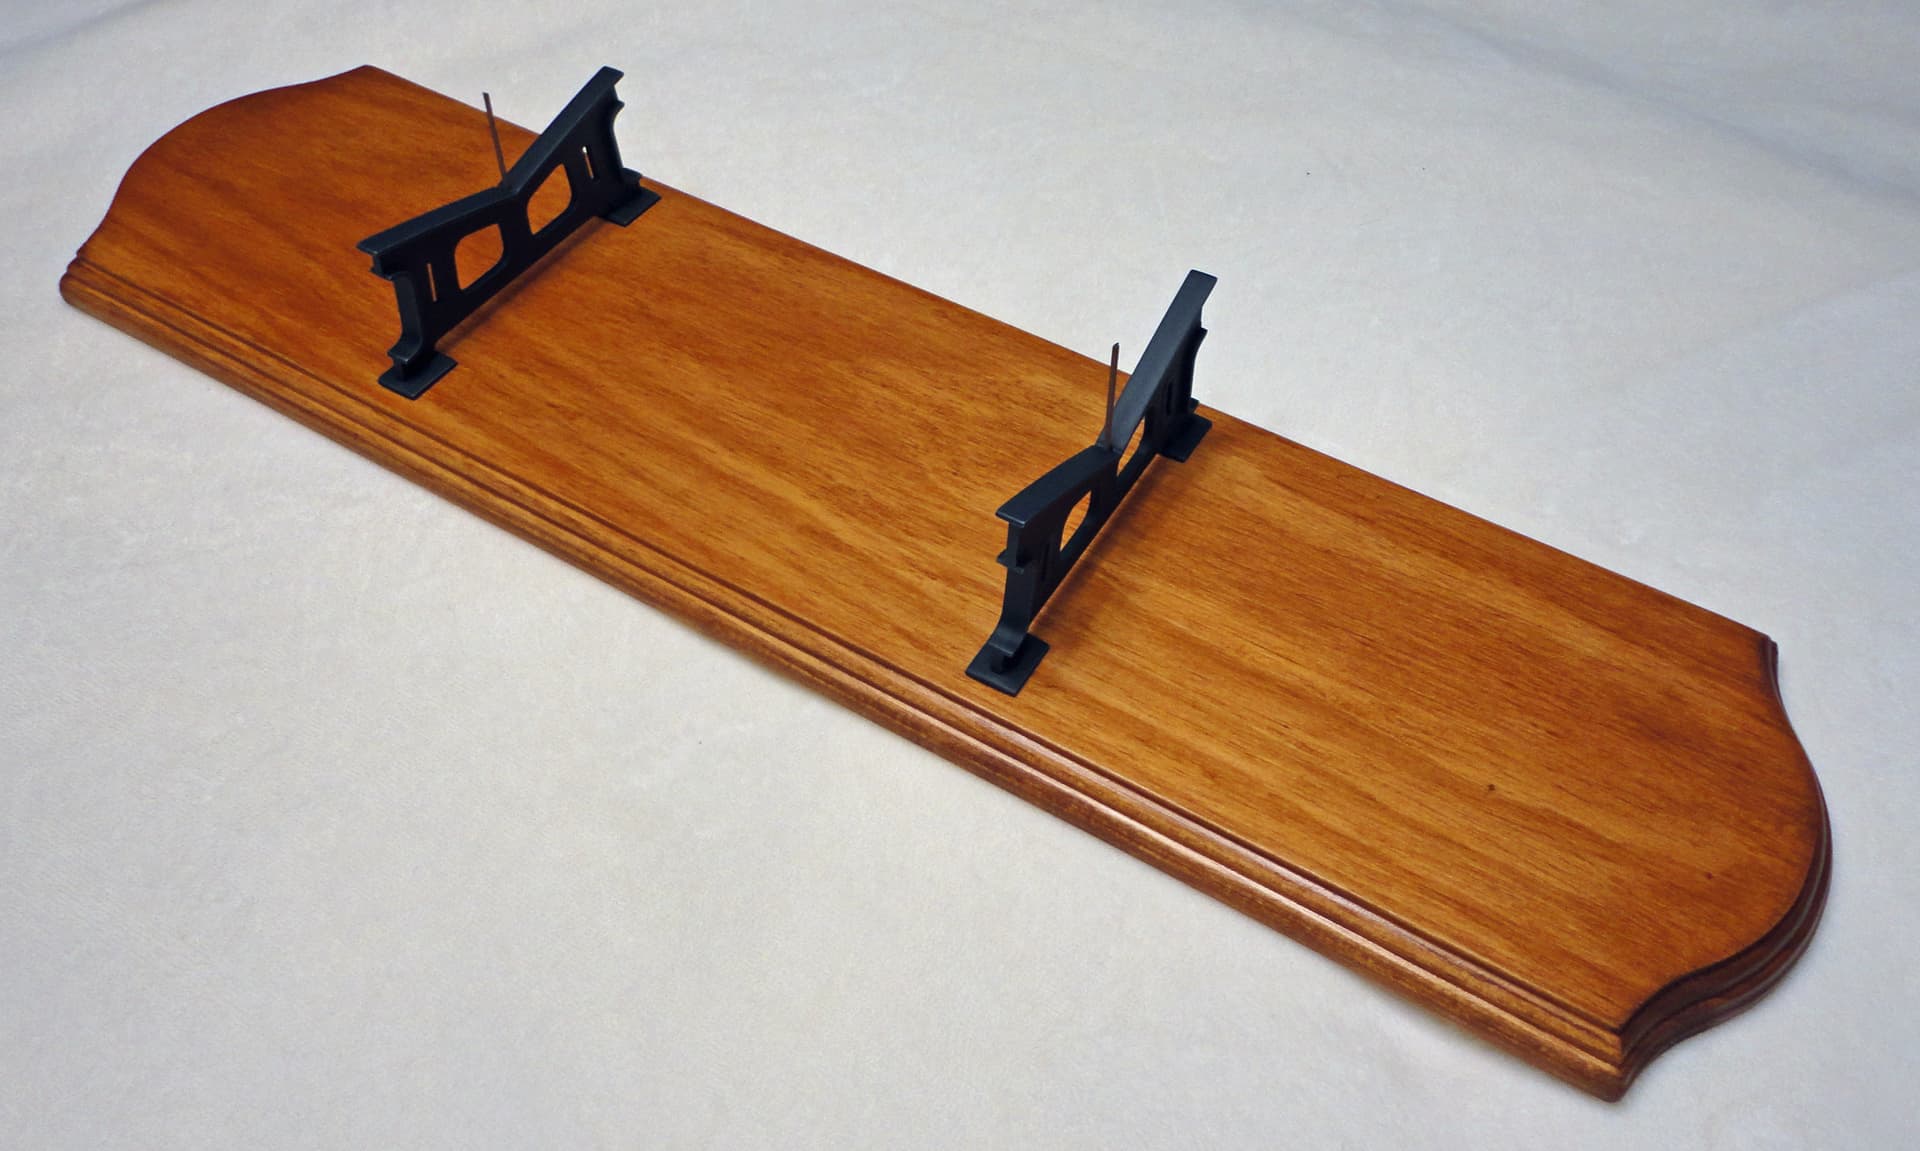
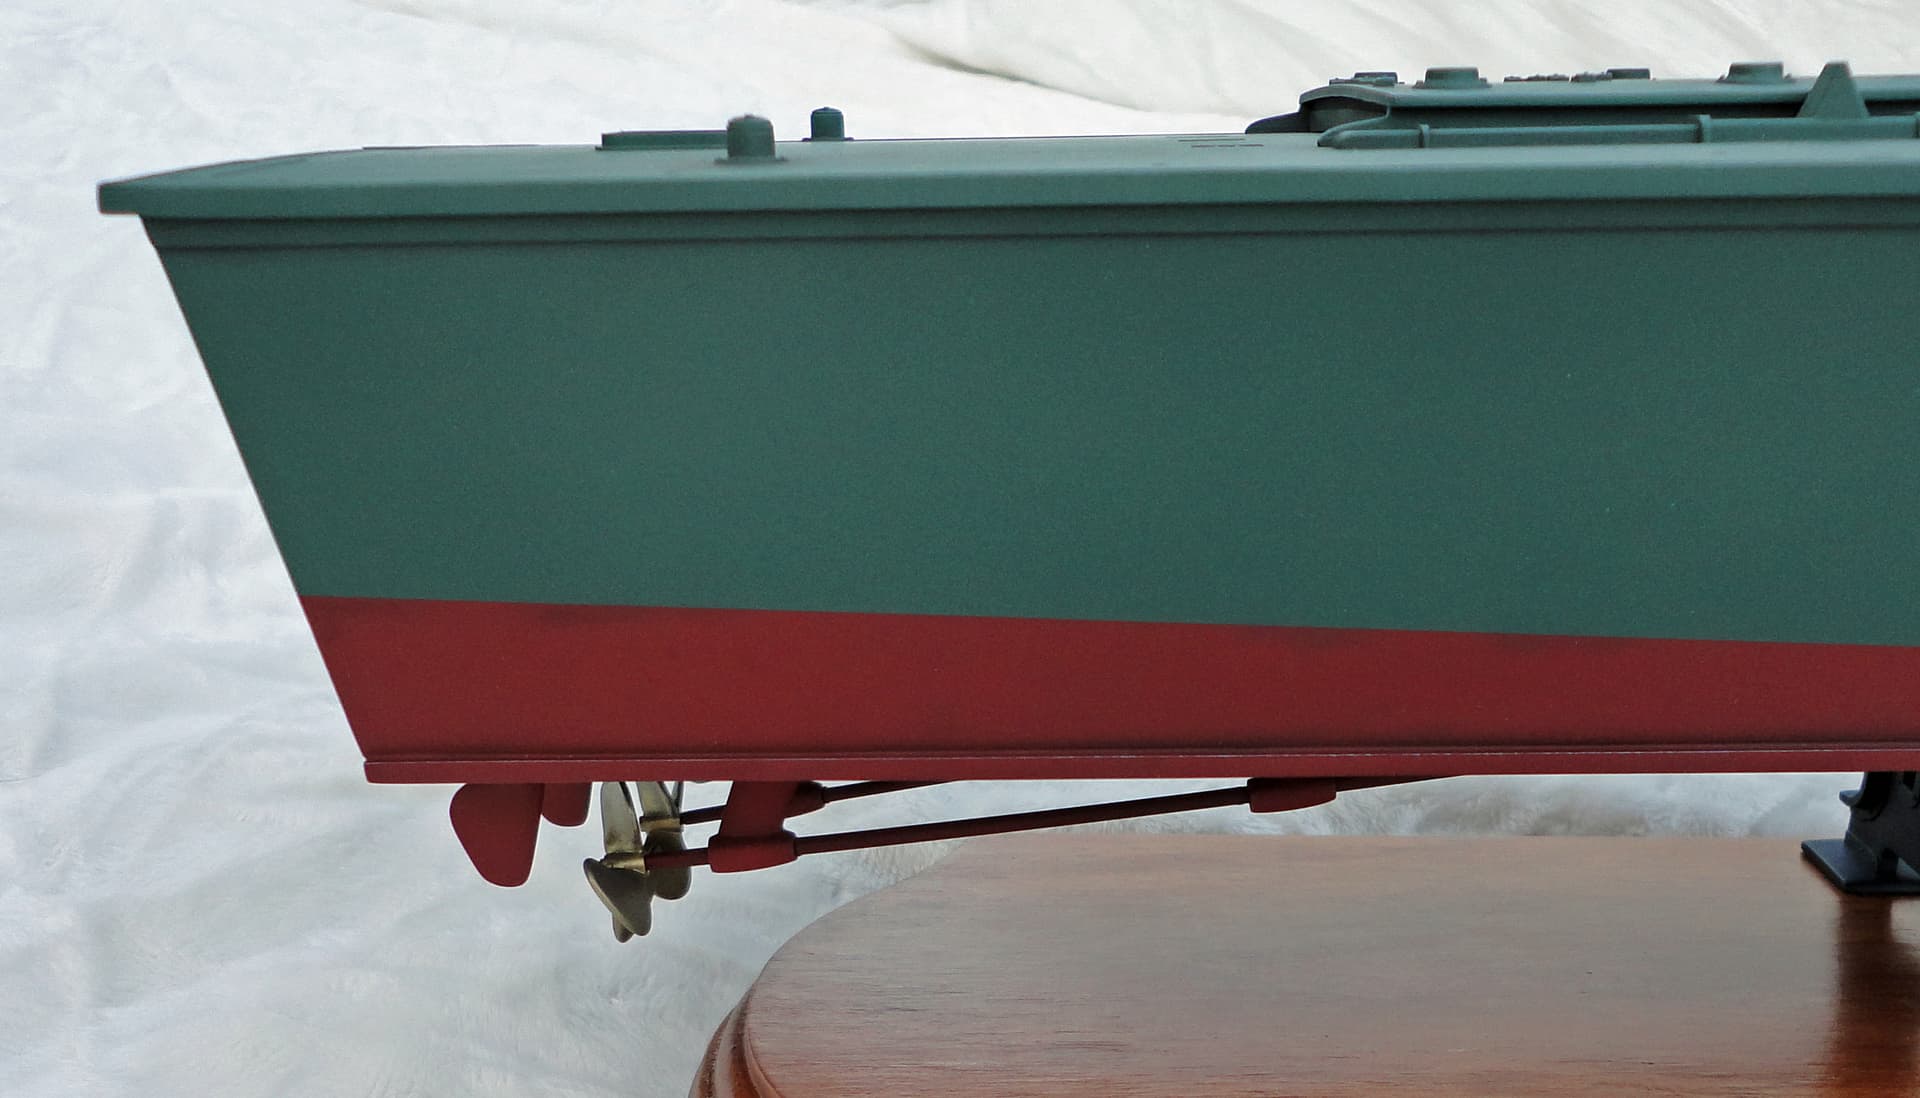
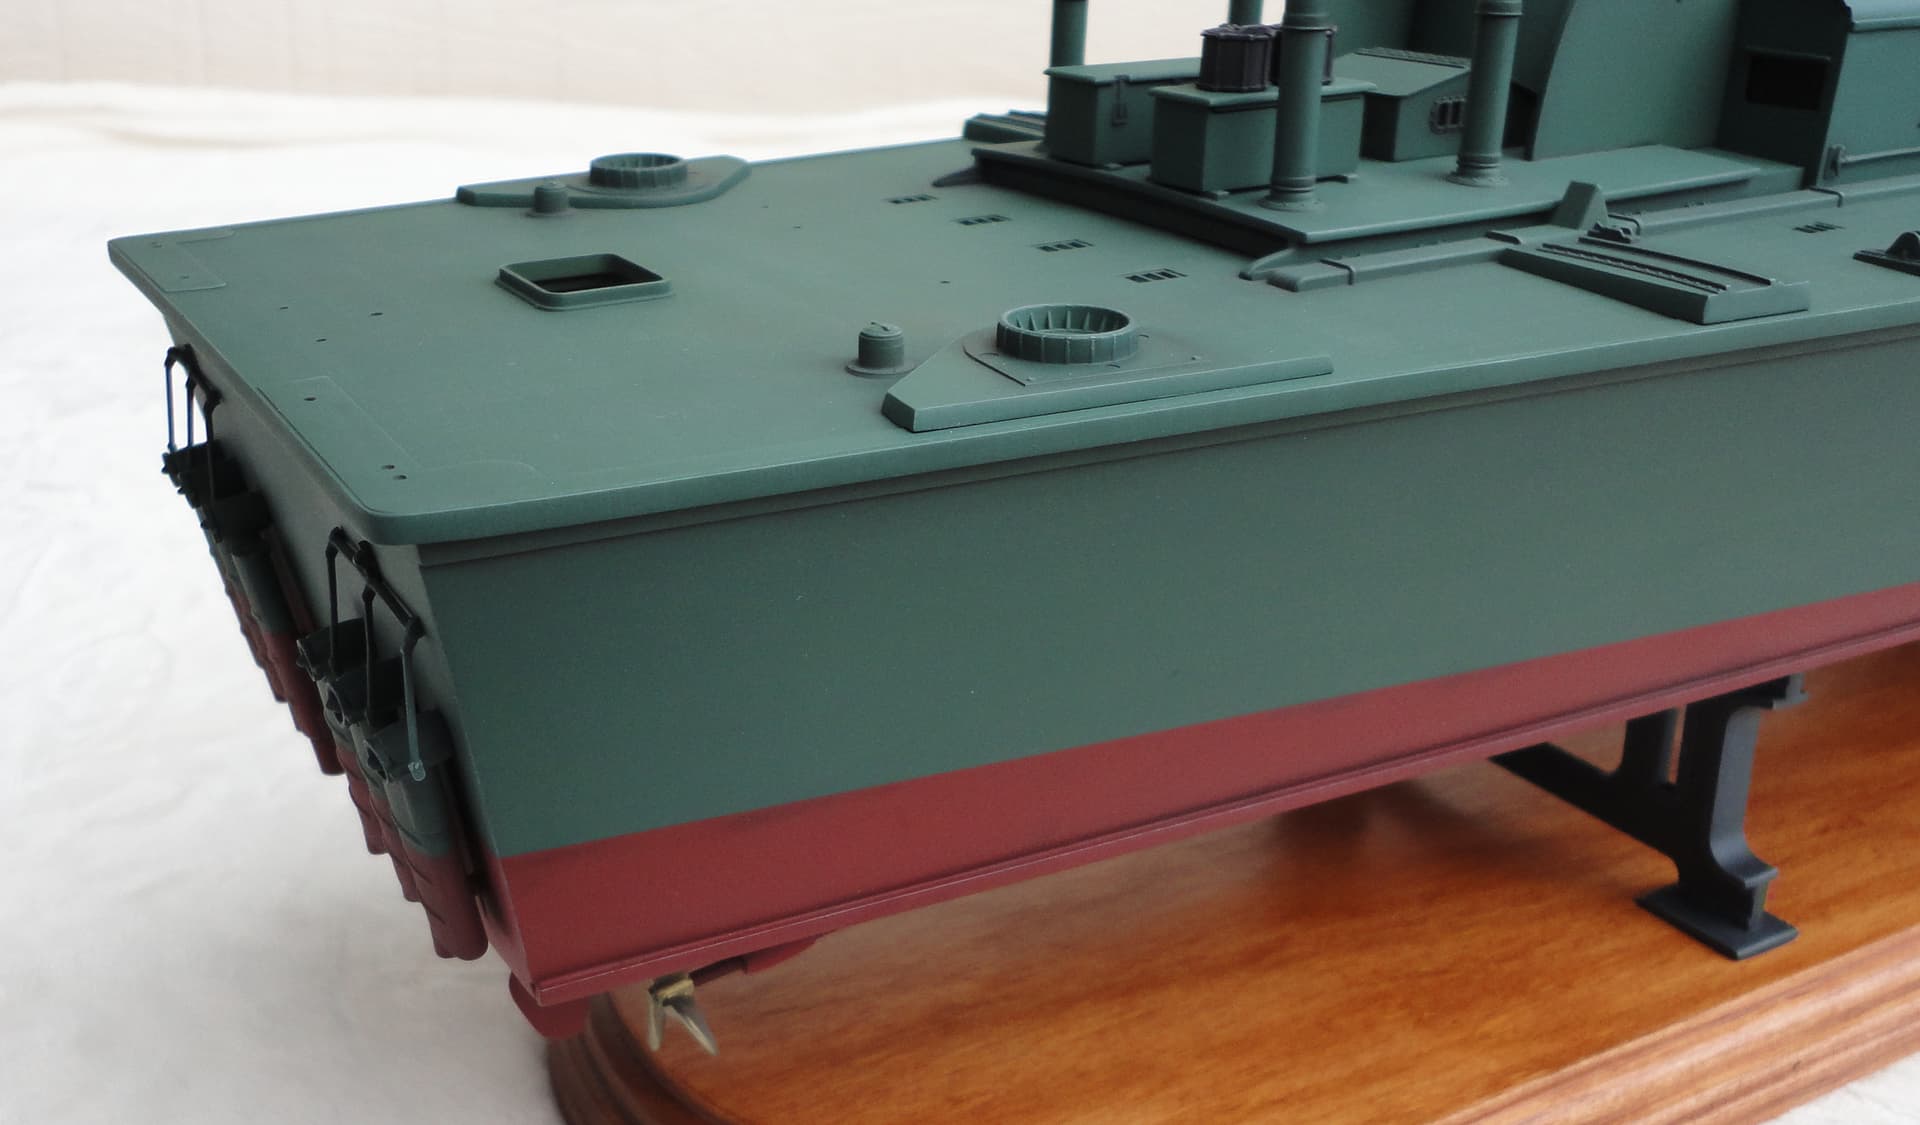
10th Image: This photo shows the finished base. The kit’s two stands were attached to a wooden base with screws. Two matching holes were drilled in the hull to match the small nails in the V-section of the stands.
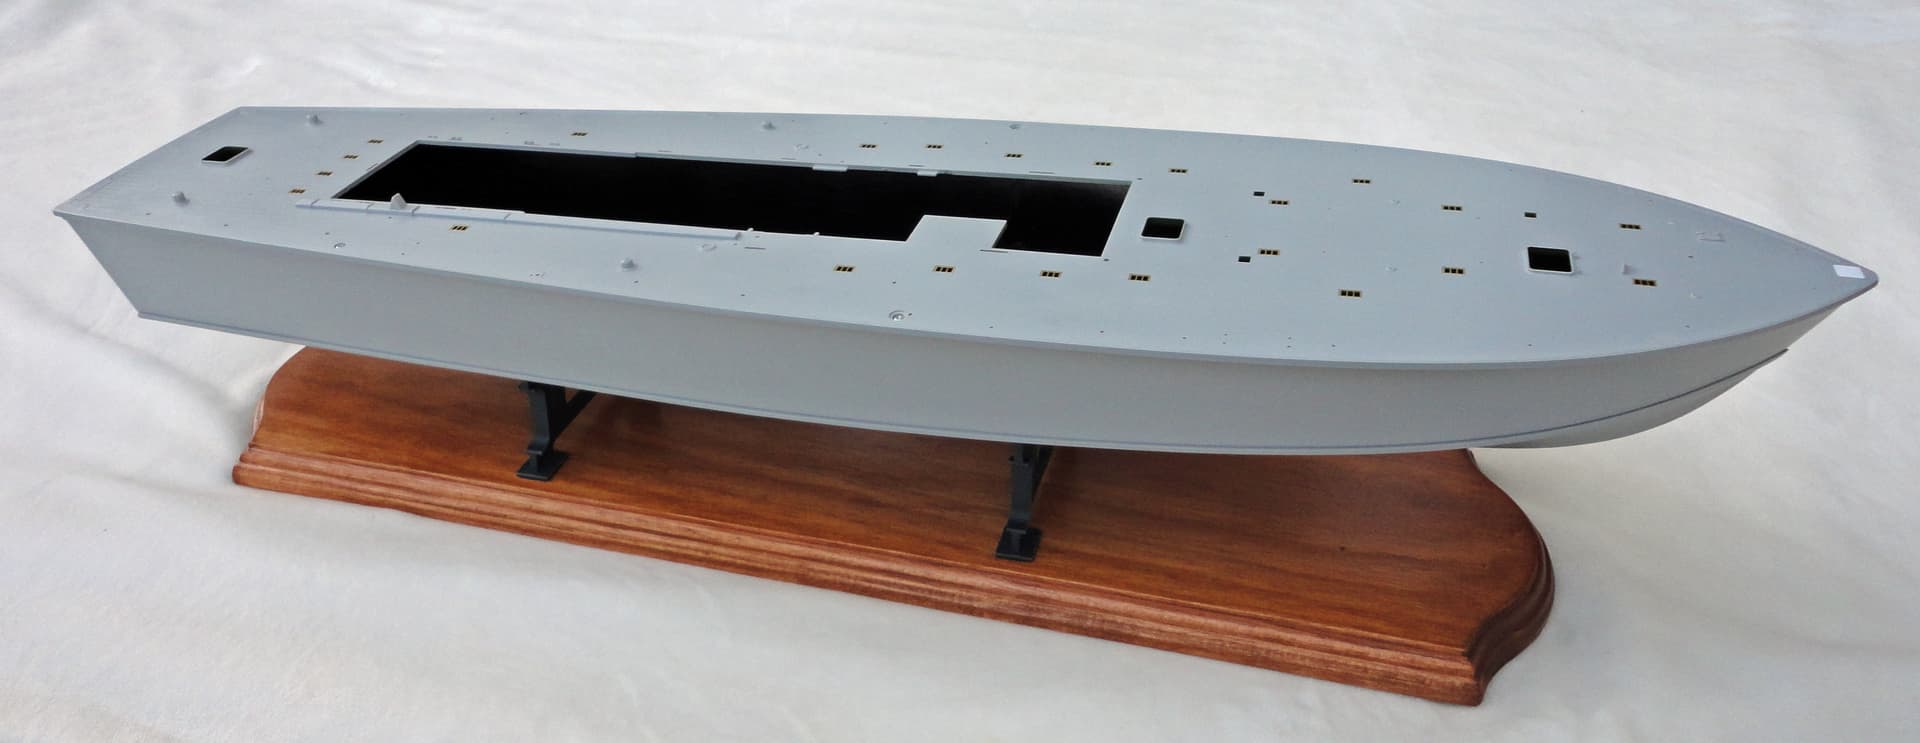
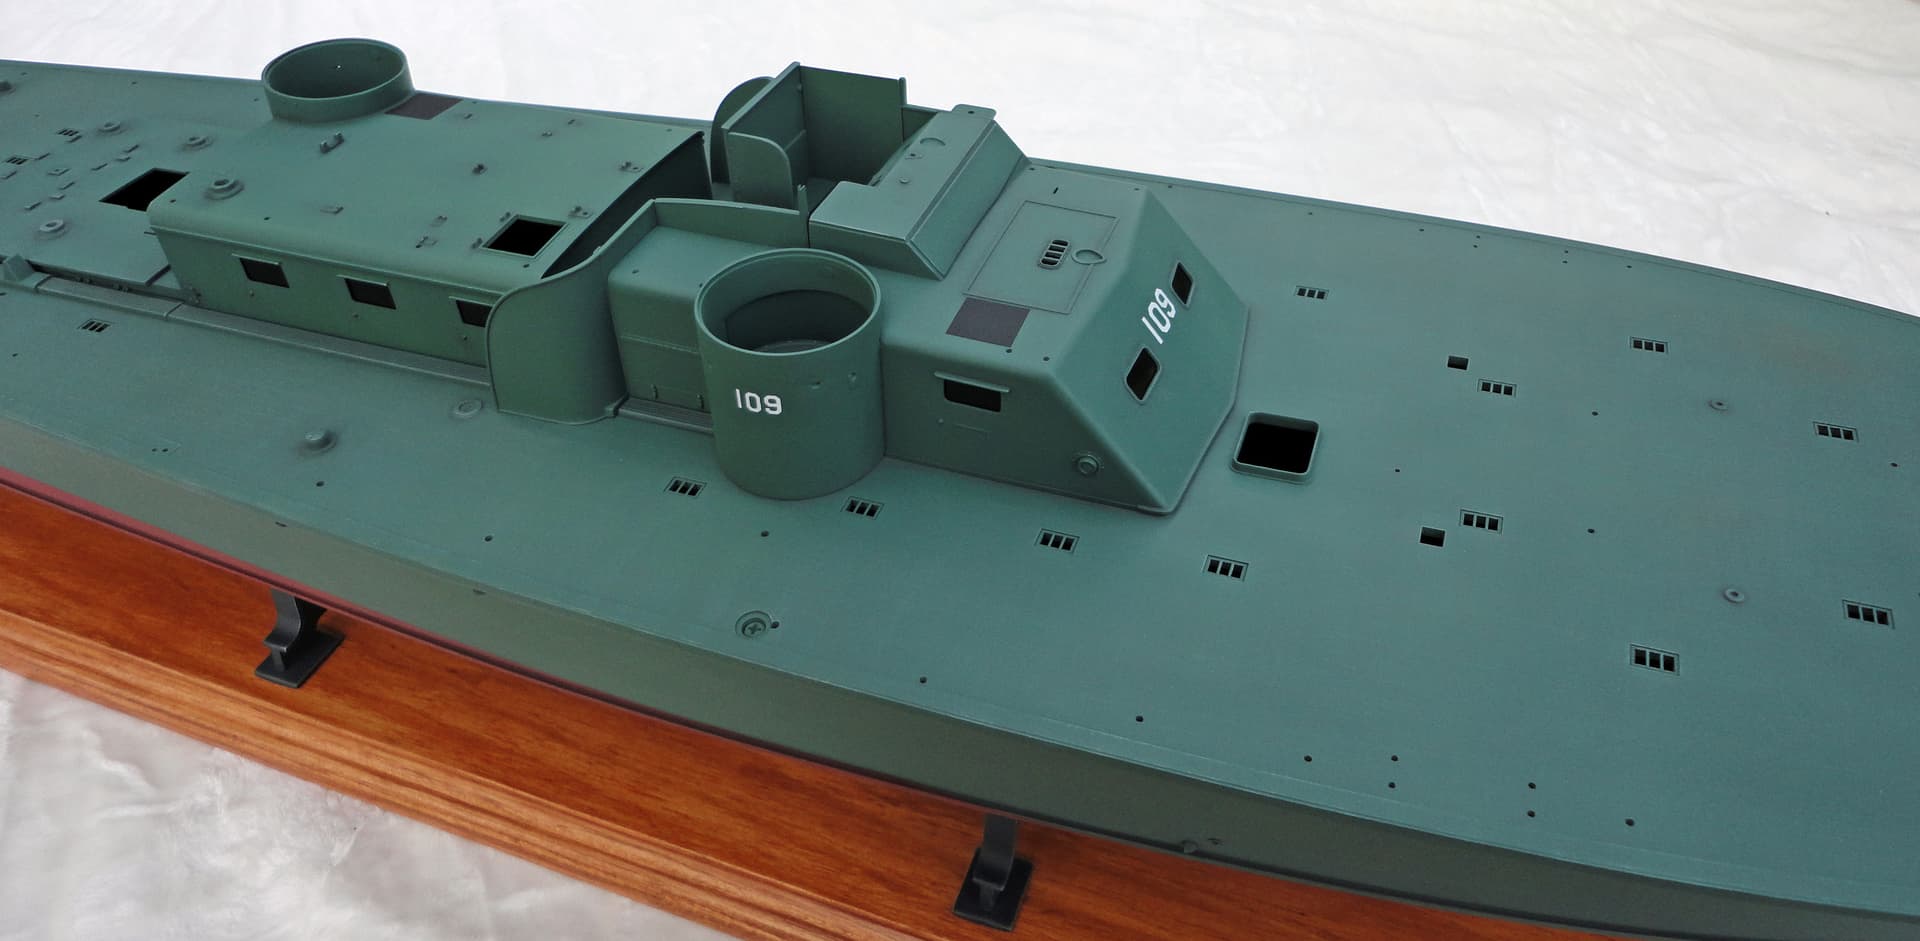
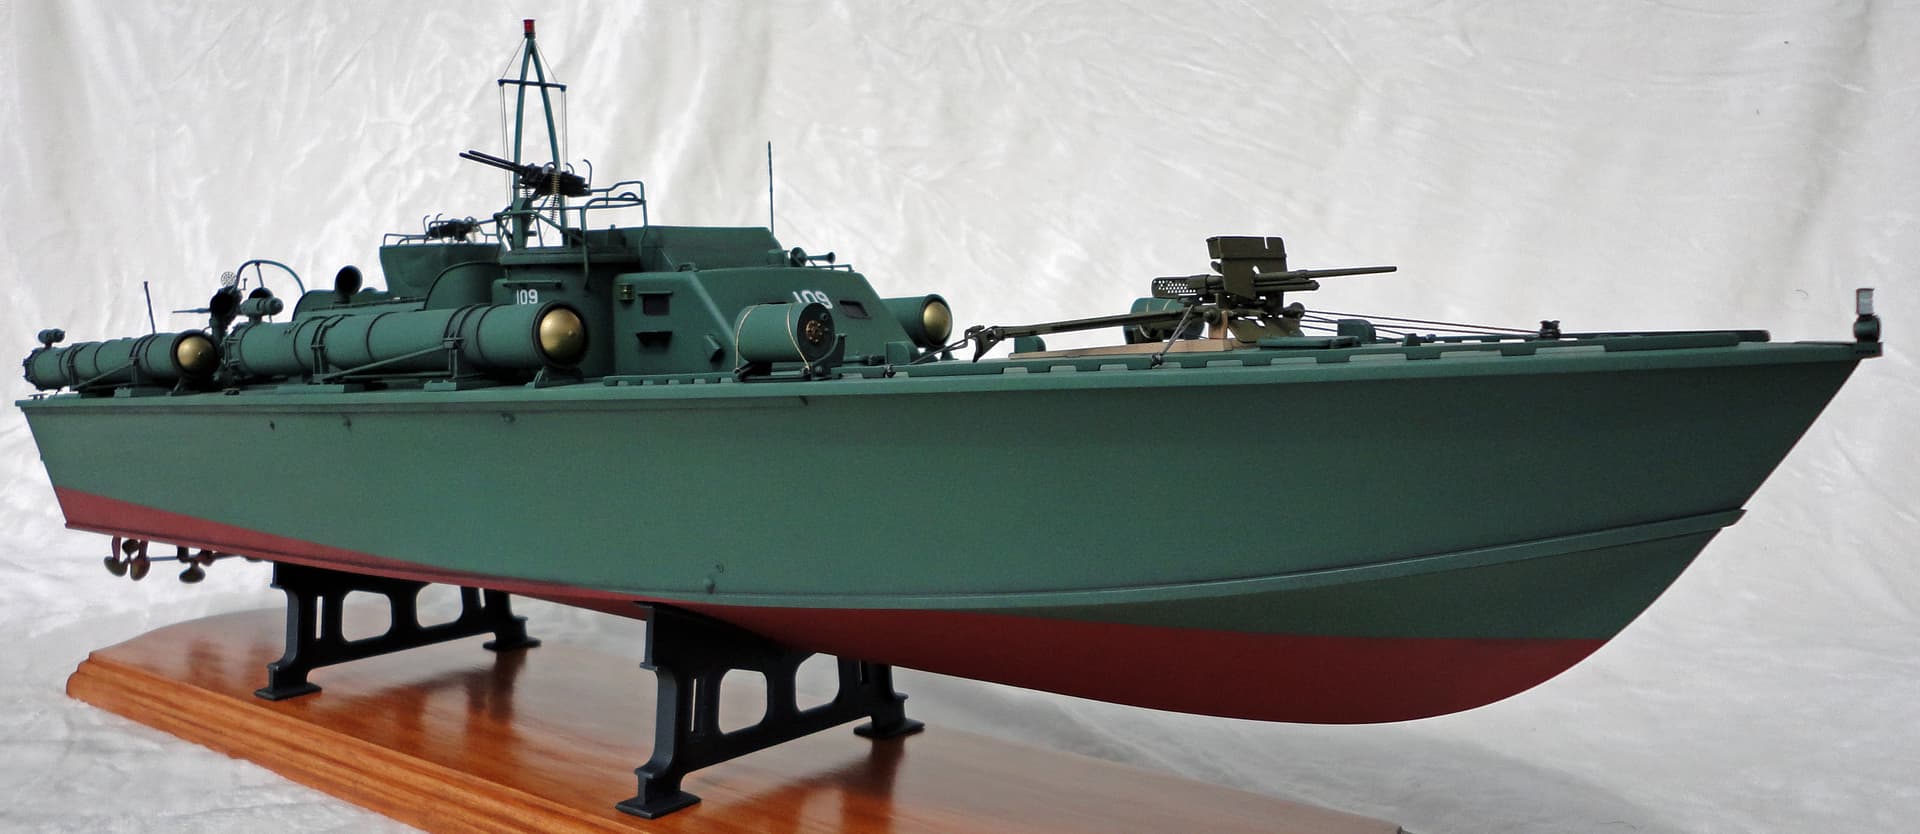
11th Image: The hull is shown being test fitted to the finished base.
Until next time…
Phillip1


