Alright, guys. This is finally my F4U finished. I already finished it months ago, but I did not post it here because I was busy (sorry  ) But, I am very happy with how it turned out. The last time I posted progress of my F4U was almost 9 months ago, and this is what has happened since.
So last time, I finished the cockpit, the tail gear, and the propellor. I told you guys about the problem with the main landing gears not being able to properly retract.
Anyway, I fixed that problem. What I did was everytime I wanted the main gears to retract, I just removed the tires and retracted the gear since it took little space (the strut, anyway).
Once I was done sealing the cockpit, I painted the engine. I forgot how I made the blue that recreated the R2800 Double Wasp’s crankcase (I think it was Tamiya White and Blue together with grey mixed into it). I painted the engine aluminum, and the pushrods black. Once done, I sprayed the whole engine bay with semi-gloss and weatherd it a bit.
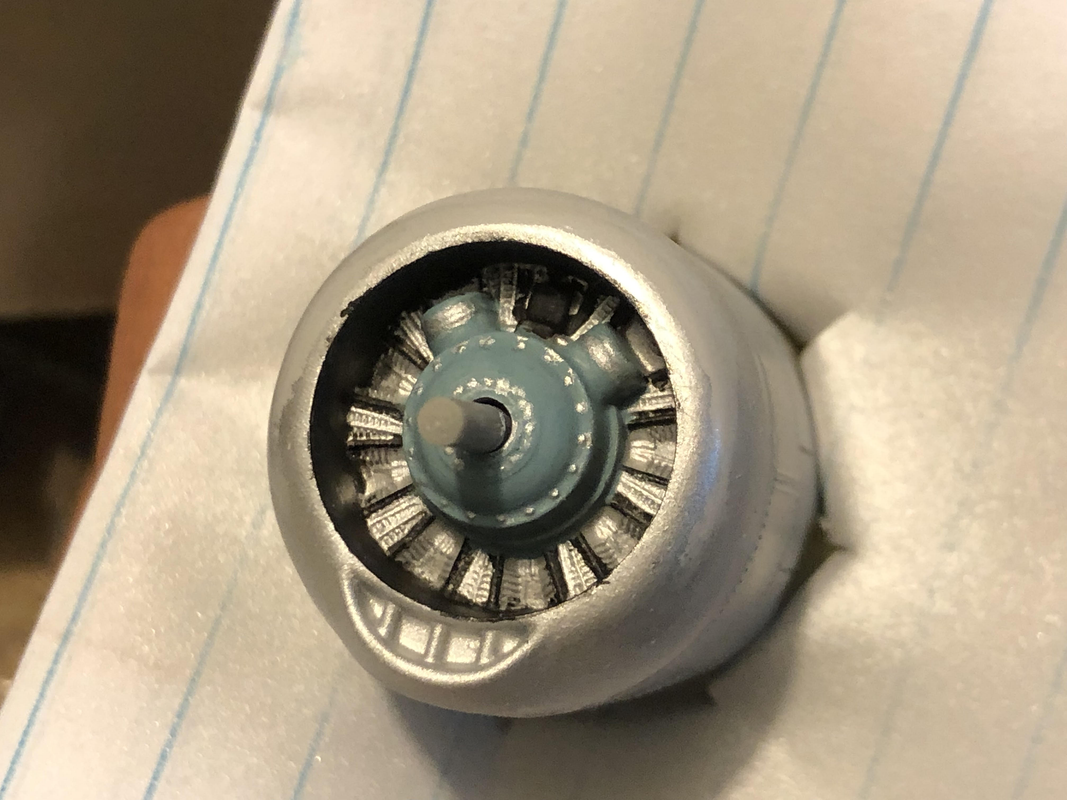
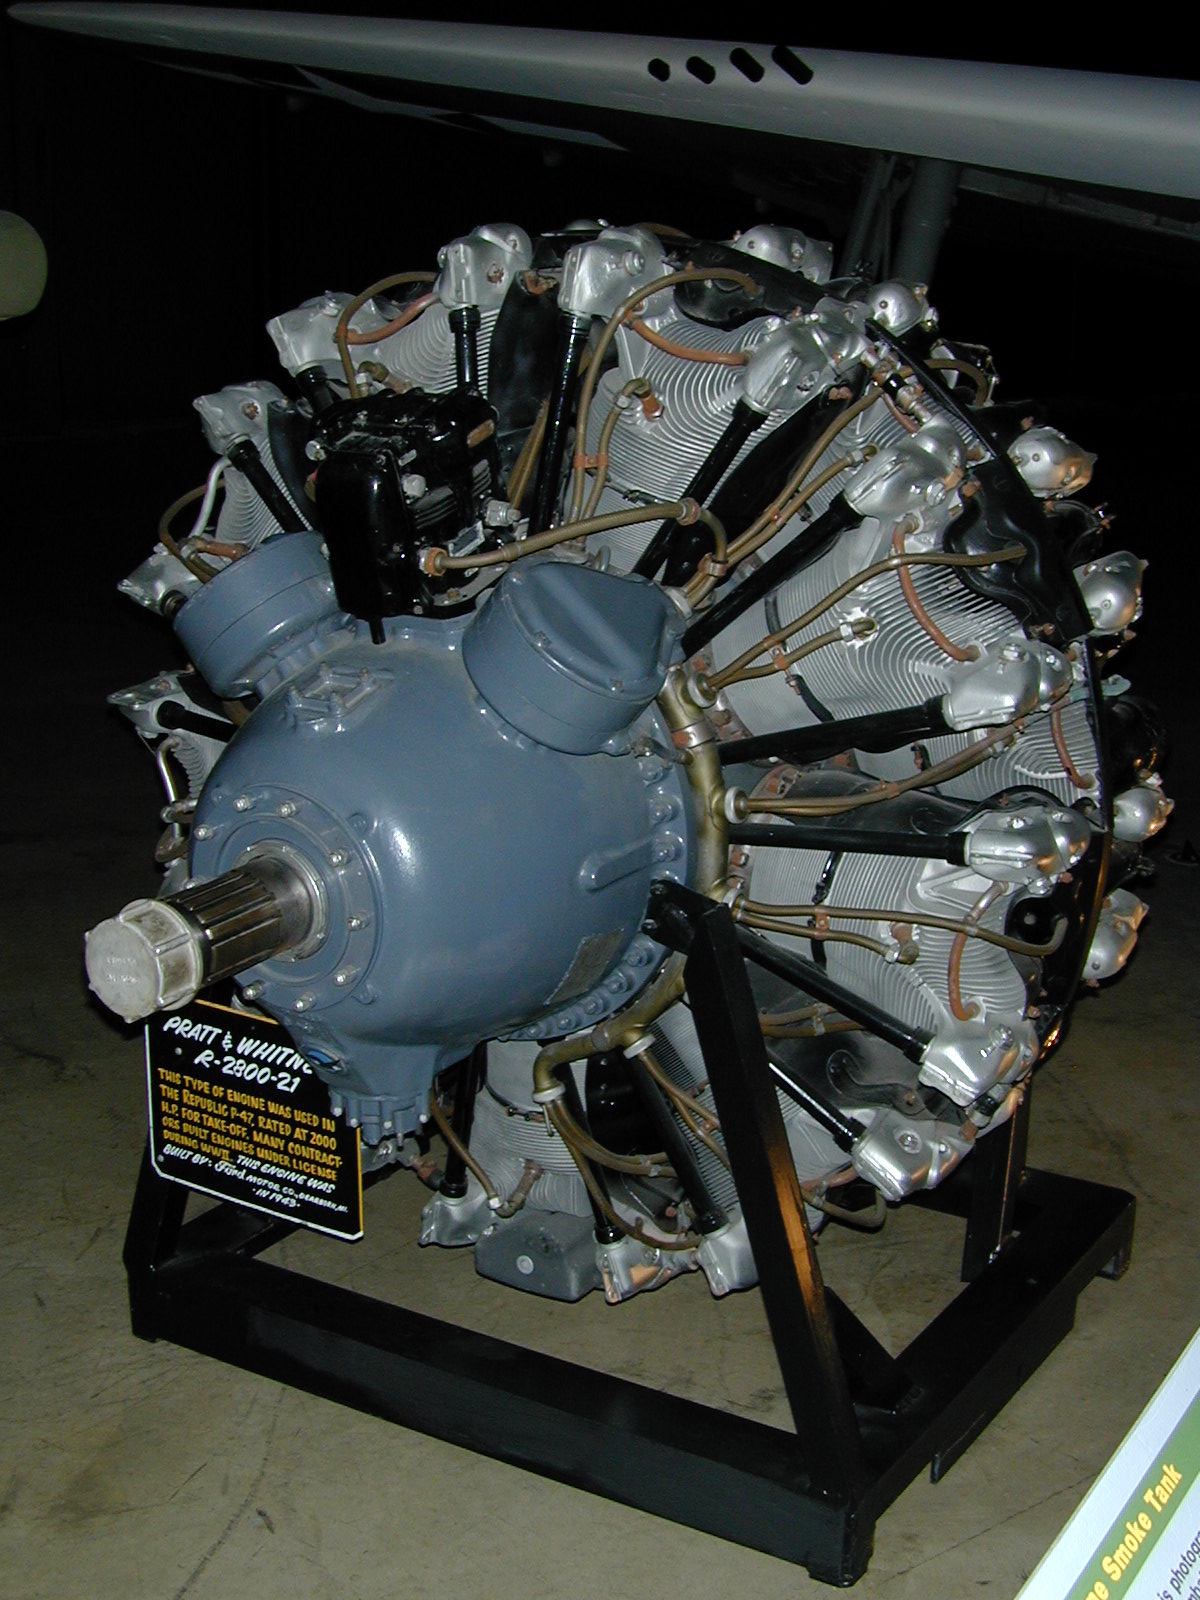
Because the engine is not separated from the front assembly (it’s already molded in contrary to Tamiya engines), it was a bit hard to detail it. Painted the inside lining black to simulate depth and shadows.
I then sealed the engine with tape, and puttied some nasty gaps:
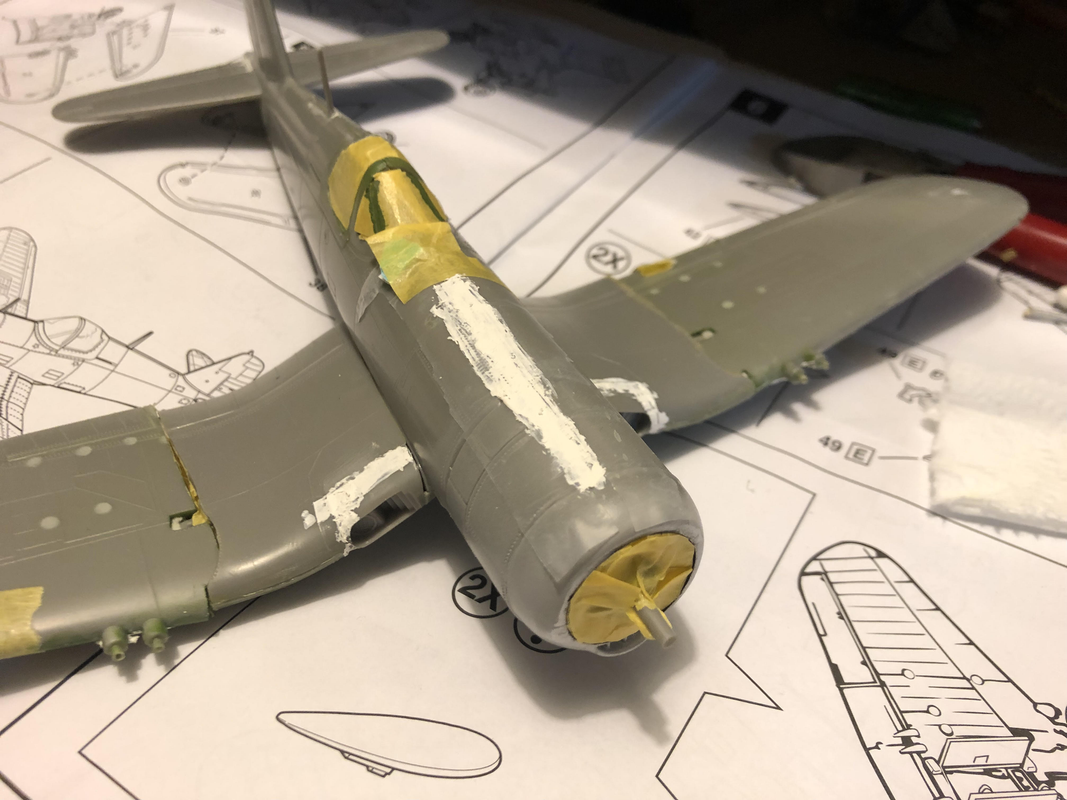
I sanded it down, and then I primed it with Tamiya Surface Primer L.
Once that’s done, I sprayed a basecoat of XF-17 Sea Blue. Before spraying, I learned that the blue itself was too dark for smaller models, so I decided to marble in a lighter version of the XF17 ( I added some white and blue). This was the result.
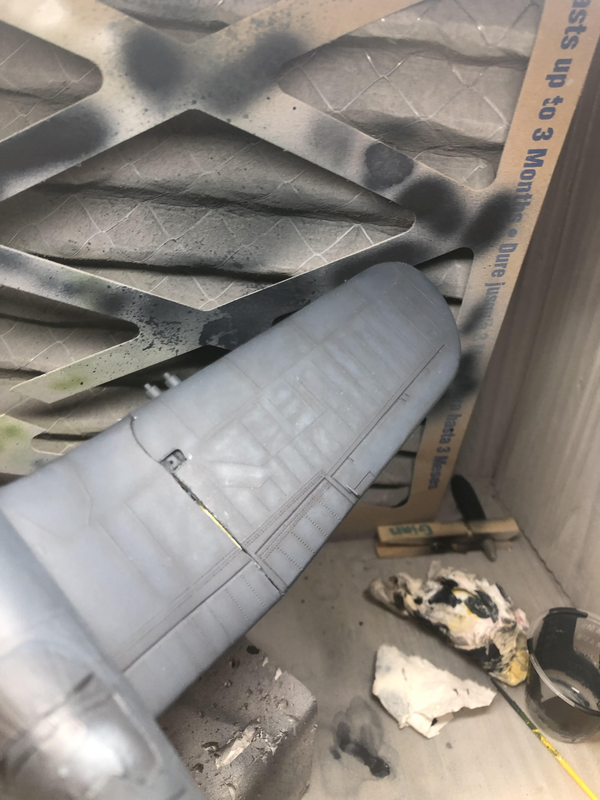
You can see each panel with this technique, and I thought it was a good try,
Once I was done was that, I then sprayed gloss on top of the marbled coat to prepare for the decals.
The decals were a bit thick, but using Mirco Set and Micro Sol helped it to conform to the curves the plane has.
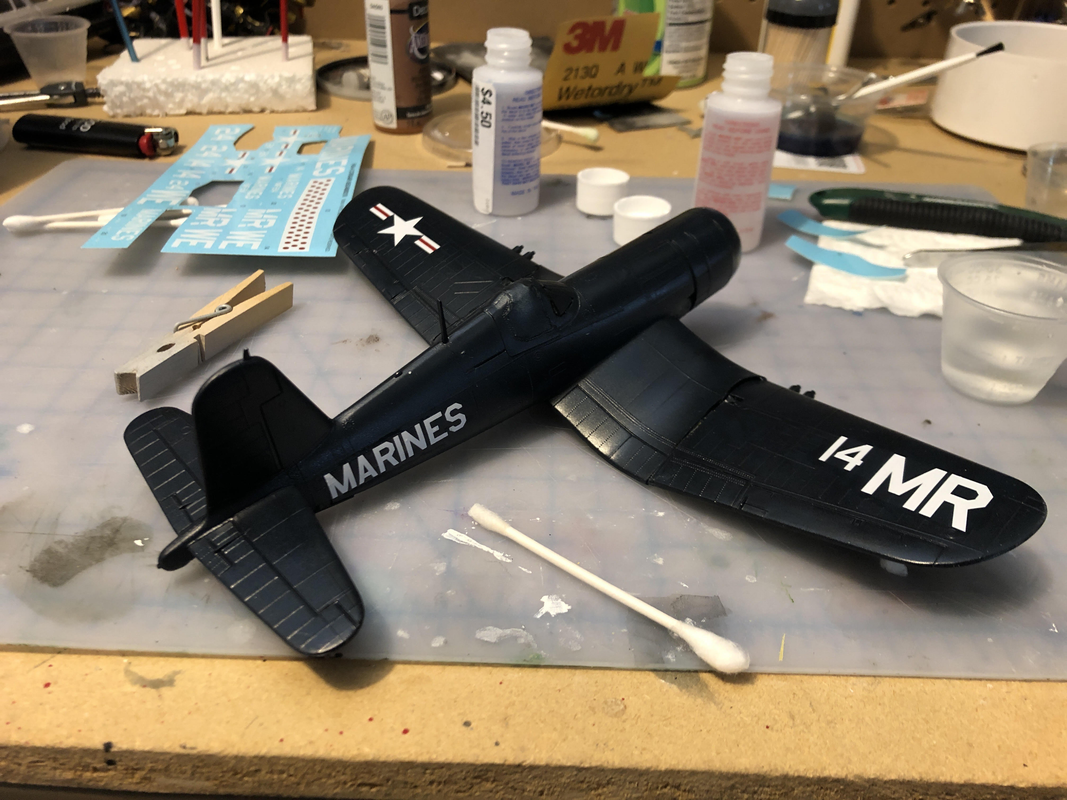
The final steps of the model were sealing the decals with Semi-Gloss. I weathered the fuselage a bit, and added some scratches from where the pilot will exit the cockpit.
I also added a smoke stain to where the exhaust is with Tamiya Buff and Flat Black. Once this was finished, I attatched the armaments and the bombs and rockets, and the propeller as well (which I have slightly weathered).
This is the final result.
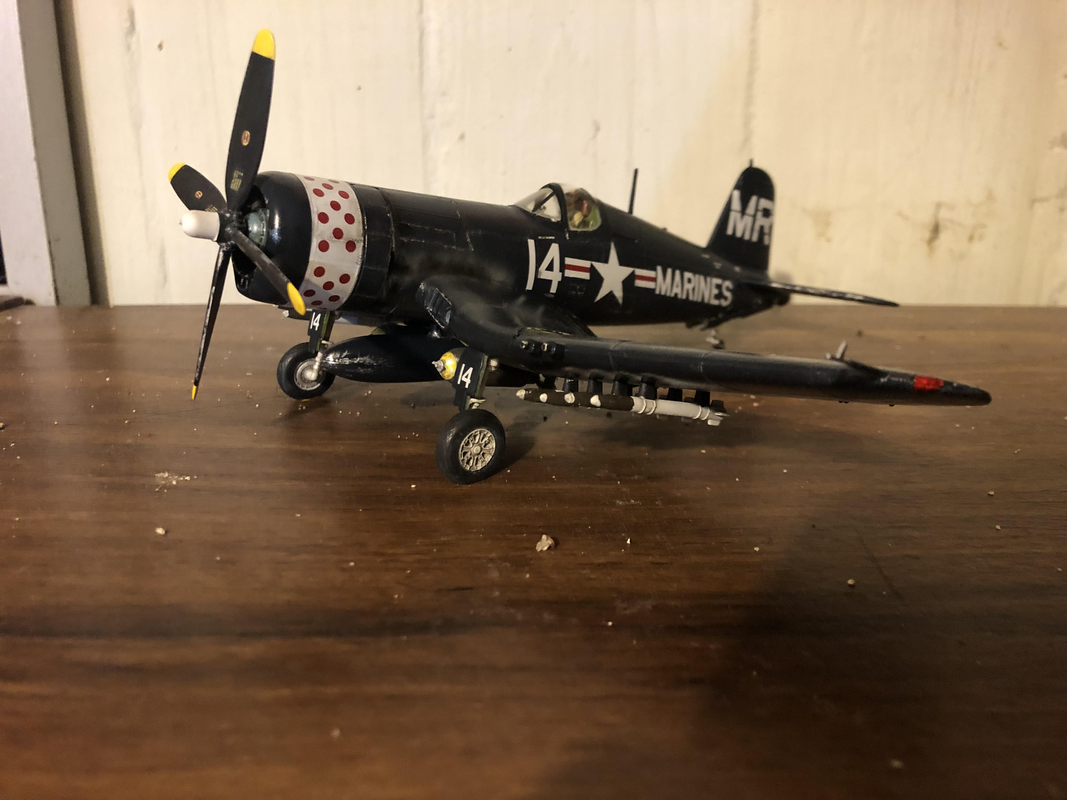
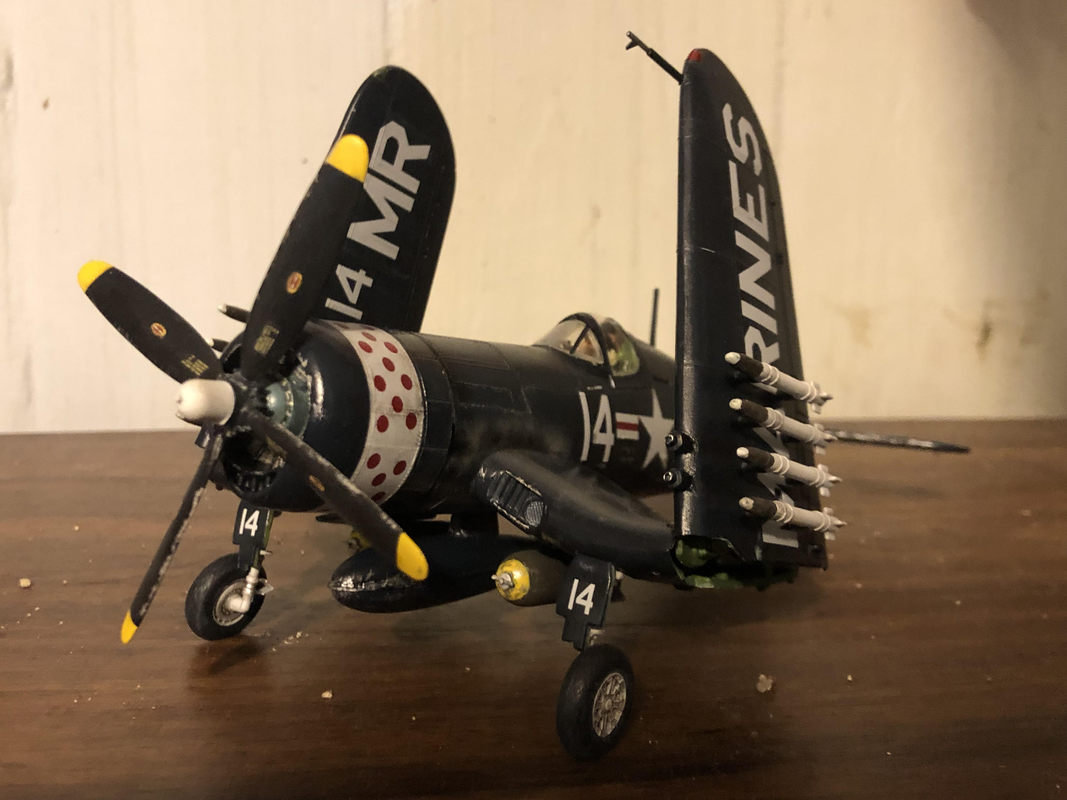
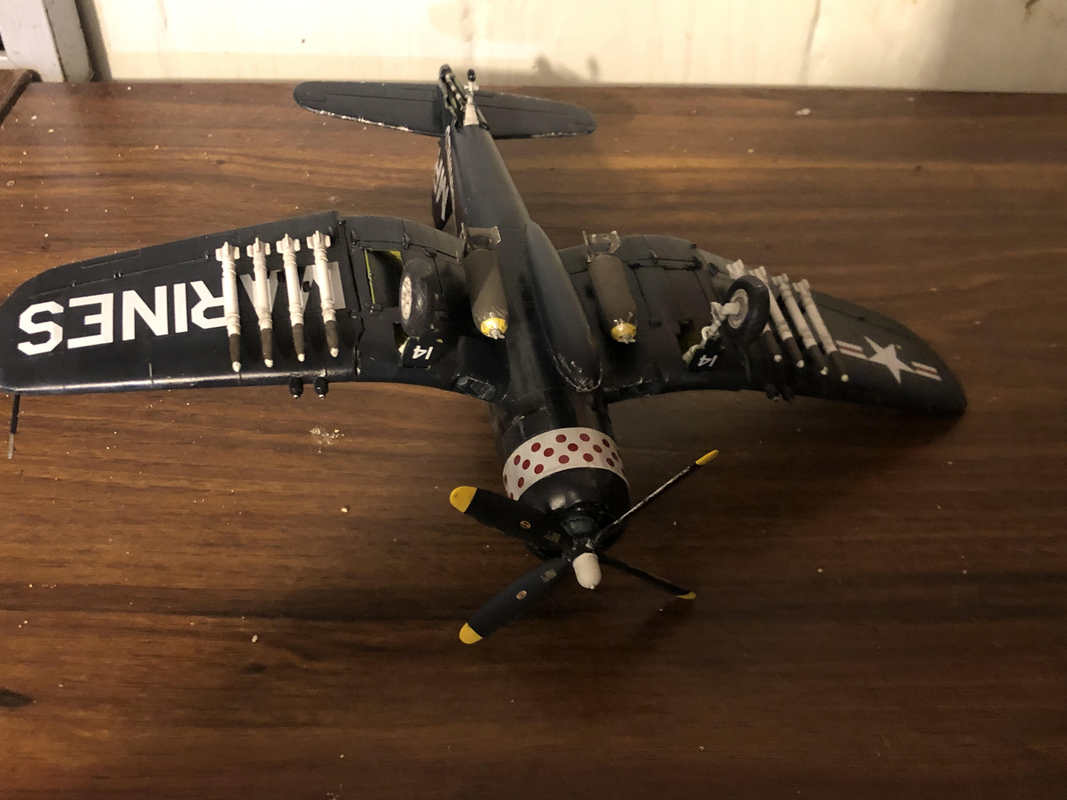
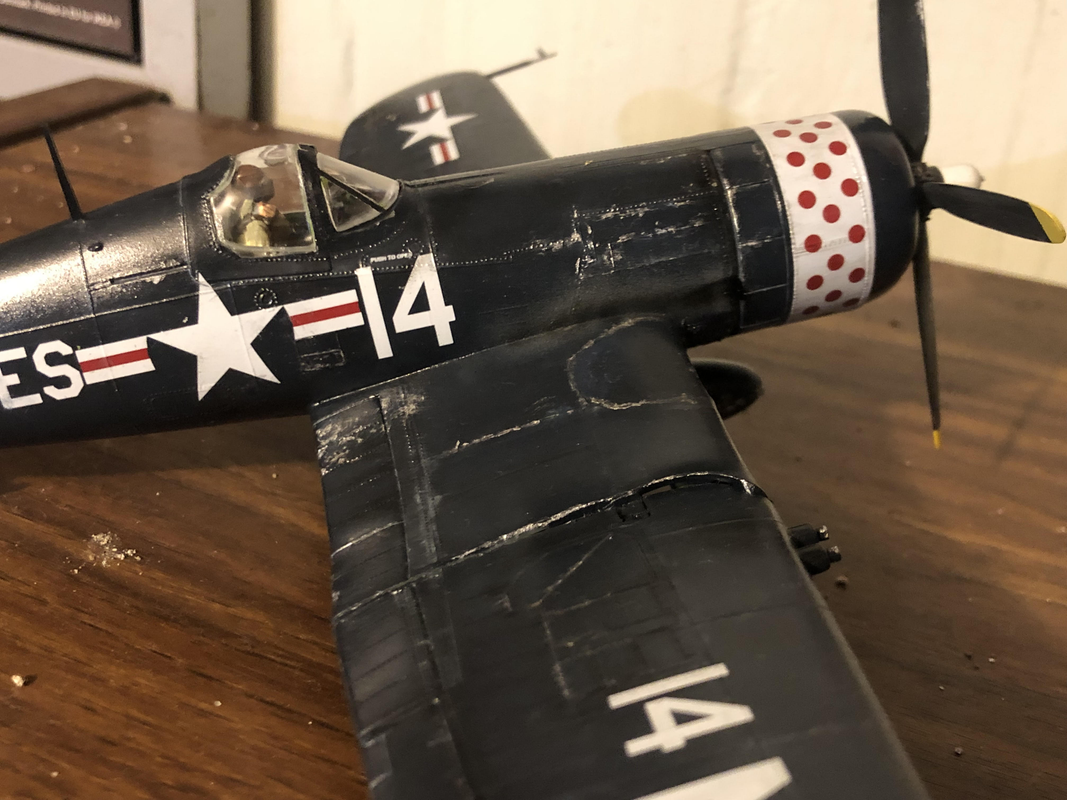
Needless to say, I was very pleased with the result. I was able to make a good model even with the problems this kit has (fitment issues, manual problems). I was happy to finish this from the summer, and I again apologize for the long wait for this.
I hope you enjoyed reading about my model!
Teenage Modele