I have a 1:200 Arizona and I’m pretty convinced the way to go is to paint the decks with different shades of the base coat. But I would love to see examples of what others have done and how they went about it. Would you mind sharing with us?
See Rusty White’s method of painting wooden decks on SteelNavy. This is the detailed explanation which I briefly addressed in my post on the main Arizona thread
Dave, how about laying a real deck? You cant beat it for effect!
This photo happens to be 2X5mm sycamore, but you can order it from HobbyMill in any dimension. I would suggest 0.5mm thickness and width to scale. The caulking is sinulated by running a #2 pencil along the plank edges before laying. The color is from a coat of sanding sealer.
John is working on the Arizona decks. You can read more on model warships about this and other products he is working on. Look in picture post - work in progress - Testing New Wood Decks Borodino
As for painting Rusty White has an award winning system that’s hard to beat.
Hands down that’s the best looking deck I’ve seen yet. Some use markers to simulate the caulking between board but the pencil is far more realistic. I’ve reached out to HobbiMill to learn more about their products. My only concern with the Arizona project is that there are a lot of fixtures molded into the deck and there are also some very interesting wood patterns that would be hard to replicate by planking. However this may work out great for some other projects I’m working on. So I’ll definitely follow through with Jeff.
The laser decks that John is working on may just be the ticket. I know he’s working on that so I’ll keep an eye out and see what he comes up with. I know there are some other companies out there that may do this but John has been very helpful and if I go this route I’d like to support him.
I also like Tracy’s paint technique. There’s a guy that attends our ship club meetings that also has an excellent painting technique and I’m waiting to hear more from him about that. The only concern there is that I would need to fill in all the butt end’s of the deck to be happy with the outcome.
Dave, whatever you do, don’t use a marker. You run the risk of it smearing under the finish. I’ve had to deal with exactly that mess before. The pencil won’t do that.
Jeff at HobbyMill is the best modeling wood supplier I have ever dealt with.
Veneer sheets used in furniture restorations are very thin and because they do not have the planks marked it can be layed down without worry of how straight the planks are. This may be a easier way to go and after draw them in with a ruler & pencil starting bow to stern as a reference line to keep it all parallel to the ship.
Individual planks can be then picked out by using different shades of pencil crayon close to the veneer color to lightly add tones & hues to break up the mono tone look of the veneer.
*As all new techniques experiment first on scrap pieces before committing to your battleship.
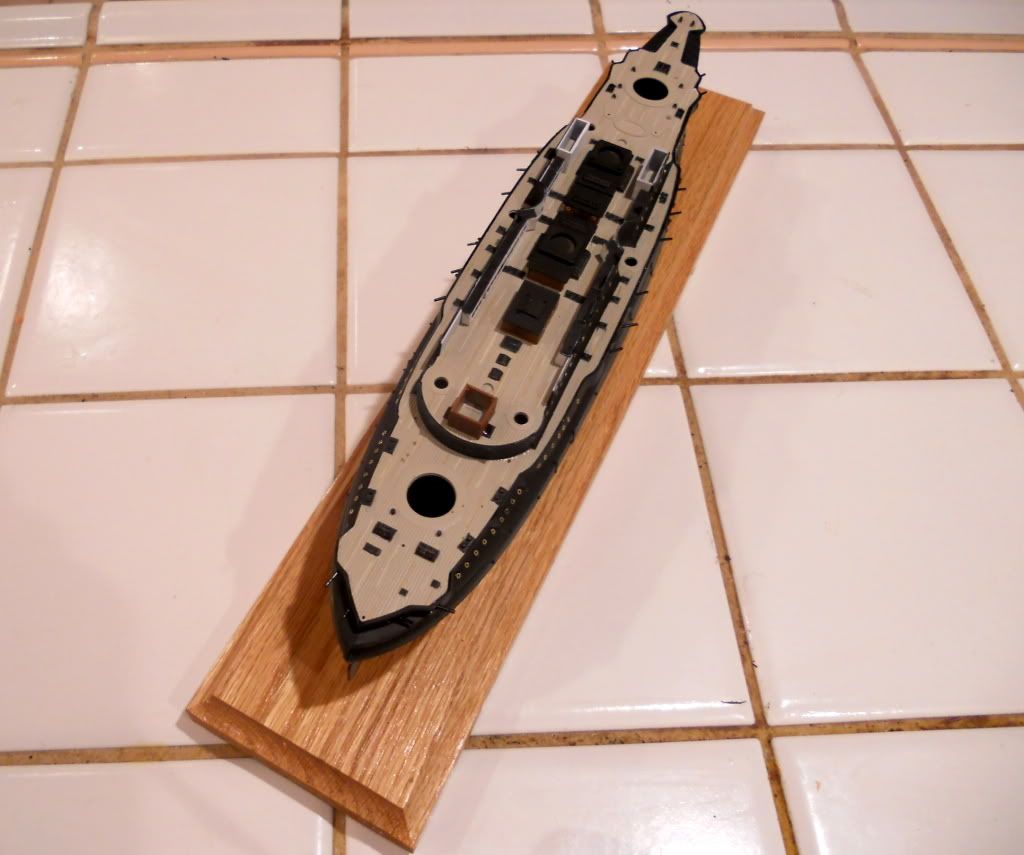
Here’s where I’m at with the Prince Suvorov. I just ruled the planks using a fine brush and a straight edge; three pots of paint open that I switched around to.
I’m not a fan of wood decks, only tried it once. If all the fittings on the deck are separate, ok, but usually they are not. The grain is too pronounced.
Thanks. Sure, first of all I model with an optivisor, all the time. It really helps me be precise. I a/b painted the deck overall Deck Tan, In this case I used Tamiya acrylic.
Then I went through my shelves and gathered up MM Israeli Armor Sand, MM Radome Tan and MM Wood.
I used a 0 brush, and a block of wood 3/8" x 3/8" by about 6" long. I put the block down on the deck along a plank line and using it as a rest, do a stripe of color along a plank line that’s maybe an 1/8" away from the block. I figure these are big planks, maybe 30’ long or so, so I go maybe 1/2" to 3/4". I used to work an area and switch colors, but it’s easier to do a color all over and then switch to another one.
If someone could teach me how to do a wash, that’d be great. Type of paint, thinner amount, etc.