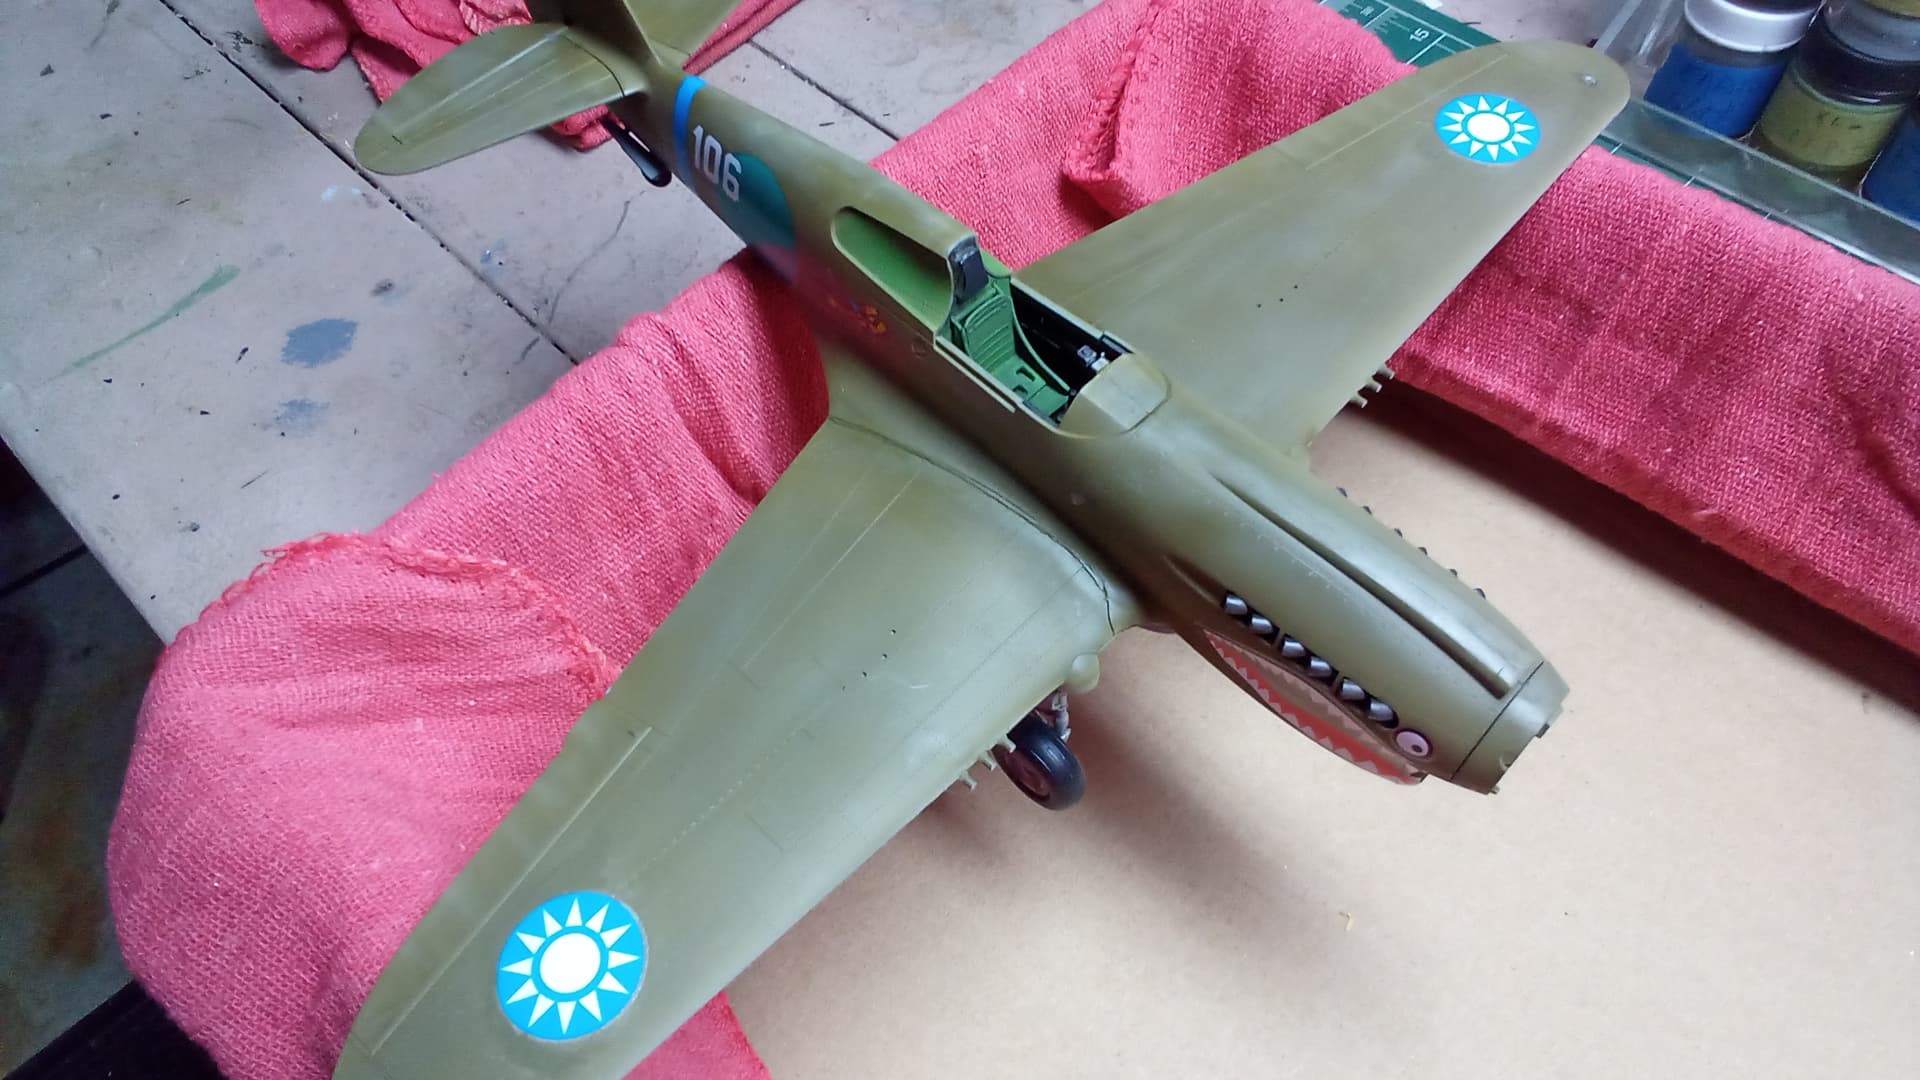
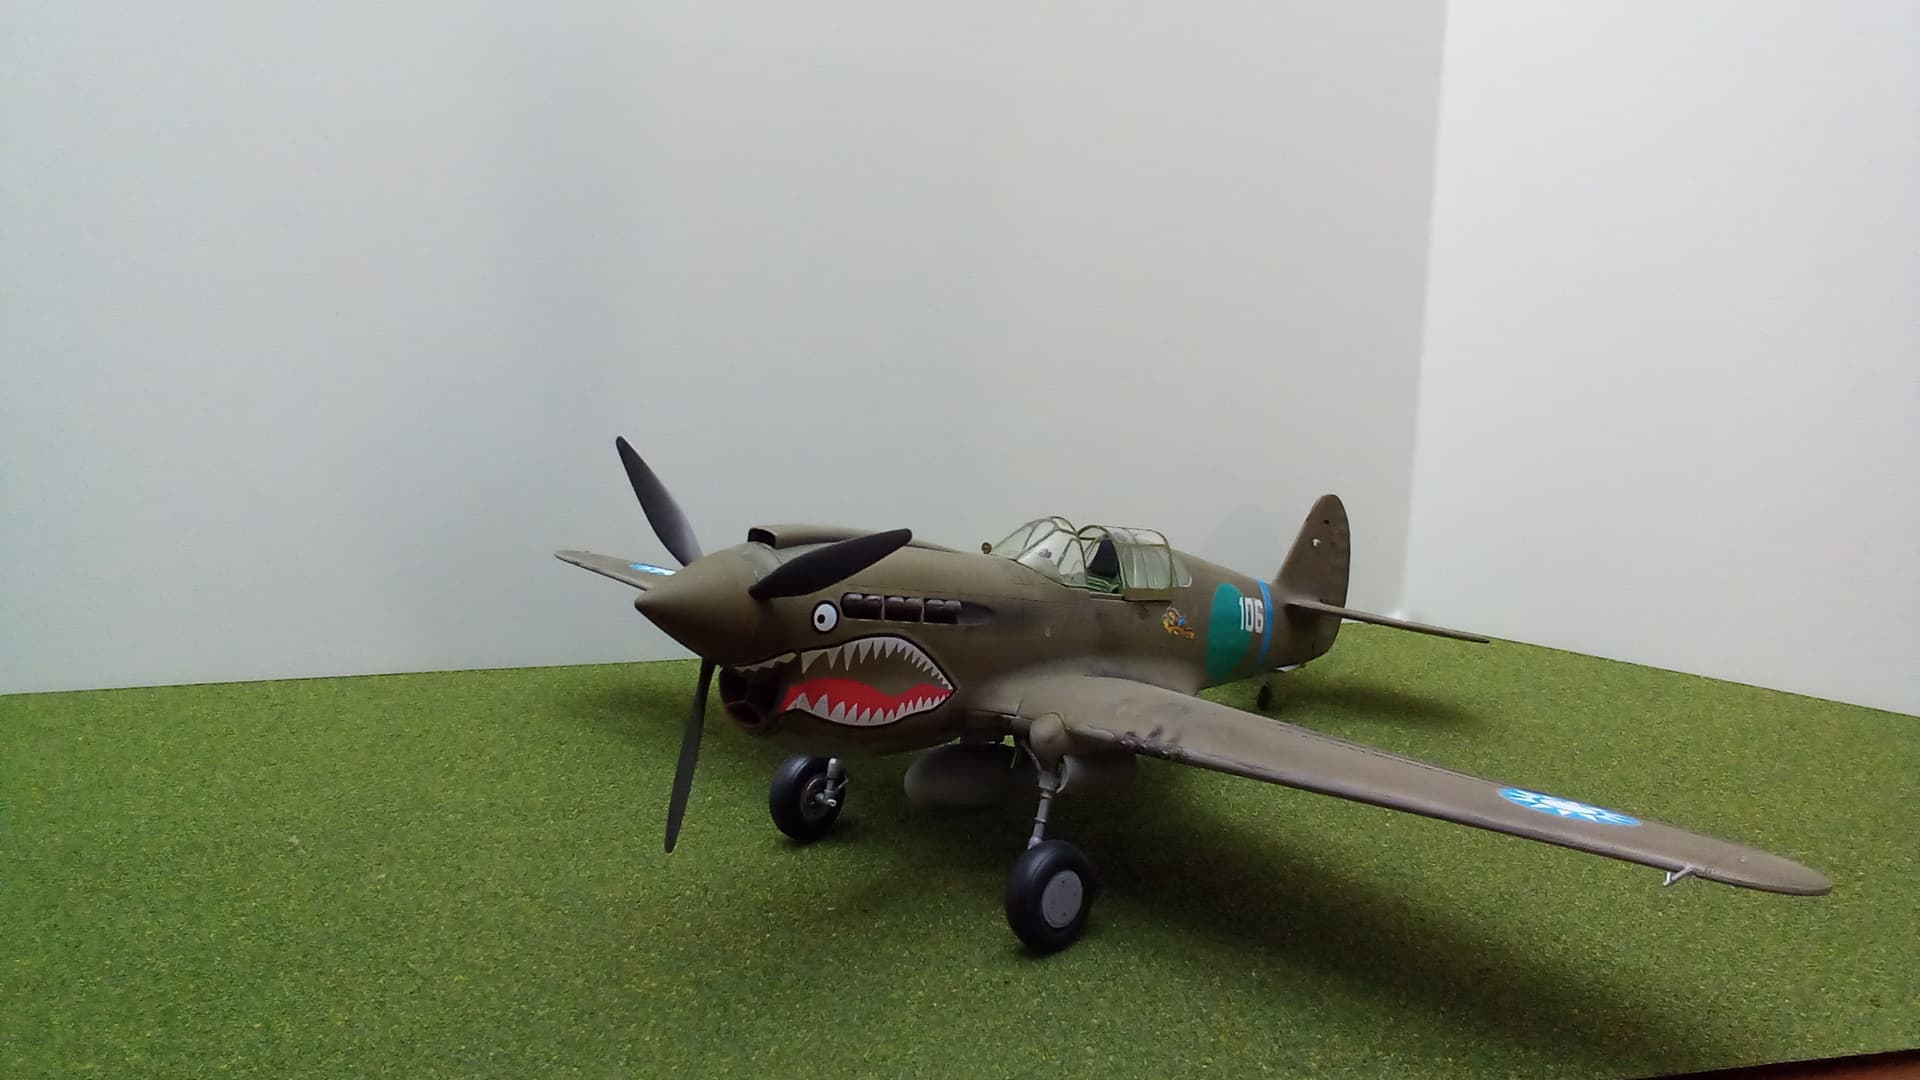
P-40E painted in enamel olive drab.
Future acrylic coat applied and properly dried.
Decals applied.
Mixed 90% acrylic thinner and burnt umber/black acrylic paint.
The Problem: I got no capillary action whatsoever in the panel lines. After several attempts I dabbed a small amount of straight acrylic thinner to the panel line - nothing, no capillary action at all.
Actually, none of those things. It doesn’t spread out and it doesn’t bead. It isn’t disolving either. It just stays right where the brush touches the spot on the panel line.
In other news: I’ve decided to forego any further testing and await the arrival of the Flory Wash. After watching YT Videos I liked what I saw. Will let you know how that works out.
Second what Mustang8376 suggested. Either oil paints or enamels thinned with enamel thinner or mineral spirits. Tamiya panel liners are enamel based, and are a convenient option.
Generally the panel liner should be of a different base to the protective clear coat. Acrylic clear coat with oil based wash, and vice versa. This minimizes the risk of crazing the clear coat.
Oils for the win.. I used Windsor Newtons burnt umber for the overall wash, then Winsor Newtons dirty grey for the panels.
First time doing such a wash on bare paint and man, its really working out well!
Just remember, do it in small sections and use a thinner type brush.
But most importantly, whatever method you use, practice first on an old model and or part.
WARNING: Unlike Phil Flory’s youtube video, do not use the product after you have placed decals on model.
I followed the video and had my decals applied. I broke one of the wing mounted decals while cleaning up
and that pi**ed me off eventhough I was able to salvage it.
This was my first time using the product and comments below are hetherto geared for/from first time user.
The only thing easy about using the product is the application process. Put it on with a brush and work it in.
After setting overnight, is where all the work comes in. Cleaning up is not a 15-30 minute venture. Its more
like a 2-3 hour campaign. And whether you get the actual look you initially had in mind is going to be a crap shoot. I did not get the look I was aiming for in the beginning.
If you are inclined to want a dirty/grimey - well worn look - this product seems to do the trick and its easy enough to achieve during cleanup - in fact, I would say a dity/grimey look is the default look you’ll get during cleanup process. Needless to say, I was not after a dirty look.
Be that as it may, I had no choice but to bite the bullett and proceed on. I used towels (sometimes moistened, sometimes wet) to wipe off the product as well as wet Q-Tips to get in hard to reach areas.
Will I be using this product again? At this point, I’m not sure I ever want to weather/panel line another model again. It did not come out looking like what I had envisioned before starting.
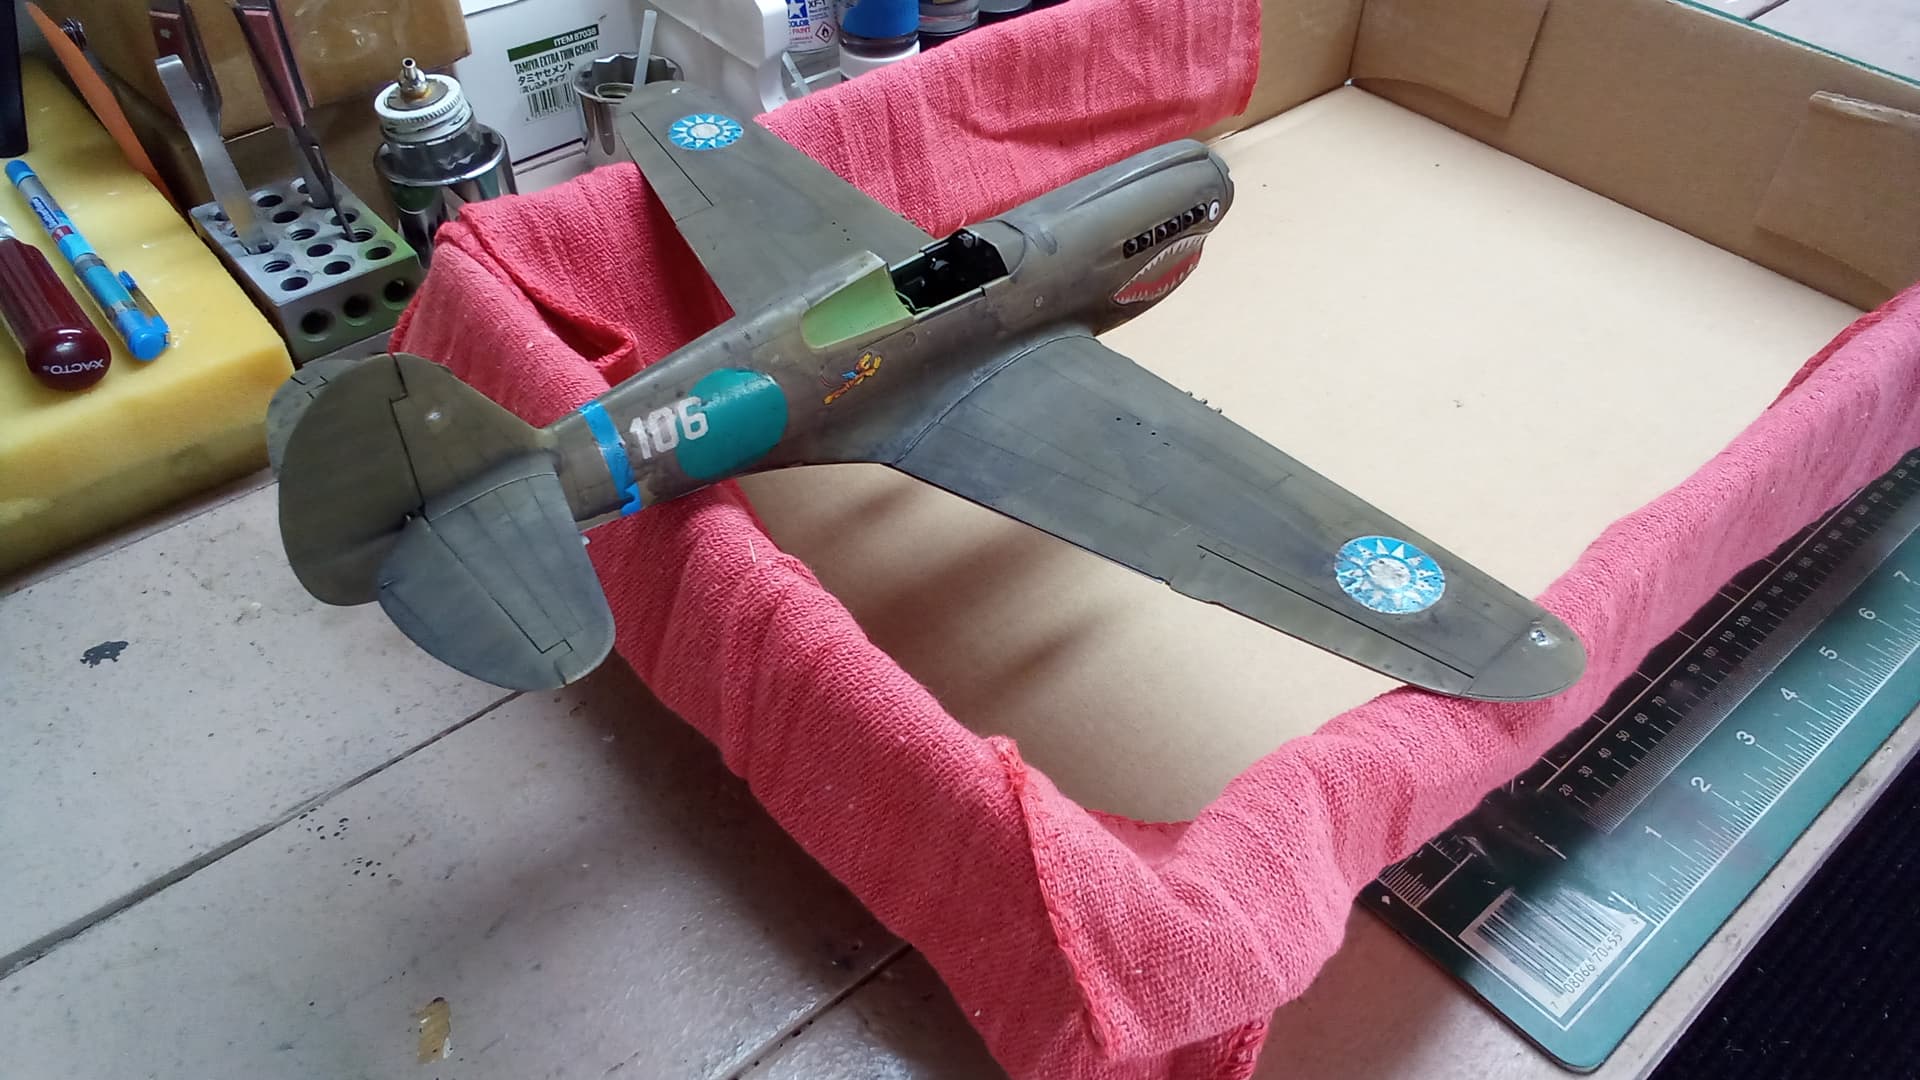
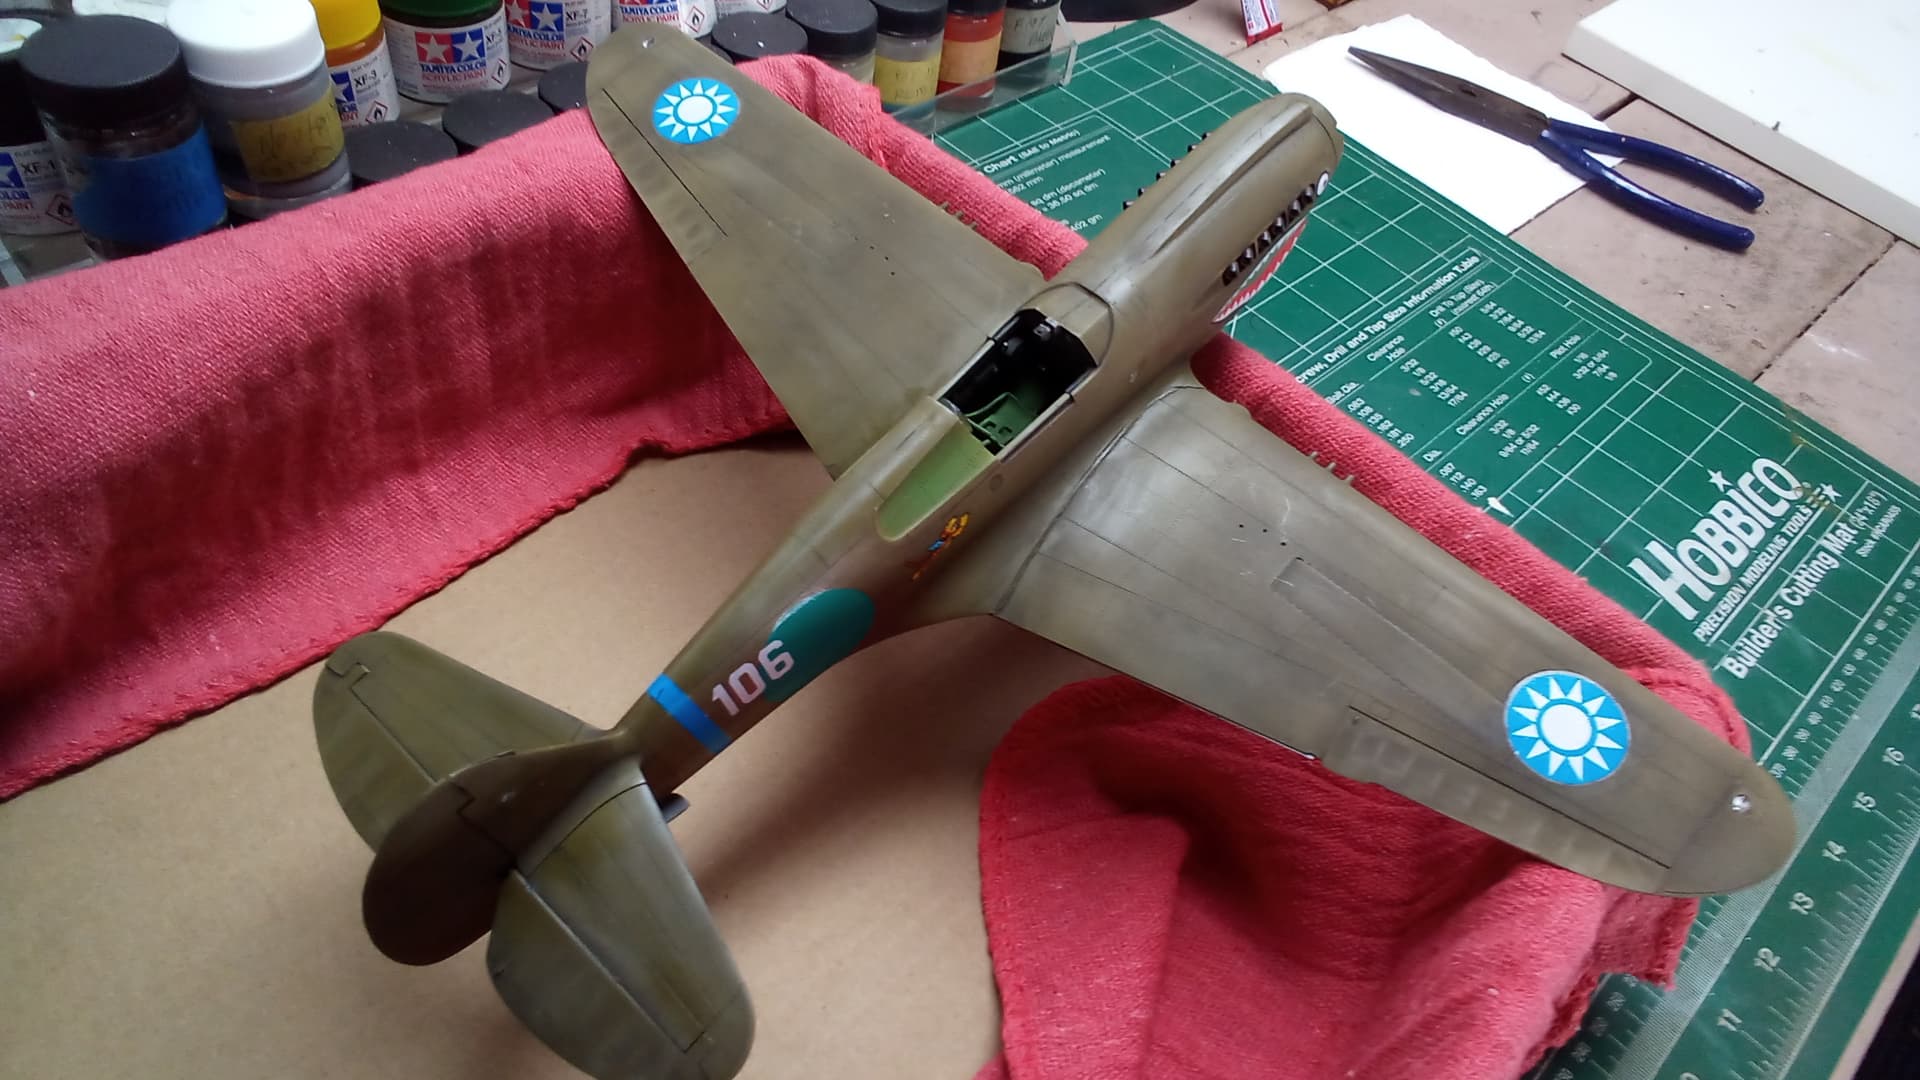
So, despite my initial disappointment in results after wiping off product and cleaning up, I pressed on with finishing the model.
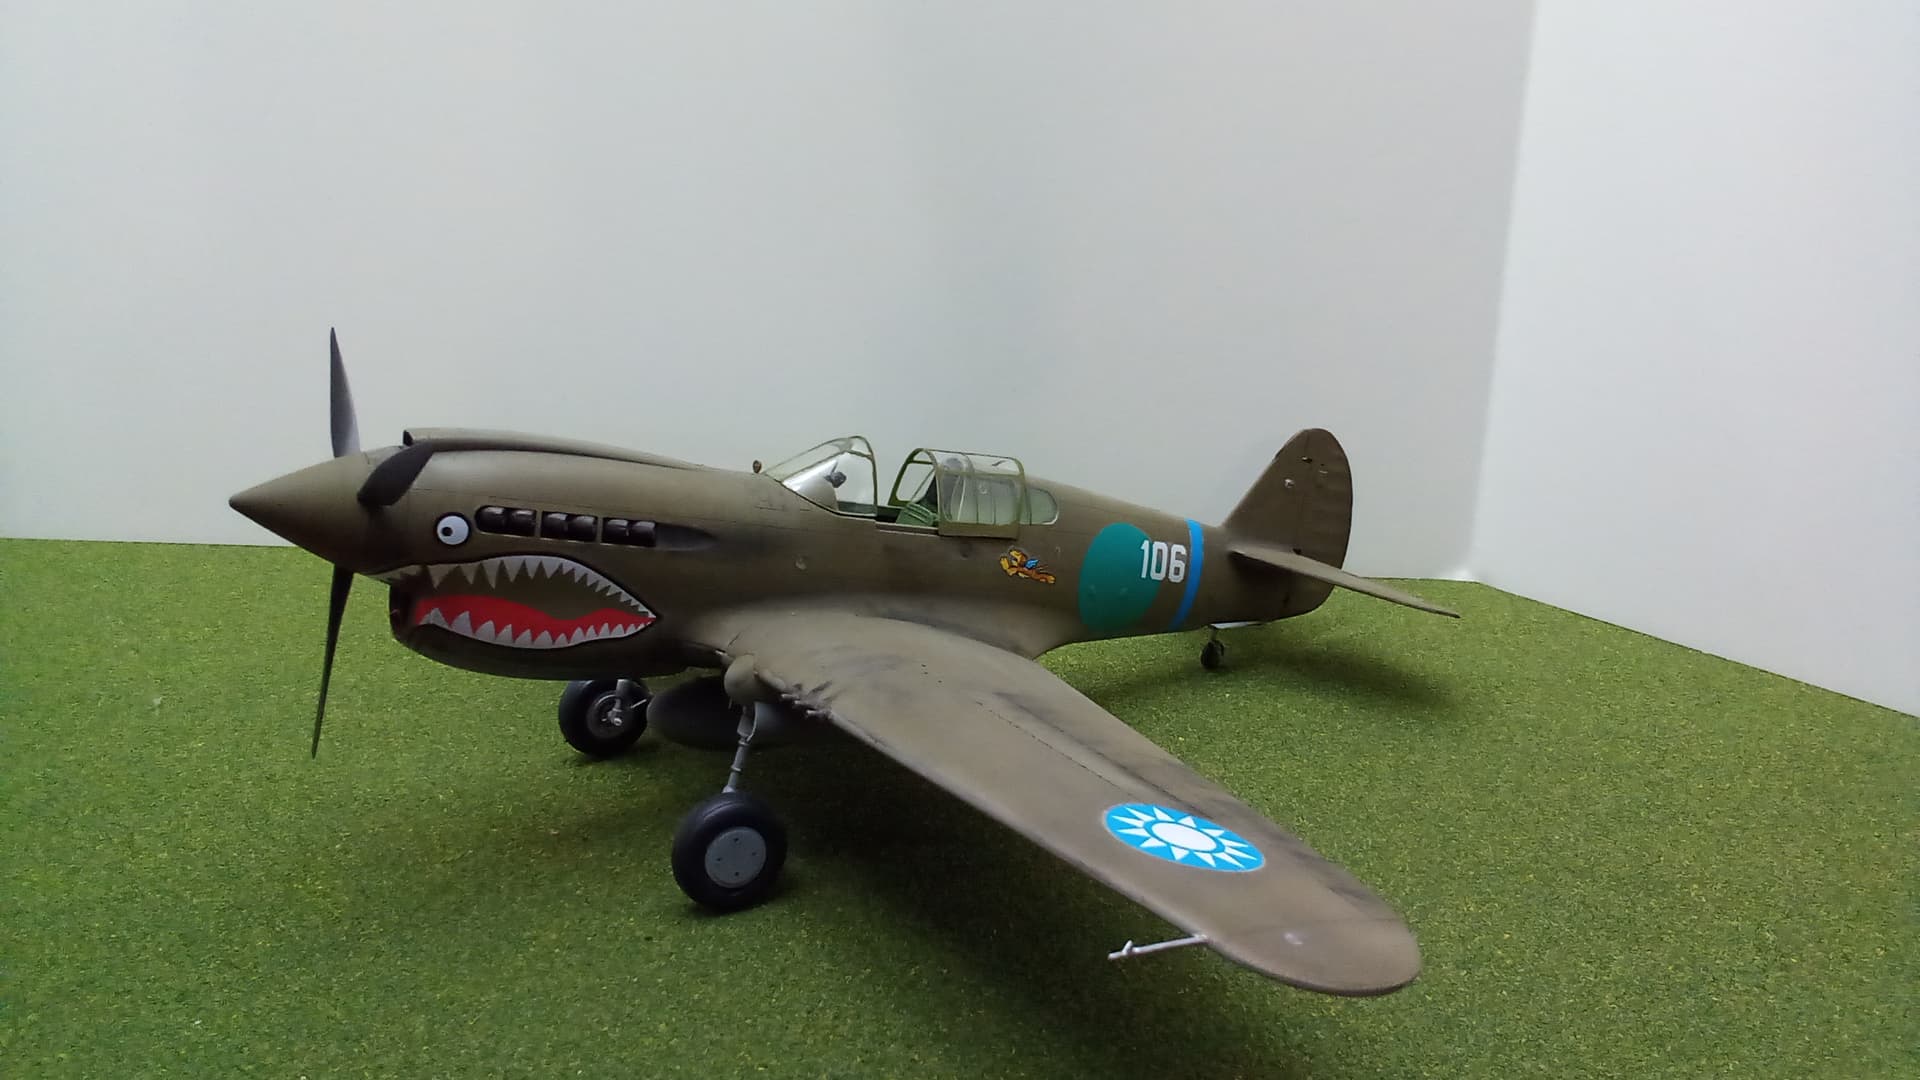
Next up, was air brushing entire model with Alcad Klear Kote Flat. I did that and let it set overnight.
When I looked at the model the next morning it actually looked much closer to what I had in mind initially. The Alcad not only dulled down the Acrylic Future shine, but, it appears to me to have dampered down the overly heavy weathered look. I was very surprised by this. So, at this point I installed the canopy, gun sight, and pitot tube. Then applied some charcoal stains for the exhaust, wing roots on the port side, flaps and elevators, as well as gun ports and ammunition panels.