Hi modellers,when i start on this one,i realise to need to read those reviews on AMPS.
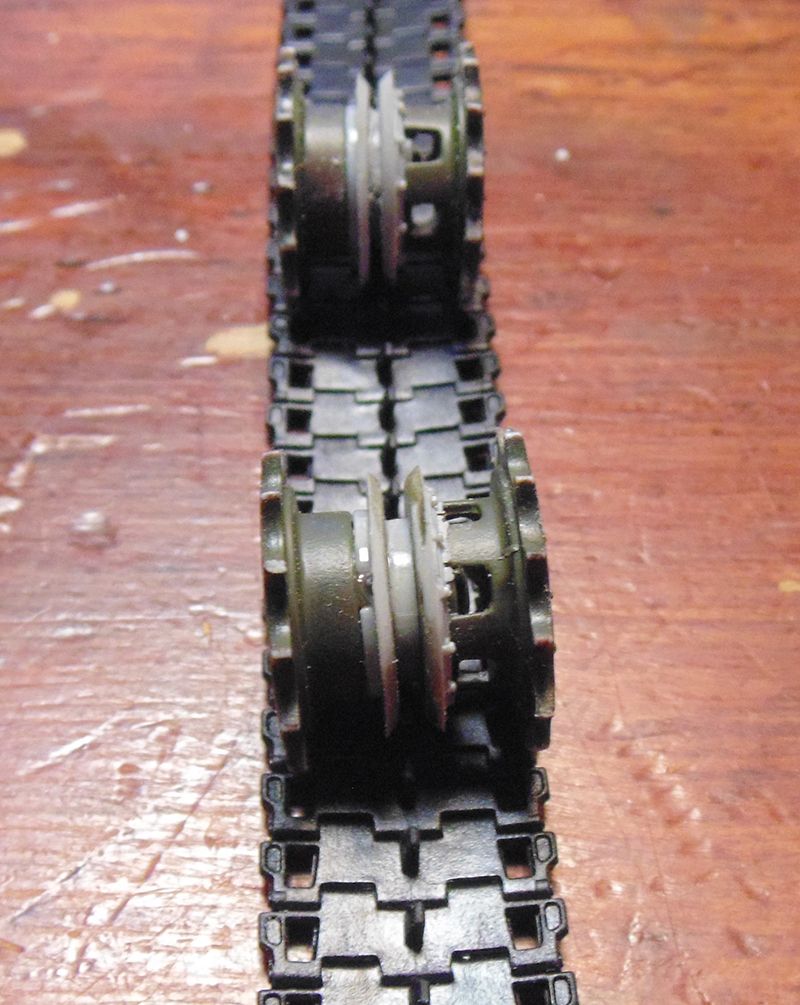
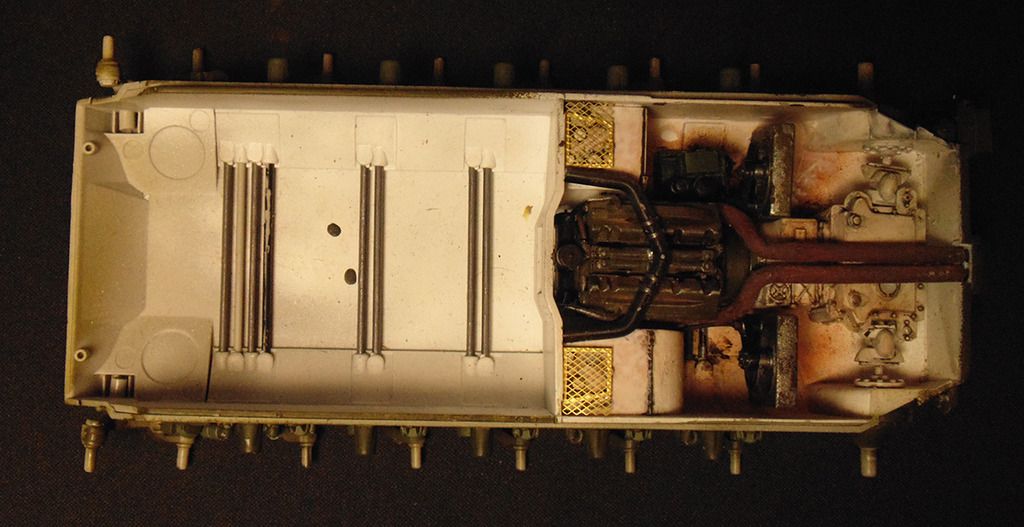
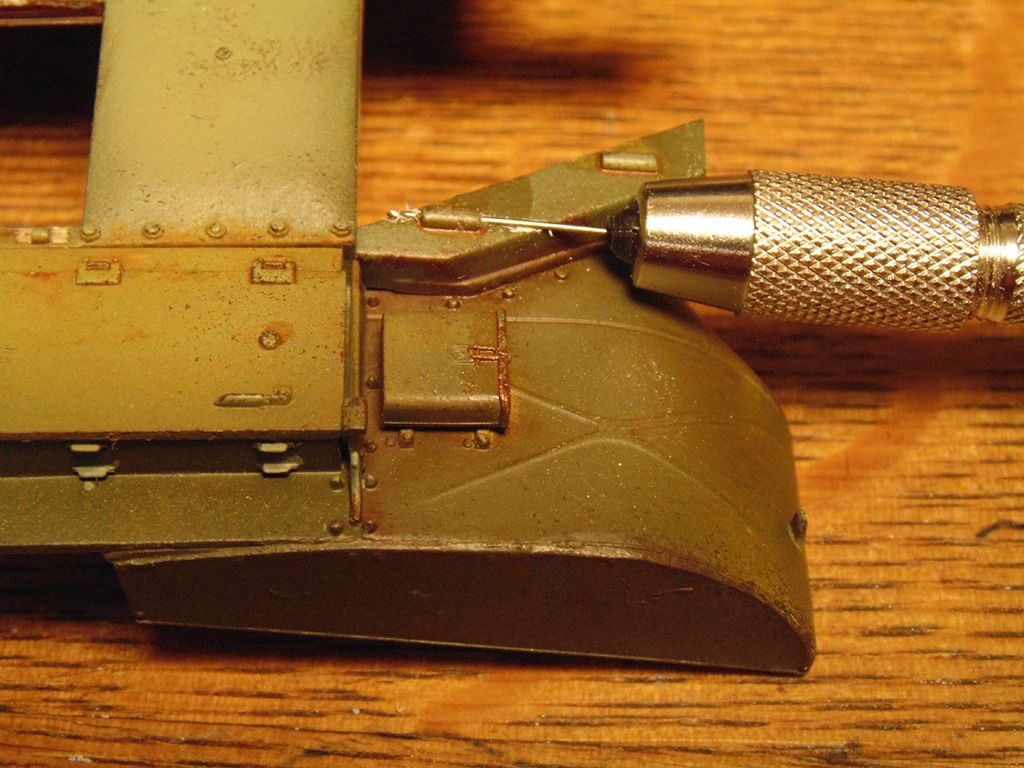
3 small things to get a better fit;Driving wheels are to wide,engine parts of driving wheels are to wide,exhaust pipe was a hell to fit inside.Open Gaps on the hull with that exhaustpipes!
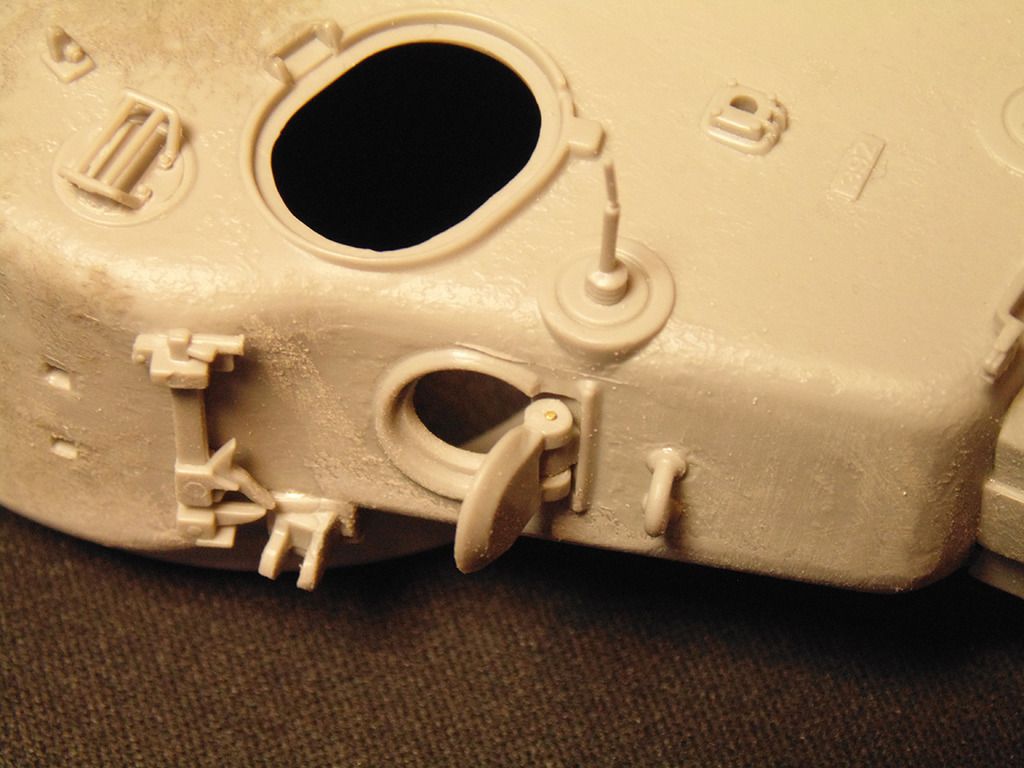
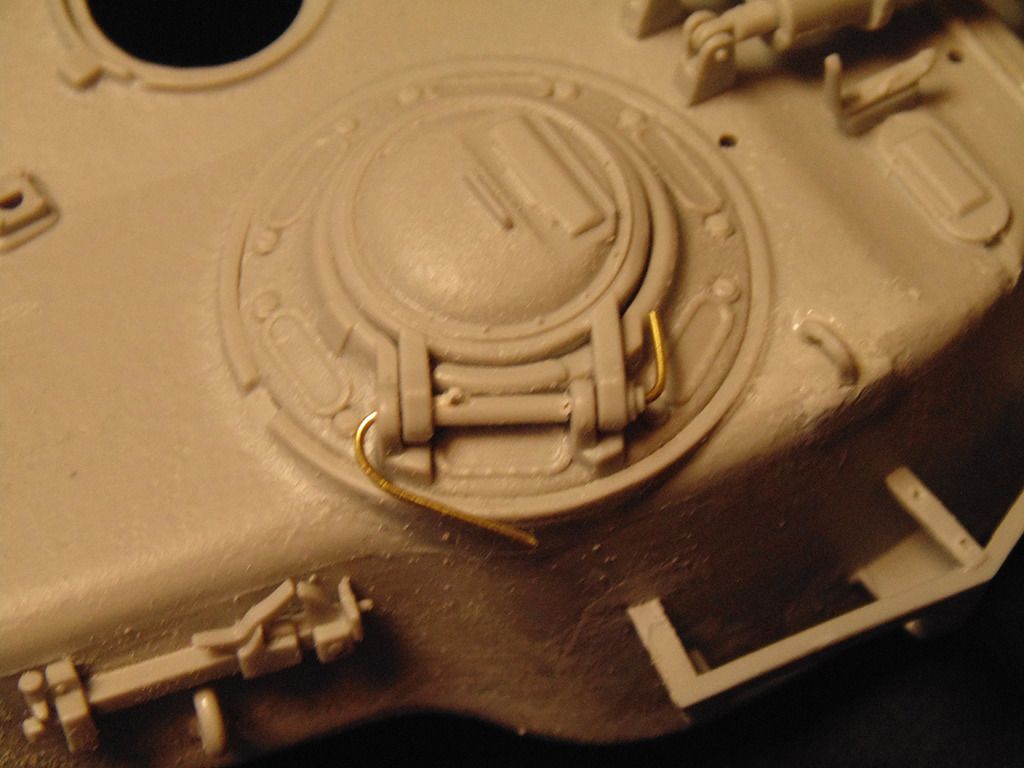
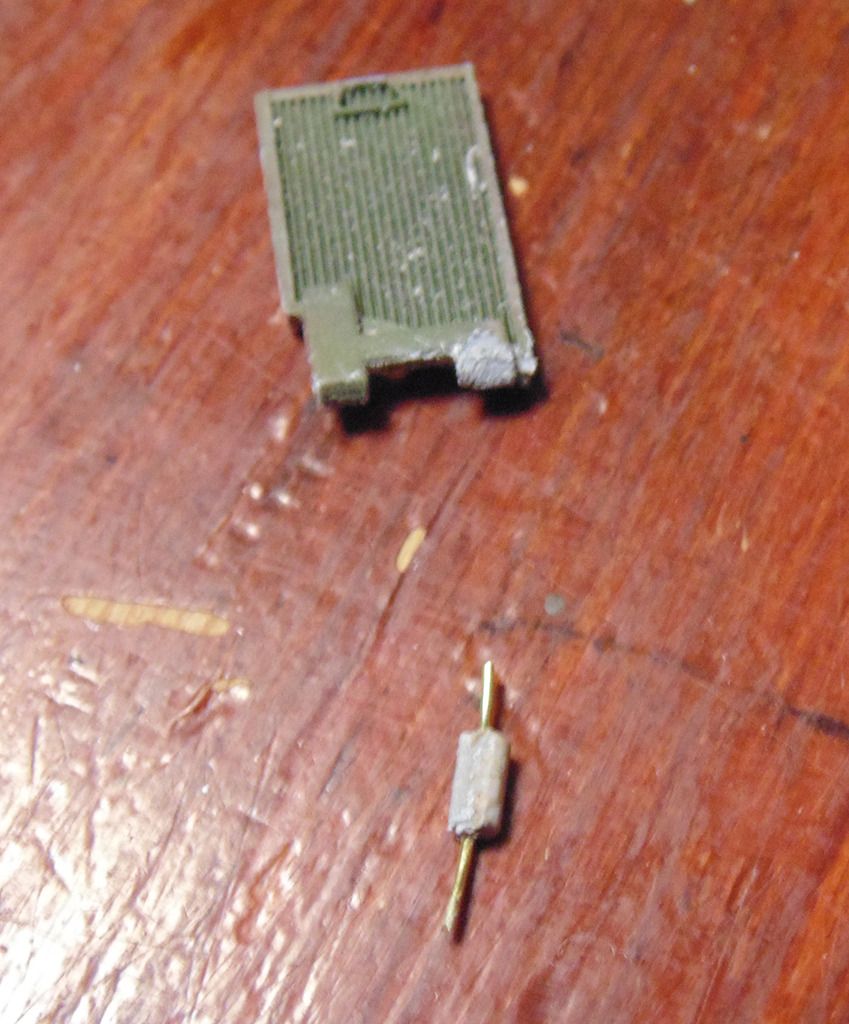
some extra parts i wired it
wired the hatch on side to open/close(and commander hatch)
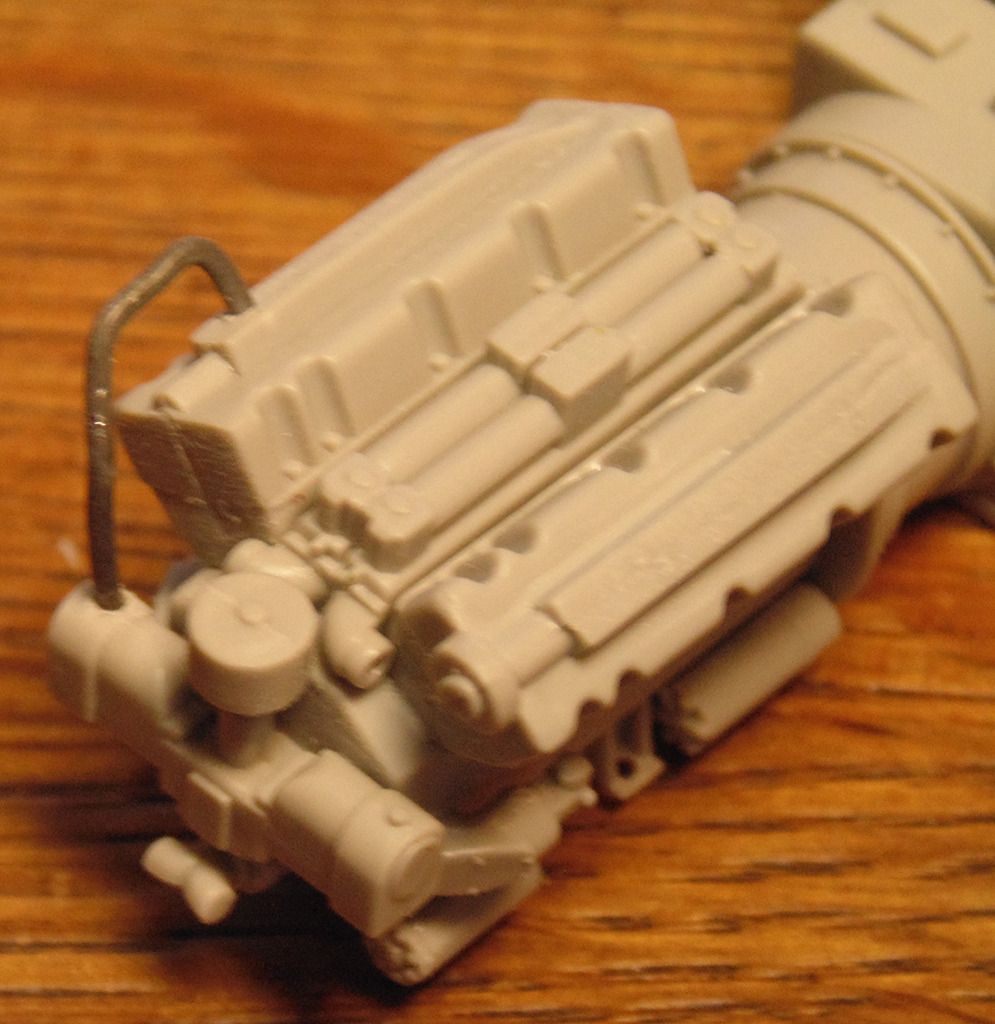
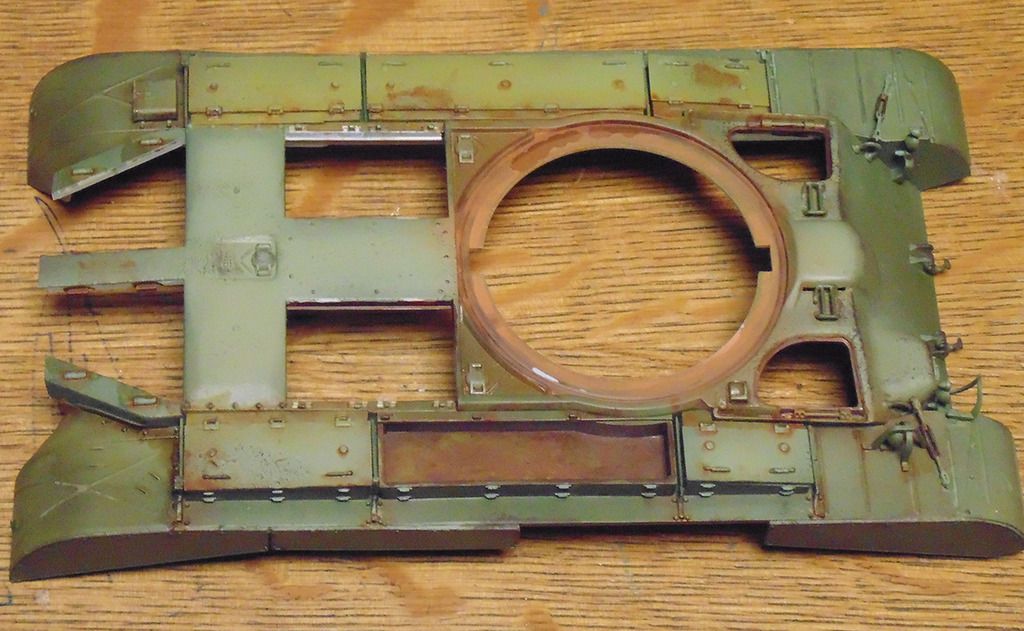
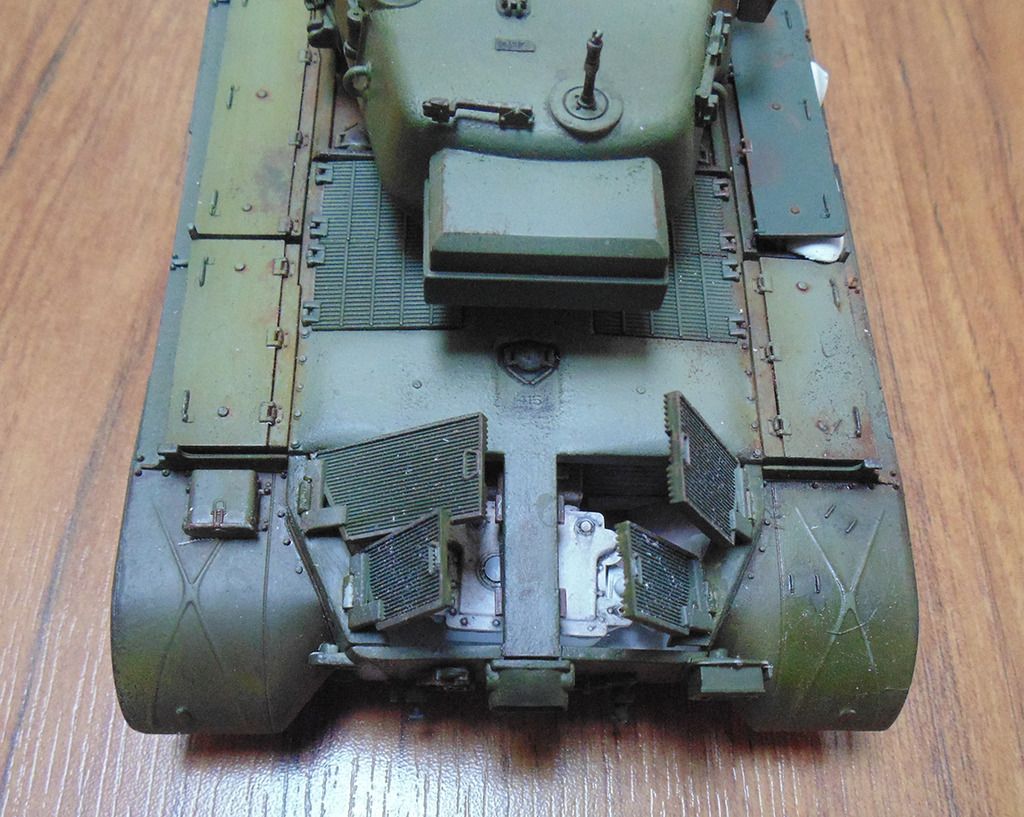
You words overstated me completely. Thanks allot Mike ! If i do this with Tamiya paint after 3 mins my airbrush is dry inside and to clean that mess takes hours…so long live Vallejo Then you can see what you have to do ,like a little bit darker or more lighter colour and then the finish “The weathering powders and washes” But you all know that, don’t you Mike? That Engine part ;it’s not what I want!
That’s looking really good. I’m now seriously contemplating using Vallejo paints for my current project, especially if they are more user friendly. Looking forward to seeing it done.
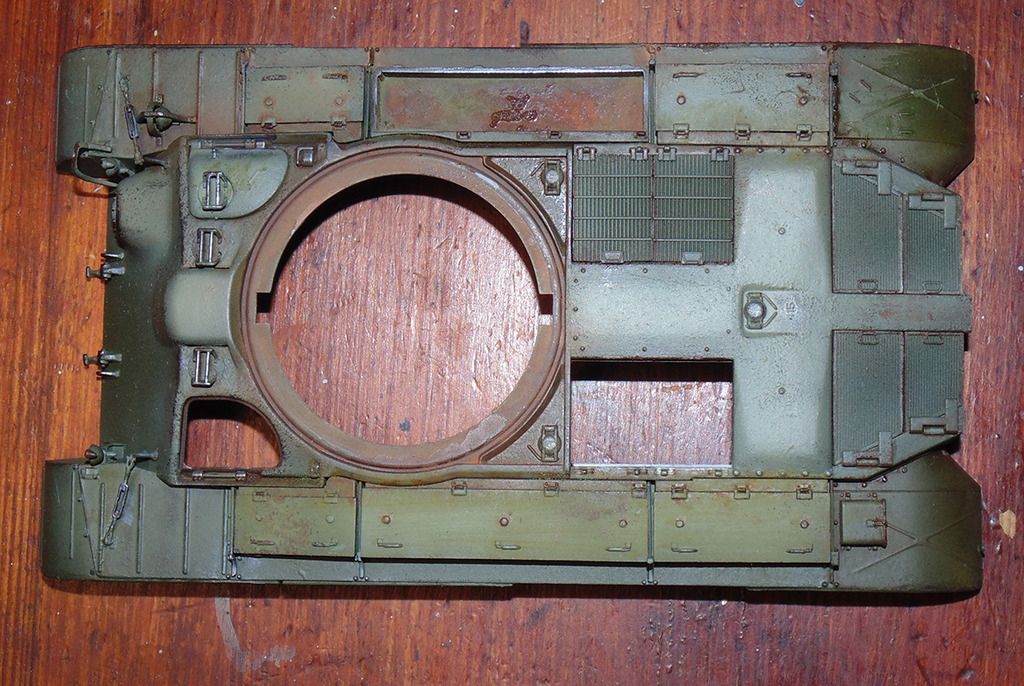
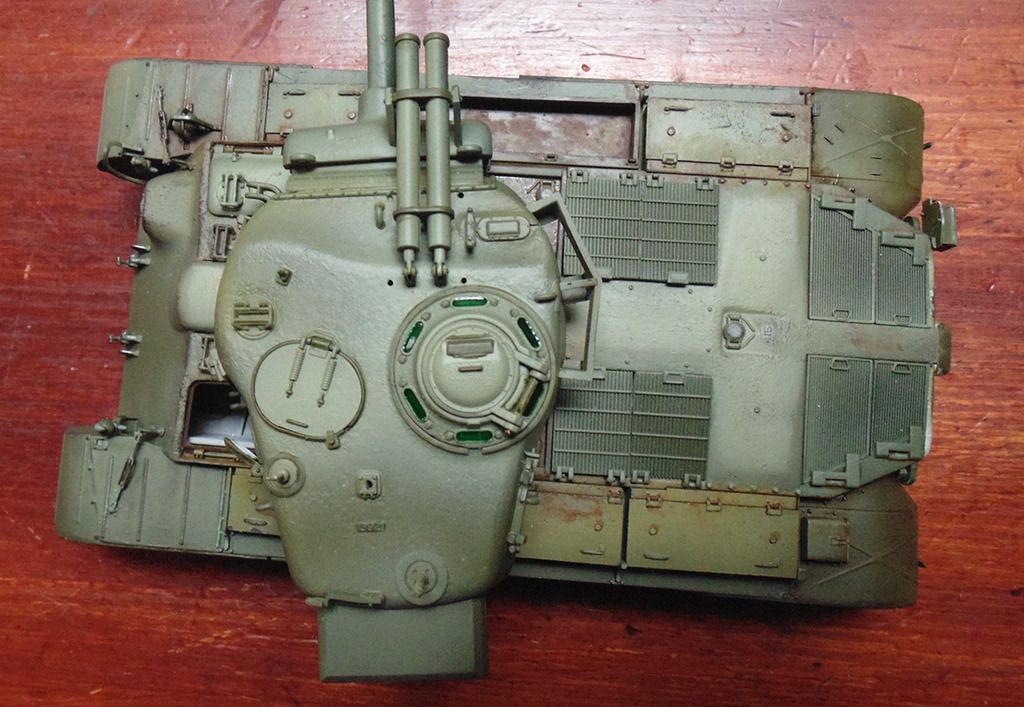
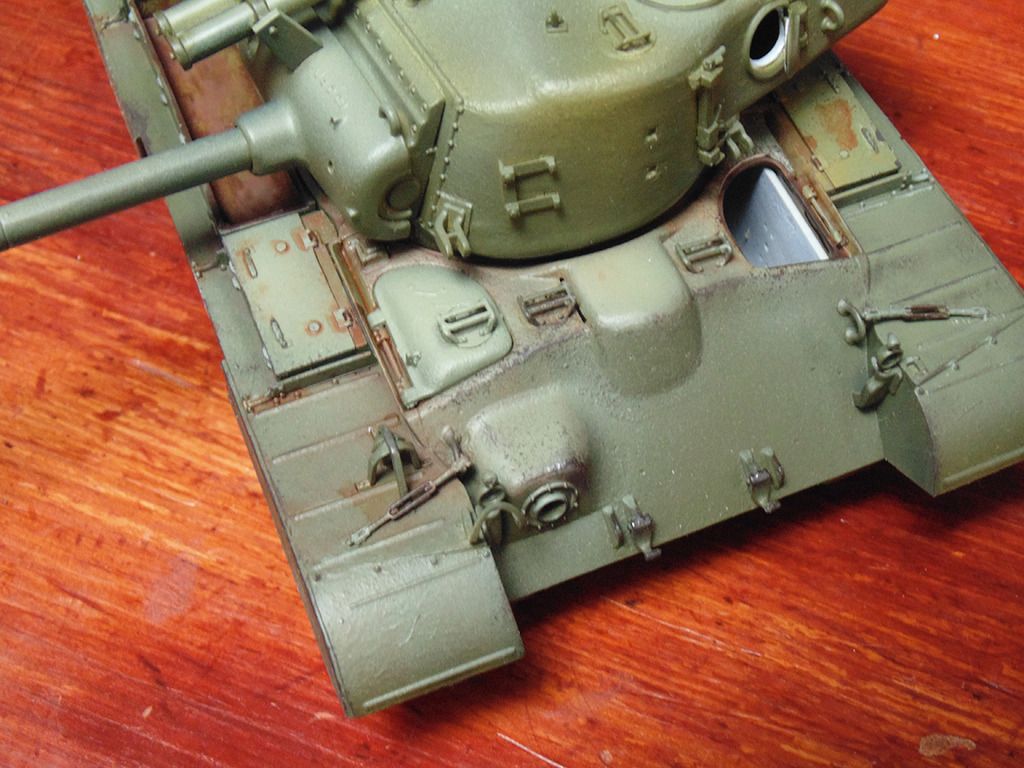
The paint effects look nice and are very artistic, but unless you are representing a hulk that has been sitting out in the weather for decades, it is not accurate for the M26E4 Pilot #2 tank. This vehicle was a test vehicle that was built on a new hull with a new, upgraded 90mm main gun. It was all freshly painted before it was sent to Europe for trials in late March of 1945. It was only involved in 3 actions in April '45 before Germany surrendered. It was never in that bad of shape and was left in Europe when the war ended. It was last seen in a scrap yard in Germany awaiting the cutting torch.
Maybe the weathering is a little overdone but I like what you’ve got here. As a guy who builds mostly pristine tanks with a little mud I could learn a lot from you.
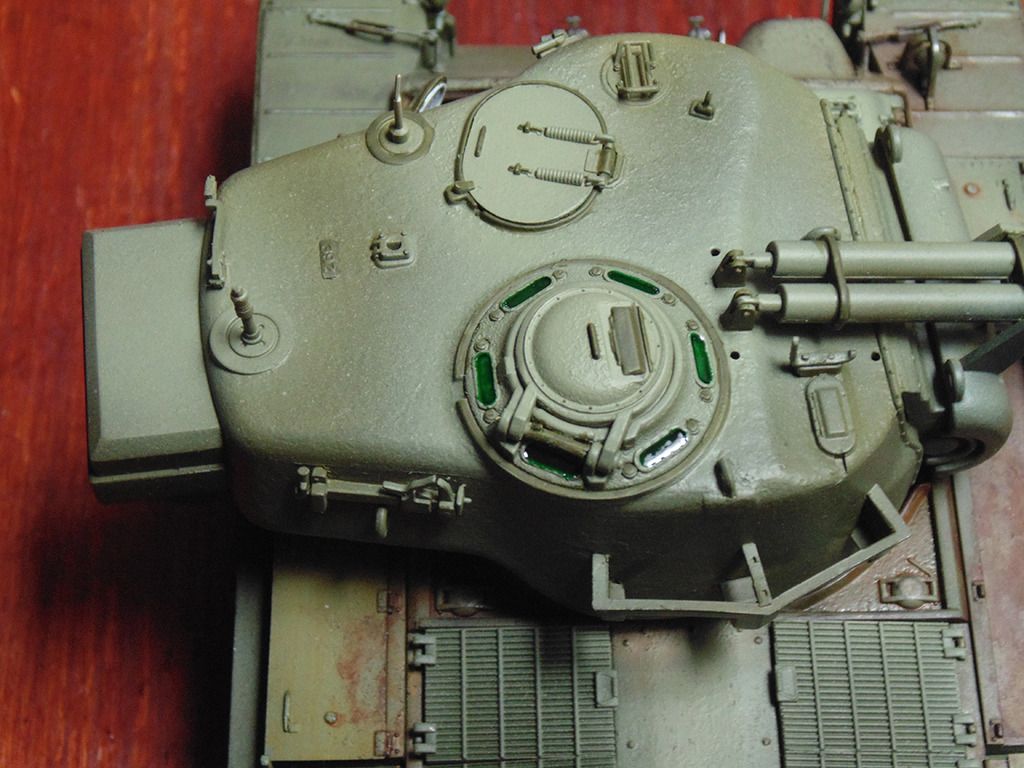
Gino: Pilot #1 was the one that was sent to the ETO and was recognizable by its circular, split loader’s hatch and no pistol port. Pilot #2 remained stateside to be the template for the T26E4 production series.
But I agree with you about the worn out look-- artistically very pleasing. But no vehicle in the development line would be allowed to deteriorate like that nor get as beat up either.
OK?? No idea what all that is about. Build it however you like, I really don’t care. Just adding a little historical perspective for those of us who do build realistic representations.
Gino’s right. Build it as you like, but he added the historical perspective for those that follow. You weathered it like it was stuck at Aberdeen Proving postwar training new Armor officers. Pilot #1 would have been stuck at a US Army kaserne in Germany postwar like the Sherman “Cobra King”.
I’m not sure of your point. Perhaps you’ve seen models that you wondered were over-weathered. Your current model (overall which is great, by the way) is your interpretation. Some observers (me included) feel it’s over-weathered and not representative of paint wear patterns on US armor, either in the field or kept stateside for development purposes.
But I fully agree that this is an interpretive hobby and all are encouraged to push boundaries – it adds variety.
Very nice job, Razzie! I’m very interested in these Hobby Boss T26E4 kits and I’m glad you’re sharing your build. I also like the weathering you’ve done and this is probably what this particular tank looked like after it was parked in the motor pool and the Armor Board was testing the “production” T26E4s.
Thanks for sharing, and I’ll be following your progress!
Your build is definitely looking great. I just ordered the Hobby Boss T26E4 Pilot #1, the (in)famous Super Pershing. I hope to build that one and then I’d like to convert T26E4 Late Production model to an M26E1 (which may be a little beyond my skills!).