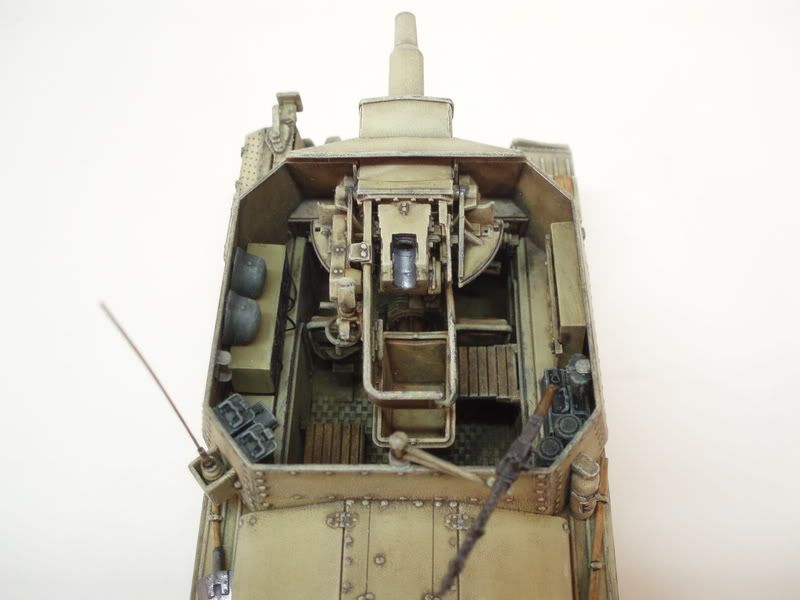
Just finished this piece for the “Vintage Armor” build over in “G.B.” This is the Tamiya 1975 release.

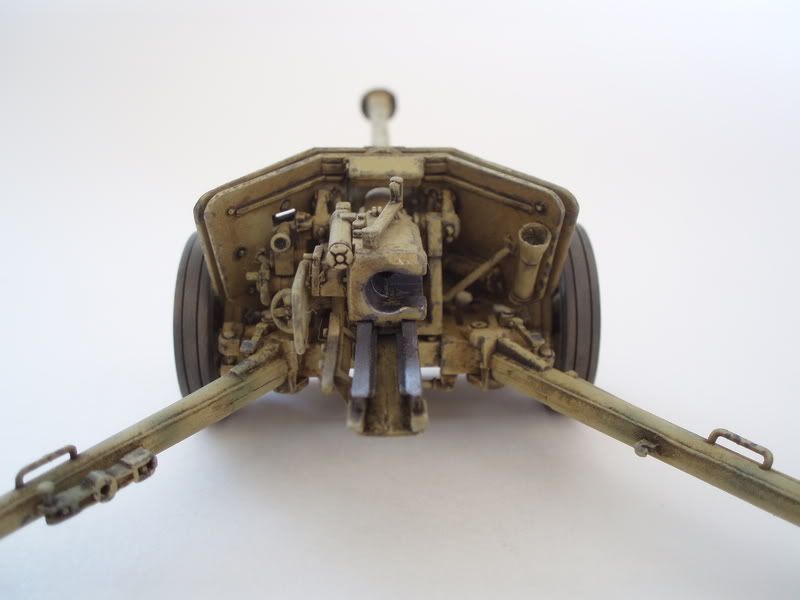
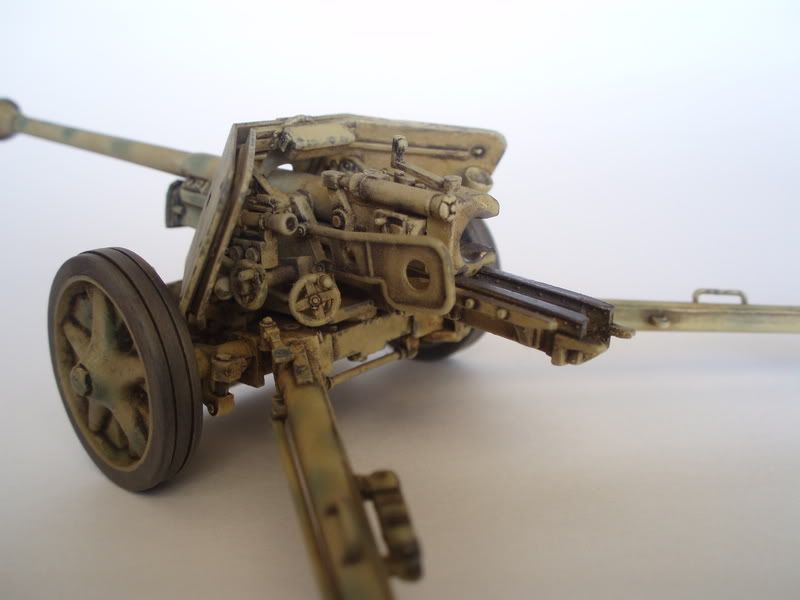
There’s more pic’s over in “GB” if anybodies interested.
Just finished this piece for the “Vintage Armor” build over in “G.B.” This is the Tamiya 1975 release.
There’s more pic’s over in “GB” if anybodies interested.
Nice work on the vintage kit Doc, going on a base or will it be stand-alone? Either way sharp work. [tup]
That is excellent !
Right on TARGET…

I might have to try somethin’ like that.
DISASTERMASTER
Doc real nice job love the cammo and weathering. It might be over thirty but still builds up real nice. One of my fav’s.
Great looking Pak! [:D]
Just one question, how’d you weather those tires??[?]
WOW, an excelent PaK, doc!
The pin washes really bring out the detail! Nice job all around!!
That is very nice. I had to take another look, I thought it was one of the modern Dragon kits at first. I guess it goes to show that it’s the modeler, not the kit that is the impressive part.
I have had this little piece in my stash a long, long, long time. Redleg12 started a “Vintage Armor Kit GB”, so I signed up for my first group build. Tamiya really does seem to stand the test of time.
Bill, DM, Pnzrguy, Karl, Jon and Miikael Thanks for looking and your comments.
Mikael, for the tires I shoot 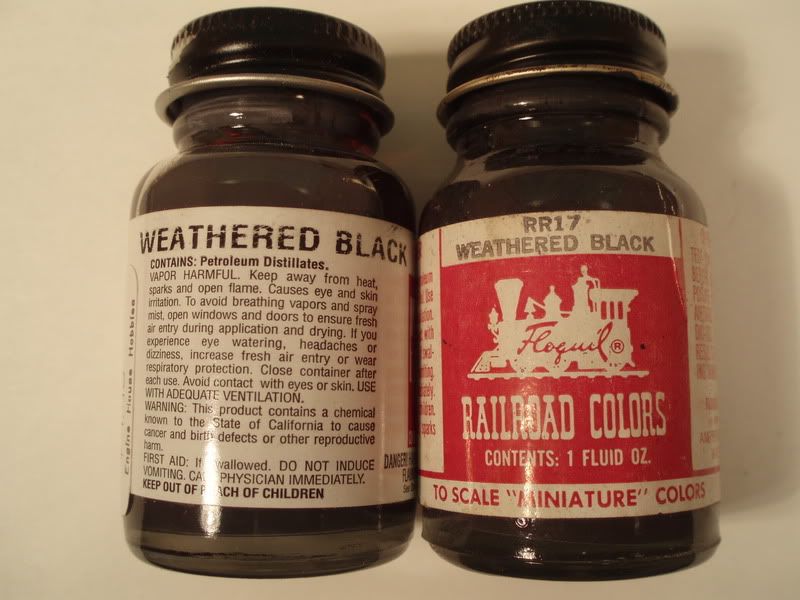 at 10-12lbs. air pressure and then I tried something new to me, I have a buddy who swears by it
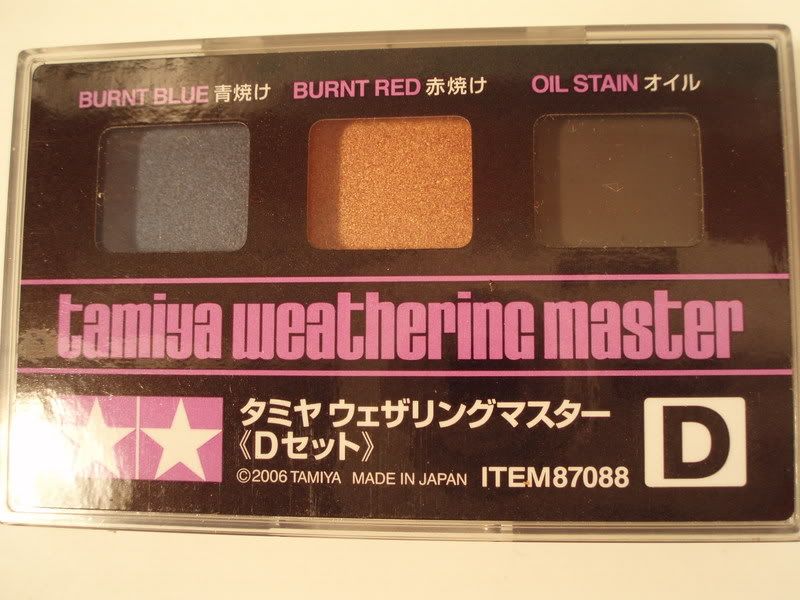
 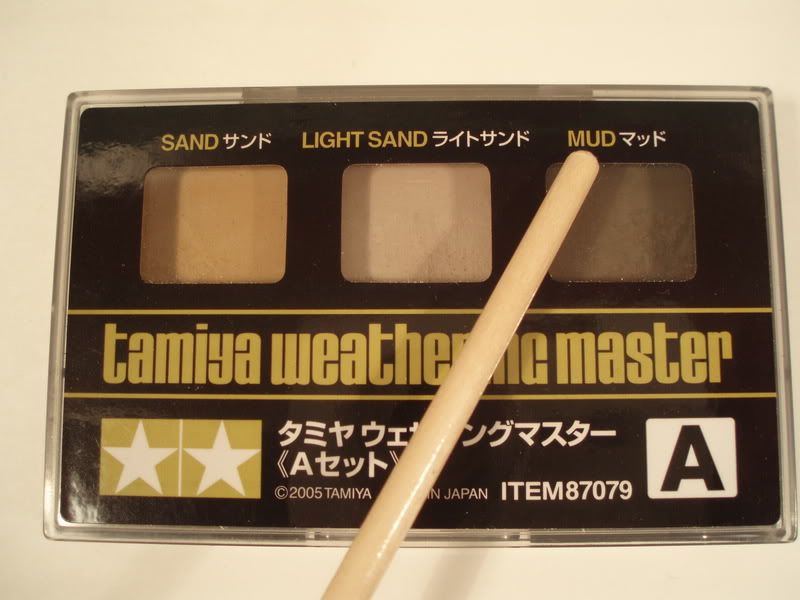 Tamiya’s wathering sets of 12 different pigments.
 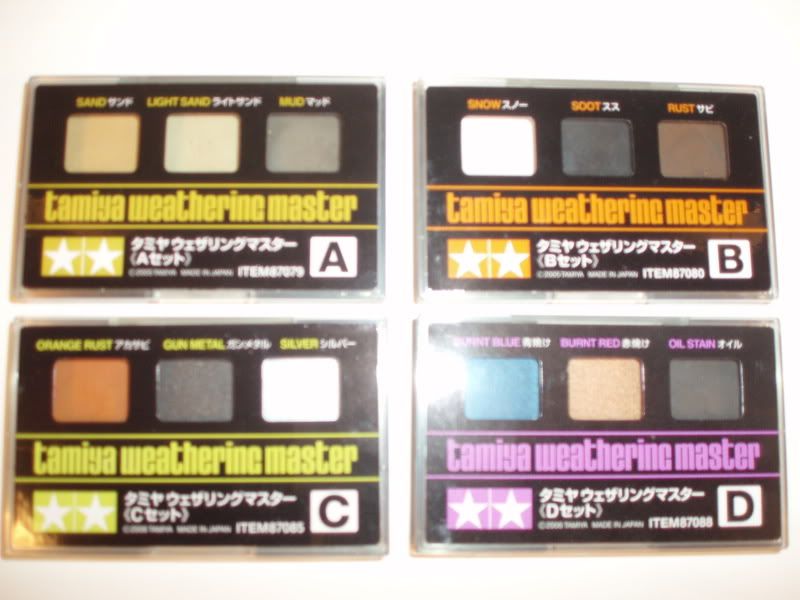 The one that I used 0n the tires is the mud.
 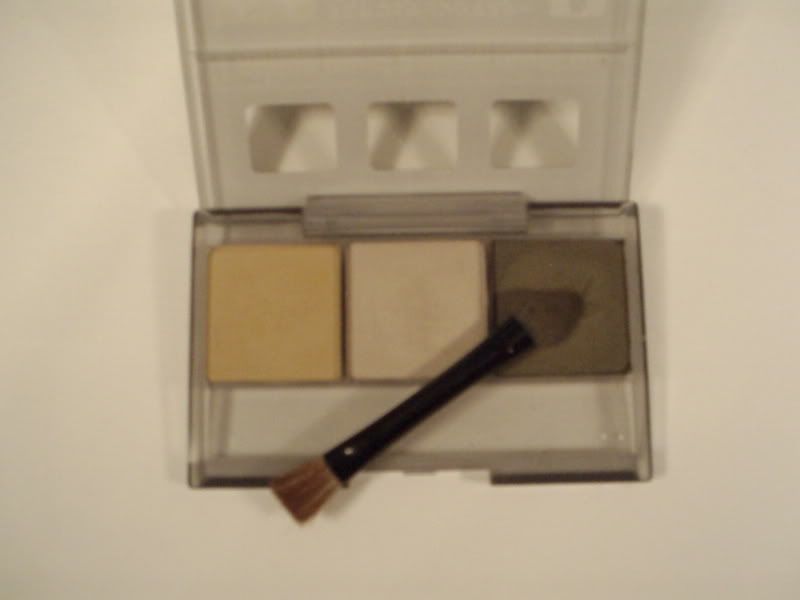 They give an applicator with each set you buy. You just pick some up with the sponge and wipe it on where needed, and if you don’t like how it turns out you just wipe off with a soft cloth and try again. I got all four sets from SQADRON at the Scalefest open house. Here’s the rest of them.
 I gotta do something about that glare.
Charlie
Really nice. Can you drive to NJ and weather the breach on my dDIcker Max for me? It’s not THAT far[:-^]
Thank’s Marc, I don’t think that I will be up your way too soon, but here’s the next best thing.
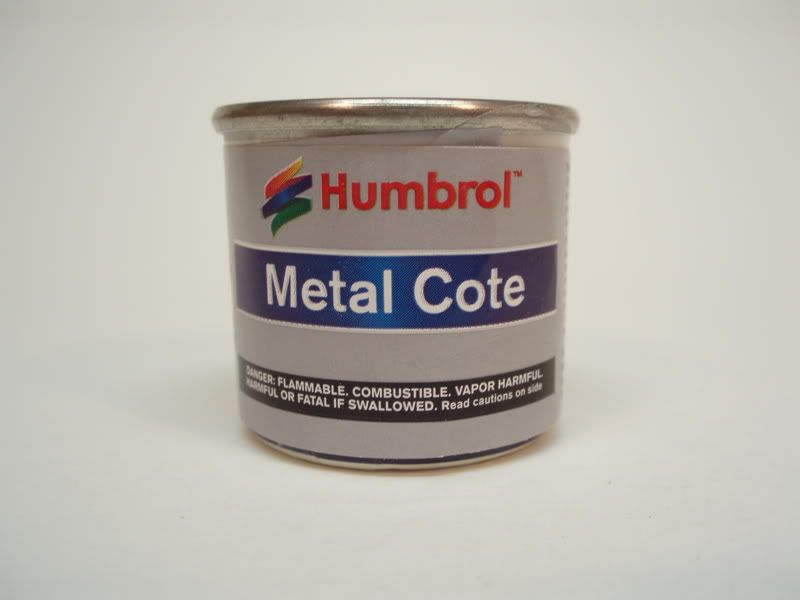
Now our local resident artillary specialist Redleg12 say’s, and I’m quoting out of context " A clean breech/bore is a polished breech/bore, sorry Arty.
This paint is the last thing you apply to your metal surfaces that you want polished, because if you put anything else over it, it will go dull. After you apply it, you polish it with a rag, q-tip, toothbrush or whatever woks best for you. Oh and it dries in about 3-5minutes.
It looks a lot better in real time than through my pictures. Good luck!
That was my first Tamiya kit, probably 30 years ago! Beautiful job. Hard to believe it’s the venerable old classic.
Thanks Tigerman, Wait a minute, are’nt you in Hawaii? Well if so, Thanks for taking the time out of your R&R.
Doc - I’m glad you posted it here!. Yep, the breeh and loading area are shiny and clean. The block (usually square metal block holding the breech) is not shiny but is a gunmetal color. With all the moving parts the breech area is usaully not painted except on static lawn guns!!
Thanks for the credit and I’m glad to have helped.
Nice job. Glad all my Germaholic friends joined in.
Thanks for the work in the GB
Rounds Complete!!
Redleg, that’s not necessarily true with all German artillery and anti-tank guns, photos abound of war-time examples showing the breech blocks painted for anti-tank guns in particular but the actual breech and loading tray itself is bare metal/shiny. Vehicle mounted/self-propelled artillery also show painted blocks, however I’ve got several photos that seem to show a gunmetal/blued steel look to towed artillery and Flak guns, so not too sure there. This is also true with the interior breeches on tank guns, very common for them to be painted elfenbein to match the interior. The blued steel approach is something that the US and Allies did, but not the Germans, as a standard practice it would seem.
For example, in the following two photos, both PaK guns painted dunkelgelb, you can see that the color of the block matches the rest of the gun but still has a shiny inner area for the block and the loading area.


But, when you look at traditional towed artillery like a Flak 88 or a sFH 15cm gun, you can clearly see that the breech block is a different color from the rest of the gun and isn’t painted, with a metallic sheen to it.

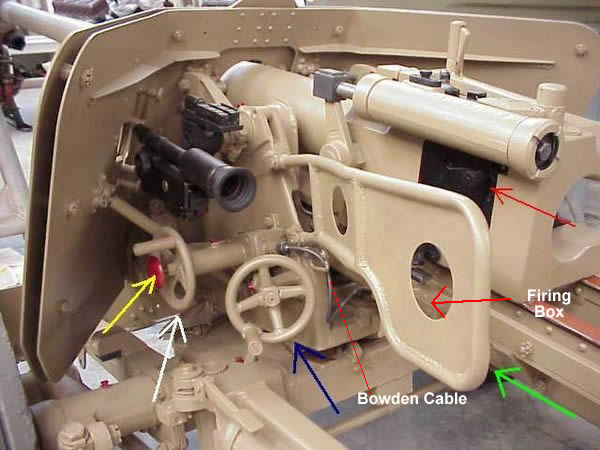
All photos were taken from Helion and Co. “Operation Bagration” by Ian Baxter and are posted for discussion purposes only.
Bill
When it comes to German equipment I will defer to you. I would say this, the sliding block inside the breech has to be shiny/polished in order to function. If the block is painted, the rounded internal edges leading into the breech will most likely have worn paint as rounds have rubbed while being loaded. Also, if the breech lock handle if it is part of the block, this will also cause wear marks where it runs.
I would assume true artillery weapons would have a unpainted metal block and many horizontal sliding blocks have witness marks on top for checking quadrent. A tank or anti-tank weapon is a direct fire weapon and this would not be required. Also these weapons are closer to the front with less opportuinity for “keeping rust clear”.
Again, I know where it is at on US weapons. By applying what you have shown and some of my conclusions above…you can’t go wrong.
Thanks
Rounds Complete!!
Hello Doc,
That’s a very nice build, I’ve got one of those in my stash waiting. Your PAK 40 looks great and the shiny metal parts look like shiny metal parts! I really like your painting technique for the tires. Those old Tamiya kits, when they’re assembled, painted, and weathered like yours is, do stand the test of time. A very well done piece! Thanks for posting.
Best Regards,
Redleg, (apologies to doc for slightly hijacking this thread [:D]),
You got me curious and that’s why I went and looked through several references paying particular attention to breech blocks and the started seeing the trend in differences between PaK and towed guns. What I noticed (and demonstrated in the photos) is exactly what you describe, that towed indirect artillery or Flak guns in virtually every pic where you could see it clearly had a blued steel block and “stainless steel” sliding breech and loading area inside the block. The PaK guns on the other hand consistently had a painted block (harder to tell for sure on panzer gray items but clearer on dunkelgelb items), but with blued steel/metallic breech activation levers and “stainless steel” breech and loading area inside the block.
Since PaK guns wouldn’t be high volume firing weapons and are direct firing as compared to standard artillery, I wonder if this is part of the reason for the difference? Your post and subsequent digging in the references definitely heightened my awareness of this detail and when/how it shows up on various types of guns, at least in relation to German equipment. Funny how something like that can be there but not really jump out until someone calls attention to it. [(-D]
Bill no apologies needed, I enjoyed the discussion and learned from both of your contributions on the subject. That’s why I like forum so much, everybody is willing to try and help each with what they have learned. I don’t feel an attitued of well I know better than you. I thouroughly enjoy getting on here several times a day and checking out what everybody is up to.[tup]
Fantastic PaK Doc!
It really looks great, and even more impressive when you factor in the age of the kit! I’ve seen many of the recent Dragon offerings fully built up and weathered that would be put to shame by yours.
Chris,
Chris, Thanks for the encouraging comments! It was a fun build. I forgot to tell you all that there’s a few more pictures over in Group Builds under “Vintage Armor Kit”.