i tryed with some success on my 12th ss diorama but it still wasent that great, ive seen some people here who seem to have mastred it. just wondering if anyone can shed some light on technics on how to properly paint the smocks and the proper colors used? thanks.
It’s a particularly difficult pattern to interpret. What I’d suggest doing is finding a large sample on line and printing it out. The take that to your desk and practice on card stock or sheet stock until you are happy. I’ve done that with a couple Scottish setts and was happy with the results.
Vallejo have a German WWII camo color set (#70114) with 16 colors you might want to check out. You might also want to check out Osprey’s Modeling Waffen SS Figures
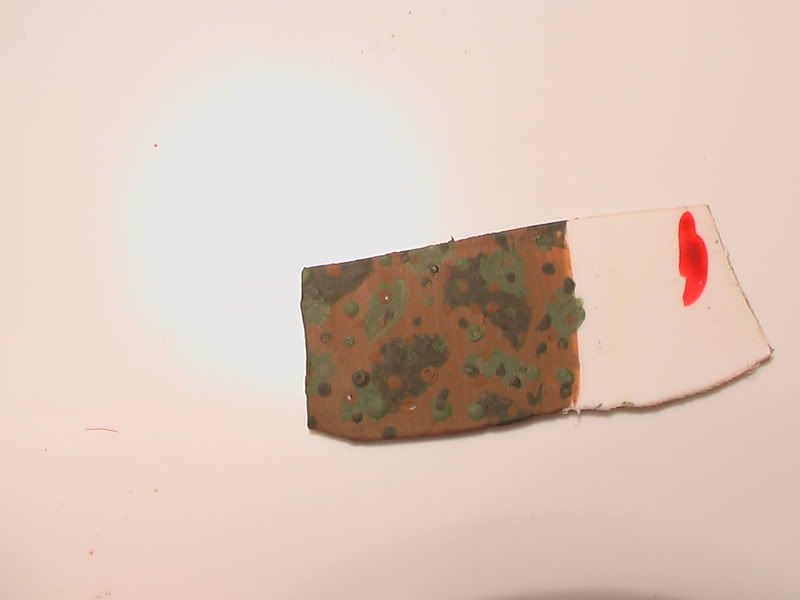
You can start with a base coat of earth, say tan, for now. Then, go back over and paint puddles of a medium green, like a lightened olive drab. Then paint in smaller puddles with a darker green, say forest or olive green. Using a toothpick, put in some dots, using all three colors. You can put a big dot of dark green down with a blunted toothpick, and then tap in another with the tan, and so on. Then, you might want to do a real light wash with your earth color, to tie them in somewhat. The trickier part will be to shade and highlight all these tones.
The point is not to outline those spots, but to put down a big spot, then fill in with a different shade. Does this make sense? [%-)]
Here’s my example:
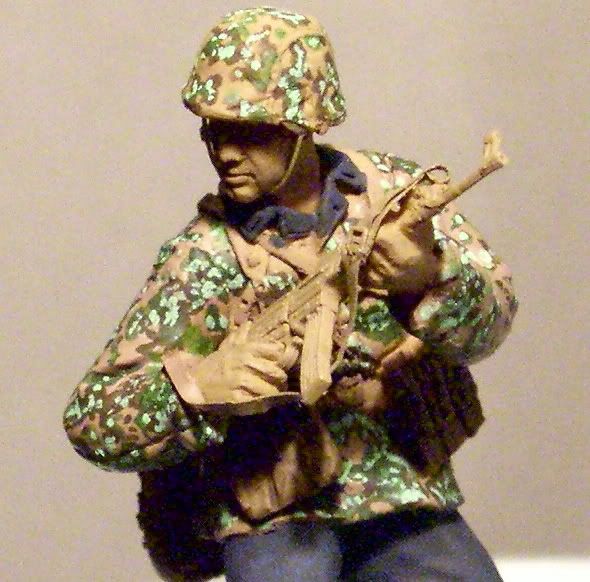
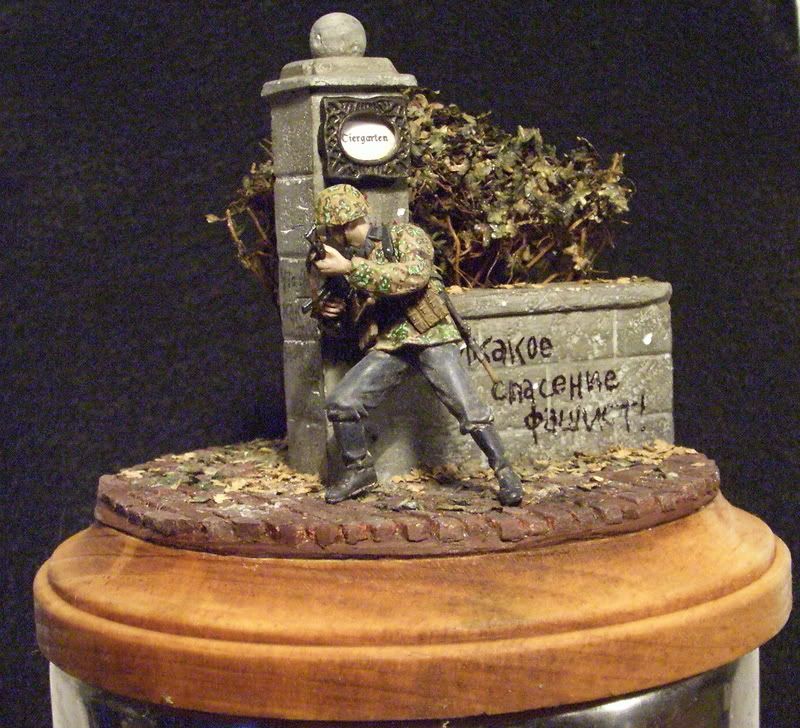
finished:
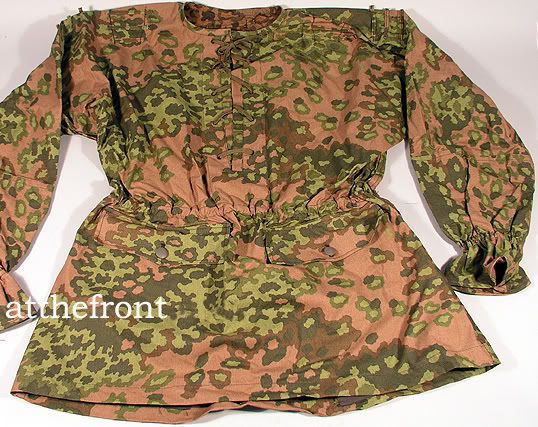
The smock in the picture you submitted would have much less earth tone than mine, but I think you could achieve the same effect. I base coated with Vallejo Air sand yellow, then laid over it with reflective green (med) and German camo bright green (light).
I hope this helps you to some degree. The first time won’t be your prettiest but, as mentioned, some practice will land good results. And if you like your first attempt, you will only get happier from there.
just chiming in here. I did the same with my DBDU’s a while back, the “cluttering” part requires just abit of planning. You are definitely on th eright track. The key is to make it look random the way the fabric was printed, and not make it look like a sewing machine punched it out. What i did was lay in some anchors , such as what you have here already, then fill in randomly with the spot colors between your anchors. Remember to leave the primary sand/tan and green blobs showing through.
Keep practicing…you will get it!
Also, do this. Take a picture of your practice piece, then put it up on your monitor. You will be surprised at how much you will see once you put it up there, and how much it will change your overall impression of how you are doing