I was wondering if any one has suggestions on how to use the instruction sheet that comes in the model kit to transfer or paint the specific camouflage pattern on a military airplane.
2 Likes
Make a photocopy of the cammo pattern. You may need to enlarge to get it to the same size as the model. Then cut out the patterns and trace them on your model. For irregular shapes I use Silly Putty to mask the shape, then paint. Rinse and repeat.
Rob
Iwata Padawan
5 Likes
It really depends on the pattern. I know that sounds stupid but people use Silly Putty, tapes, masking solutions, there are so many ways honestly.
Soft edged, hard edged demarcation lines.
All of these factors make your question a hard one to give straight quick answer. Search for whatever your building “build Logs”, YouTube videos, etc. There is an answer there.
Whatcha building anyway? That would help.
3 Likes
@Martyhh
Great question with many great answers depending many factors.
My reply is not all inclusive….just some highlights.
If the pattern has soft “blurred” edges then free hand with airbrush without using any masks. If not, then do as the others suggested.
I sometimes use Tamiya masking tape and use sharp
Blade to cut patterns and curved lines.
2 Likes
For multicolor camos like a 4 color SEA camo I’ve used the ‘worms’ and tape. This example on the EC-121R I used Elmer’s wall tack but silly putty and other commercial products work similarly.


5 Likes
Silly putty is a great idea! Cheap, readily available, and easy to use.
2 Likes
Doesn’t silly putty leave a oily residue?
1 Like
I haven’t had any issues with residue thus far. I would think a little alcohol would clean it up though, but I haven’t had to try. Perhaps others can chime in?
2 Likes
Been using Silly Putty and Parafilm for 20+ years - never had an issue with residue.
2 Likes
Some of the off brand copies do. But if you use the original name brand stuff, no residue is left on the model in my experience.
4 Likes
I’ve used 3M poster putty to make “worms” to mask camo patterns, as well as Silly Putty. When using masks of paper, vinyl, or similar material, I lay down the mask, then use a toothpick to raise the edge a hair. That gives a soft edge, too.
Best regards,
Brad
3 Likes
I’ve only ever free handed cammo, using the Badger 200 with 2.5 tip, trimmed back to where you pretty much can’t see the spray mist. But when you get the tip of the airbrush close enough to the surface being sprayed, they paint can be seen collecting on the surface. I get a semi soft edge that way, then open up a little bit to fill in. Making the edge, the airbrush might be 1/4" off the surface. I also have a Ganzton airbrush that will spray a .2 with the protective cap removed, exposing the needle tip, but to me the Badger feels more consistent. I can make a sharper edge with the top feed Ganzton, when that is needed, but it may include a few flyer droplets. Polishing the needle and lapping it into the tip mitigated most of that though. I just use Colgate toothpaste for the lapping. Then wash clean.
Anyway, that’s how I’ve done it since 1979, probably not changing anything any time soon, especially since I build very few airplanes these days. And lacquer is king for working this way if I do build one.. Although if you set up right for Vallejo MA, that does well too. In that I use a generic acrylic retarder to stop tip dry, it’s mixed right into my thinner blend. Ya, I’m just reporting how I do these things, certainly nobody else has to follow my way.
2 Likes
I have been scanning the instruction patterns and scaling it to fit in my CAD software.
I follow up by using frog tape cut with a cheap laser cutter. but a blade works too.
1 Like
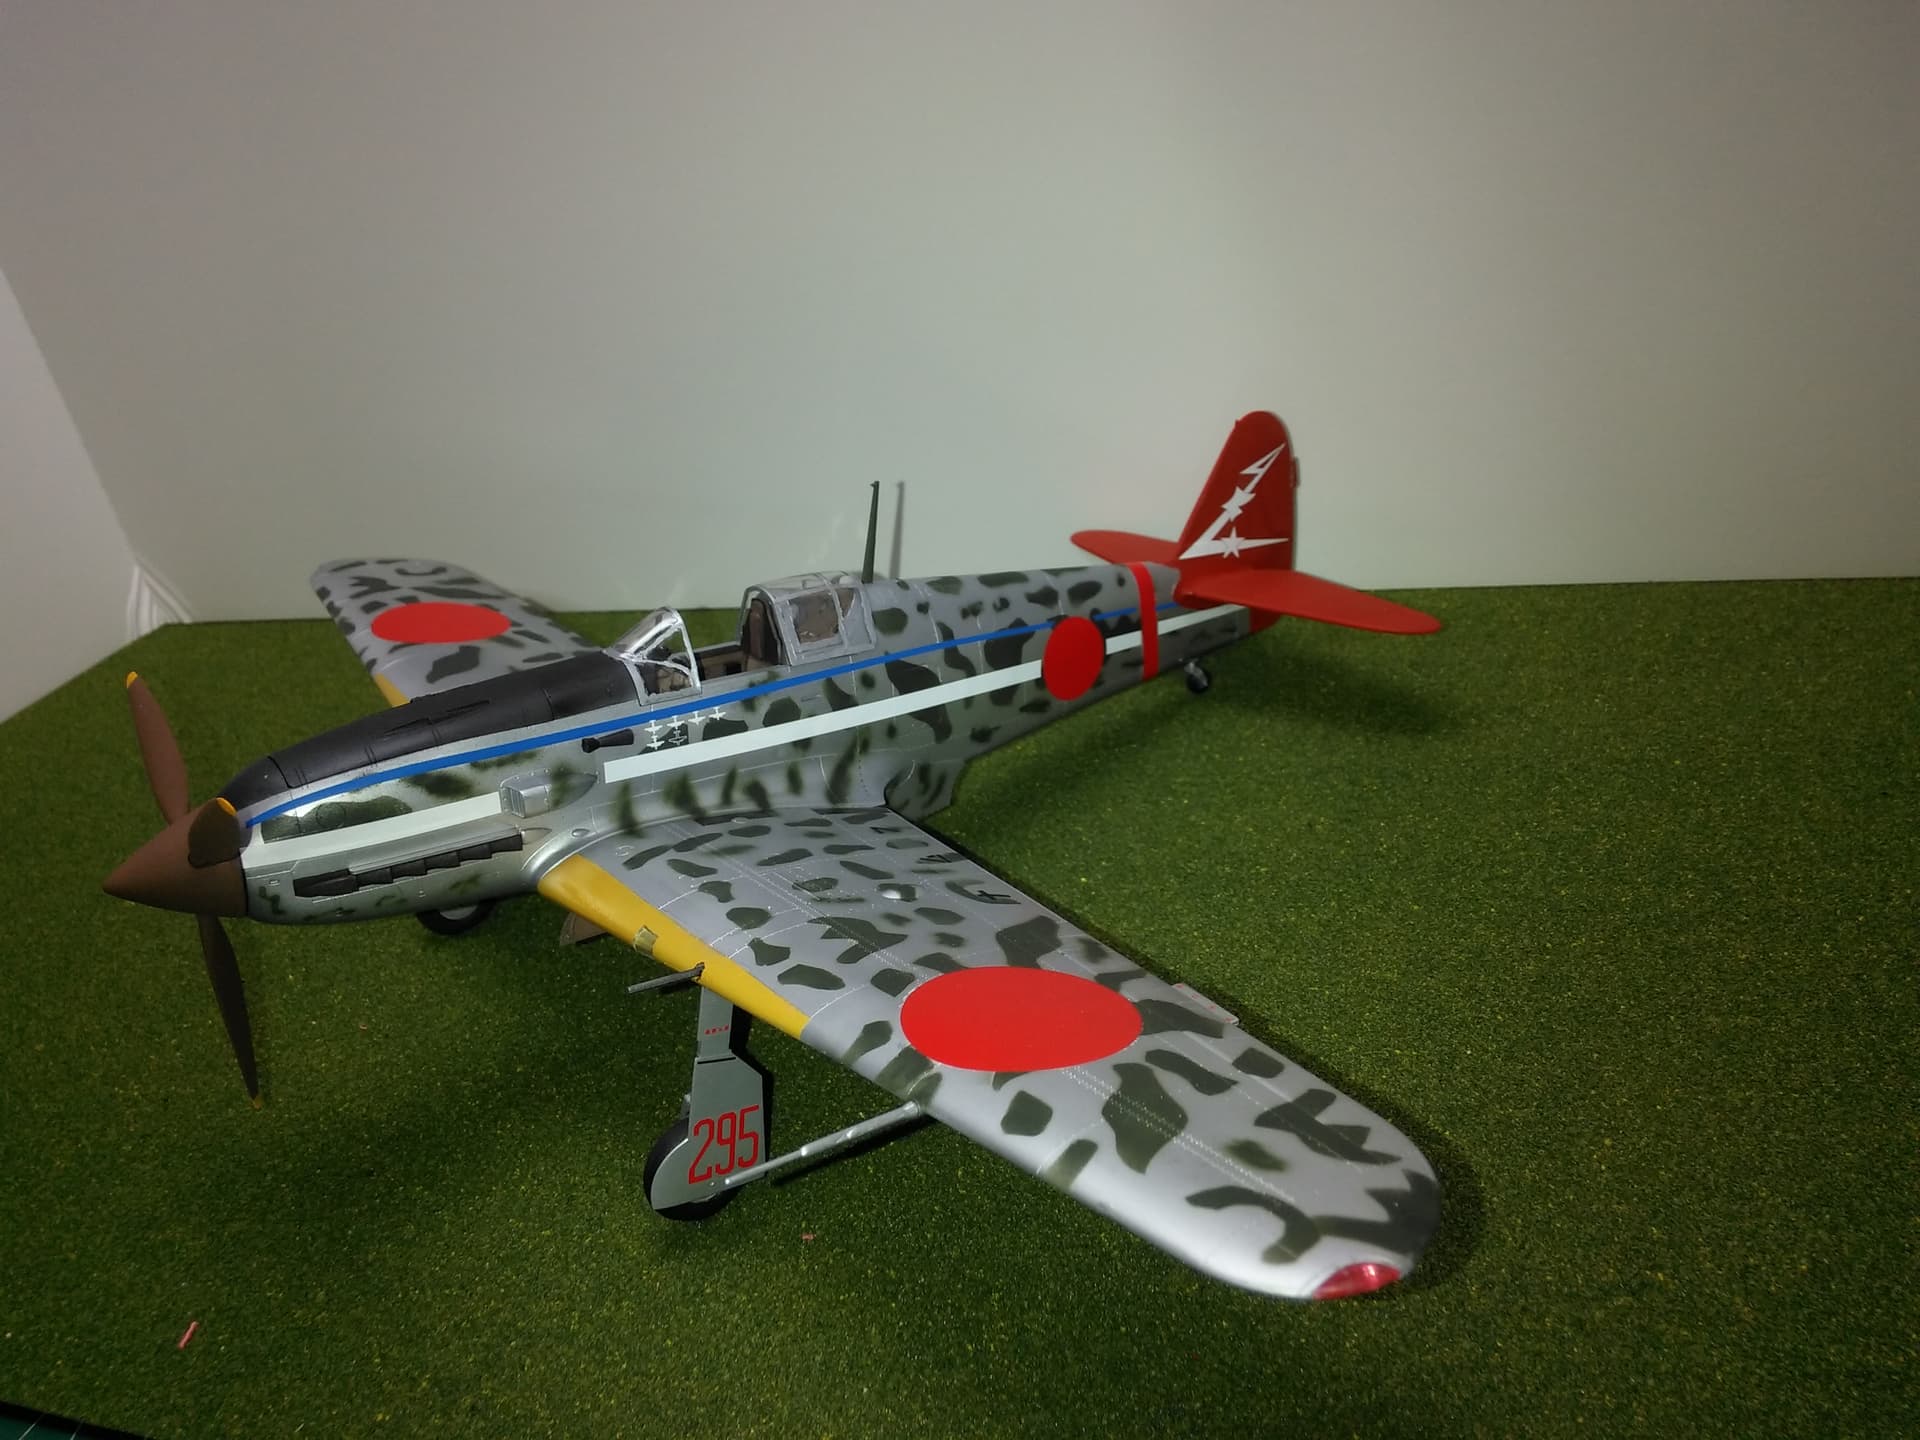
For the KI-61, I took a think piece of paper and used a hobby knife to cut out random patterns across two or three rows of the paper. Then it was just a matter of holding the paper against the fuselage/wings and air brushing.
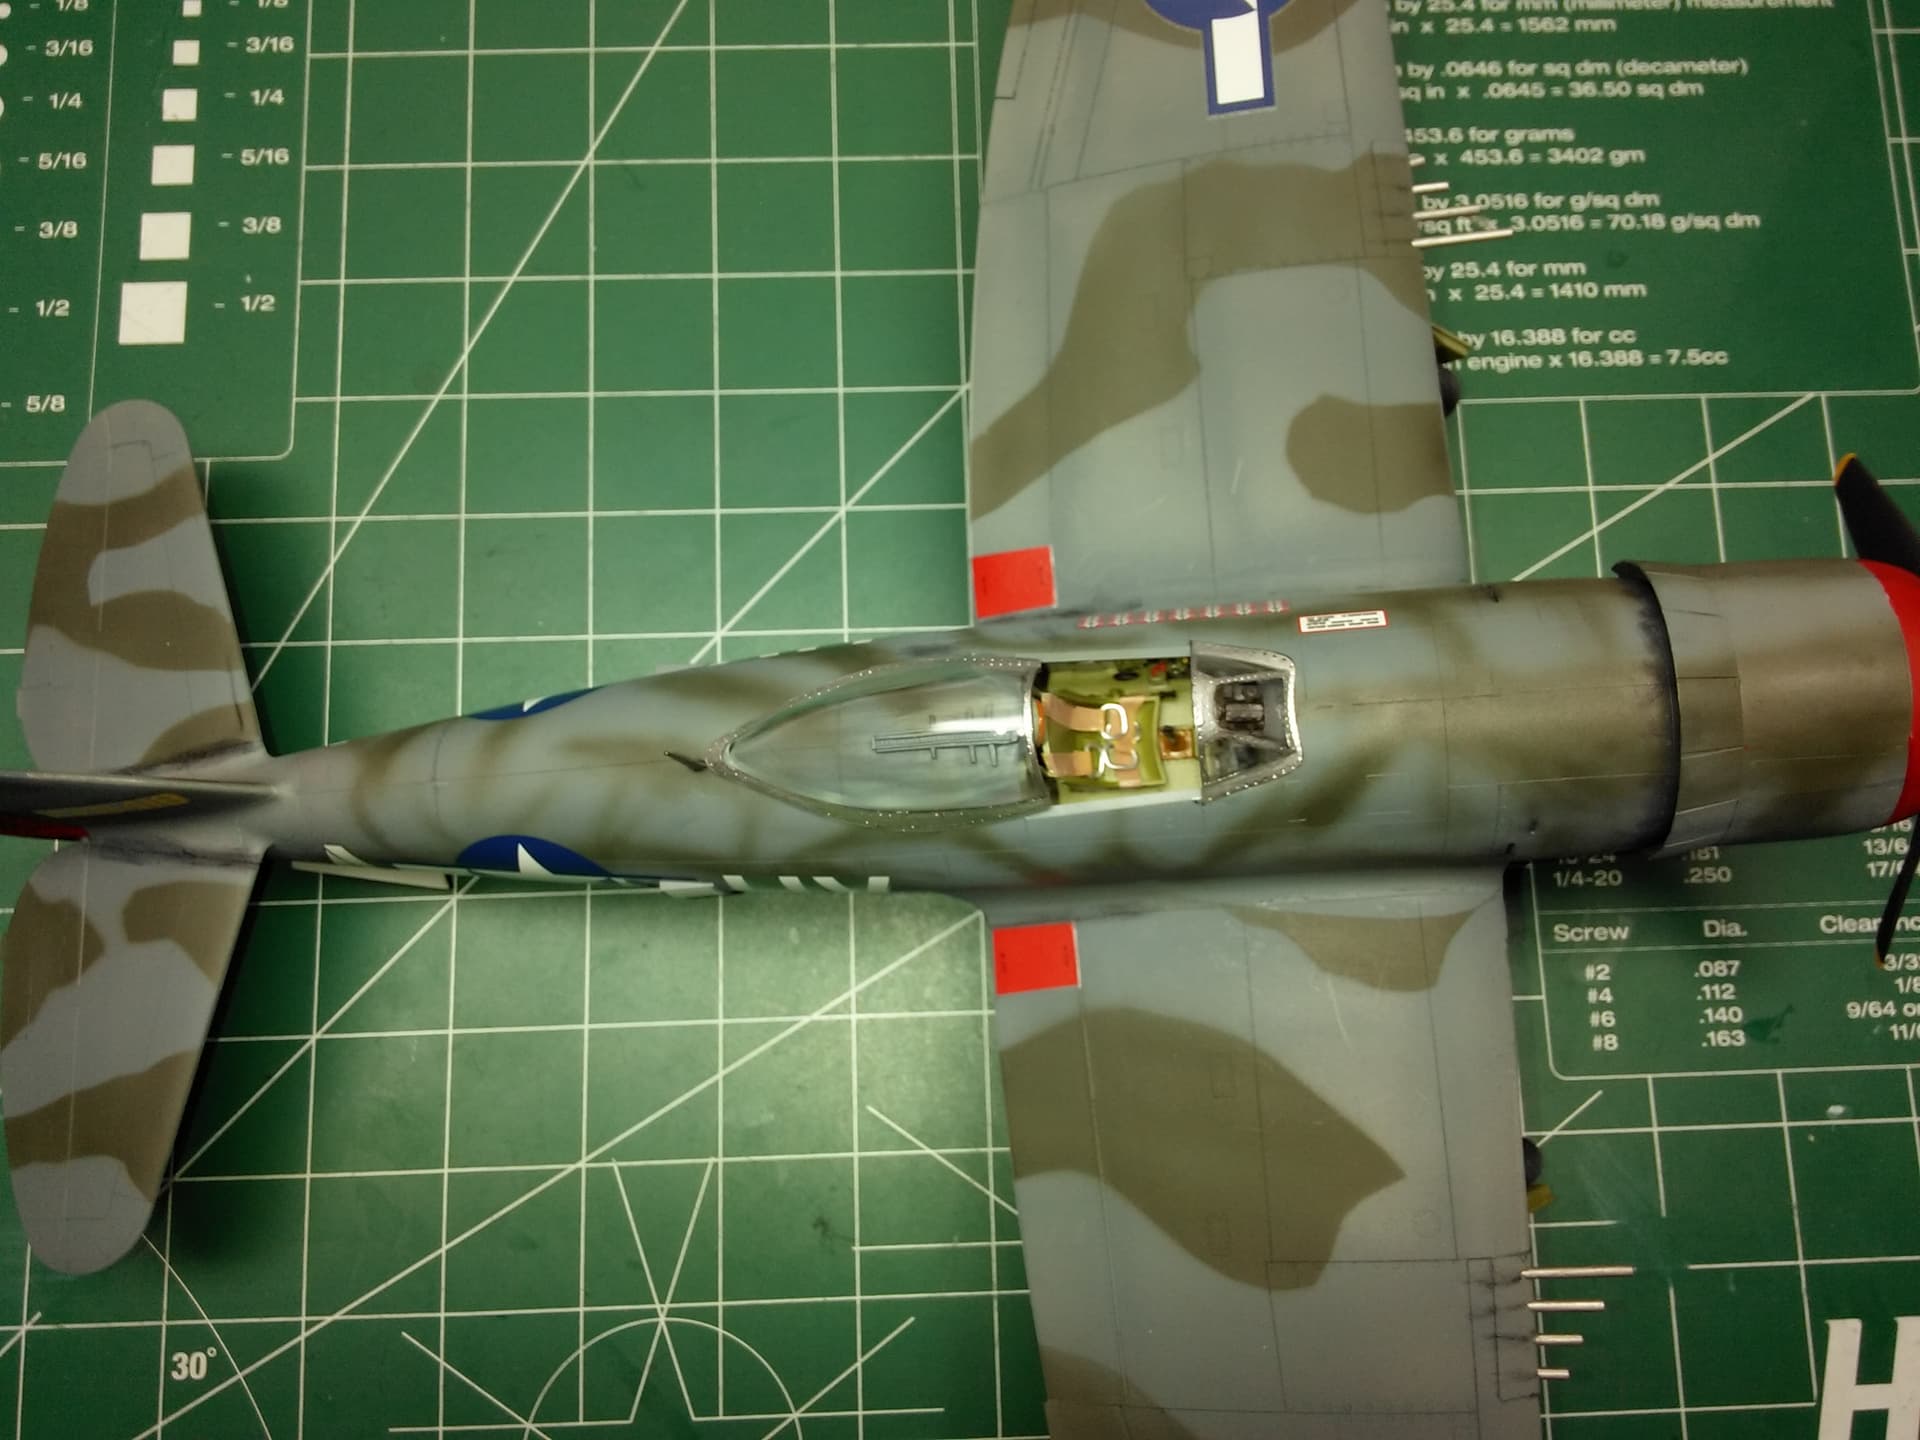
For the P-47, I cut patterns from index cards and taped to top wings/elevators and airbrushed. The lines on the top and sides of fuselage was airbrushed by freehand.
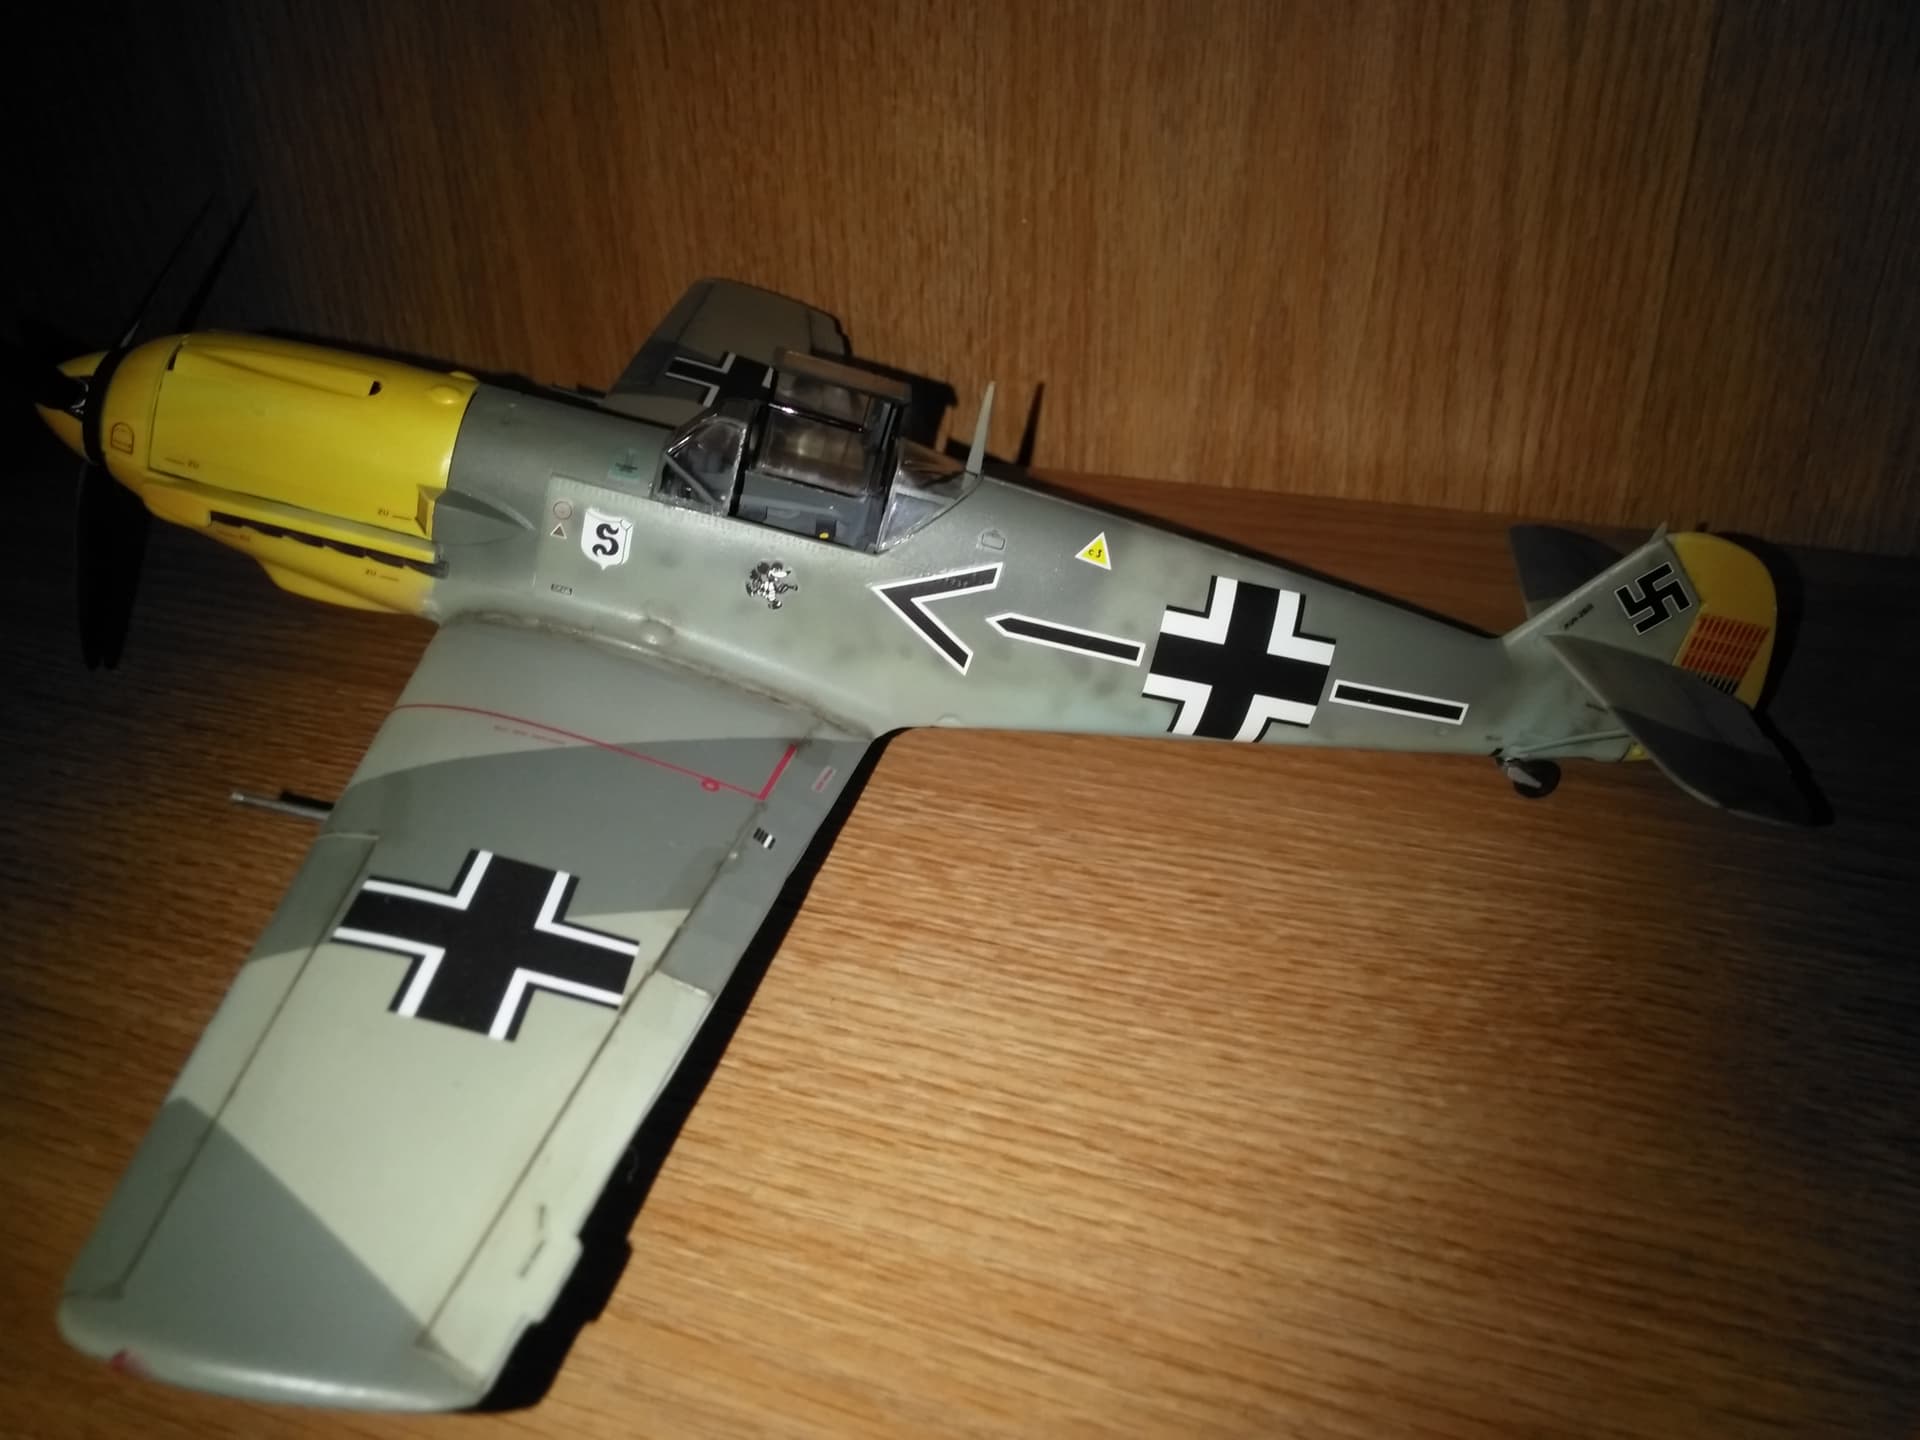
The bf-109 was rather simplistic - straight lines on the top of the wings - a curvy pattern on the elevators. And the fuselage spine gently airbrushed ahead and behind the insignia - and spackles along the side of fuselage by using low air pressure and varying the amount of paint applied.
2 Likes