Packing/shipping built models TOOT

I know I’ve posted some methods I have used in some threads in the past. With this one, starting out, I’ll show 2 ways…then I’ll update whenever another method is required. Every model is a bit different and can require a different method to the madness!

I’ll start with a 1/72 Hawkeye, with folded wings.
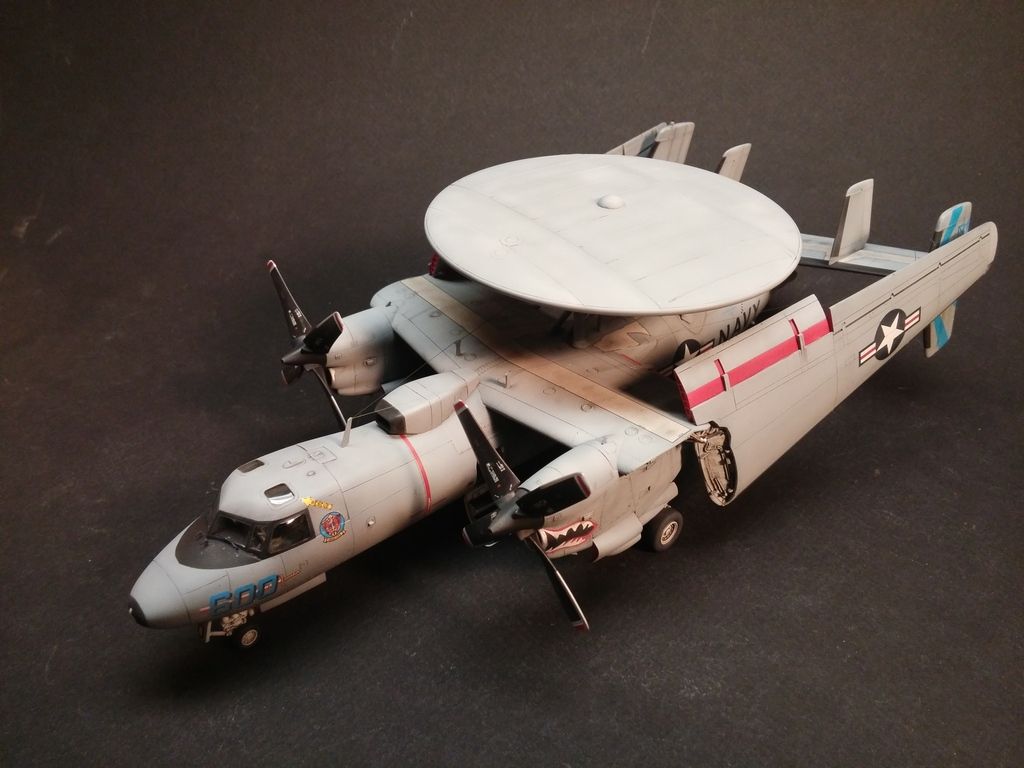
This one is quite unique in the way it must be packed. The disk is removable, which helps. There are so many antennas and things in the way, that my standard “craddle and tie down” method won’t work…out to the garage!

Appologies…I didn’t think to do a toot, until I already had some done…anyway…

I cut a base piece, just a tad shorter than the plane…
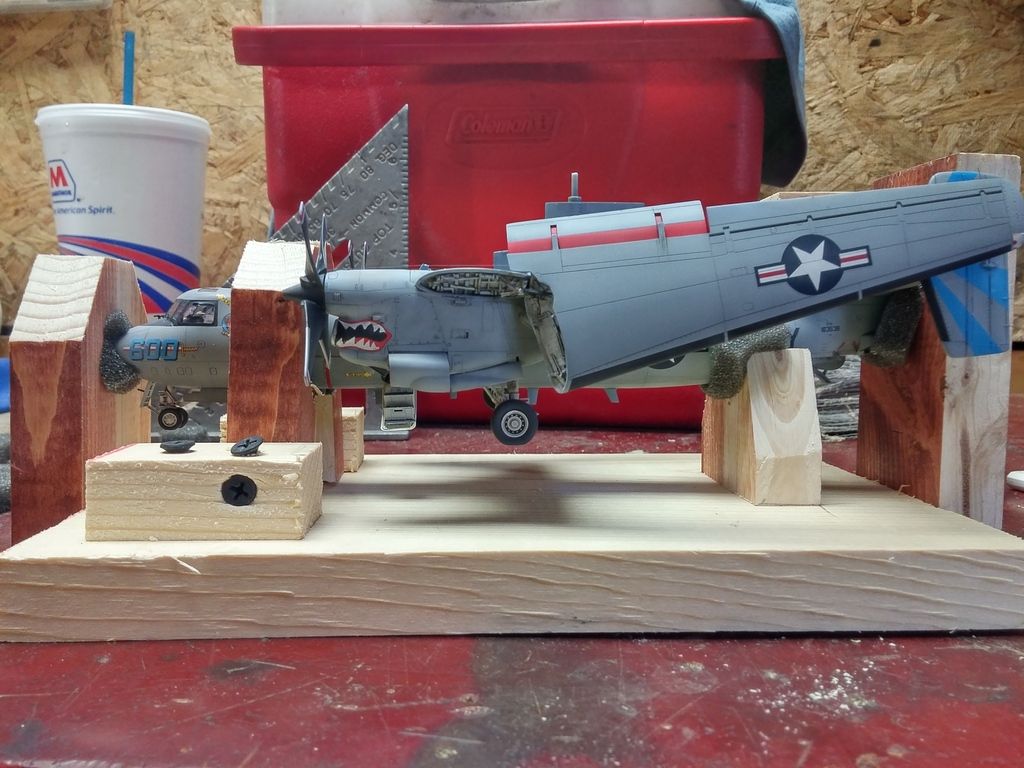
…as well as just a tad wider.
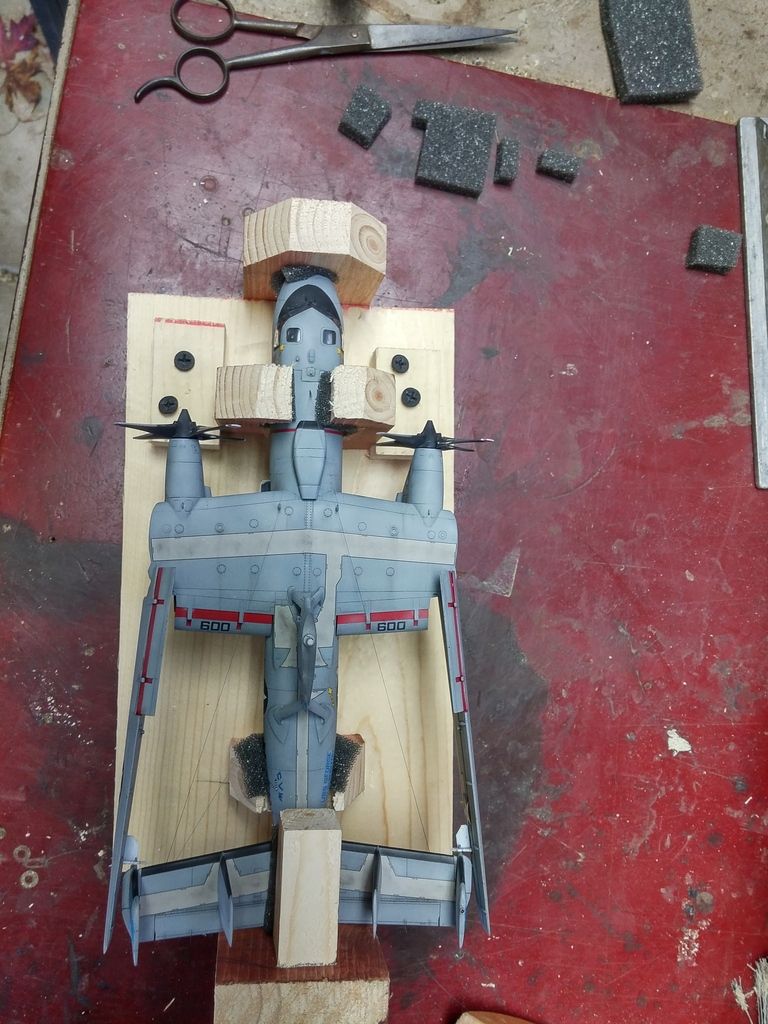
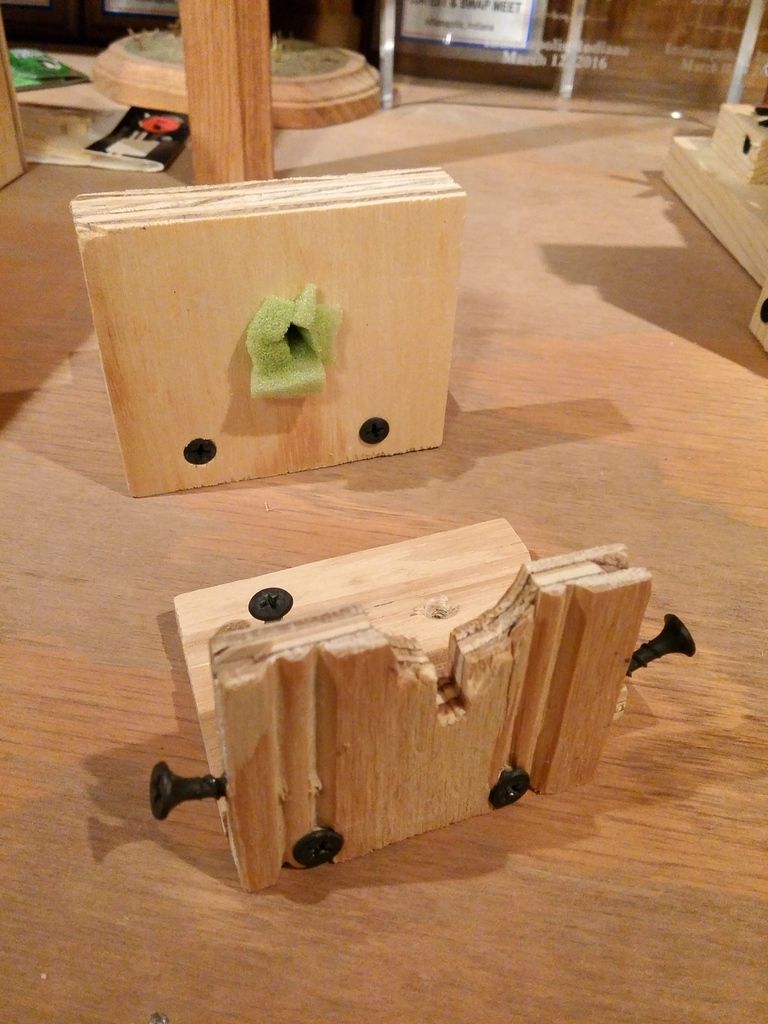
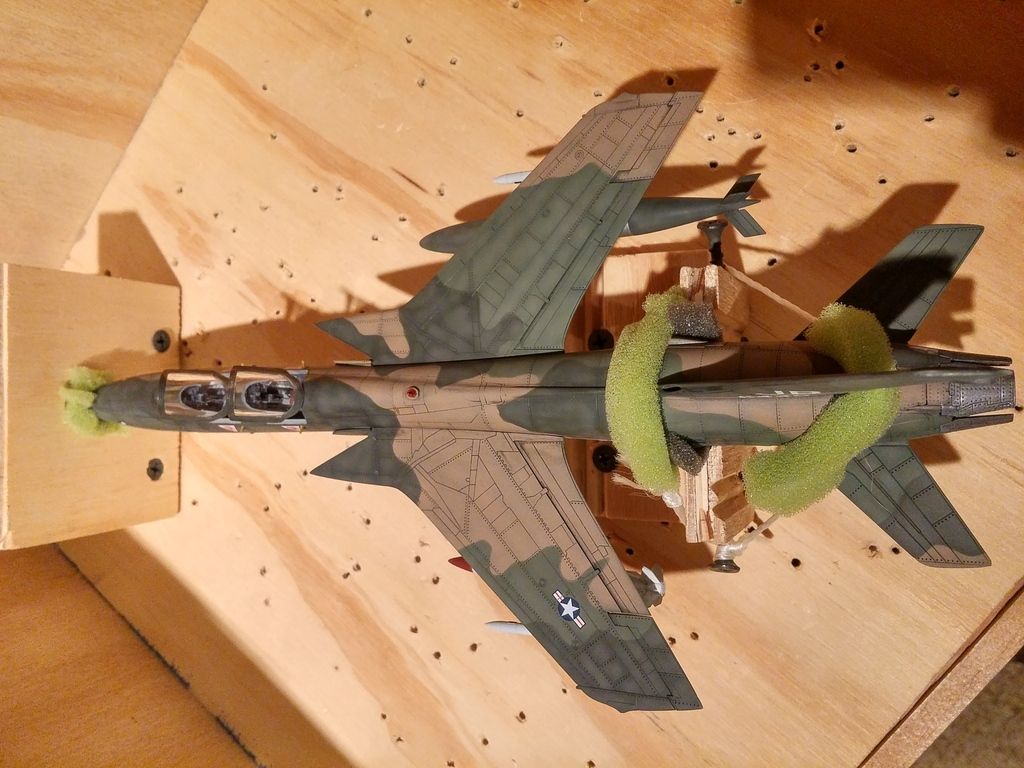
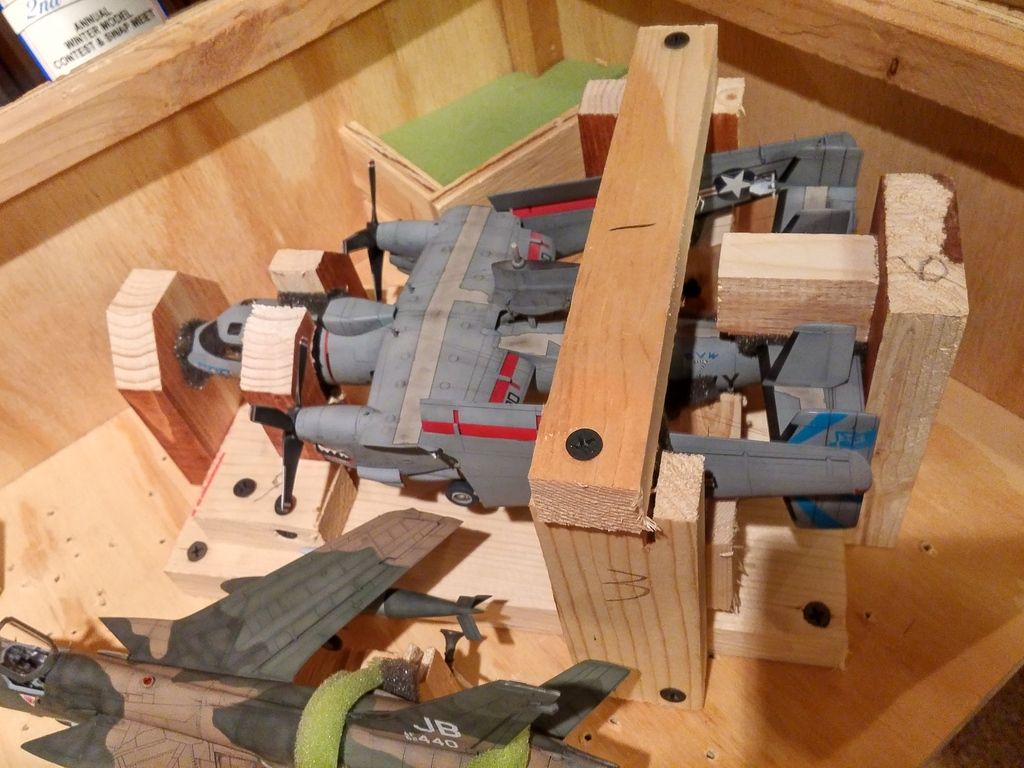
The first piece I added was for the nose. I used a 5/8th" paddle bit to drill a hole to hold the nose(foam padding is a MUST!). The blocks on the sides were added after the tail supports.
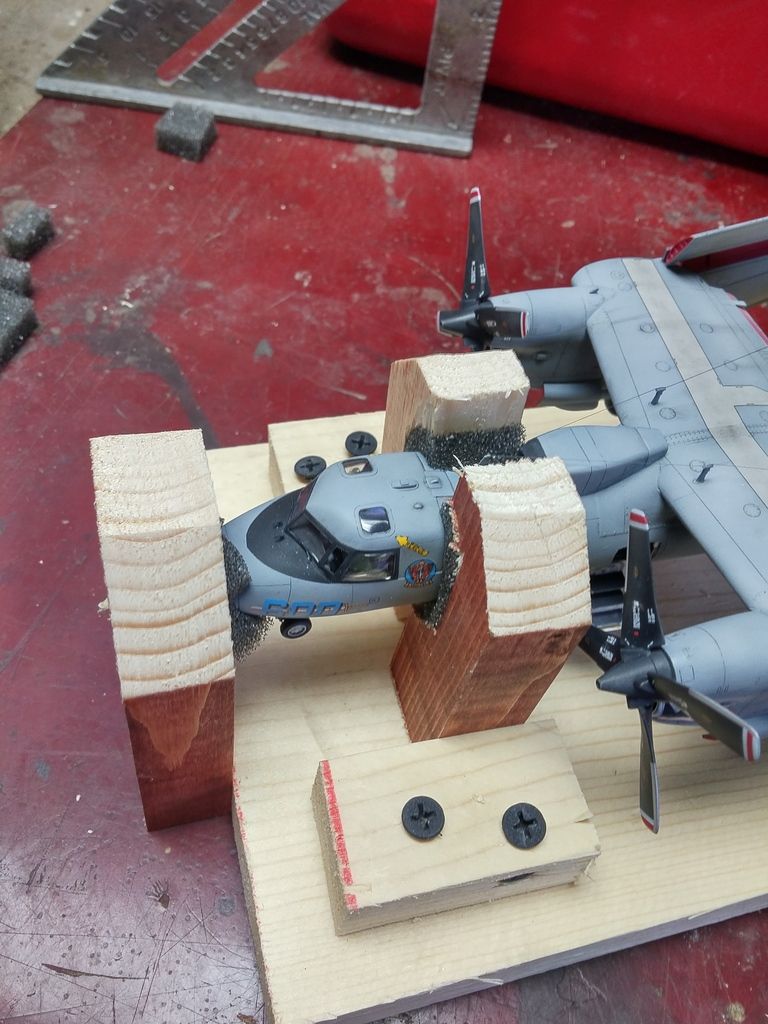
Next, I made the “craddle” for the tail to rest on…there was actually an area without any antennas! Then, the tail block…to “sammich” the model front to back…with another little block on top, to hold the tail down in the craddle…sammiching the tail up/down.
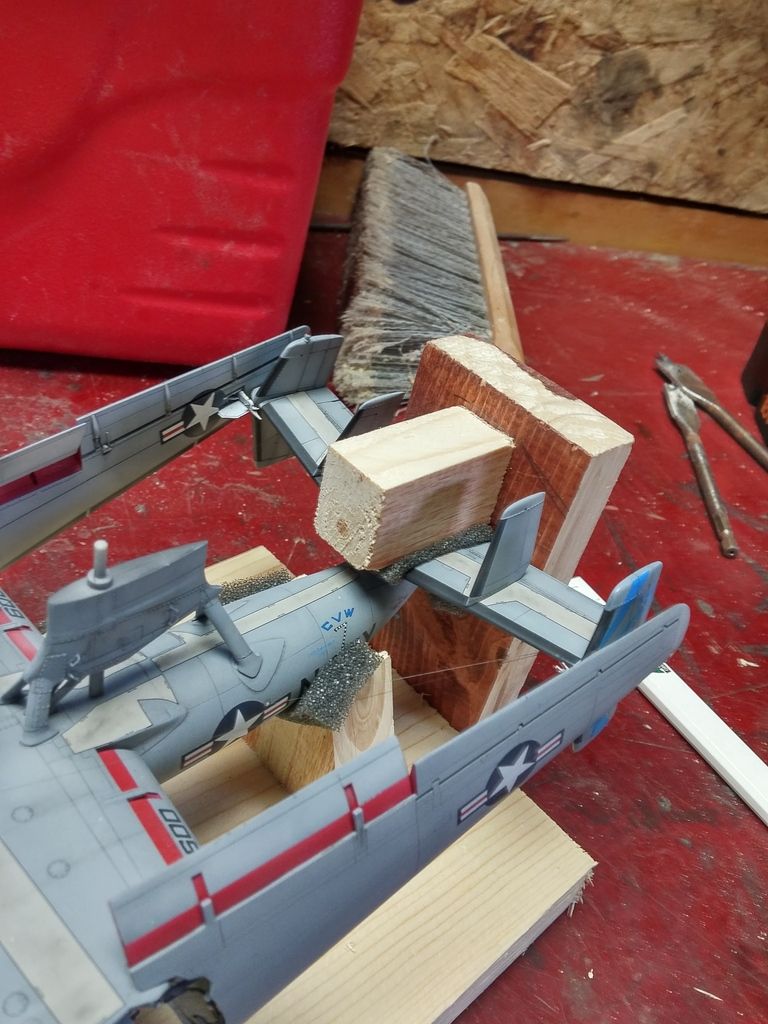
Keep in mind, when cutting the pieces, there needs to be a little room for the foam padding!
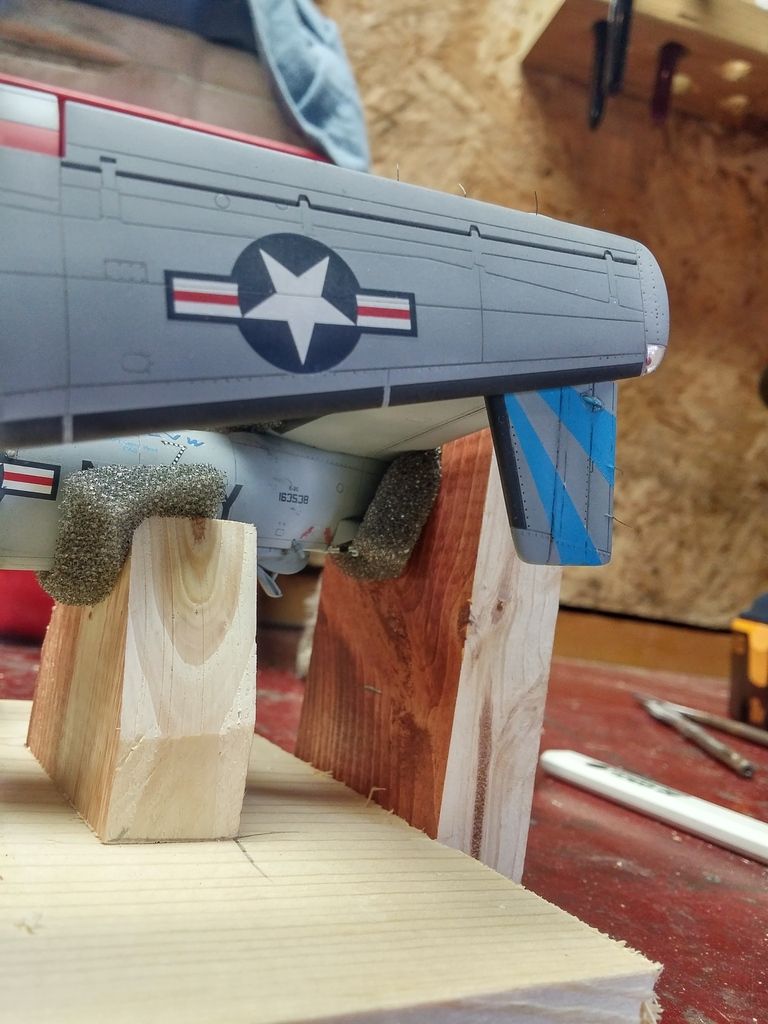
After that, I made the blocks for the “cheeks”…securing the nose up/down and side/side.

Again…

At this point, things are pretty secure…
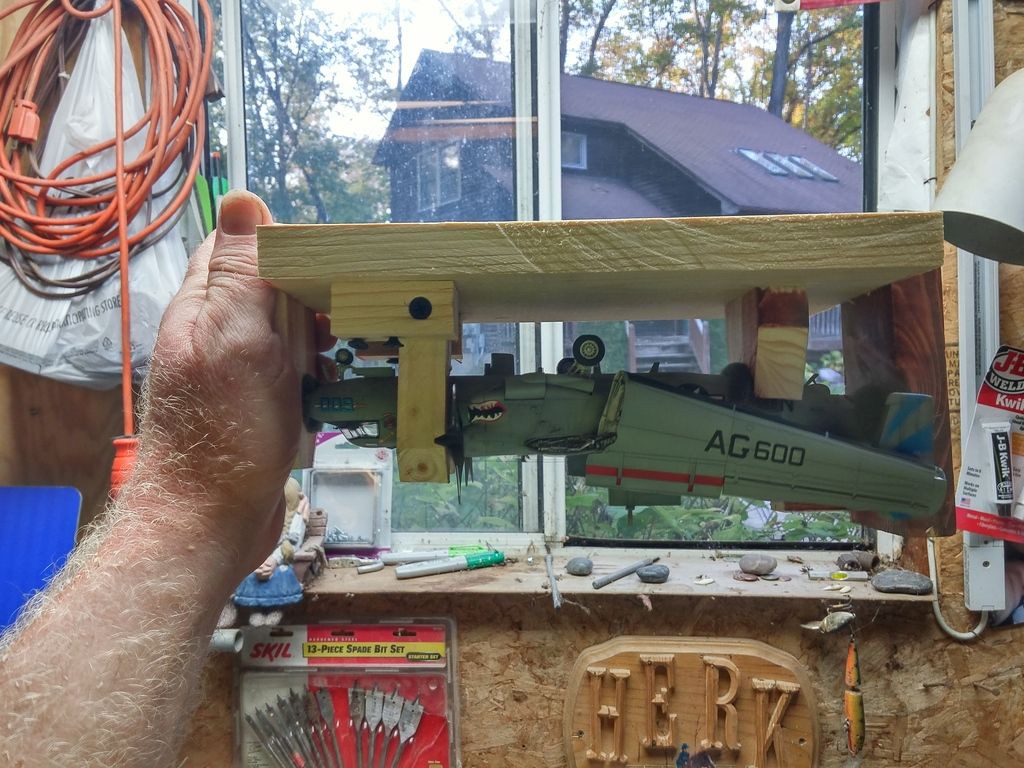
However…this beast is going away via USPS…those wings are solid resin and quite heavy. Even with having pins at the tail and wing, there needs to be a little more support.

I cut blocks for the sides, and added another block to each, that goes in under the wing. With the foam padding added, I gently slid each block in place and screwed em to the base. Leaving some extra padding up top, I added a block across the top…this secures the wings side/side and up/down.
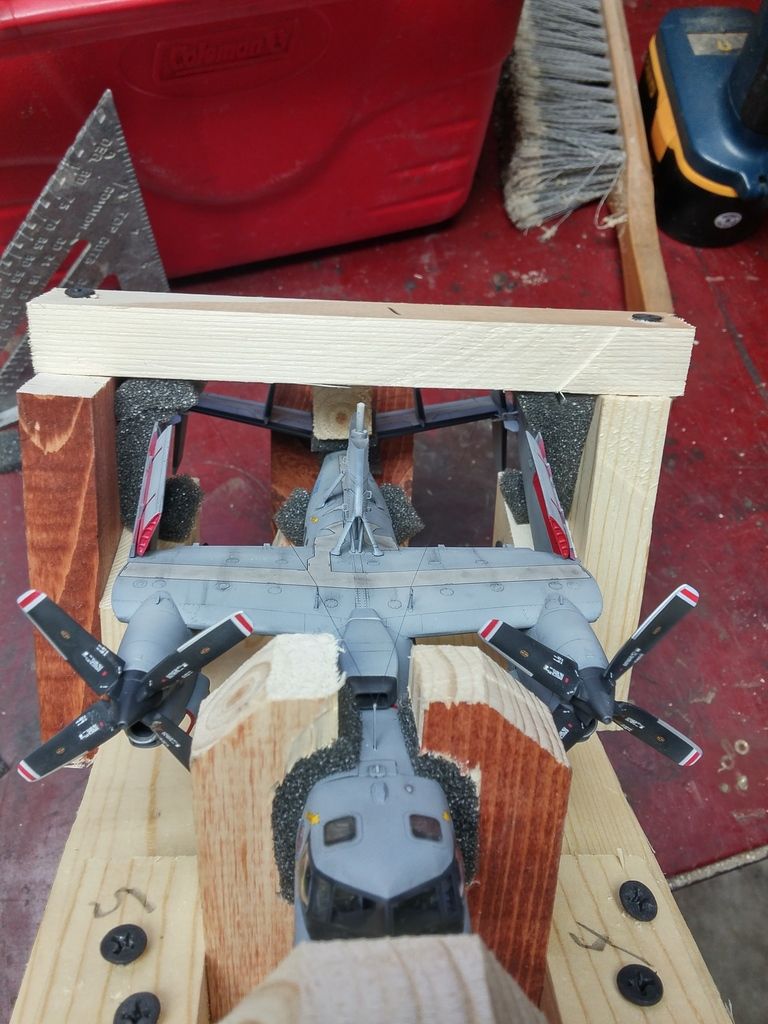
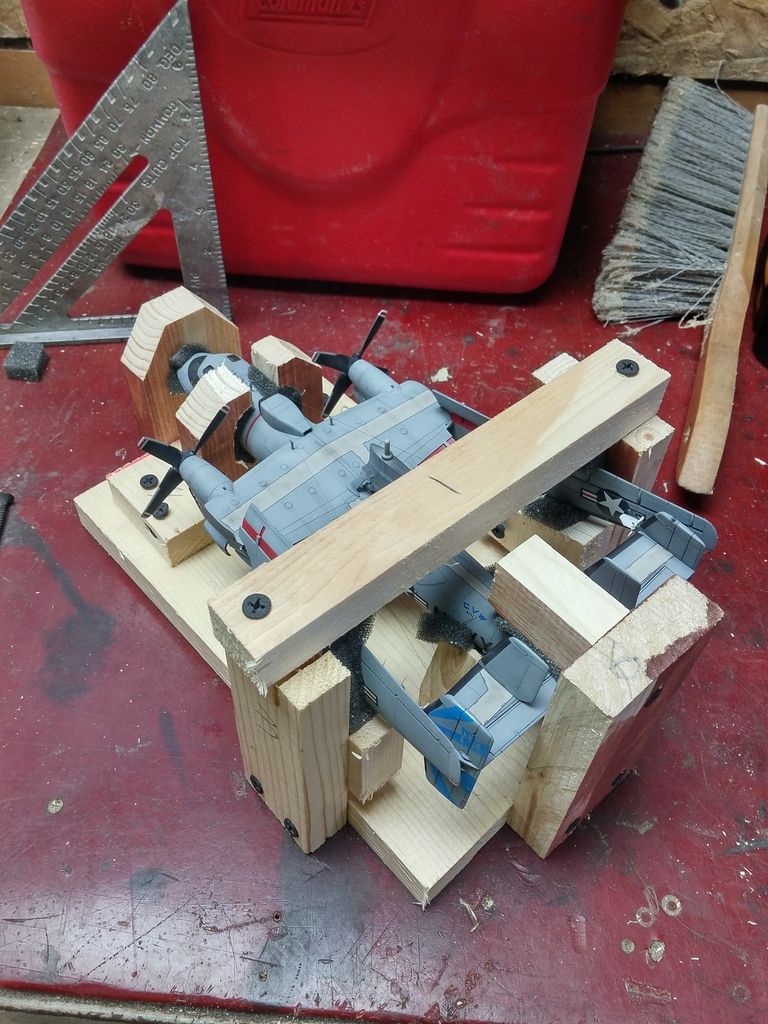
I pre-drilled 4 holes (each corner) so that I could secure it in the shipping crate.

More on that in a few minutes.
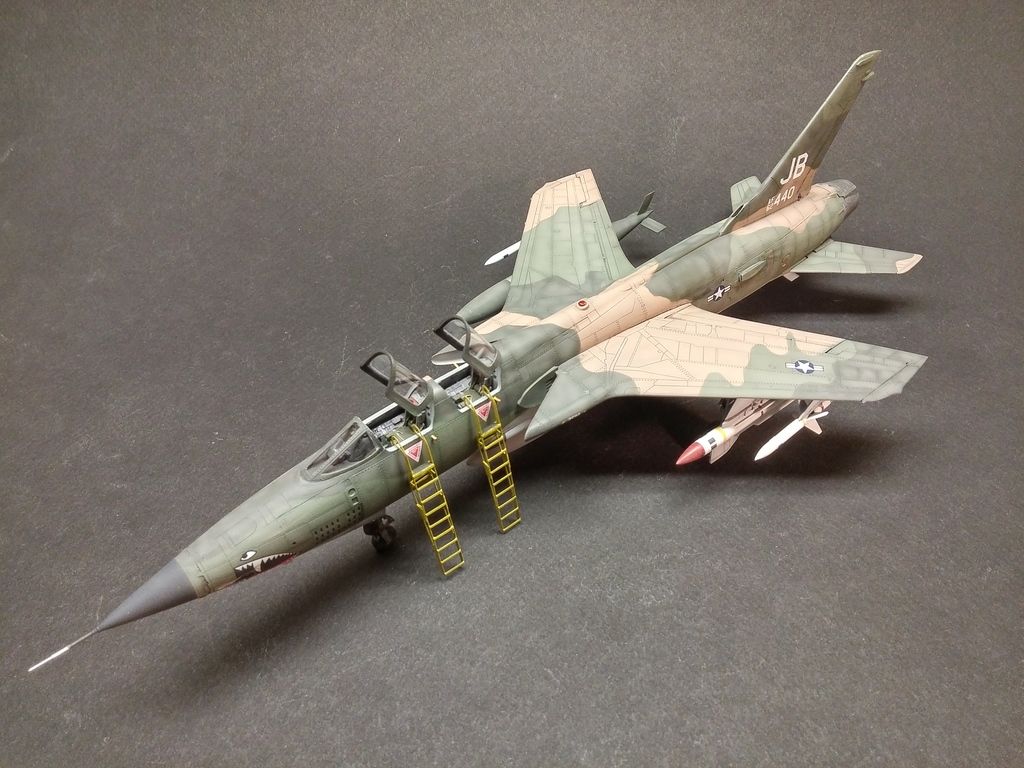
I will get to securing this in the shipping crate shortly. I have another that will be sharing the crate, and there’s another method here…

This one is much easier!

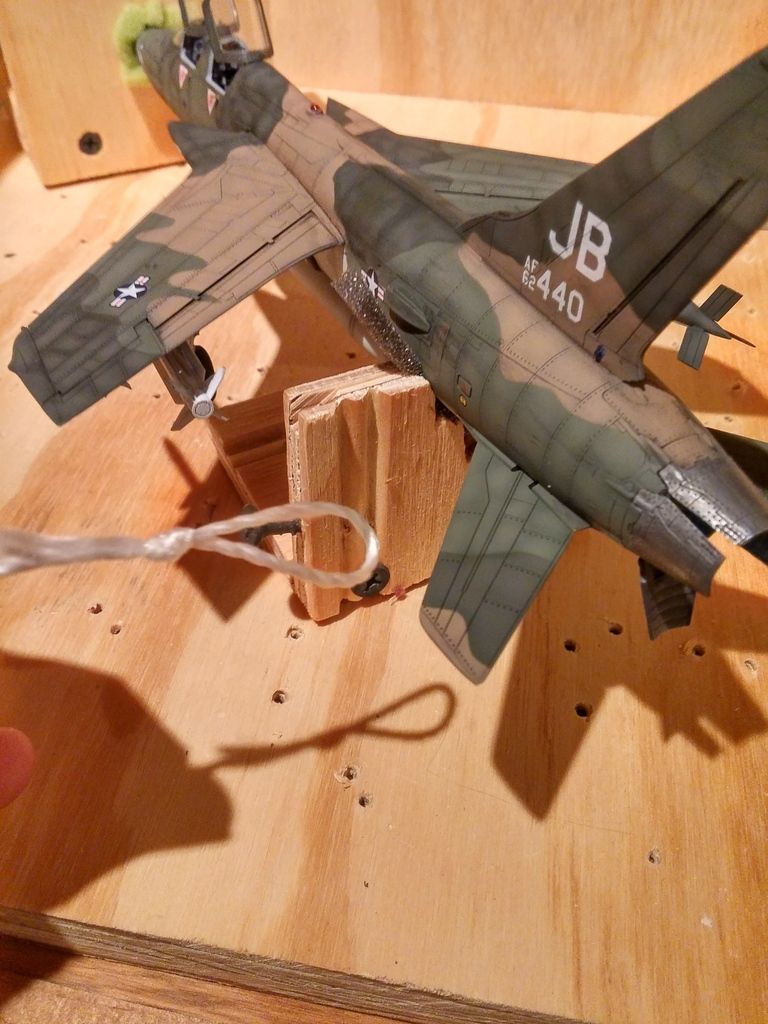
I’m re-using a block that has a hole drilled through and padding already in place. Also re-using a “craddle”…I just had to make a quick cut down the center of it for the fin on the bottom of the tail section. This will also prevent the model from being able to rotate during shipping.

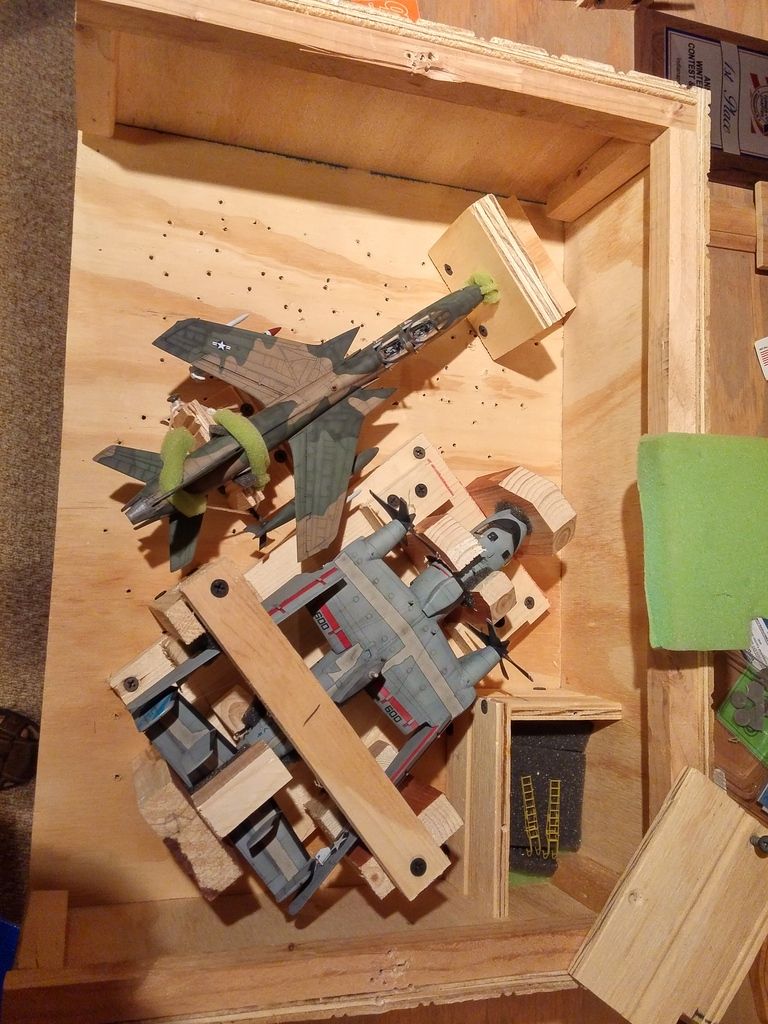
These are placed in the crate, using the model to space them properly…then the model is removed and the blocks get screwed down to the floor of the crate.

Don’t forget the padding!

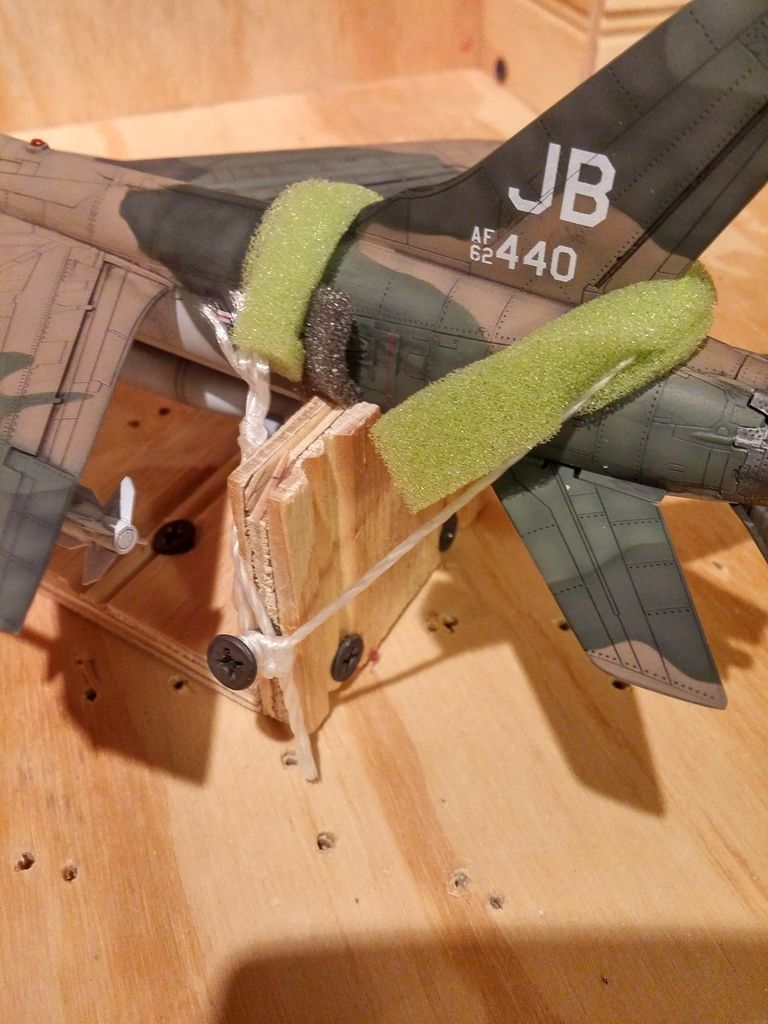
The screws on the sides are for tying down the model. I take a length of string and make a loop at one end…I add a bit of CA to the knot, just for peace of mind.

Hook the loop on a screw…in this case, I wrapped the string over, in front of the tail, around the screw on the other side…securing up/down…then, back over, behind the tail, securing the model from being able to slide back. Padding under the string as well.

Once tied off to the screw, again, I add a bit of CA to secure the knot.

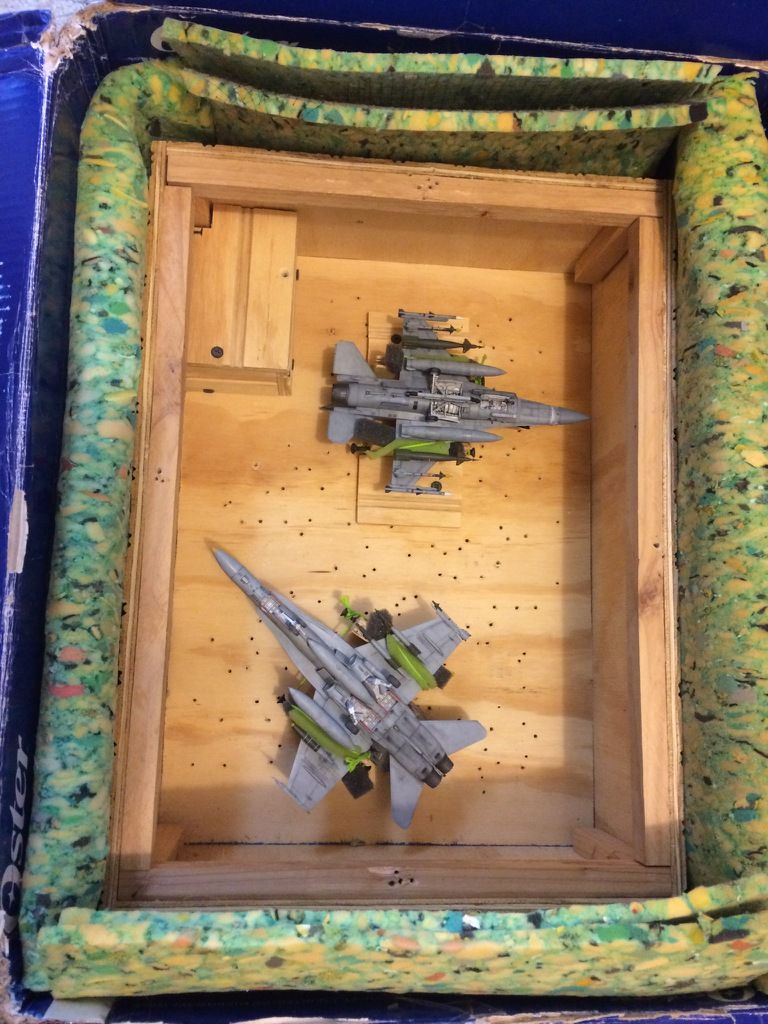
With that one ready to go…time to add the Hawkeye…Simple, just screw the base down.

You can see in the corner, there is a small, built in box. I have layer of padding in there…this is for misc. loose bits…props, boarding ladders, etc.

You can see the 105s ladders in there. Another layer of padding will go in on top of them to keep em from floppin around.

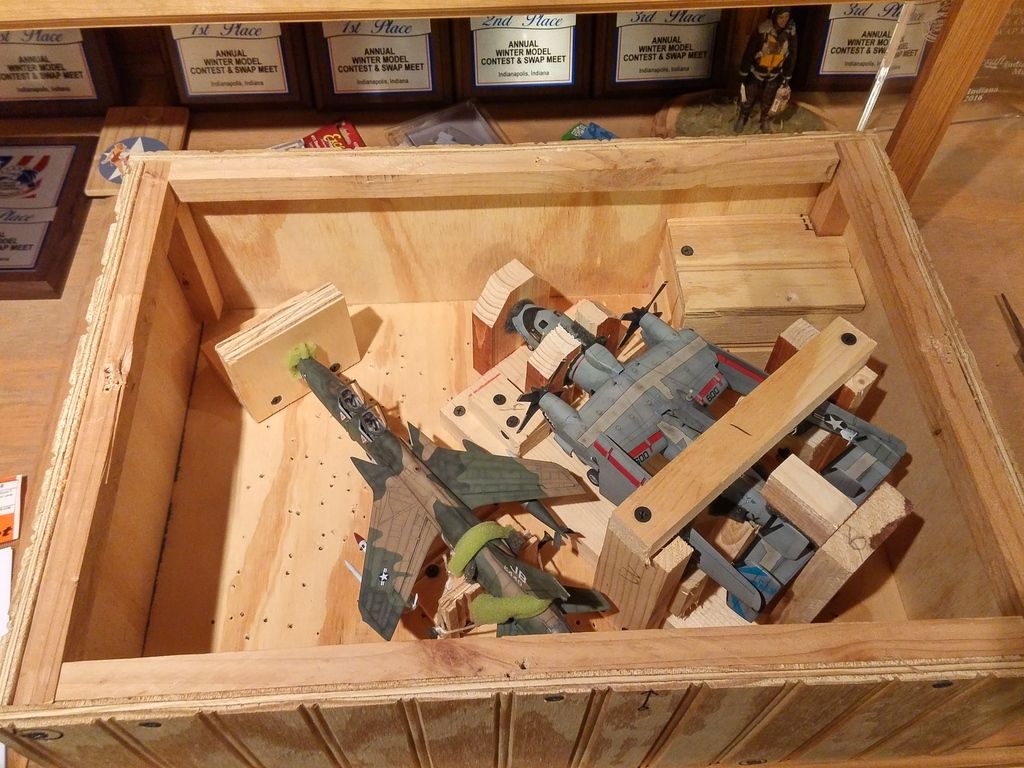
Secure!!!

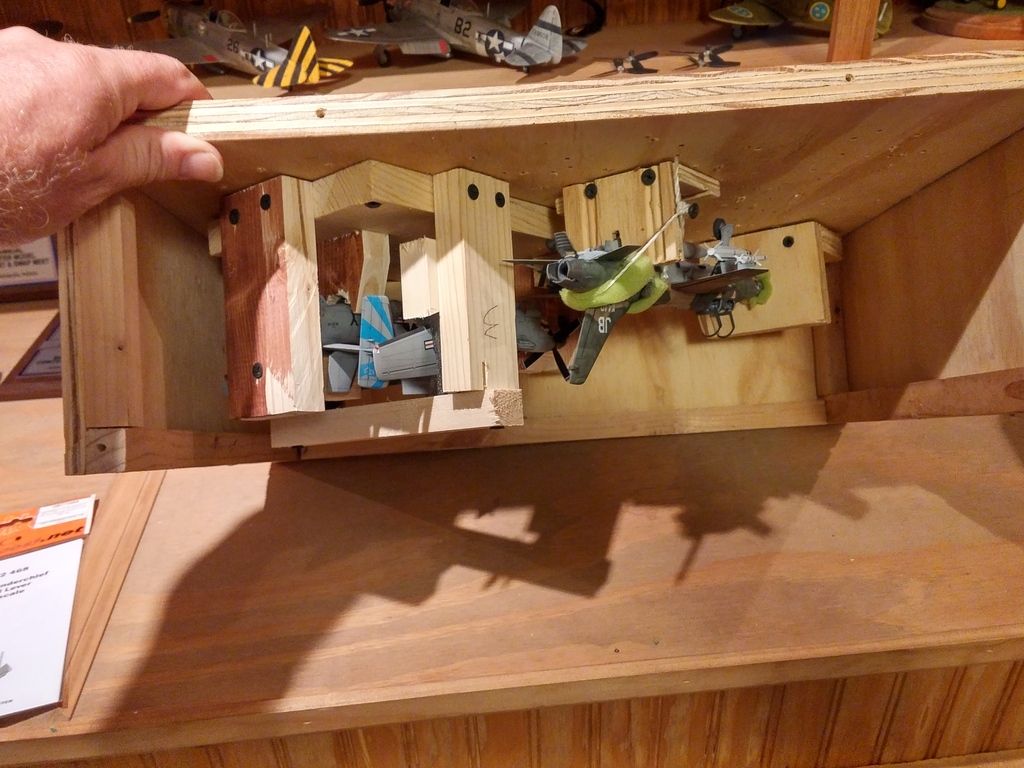
Side wall of crate screwed back on, as well as the lid for the small interior misc. bits box. This crate goes back and forth a LOT…so it is nice to have a good, solid, workable piece.

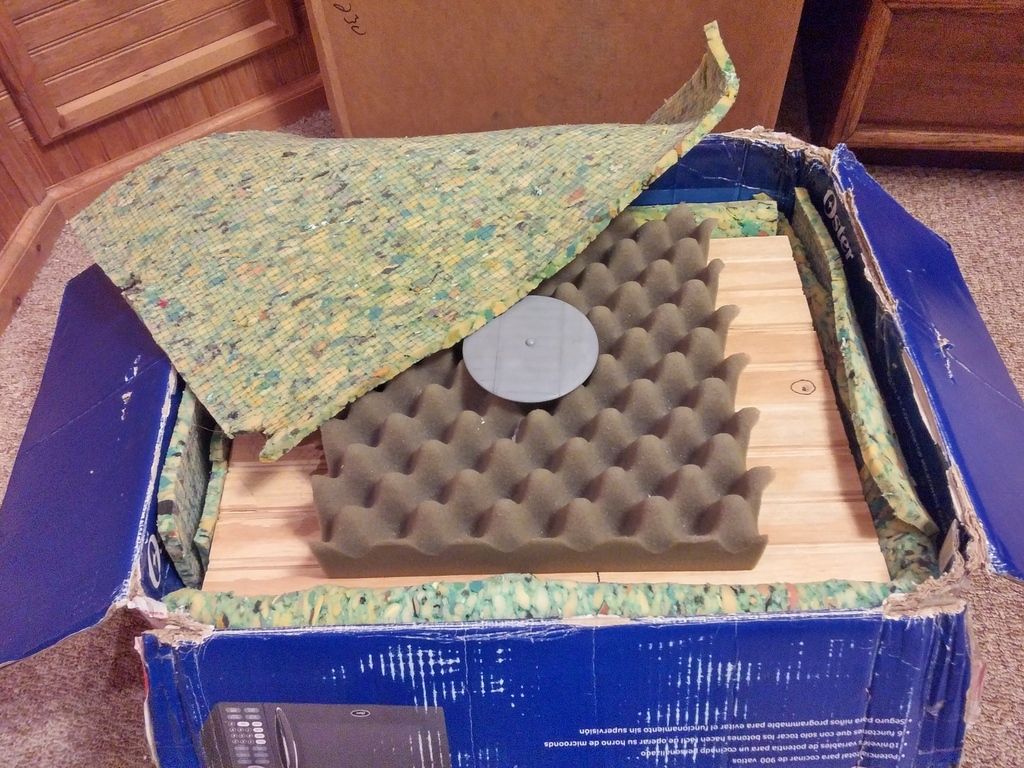
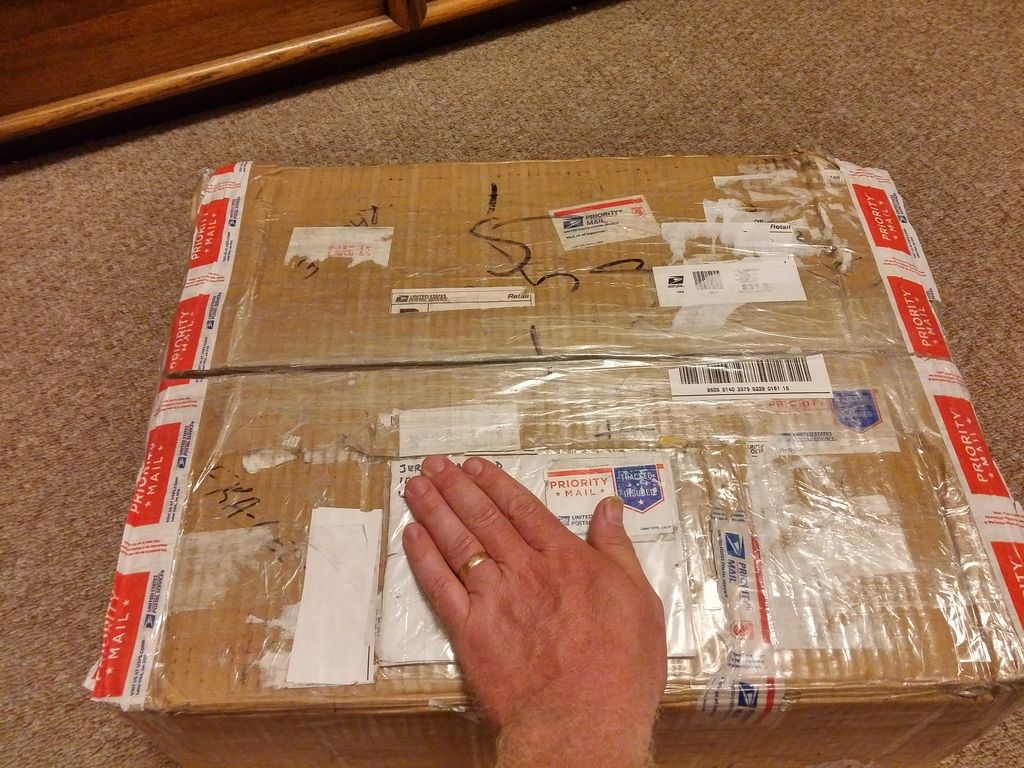
With the lid screwed back in place, the crate goes into a shipping box, lined with a couple layers of carpet padding. The disc from the Hawkeye gets sammiched between the padding.

Ready for another adventure!

Wow, thanks for taking the time to post all of that! Love your attention to detail which comes as no surprise. They look snug as a bug. Ready for delivery!

packages delivers

I should add…knowing that these get shipped…I take extra step during the build process. Items that could easily pop loose (Ordnance, etc) get pinned in place…you could hold that 105 up side down, by the missile!

[:P]. Wow, great thread. Two things:

  1. Where are you shipping these things?

  2. Does it work with ships or what?

1…To my customers address!

2…Ships are a bit different…I’ll have an update for that, this winter!

Beautiful! But that looks like more work than building the model!

By the way, how many tads in a smidgen? [;)]

Like…4.376 tads = 1 smidgen.

[proplr]

I love how you go great lengths to make damn sure they stay secured during shipping. I gotta ask though, how much did it cost to actually ship it in crates?

Shipping this crate averages about $25 for “priority” mail.

I don’t have to throw my old ones away to make room for new ones!

…and…

I get a variety of subjects, that I probably would not have done for myself

…and…

Some dollars!

[Y]. Do you have any more pics of other models you’ve packed using this technique???

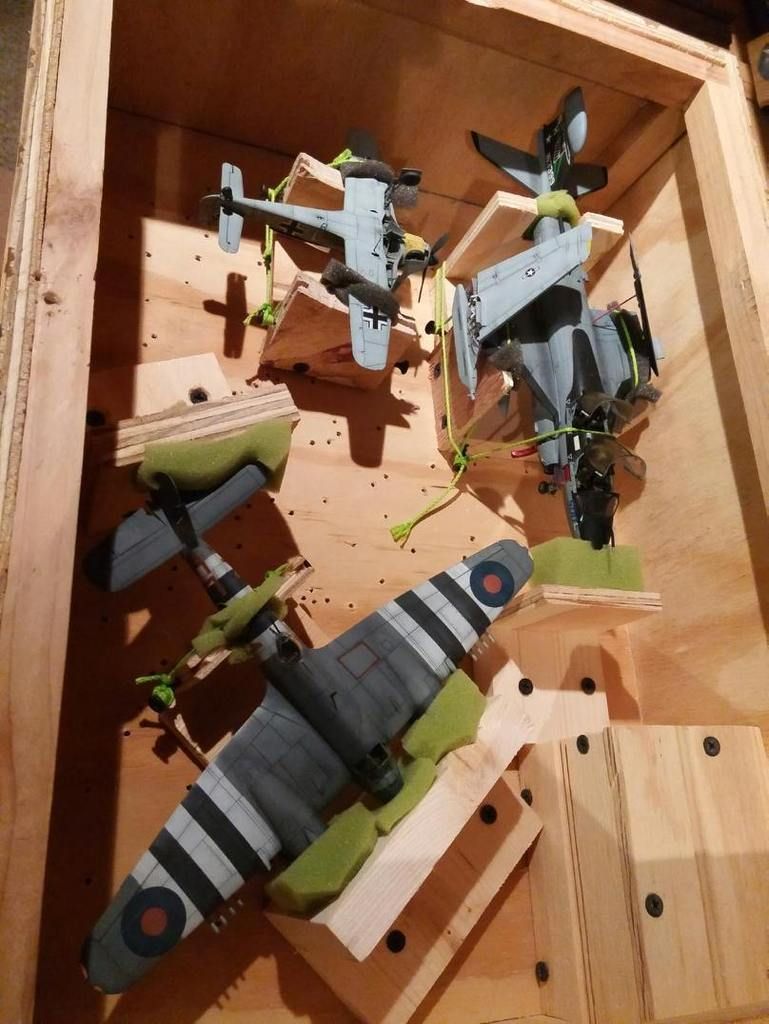
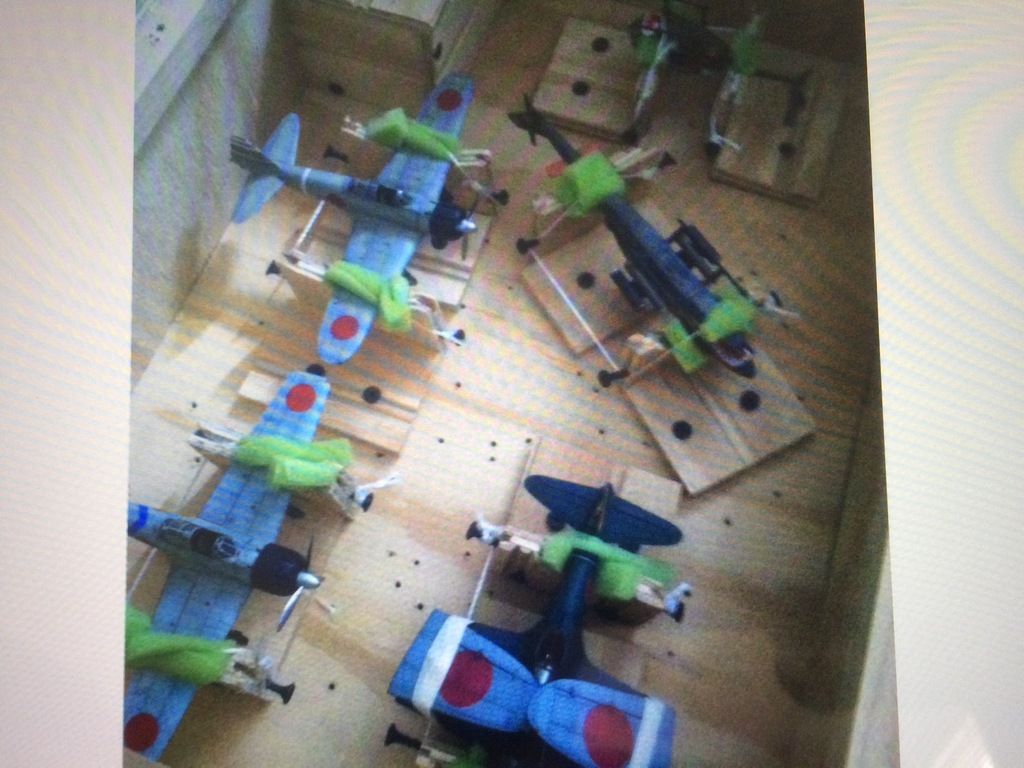
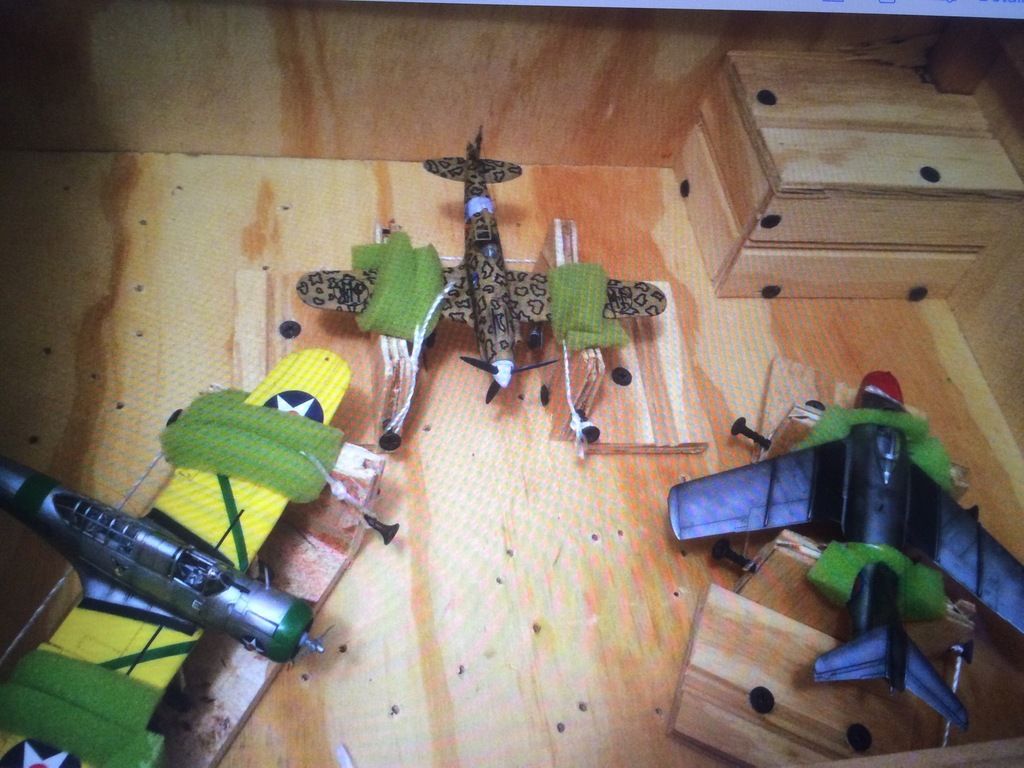
I do…I was a bit too lazy to go digging for em…but I finally did. Here’s a couple from a while back…both of these show the standard “craddle” method.

This Tony, is craddled by the wings…

This P-40 is craddled at the fuselage…

The model itself dictates the best way to secure it…antennas, ordnance, landing gear, canopy position, opened panels, etc. Just gotta get creative sometimes!

Here’s some more…not much difference from the methods above, other than sometimes…upside down is the better way to go…the string and padding can fit in places (between ordnance and/or landing gears for example) that the wood craddle won’t fit.

Sorry for the quality of these two…

i just finished a 1/48 scale kinetic c-2 greyhound for my sister and have to ship it to sandiego from oregon and was wondering how i was going to manage this feat. your thead was most helpfull. thank you.

jim

That was a fun read!

Good engineering on the shipping jigs. [Y]

[:^)]…so did the Hawkeye and Thud make it okay or what?

Ah ;

Just you wait Fermis ! You’ll be taxed to the limit when you pack a ship . You’ll see ! T.B.

Exactly!..I haven’t built anything for myself in years. It’s turned into quite the lucrative business for me. I’m hoping it helps put my daughter through college. The foam sandwich technique works for me. I just shipped a P-51 to Italy and it got there in perfect condition. Thanks for sharing your technique Fermis.

Shipped a Chen Yuen, Jap sub, Gato sub, U-boat type VIIC, and a 1/72 Schnellboat…

The way I mount them for display, makes them pretty easy to pack. I’ve got another boat or two in line for this Winter.