I am new to modelling aside from when I was a child years ago and I have been using a Paasshe VL airbrush with 3 sizes of heads: size 1, 3 and 5. I have completed 3 tank models with just one colour paint schemes so I avoided multi-colour airbrushing there. However, I also completed a 1/32 scale Messerschmitt Bf109G-14 by Hasegawa and found it difficult to airbrush small areas using the size 1 head, needle, etc. which is supposed to allow for pencil thin lines. Do I have the proper airbrush, firstly, and if I do, what techniques for airbrushing small lines or areas do I use to accomplish camouflage patterns on tanks and aircraft?
I too have a VL & have used it for many years. The #1 needle/head is for very thin media. Use a low pressure (+/-15#) & keep it moving. Use of the dual trigger takes some getting used to, but it too will work well once you get the hang of it. The VL is versitile and will handle media from ink to latex well.
What paint are you using? Enamle is best thinned with paint thinner & the #3 tip. You can use the Model Masters latex paints w/ the #1 head, but make sure they are thinned down. Try not to pull back too much on the needle to keep the pattern tight. Use multiple passes, and remember that most aircraft did not have hard lines in their camo.
Also, practice with various masking media and techniques. Don’t be afraid to hold a hand mask off the surface to get feathered edges. Look into frisket paper as a masking media, and play with liquid masking too.
Reid
I’ve used a VL for a long time, and have found the fine line elusive with any media, including artist quality oil and acrylics. The #1 tip is not as sharp as more modern AB’s, no matter what pressure or thinning ratio I’ve tried. As OM’s post indicates, you can get acceptable results with practice, and this is not a criticism of the VL, it’s just that there are better fine line AB’s available now than there were when the VL was state of the art.
One tip that is specific to the VL is to use the knurled wheel ahead of the trigger to “convert” it to a single action. The wheel moves the trigger back to a specified point, so you get the same, consistent paint volume by simply depressing the trigger. That helps to sort out the thinning/pressure issues.
That said, I just replaced the air valve on my old friend, and look forward to using it for many more tasks. The #2 & # 3 needles and tips are as good (IMHO) as any other AB I’ve tried or own. You have the right AB for most tasks you will encounter - you can get good results by careful masking, adjusting air pressure and paint thinning. FSM has had several recent articles talking about rhe specifics. If you find that you need a very fine line tool, there are a couple inexpensive (and finicky) ones. I’m currently trying to figure out how to get my new Badger 200, which does really fine lines, to get thru an hour without clogging!
Hope this helps!
Mike
The VL will do some pretty fine lines, but it takes thin paint and practice. Have a look at this page. Try spraying some food colors on paper towels and see what you can do.
Don
Mike, thanks for that info! I’m teaching myself to use an airbrush, using this model, and I had not figured out yet how adjusting that wheel worked. I found the instruction booklet silent on that piece, except to show it in the parts list. Now that I know, it will save me some fiddling around; instead, I can do some targeted exercises based on this.
Best regards,
Brad
Thanks for your post, Reid.
For my aircraft model I used Mr. Color Paints (so I could get the proper colours indicated by the instructions) and Mr. Color Thinner since I found out it was the only thinner that thinned the paint and I could clean my airbrush with.
Thanks for your reply, Reid. The paint I used on my aircraft was Mr Color (so I could get the colors indicated in the instructions) and Mr. Color Thinner so I could thin the paint and clean my airbrush.
Ian
Good choices. Remember, with airbrushing, many light coats are faster than one heavy coat (that you’ll have to wait days to dry & then sand out the runs, orange peel & other imperfections.
For fine work, get the paint as thin as you can stand it, and still get it to cover.
Reid:
The next couple of models I plan to make are tanks with single colour paint schemes (Tamiya models) and I plan to use Tamiya paints and thinner. However, I also plan in the future make German Tamiya tanks with multiple paint schemes, so I guess your suggestions apply to Tamiya paints and thinners as well.
Ian
This was my first serious effort to paint a model with my Paasche, the Wave MaschinenKrieger Raptor armored suit:
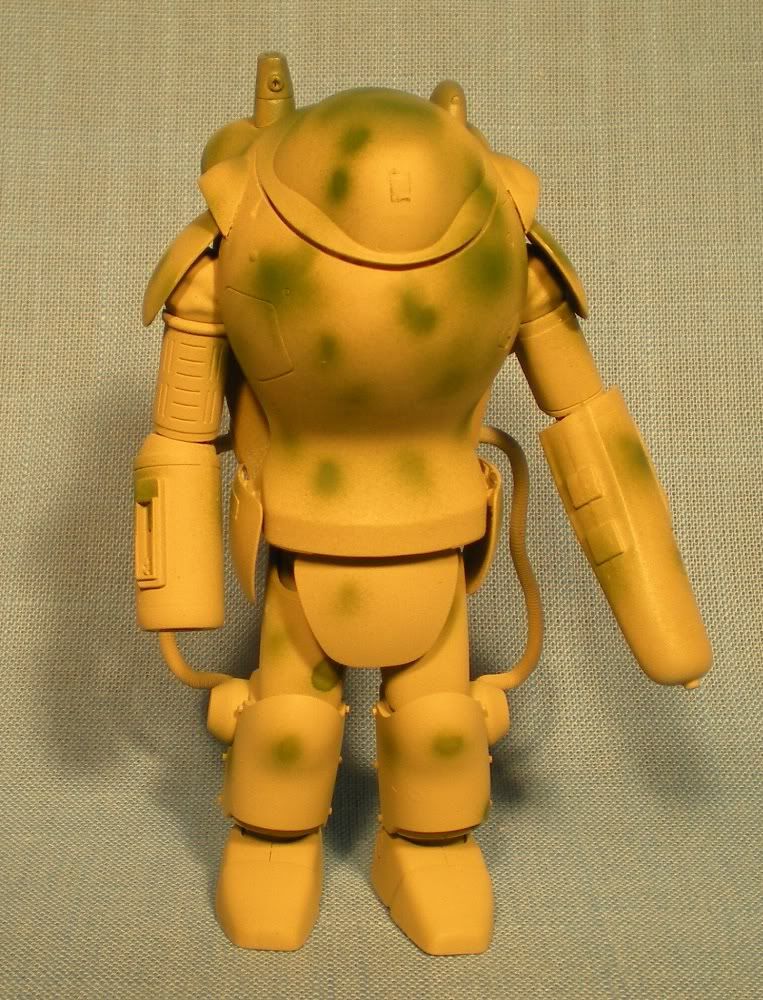
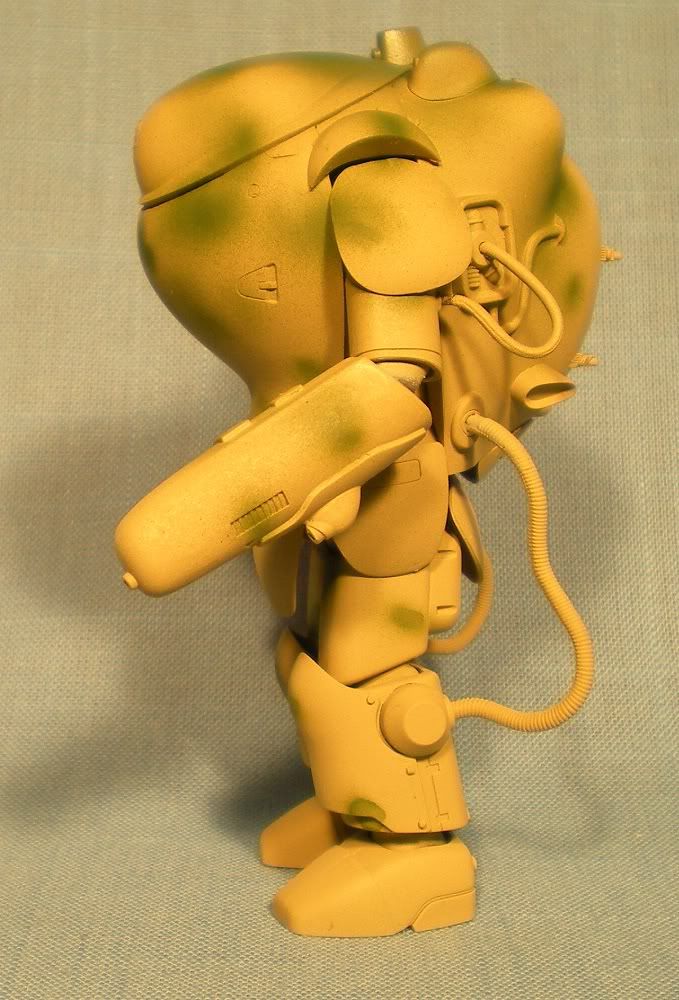
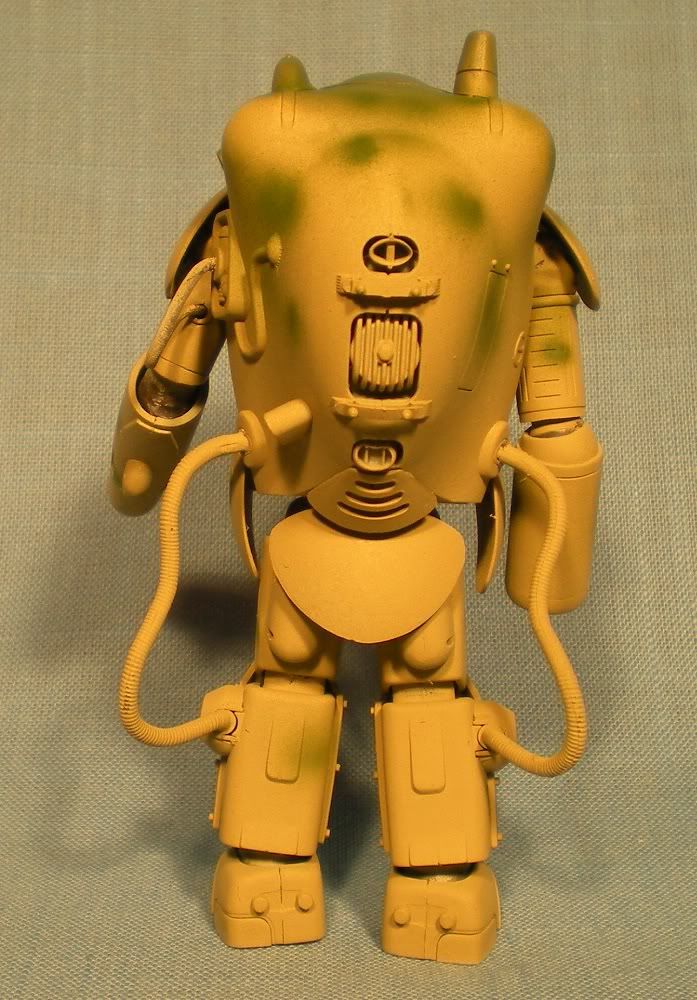

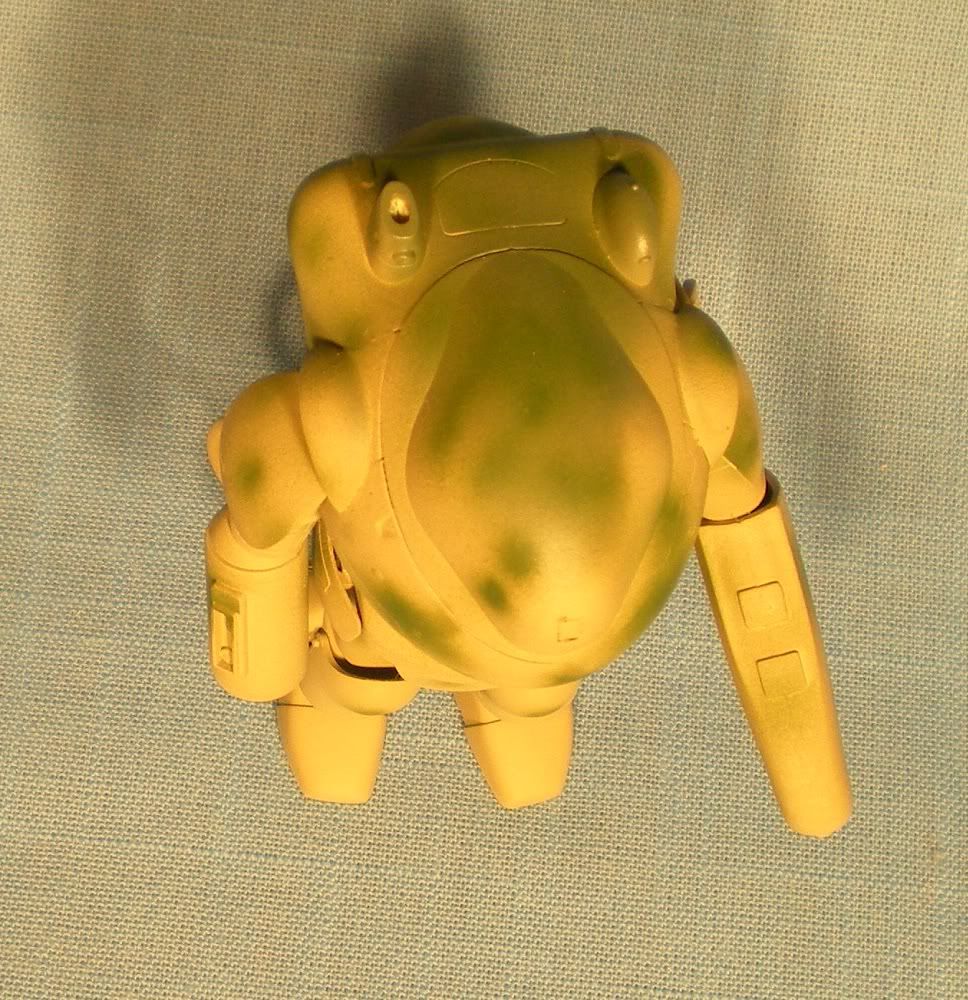
It may be a simple scheme, but I was very happy with the results. I used Tamiya Dark Yellow and Dark Green, to make a camo scheme reminiscent of some German camo. I also used Tamiya’s thinner for this job, too. I’ve used other thinners, depending on whether the paint was enamel or acrylic, from lacquer thinner to isopropyl and water, but this time, I wanted to try working with one manufacturer’s products, on the assumption that they are forumlated to go together.
The comment about several thin layers is right on target. I mixed the paint and thinner at roughly 60%-40% in a jar, then worked in small batches, with drying times in between. I brushed at around 20 psi. I am so pleased that I wish I had tried using an airbrush years ago. I can’t wait now to exercise with other subjects that I build.
Oh, and the Raptor’s not finished, that was just the basic scheme. Weathering and detailing is in progress.
Best regards,
Brad